Toyota Tundra: Car Stereo Sound Diagnostic
A problem with your truck's sound system most likely means a problem somewhere in the system's electrical wiring—every driver and mechanic's worst nightmare. Continue reading for a diagnosis and possible fix to the lack of music coming from your Tundra's speakers.
This article applies to the Toyota Tundra (1999-present).
Whether you hear distortion, clipping, slapping, or crackling coming from the speakers in your Tundra, or the entire sound system has just plain stopped, we have an idea of where you should look. But first, if you've just installed a new head unit, amplifier, subwoofer, and speakers, you'll want to check if the all of the aftermarket components are compatible with one another, meet all of the power requirements, and are calibrated correctly; we recommend that you take your truck to a car audio specialist who most likely has the proper tools for an in-depth diagnosis and repair. Now, if your stock or relatively new aftermarket sound system has begun to act up, the cause might not just be a common one, but it might also have a common fix. Before attempting the following diagnostic steps, always make sure the battery is disconnected and that you take the necessary safety precautions.

Materials Needed
- Needle nose pliers
- Multimeter
- Flat head screwdriver
- Phillips screwdriver
- Electrical tape
Step 1 – Check the fuses
They might have blown.
Nearly all electrical components and accessories in your truck utilize fuses and relays that act as safety switches in the event that a dangerously large amount of power is supplied to the components. In this case, the power supply leading to the radio accessories may have reached a high level and caused the fuse to blow.
There are two fuse box located in the Toyota Tundra: one in the engine compartment and one under the driver's side dashboard. To check and replace a fuse:
- Gain access to the fuse box under the hood or under the dashboard.
- Remove the cover of the fuse box, and refer to the inside of the cover to determine which fuse correlates to the audio system. Use Figures 1 and 2 to help you determine which fuses are connected to the audio system.
- Use a pair of needle nose pliers to remove the fuse.
- Visually inspect the fuse. If the metal wire in the fuse has separated, the fuse is blown and you must replace it with a new one.
- Install a replacement fuse, and make sure it has the same amperage rating.
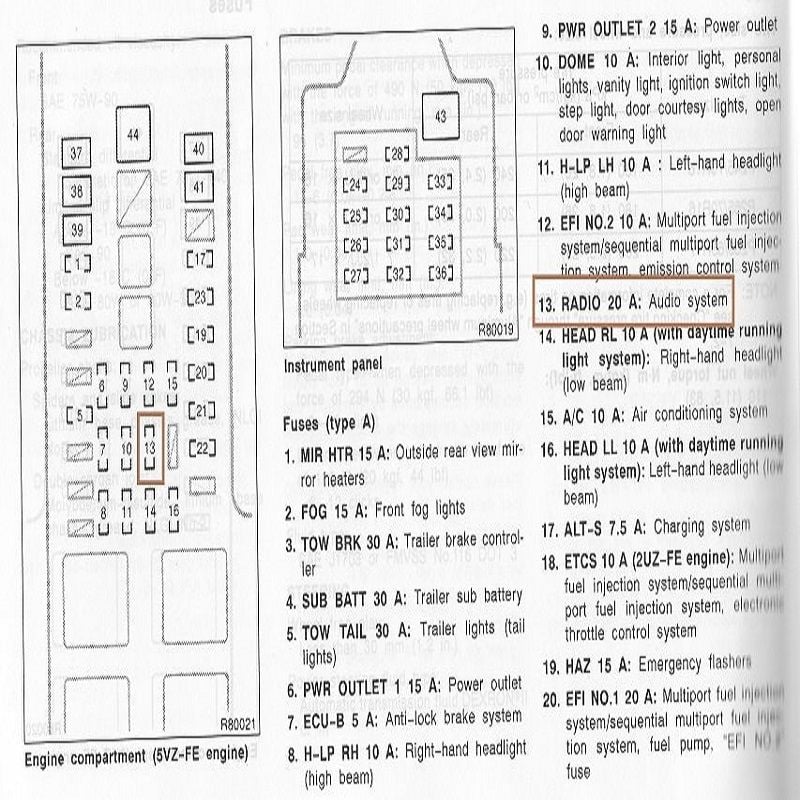
Figure 1. Toyota Tundra 2008 engine compartment fuse box. 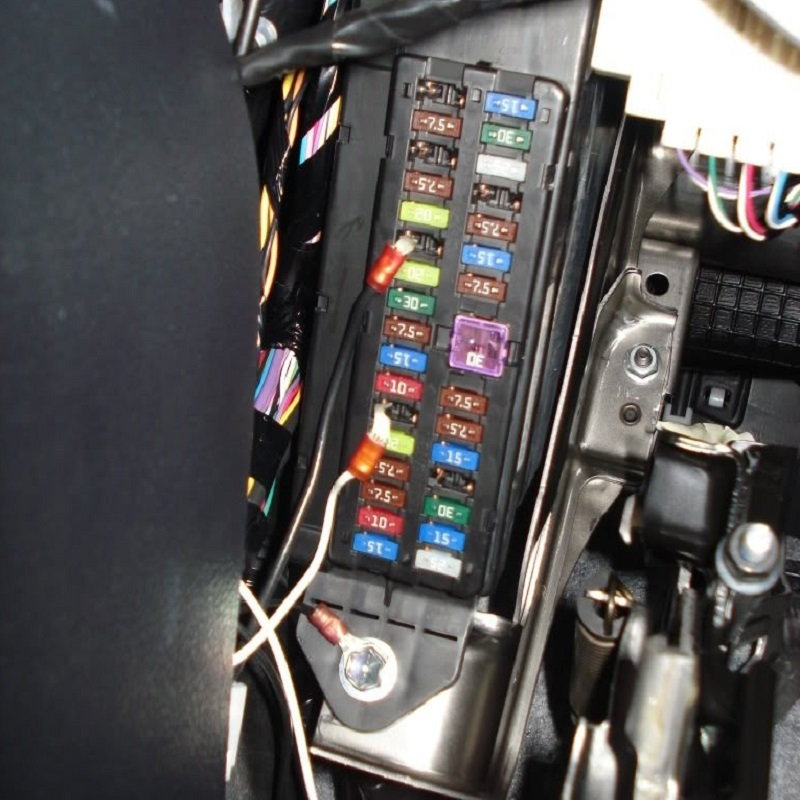
Figure 2. 2008 Toyota Tundra driver's side under-dash fuse box.
If all of the fuses are intact, move on to the following step.
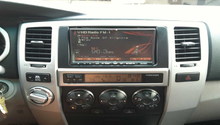
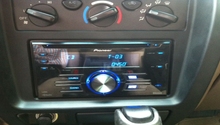
Step 2 – Check the speakers
They might have blown.
Amping up the sound of your music too high and putting too much strain on the speakers could cause them to blow. If you are getting sound from the speakers but along with it you are hearing clipping or crackling, the speaker might have blown. In some cases where the speaker is blown, you might be able to salvage it with some glue or by re-foaming it, but we recommend that you have it replaced or the problem might recur. To check your speakers:
- Turn on your car and play a song that demands the use of all the speakers.
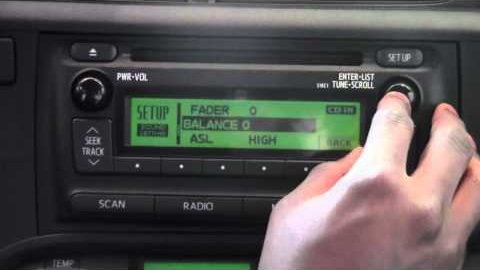
- Use the head unit settings to adjust the balance, fade, and volume levels to isolate each speaker.
- Listen to the speaker and make sure you hear a sound coming from it, and feel the speaker for vibrations.
- If you've isolated one speaker that isn't working, it might have blown and you will need to replace it.
If none of the speakers are blown, move on to the following step.
Step 3 – Check the wiring
They might have frayed and are grounding out.
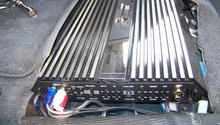
For the stereo system to work, a proper current must be maintained throughout the wiring system. The positive terminal of the car battery is connected to the amplifier, which in turn relays the battery power to the speakers; the negative terminal of the battery is connected to the frame of the car and acts as the ground wire.
Therefore, if the speakers wires are making contact with the truck's metal chassis, also known as "grounding out," the sound system may short and cause the speakers to blow. To check the wiring:
- Pull out each speaker and visually inspect the terminals. Make sure no wires are in contact with the the frame.
- From the terminals, follow the wire and make sure there are no tears or cracks.
- if you find a tear or any wires that are grounding out, use electrical tape to wrap them up and secure them properly.
- Inspect the speaker power supply wires as well as the RCA cables.
- After visually inspecting the wires, use your multimeter to test the voltage running through the wires, which should be around 12 volts.
- If there is no power or current running through a speaker, it might have blown and you will need to replace it.
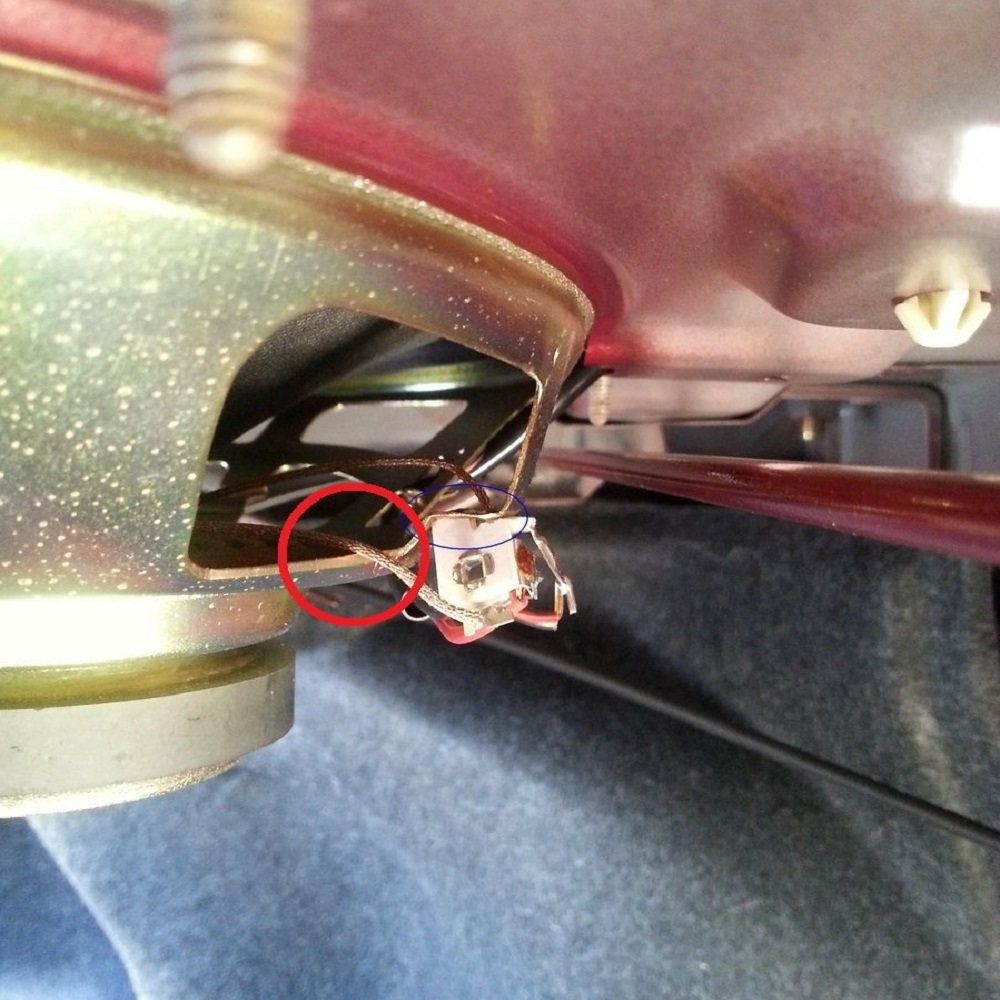
Figure 4. Speaker wire contacting the metal frame. 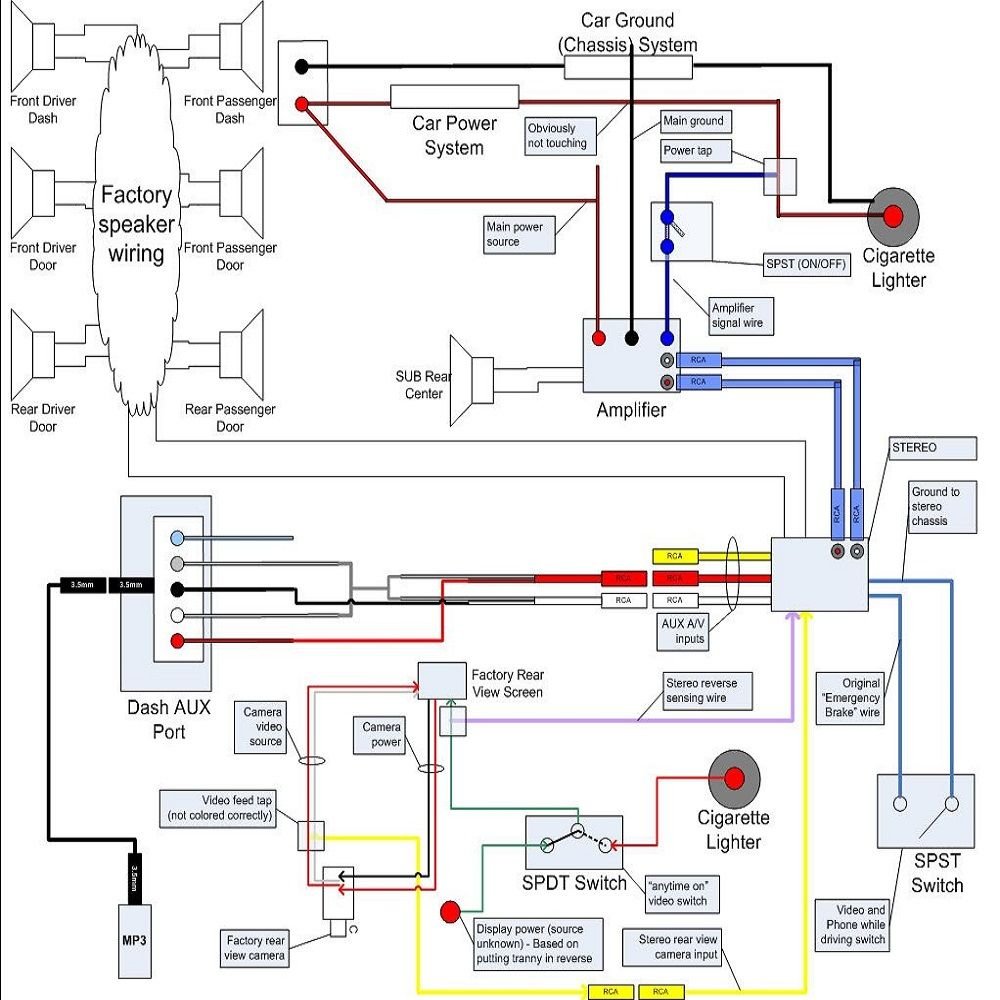
Figure 5. Sound system wiring diagram.
Related Discussions and Site
- Speaker Problem - YotaTech.com
- Weird Stereo Problem - YotaTech.com
- High Pitched Noise When Radio is On - YotaTech.com
- How to Tell if Car Speaker is Blown - CarsDirect.com