Toyota 4Runner 1984-1995: Aftermarket Sound System Modifications
Thinking about tossing your 4Runner's OEM sound system for a new and improved option? The good news is there are a ton of options to choose from, all complete with plenty of programs and features to choose from, and they're all fairly easy to install. Before you take on this afternoon project, read on to learn about installing a sound system in your 4Runner.
This article applies to the Toyota 4Runner (1984-1995).
One of the best upgrades you can perform on your 4Runner is swapping out your old sound system for a new one. After all, the systems of yesterday are nothing like that which is offered on the aftermarket today. Beyond improvement to the audio quality of the system itself, these new systems come with a host of additional, modern-day features that range from Bluetooth technology, to satellite radio, to GPS navigation and more.
What’s more, a lot of these systems are super simple to install, no matter the year of your vehicle. This allows 4Runner owners with even the most basic understanding of their vehicle’s electrical system the ability to make a significant upgrade to their truck, but without having to break the bank.
If you’re thinking about upgrading the sound system in your 4Runner, read on to check out a future aftermarket models popular nowadays, and a brief walk through on the installation process.
Choosing the Right Sound System
To put it simply, there are a ton of aftermarket sound systems on the market today. They range from the super simple radio-only models to the souped-up versions that include a million programs and features all within, most of which you'll likely never ever use.
The following are three options that have proven popular on the aftermarket sound system forums, both for their low price point as well as the quality of the audio they provide.
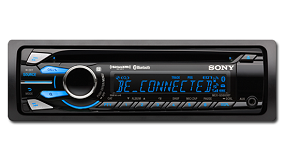
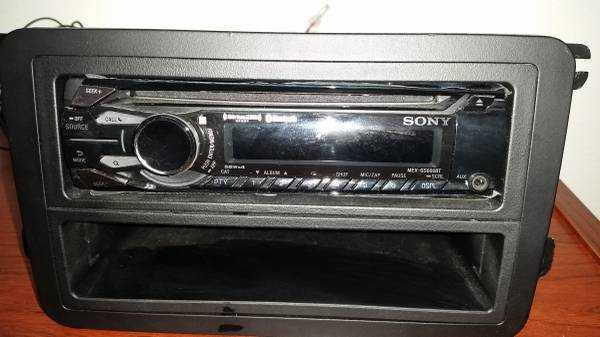
Sony GS600BT
DIY Cost – $100
Professional Cost – $350+
Skill Level – Easy; this task is easy because it involves updating a fairly accessible part of the truck.
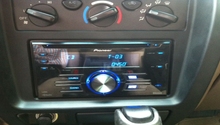
Users who purchased the Sony GS600BT reported being thrilled with the plethora of options that came with it—Bluetooth, Pandora, USB, NFC, SiriusXM compatible, audio in, hands-free mic, and so on. It’s a sleek looking piece that’s not overly fancy, and install is super simple. Recommended for its easy installation and many features.
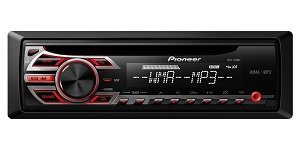
Pioneer DEH-150MP
DIY Cost – $100
Professional Cost – $350+
Skill Level – Easy; this task is easy because it involves updating a fairly accessible part of the truck.
Pioneer’s DEH-150MP provides a significantly improved sound with super simple navigation capabilities. There are plenty of options to choose from, and the OS that the system runs on is smooth and intuitive. Reviewers of this particular line of stereo system also report a quick and simple install process. Recommended for its improved sound.
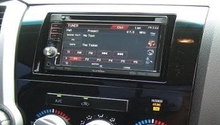
Alpine CDE-SXM145BT

DIY Cost – $175
Professional Cost – $350+
Skill Level – Easy; this task is easy because it involves updating a fairly accessible part of the truck.
With Alpine you are paying more for the brand name. The company’s name definitely runs higher among the "who’s who" for car stereo manufacturers, and for good reason. Drivers who installed the CDE-SXM145BT system were thoroughly pleased with the improved sound it offered, and the intuitive system with which it presents its bevy of programs. Installation on this unit is also very smooth. Recommended for its reputation.
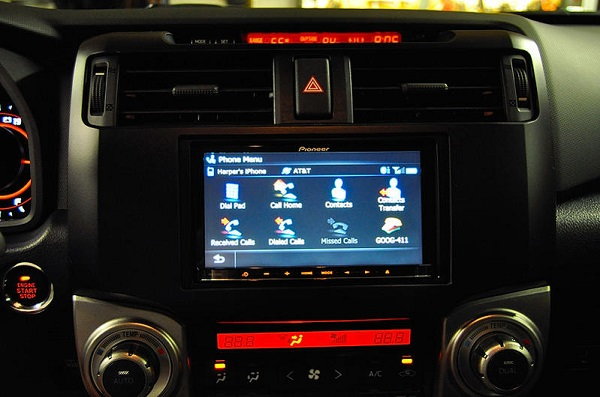
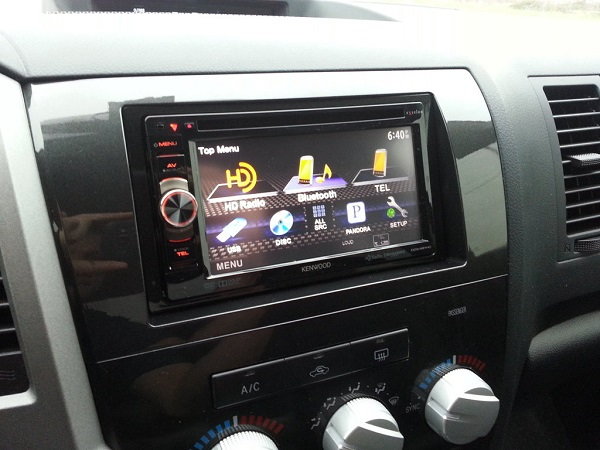
Installing a New Sony Sound System in Your 4Runner
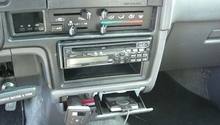
Installing an aftermarket sound system in your 4Runner might sound like an arduous task to do yourself, but the truth of the matter is that it's actually quite easy. Speakers are literally plug and play–just remove the old speaker plates, plug in the new ones, and you're good to go with thoroughly improved sound.
As far as the head unit in the main cabin, the biggest pain in installing this is taking one’s time to make sure you do not scratch the dashboard when removing the old plate. Take your time to remove the plastic face plate around the head unit, and once that’s removed, it’s easy to take out the screws and slide the unit out. From there, all you need to do is connect matching color wires on the wiring harness and plug everything in.
And if you’re installing any of the systems listed above, you’ll be going from an old OEM face plate to an upgraded alternative with all the modern-day conveniences you get with a new vehicle, including Bluetooth technology, sat-radio, GPS nav, and more.
Installing Sony's GS600BT sound system is the best example of how just simple a total update to the audio technology in your truck can be. Start with the speakers and using a flat head screwdriver, remove the face plates. Pry the speaker covers off and begin to remove the speaker components and securing mechanisms (screws, clips—depending on what model you drive, current system in the vehicle). From there, plug the old wires into the new speakers, secure into the truck, and close up by placing the face plate over the speaker itself.
In terms of the face plate, as described above, take your time prying the plastic wall off from around the display. Once that's removed, it's easy to locate and remove the securing screws/clips, and once they're out, everything should slide out. From there, simply plug the new wires in as appropriate—any new wires (like, say, satellite radio) will include with it instructions on how to install within your car. Follow them closely to ensure proper installation.
Related Discussions
- Anyone Have Sound System in the 4Runner? - YotaTech.com
- 2nd Gen. 4Runner Stereo Design and Speaker Sizing - YotaTech.com
- 1st Gen 4Runner Audio Set Up... Need Suggestions - YotaTech.com
- 1989 4Runner SR5 3.0L Stereo System Build - YotaTech.com
- 1990 Toyota 4Runner New Sound System - YotaTech.com