Toyota 4Runner 1984-1995: How to Replace Alternator
If you are experiencing symptoms of a bad alternator, don't wait, replace it now. Continue reading to find out how to replace it yourself.
This article applies to the Toyota 4Runner (1985-1995).
Are you experiencing a weak battery, even if it is new, or a warning light on the dash that the battery is not getting charged? Odds are your alternator needs replacement. The alternator is belt driven by the engine and is tasked with storing electrical charge to aide the car's electrical system and battery. When the alternator gives out, it commonly results in a flat battery because there is nothing regulating its charge through the system. Replacing the alternator is not a particularly difficult operation, so why not do it yourself?

Materials Needed
- Ratchet
- 14mm socket
- 10, 12 and 14mm wrenches
- Phillips-head screwdriver
- Pan
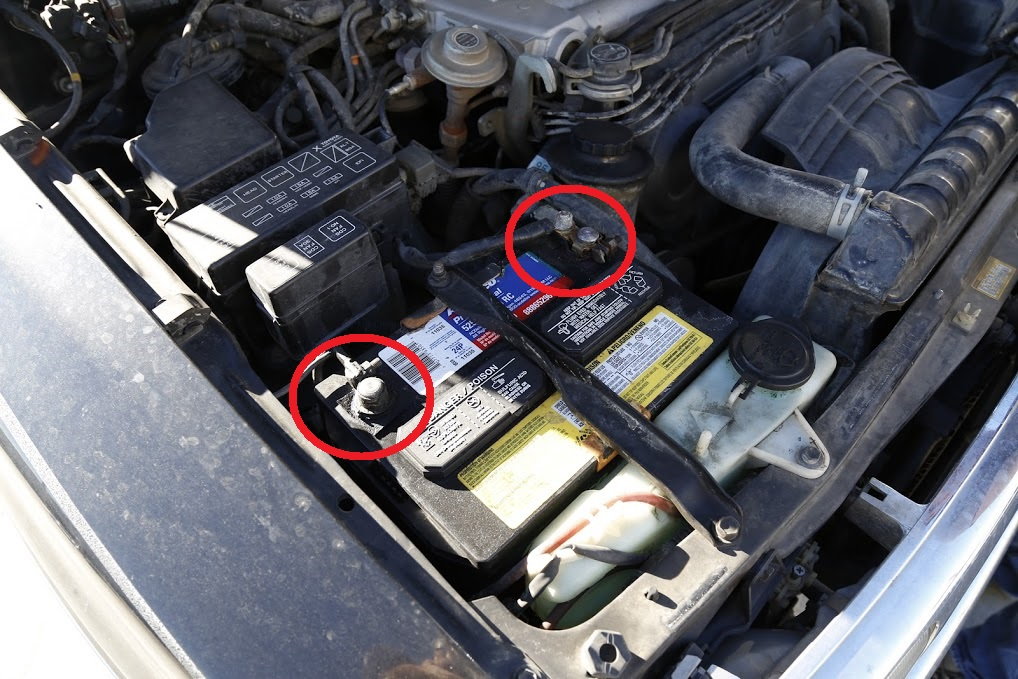
Step 1 – Remove negative cable from battery
Since you are going to work on the electrical parts of the truck it is a very good idea to first make sure that your truck is power-less. Get under the hood and remove the negative cable from the battery.
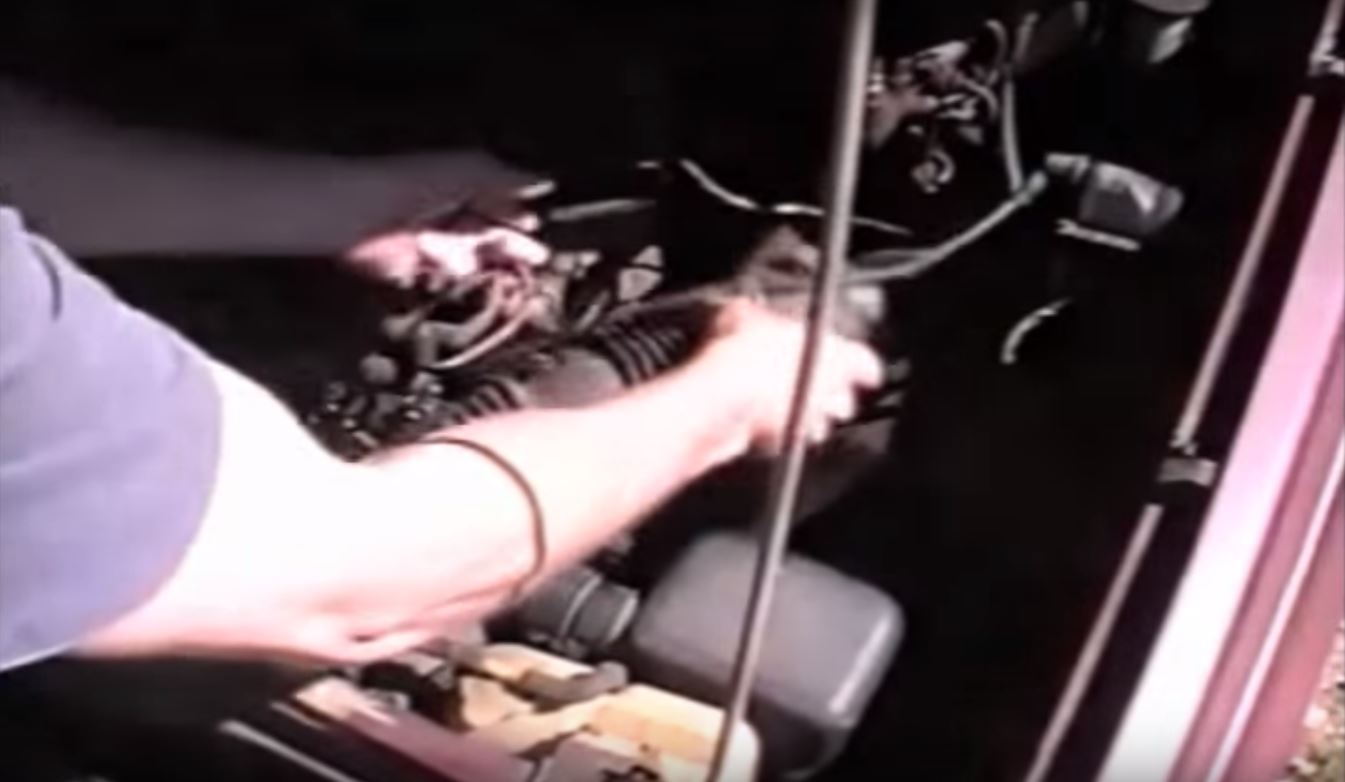
Step 2 – Remove intake
To be able to get access to the alternator, some items above it have to be removed.
First, remove the plastic intake from the engine. You don't have to remove the intake completely; simply take it off from the engine and then fold it to the front of the truck just enough to get down to the alternator. For this truck, all you should need to accomplish this is a Phillips-head screwdriver and a 10mm socket.
Step 3 – Remove coolant hose
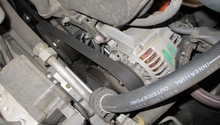
Before you can get access to the alternator, you have to remove the coolant hose that is guided just above the alternator. The hose is held in place with two clamps, one in each end. Use a 10mm wrench to loosen the bolts on the two clamps.
Since you are about to remove a coolant hose, you will get some coolant coming out. Put an empty pan underneath the engine to catch the coolant.
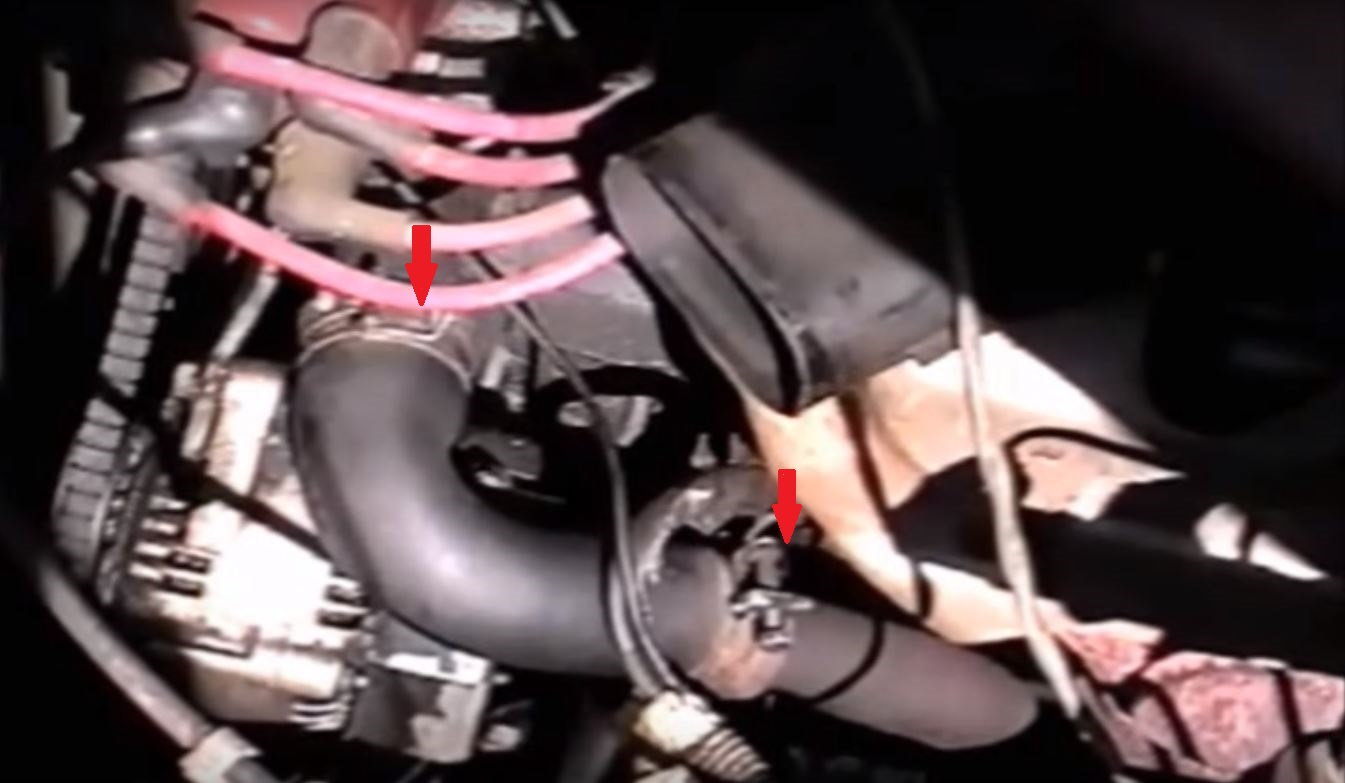
Now, twist and wiggle the coolant hose slightly to remove it in both ends.
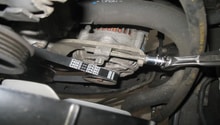
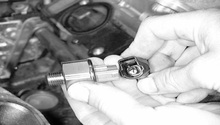
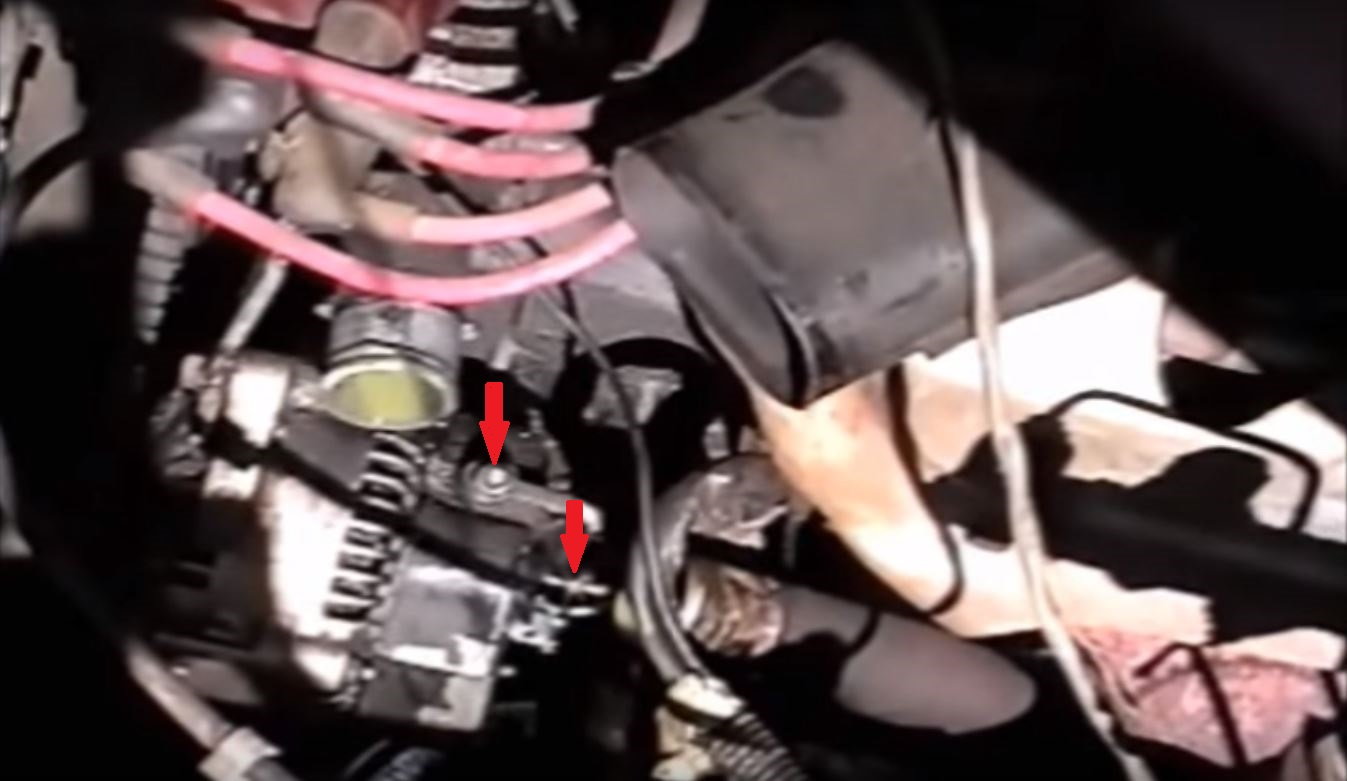
Step 4 – Remove top wire bolt and electrical connector
Before the alternator can be removed, the electrical wires have to be removed from the alternator. There is an electrical wire located on the top of the alternator held in place by a bolt. Use a 10mm wrench and remove the top wire bolt. Then pull the electrical connector off the back of the alternator with your fingers.
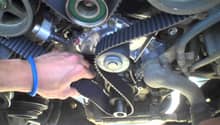
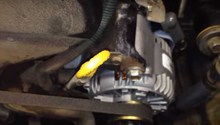
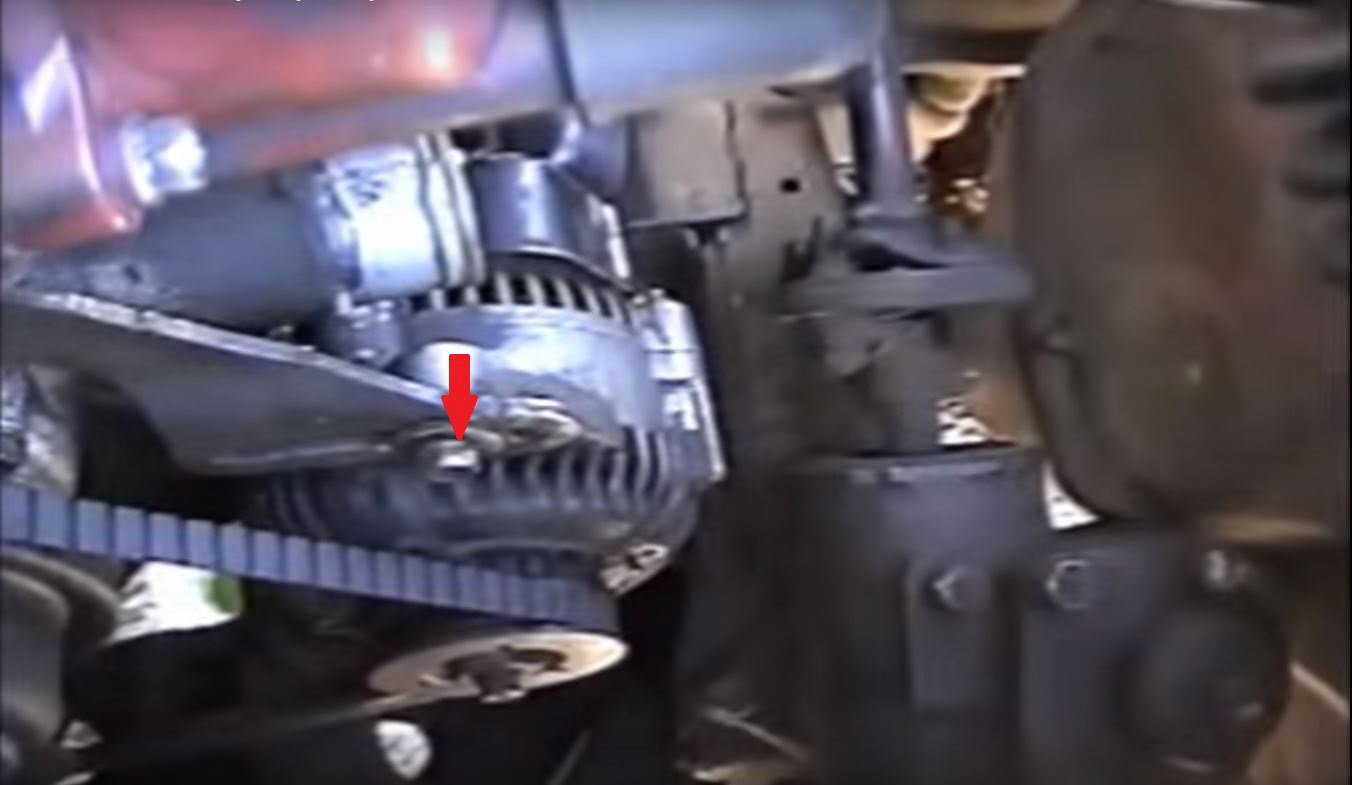
Step 5 – Unscrew lower retaining bolt
Use a ratchet and a 14mm socket on the front side and a 14mm wrench on the back side of the alternator. Unscrew the nut completely, but leave the retaining bolt in place for now.
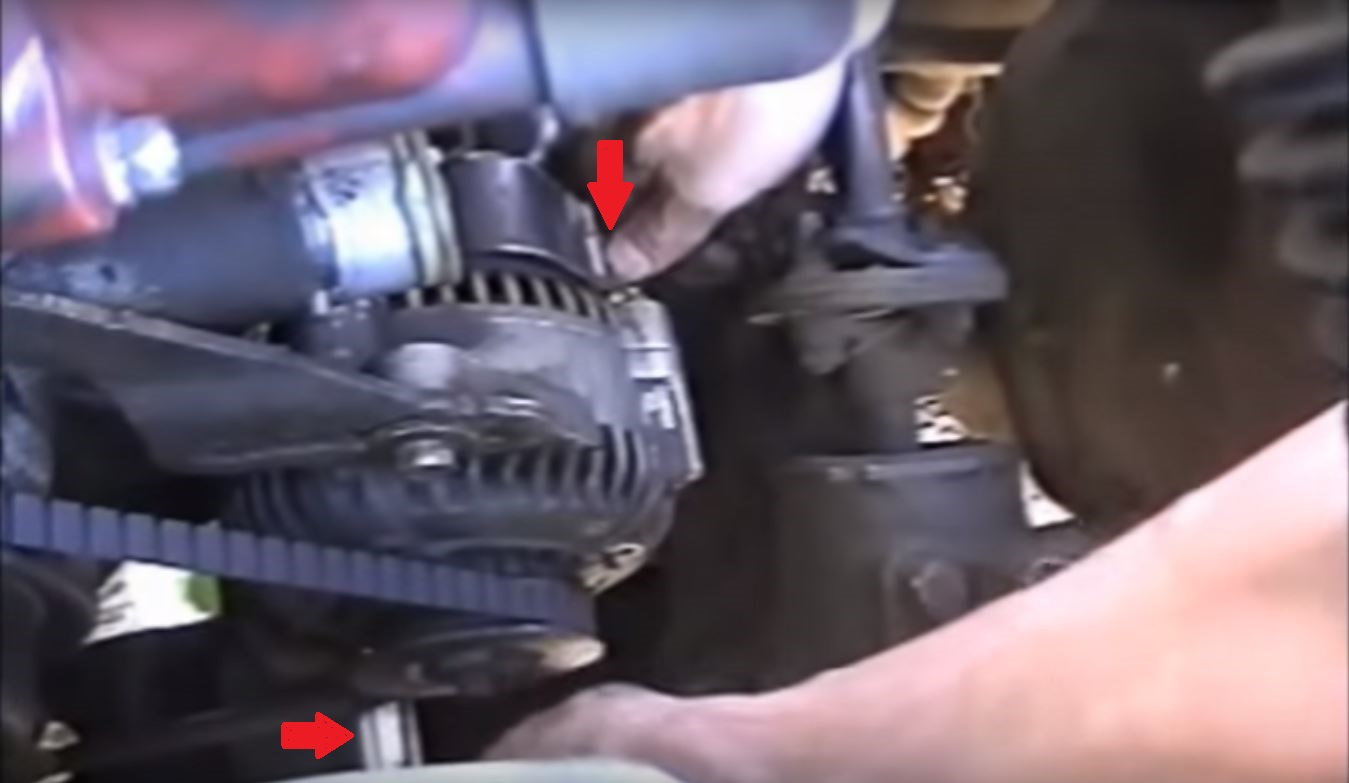
Step 6 – Remove upper and lower retaining bolts
Unscrew the upper retaining bolt using a 12mm wrench.
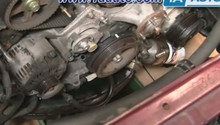
Once the upper retaining bolt has been removed, remove the lower retaining bolt completely. After both retaining bolts have been removed, it is possible to remove the alternator and lift it up and remove it upwards. Be careful not to damage the auxiliary belt (the belt driving the alternator), and also remember how the belt is guided. You need to put the belt back in the correct place when you assemble everything again.
Step 7 – Put everything back together
Once the old alternator is out, get a new one and install everything in the reverse order as you disassembled it.
- Install the new alternator and support bracket.
- Loop the drive belt around the nose of the alternator.
- Reconnect the wiring and other mounting bolts.
- Refit the radiator hose.
- Reinstall the intake and battery cables.
- Top off the coolant, leave the radiator cap and start the truck.
- Let the truck idle for 10 to 15 minutes and top off the coolant as necessary.
Featured Video: Alternator Removal on 1985 Toyota Truck
Related Discussions
- Pulling Alternator Question - YotaTech.com
- One Wire Alternator - YotaTech.com
- Second Generation Alternator on First Generation Truck - YotaTech.com