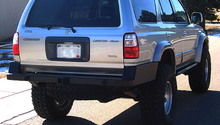
Toyota 4Runner 1984-1995: How to Paint Your Truck
Learn how to paint your Toyota 4Runner like a professional using these incredible tips.
This article applies to the Toyota 4Runner (1985-1995).
We've compiled this extensive electronic guide with the everyday automotive enthusiast in mind. It's chock-full of tips that only professional automotive specialists know and follow, and it provides the straight-forward, easy-to-understand information you'll need to get the job done right the first time. We've collated tips and information that won't require a huge budget – no one wants to break the bank to complete an at-home repair or upgrade – and explained in step-by-step detail what you'll need to do before, during and after the job for the best results possible.

Materials Needed
- Sandpaper (220-grit, 1000-grit, 2000-grit, 2500-grit)
- Primer and sealer
- Paint
- Spray paint gun or roller
- Wax
- Microfiber cloth or cleaning wipes
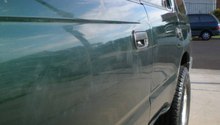
Step 1 – Rub out any bumps in the paint
- Rub out any irregularities in the existing paint using clean sandpaper; a lubricant is not necessary at this time.
- If sandpaper is unavailable, using a Scotch-Brite non-scratch scourer pad is recommended.
- Use 220-grit sandpaper on the entire surface of your truck or those areas you wish to paint.
- Make adjustments as needed; however, finish this initial step of the job with 220-grit sandpaper.
- Wipe the surface clean once you are done using a damp microfiber cloth or disposable cleaning wipe.
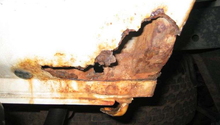
- For areas that require the use of a primer due to excessive wear, apply a single coat followed by a sealer. Rust-oleum Automotive Primer Spray is an excellent choice.
- Wet-sand the surface of your truck using 600-grit sandpaper, and then wipe the entire surface area clean.

Pro Tip
- Be careful not to damage the top of your truck, which is made out of fiberglass, when sanding. It's recommended that you start from the top and work your way down.
- Start with 1000-grit sandpaper, and then blend everything by wet sanding the entire area using 2000 to 2500-grit sandpaper. Don't forget the edges of the top.
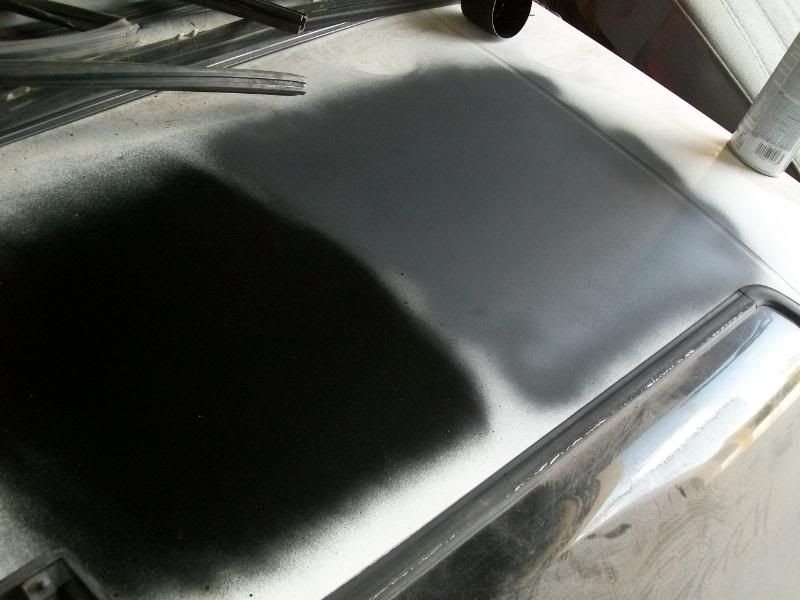
Step 2 – Spray on the new paint
While there are a number of effective ways to apply new coats of paint, using a spray gun is recommended. The application will be smoother and of a higher quality. Be sure to purchase paint that offers the correct mixture of mineral spirits (or paint thinner) and paint. Your local automotive retailer can assist you in this area at the time of your purchase. Ask about adding an additive to minimize gloss, if this could be a concern for your particular mixture.
Pro Tips
- If you don't want to use a spray gun, you can roller it on. Either way, be sure to thin out the paint beforehand. It's safe to spray smaller areas with a spray can.
- Drying times among products may vary. Apply at least two coats of paint, regardless of which type of application you've chosen.
Step 3 – Apply a quality wax
It's recommended that you apply a quality wax to your truck to protect your paint, especially if your truck takes a lot of abuse off-road. Apply a generous application (approximately four coats) of wax once per year for optimum results.

Pro Tip
- Don't apply wax in direct sunlight. Instead, move your truck to a shaded area and apply it there.
Related Discussions
- Painting my 4Runner - Yotatech.com
- How many Rattle Cans did it take to Paint your Truck - Yotatech.com