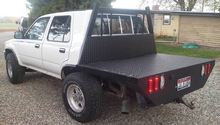
Toyota 4Runner 1984-1995: How to Repair Body Rust
Don't let body rust ruin your Toyota 4Runner. Follow these simple steps to improve the look of your truck.
This article applies to the Toyota 4Runner (1984-1995).
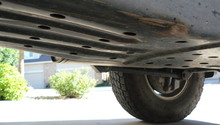
Let's face it. Corrosion can be a real eye sore. Whether it's on the frame, hood, or bumper of your Toyota 4Runner, you'll want to remove body panel corrosion as quickly as possible. For big jobs, it's highly recommended that you hire a professional who holds the valuable expertise and tools needed to get the job done right the first time. As well, you don't want to start disassembling panels on your vehicle, and then discover half way through that the job is beyond your skill level. The cost of hiring a mechanic to visit your home or tow your vehicle to a garage could otherwise be spent on the actual job. In most cases this is simply a job for the pros, but here's the DIY process to repairing isolated or small areas of body rust on your 4Runner.

Materials Needed
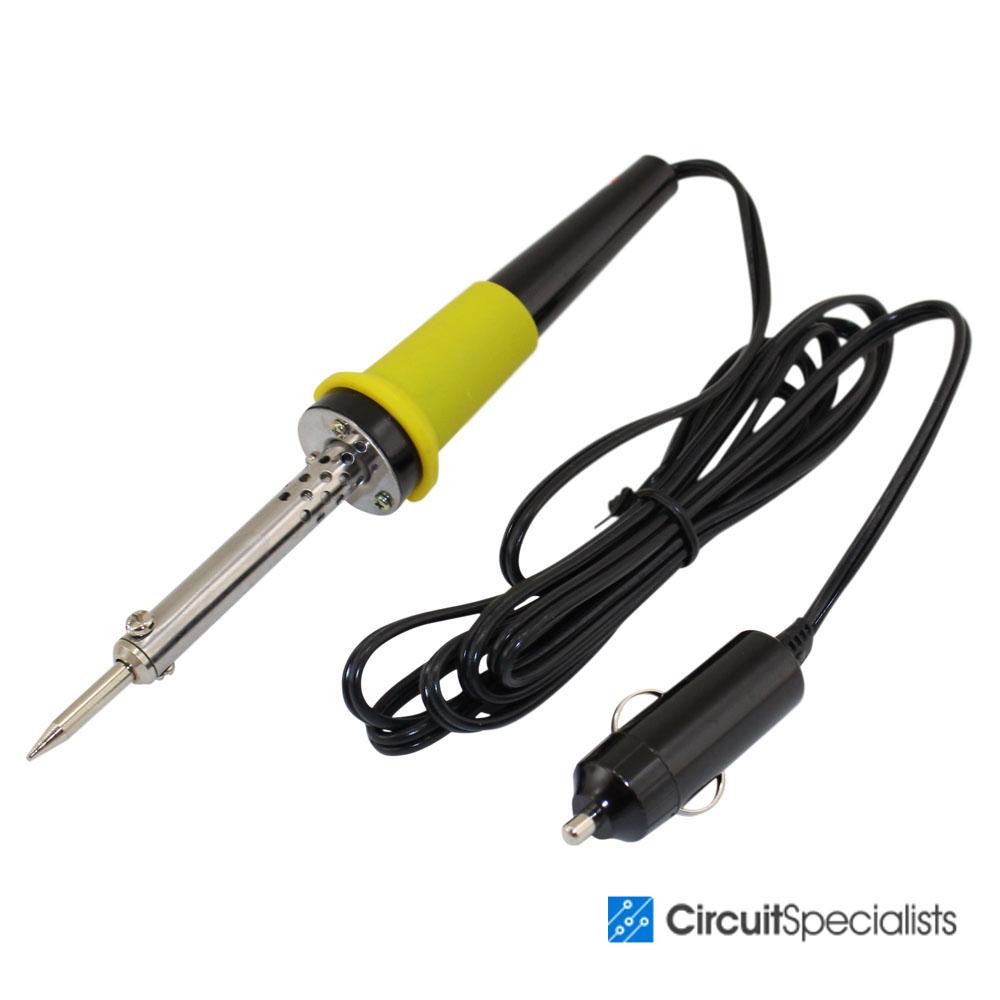
- Soldering iron kit
- Metal sheet(s)
- Sandpaper
Step 1 – Cut a new piece
For extensive corrosion to your truck, it's highly recommended that you hire a professional automotive specialist to cut out the damaged body panel, and then replace it with a new body panel, constructed out of a piece of metal or fiberglass. The new body panel will need to be welded to your truck in place of the damaged (and holey) body panel. Only attempt this repair on your own if you are skilled in welding and handling professional-grade repair tools. You may need to remove other body panels to access the damaged body panel that needs repair.

Pro Tips
- Fiberglass and metal panels can be purchased from a local junk yard. Costs will vary.
- For massive amounts of under-body rust, it's highly recommended that you seek professional help.
Step 2 – Solder small panels
For a smaller size panel, say 3x2 inches, it's recommended that you join the new and old panel using a soldering iron. Your soldering iron will need to be hot before you can start the project. Choose a solder with enough thickness to ensure strong adhesion. Maintain good control of the soldering iron, ensuring that the tip allows for the most detail. Solder on the new panel, and then apply clips to hold your work.
Pro Tip
- You could use a small metal patch to cover deep holes or irregularities in small areas.
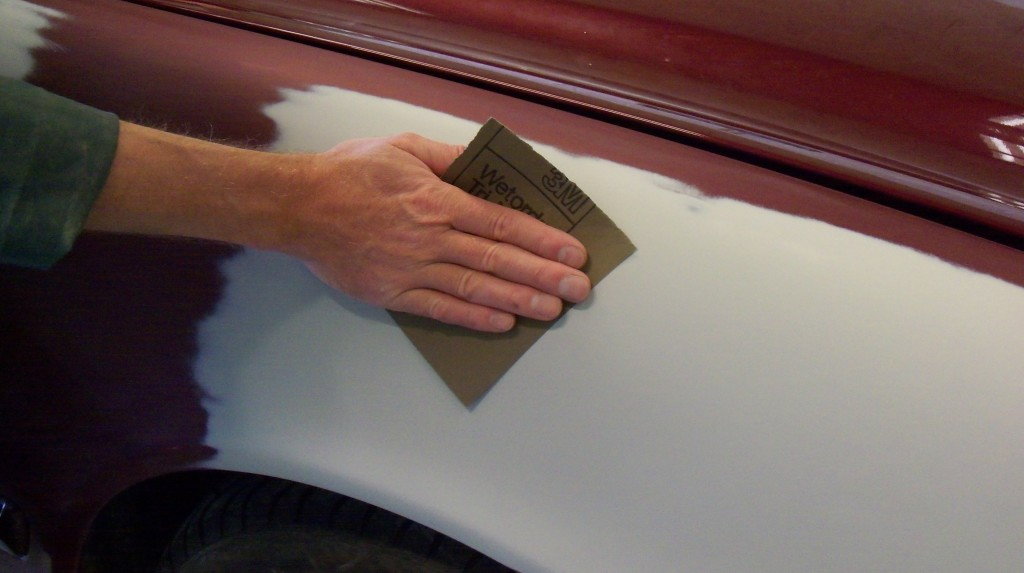
Step 3 – Sand down any irregularities
Sand down any irregularities and then add a fresh coat of paint, remembering to start with a high-quality primer. If you are adding a completely new panel, color match your paint using your 4Runner's vehicle identification number (VIN). This will ensure your truck has overall consistency in color. Spray paints work well, particularly for small jobs and single panels.
For isolated areas of new rust, it's advisable to rub out any surface irregularities using sandpaper (choose grit level based on the amount of abrasive grain particles needed); wet sand the area with a higher grit after the area smooths out. Wipe away any dust, and then add a primer and paint the area with a fresh coat of paint.
Step 4 – Add rust inhibitor
Coat the new panel with a rust inhibitor. Doing so will minimize the accumulation of future rust. Use as directed by the manufacturer.

Related Discussions
- Welding Metal to Metal - Yotatech.com
- Toyota Rust Repair - Yotatech.com
- How Do You Fix Floor Rust Dented Rockers Panels - Yotatech.com