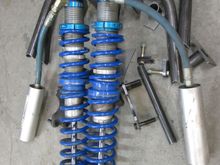
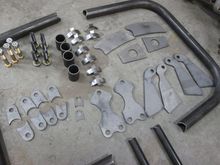
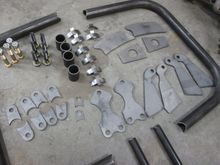
I've been dreaming about this LT kit by Total Chaos for a few years now. Again I wanted to wait until I had the engine at least running but doing this next will solve this issue of modifying the header. The stock suspension was eventually going anyway so I had no intention of cutting the header up to clear it. My application won't be a straight bolt-on as the kit is sold. The kit allows for the use 33 inch tires but I like my 35's and want to stay with that size. The plan is fabricate new