Double Cab Coilover SAS
 Feb 19, 2006 | 06:17 PM
#1

Thread Starter
Registered User
Joined: Jan 2005
Posts: 30
Likes: 0
Double Cab Coilover SAS
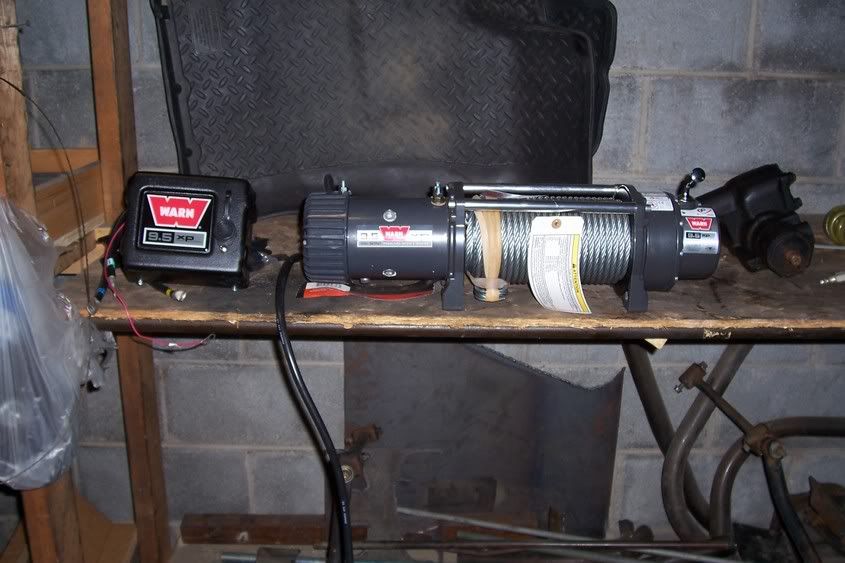
This is one of the boards I quietly observe to learn so I thought I would share some... I've started my sas of my 04 Double cab based on Dean's (Tacodab) & Tacominaor (Jake) over on TTORA. Mine is also similar to SteveO's. Any way here are the technical details: 14"Fox coilovers, wide track d44, fr/rr arbs, 4.88 gears, marlin dbl cases with stock gears (auto trans) parts mike high steer knuckles, sky high steer arms, front range transfer case x-member, trd s/c with urds upgrade kit, going to build my own bumper with warn 9.5ti, rock sliders and rear bumper, rear suspension will be chevy 1/2 ton, bed is going to be bobbed, front is 3 link with a panhard bar and antirock sway bar.
Here are some pics.
Don't hesitate to as any questions I'll do the best I can to help anyone that wants to try this.
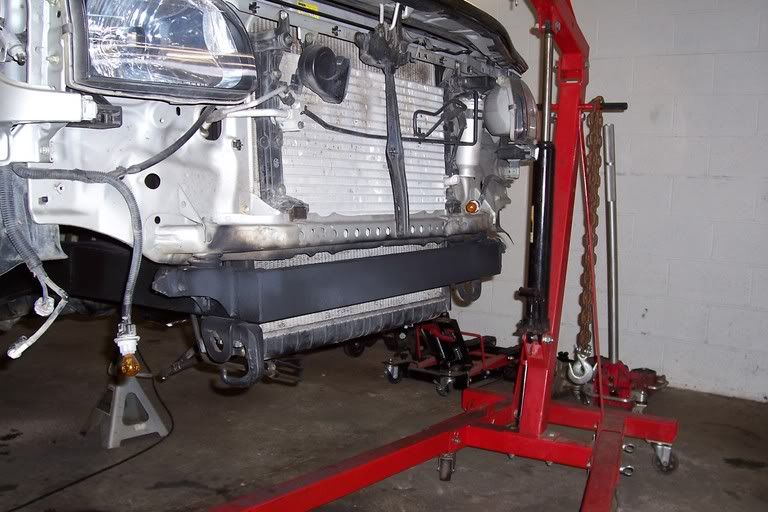
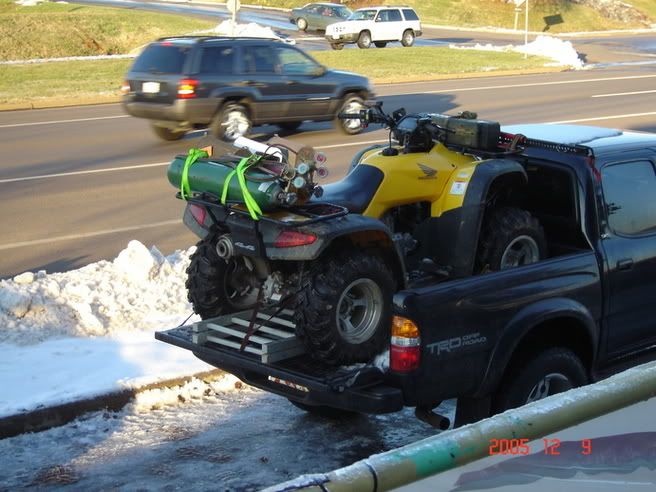
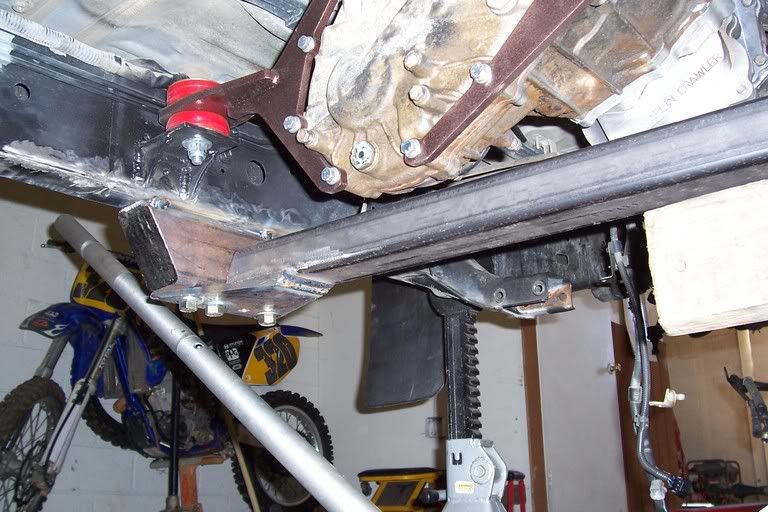
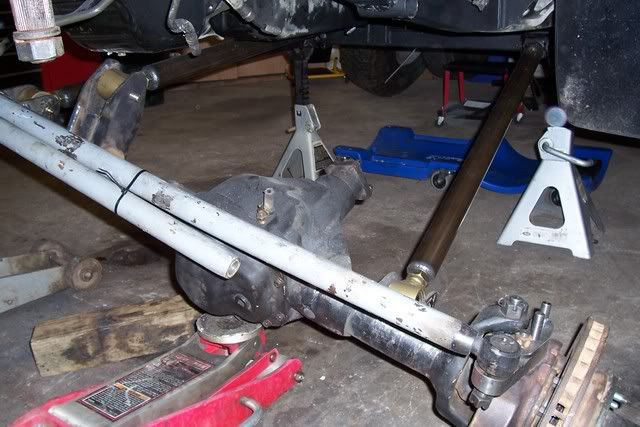
Presto, a clean slate!

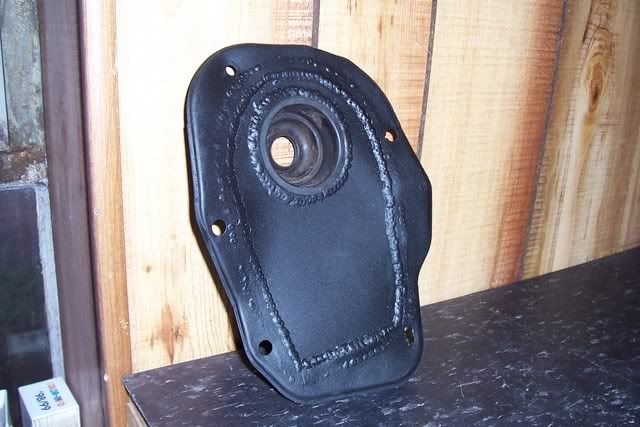
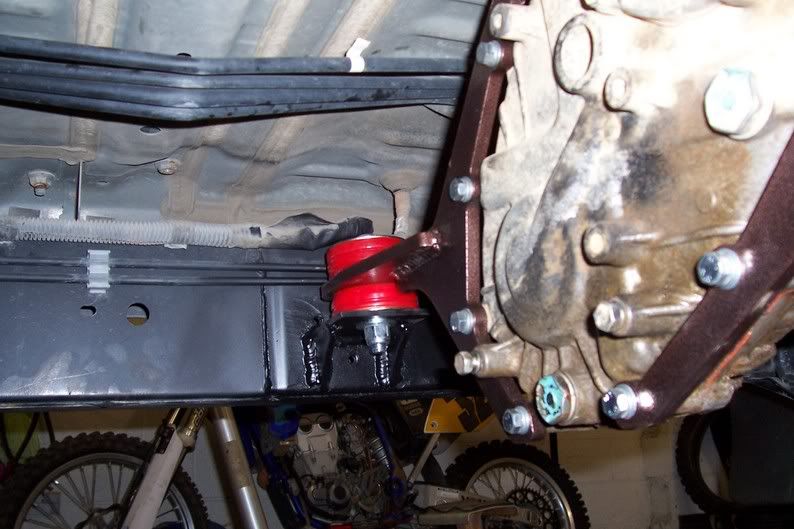
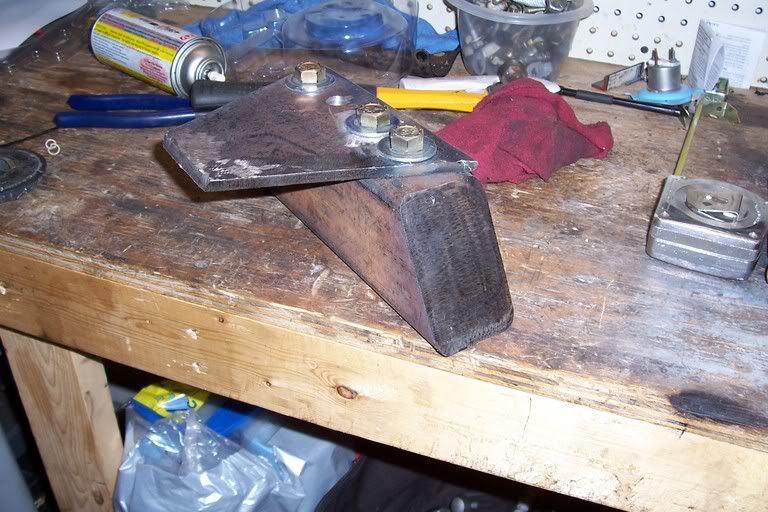
A new front crossmember
extraction gear
putting together the marlin puzzle

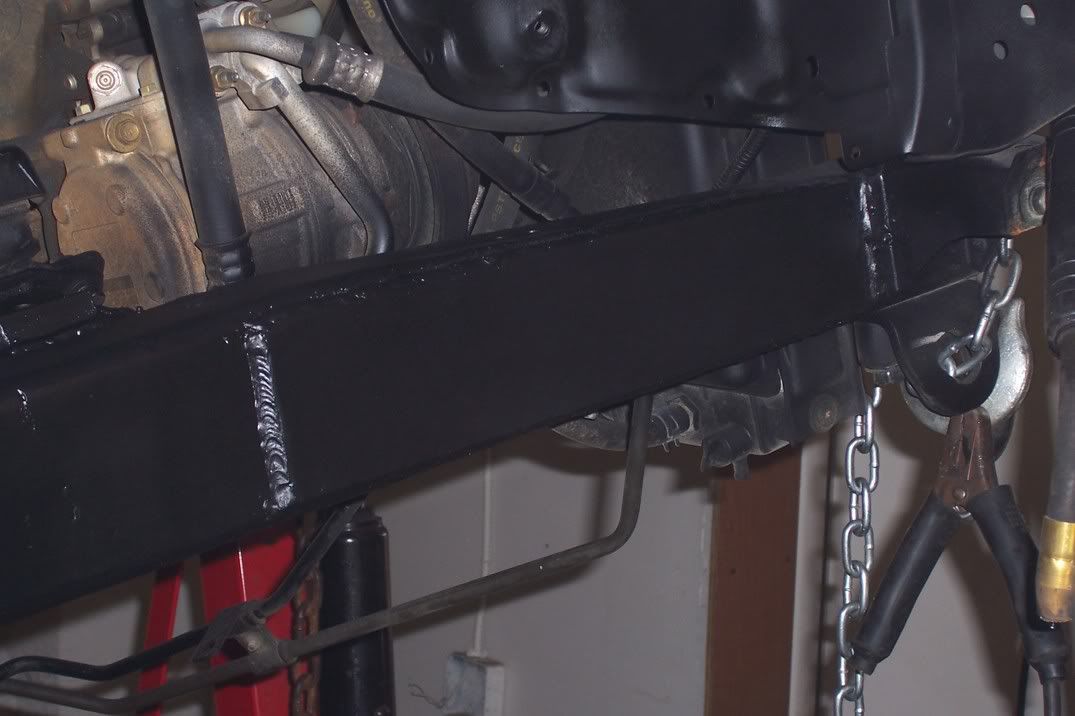
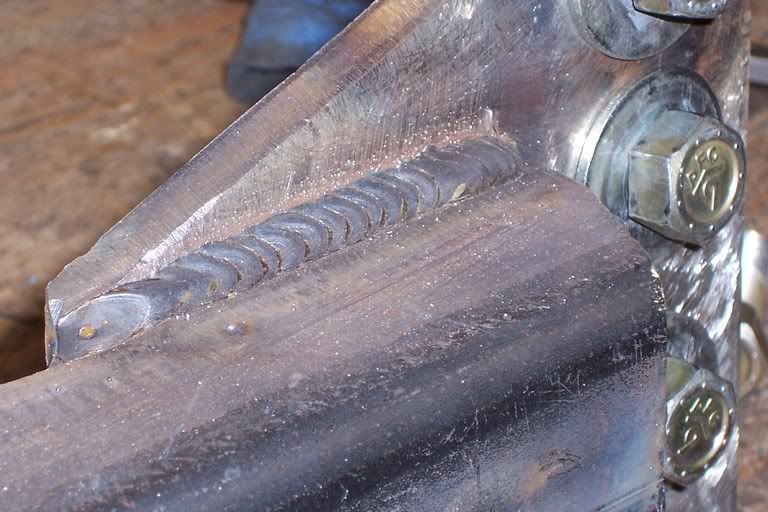
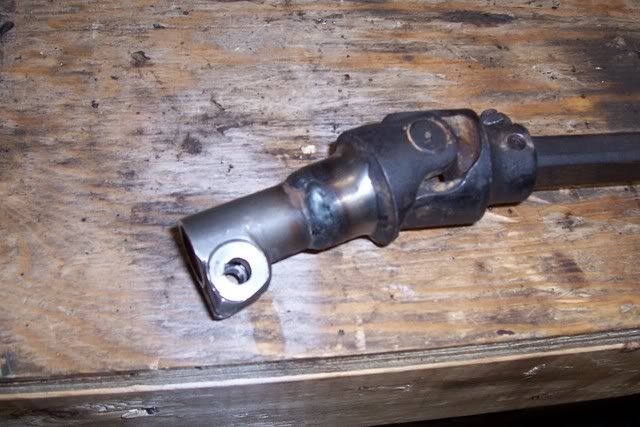
the kind of joints that don't get you in trouble...

the best way to shop at your local salvage yard!!!!
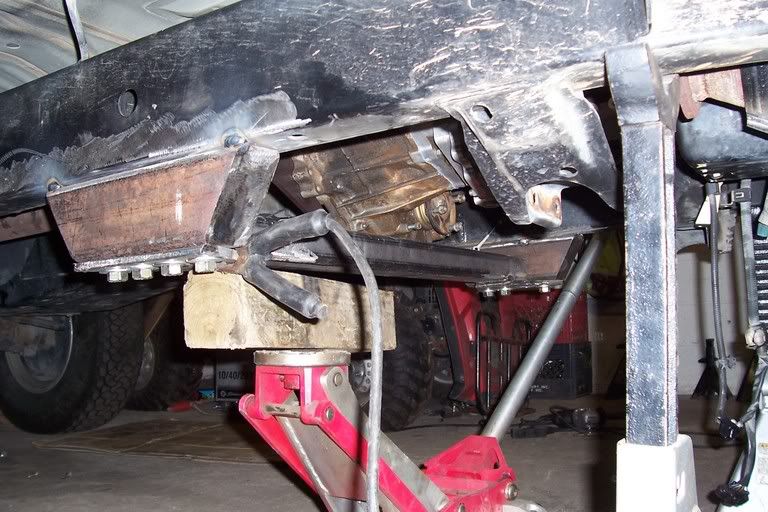
Front Range holding double cases
Here are some pics.
Don't hesitate to as any questions I'll do the best I can to help anyone that wants to try this.
Presto, a clean slate!
A new front crossmember
extraction gear
putting together the marlin puzzle
the kind of joints that don't get you in trouble...
the best way to shop at your local salvage yard!!!!
Front Range holding double cases
Feb 19, 2006 | 06:29 PM
#2
Thread Starter
Registered User
Joined: Jan 2005
Posts: 30
Likes: 0
some more pictures....
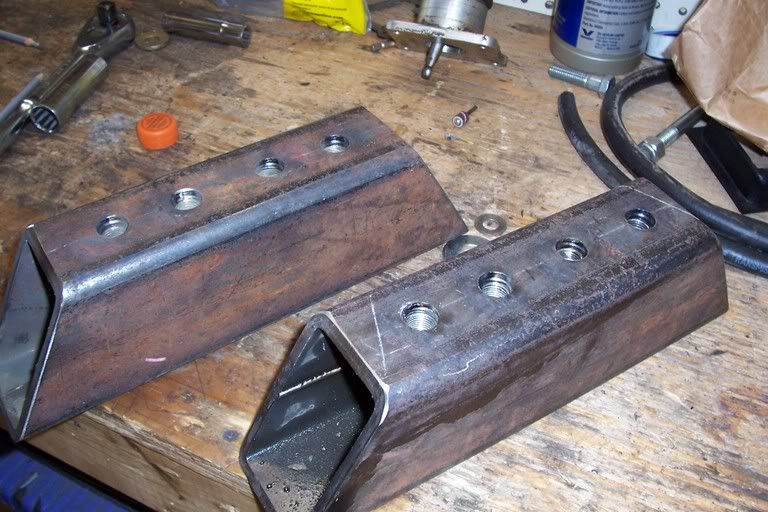
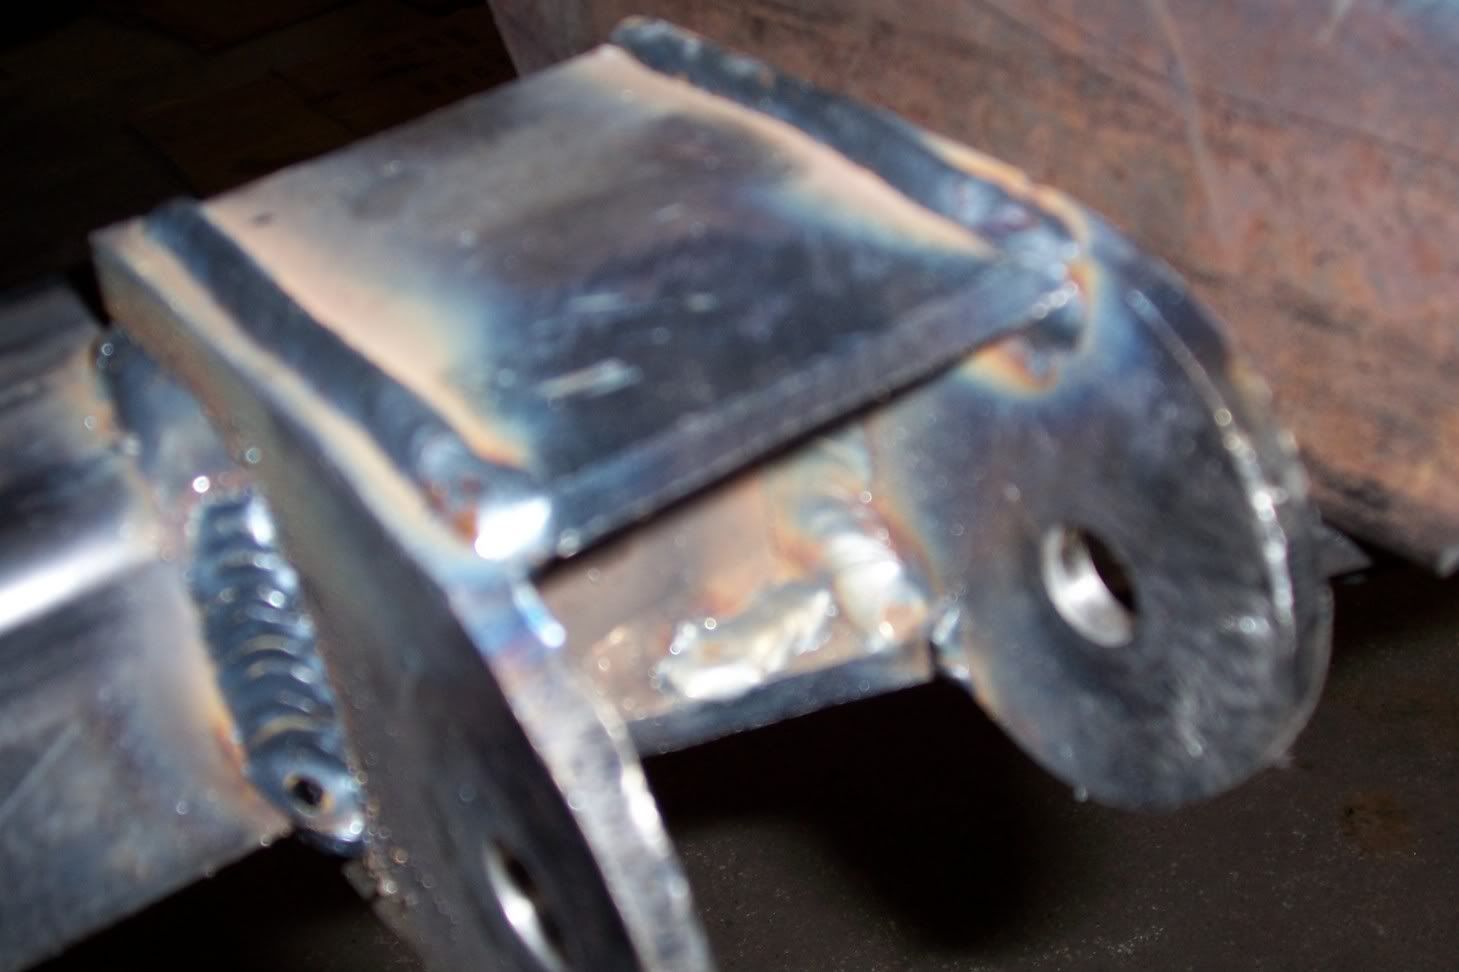
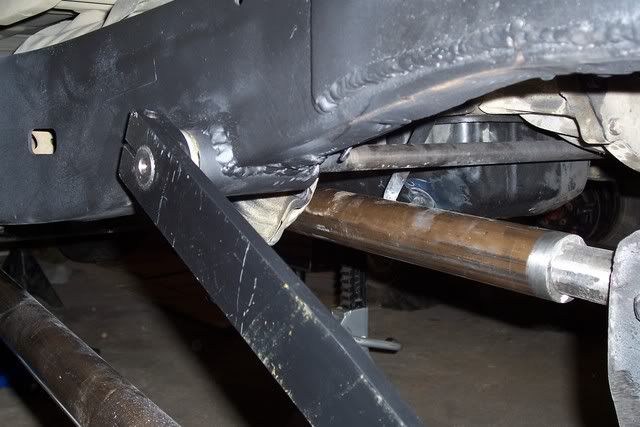
making the crossmember mounts
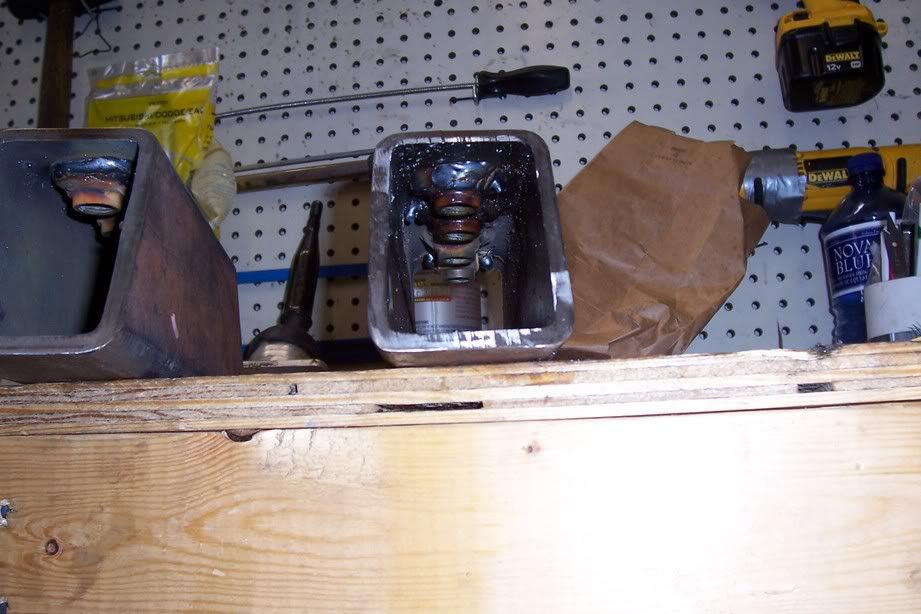
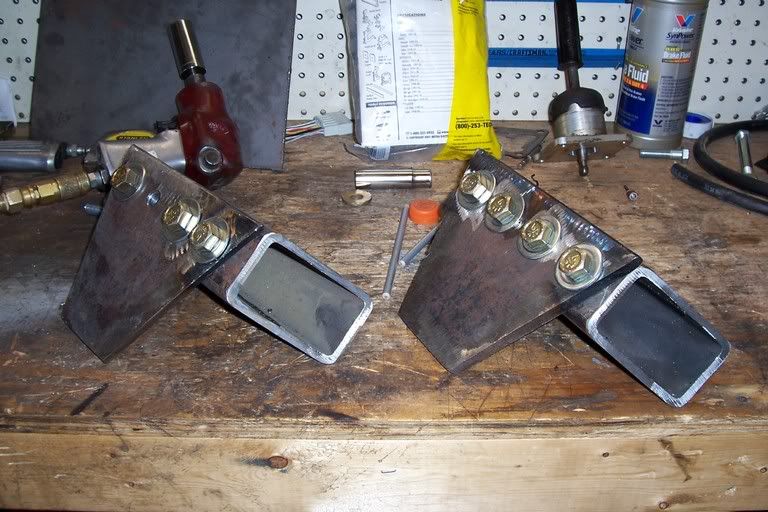
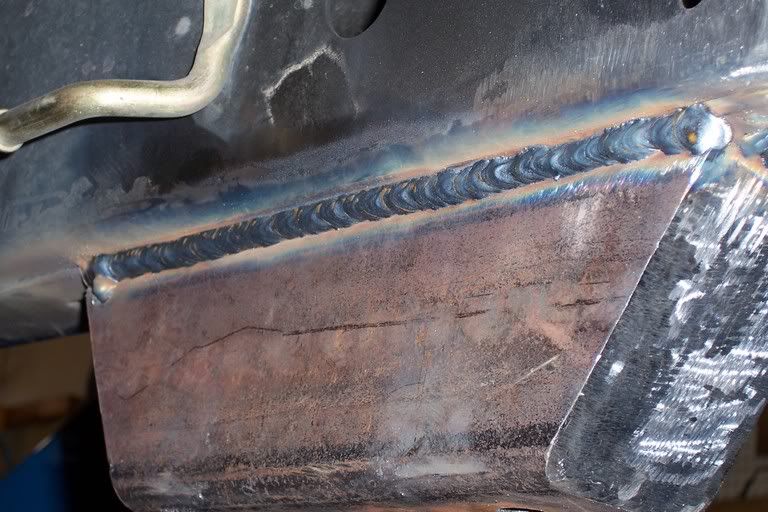
welded up
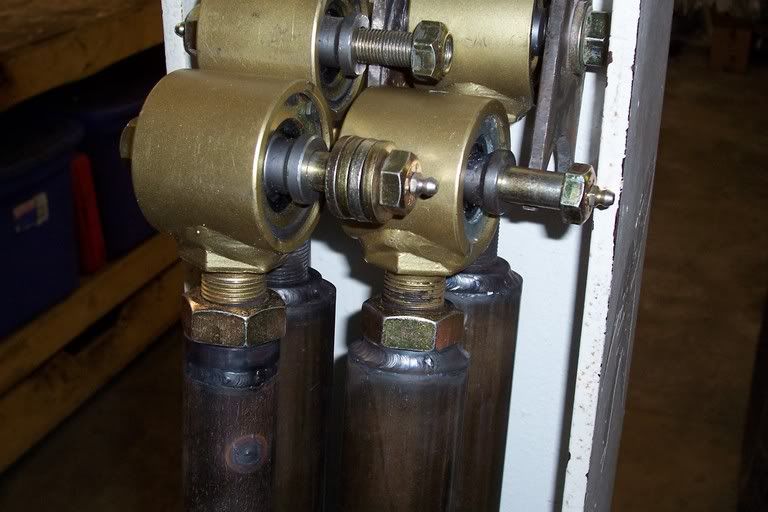
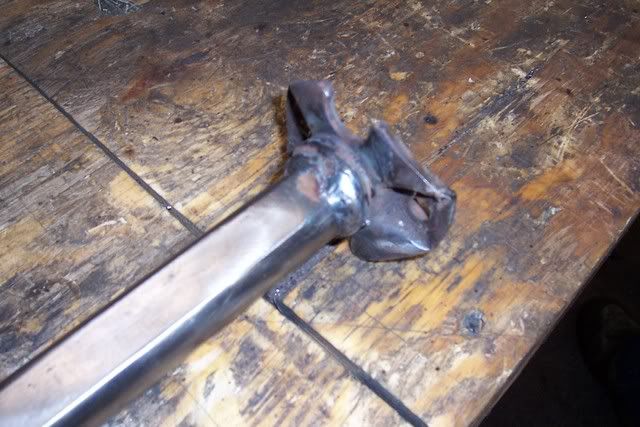
nicely welded up jj ends
tabs fabbed and welded onto crossmember
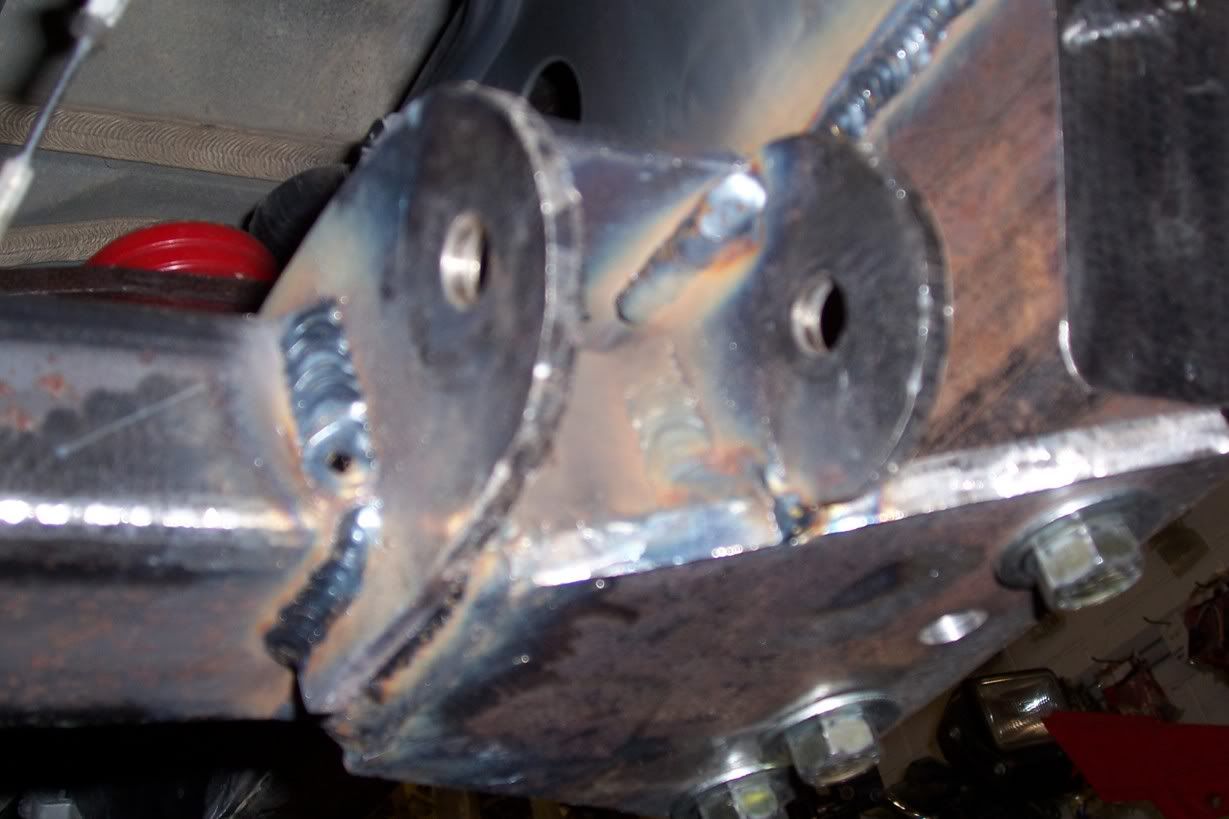
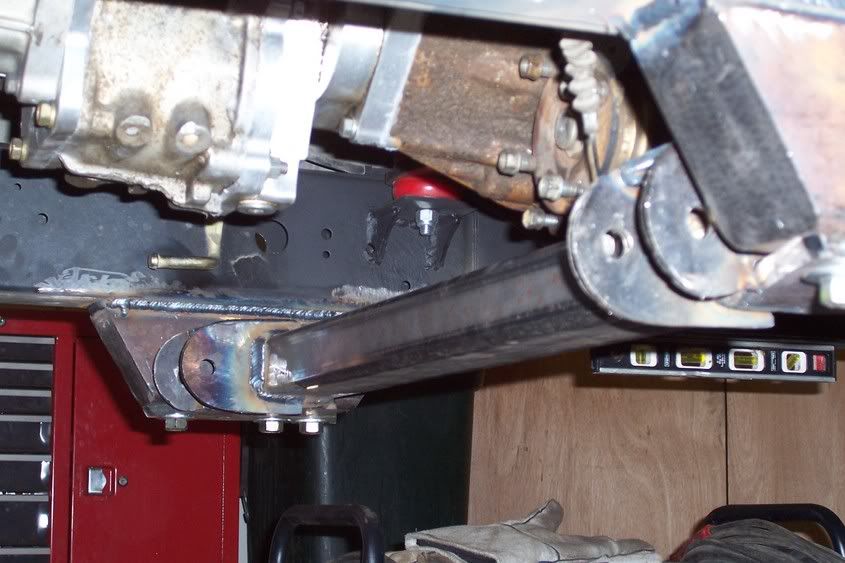
tabs fabbed and welded to axle, little test fitting
Upper link done, perfect so far
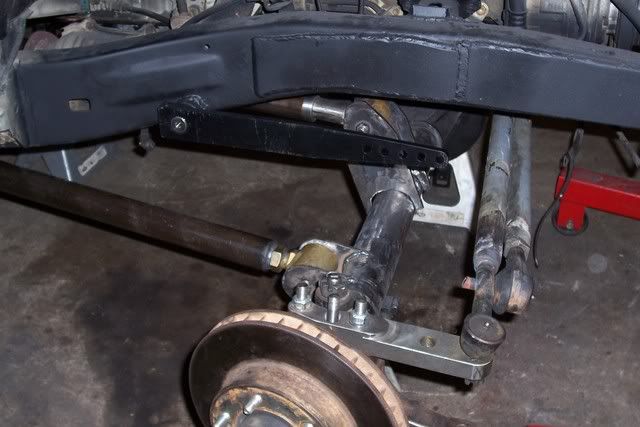
oops, sway bar wont work, gotta move it in front of the axle, oh well, live and learn
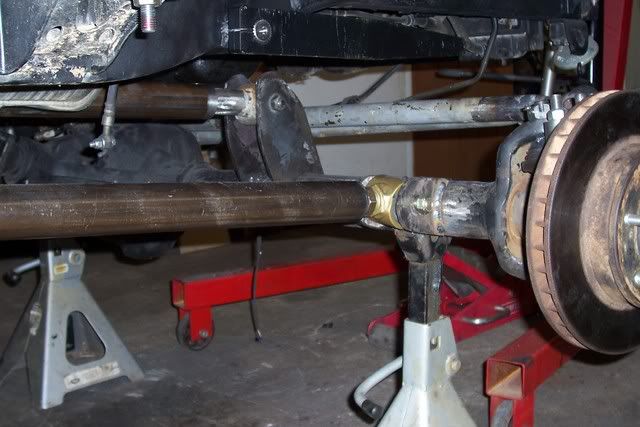
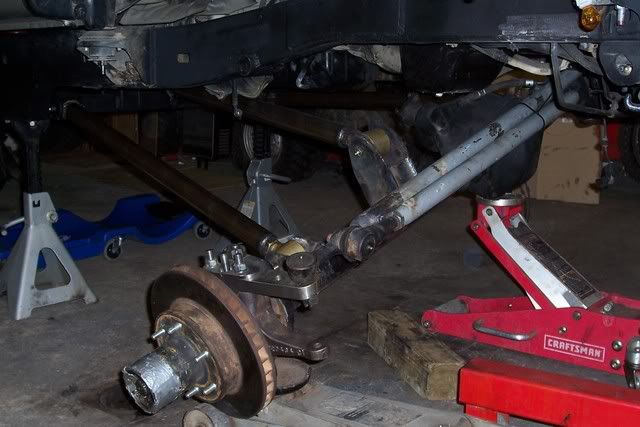
"jacke flex"
how I did my brackets in relation to everything else
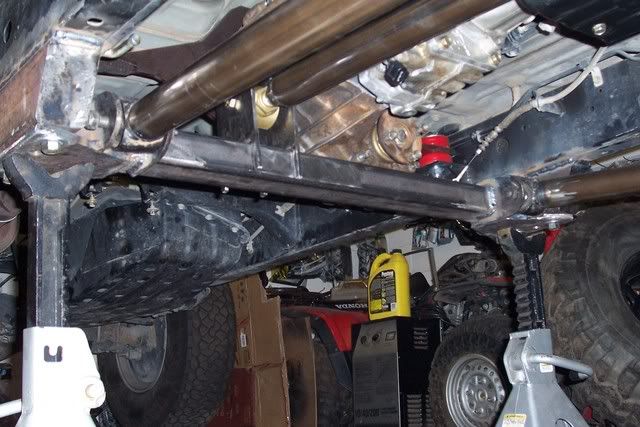
why the sway bar had to be moved....
more jack flex, steering and knuckles are temp pieces for mock up purposes
Much more to come
Steve
making the crossmember mounts
welded up
nicely welded up jj ends
tabs fabbed and welded onto crossmember
tabs fabbed and welded to axle, little test fitting
Upper link done, perfect so far
oops, sway bar wont work, gotta move it in front of the axle, oh well, live and learn
"jacke flex"
how I did my brackets in relation to everything else
why the sway bar had to be moved....
more jack flex, steering and knuckles are temp pieces for mock up purposes
Much more to come
Steve

 Feb 20, 2006 | 07:17 AM
#4
Contributing Member
Joined: Oct 2002
Posts: 1,843
Likes: 0
From: NM
Steve, nice job on the cross member. Looks familiar.. 
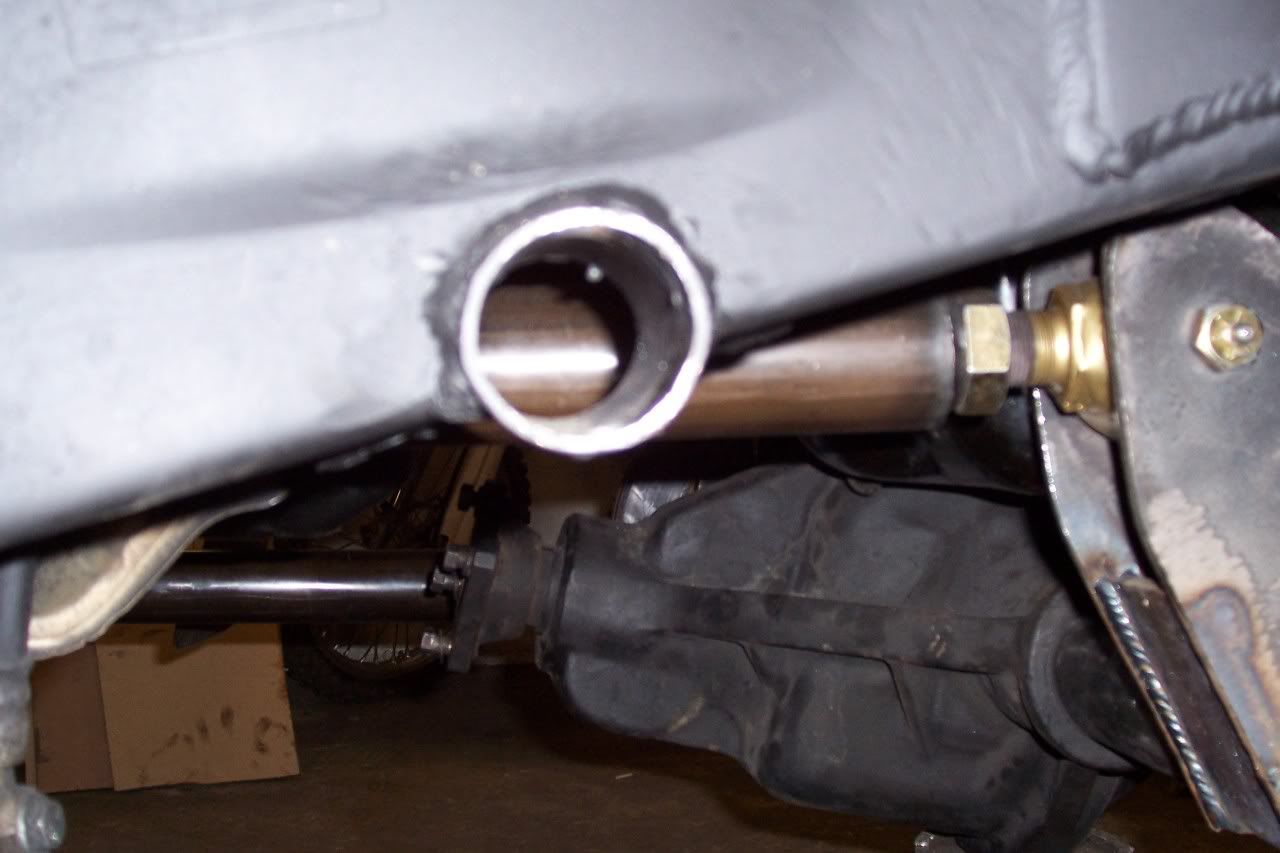
How did you get the bolts welded to the inside of the box tubing? Very trick job there.
BTW, I finally got more info up on my site about my SAS, nearly a full write up..
http://www.hunt4steve.com/99RunSas.html
How did you get the bolts welded to the inside of the box tubing?
Very trick job there.BTW, I finally got more info up on my site about my SAS, nearly a full write up..
http://www.hunt4steve.com/99RunSas.html

Trending Topics
Feb 20, 2006 | 05:44 PM
#10
Thread Starter
Registered User
Joined: Jan 2005
Posts: 30
Likes: 0
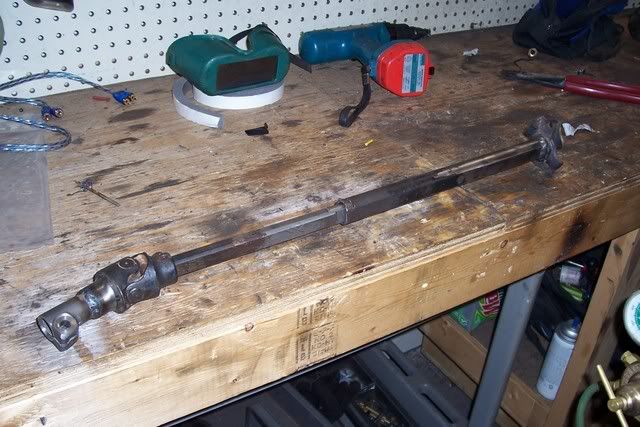
Thanks Steve, you, Jake and Dean are my constant references.... hence the similarities. The nuts welded in the box are realatively easy, started on the inner two and worked out, box is bigger than you think and fairly easy to fit the mig gun in. Only took a few minutes per side. Worked on coilover hoops today as well as tabs. Drivers side is going to be fun fitting steering shaft, hoop, sway bar and panhard bar mount. Should have a few pictures up tomorrow. Sway bar is not in its exact location yet. Oh yeah, Steve your web site is awsome, great info and best looking 3rd gen runner IMHOP!  Thanks for the compliments guys. One more note, this truck is going to be relatively low, frame at the front is going to measure about 27-29" at finished ride height and will be adjustable because of the coilovers.
Steve
Thanks for the compliments guys. One more note, this truck is going to be relatively low, frame at the front is going to measure about 27-29" at finished ride height and will be adjustable because of the coilovers. Steve
 Feb 21, 2006 | 07:19 AM
#12
Contributing Member
Joined: Oct 2002
Posts: 1,843
Likes: 0
From: NM
Thanks man, much appreciated. If you have any questions, drop me a line.
I know you have been grillin Dean on TTORA, and and I'm glad to see another Coil-over sas coming up. The ride is sooooo much better than springs, and worlds better than springs that have shackles in the front, like jeeps.
I know you have been grillin Dean on TTORA, and and I'm glad to see another Coil-over sas coming up. The ride is sooooo much better than springs, and worlds better than springs that have shackles in the front, like jeeps.
Last edited by SteveO; Feb 21, 2006 at 07:21 AM.
 Feb 21, 2006 | 01:15 PM
#15
Thread Starter
Registered User
Joined: Jan 2005
Posts: 30
Likes: 0
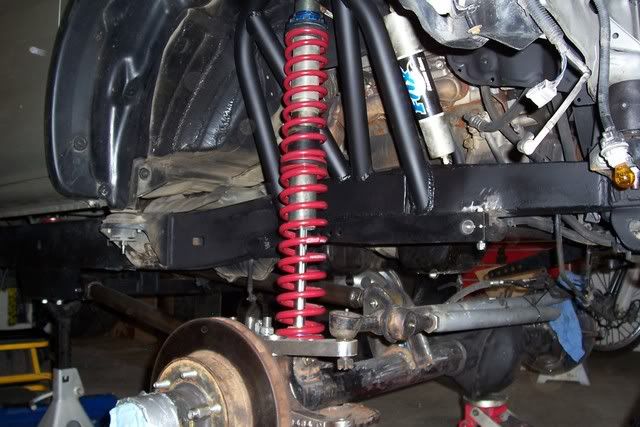
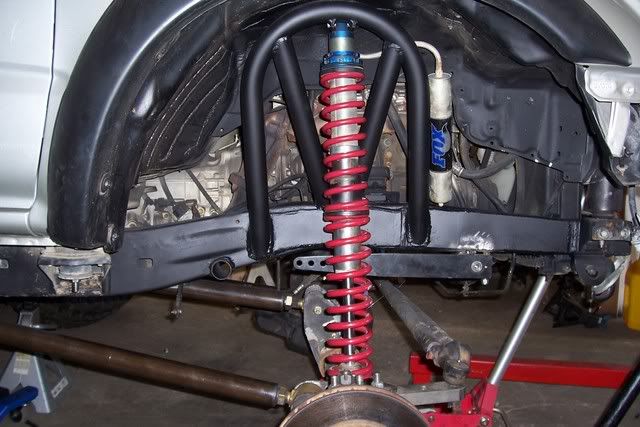
Thanks guys, here is what we worked on today. Drivers side hoop and coilover mount. Repositioned the sway bar, going to have to recess it into the frame to make it clear pitman arm tre bolt.
[IMG] http://i46.photobucket.com/albums/f147/goinmxn/100_0166.jpg[/IMG]
[IMG]
http://i46.photobucket.com/albums/f147/goinmxn/100_0166.jpg[/IMG]

 Seriously, great job - amazing build. I can't wait to see it done!