
Bumper Build
 Nov 29, 2009 | 03:16 PM
#1
Thread Starter
Registered User
Joined: Sep 2008
Posts: 3,887
Likes: 16
From: Spokane, WA
Bumper Build
Welp, for my senior project i decided to make a winch bumper.
I kinda liked the way Ed H did his bumper, so props to him for the inspiration.
I started with about 5 feet of 4" C-channel, and 3 feet of 6" C-Channel.
I don't have any pics of that. And about 27" of some ripped C-Channel i found out in the shed.
I cut the 4" C-Channel to 19", with a 30 degree cut on the side i planned on mating to the 6" channel, and kept the 6" stuff at 3 feet.

Just some pictures of some sweet tack welds.

So next i used some scrap 1/4" Plate i had and made some mounting plates to mount to the stock locations on the frame..
And i levelled the half-channel and tacked it on.

That's what that looks like..
So, after doing that to both sides, i gently placed the C-channel bumper on it to see how it would look. I didn't like how it looked when it was sticking out 8" off the front, plus the added leverage would be a bit too much. So i cut it down to 6" on the mounting, with like a 45" angle on the bottom.


Next, i broke the 2 tacks i put on it off, and laid it back on the ground to cut out the triangles that lead up to the edges. Only used some 1/8th inch stuff because i don't have a plasma cutter, and i had no good right angles to cut off on my 1/4" scrap.

I did this to both sides.
Aaaaand, i didn't take any pictures of the process of making the end's of the bumper. Sorry about that.


Took me about 10 hours to make, not including the blinker mod. I still have to re-inforce the frame as well, and so a bit more bracing on the inside where the C-Channel is welded together. Then i'll paint it and post more pics..
Edit: It looks REALLY wide in those pictures, but it isnt.. it only sticks out an extra 3/4ths of an inch.. roughly stock width from end-cap to end-cap..
oh and sorry about the picture quality.
I kinda liked the way Ed H did his bumper, so props to him for the inspiration.
I started with about 5 feet of 4" C-channel, and 3 feet of 6" C-Channel.
I don't have any pics of that. And about 27" of some ripped C-Channel i found out in the shed.
I cut the 4" C-Channel to 19", with a 30 degree cut on the side i planned on mating to the 6" channel, and kept the 6" stuff at 3 feet.
Just some pictures of some sweet tack welds.
So next i used some scrap 1/4" Plate i had and made some mounting plates to mount to the stock locations on the frame..
And i levelled the half-channel and tacked it on.
That's what that looks like..
So, after doing that to both sides, i gently placed the C-channel bumper on it to see how it would look. I didn't like how it looked when it was sticking out 8" off the front, plus the added leverage would be a bit too much. So i cut it down to 6" on the mounting, with like a 45" angle on the bottom.
Next, i broke the 2 tacks i put on it off, and laid it back on the ground to cut out the triangles that lead up to the edges. Only used some 1/8th inch stuff because i don't have a plasma cutter, and i had no good right angles to cut off on my 1/4" scrap.
I did this to both sides.
Aaaaand, i didn't take any pictures of the process of making the end's of the bumper. Sorry about that.
Took me about 10 hours to make, not including the blinker mod. I still have to re-inforce the frame as well, and so a bit more bracing on the inside where the C-Channel is welded together. Then i'll paint it and post more pics..
Edit: It looks REALLY wide in those pictures, but it isnt.. it only sticks out an extra 3/4ths of an inch.. roughly stock width from end-cap to end-cap..
oh and sorry about the picture quality.
Last edited by peow130; Nov 29, 2009 at 03:17 PM.
Nov 29, 2009 | 03:24 PM
#2
Registered User
Joined: Aug 2007
Posts: 5,334
Likes: 4
From: Vian, OK
heyyyy that looks like a pretty damn good start buddy!!!!
but i wouldnt have made it curve back to the truck so sharply at the sides..but to each their own..and it doesn't look symmetrical..the driver side comes closer to the blinker than the passenger side..atleast it looks like it in the pics..
great start though!
but i wouldnt have made it curve back to the truck so sharply at the sides..but to each their own..and it doesn't look symmetrical..the driver side comes closer to the blinker than the passenger side..atleast it looks like it in the pics..
great start though!
Nov 29, 2009 | 03:58 PM
#6
Registered User
Joined: Jun 2007
Posts: 1,825
Likes: 6
From: Inverness,FL
looks good, sorta the direction im gonna go when i get a welder, but in the sec to last pic looks like the blinkers stick out further than the bumper? if it does the first good size tree you try to run over and slides around ur bumper will destroy it....at least thats what im making mine for 
Nov 29, 2009 | 04:32 PM
#7
Thread Starter
Registered User
Joined: Sep 2008
Posts: 3,887
Likes: 16
From: Spokane, WA
looks good, sorta the direction im gonna go when i get a welder, but in the sec to last pic looks like the blinkers stick out further than the bumper? if it does the first good size tree you try to run over and slides around ur bumper will destroy it....at least thats what im making mine for
The bumper itself sticks out about the same stock location, right around 3/4ths of an inch off the side of the fender.
my little 110v MIG w/ .035 flux core did well welding that 1/4' thick steel lol.
Trending Topics
Nov 29, 2009 | 08:18 PM
#8
It looks like James William Bottom-Tooth from family guy.
Sorry.
It looks like a good start. Are you gonna slope the bottom of it and put a hoop/stinger on it?
You could easily make it look like the Warn bumper!

Sorry.
It looks like a good start. Are you gonna slope the bottom of it and put a hoop/stinger on it?
You could easily make it look like the Warn bumper!


 Dec 18, 2009 | 09:11 PM
#10
Thread Starter
Registered User
Joined: Sep 2008
Posts: 3,887
Likes: 16
From: Spokane, WA
Okay, so i finally got around to finishing this thing up..
My last cut-off wheel exploded so i didnt finish the bracing on the back of the bumper, so it's still a square.
I'll eventually get around to mounting some shackles/D-Rings to it..
Still need to brace the frame
Pics coming, didnt realise they were that flippin huge.
Probably going to turn the triangles in the sides into a toolbox or something
Next up is a locker for the rear. And then come spring i'll be able to do some serious wheeling
Last edited by peow130; Dec 18, 2009 at 09:24 PM.
 Jan 4, 2010 | 02:42 PM
#14
Registered User
Joined: Oct 2009
Posts: 401
Likes: 0
From: See above
Looks real good. I love welding. Wish I could do it for a living. I'm going to fab a winch mount for the front of my truck. Probably just stick it out front. I've got a bunch of heavy steel to attach to and a bunch of scrap in the back yard. Oh....I wish I owned a plasma cutter........
 Jan 5, 2010 | 05:45 PM
#17
Thread Starter
Registered User
Joined: Sep 2008
Posts: 3,887
Likes: 16
From: Spokane, WA
Thanks guys, i wish i owned a plasma cutter too.
And i almost made a flatbed for my senior project, as well as almost using my CJ2A as a senior project, too.
Also, my bumper really isn't that elaborate at all.
30 degree cuts on the end pieces, 3 feet of 6" channel in the middle,
6" away from the front.
Relatively simple
It's actually about 100 pounds, too.
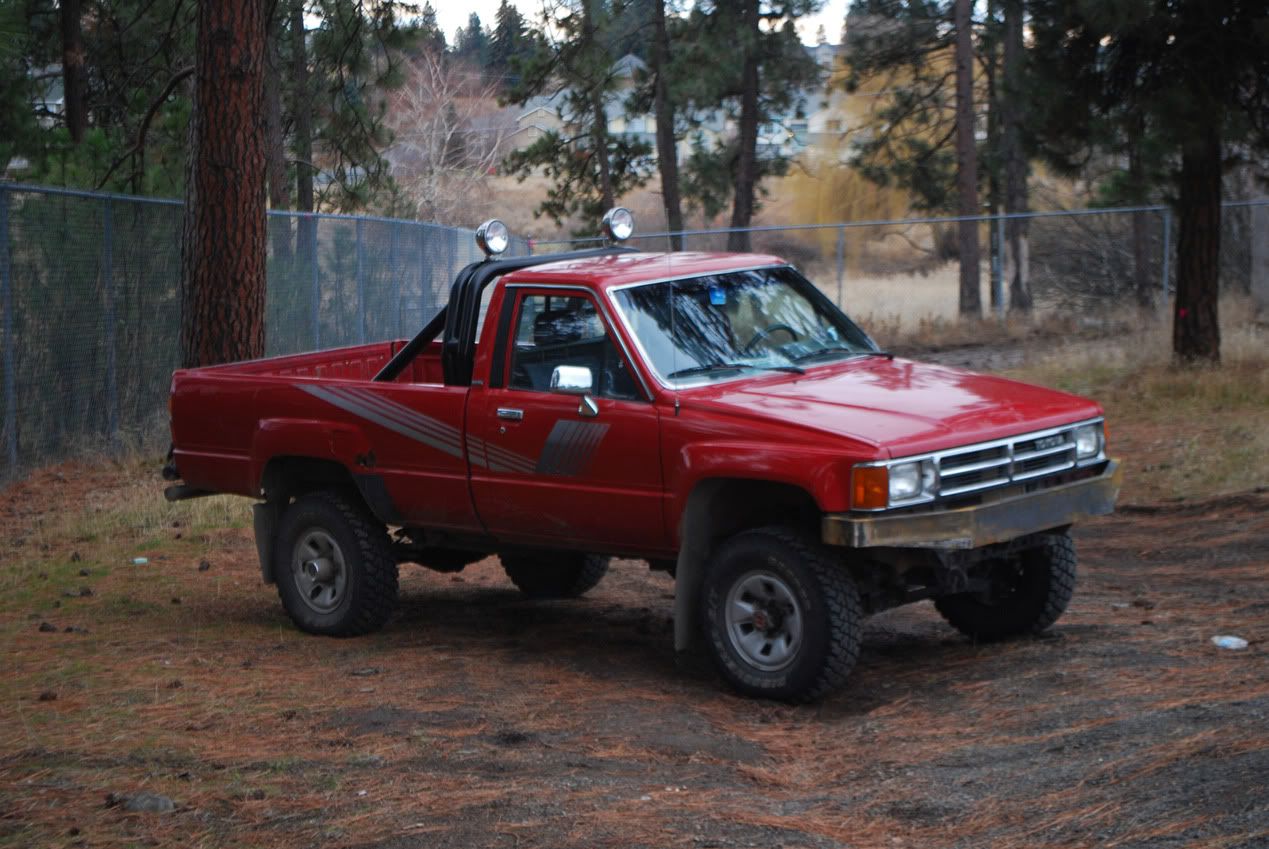
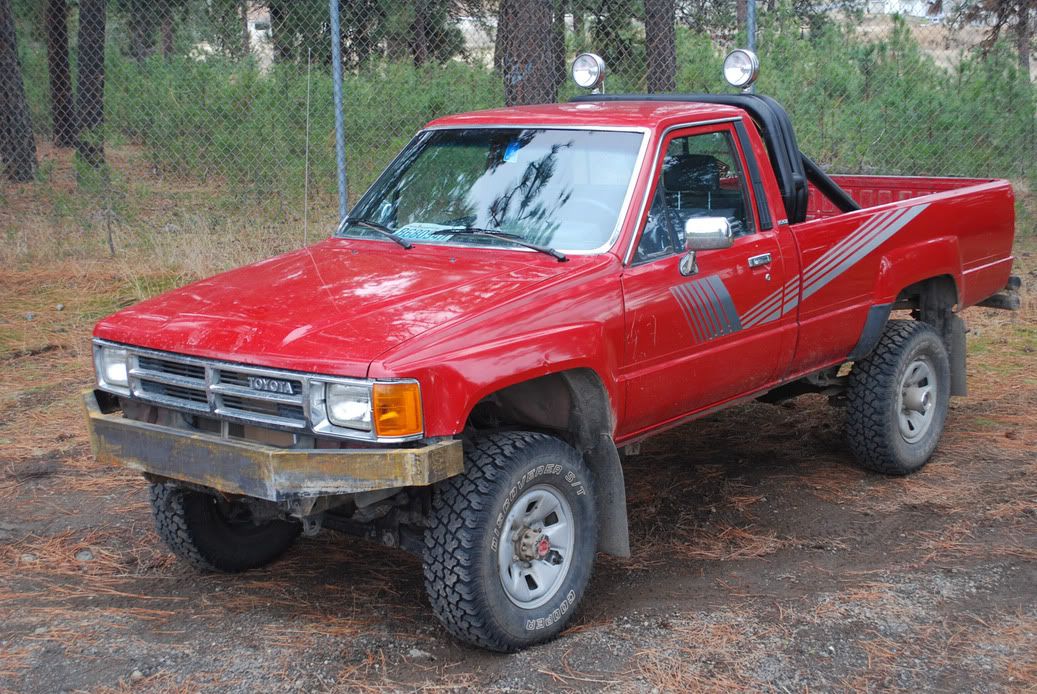
Also: Some glamor shots of before i painted it up.
And i almost made a flatbed for my senior project, as well as almost using my CJ2A as a senior project, too.
Also, my bumper really isn't that elaborate at all.
30 degree cuts on the end pieces, 3 feet of 6" channel in the middle,
6" away from the front.
Relatively simple
It's actually about 100 pounds, too.
Also: Some glamor shots of before i painted it up.


