When you click on links to various merchants on this site and make a purchase, this can result in this site earning a commission. Affiliate programs and affiliations include, but are not limited to, the eBay Partner Network.
So, I’ve been working on building a front skid plate to compliment my new front bumper. Not a real exciting build, but I thought I would post anyway, in case anyone was interested.
It mounts similar to how the BudBuilt skid plates mount, but with more mounting points – 15 total. (4 bolts into the bottom of the bumper, 3 in the front stock mounting locations, 3 in the curved cross member, 2 more in the rear stock mounting locations, and 3 into a bracket that mounts to the steering rack.) That should be great plenty. All bolt heads will by inside or flush with the bottom surface of the skid plate, so they won’t be able to catch on anything.
I wanted to keep the design as light as possible, so I am using 1/8” thick steel, but it will be reinforced with several ribs on the inside. That, plus the 15 mounting points, should be plenty strong enough for my needs. (I don’t do any rock crawling, just forest trails mostly.)
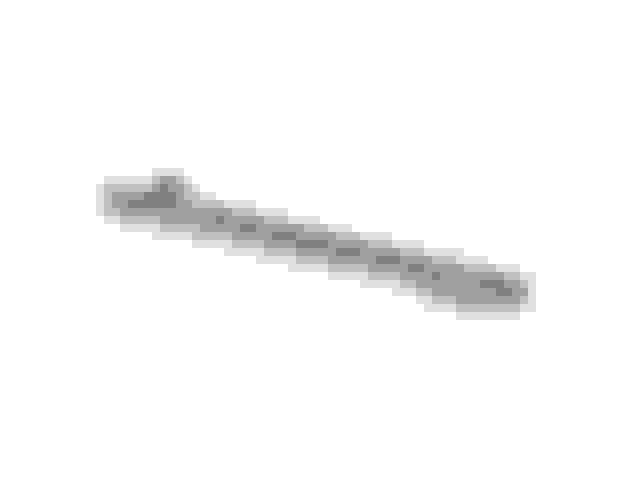
Anyway, I started with the CAD design. Here’s the angle iron bracket that gets attached to the steering rack:
Here’s what the bottom of the skid plate looks like:
Here’s what the inside of the skid plate looks like with all of the strengthening ribs:
Here it is on the truck:
Then, I started building a cardboard prototype, similar to when I built my bumper. Again, this was time well spent, as I learned many things, and discovered a few problems. I was able to redesign out the problems before starting the actual build.
A couple shots of the inside of the cardboard prototype (Sorry, I forgot to take a pic of it on the truck):
After I was happy with the final design, I started fabbing the real thing. I started with the bracket that attaches to the steering rack:
Then I worked on the skid plate itself:
Inside:
Bottom outside:
That’s where it stands right now. It is about half completed. I still need to add the angled side and rear pieces, and have several ribs to put in on the inside yet. I also need to weld the nuts to the bottom of the truck’s cross member for the additional mounting points.
I’ll try to update the progress a little more often. Thanks for looking.
Last edited by Bandit Runner; Jul 20, 2017 at 05:10 PM.
Well, I ran into a bit of a problem last week with the skid plate build. After getting all the strengthening ribs welded to the inside of the skid, I tried mounting it to the truck for a test fit. Turns out that all that welding warped the skid pretty badly - Really badly. It looked like a potato chip. I couldn't even mount it on the truck, none of the mounting points lined up anymore. Some were almost a half inch off. I was very frustrated. So, what to do about it?
After calming down and thinking about it for a few days, I had thought of several different solutions to fixing the problem, but none were quick and easy. I finally decided that the easiest way would be to just bend back the skid into the correct shape. But how could I bend such a large piece of steel with so many strengthening ribs on it? I would need a large press or something, right?
So then it came to me, the only thing I have that is heavy enough to hopefully bend this steel is my truck. All I'd have to do is jack it up, put the skidplate underneath and strategically lower the truck onto it.
So I gave it a shot. Jacked the truck up, strategically placed the skid underneath the front tire, supported the skid where I didn't want it to bend, and lowered the jack to see what would happen. Keep in mind this was all trial and error, as I had no idea what was going to happen. Here is a pic of my first try:
The skid did unbend very slightly, but not nearly enough. This was the first time I wished my truck was heavier than it already is. So, with minimal success, I moved the skid a little and tried again, and again, and again. Each time the skid got a little better. I tried mounting it onto the truck again, and about 75% of the mounting points lined up this time. A definite improvement, but still not enough.
A few days later I tried again. I switched my setup around a little and kept lowering the truck onto the skid in the correct locations. Again, each time it got a little better. Here's a pic of my second setup:
I tried mounting the skid onto the truck again, and it fit almost perfectly. Only 2 mounting holes were off by about 1/16" - close enough for me!
So now I am very happy, and back on track with my build. I'll have a lot of time to work on it this weekend, and hope to have most of the fab work completed. So stay tuned...
Last edited by Bandit Runner; Jul 20, 2017 at 05:15 PM.
Im glad you found a solution and its fixed. Ive been into problems like this a few times when i was modding my smittybilt rear bumper. Its still bent to this day and still bugs me. But the hell with it.

 Sep 10, 2010 | 06:09 AM


 I have to say, dude you have some mad skillz with the cardboard
 ...oh yeah, and the metal work isn't too shabby either HAHA!