
toyotafiberglass - Gregs hi clearance
 Jun 16, 2015 | 04:38 PM
#1
Thread Starter


Joined: Jan 2006
Posts: 6,383
Likes: 303
From: BC Canada
toyotafiberglass - Gregs hi clearance
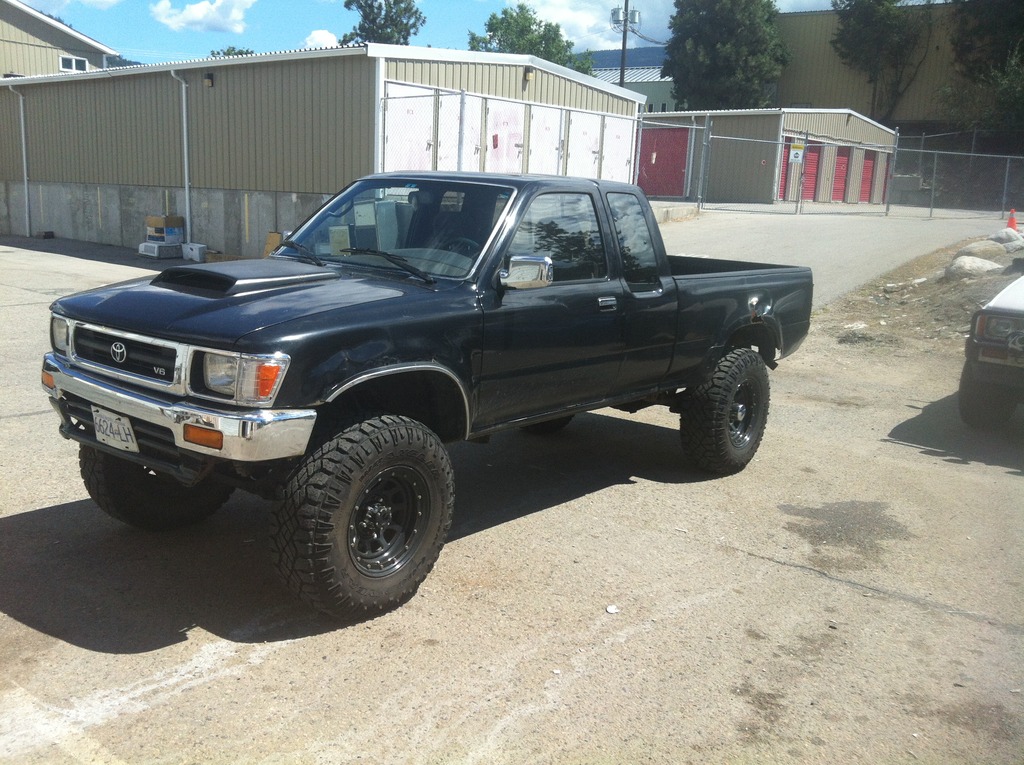
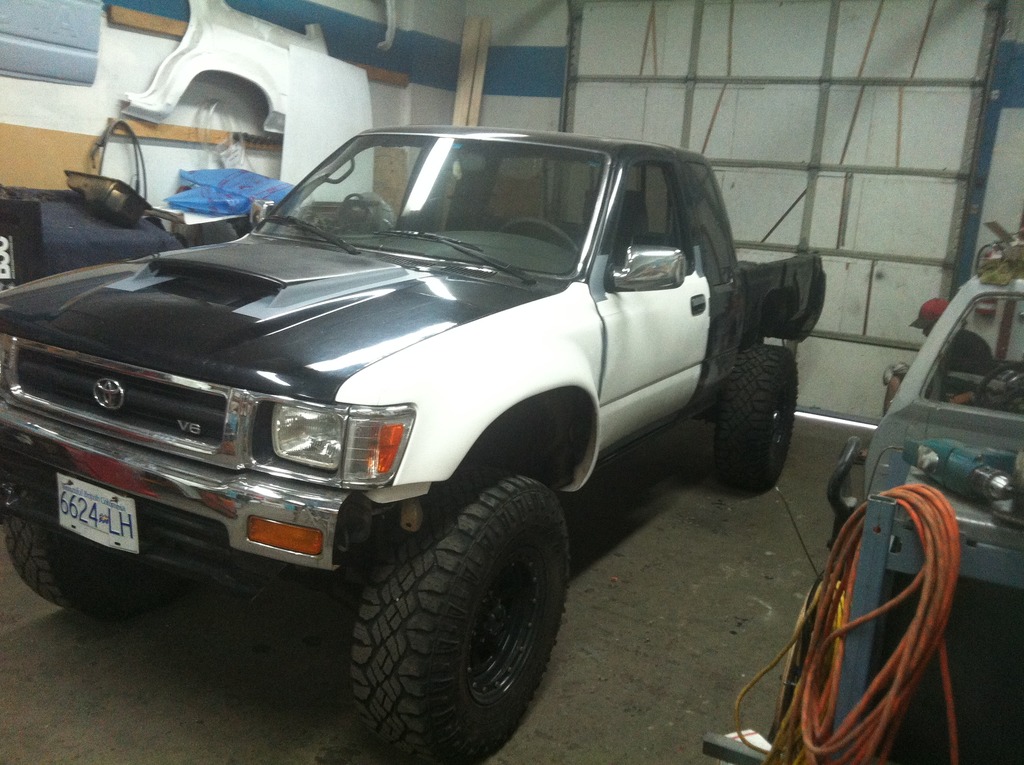
Greg has been eyeing our products for a long time .. about a year ago he bought our hood scoop when he did his 3.4L swap , and booked his appointment back then . He dropped off his truck on the weekend for his appointment , for some HI Clearance FRP + door skins ...
here we go
.
here we go
.
Jun 17, 2015 | 01:25 AM
#2
Registered User
Joined: Dec 2007
Posts: 261
Likes: 0
From: Pitt Meadows, BC
Eyeing them up for a really long time. Economy, timing, and blown engines among other things got in the way. Very stoked to finally get on some of the aesthetics of my rig after focusing on the mechanical for so long, there was never a question of where I was going to get the fiberglass pieces from when the time came though. Have at her Slacker!
Jun 19, 2015 | 05:17 PM
#3
Thread Starter
Joined: Jan 2006
Posts: 6,383
Likes: 303
From: BC Canada
well finally have some time to post some pics for Greg , and all of the rest watching .
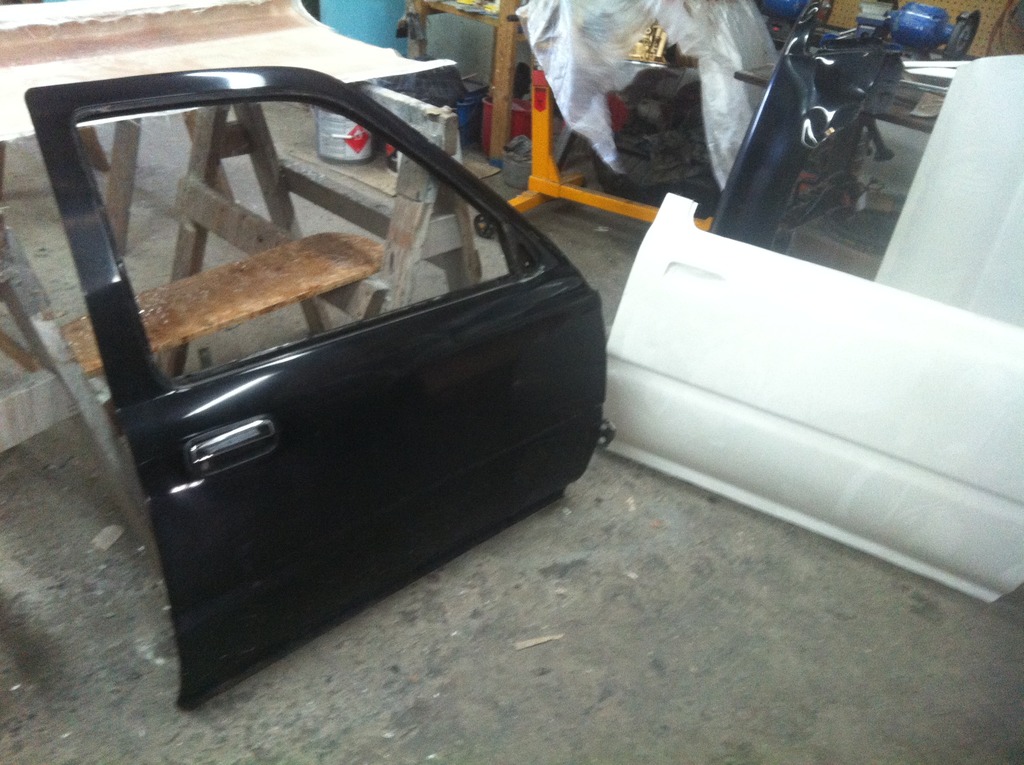
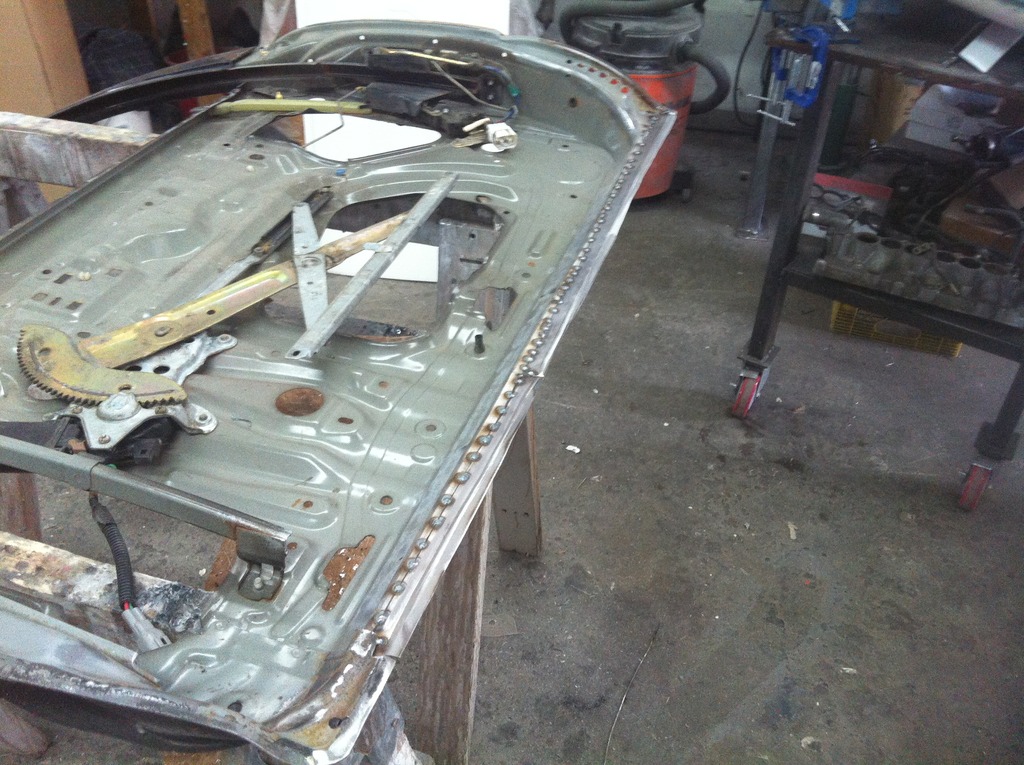
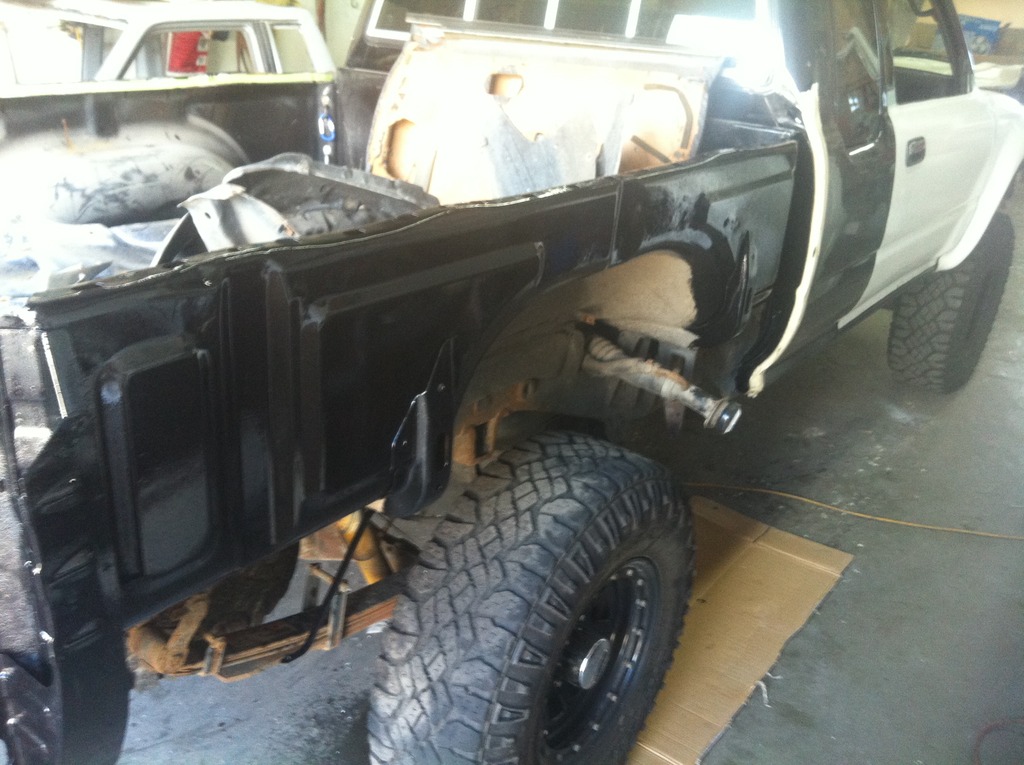
got it in the shop and got the fenders , and finally the front doors .
Greg didn't tell me he had the power option , and well I guess I didn't ask either .. so the harness is always a pain .
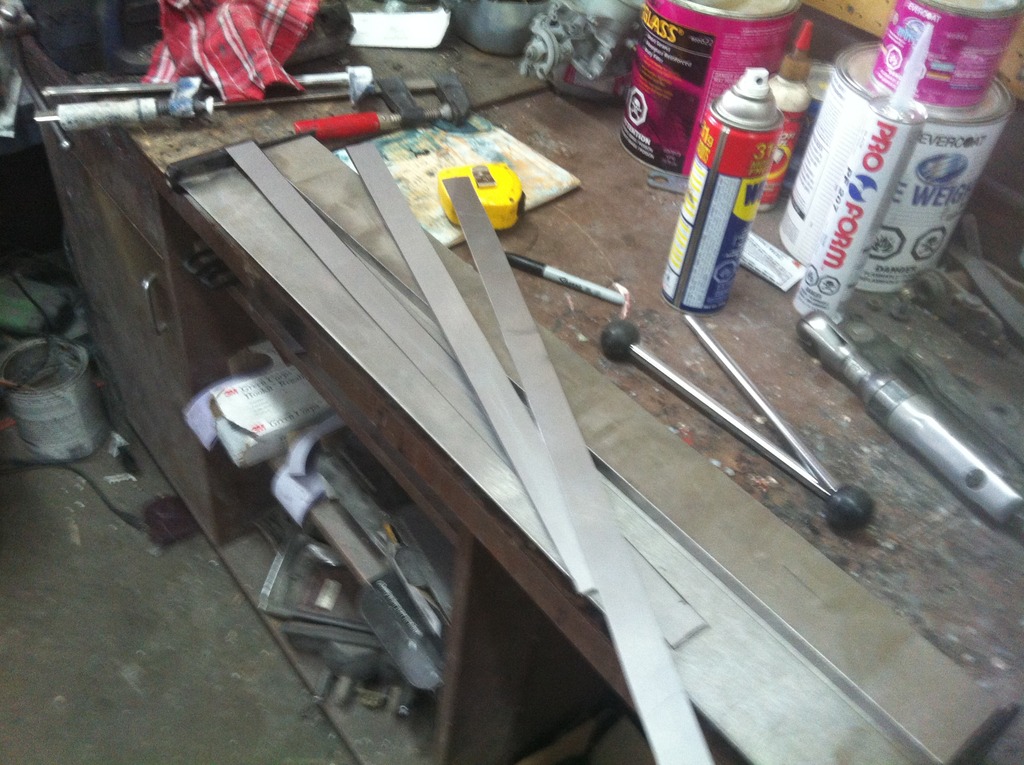
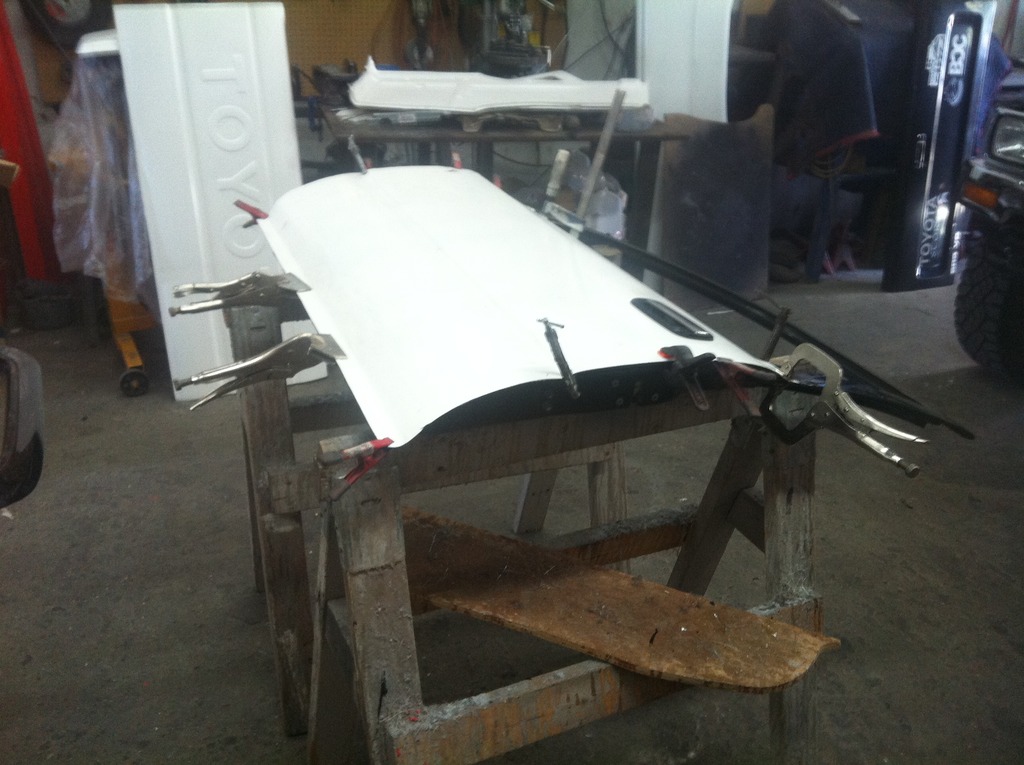
ready to start cutting
these are fairly easy to do , it's just time
cutting the skin off I just use a grinder , I will have a "how to" PDF on my web site soon .

.
got it in the shop and got the fenders , and finally the front doors .
Greg didn't tell me he had the power option , and well I guess I didn't ask either .. so the harness is always a pain .
ready to start cutting
these are fairly easy to do , it's just time
cutting the skin off I just use a grinder , I will have a "how to" PDF on my web site soon .
.
Jun 19, 2015 | 05:27 PM
#4
Thread Starter
Joined: Jan 2006
Posts: 6,383
Likes: 303
From: BC Canada
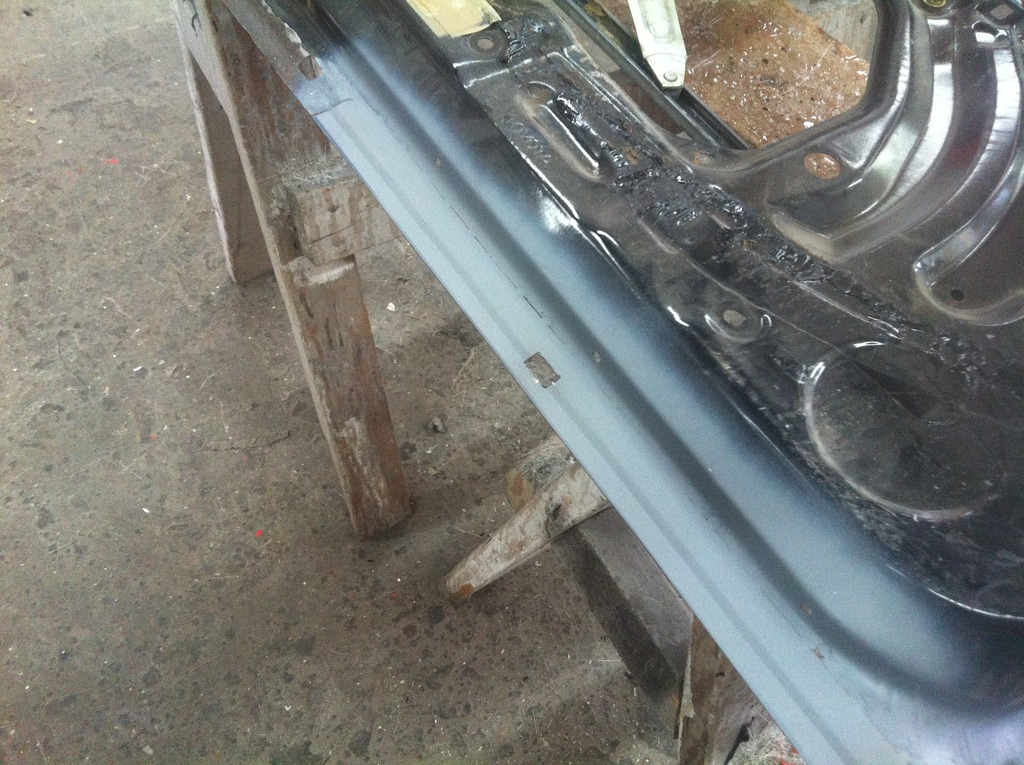
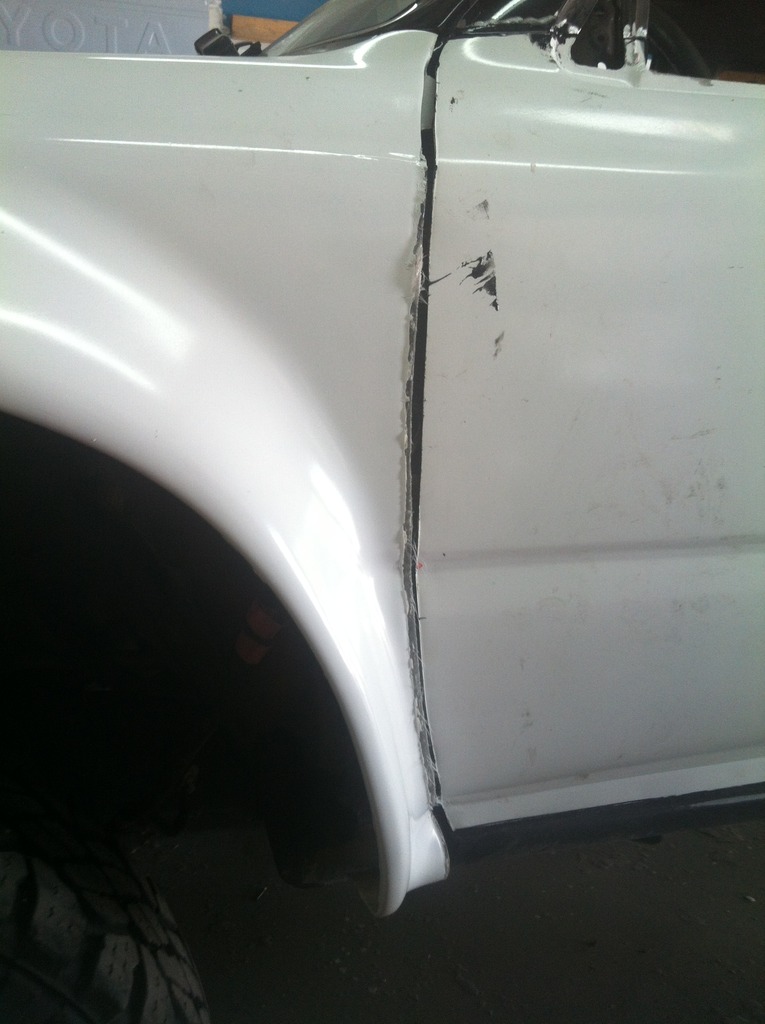
so with the skin cut off , and the shell "cleaned up" .. you can see the damage
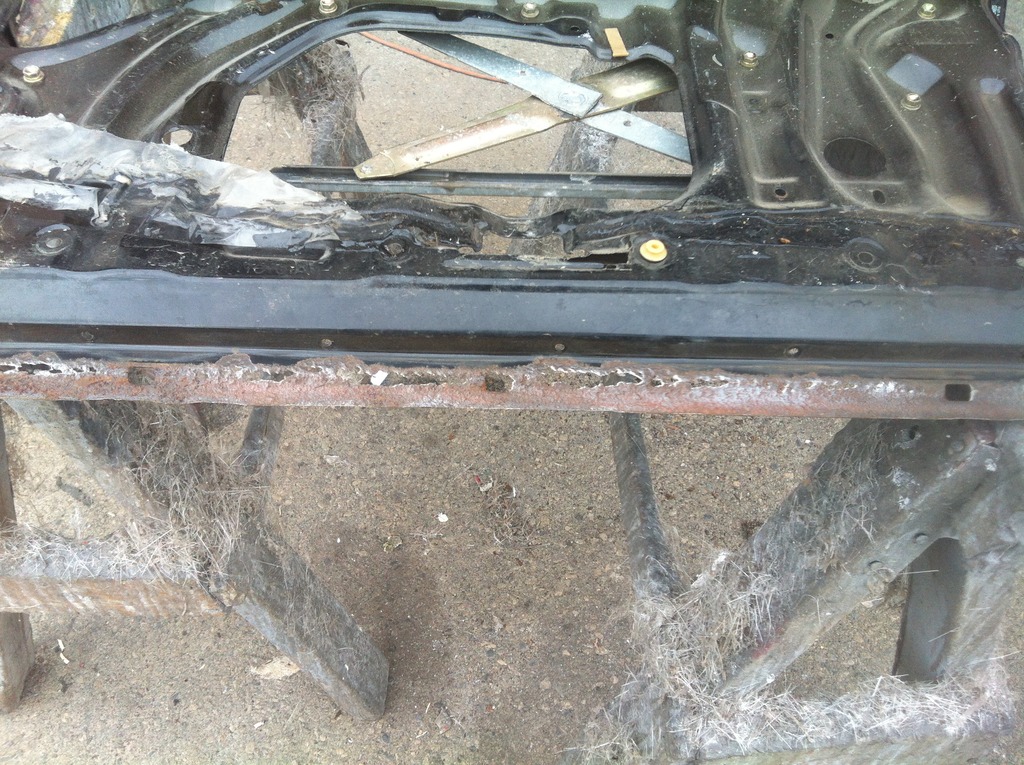
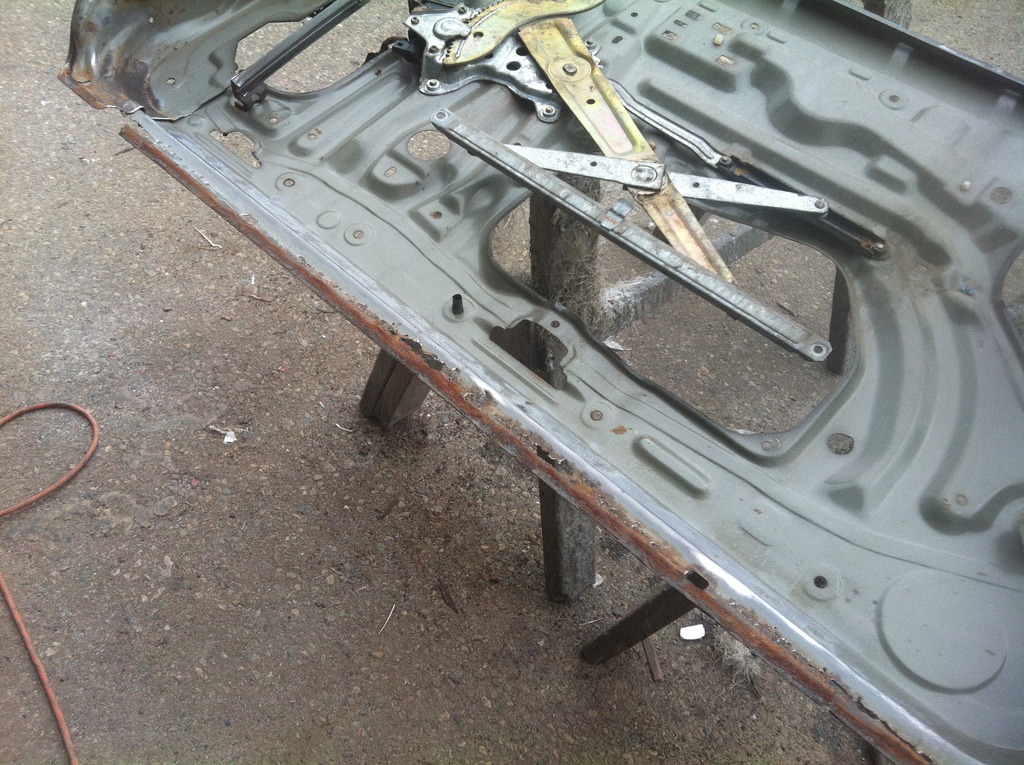
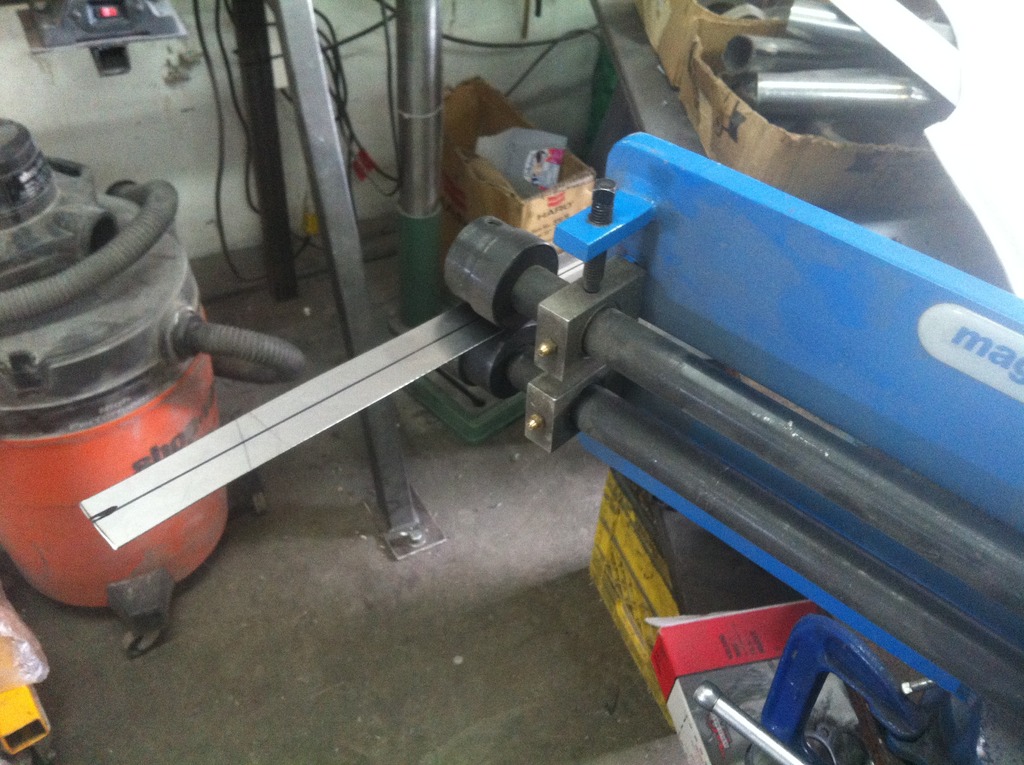
so I cut some pieces with my band saw
ran them threw my bead roller
and welded in the new pieces
cut some drains , just like the original , and sprayed some Zinc
some POR 15 , and we're ready for glue
and all glued
.
so I cut some pieces with my band saw
ran them threw my bead roller
and welded in the new pieces
cut some drains , just like the original , and sprayed some Zinc
some POR 15 , and we're ready for glue
and all glued
.
Jun 22, 2015 | 05:47 PM
#5
Thread Starter
Joined: Jan 2006
Posts: 6,383
Likes: 303
From: BC Canada
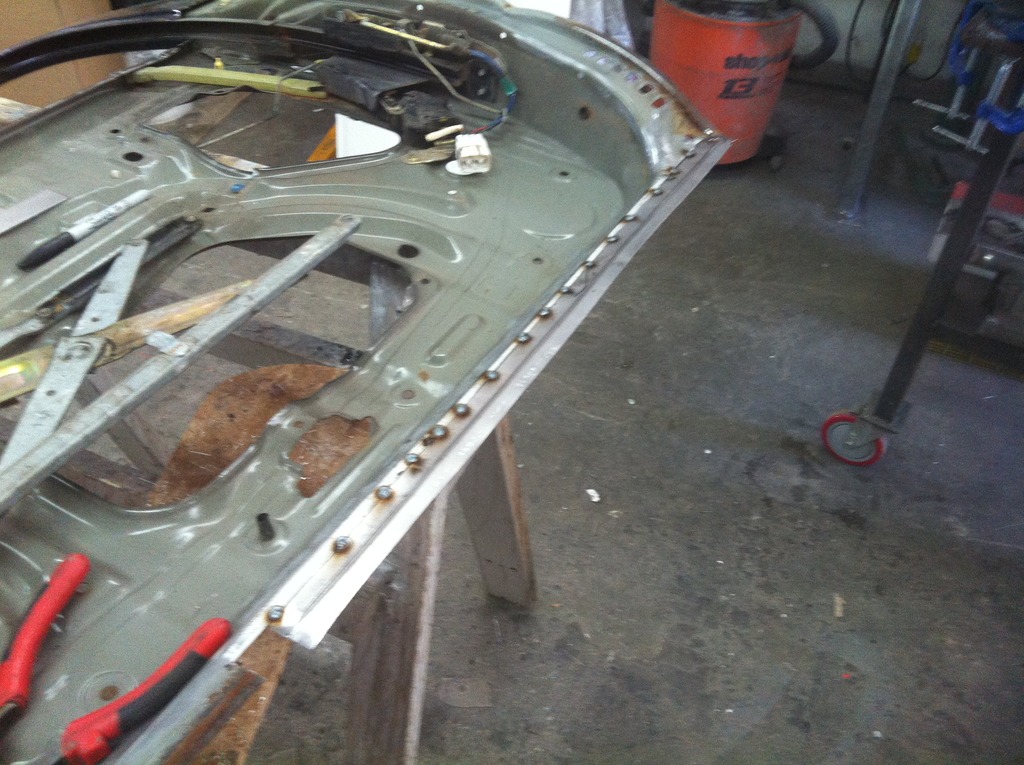
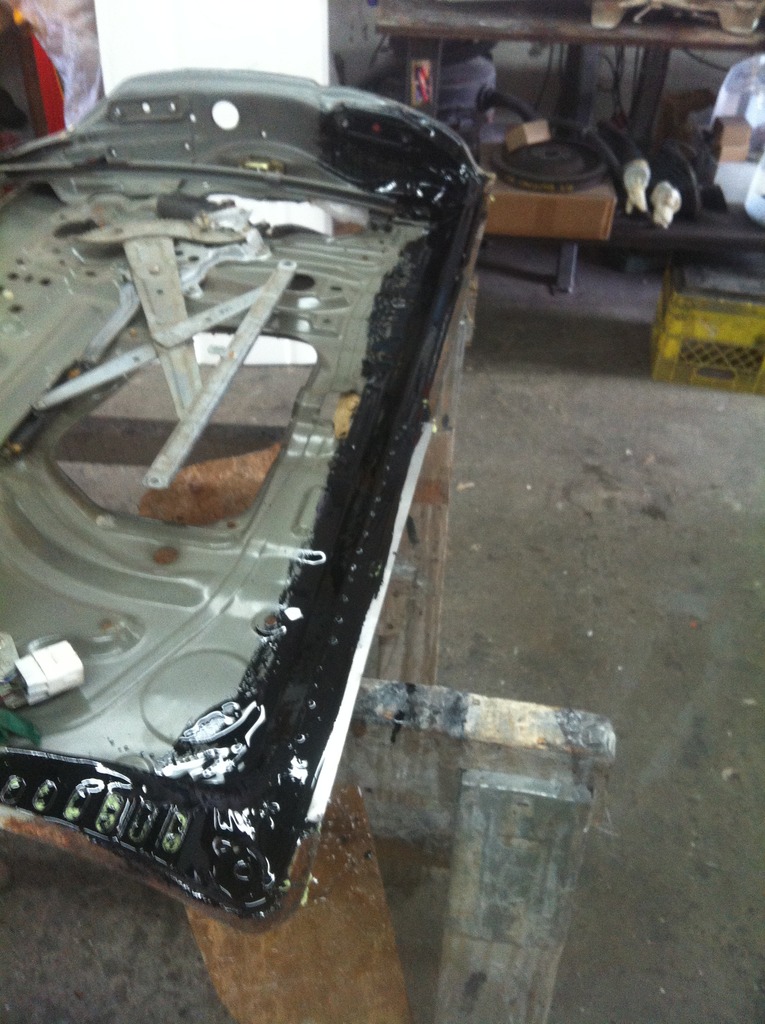
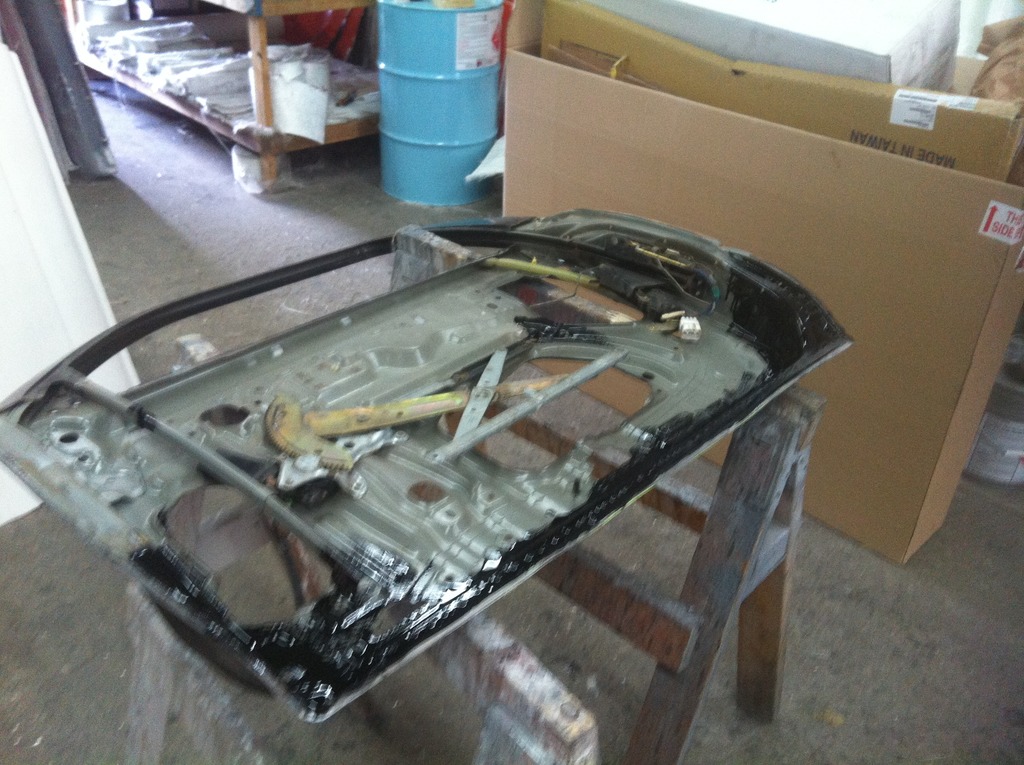
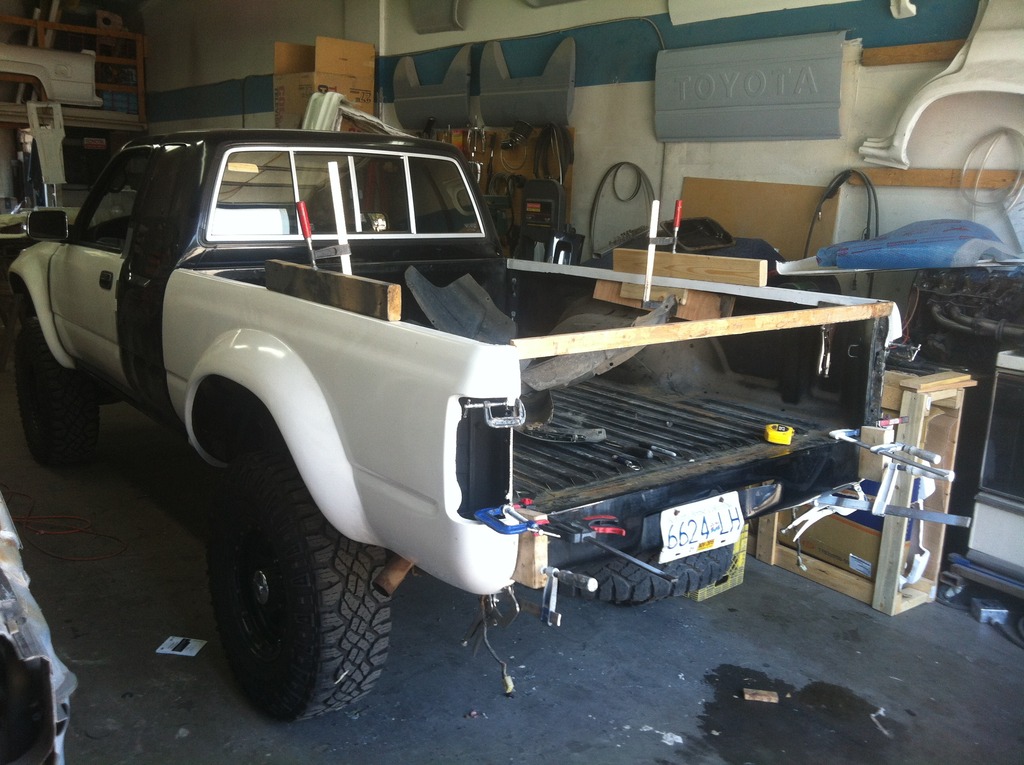
doors bolted for the test fit , to get the body lines and now I can start on the front fenders and also get the body lines done there ..
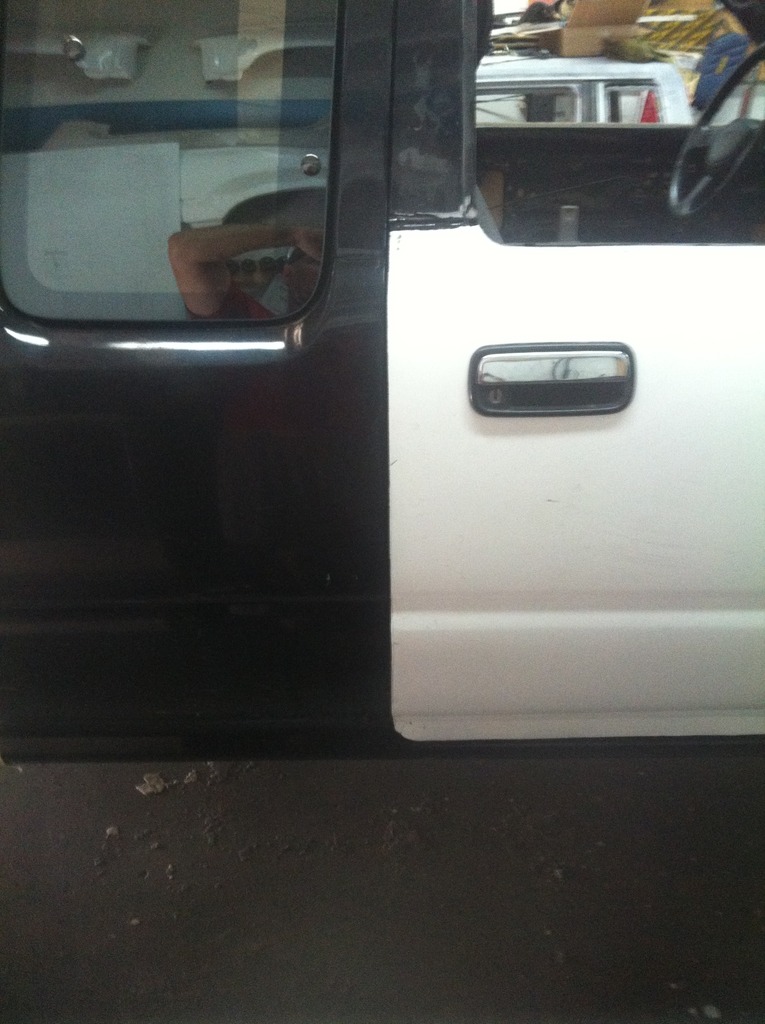
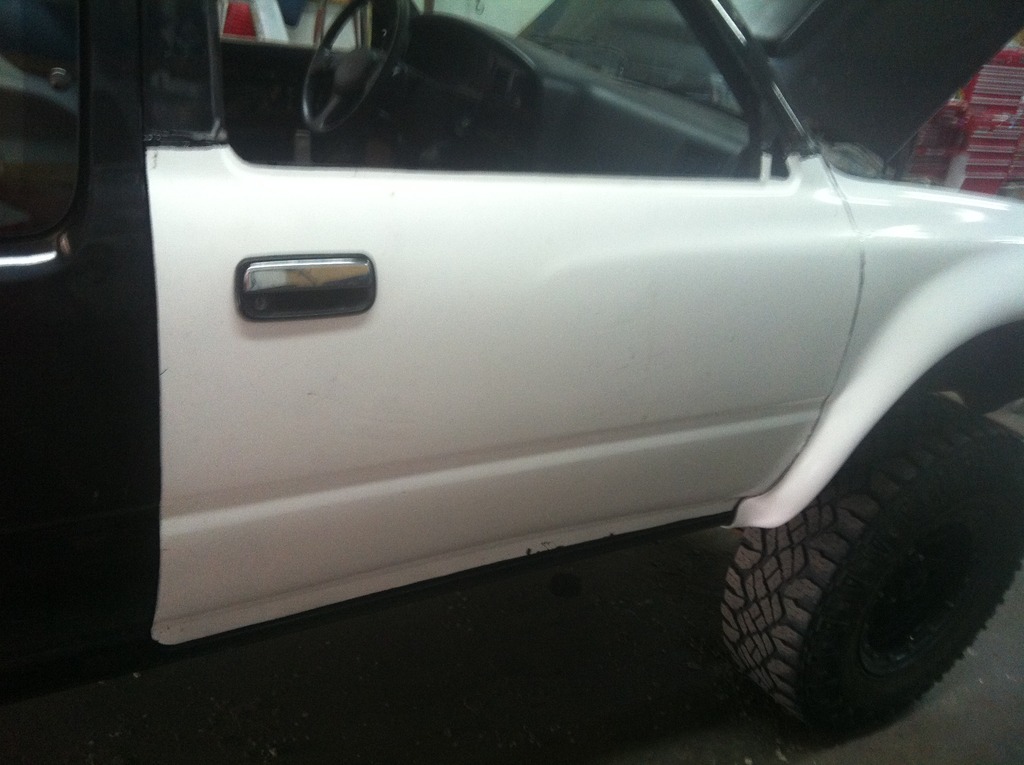
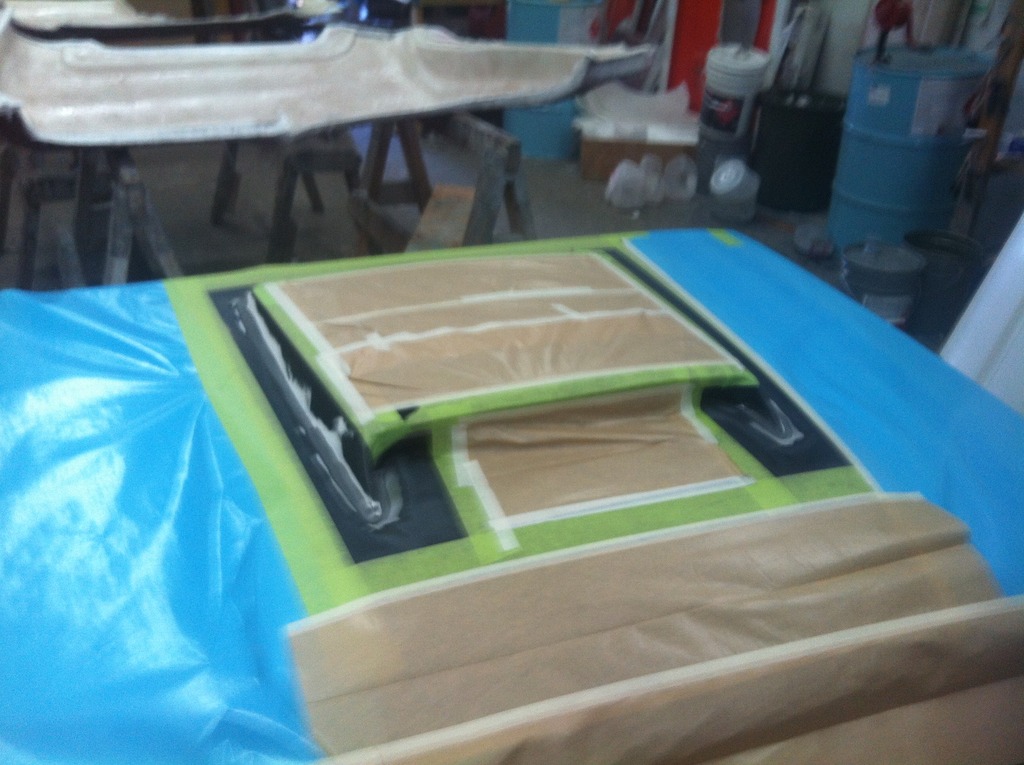
we ALWAYS trim our pieces LARGE .. it is way easier to remove material then to add it . If you buy our products , you will need to trim them and fit them .. this will ensure the proper gaps
ready to trim up the gaps ... this is what they look like RAW
.
we ALWAYS trim our pieces LARGE .. it is way easier to remove material then to add it . If you buy our products , you will need to trim them and fit them .. this will ensure the proper gaps
ready to trim up the gaps ... this is what they look like RAW
.
Jun 23, 2015 | 01:10 AM
#6
Registered User
Joined: Dec 2007
Posts: 261
Likes: 0
From: Pitt Meadows, BC
Looking awesome Corey, so stoked to see the new lines of the high rise wheel wells. Definitely glad I opted to have it done right way out there.
(also getting totally sick of riding a bicycle to work)
(also getting totally sick of riding a bicycle to work)
Jun 26, 2015 | 06:29 PM
#7
Thread Starter
Joined: Jan 2006
Posts: 6,383
Likes: 303
From: BC Canada
so lots happening on Gregs unit ..
lots of pics , and i'll definitely burn u a CD of all the pics Greg ...
here are just SOME of them
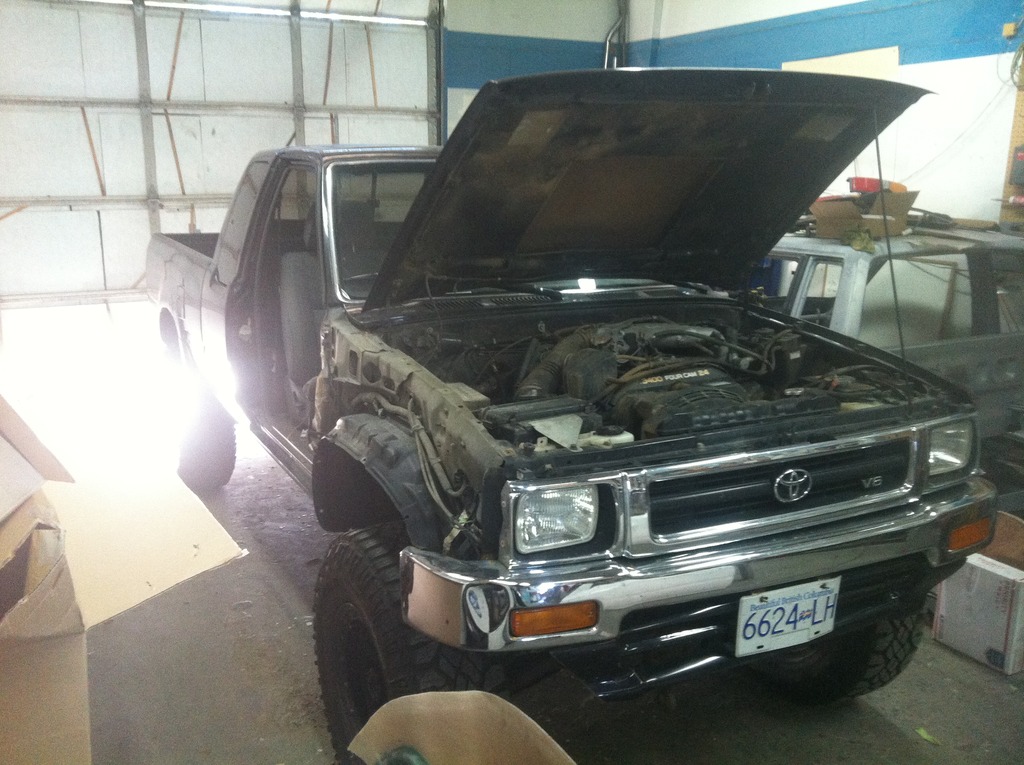
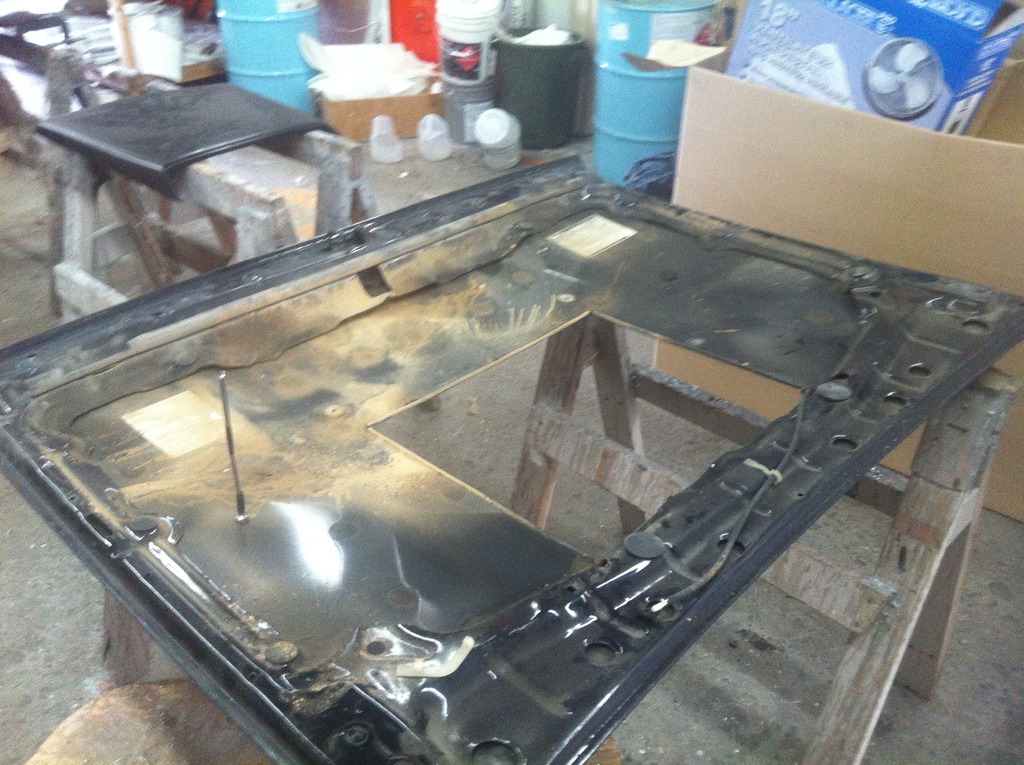
Greg asked me to "mould" the scoop into the hood
heres how I did it ...
First I removed the already mounted scoop .. it is ours , and he purchased when he did his 3.4L swap (we didn't do it )
so , first thing is to remove it , take it to bare metal . you can see here the person who installed the scoop , cut all of the reinforcement out , leaving no support underneath , so I hope this works !!
bare metal
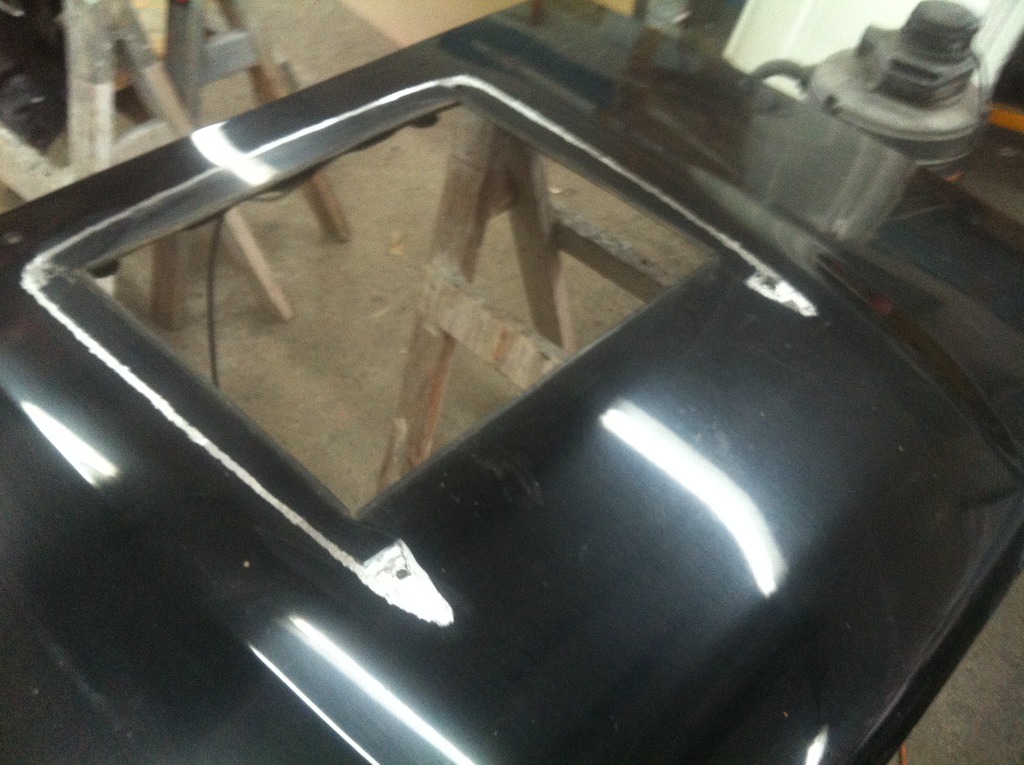
huge fan of epoxy ... this stuff works great .
so scoop epoxied on
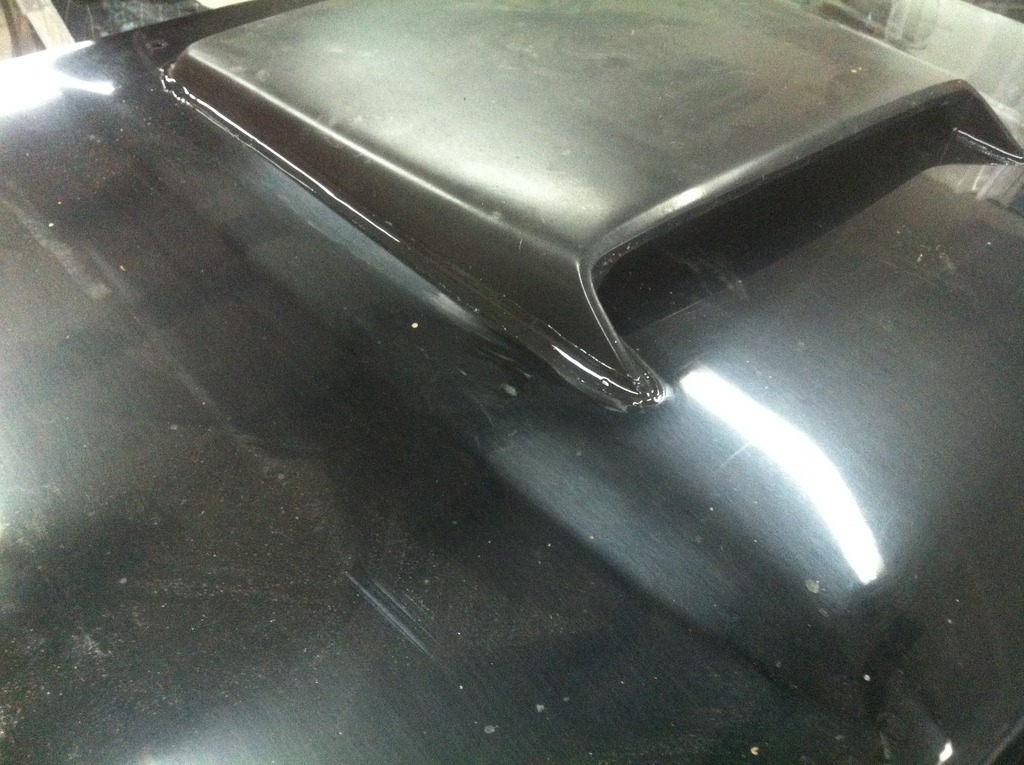
sanded and prepped , ready for some epoxy paint ...
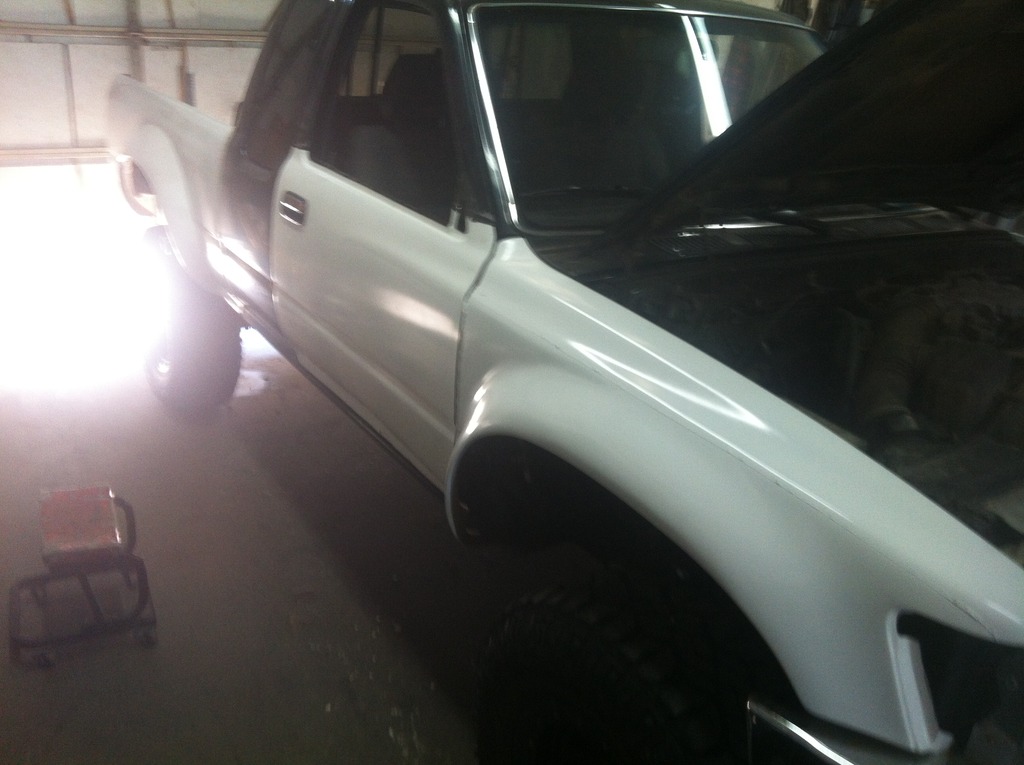
Box sides have also been fit , and now ready for final install ..
wire wheeled and POR15'd the inners
also , stripped the front end again for prepping ..
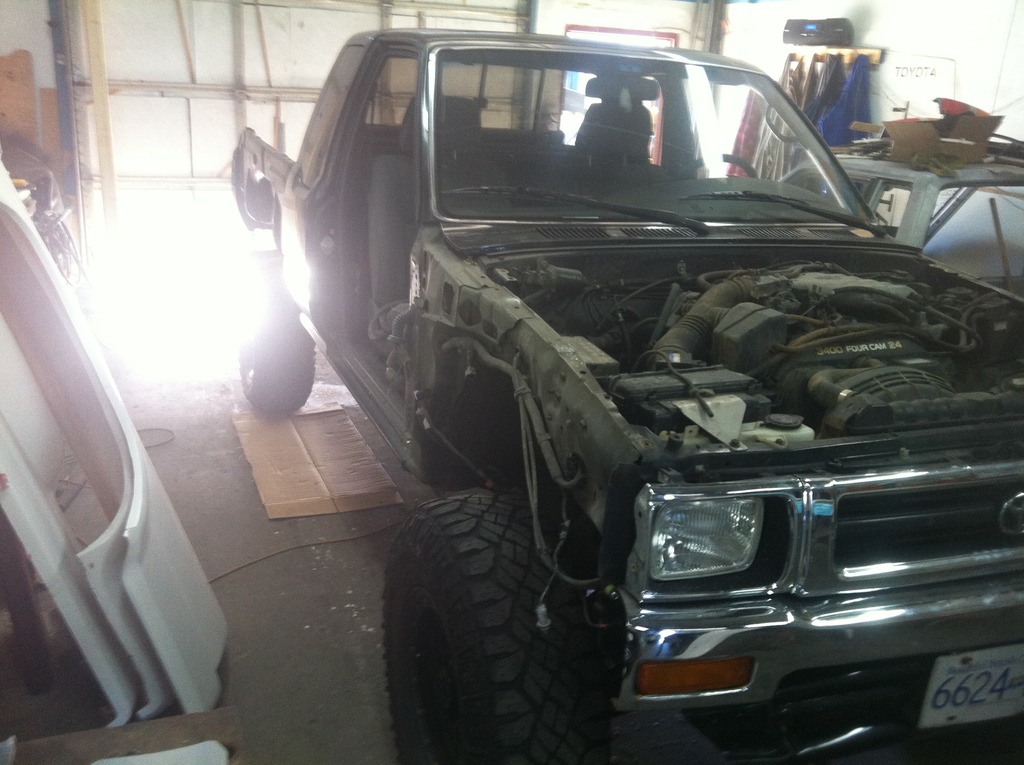
rounded the edges , and re installed .. front is ready for the body shop
.
lots of pics , and i'll definitely burn u a CD of all the pics Greg ...
here are just SOME of them
Greg asked me to "mould" the scoop into the hood
heres how I did it ...
First I removed the already mounted scoop .. it is ours , and he purchased when he did his 3.4L swap (we didn't do it )
so , first thing is to remove it , take it to bare metal . you can see here the person who installed the scoop , cut all of the reinforcement out , leaving no support underneath , so I hope this works !!
bare metal
huge fan of epoxy ... this stuff works great .
so scoop epoxied on
sanded and prepped , ready for some epoxy paint ...
Box sides have also been fit , and now ready for final install ..
wire wheeled and POR15'd the inners
also , stripped the front end again for prepping ..
rounded the edges , and re installed .. front is ready for the body shop
.
Trending Topics
Jun 30, 2015 | 05:25 PM
#9
Thread Starter
Joined: Jan 2006
Posts: 6,383
Likes: 303
From: BC Canada
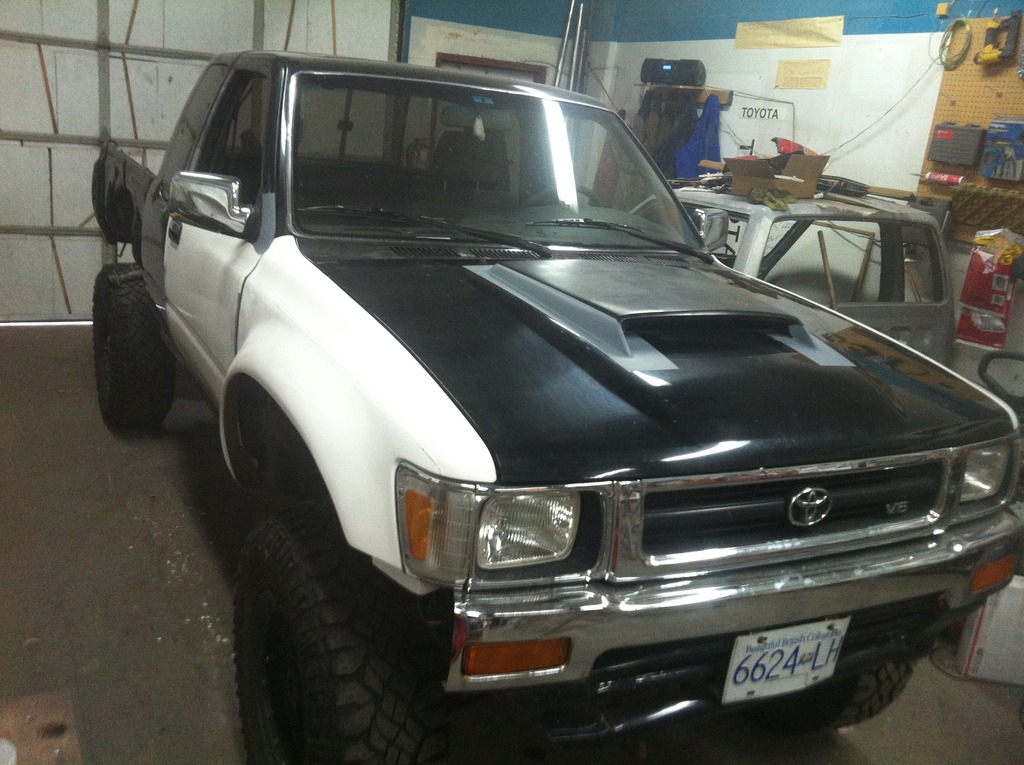
glued on the bed sides yesterday ...
and this morning went in to finish up ..
clamps off , original box liner and tail gate back in place
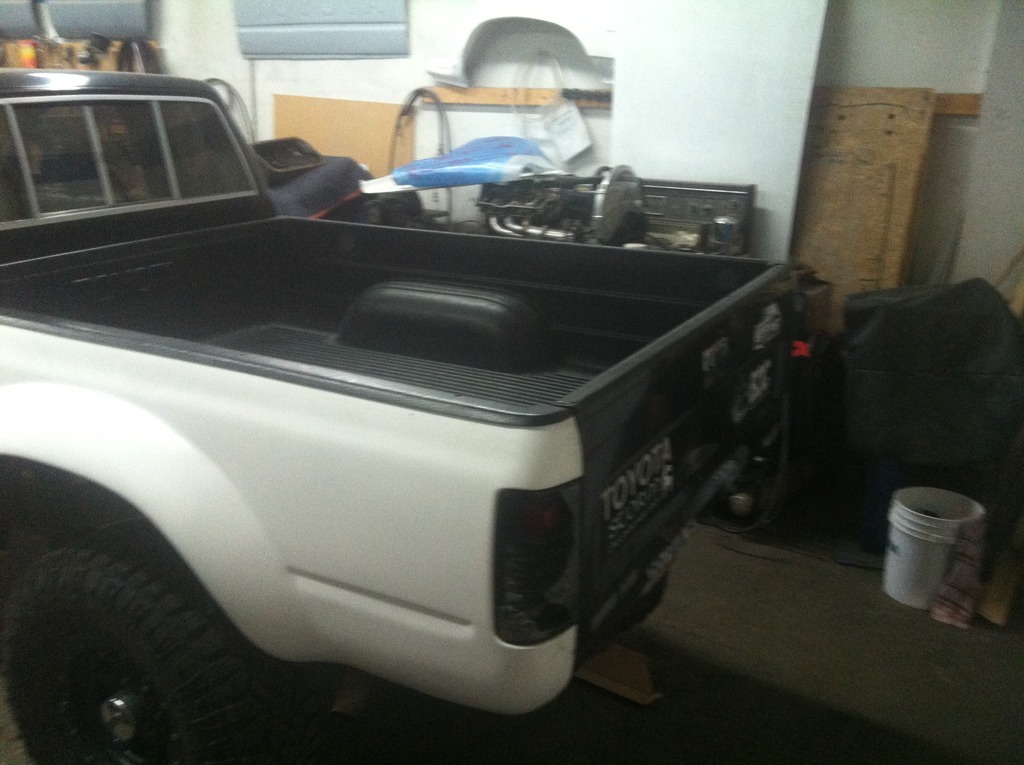
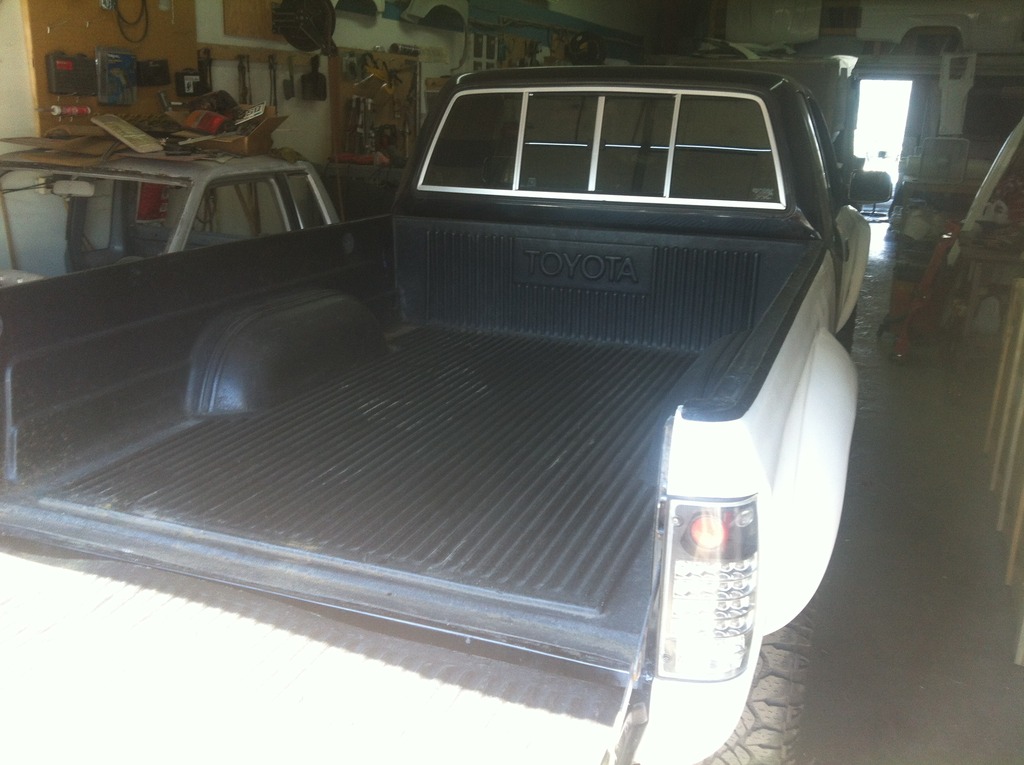
and DONE !

see ya Monday Greg
.
and this morning went in to finish up ..
clamps off , original box liner and tail gate back in place
and DONE !
see ya Monday Greg
.


Thread
Thread Starter
Forum
Replies
Last Post
kawazx636
The Classifieds GraveYard
34
Oct 6, 2021 03:03 PM
scott90
86-95 Trucks & 4Runners
7
Oct 4, 2015 09:21 AM
FS[PacNorWest]: 1987 4Runner SAS, 22RE, 5Spd, Dual Cases, etc
toyotasaurus
Vehicles - Trailers (Complete)
0
Sep 24, 2015 03:30 PM


