When you click on links to various merchants on this site and make a purchase, this can result in this site earning a commission. Affiliate programs and affiliations include, but are not limited to, the eBay Partner Network.
Hey guys! Since I am just about done with bringing this truck back to life, I figured I would make a thread about it with all sorts of pictures. If anyone wants any directions on how to do anything you see in the pics, go ahead and ask! I started out as a Ford guy, but went back to my roots as I had grown up with a 1994 T100 and Landcruiser as a kid.
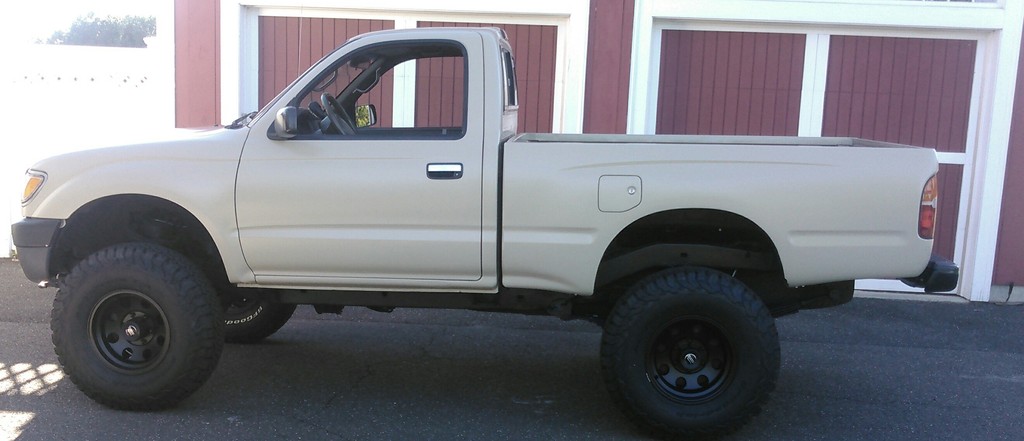
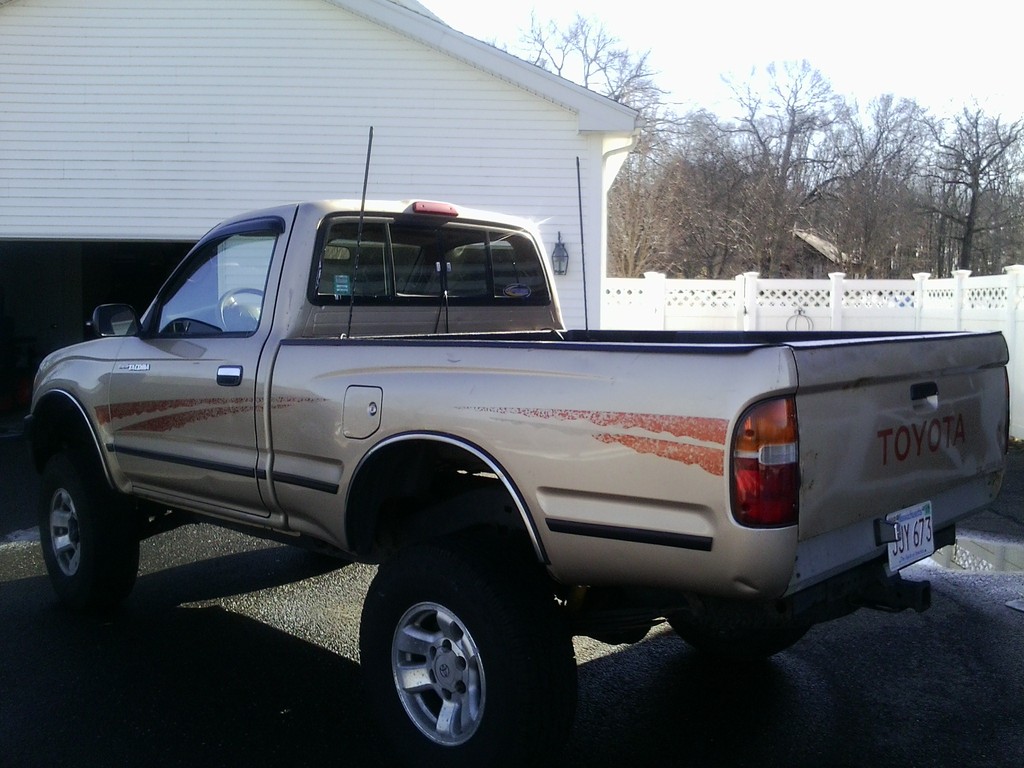
Vehicle is a 1995 Tacoma 4x4 with the SX package, pretty basic, but I prefer that. Bought this rig from a used dealership near me with 217K and only a four year old frame. The interior was shot, almost like someone had taken a screwdriver and stabbed everything they could. Luckily the floor was nearly rust free. The paint was awful: dents, scratches, gouges, worn off decals, you name it. The only thing it had going for it was an excellent 2.7 motor and the newer frame. Originally I had bought it as a beater, but I fell in love with it, sold my showroom condition Ford, and went to town in making this thing bulletproof and beautiful!
I did the majority of the work myself, everything except the lift, wheels, paint and rust repair, and harmonic balancer and some other odds and ends I didn't have the tools for.
First thing I did was new brakes, CB Radio, 31x10.50 tires, and a 2.5'' Spacer/Leaf Spring lift to accompany the 2" body lift that was already there (before I decided on it NOT being a beater!)
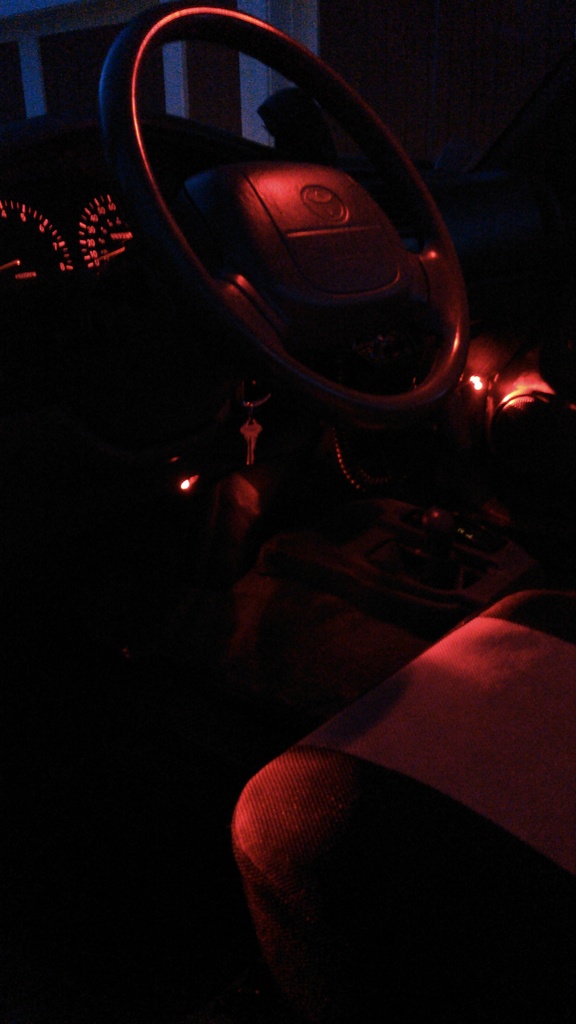
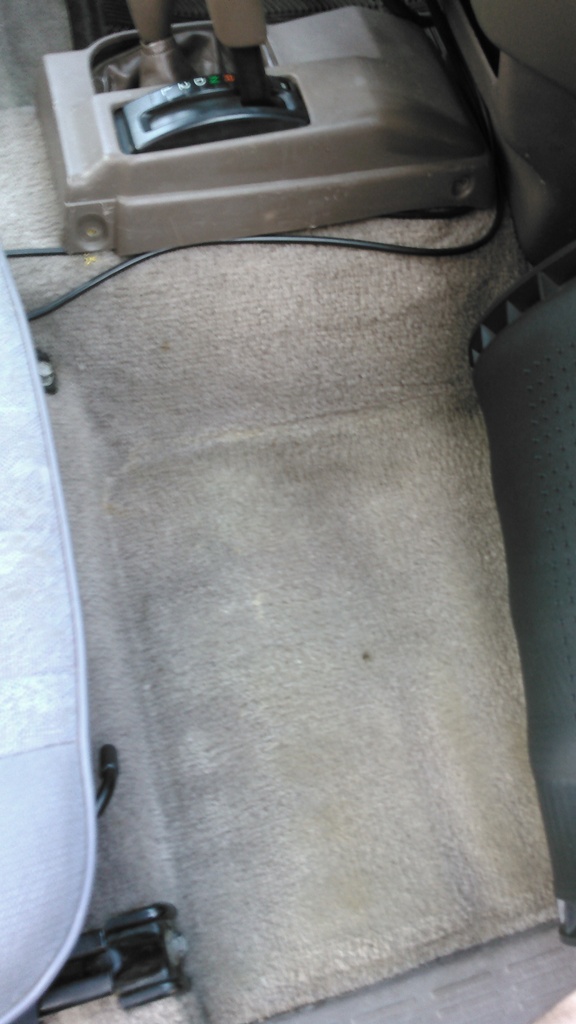
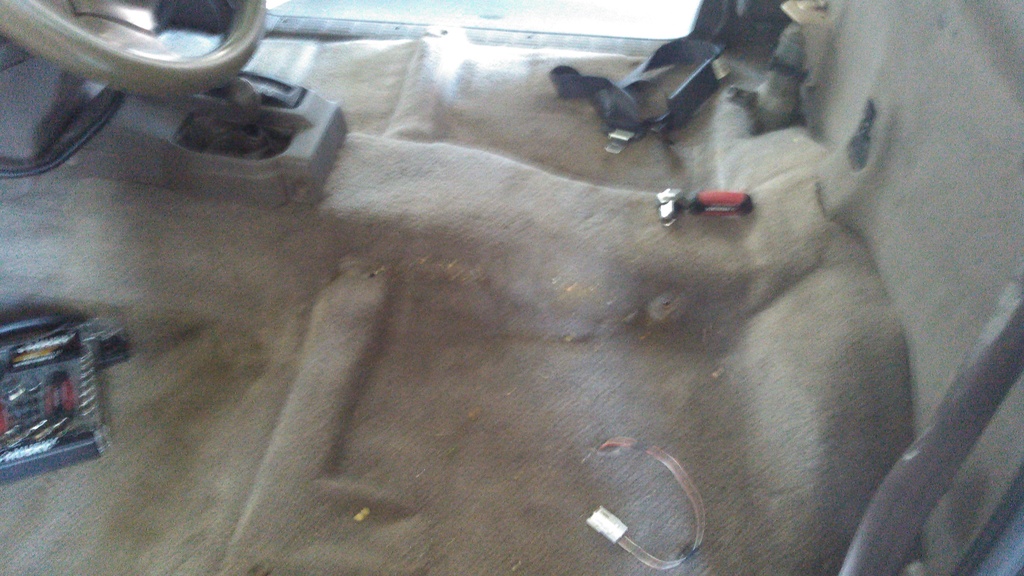
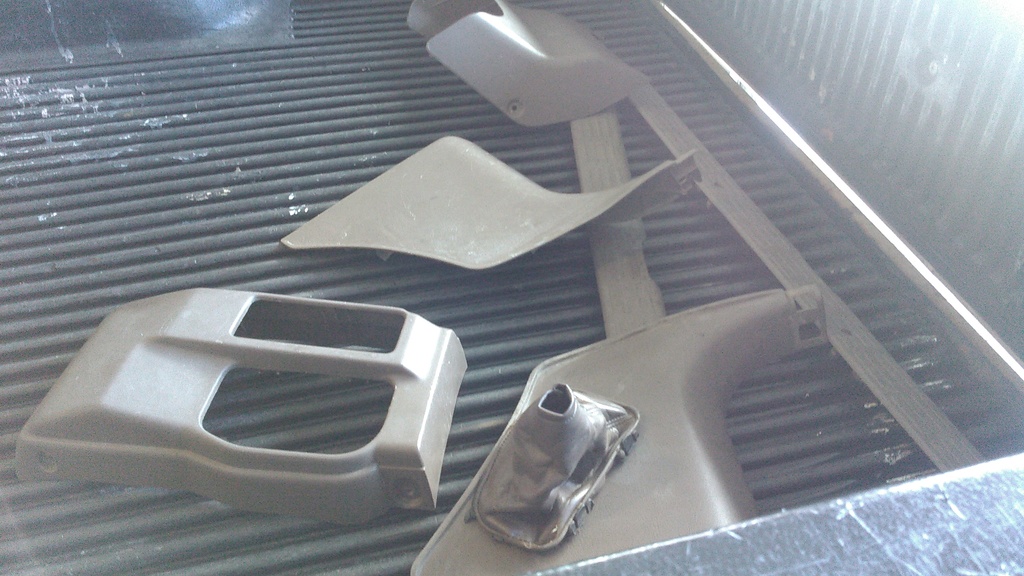
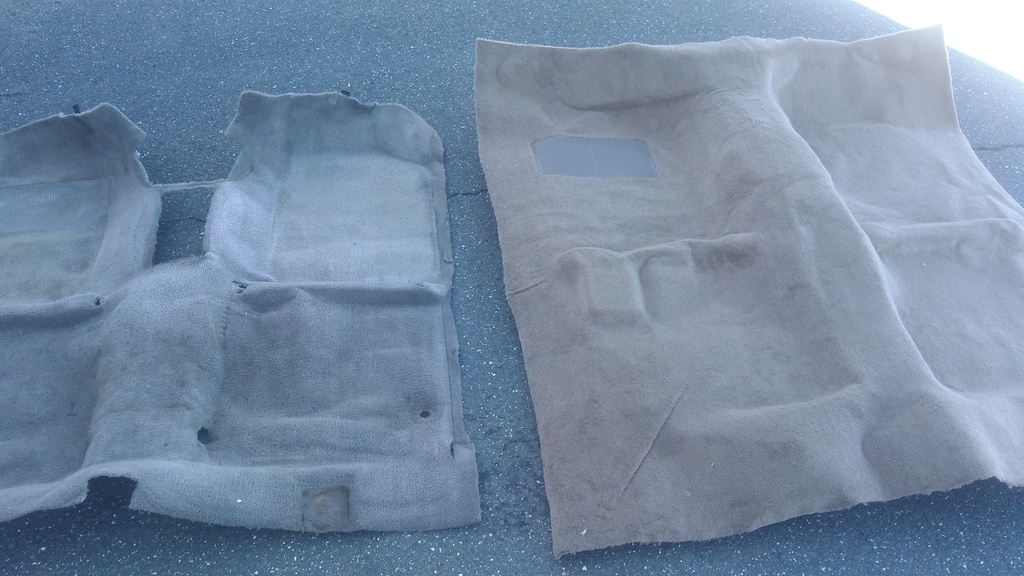
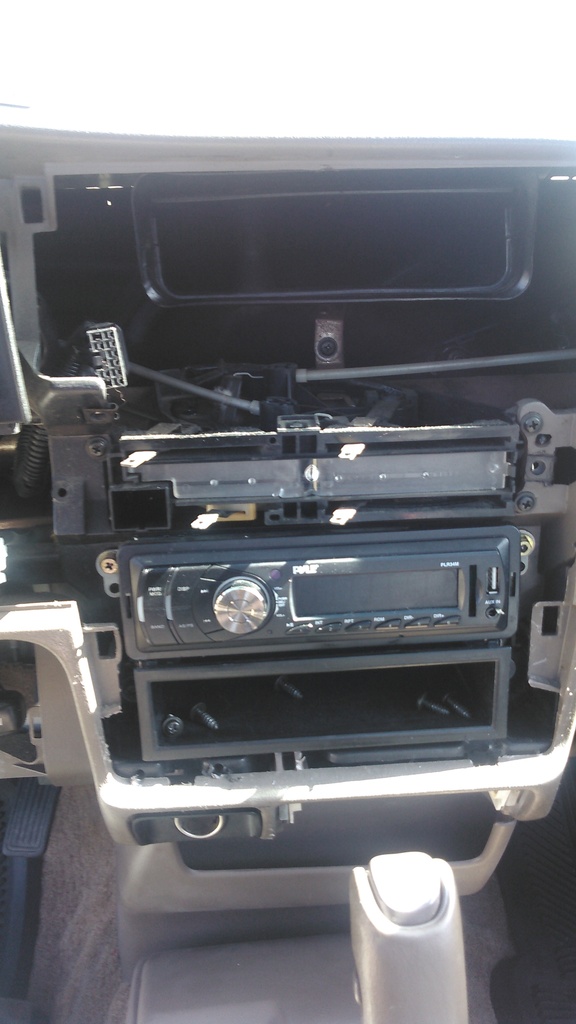
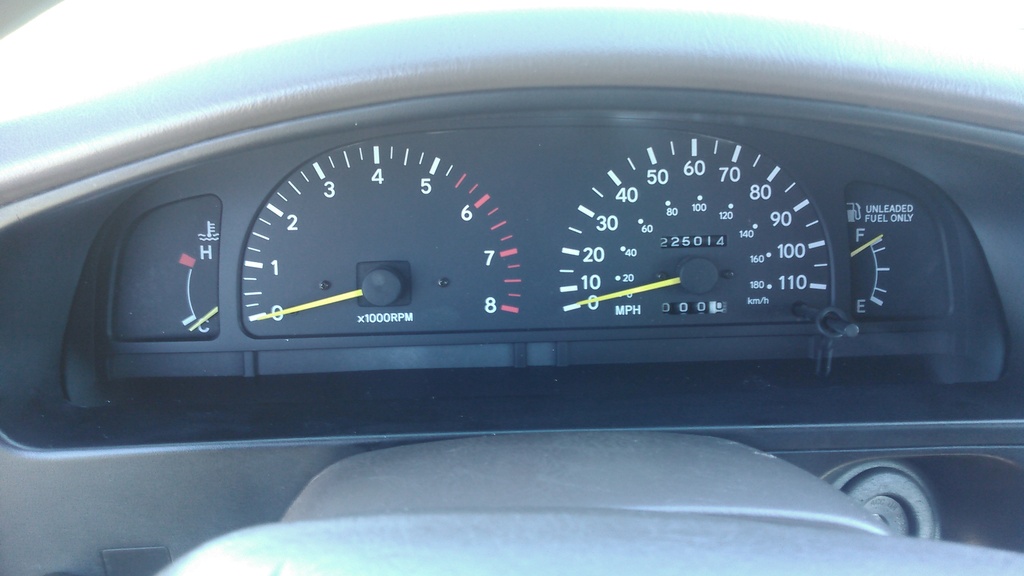
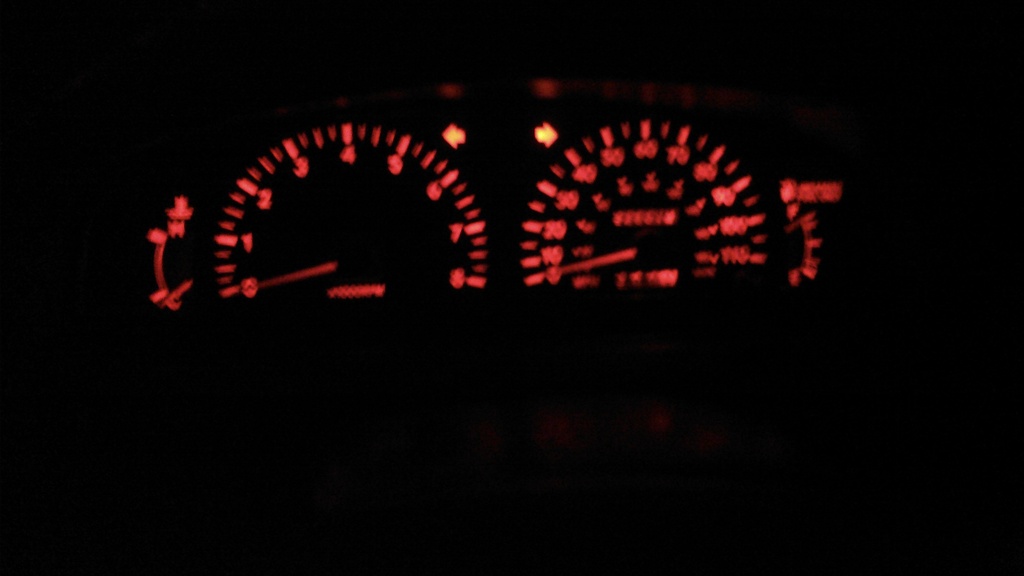
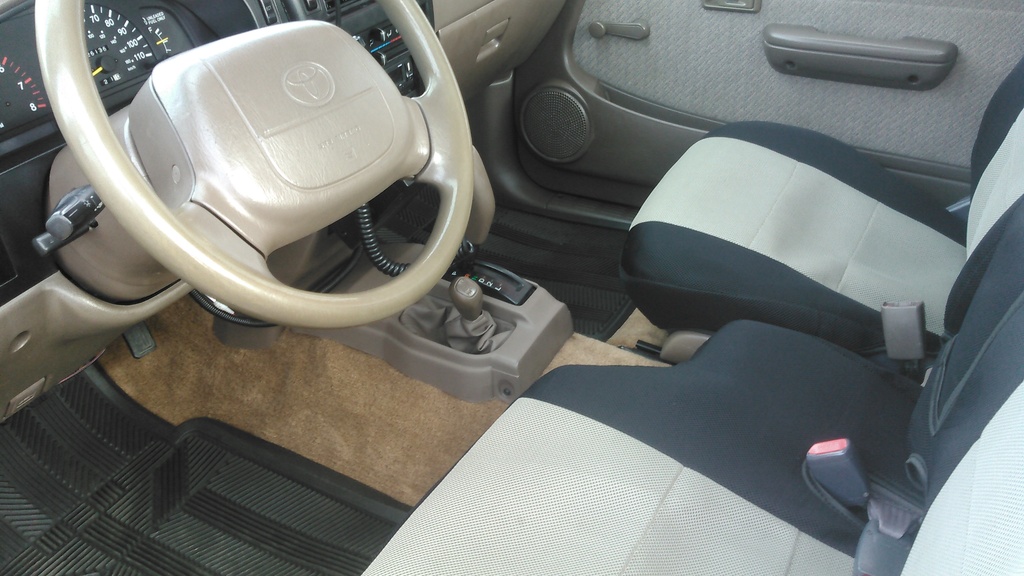
Then I decided to restore the interior with new carpet, trim, dash lights, plexiglass, seat covers, everything I could replace I did:
Before:
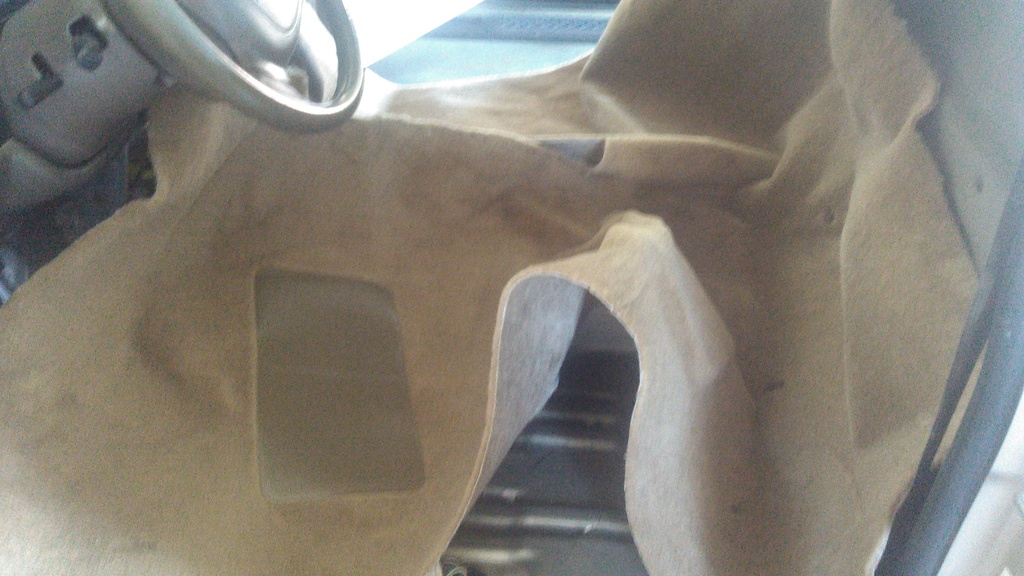
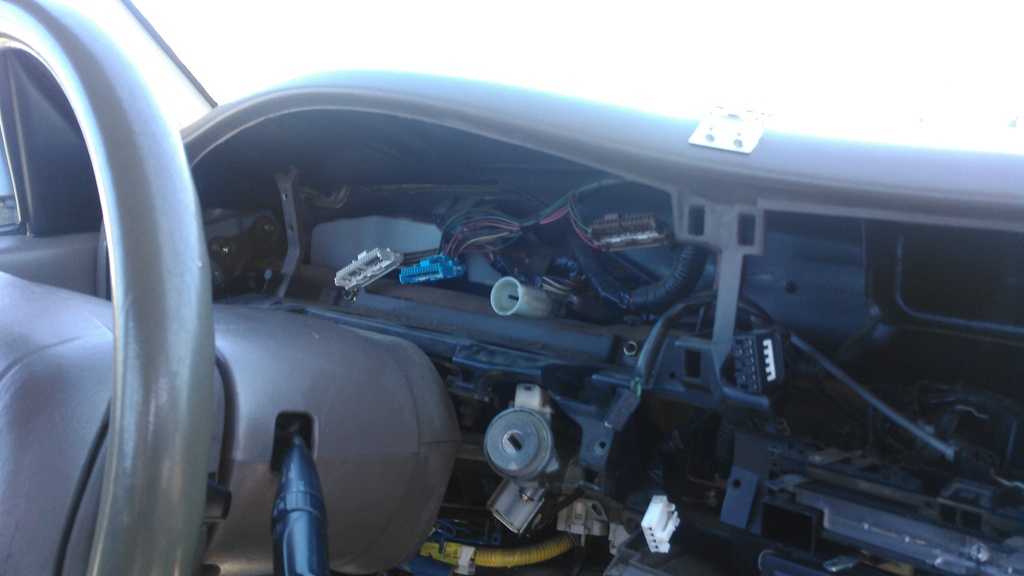
During and After
Last edited by TacoTank; Dec 17, 2016 at 07:38 PM.
The next step was to improve how it runs, not that it did not already run alright. As I said before, the harmonic balancer and some belts had to be replaced, I paid someone to do that. New oil pan as well and a radiator flush coupled that.
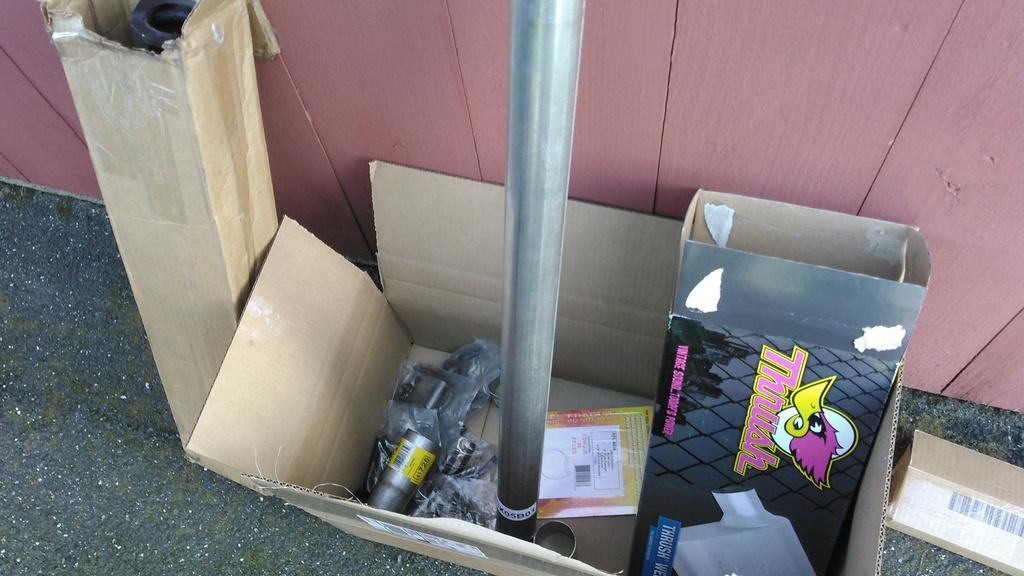
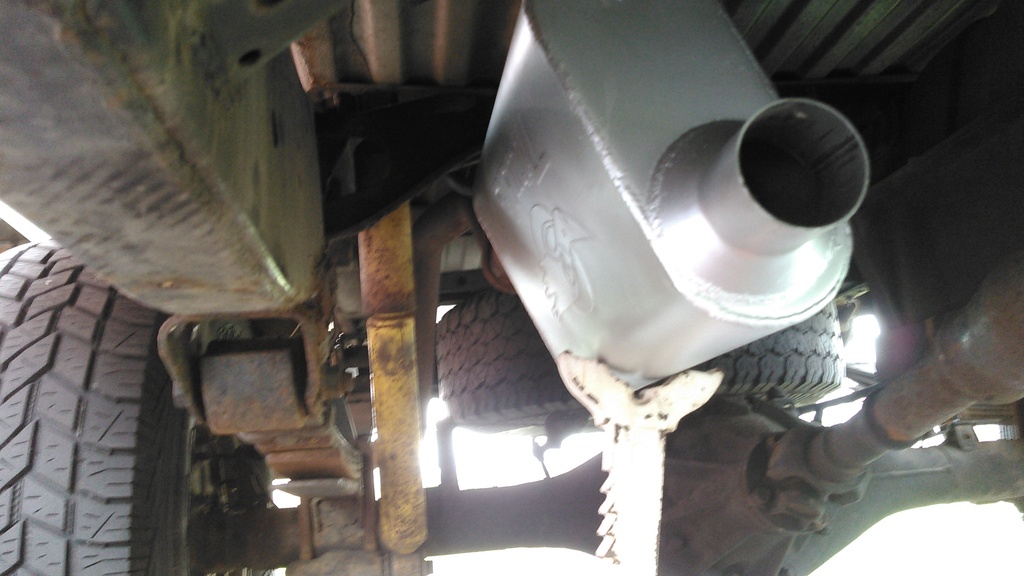
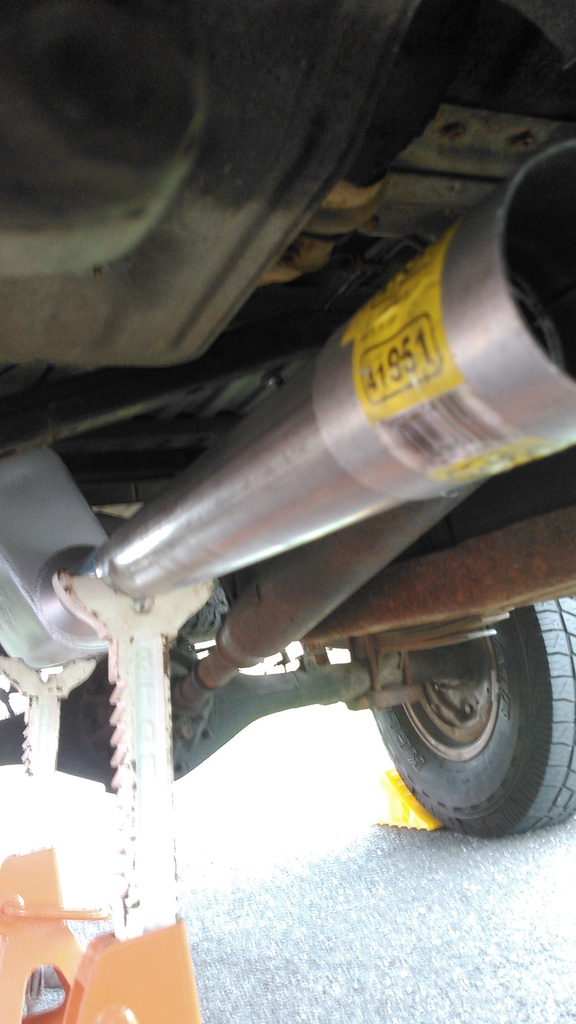
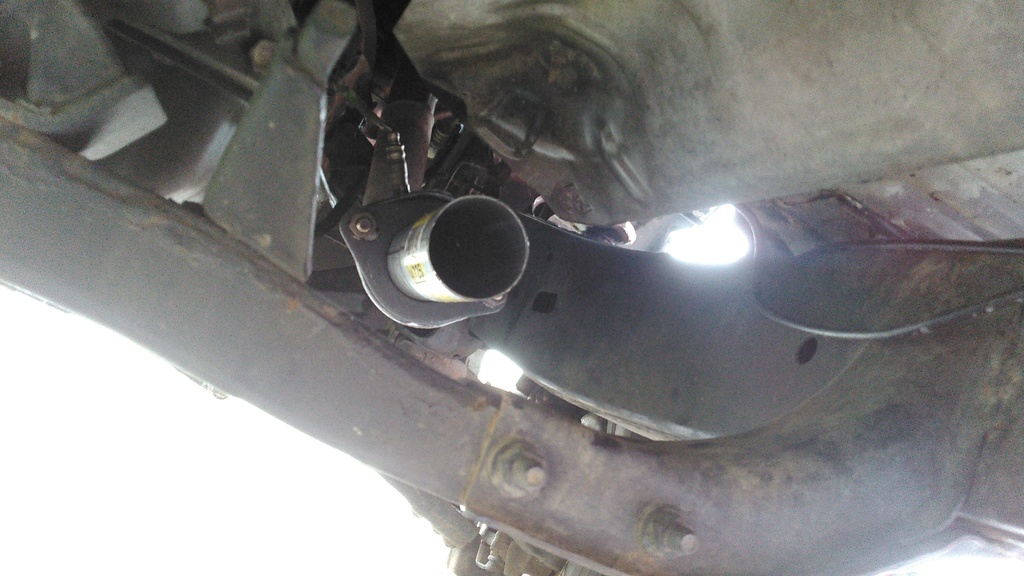
First was the exhaust, fresh piping from the manifold back. No cat, don't need one anymore where I am located. This involved a URD O2 Simulator. Initially went with a Thrush welded muffler, but it did not last. Something inside it blew out, so I replaced it with a Flowmaster 40 and have not looked back:
Here is a list of post exhaust improvements under the hood:
Interstate High Crank Battery
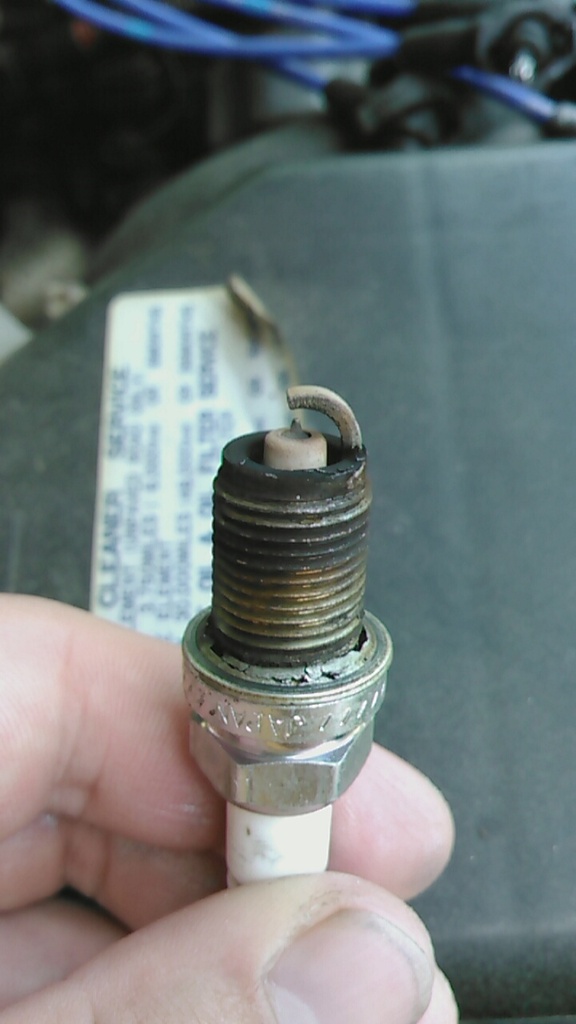
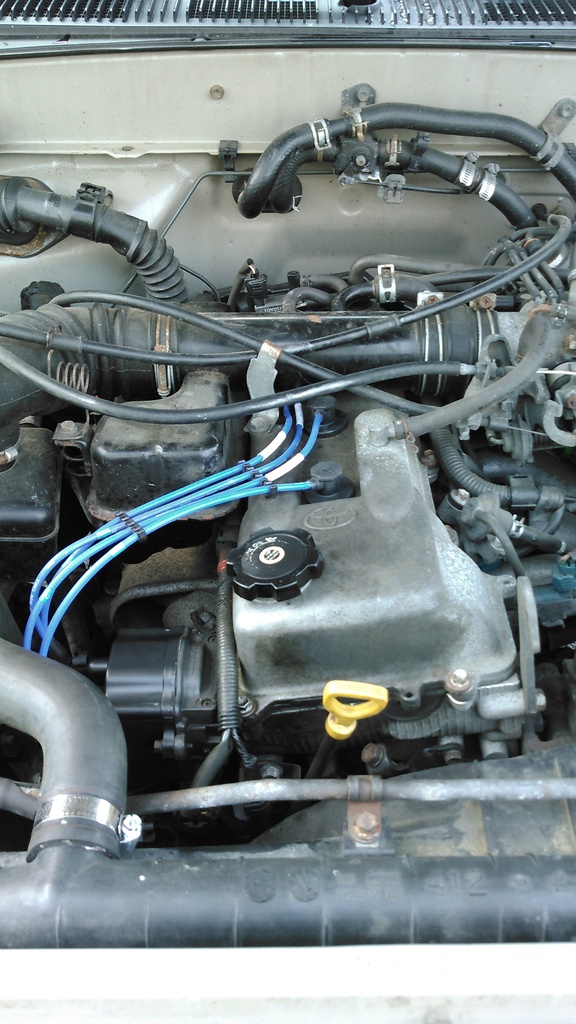
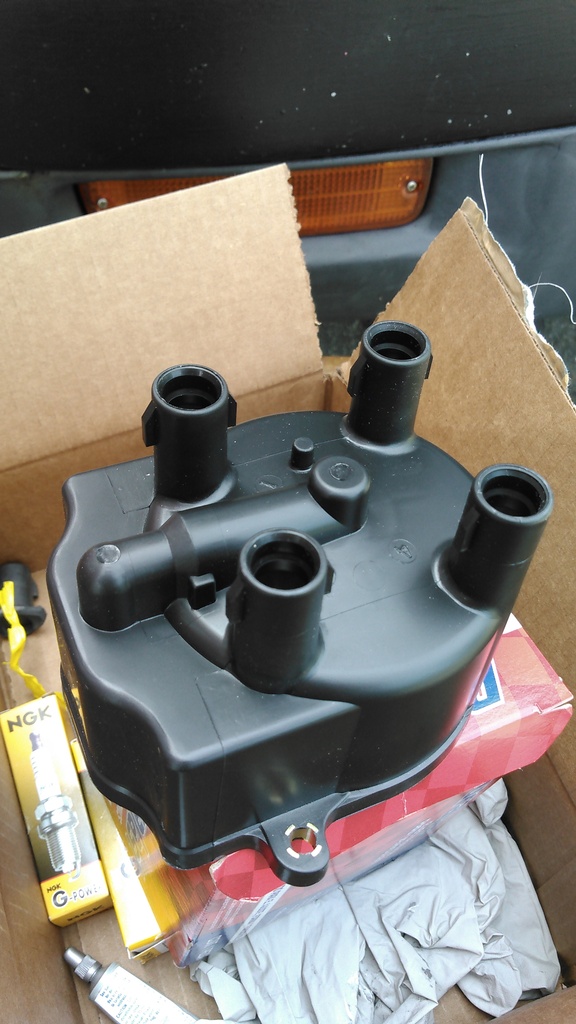
NGK Plugs and Wires
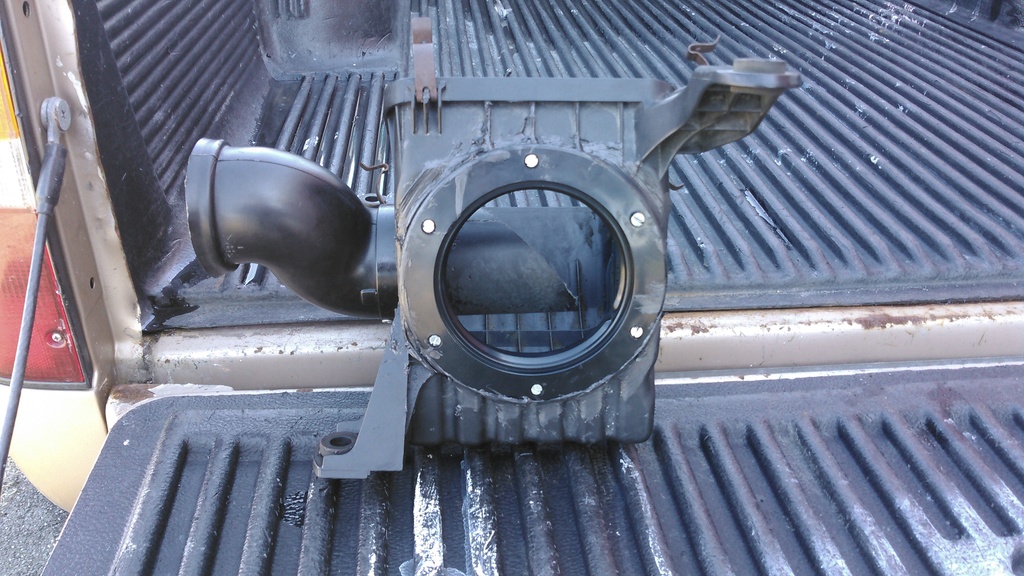
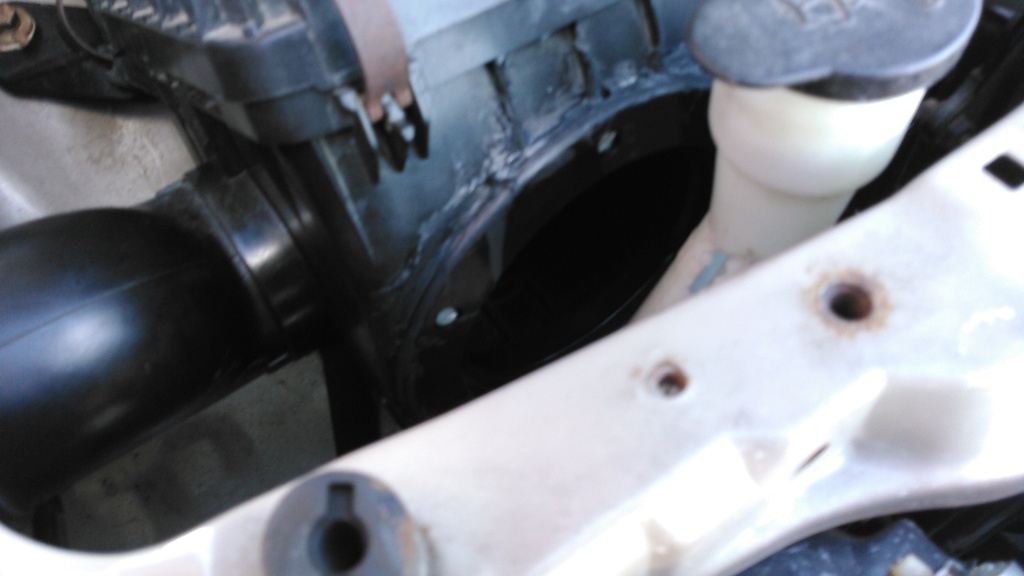
Clean out the air box (had a mouse nest in it under the filter!)
K&N Drop In Filter
Deckplate Modification
New PCV Valve
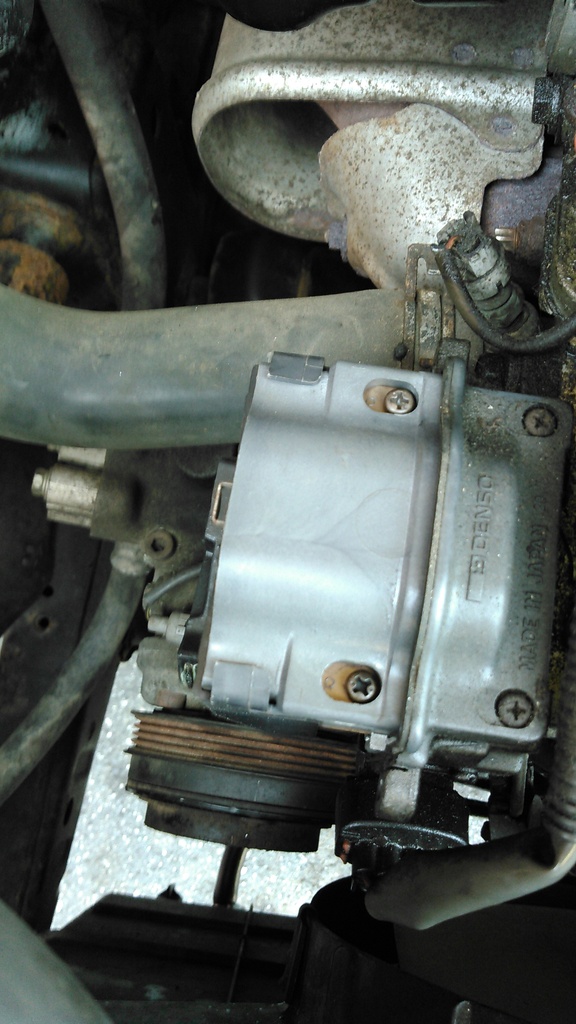
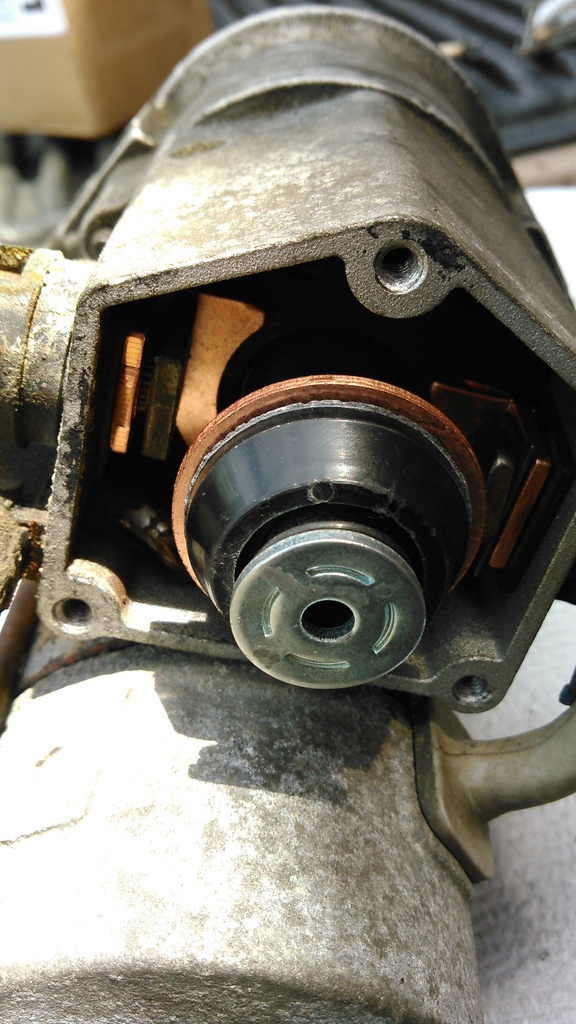
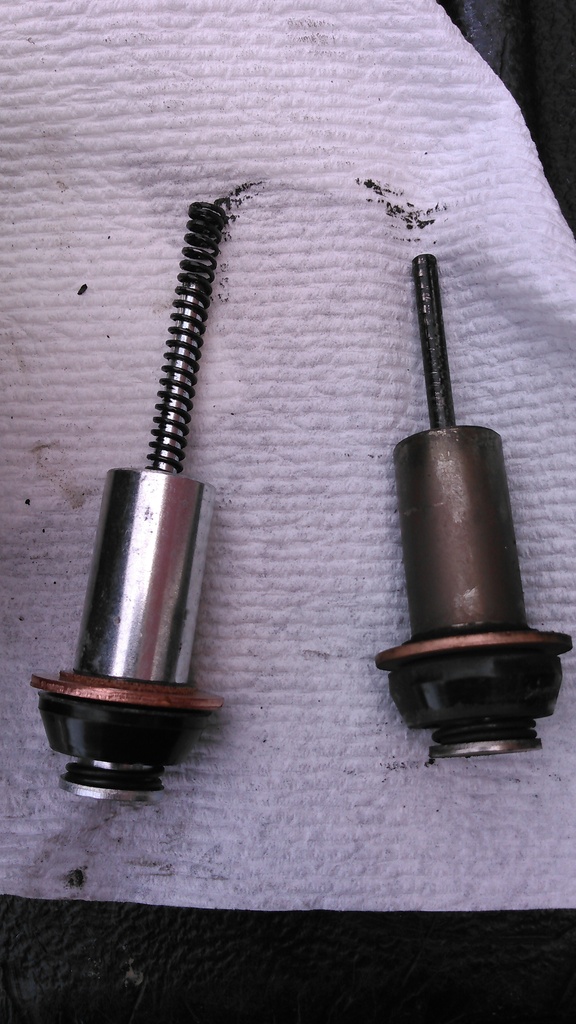
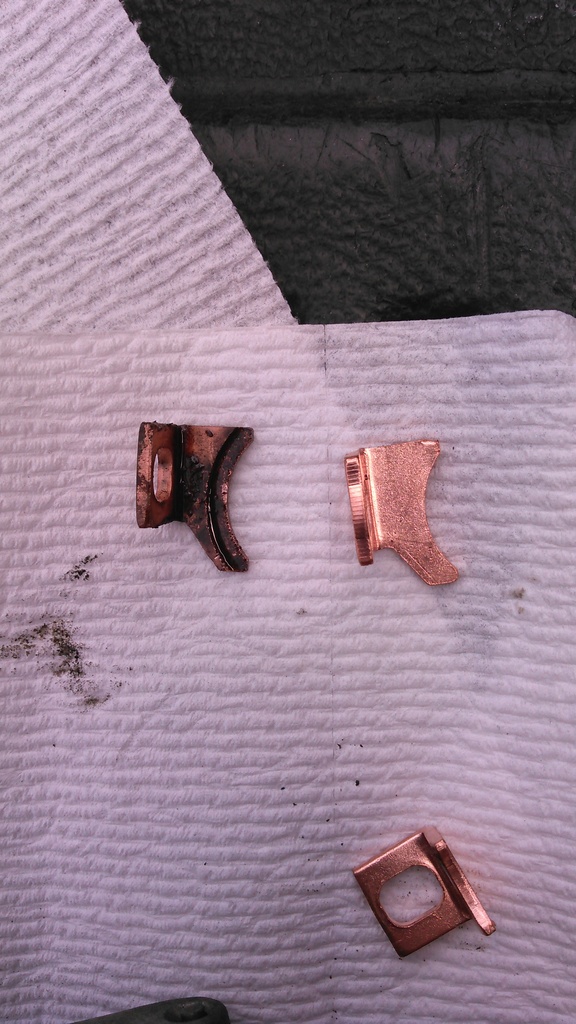
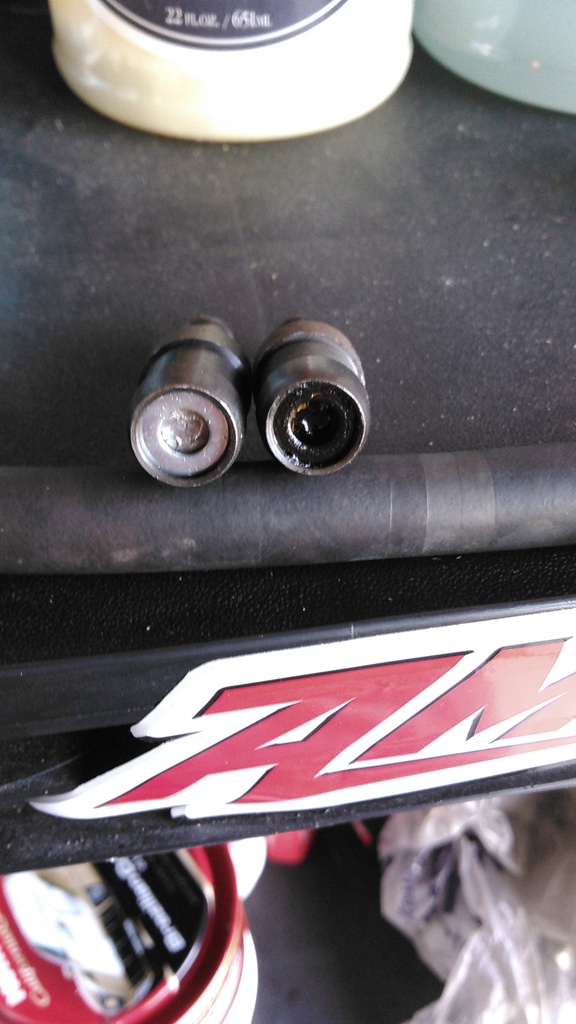
Starter Rebuild
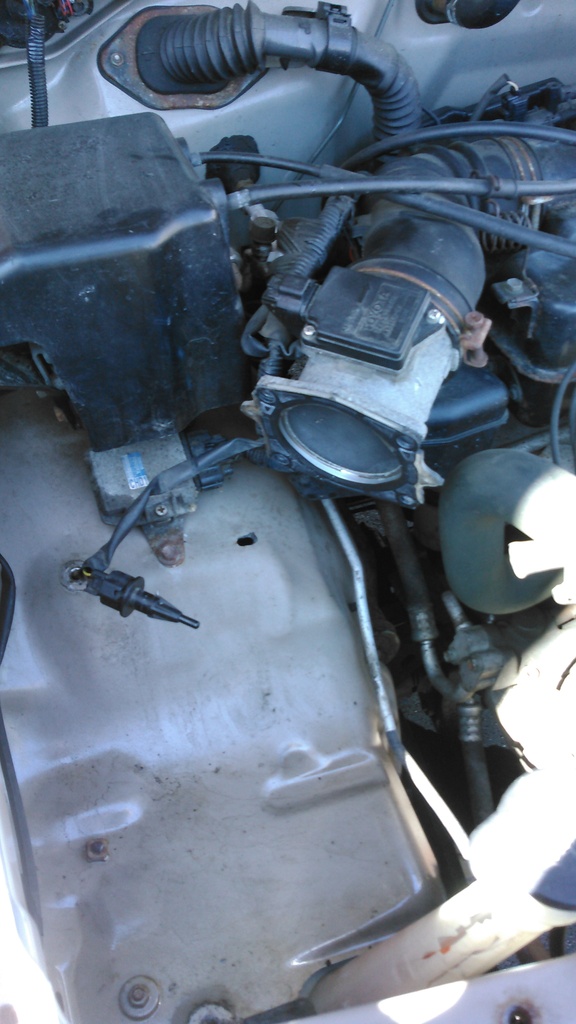
Throttle Body Cleaning
MAF Cleaning
Seafoam Treatment
Injector Cleaner
(Cleaned out the bay the best I could)
Sealed a hole in the firewall
Old Plug
New Wires and cap shortly before cleaning the dirt out of the whole bay
When I broke the distributor cap, needed a new one anyway
Starter Rebuild (Thing was toast!)
PCV Valve, Old and New, thing was clogged:
MAF Cleaning:
\
Then I read about the deckplate modification. Combined with the K&N drop in filter, I was fairly pleased with it. Did not have nearly as much trouble going up hills after I did it (The free flowing exhaust may have helped too!)
Last edited by TacoTank; Dec 17, 2016 at 04:42 PM.
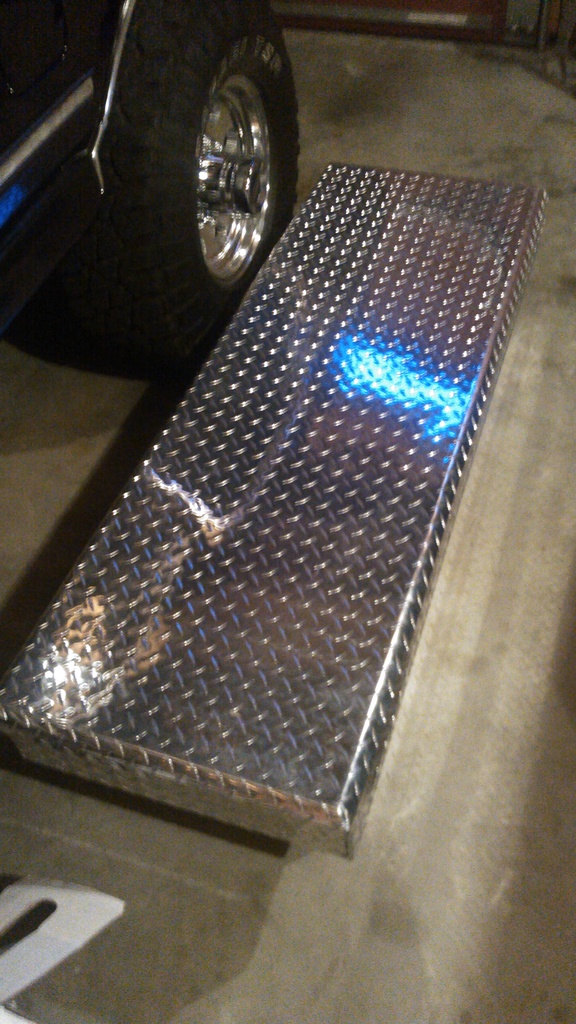
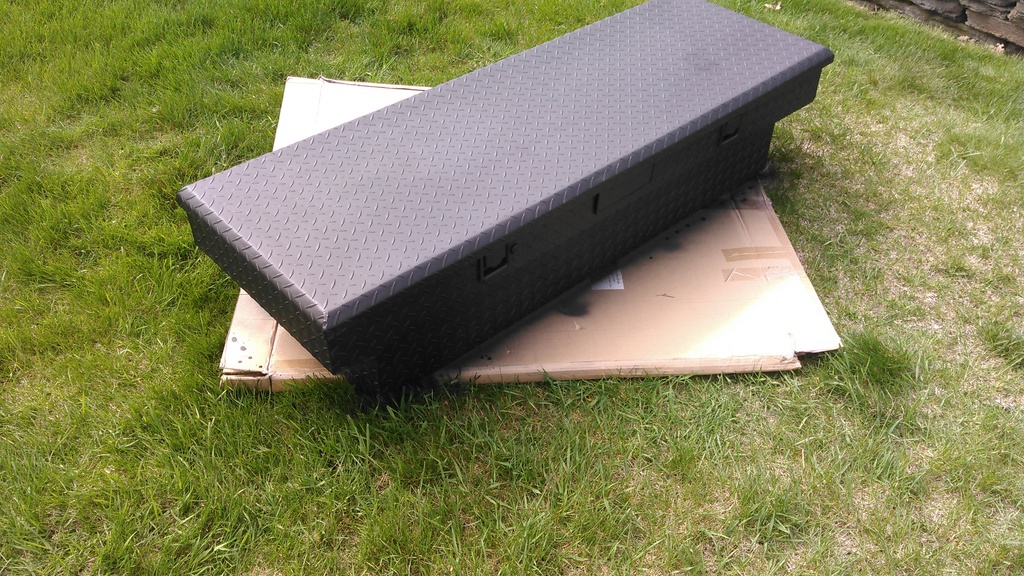
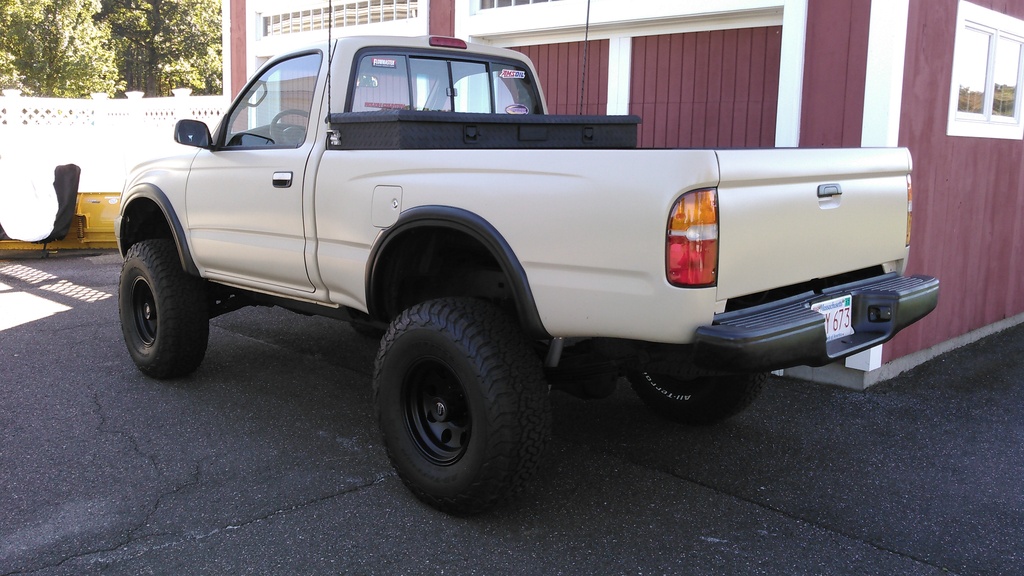
Next addition I wanted to make was a toolbox, got a great deal on a brand new tractor supply locking toolbox on craigslist. The guy who bought it bought the wrong kind and needed to get rid of it. I painted it flat black, couple layers of black rustoleum have held up surprisingly well.
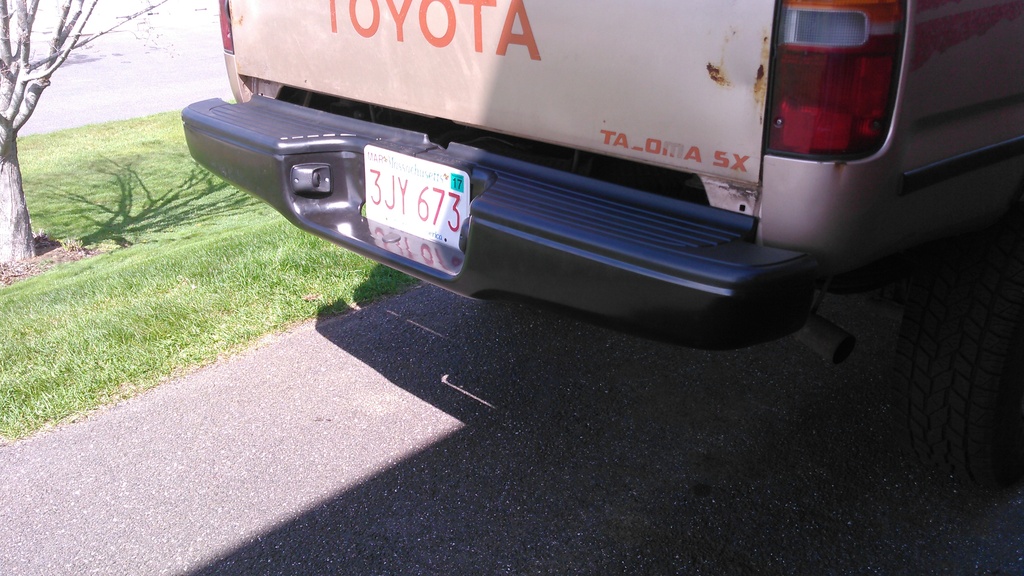
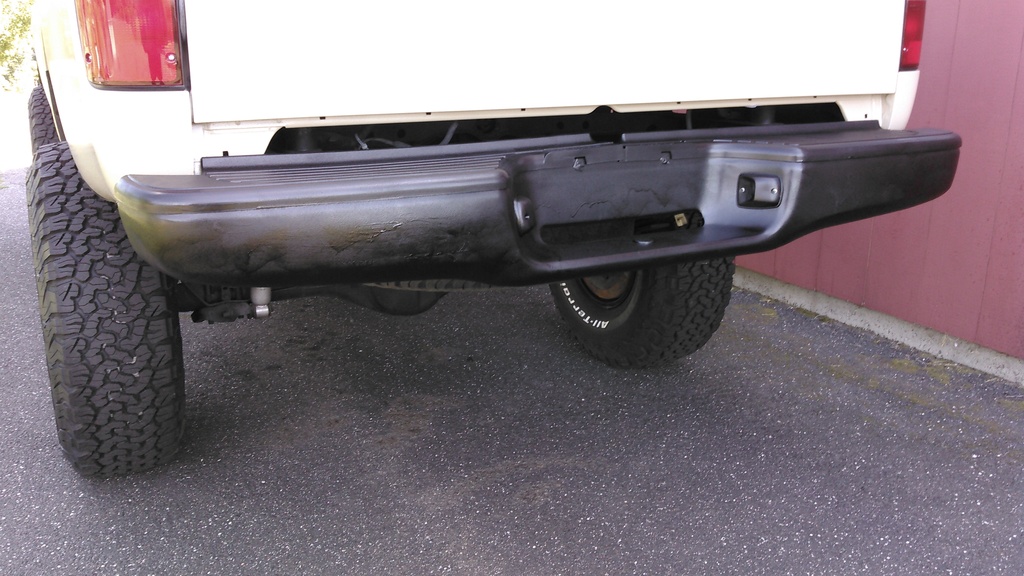
Next in line was a new rear bumper
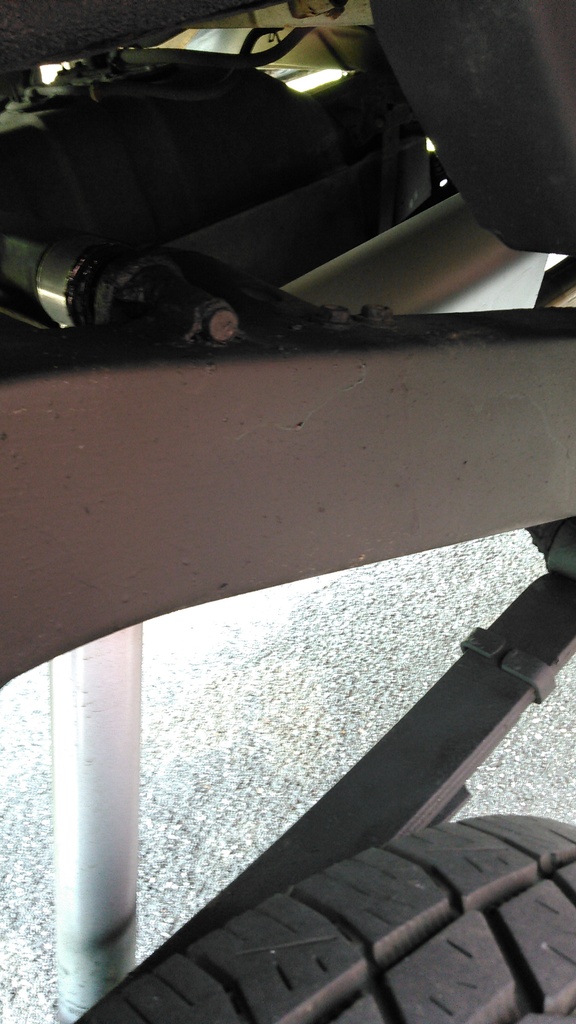
I then decided to clean up the surface rust on the frame. What followed were a few heavy coats of rustolem flat black. Later to be undercoated with AMSOIL Heavy Duty Metal Protector. Worked GREAT as an undercoating on my other truck. Really repels all the moisture and salt, also very durable even after weekly power washes.
The next phase was wheels and tires. Because I was fortunate to acquire a truck with 4.56 gears already installed, I went with 33x10.50 BFG KO2's. Great tire. Also went with 15x8 American Racing Baja's in satin black. At first the place I got them from sent me the wrong closed-end hubcaps as seen in the pictures. I did not really notice much of a power loss or mileage change with this setup. At this point I was averaging about 17 MPG.
Then one of the largest financial decisions I ever made came around. I wanted a total rust repair and paint. In addition, I needed a new windshield due to what I assume was a BB gun and a rock (like that when I bought it).
I got five different estimates, the closest shop to me turned out to be between $1500 to $2000 less than the others. Also, they are extremely reputable and have been in the restoration business since the early 1980's. Not to mention, the local State Police barracks has all of their bodywork and detailing done there, so that helped with my confidence in the place.
As for color, I really dig flat colors and I love tan. Out of a huge color wheel of shades of tan, the one I picked out happened to be a factory Toyota color! The original one was 4M4, Seirra Beige Metallic. The one I picked was 4Q4, Beige. Crazy how that worked out, first color I pick happens to be an original factory option (minus the flattening agent put into the paint mixture).
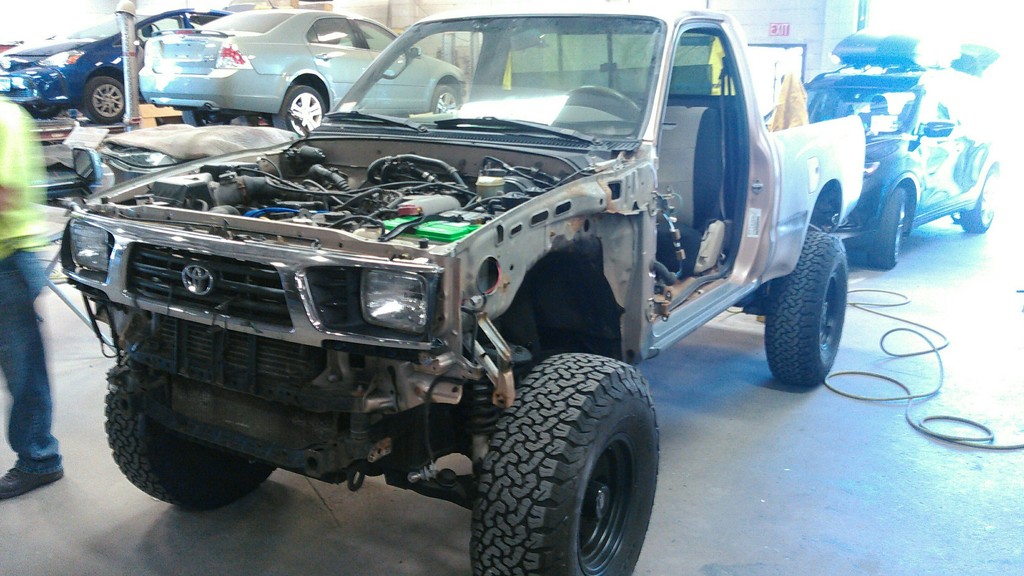
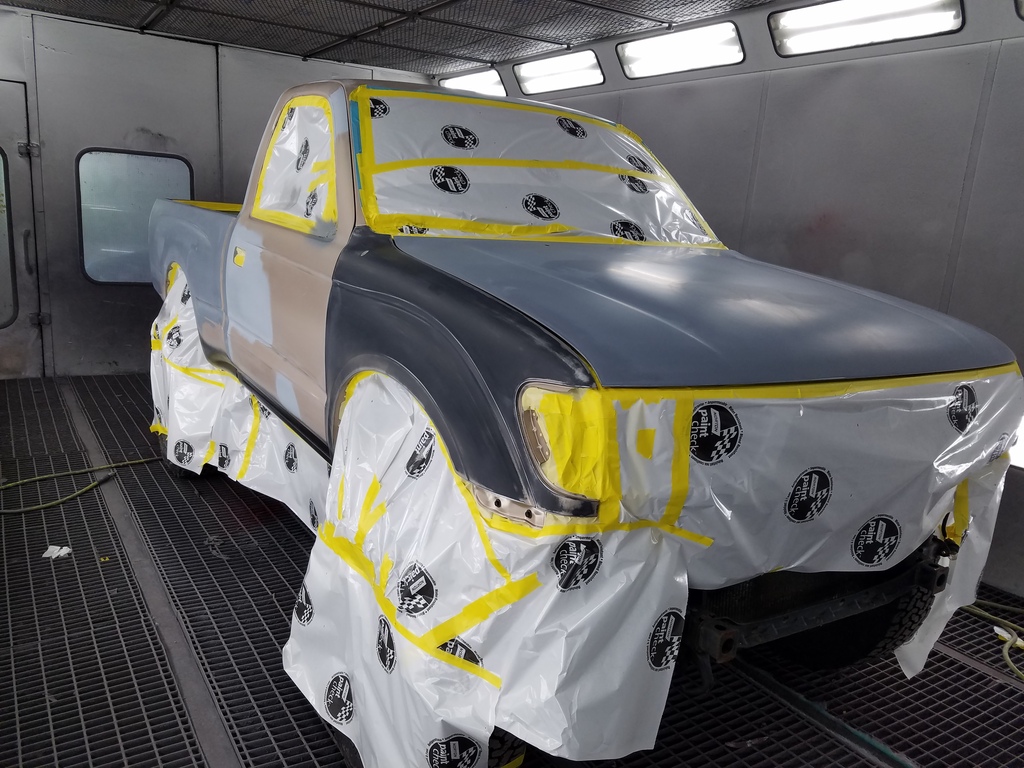
At the shop I almost had a heart attack when I saw it like this, I am unhealthily obsessed with keeping my vehicles clean.
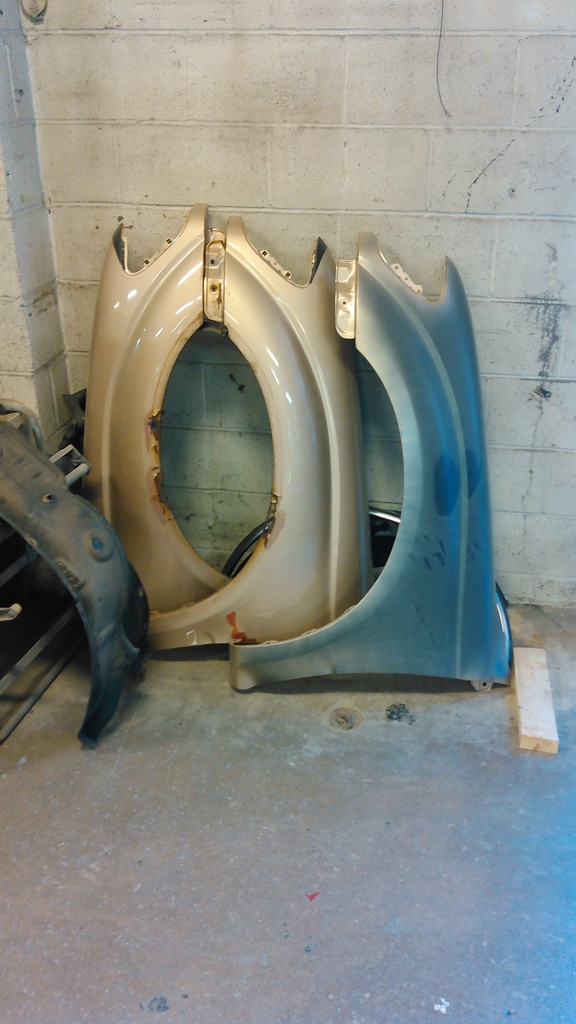
Fenders, old and new:
In the paint booth
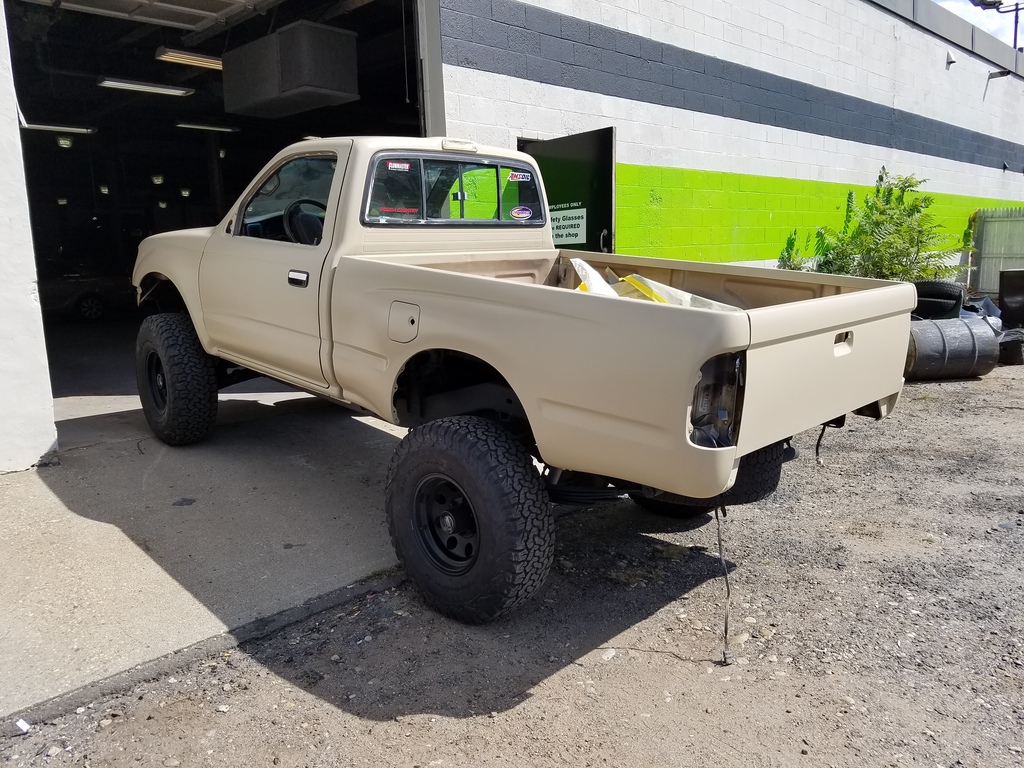
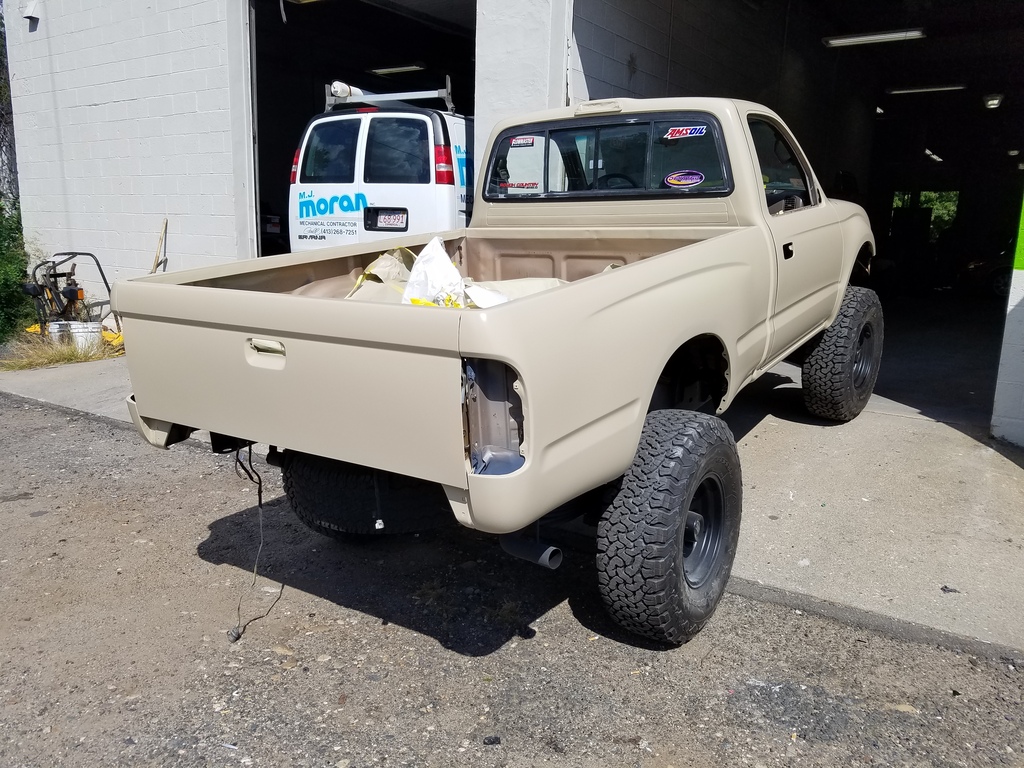
Out of the paint booth
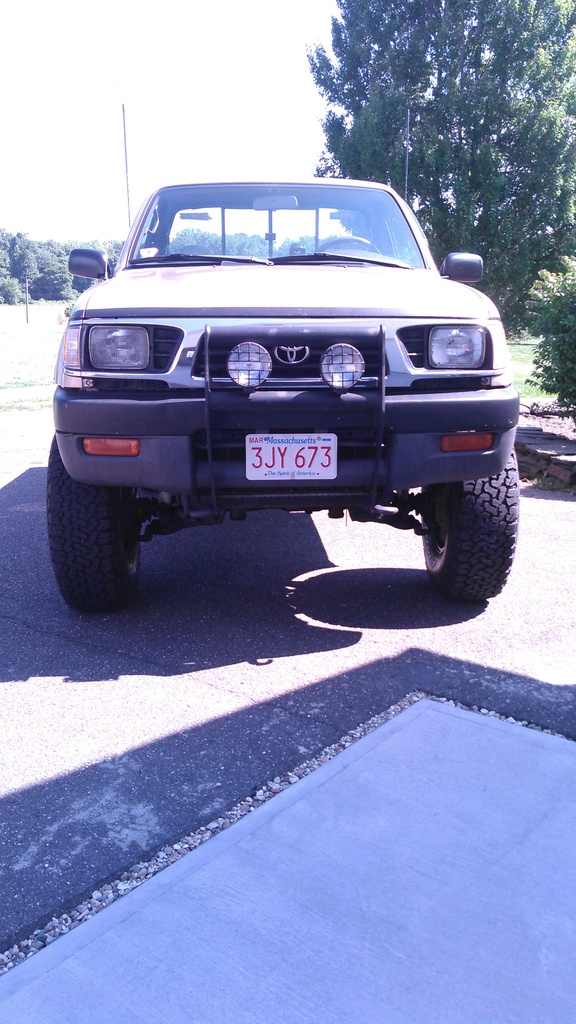
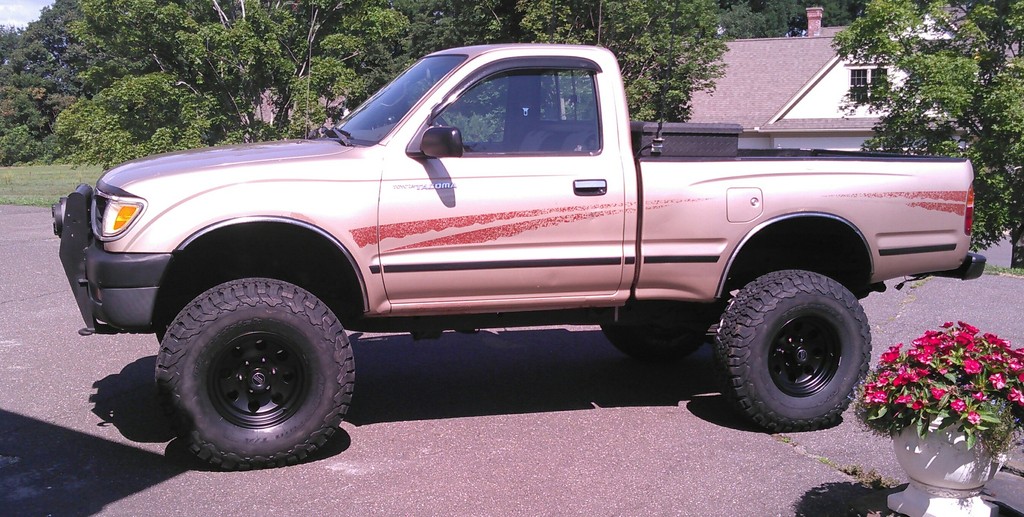
And back home (with a before and after comparison)!
Then with the fender flares from Bushwacker!
Last edited by TacoTank; Apr 17, 2017 at 05:05 PM.
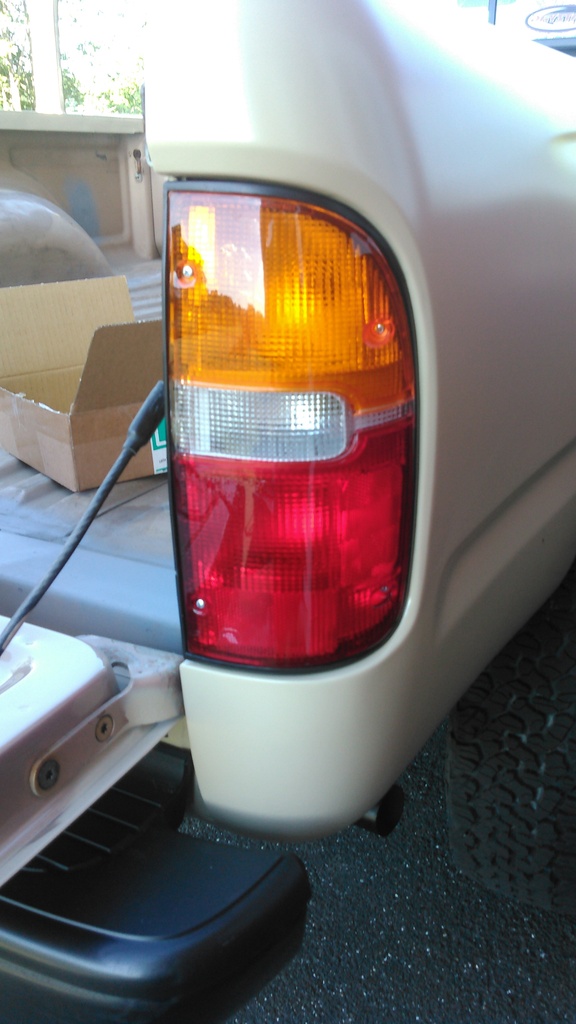
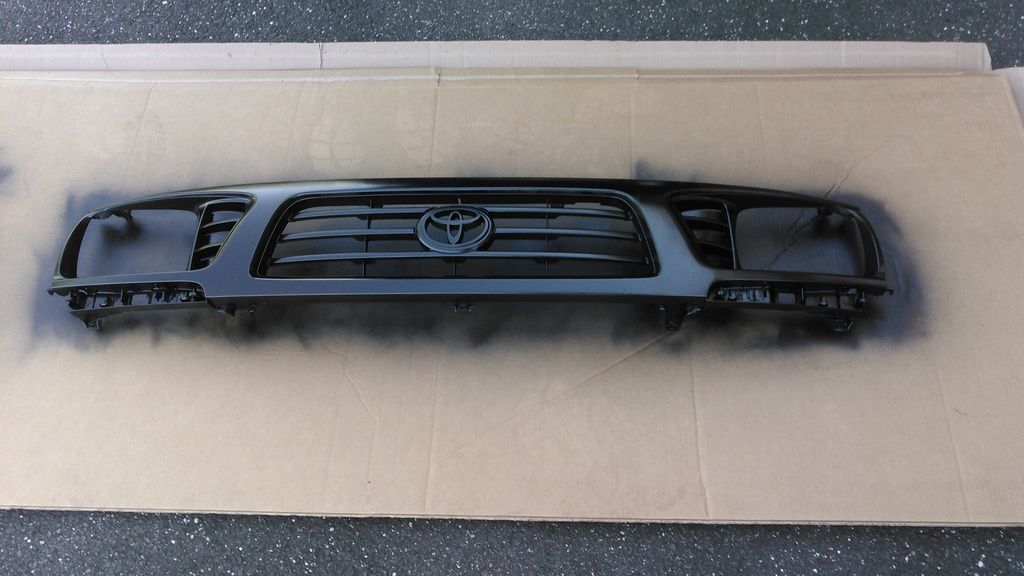
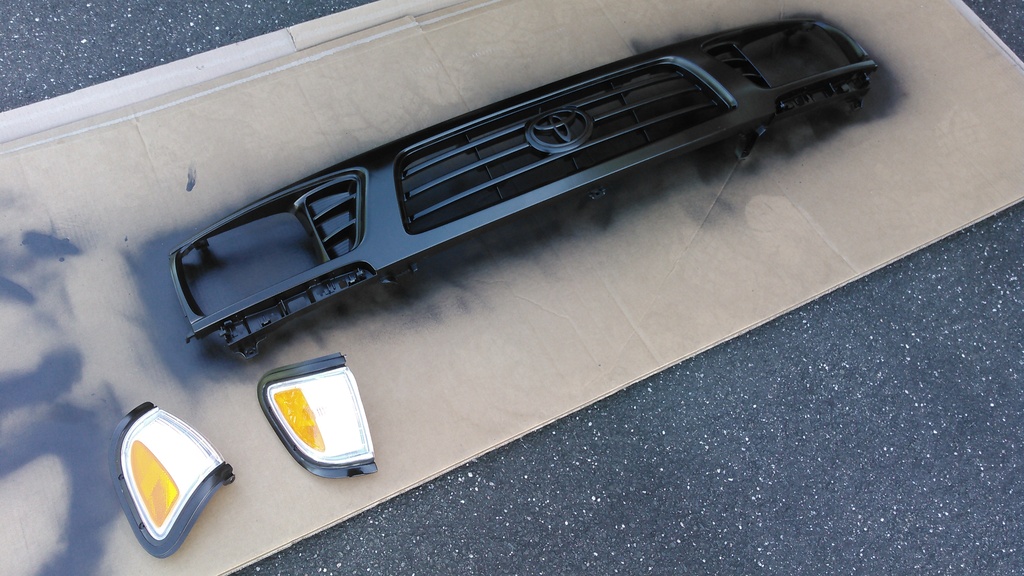
Next step was to replace the the tail lights and side markers as they were in terrible shape. Also painted the grille and light surrounds flat black. Each got prepped and then finished with three coats of Krylon automotive trim paint First real paint project I took on since the frame. I worked as a painter for one summer during school, so I was able to use some skills here. I was also able to track down those little trim pieces (filler panels?) that go under the headlights as the truck was missing them.
After that, I did my own spray in bed liner, to which I applied to the bull bar and bumpers (both sides to prevent rust):
(Bumper was still wet here, came out very smooth)
I will be updating later once I find a picture of the bedliner, I was happy with how that came out. The body shop did all the surface prep for me so that was great!
Next was a radiator guard that I had a local mechanic build. That was also painted with bedliner:
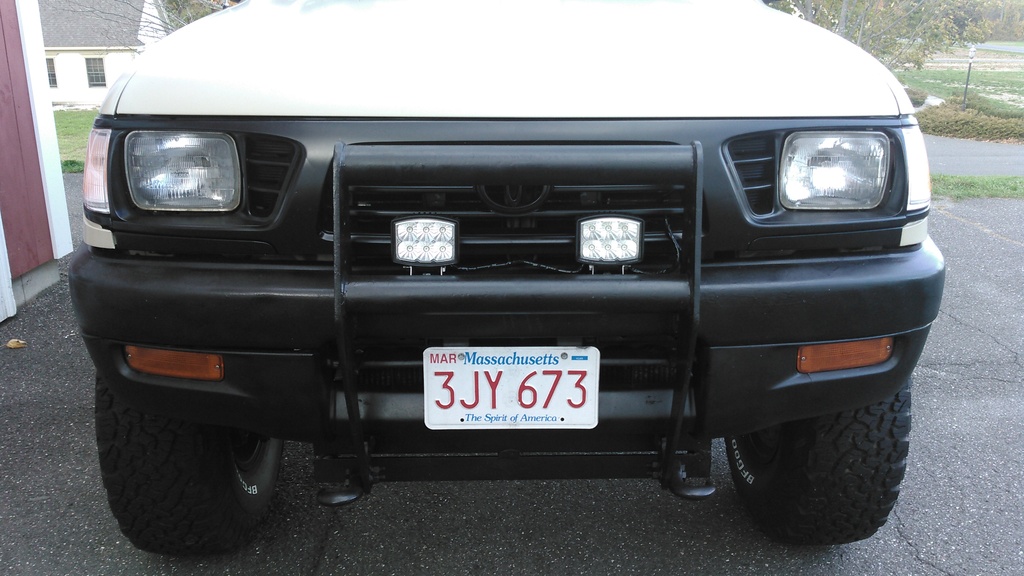
Next up was one of my favorite parts, lights! I am one of those people who does their wiring jobs extremely clean. I used switches from OTTRATW, they are excellent quality. Lights and supplies were ordered from Super Bright LED's. Great company to deal with, excellent customer service reps and fast shipping.
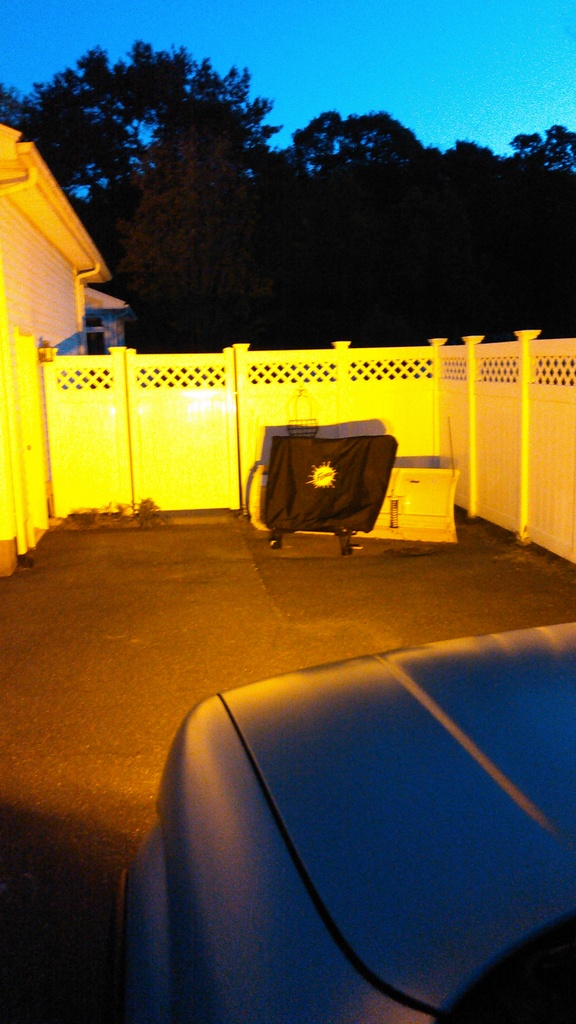
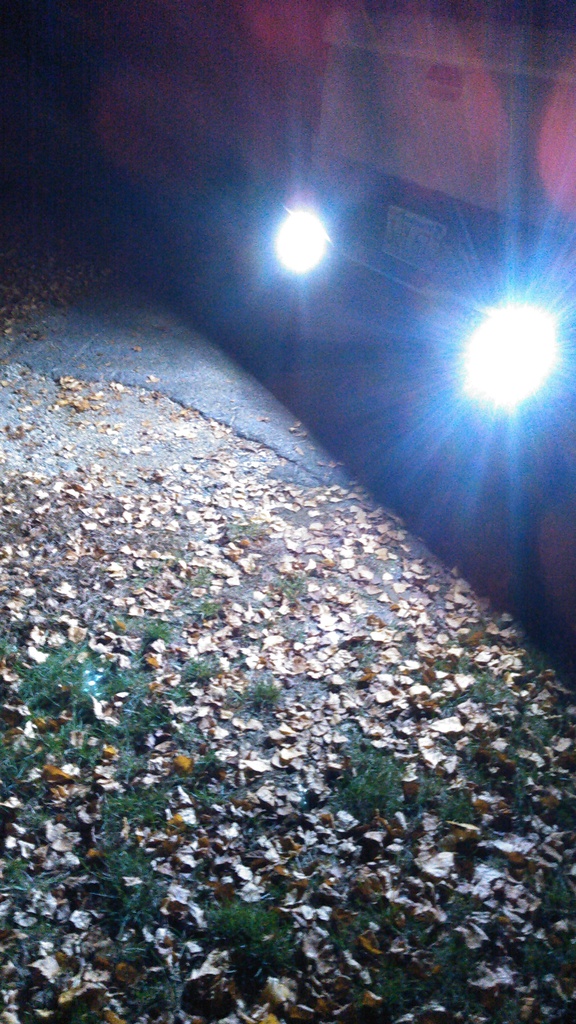
First were front amber LEDs (yes the picture is a repeat!)
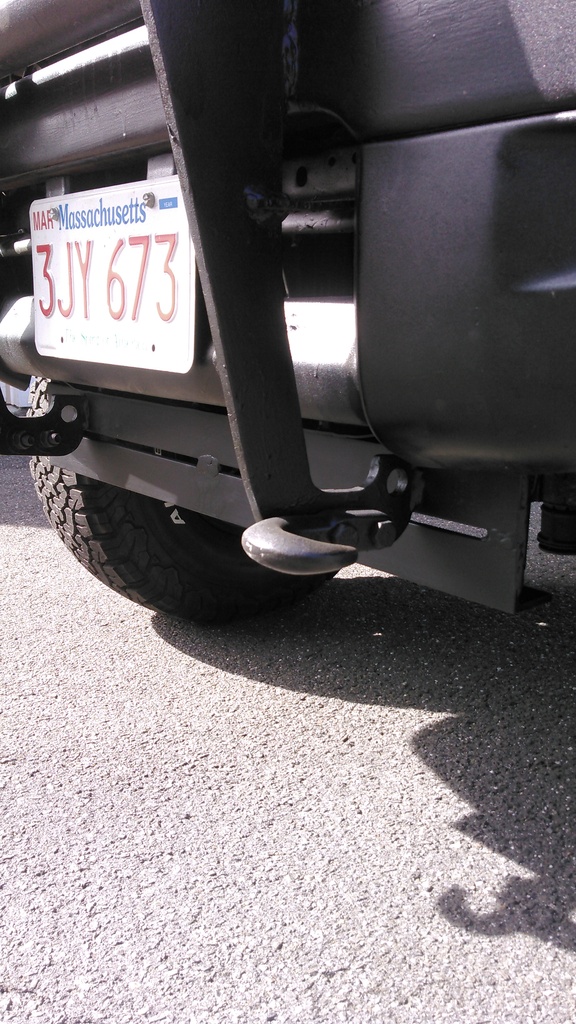
Next were rear white LEDs. Not only for those people that want to ride your bumper instead of passing you on the left, but they are great for backing up:
Last were to add some accent lighting. I used those LEDs that are incorporated into bolts, I placed two on each side and wired them to their own switch. I will add pictures of the switches themselves later. The mounting plate came from a member over at TacomaWorld. He owns Paranoid Fabrication and makes switch panels that go under the radio or replace the factory clock. (I will have to get a picture with the new Clarion radio I installed, that lights up red too)
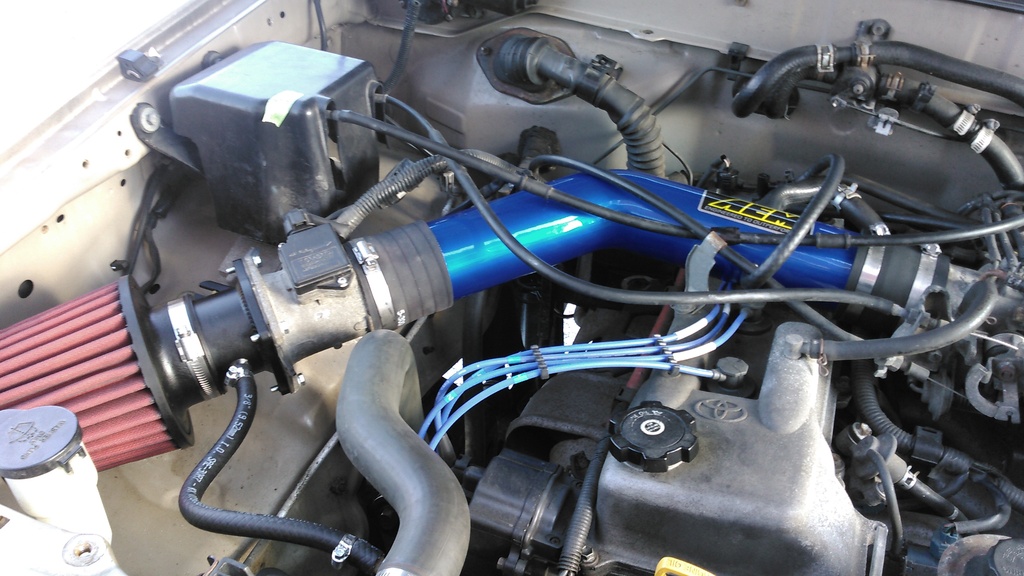
So I decided I was sick of the sound that the deck plate modification made. I am also skeptical of the results that were produced from that gentleman's dynos as I beleive they were on a turbo engine that still had emissions hooked up. I also am on the side of the argument that ram air and cold air intakes are worth it for most engines. HOWEVER, I also believe it depends entirely on what has been done prior to the intake that dictates how much you will benefit from it, but that is a discussion for another thread!
I decided to go with the American made AEM Short Ram, picked it up from Summit Racing like most of my gear. It is rated the same as the K&N on a few different sites (AutoAnything being one of them).
My only complaint is that I had to modify two of the hoses. For some reason, it seems that the fuel pressure regulator hose is in two different spots depending on how early in 1995 the truck was manufactured. I had to get a longer hose length to reach around the front of the pipe. Also, I had to get a hose connector and extend the idle air control hose a little, very easy fixes. So far I am extremely happy with the intake. It is a bit more peppier overall. The most significant gains seemed to be in the higher end and highway driving (I have a short stretch of highway for the school commute, work commute is only nine minutes away). I also like the sound it makes and how it cleans up the engine bay. In addition, I just completed a two and half hour drive averaging 60 mph and the truck handled it with absolutely zero issues. Also, my mileage was 18.5 MPG for the trip. I will be taking note of mileage on the way back as well and over the next few fillups to see if I gained any mileage as it appears so far that I have.
Last edited by TacoTank; Dec 17, 2016 at 05:15 PM.
- Fuel Filter replacement (Was going to do it last week, but it has been extremely cold and my work space is not heated, so I did the previously posted intake instead)
- Rear Locker, this will depend on whether I decide to make this my daily driver for good. Currently seeking a 1988-1994 pickup with a V6.
- Supercharger (will not be until I relocate for work next year)
- Swap front strut spacers for longer coils instead
- Any ideas anyone comes up with throw them my way!
Alright, as promised I would post a pic of the switch panel made by Paranoid Fabrication. They come unpainted so I just gave it a few coats of Rustoleum flat black. These replace your clock (mine was broken) perfectly. He also makes one that goes under the radio. I wired my switches into the dash circuit so they all light up on that switch. Not pictured is the switch for the dash lights, same style but I used the factory cut out in the trim panel under the driver's side vent.
MILEAGE UPDATE:
As I stated in a previous post, my mileage improved a little with the intake on the 150 mile trip north. On my return, I did not run any heat and achieved and average of 20.1 MPG's. I'm quite happy with that. I figured this out by starting with a full tank and determining how much gas I used on the next fillup. The trip north was about 7 gallons with heat on, return trip was just barley over six with it not on. My reason for more fuel being used on the first leg of the trip is sitting in traffic about an extra 40 min at a crawl out on 495.
Seeibg as the next project is the fuel filter, I wonder if that will help any with power and/or mileage?
Just an update, all is well with the truck minus a brake pad that loosened up a little. Next month will see power steering and tranny fluid changes and possibly a new pump as well as a new gas tank and fuel filter.
Truck looks awesome, really like the flat paint. I cant believe you got it painted that cheap along with the some rust repair, it turned out great. If your still doing maintenance items, you may want to consider replacing your lower ball joints as preventative maintenance. On the Tacoma and 4runner, they were not a fail safe design and they are a potential failure point especially with lift & larger tires. I know this first hand, as I had a friend lose one on his 01 4runner (140K), it totaled the truck. The low BJ failures are well documented online. I always try to tell people with Tacoma's and 4runners about this, most people say do them every 100K to avoid failure. Another tip on your tranny oil change you mentioned (you may already know) use only GL-4 rated oil. I put GL-5 in my Toyota years ago, 15K miles later the tranny was shot (GL-5 eats the bronze synchro's that Toyota uses) it was a bummer as the truck only had around 85K miles when the tranny went. Keep updating, I like the way your Tacoma is turning out!
Truck looks awesome, really like the flat paint. I cant believe you got it painted that cheap along with the some rust repair, it turned out great. If your still doing maintenance items, you may want to consider replacing your lower ball joints as preventative maintenance. On the Tacoma and 4runner, they were not a fail safe design and they are a potential failure point especially with lift & larger tires. I know this first hand, as I had a friend lose one on his 01 4runner (140K), it totaled the truck. The low BJ failures are well documented online. I always try to tell people with Tacoma's and 4runners about this, most people say do them every 100K to avoid failure. Another tip on your tranny oil change you mentioned (you may already know) use only GL-4 rated oil. I put GL-5 in my Toyota years ago, 15K miles later the tranny was shot (GL-5 eats the bronze synchro's that Toyota uses) it was a bummer as the truck only had around 85K miles when the tranny went. Keep updating, I like the way your Tacoma is turning out!
Thanks for the tips! Already had the lowers done 3k ago after seeing there was a recall (only back to 99 or 2000 though if I remember right).
Was not aware of the GL5 vs. GL4 issue. The tranny shifts amazingly well for how many miles are on the truck, definitely want it to last! Next month those reading this thread will see some updates. Throwing around the ideas of a rear locker and aftermarket UCA's...
Hey everyone! Back with some updates, been busy with work and am moving soon so I haven't had much time to get on here.
My truck has received some finishing touches, I had a shop do power steering and transmission flushes as well as a gas tank cleaning and new fuel filter. Definitely made a difference in both startup and idle. Couldn't be smoother!
Also decided to get some new locking hubs, Summit Racing had a great price on Warn locking hubs. Very happy with them, and as always here's some pictures:
Last edited by TacoTank; Apr 16, 2017 at 08:06 AM.
Hello YotaTech! Been a while since I have updated here. Recently re-located for work and finally got settled.
A few new things for the truck:
New complete rear drum brakes and a re-do of my bumpers. I was not totally pleased with how they came out so I recoated (brush on this time) with three coats bed-liner and then one coat Rustoleum gloss black. Everything came out great! While I was at it I decided to paint the tow hooks red as a little accent piece (No picture yet). Not sure if I mentioned this earlier but I also went ahead and threw on some extended sway bar links, which I feel improved my handling a little.
As for whats next this summer I am seriously considering aftermarket Uniball UCA's. Narrowed it down to Camburg and Total Chaos, just gotta make a decision!
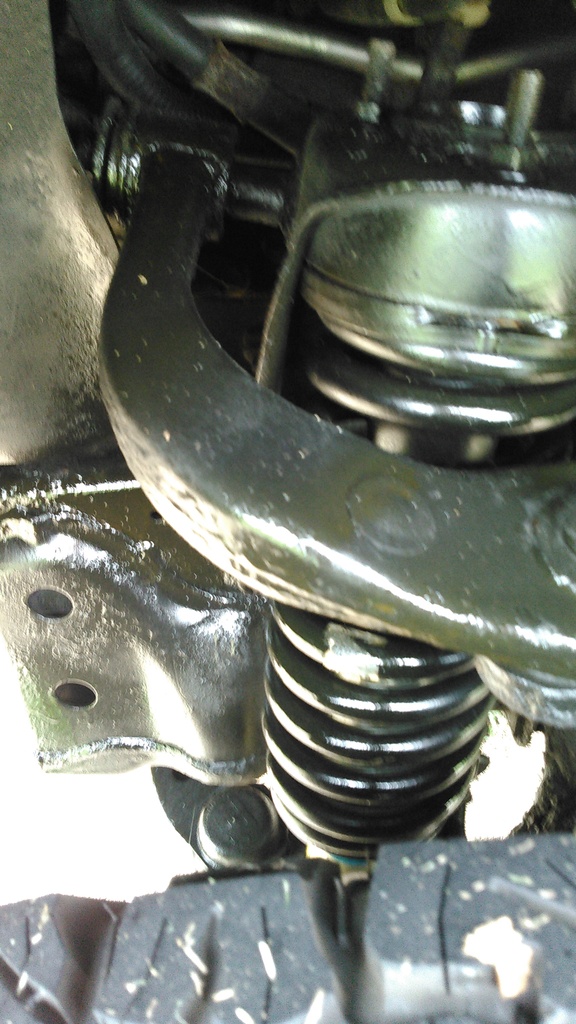
Alright I have aftermarket UCA's on order!
Set to be installed and aligned in just over a week. Ended up going with the SPC Light Racing set with ball joints (and new bushings). After much research I decided against the Uniball style. My reasoning is that it is tough maintenance in the winter where road salt is used. Me living in the northeast and having this rig as my daily driver puts uniballs at a great risk to expedited deterioration. However, I am careful to undercoat my truck myself every fall as well as wash it regularly after every salt dump (which is excessive in my area.)
In addition, as much as I liked the Camburg and Total Chaos options, they seemed to be geared more towards serious off roading, whereas my truck only has a 2.5" suspension lift and stays on the pavement. The SPC arms ended up being the most cost effective and appropriate choice for my application. Proper alignment, better handling, and a little better ride is all the truck needs. Plus the adjustable heavy duty balljoints are a nice feature.
They're on!
Aftermarket UCA's are absolutely one of the best investments I made on my truck. The difference in handling as well as overall ride is night and day. Much softer ride, very similar to stock. Much better control at all speeds, most noticeably on the highway. It is also nice to see a normal ball joint angle now instead of them being forced downward.

 Dec 17, 2016 | 03:52 PM


 \
\


 \
\