When you click on links to various merchants on this site and make a purchase, this can result in this site earning a commission. Affiliate programs and affiliations include, but are not limited to, the eBay Partner Network.
They fit perfectly. And not only are they a little larger, and have those extendable 'tabs' on the inside to block the rear view mirror gap area, the driver's side even has a 'Homelink' remote in it.
I tried to get her some parts too but failed. I found some super nice gray leather power/heated seats in a Lexus LS400. I measured the width of the frame rails, spot on. I roughly estimated the width of the seat bottoms, looked pretty close. So I nabbed them.
I didn't even think about how tall they were. We got them home, took out the passenger seat, and tried to set it in. Lol, they were just plain too big. The seat bottom was too tall. The seat back was too tall (and too wide) Just not going to work in any sense of the word. The door wouldn't even close with the seat all the way in against the center console.
Ahh well, they were (are) so pretty, they're just way too bulky.
I wasn't even going to mention the funny seat fiasco.....you get an A++ for effort and they can still be exchanged for a better fit AND they would have been awesome had they fit, in such great shape.
Hey coopster, what he said about the fit ^
They came out of an '02 3rd gen, if that helps, though not all had them.
Happy Anniversary!!
that Volvo looks like a great find
congrats on the visors! I had a set of those I was gonna throw in the 94 but a friend made me a nice offer on them..should have kept them!
Thanks!
The kid is very excited to start driving the Volvo- the biggest problem I see so far is our Volvo to Toyota ratio is now skewed. Hmmmm...
I'd be willing to trade out my Ford frankenvisors for a set though the Ford visors have been way better than the '96's tiny old ones.
Originally Posted by dropzone
bummer about the Lexus seats being too tall. They would have been a nice addition
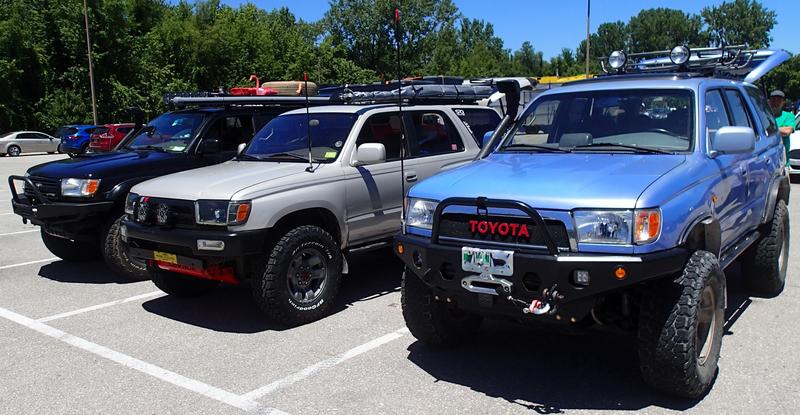
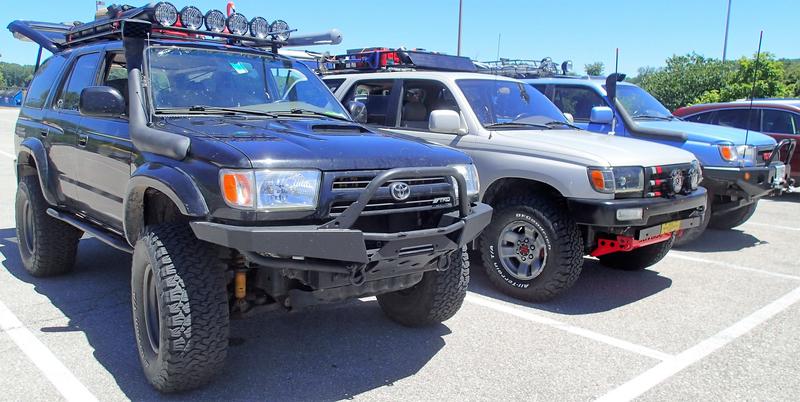
Met with chuckles89 and Colgate today, each have really nice trucks with cool and various mods that made each truck that much better. It was cool to see in person what you've been following in words and pictures. Nice group of people to boot.
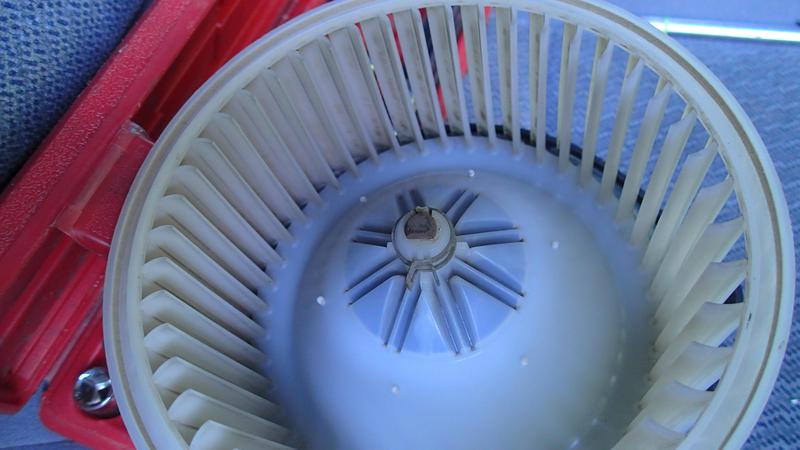
Another curiosity thing. I'd done the a/c expansion valve back in June 2011. I clean the blower cage now and again, usually when it tells me to (noisy). Today it was quiet and clean:
I haven't since cleaned the evaporator core.
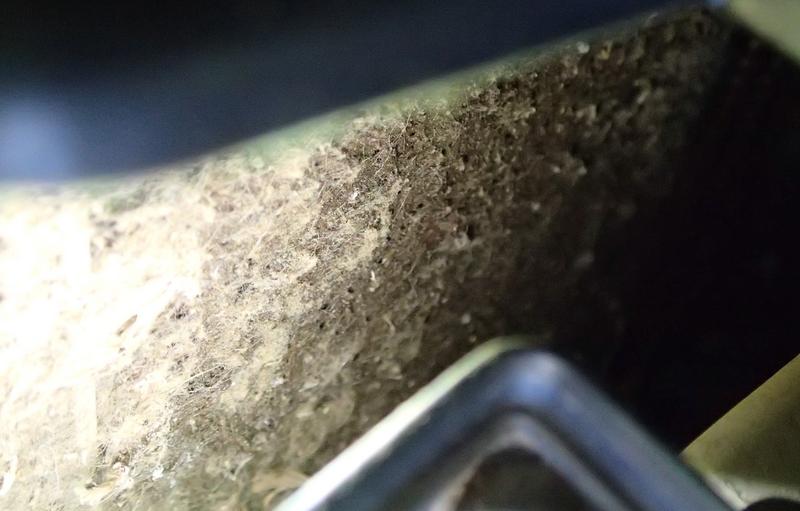
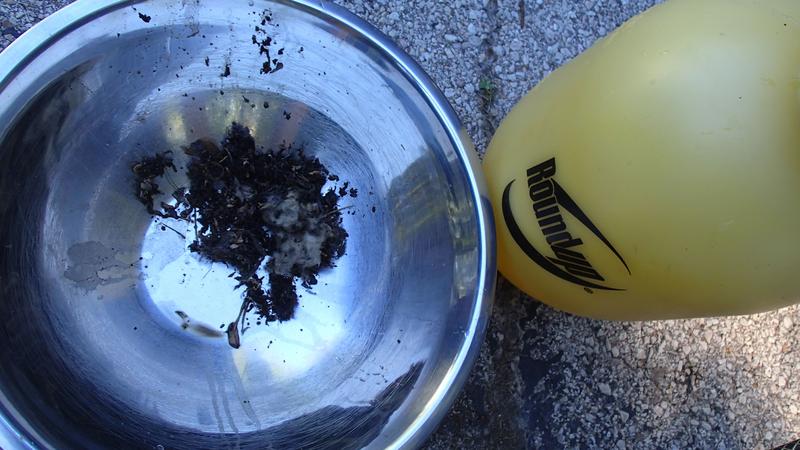
Today I got curious and popped open the box just enough to see how it looked:
As many of you know the evap core looks like a radiator, shiny silver with all the little fins. It was about 70% crudded up with dirt and uck.
First I used a toothbrush to gently knock the junk loose but
1) It didn't work too well and
2) it wasn't near long enough
Next I removed the drain hose from the housing (firewall side) and replaced with a longer hose. Then I used a spray bottle of water. That was a little better but still not reaching far enough.
Fine. I got a 1 gallon sprayer out and used water with it. Two gallons of a mist gentle enough for plants later it was all shiny clean again. I also had to reach in with my scrawny hand and remove a bunch of bigger junk from the bottom of the box.
It was gross.
Buttoned it all back up and now my a/c is even colder.
Minor upgrade.
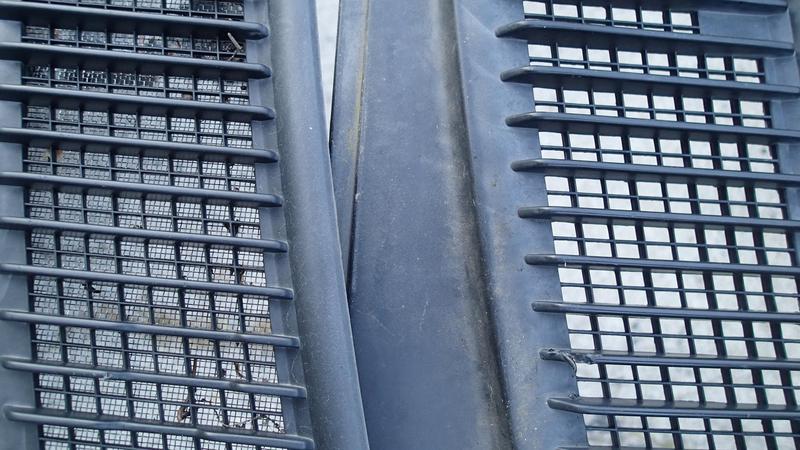
The '96s wiper cowl doesn't have any screening such as the newer 3rd gens have.
Left: off an '02- Right: mine off the '96
The nut covers for the wiper arms pop off, unscrew nuts, make note of where the wiper arms rest on the windshield, wiggle wiper arms off (knurled post so wiggle straight up, not by twisting).
There are 6 small black phillips head screws along the top edge of the cowl. Unscrew and promptly drop into engine compartment....er.....DON'T drop into engine compartment.
Raise hood.
There are 4 plastic fasteners along the bottom edge that need to come straight up out of their keepers. There's a little ball on the ends of each holding them in, so you have that going for you.
Once it's all loose gently work it up towards the windshield side, up over the wiper posts, out of the corners, and off.
When it's time to put the cowl back together it's pretty simple, just reverse procedure. I used a little hammer to pop the 4 plastic fasteners back into their holders.
When it's time to put the wipers back on the shorter (there is a short and a long) one goes on the driver side.
If you have some screen laying around, like from a screen door repair, you could just cut and fit a non-screen cowl with screen. It's just rectangles made to fit the slotted holes.
Hey Hab, I'm intrigued by your evap core cleaning method. So if I understood right you just took the fan out and sprayed water on the fins from the opening, allowing the cruddy water to drain out the tube? Do you think one could use a little cleaning solution as well?
Hey Hab, I'm intrigued by your evap core cleaning method. So if I understood right you just took the fan out and sprayed water on the fins from the opening, allowing the cruddy water to drain out the tube? Do you think one could use a little cleaning solution as well?
Yep, not saying I did this the right way so as always at your own discretion- I unscrewed and took out the glove box, took out the metal bracket and the air duct (slide towards passenger until can clear and pull out driver side first) that was behind the glove box, took the blower motor out, Unplugged what needed unplugging (some were difficult), popped off the two metal clips that hold the evap box together plus some screws and bolts til I had enough room to work. I removed the drain and replaced it with a long hose to ensure everything drained to the outside. It prolly would have been fine using the a/c drain but I have the kind of luck that makes it unlikely.
Some of the gunk was on the bottom of the box. I was able to get my scrawny spider hand in there to scoop it out because I couldn't find a tool with a shape that would work. I had about 2" vertically to work in.
Come to think of it- my flexible grabber tool would have come in handy for that part.
It's the passenger side of the box that cruds up.
I used plain water in the sprayer with a long pick for the stubborn bits (carefully!) and that worked great, whatever you choose to use I guess you'd want it to be safe for the metals and plastics involved.
Also be aware that when you mess with that box you may end up at least partially breaking the seal between that and the ductwork on the driver side of the box that makes it more air-tight. A bit of strategic small weatherstripping worked for me.
The evaporator core fits into the slot at the bottom and there are a couple of posts that key the box halves together- if the box doesn't want to go back together they're probably hanging up on one or more of those.
Here's some pics from when I did the expansion valve in 2011, so as far as I know 15 years of build up - I had the r134a and removed and a new receiver/dryer ready for the job and was able to take out the whole mess-this time I did not open the a/c system, just basically the ductwork.
The a/c...
I had a much smaller opening the second time- the wand on the sprayer definitely helped.
Also, I talk a lot!
Very useful info dropzone, at least around here there are more Lexus's than 01-02 4Runners, especially with the extenda-visors, in the junkyard.
I'm posting the link to your thread for people who want to see it:
post #722 https://www.yotatech.com/forums/f199...5/index37.html
Very useful info dropzone, at least around here there are more Lexus's than 01-02 4Runners, especially with the extenda-visors, in the junkyard.
I'm posting the link to your thread for people who want to see it:
post #722 https://www.yotatech.com/forums/f199...5/index37.html
cool, thanks. There were more Lexus at the Pick N pull than 4runners. 2 of them had this style visors.
There were more Lexus at the Pick N pull than 4runners. 2 of them had this style visors.
I've been looking for the 4Runner visor for at least a couple of years now, so hard to find at the local junkyards. Feel free to throw up a pic if you want, I thought it'd be rude to just thieve it from you. There's always the link if you don't want.
96 4Runner 299,678 miles
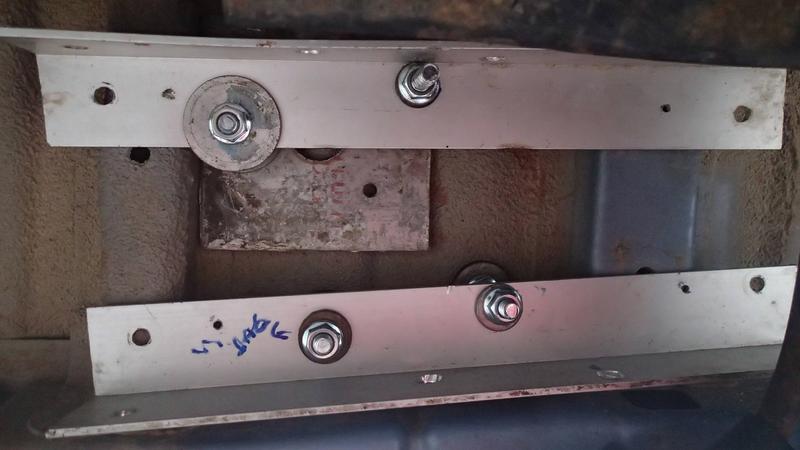
Today I rebuilt the bicycle fork mount in my cargo area, to make it more stiff. It's a little alarming to have the handlebar tap the glass on bigger bumps!
A motor mount bracket out of a Volvo 940 was involved. A cut-off wheel was also involved, thank you to the husbandio for doing that part of the job for me. Boy, do I hate the angle grinder!
I still need to get some longer bolts and drill some holes in some scrap angle aluminum to finish, will do so tomorrow.
Other than that it's been pretty quiet. The kid has been driving me around on errands so the poor 4Runner's been sitting way way too much. I miss driving....
96 4Runner 299,759 miles
got to drive 80 miles today and not be a passenger in a car driven by a 15 year old
You know how you're out working and the sweat is dripping off your body? Today we were doing trail maintenance with no breeze and sweating so much is was dripping off our clothing. We saw a nice 5th gen afterward but didn't go up and say hi because boy, do we stink!
97 degrees, 42% humidity, feels like 106 degrees.
So I've got the longer bolts and am waiting for the tree shade to hit the driveway and then I will finish my bike mount.
Stay cool everybody and have an excellent weekend!
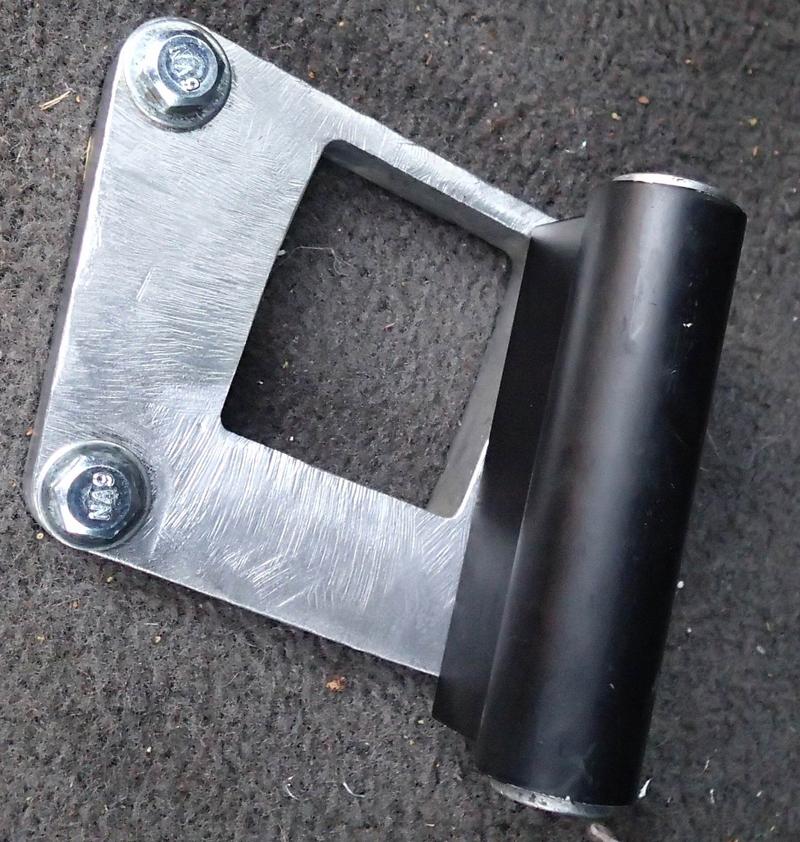
It's a cheap mount made by Delta, I didn't want it to be too tall as the bike is tall and fitting inside is the whole point. I do have to take the seat off the bike or it wouldn't fit. The fork mount had to be angled or the handlebars would be too wide to fit in the allotted space.
I found a scrap of aluminum in the recycle bin- a motor mount bracket off a Volvo 940. My husband cut all but the mounting plate off, and a couple of feet so it would lean slightly inboard (away from the window). The bolt holes matched the fork mount without modification.
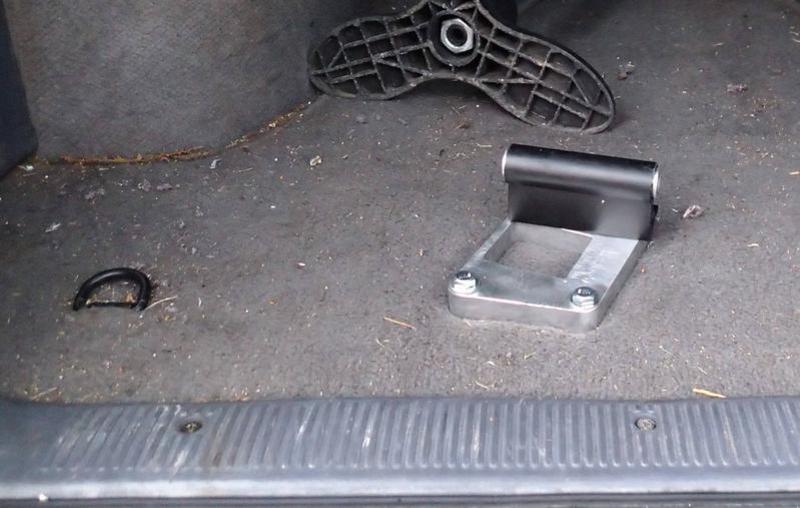
I removed a like-sized square of that sound insulation stuff from under the carpet so that the block would fit more solidly, then made a sandwich.
On top of the cargo area floor is:
the stock thin black sound mat
a flat piece of scrap aluminum bigger than the block
the carpet
the block o' aluminum
the fork mount
Underneath the cargo area floor is
a scrap of steel with large washers and nuts to secure the bike mount
2 scrap aluminum 'L' pieces bridged across the floor supports, held on with those same bolts and additional nuts and washers
It's well out of the way of stuff. The idea is to distribute the force as much as possible and to keep from damaging the cargo floor beyond 4 bolt holes. Except for the cheap fork mount, bolts and nuts everything was free.
I've been looking for the 4Runner visor for at least a couple of years now, so hard to find at the local junkyards. Feel free to throw up a pic if you want, I thought it'd be rude to just thieve it from you. There's always the link if you don't want.
.
here you go:
3rd gen visors will mount directly into a 2nd gen. I was running a set in my 94
having the illuminated mirror and extendable visors would be nice, especially for the missus.
looked on Ebay for the limited visor...sticker shock..
so decided to try an alternative: I scored a set of Lexus ES300 visors that were dirty but in great shape and dirt cheap.
not a direct bolt in but I got the features I was looking for. I'll get the light for the mirror wired eventually. I should be able to tap into the map light for some juice.
here you go:
3rd gen visors will mount directly into a 2nd gen. I was running a set in my 94
having the illuminated mirror and extendable visors would be nice, especially for the missus.
looked on Ebay for the limited visor...sticker shock..
so decided to try an alternative: I scored a set of Lexus ES300 visors that were dirty but in great shape and dirt cheap.
Awesome dropzone! Certainly an option for someone who can't find the 01-02 visors in the junkyard (less than $10, will update if I find the stupid receipt) and would like to do something about that annoying around-the-mirror spot. Thanks so much for sharing!
You know, looking at the ES300 visor in your picture, it may be possible to use those slidey parts in the '96's Ford visors if there is enough material to fit it in.....now I want to deconstruct one to see what's in there. Perhaps another frankenproject if I came across a damaged one sometime.
 07-05-2018, 06:09 AM


 I wasn't even going to mention the funny seat fiasco.....you get an A++ for effort and they can still be exchanged for a better fit AND they would have been awesome had they fit, in such great shape.