When you click on links to various merchants on this site and make a purchase, this can result in this site earning a commission. Affiliate programs and affiliations include, but are not limited to, the eBay Partner Network.
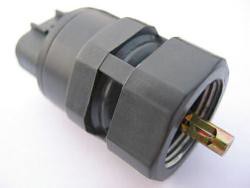
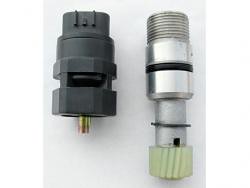
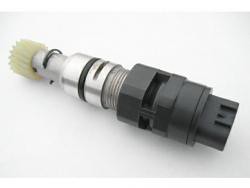
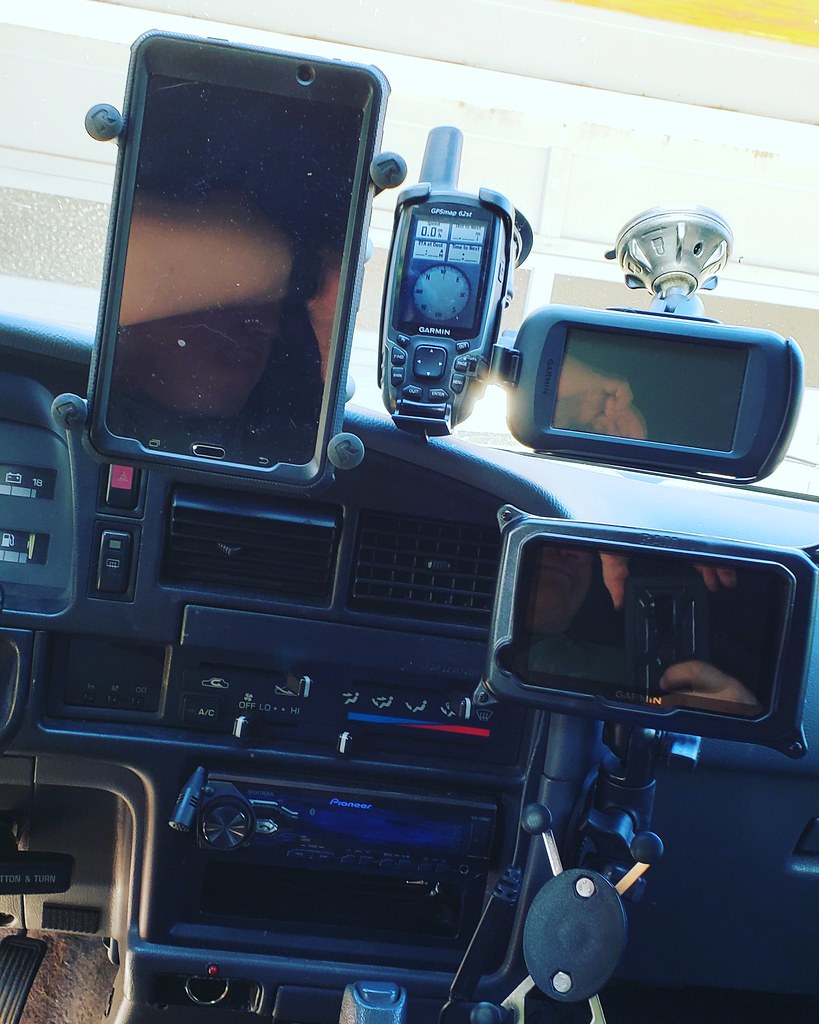
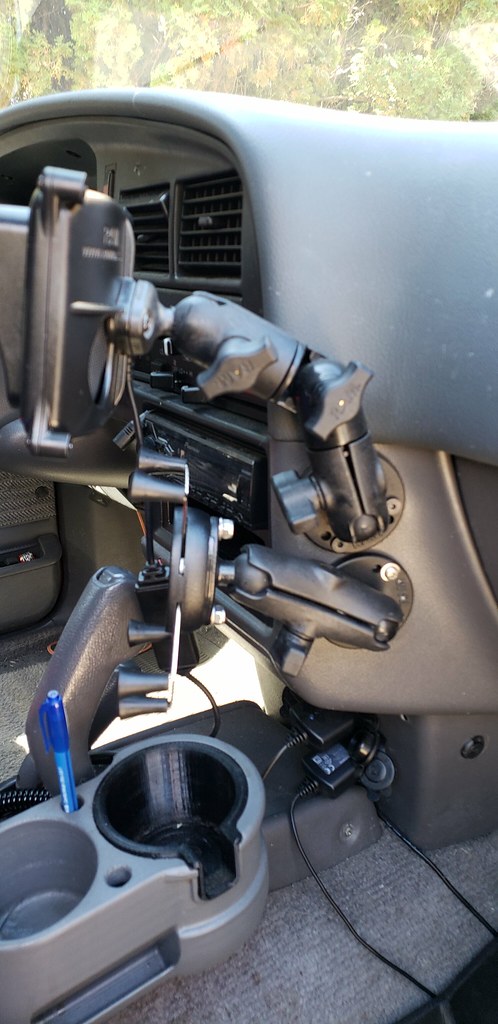
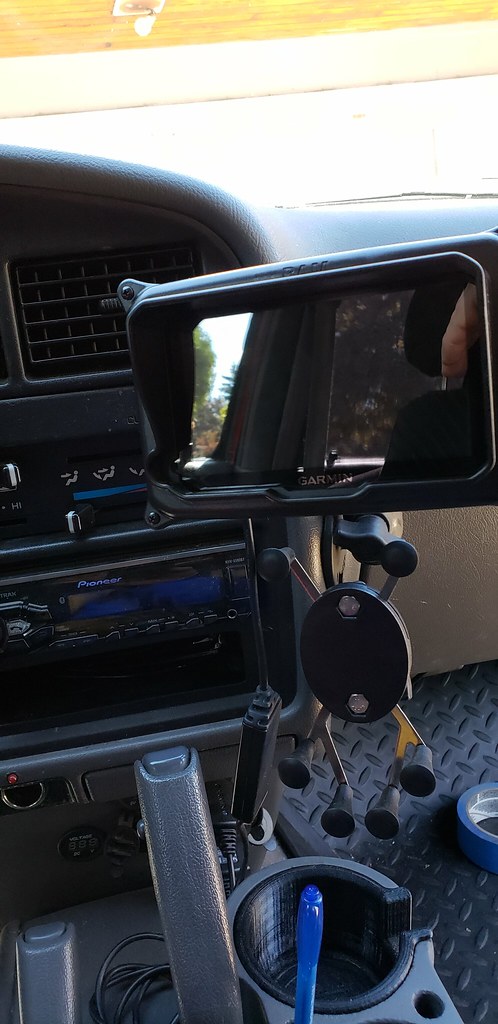
Chain Drive Transfer Case VSS speedo Sensor to gear drive Transfer case speedo sender
this post is mainly so i don't forget how to do this.
This allows you to keep your electric speedometer, when converting from chain drive transfer case to a gear driven transfer case. saves having to tear apart your cluster and converting to a 4 cylinder mechanical speedo...PITA
I will probably have to extend the harness a few inches to reach the back transfercase, unless i can find my original cable extension from the 81..
thanks for 85toyman for the info! its appreciated Don
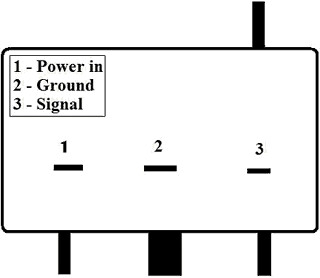
A Marlin Crawler VSS (Variable Speed Sensor) is needed to get the electronic speedo to work in 92-95 4runners when converting from chain drive to gear drive transfer cases
trouble shooting info
To troubleshoot the operation of the sensor, connect a 12 VDC power source across pins 1 (+VDC) and 2 (GND), and connect a multimeter across pin 3 (SIG) and the power source ground (or pin 2). With your multimeter set to read voltage, you will see two distinct voltage readings as you slowly rotate the shaft of our VSS: 0.07-0.08 VDC and 12 VDC. The lower reading is the nominal voltage (outputs at least this much voltage), and the 12 V reading is the pulsed output signal (which occurs exactly 4 times during one full shaft rotation).
The pulsating output signal (pin 3) will be the same as the input voltage at pin 1 slightly stepped down from internal resistance. If a lower voltage signal is needed, then use a relay, controlled by your vehicle's ignition ON power source, to activate a different power circuit whose voltage has been reduced through a resistor.
Any vehicle input voltage may be supplied and the output will always be the same as the input. The voltage drop due to internal resistance is about 5 millivolts (0.005 VDC) and may be neglected. For example, if you input 5.00 VDC at pin 1, you'll receive 5.00 VDC at pin 3 at four distinct positions per shaft rotation. Connect 8.25 VDC to pin 1, you'll get four 8.25 VDC signals at pin 3. And so on...
Habanero scored a set of 01-02 Limited Illuminated extendable sunvisors for her 3rd gen and that got me looking.
3rd gen visors will mount directly into a 2nd gen. I was running a set in my 94
having the illuminated mirror and extendable visors would be nice, especially for the missus.
looked on Ebay for the limited visor...sticker shock..
so decided to try an alternative: I scored a set of Lexus ES300 visors that were dirty but in great shape and dirt cheap.
not a direct bolt in but I got the features I was looking for. I'll get the light for the mirror wired eventually. I should be able to tap into the map light for some juice.
Should have been painting the house but it's too dang hot for latex paint so decided to work on the 4runner
Redid the roof rack today
Used some .25"x2.5"�72" aluminum strip for the main rails. For some reason I have had an 18mm drill bit floating around so put it to work in the drillpress and put a hole ever 3.5," for tie down points.
Gained 1.5" in width. May not seem like much but it will make big difference hauling junk
Bbn
Added some wattage (ok not wired yet) but should light up stuff pretty good
8020 is great and easy to work with coming up with mounting options
decided to make an upper and lower mount
I will probably swap out the lower fog lights for some clear flood light lenses. Both sets of out lights can come on separately
so almost 3 years ago I made a set of heated mirrors out of an extra set of mirrors.
I was troubleshooting a bad door lock solenoid and figured since I had the door apart I should finally install these things
I went ahead and wired them into the rear window defroster switch
Originally Posted by dropzone
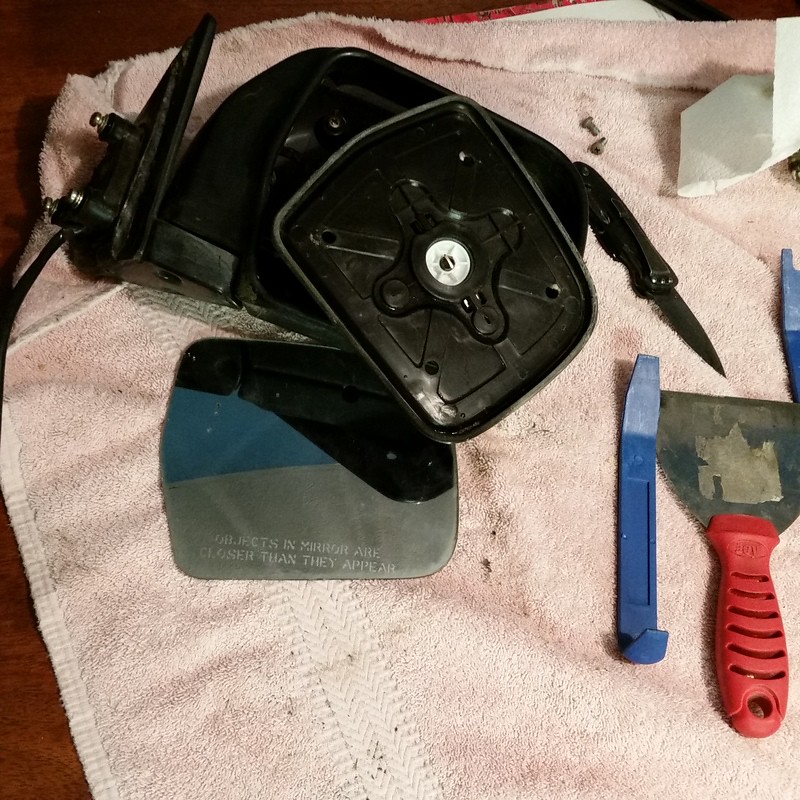
Started on my heated mirror experiment :
$15 heated inserts from eBay
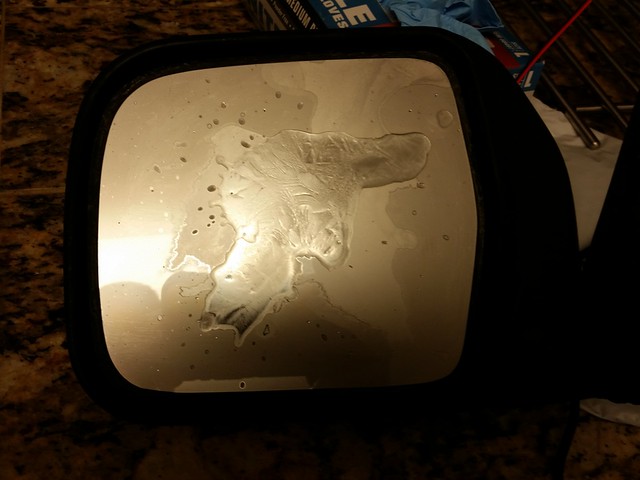
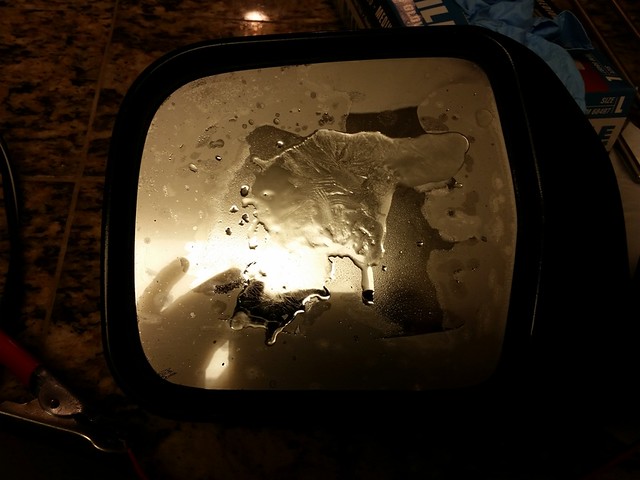
First step was to get the mirror apart, there is a screw on the bottom of the mirror that will allow you to get the motor assembly and mirror out from the housing
Assemble your chosen weapons:
Is this case a wide putty knife and plastic pry bars worked for separate the mirror from the mount
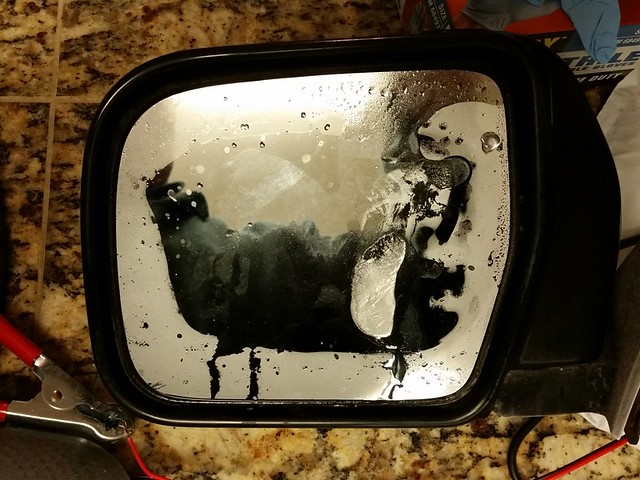
I trimmed the heated insert slightly [img]https://farm2.staticflickr.com/1793/42186786460_f7cb3ecb87_b.jpg[/img]
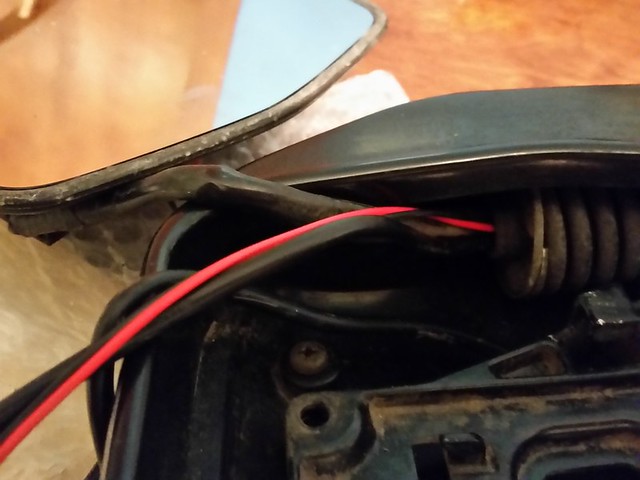
No pics but I drilled a couple of holes in the mount to allow the power wires for the heated insert power and remountEd the mirror with some 3M tape
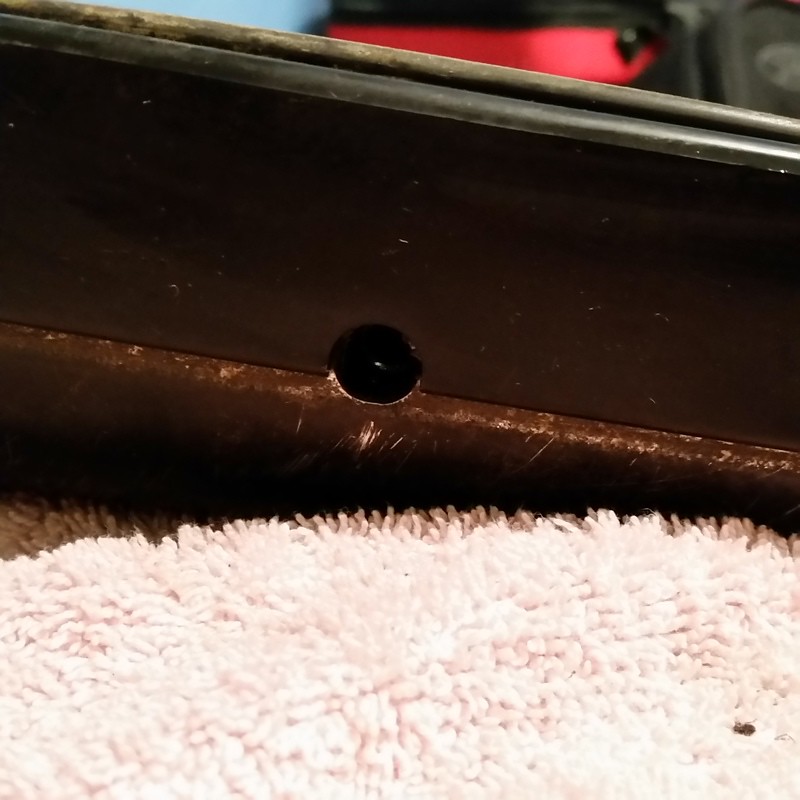
There is a small screw you can remove disassemble the the pivot point on the mount
Remove that screw in addition to the 3 bigger screws on the bottom of the housing, this will allow access to feed your wires through. [ATTAC
I went ahead and threw it in the freezer so I can test the insert after dinner...update to see iF this was successful.
It needs some touch up paint later on
Originally Posted by dropzone
So I threw the mirror in the freezer with some water on it for a couple of hours and went to grab some dinner with friends.
Hooked up the battery charger set to two amps
After about 3-4 minutes
I have an extra defroster switch that I might use or just wire them into the rear defrost circuit.
Am happy for an experiment they seem to work OK
Last edited by dropzone; 08-12-2018 at 06:53 AM.
Reason: added pic links, attachments weren't showing up
Nice work on the rack, wow, a lot of lights and heated mirrors are excellent for cold and also those humid days when the mirrors are all moistured up.
In other words, the truck is looking good!
Nice work on the rack, wow, a lot of lights and heated mirrors are excellent for cold and also those humid days when the mirrors are all moistured up.
In other words, the truck is looking good!
Thanks Habanero! i wasn't gonna do roof lights as I have tried them over the years and the glare off the hood drove me nights but with the monstaliner it doesn't reflect back into the cab much
Been working a ton of overtime at work the last couple of months so haven't really done a whole bunch truck project wise.
when I mounted my upper lightbar bar one thing that bugged be was as that if I hauled a ladder or something long it would rest on the light bar
I went ahead and reversed the mounts, this lowered the lightbar below the front crossbar. Now the light is about 1.25" lower and right above the roof line. It may have helped the wind resistance a little for the better.
upside is any long load now rests on the crossbar where it should be
I had been dealing with an intermittent driver side door lock solenoid for a few months, it finally died so found a good used one and got it installed today
If you don't have any of these plastic interior tools do yourself a favor and spend $15 on Amazon.
I haven't broke any interior clips/parts on the 4runner in the 3 years I had it. These were probably the 1st thing I ordered when I got the truck
The new door solenoid was a little dirty but a direct replacement
Nice to have power locks again
also made a new rear license plate mount.
the old mount blocked a bit of output on the passenger side back up light.
new mount with new LEDs, about 3/4" lower
Some may remember that I bought a few of the Rigid tool/storage boxes from Home Depot.
they are great quality for the money, stackable, dust and water tight
They also have a crate available. You can stack a box on top of it but I thought it would be nice to have a stand alone lid.
had some scrap 3/4" plywood so I made a couple of lids
fugly but functional
Thanks Jake!
So this morning there was a thread in the 3rd gen folder on t4r.org about needing more room in the back when sleeping.
If I ever get this POS out on the trail the plan is to be able to explore and crash in the back . The 4runner also sees duty hauling displays for my wife's business. It will make life easier so display panels aren't resting on top of the seat and having to drive with the seat too far forward.
Someone posted a set of $75 wing bolts that allow you to replace the factory bolts the hold down the bottom seat cushion and remove them easily for more room .
I thought wholly crap there is a market for $75 wing bolts..so like a dog that sees a squirrel I got side tracked and hit my local Ace Harware for some M8x1.25 nuts and bolts. $8-9 in nuts and bolts I headed home
A little quality time with a grinder I ended up with this stuff. Sure not as pretty as the pro shop built but they work and are in a location nobody see them anyway.
knocked out a few miscellaneous projects yesterday.
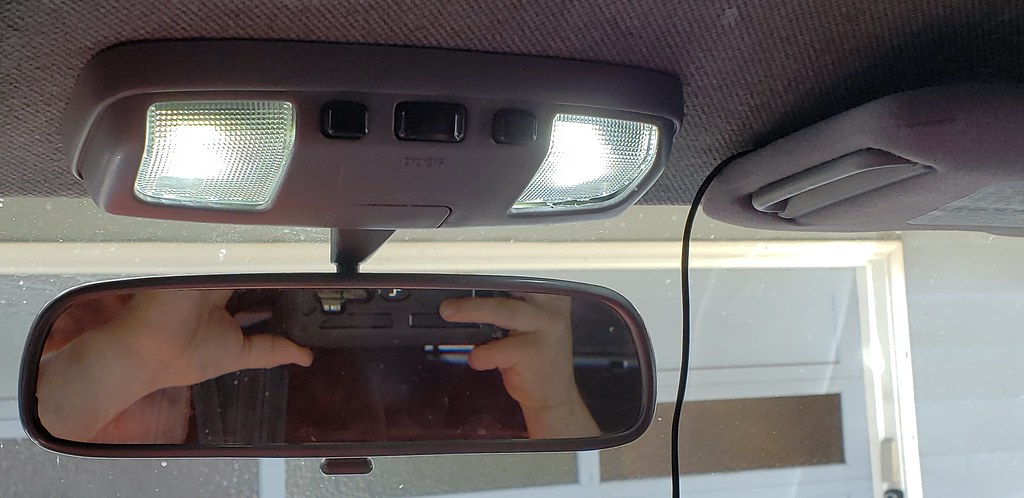
The rear view mirror map lights slowly died, it wasn't the bulbs, it finally quit coming on with the doors. my interior is grey so swapped the mirror and fascia over to the new to me mirror housing. It is nice having working lights again, as the days grow shorter and the nights are getting longer it was a feature I had been missing
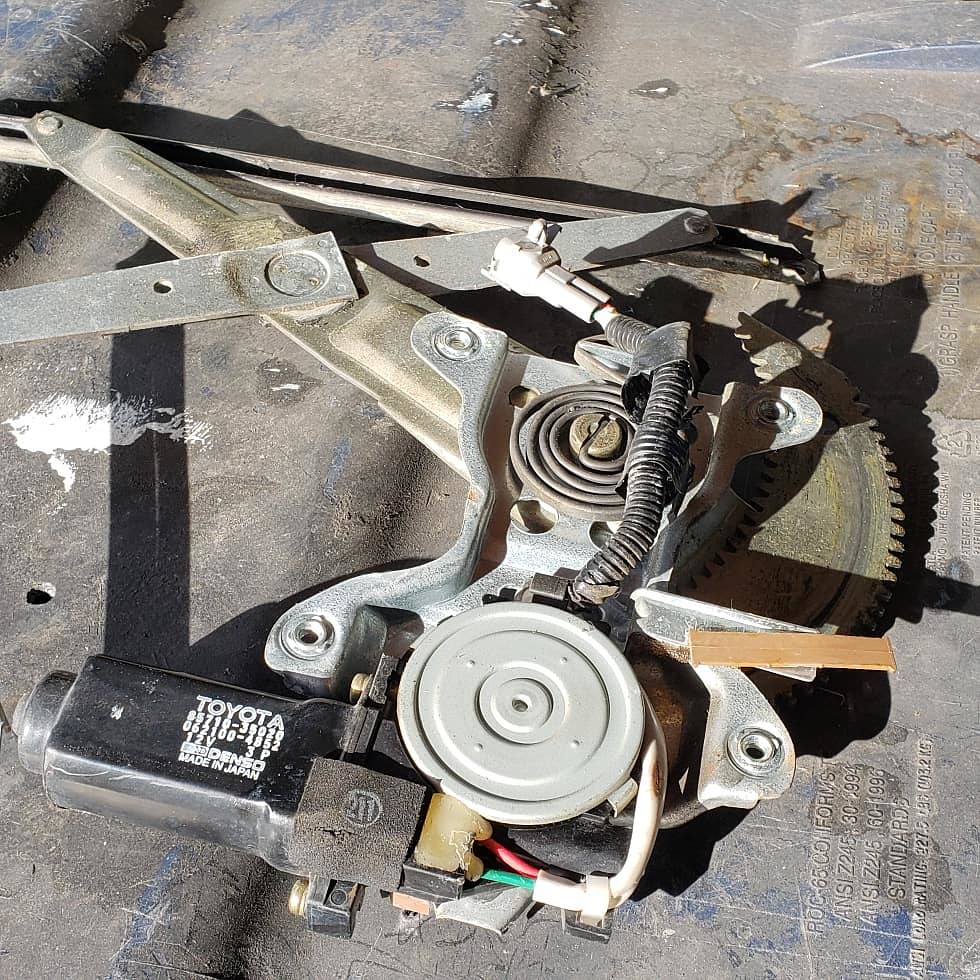
Another electric item that was crapping out was the rear passenger window. The grandminion loved opening and closing the window.
It would go down fine but barely close, got to the point of having to pull it up manually
the supply of 2nd gen 4runners at the local pick n pulls seems to have dried up so again I turned to ebay. Found one reasonably priced that was guaranteed to work.
Cleaned it up, coated moving parts with lithium grease and threw it in the door
Thing goes up and down faster than ever now
Video
 07-08-2018, 03:48 PM