When you click on links to various merchants on this site and make a purchase, this can result in this site earning a commission. Affiliate programs and affiliations include, but are not limited to, the eBay Partner Network.
1998 4Runner Suspension Rebuild and Rust Mitigation!
Many of you may be aware that 3rd gen 4Runners have a hit or miss reputation for frame rust, especially in the rear of the vehicle. Unlike Tacomas of the same era, Toyota chose not to do a factory recall and repair for frame rust on these vehicles. With that in mind, when the COVID-19 pandemic rolled around in spring of 2020 I decided I wanted to do a bit of work under the 4Runner to update worn components in the front suspension. Since that apparently wasn't enough of a project I also chose to do a full "rust mitigation treatment" of my 4Runner's frame to ensure it survives for another 20 years.
Since I completed this project a couple months ago, I thought it might be fun to document it for others to see and maybe inspire some to undertake some of the same restoration efforts! Here goes!
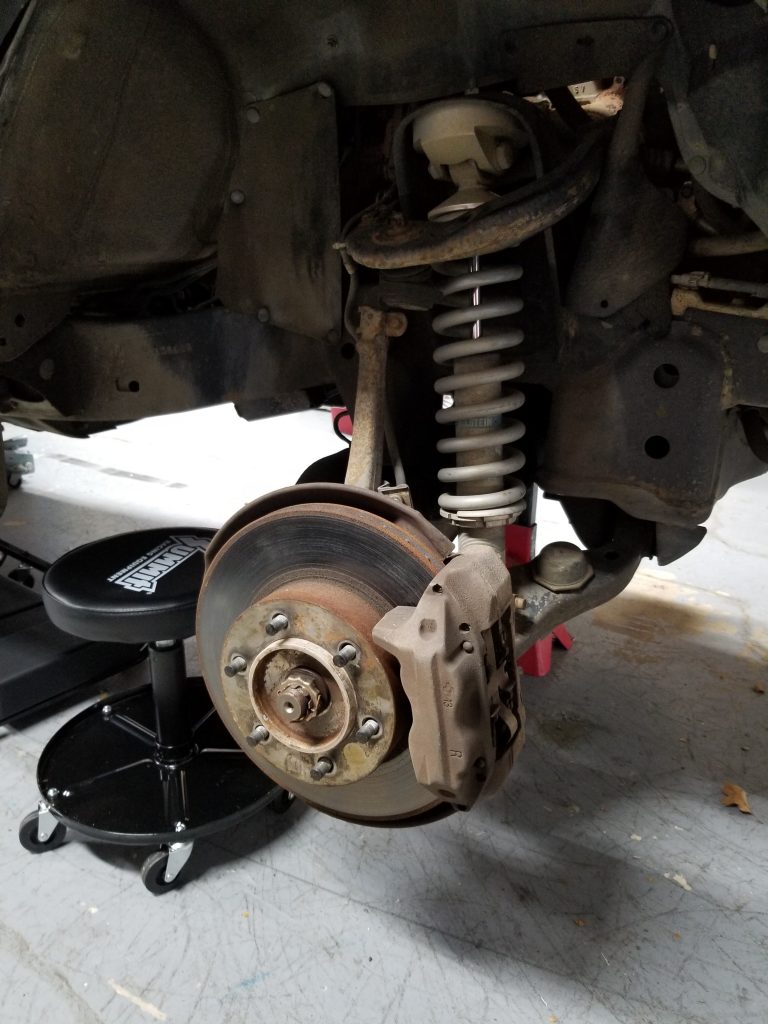
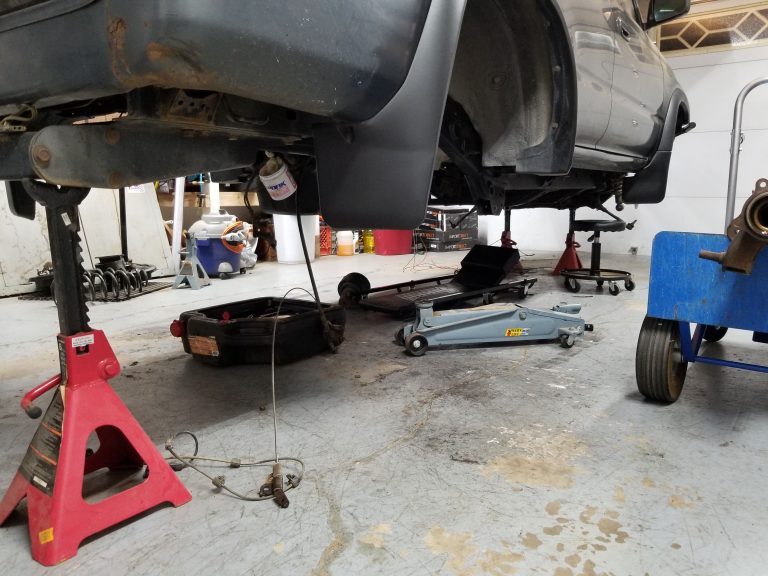
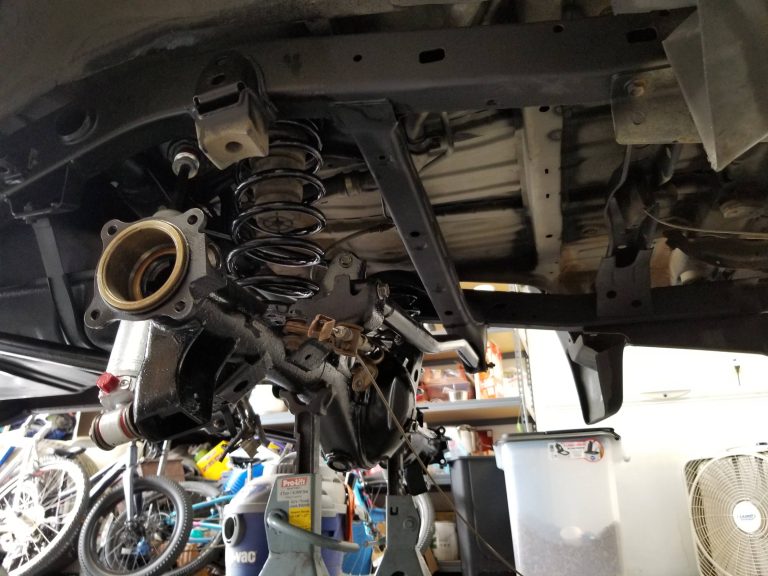
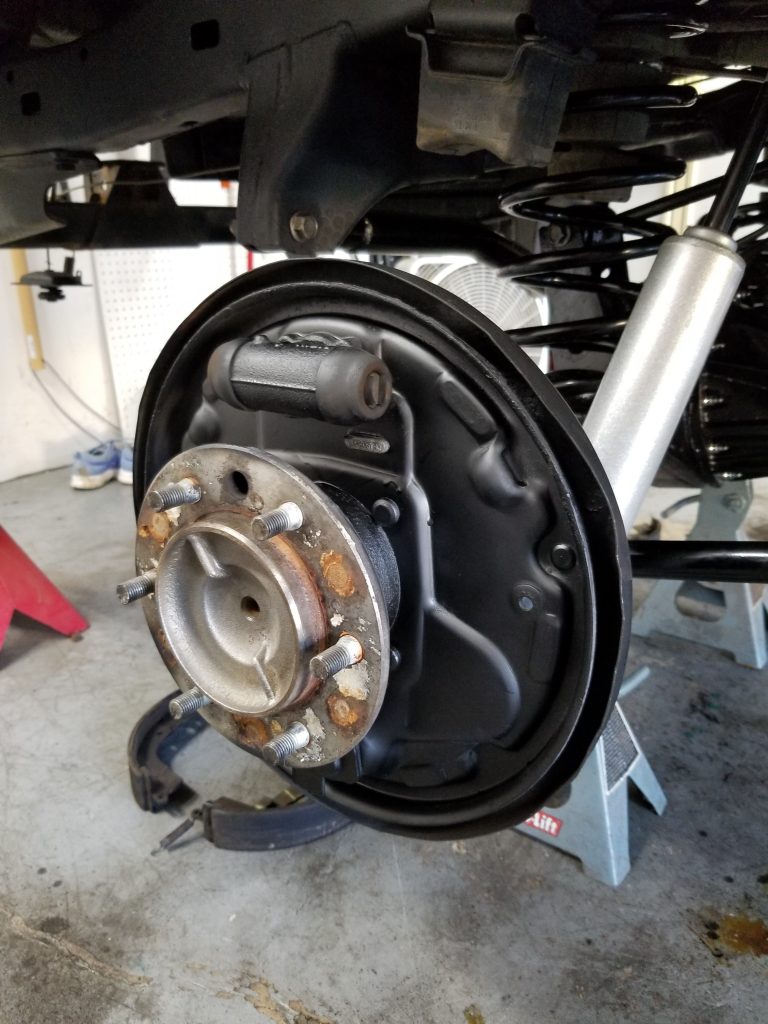
Step 1: Inspecting the front suspension
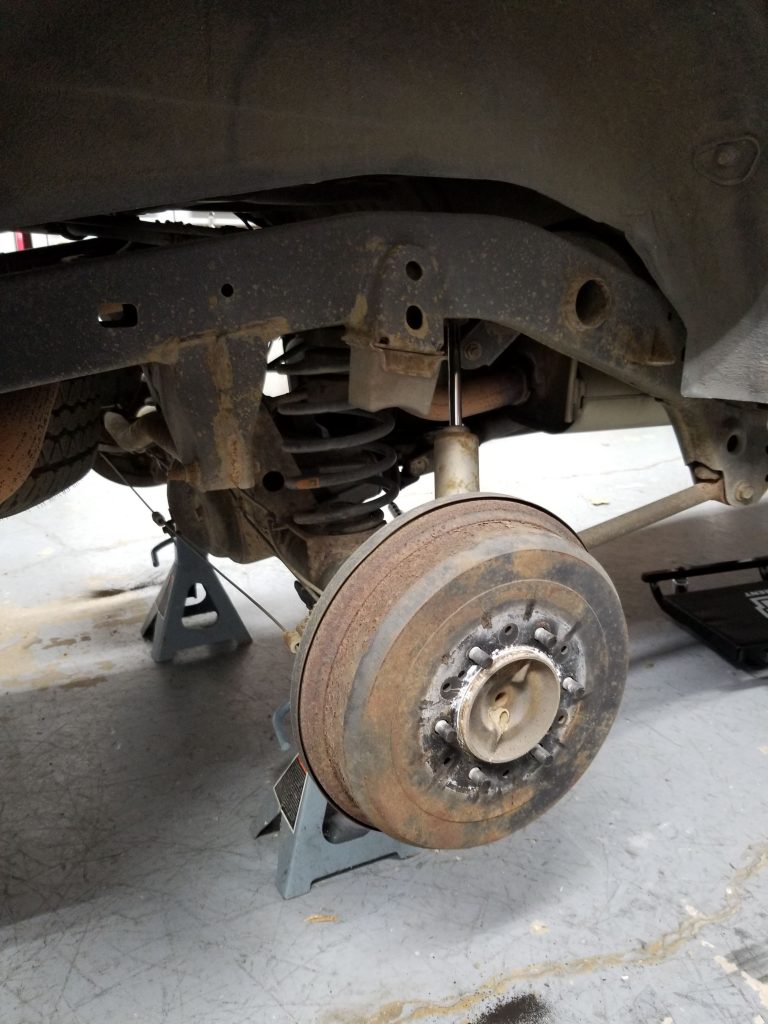
Things look pretty worn, time to get a rebuild done!
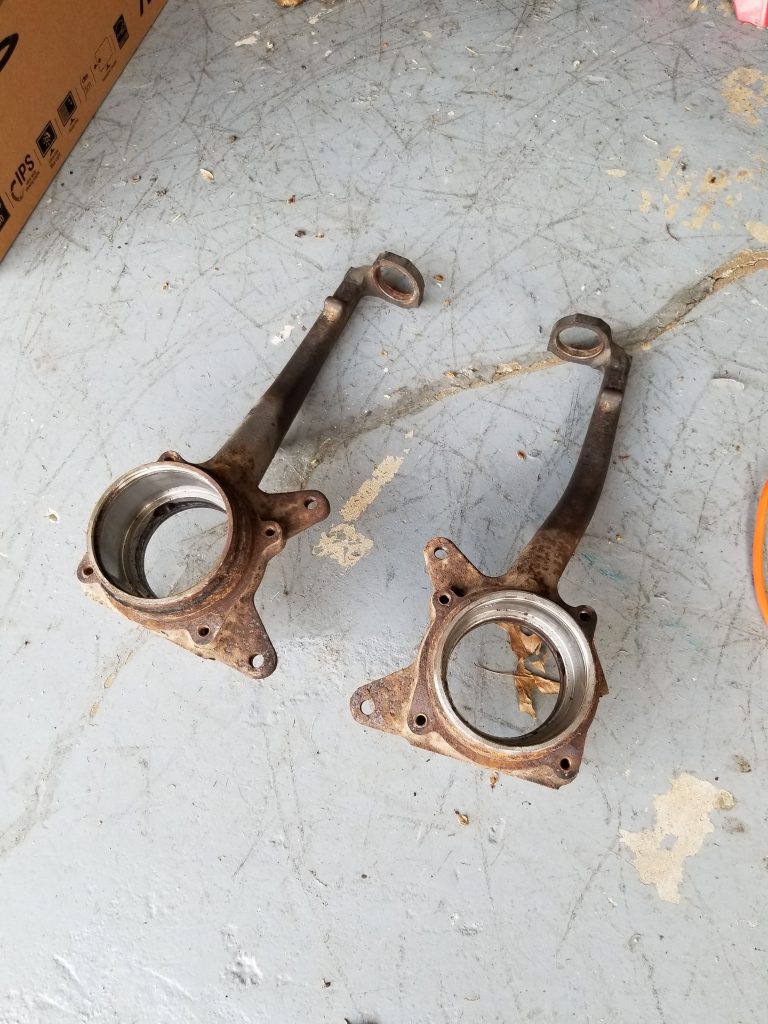
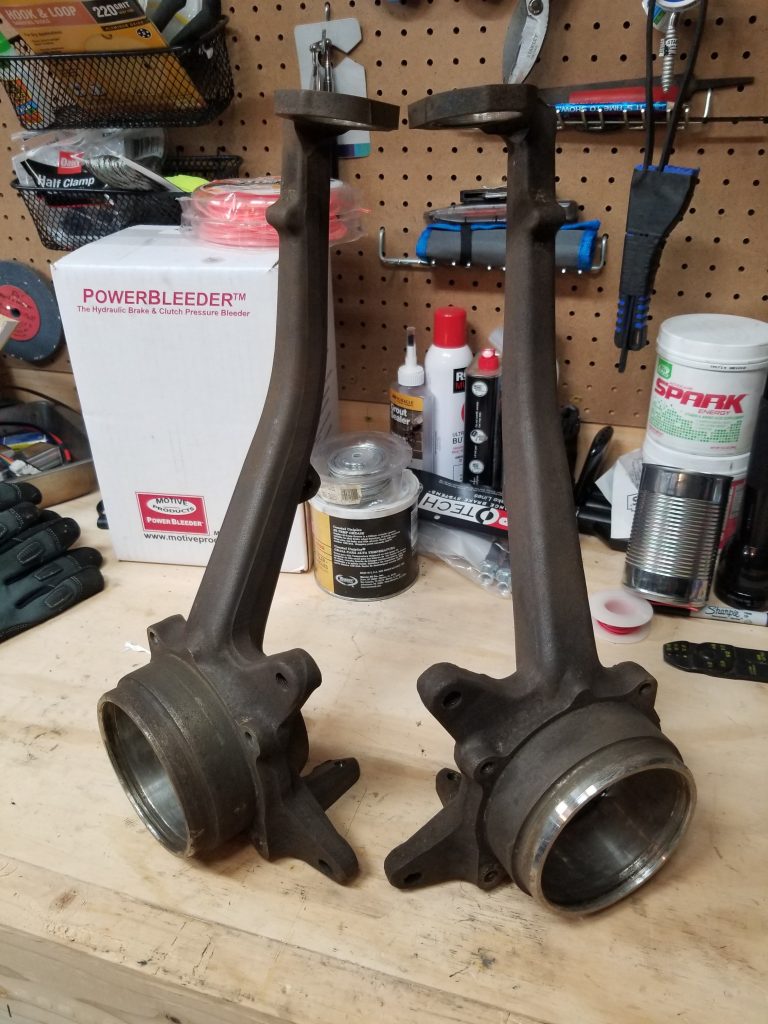
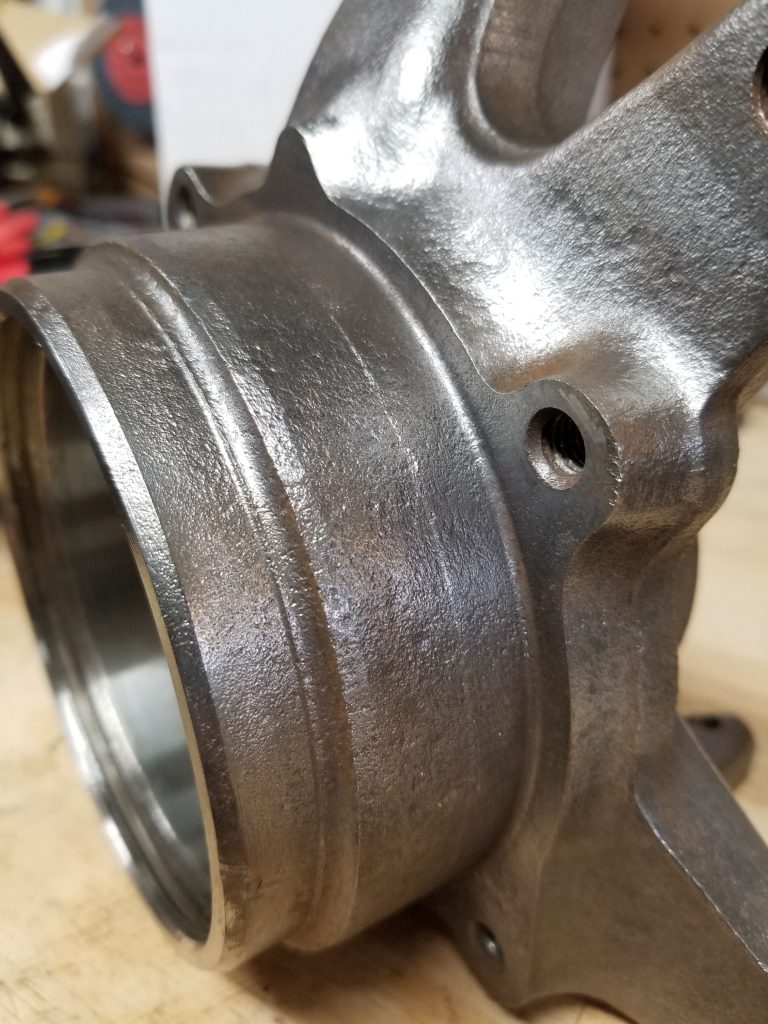
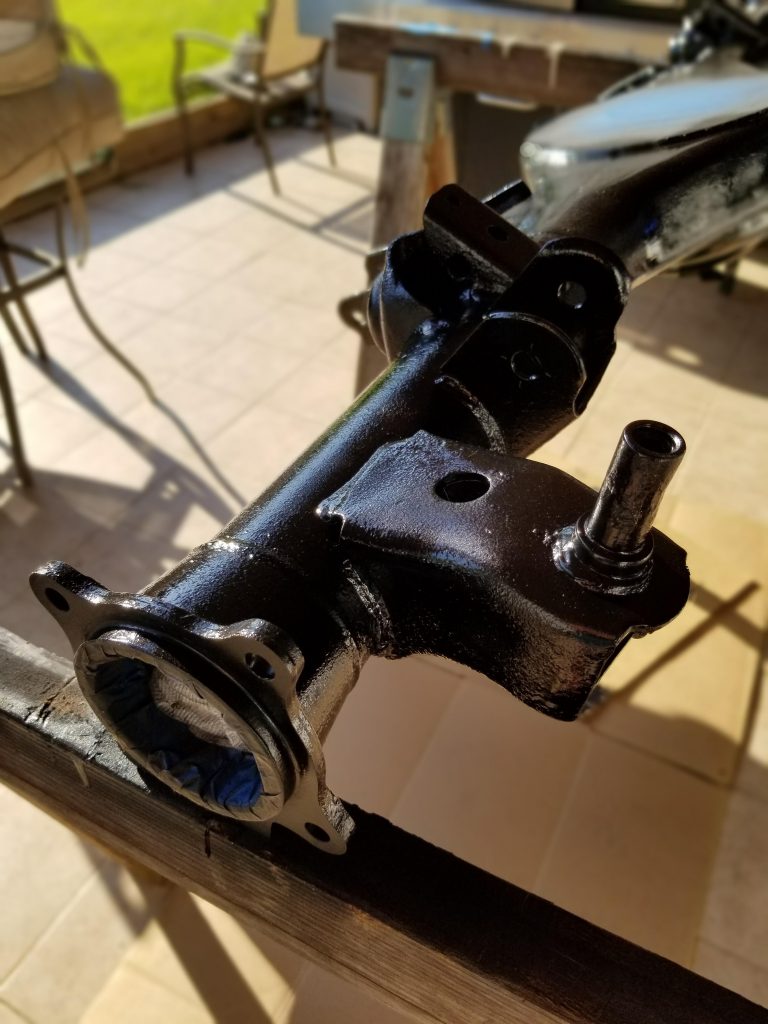
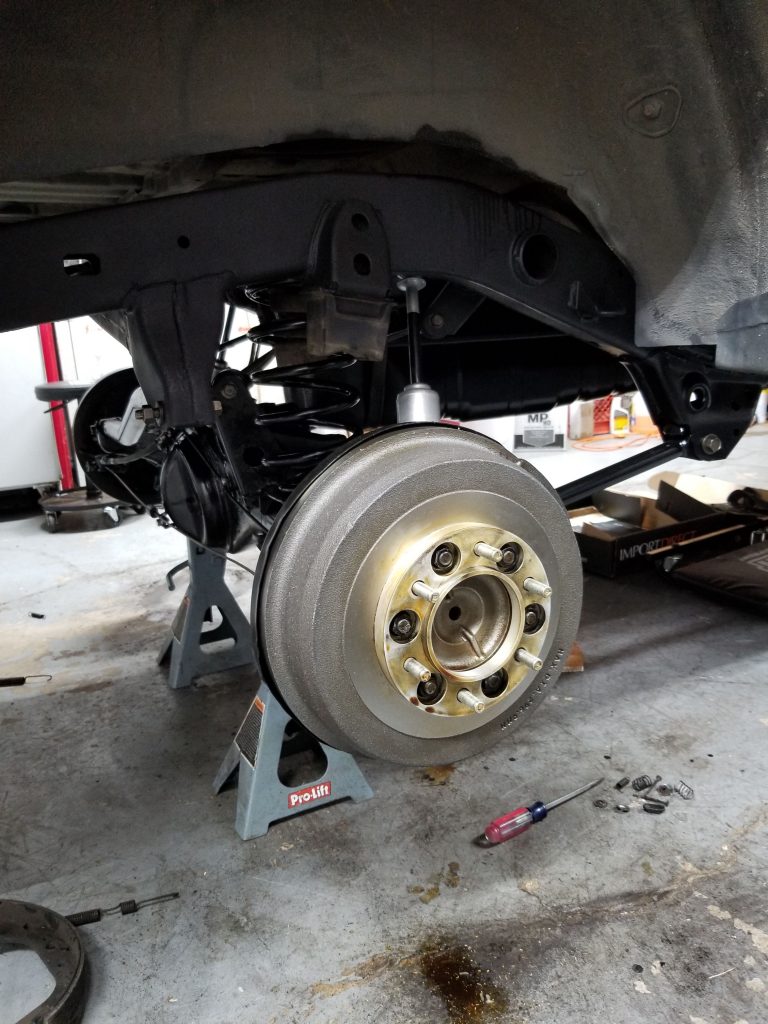
Disassemble front suspension and take steering knuckles to shop to press out old hardware. They're gross at over 230,000 miles!
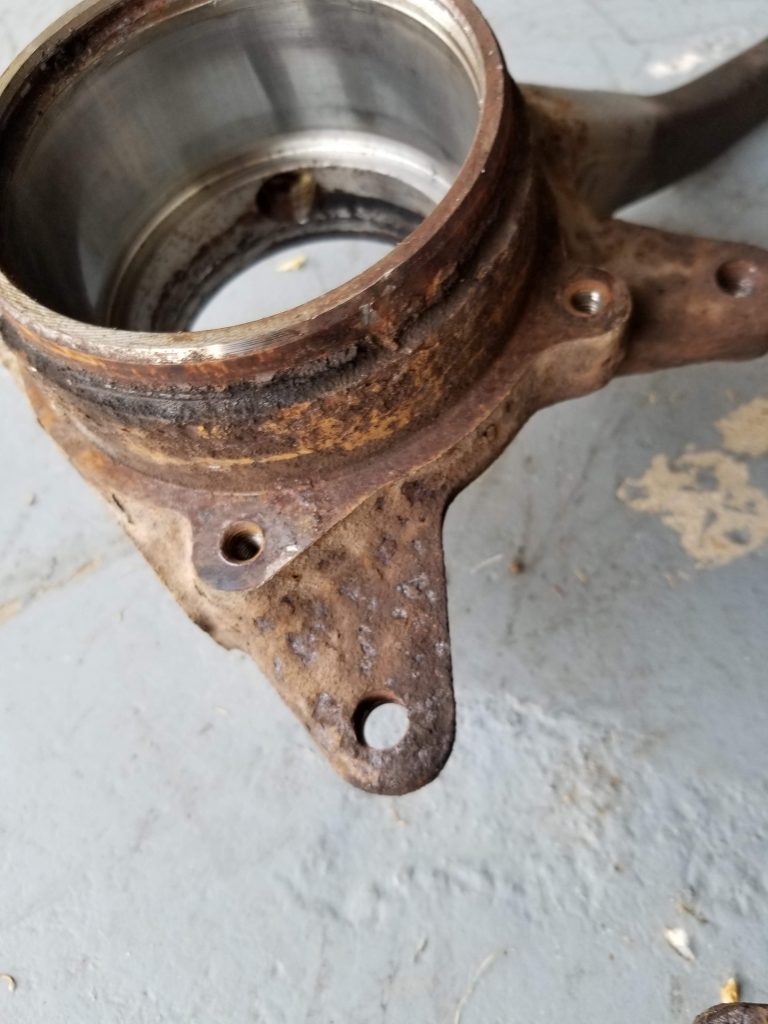
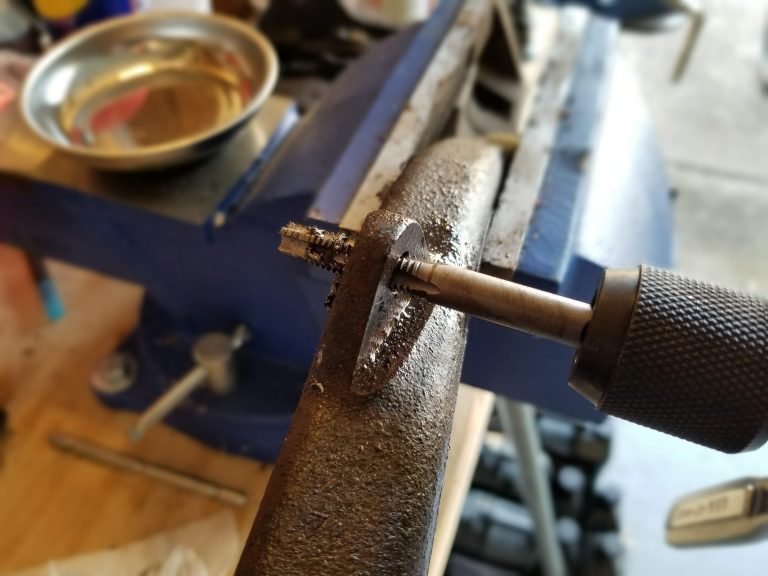
The knuckles had rusted enough I wanted to do something to fix them up. A bolt broke on disassembly too, had to drill and tap the hole.
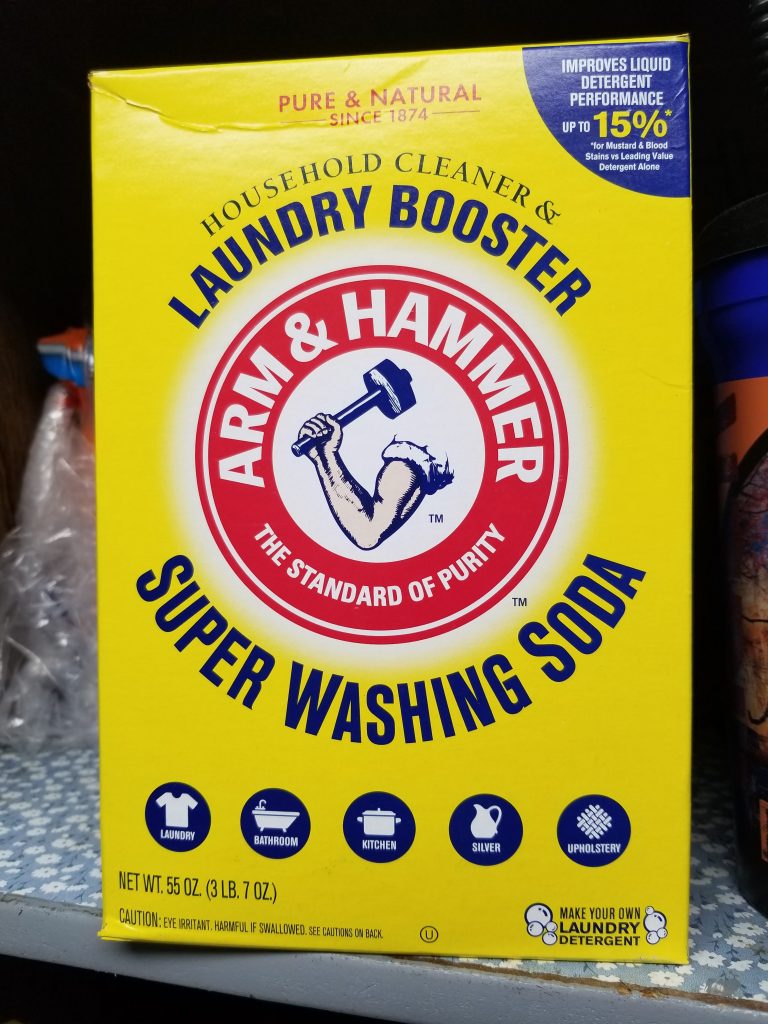
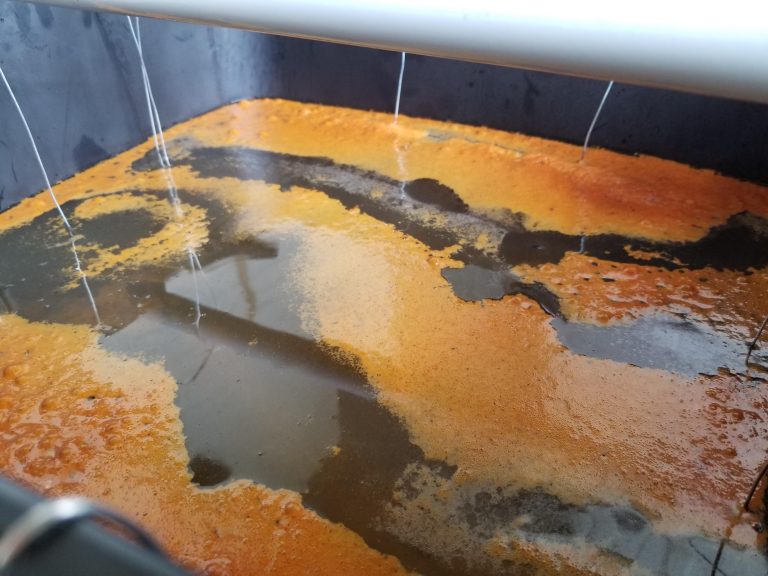
I'm bored and it's COVID times, lets build an electrolysis tank to clean them up! Hacked up an 18V laptop power supply, used some cut up steel cans for the anodes, and Super Washing Soda for the electrolyte solution. The washing soda is Sodium Carbonate, not Sodium Bicarboante
They look a lot better after the electrolysis tank, but they're not done yet.
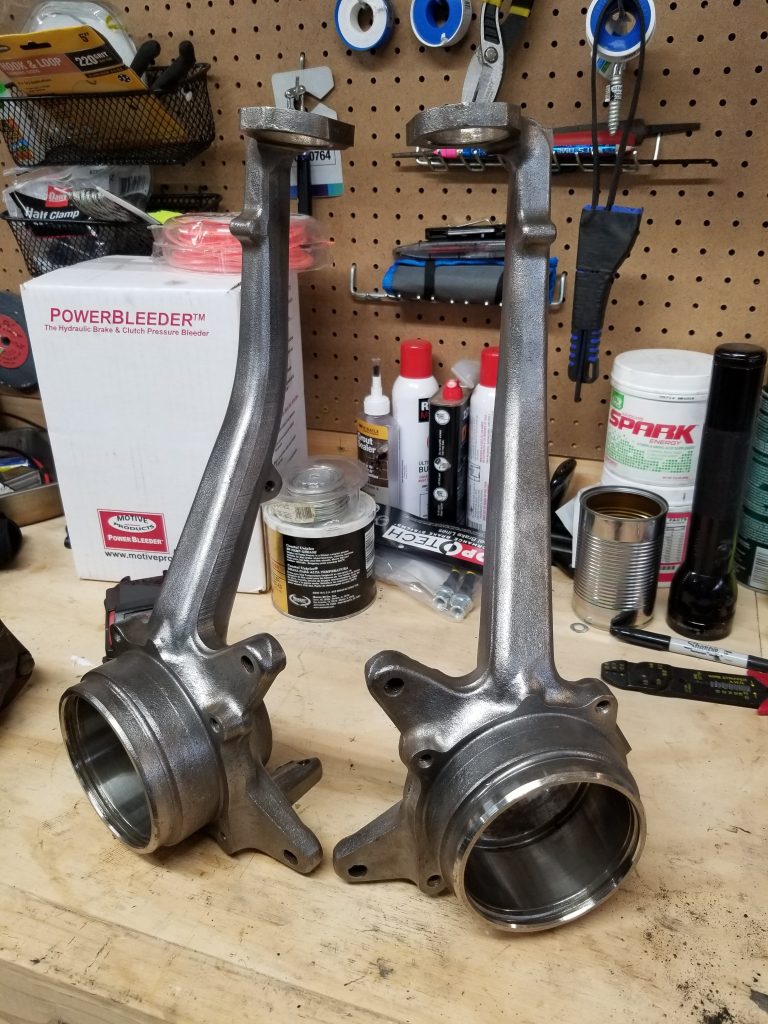
After a couple wire wheels and lots of cordless drill batteries, we're on the right track. Ready for paint:
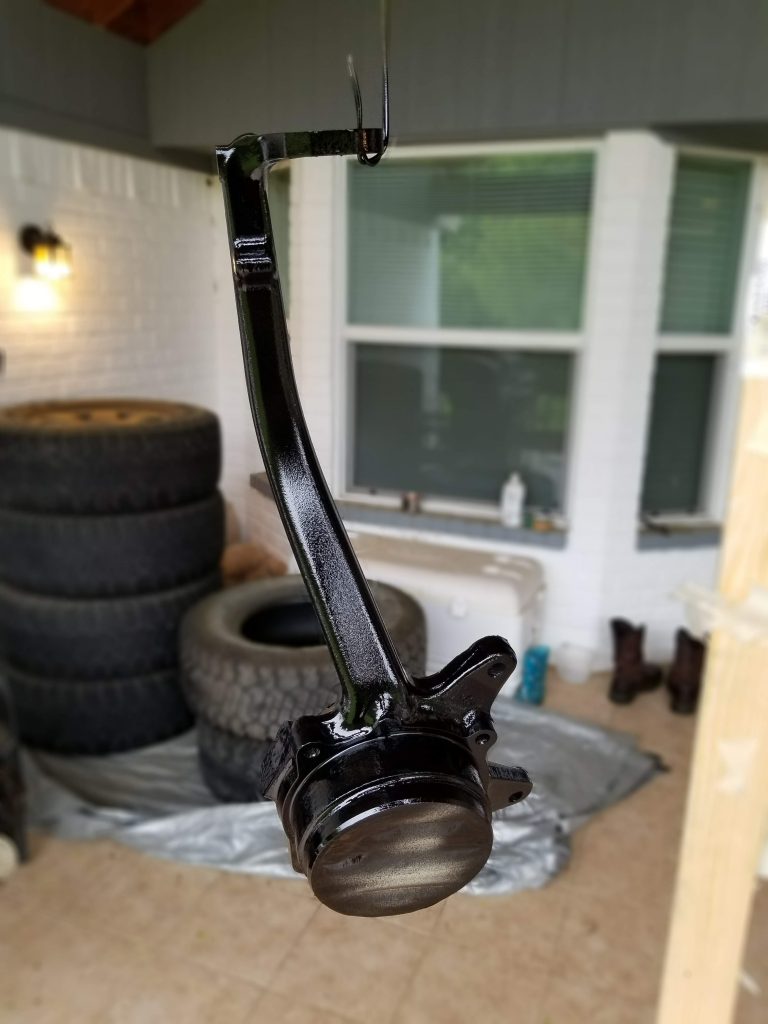
Cleaned with brake cleaner, and then masked off the interior areas and gave them a coat of Rustoleum Protective Enamel. NOW we're looking good again!
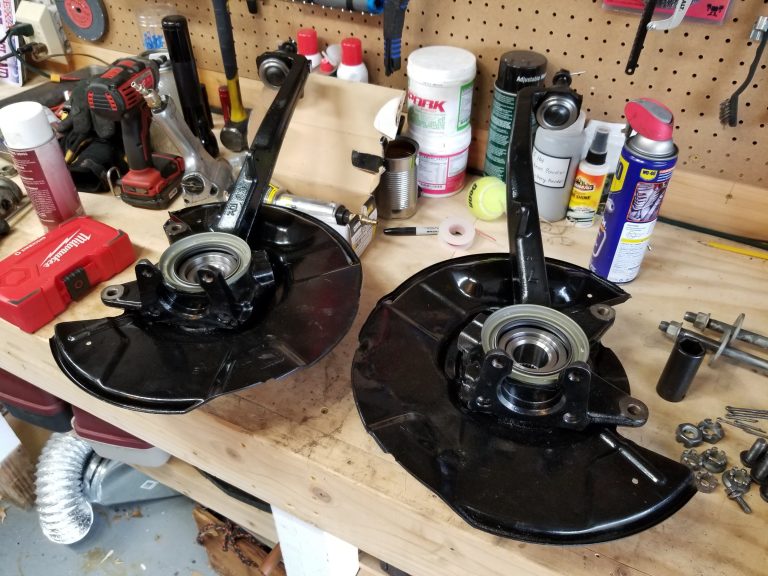
Repainted the brake disc covers and took everything back to the shop and got all new parts pressed in. Ready for re-install!
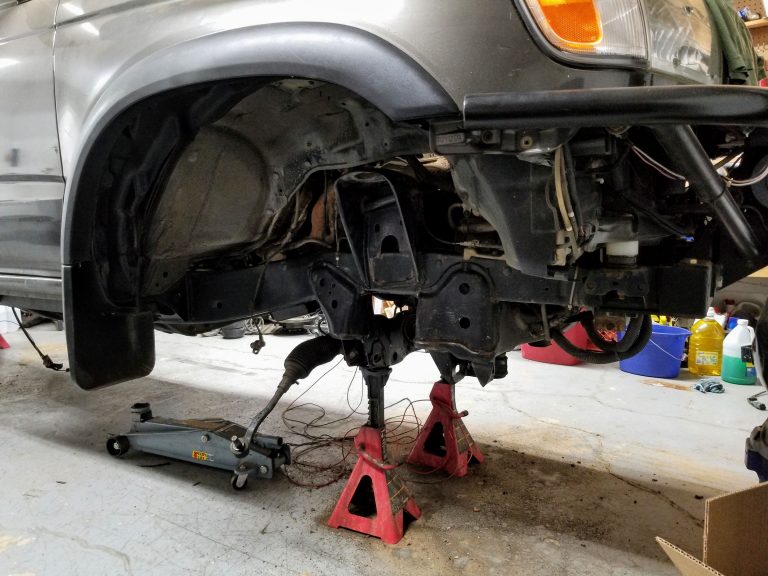
This is where things got a little messy. Over the years of wet roads and intermittent snow in New Mexico, the 4Runner had developed surface rust in several unsavory areas. I've seen far worse cases to be sure, but it was getting to a level I was uncomfortable with and wanted to address. So I had to dive in and since the front end was pulled apart anyway, I figured why not put the whole thing on jack stands and pull apart the rear too!
What I was dealing with. Surface rust along seams and on much of the rear axle and underbody cross members. Sharp eyes will also see the TRD muffler is rusted out, I replaced the catalytic converter and whole cat-back exhaust with a bolt-in system from Borla.
Spent a good amount of time wire wheeling the hardware with my bench grinder. Saved me a lot on new hardware and much of the "key" stuff in the front end (castle nuts, etc.) came with the new ball joints, brake calipers, or other hardware purchased for re-install:
After much grunting, groaning, and fighting, I was able to carefully remove everything from the rear suspension. I do mean everything!
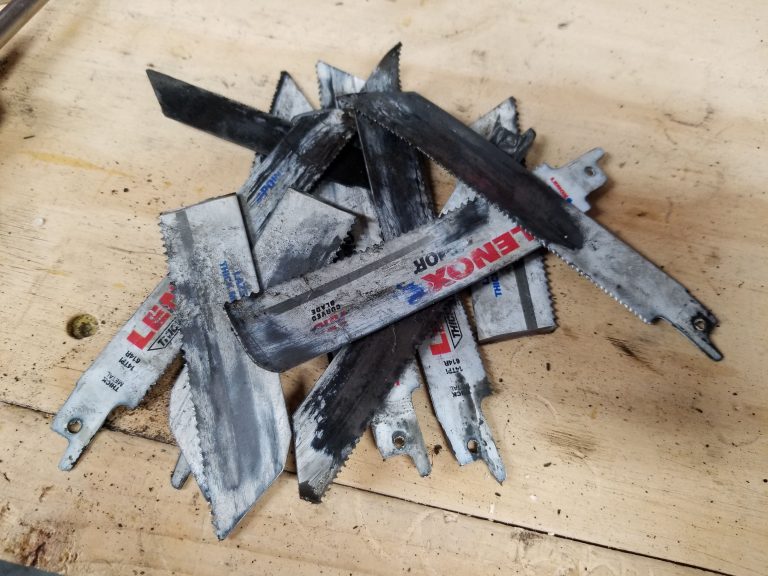
I skipped over it last post but I decided I wanted to replace the upper and lower control arms up front, rebuilding the old ones would be as much or more than buying new. Thing is, anyone with experience with these control arms knows the lowers can be a disaster if the alignment adjusters are stuck. Guess what?
Mine were stuck bad, and no matter how much I hammered they wouldn't come out. SO good news is I didn't care about sawing them up and went to town with a sawzall and determination:
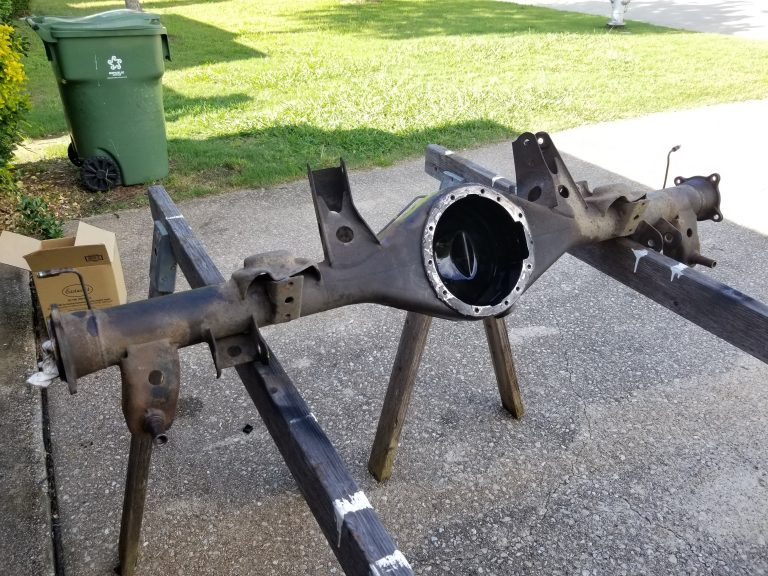
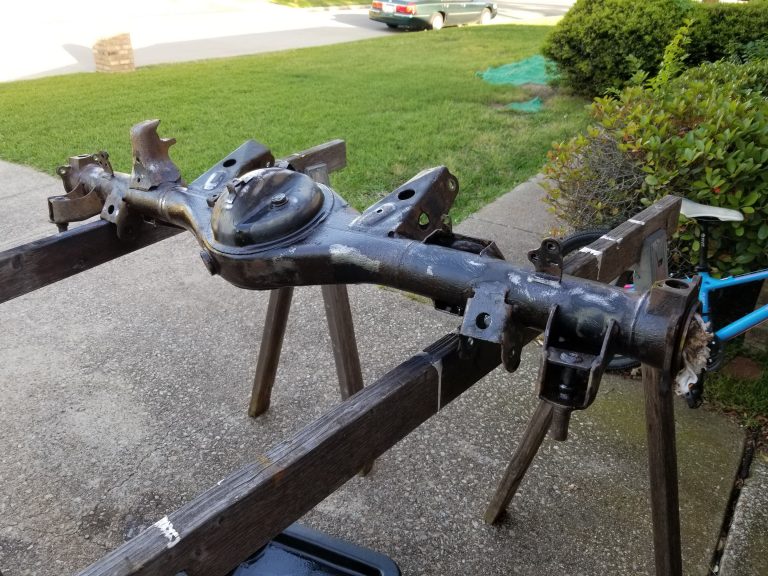
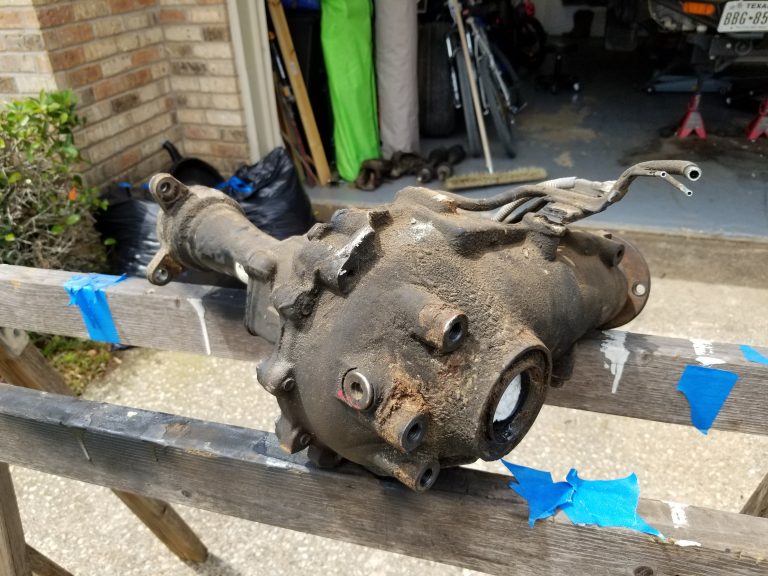
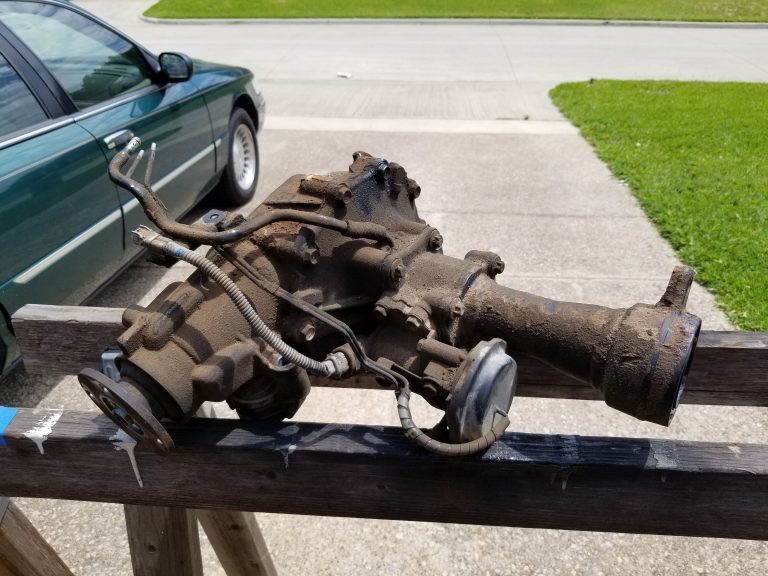
With the front fully disassembled (or close enough to it) I concentrated on the rear axle which had been fully removed:
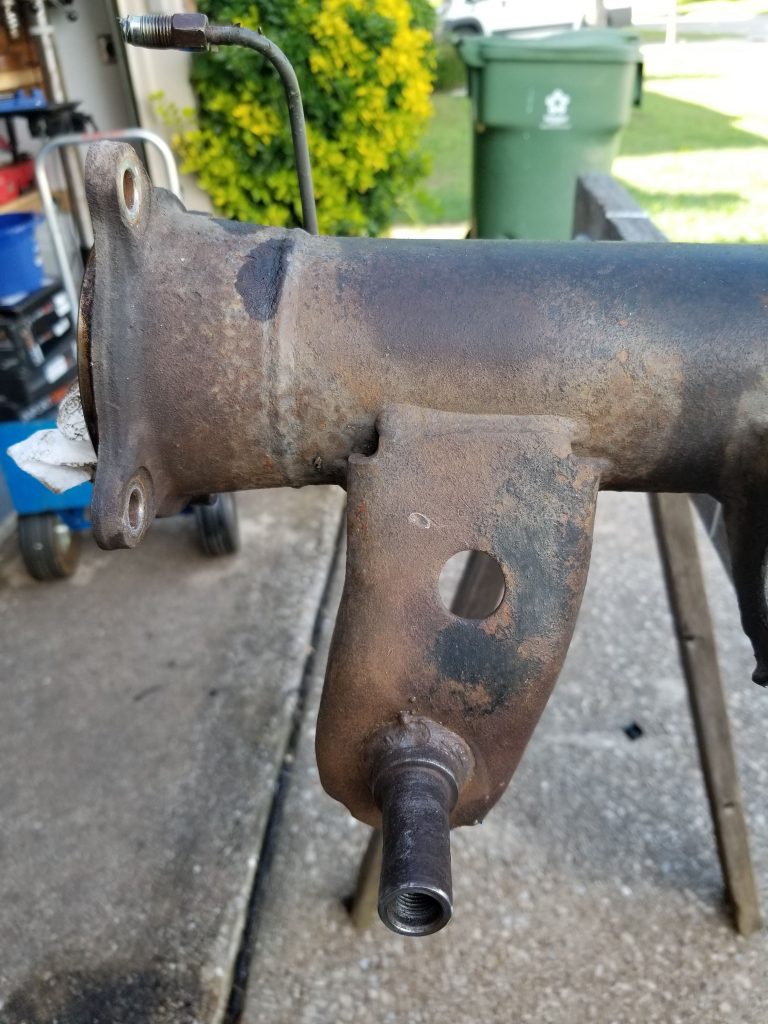
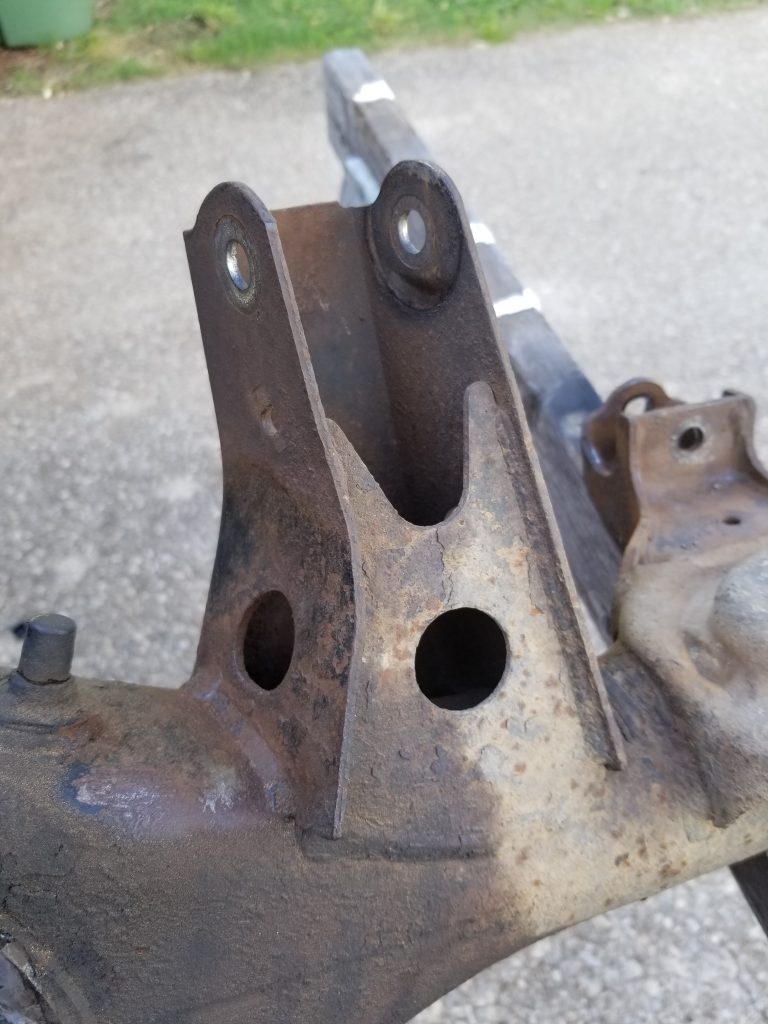
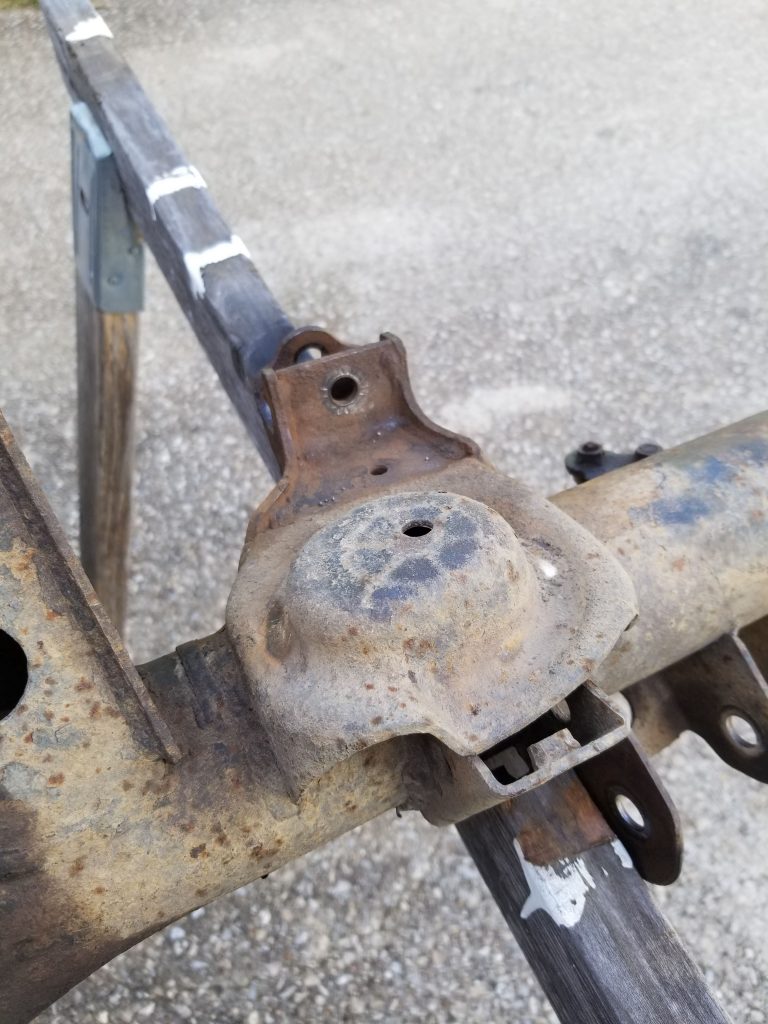
With the axle fully removed, I was able to address surface rust in a lot of key areas that couldn't be reached while on the truck, like the spring mounts:
After a lot more wire wheels and batteries, I had a halfway decent axle housing ready for paint:
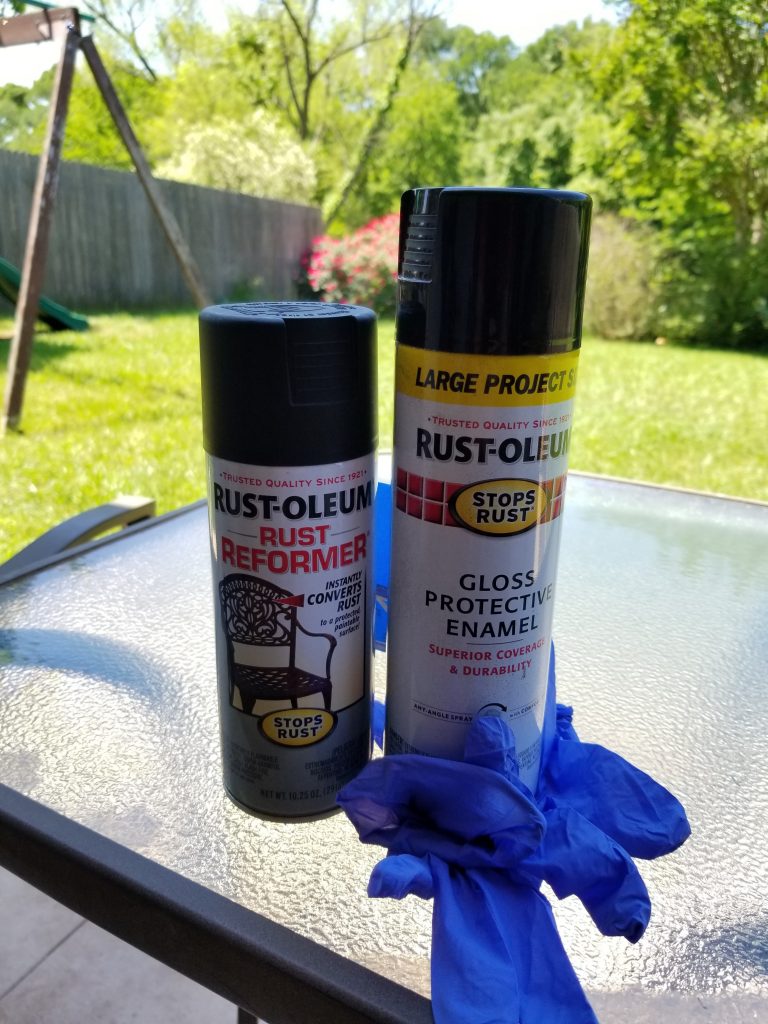
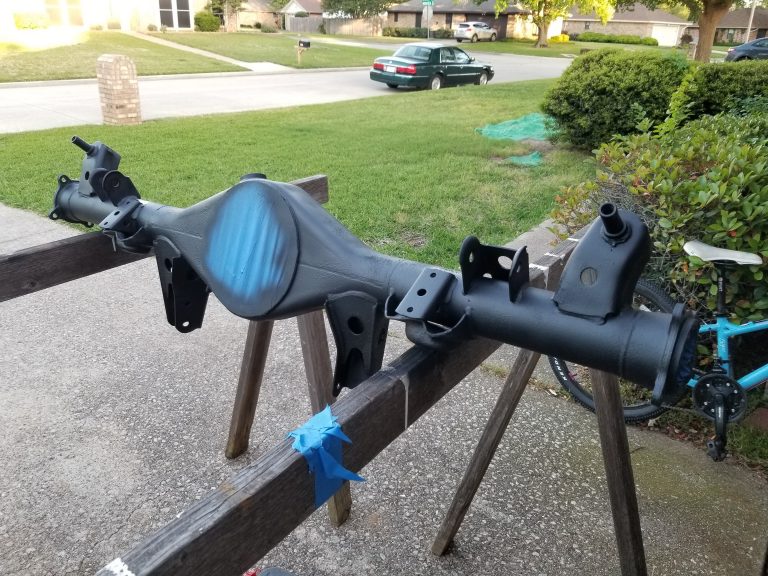
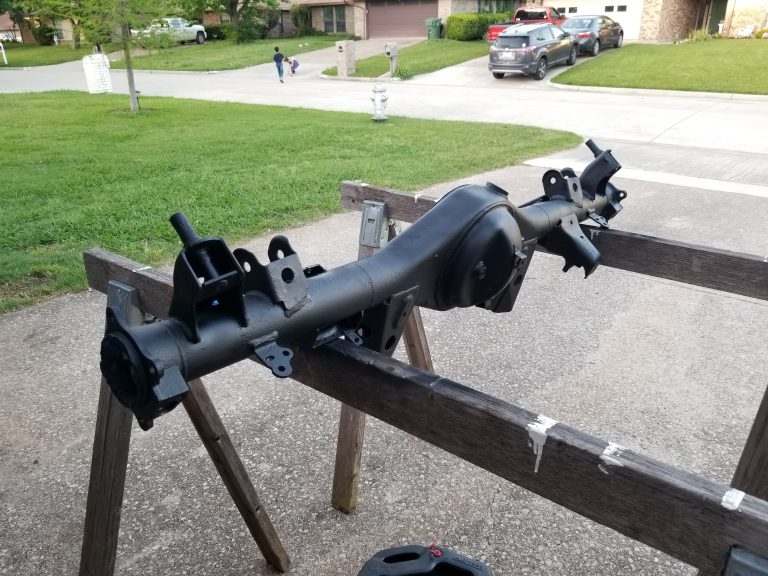
Much of the factory finish was lost in some areas, but in other places it remained. I ground everything I could while maintaining the factory finish, cleaned the whole axle with brake cleaner, masked the internal areas, and then went to town with a 1-2 punch of Rustoleum Rust Reformer and Rustoleum Protective Enamel:
Coat 1 (Rust Reformer):
Coat 2 (Protective Enamel):
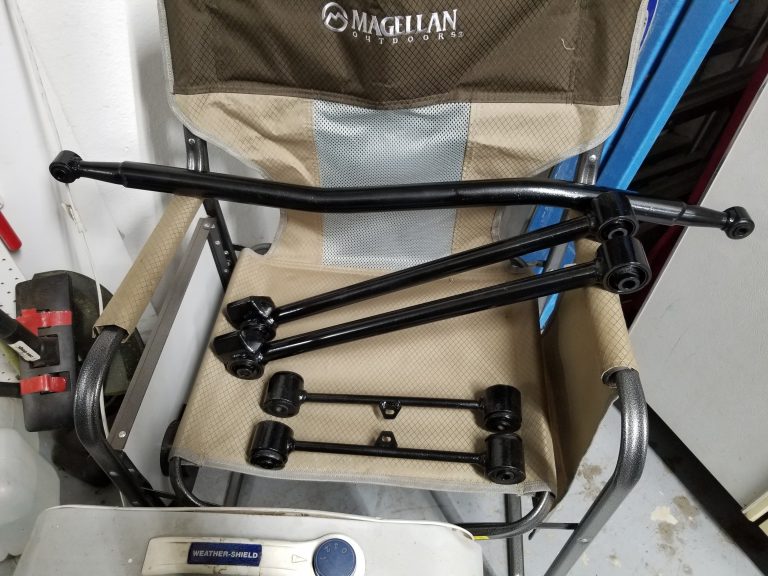
Since I had them out and was keeping all of the rear links as-is for now (had to draw the line somewhere for budget reasons), I wire wheeled and painted the rear links as well for a rust-free, protected finish:
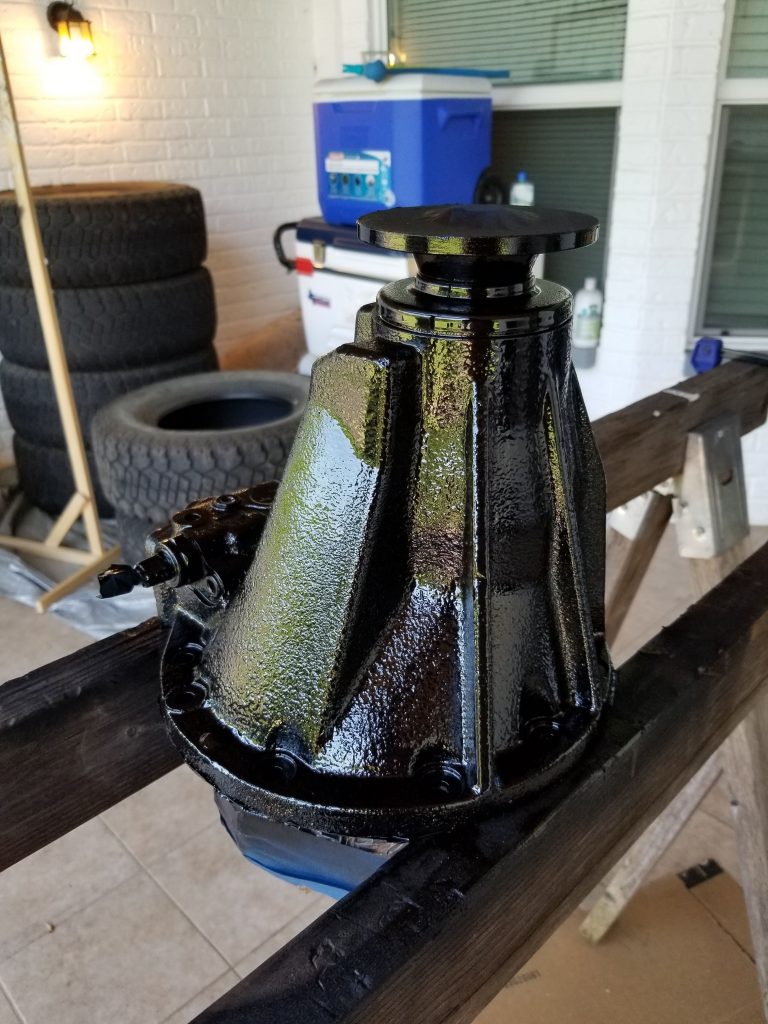
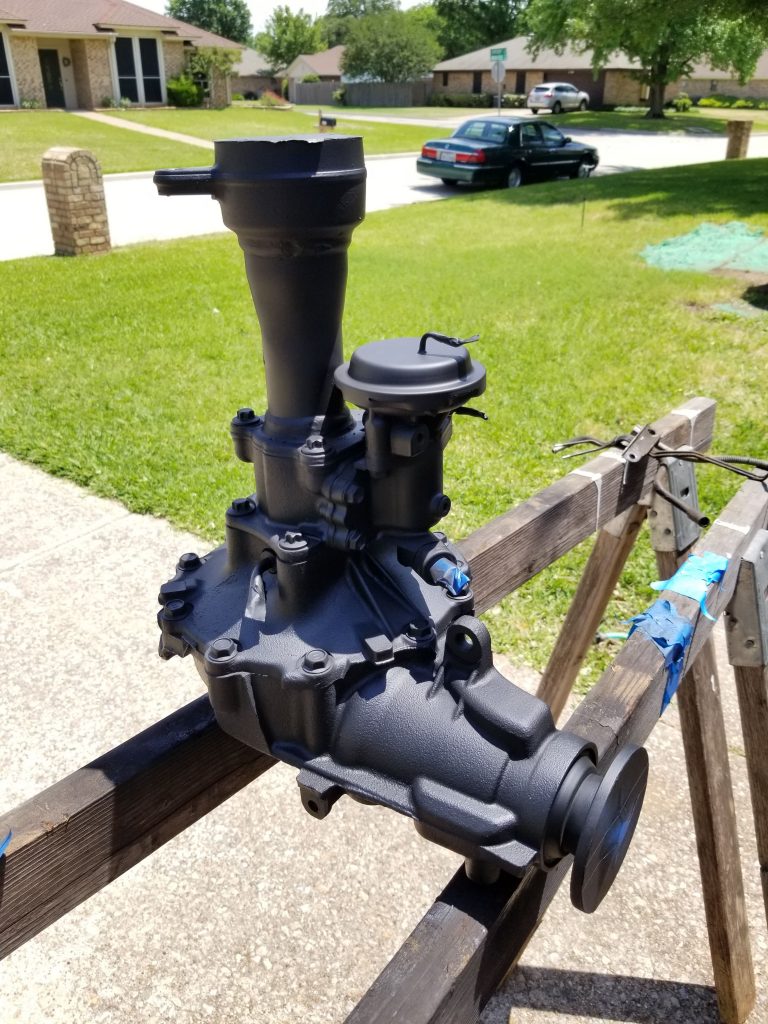
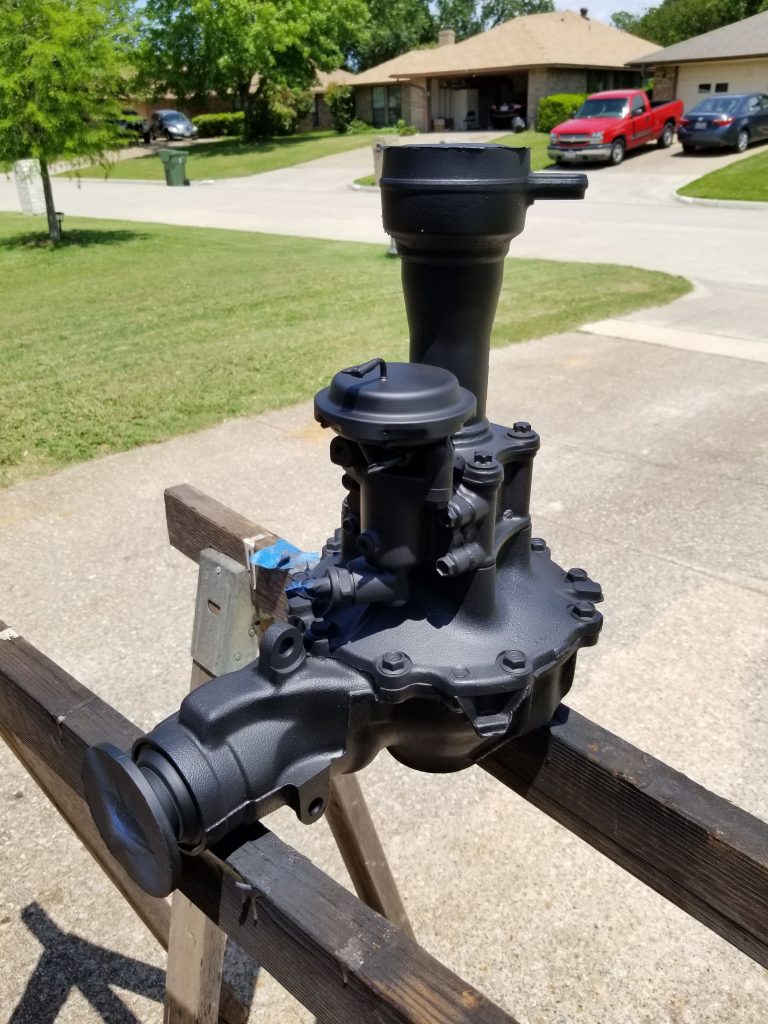
It's a 4runner, it's in pieces in my garage. What's a guy to do? Clean and paint differentials of course!
Rear diff, after wire wheeling. Surface rust mostly dealt with but still some light oxidation:
Nothing the Rustoleum Rust Reformer can't handle:
...and of course the cursory Protective Enamel as well:
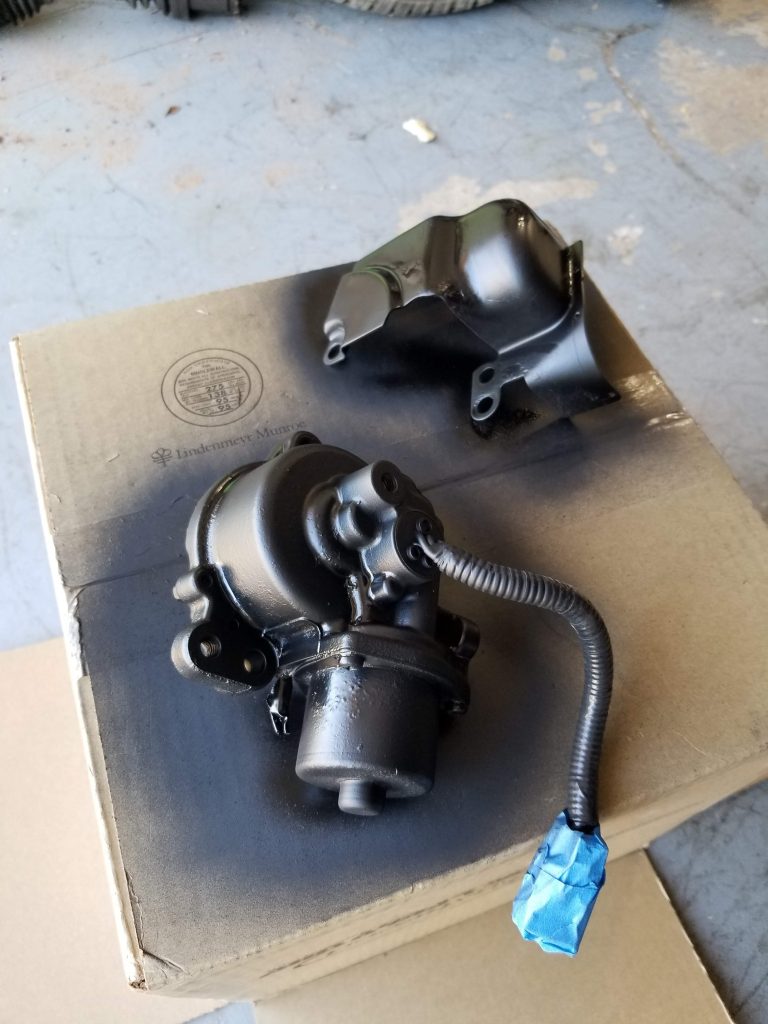
E-locker motor and skid plate got a quick coat too:
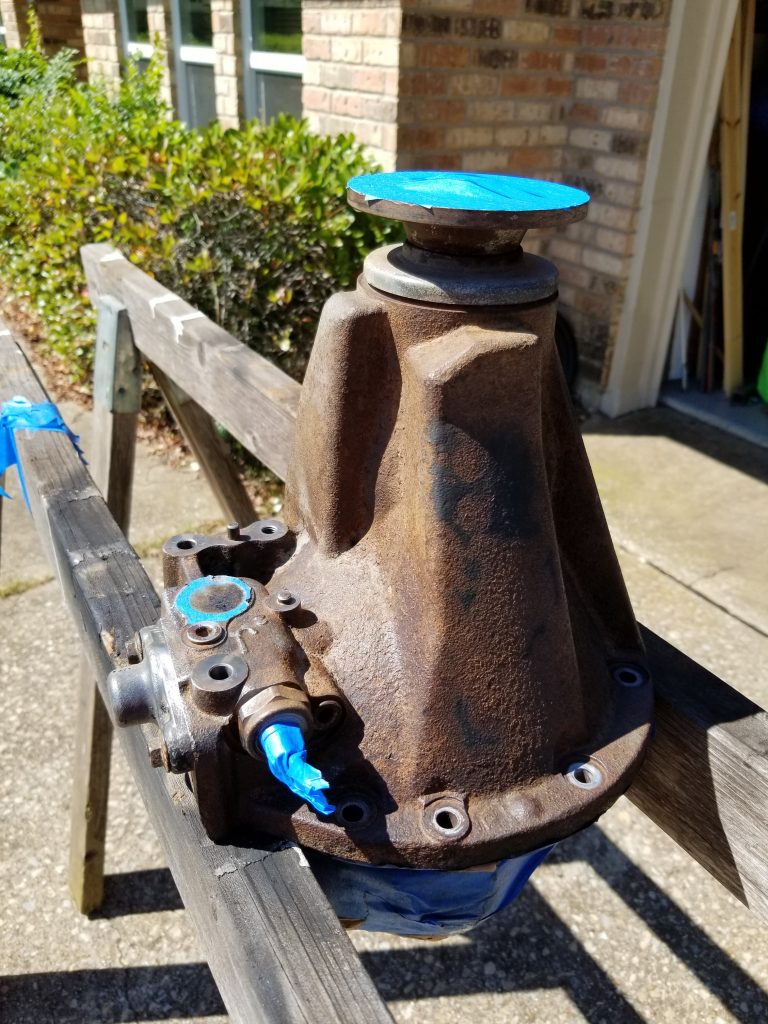
The front diff was a bigger mess, as it had been leaking oil from its outer seal. Coated in a grimy coat of oil and dirt:
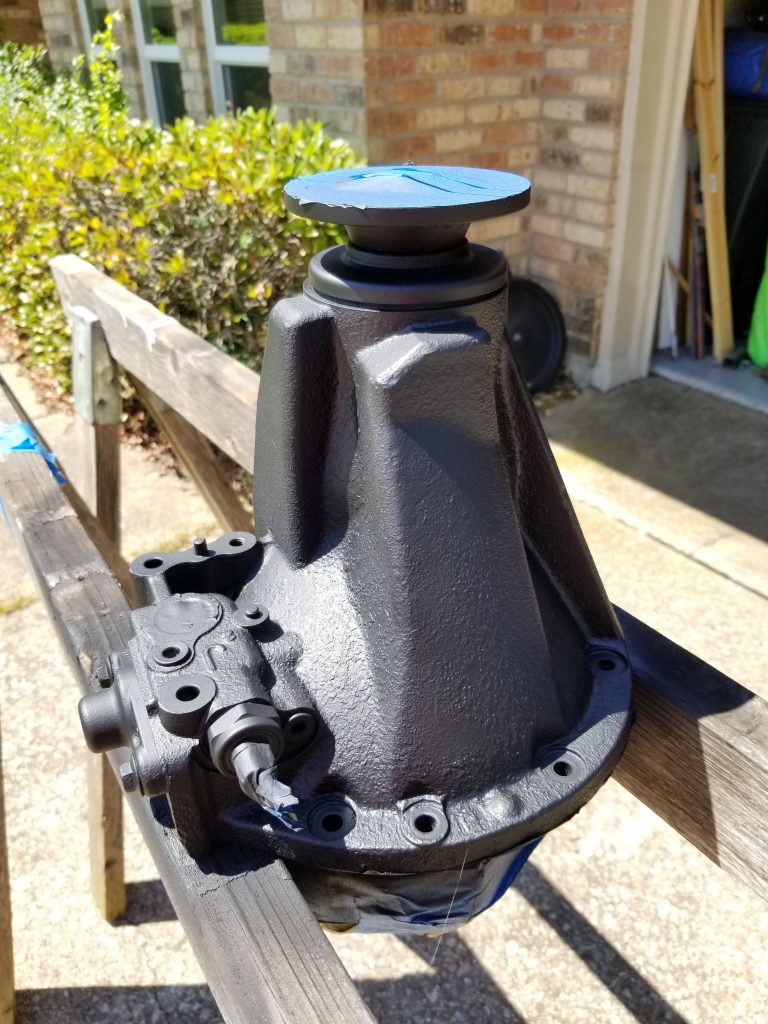
I removed all hoses and wiring, cleaned up the diff, replaced the outer seals, and then went to town with the old wire wheel. Cleaned with brake cleaner, and then zapped with Rust Reformer:
All of this disassembly and chaos, where does it end?? Well, I was also collecting my grand plan vision for re-assembly, and it involved around $6,000 in parts.
This included:
- New front wheel bearings with seals, etc.
- Upper and lower control arms, upper and lower ball joints, and new alignment cams since I sawed the old ones in half
- CV Shafts, both sides
- Brake rotors, drums, calipers, pads, rebuild kits, brake lines
- New front and rear sway bar end links, brackets, and bushings
- Borla exhaust and direct-fit catalytic converter with second O2 sensor bung
- Rear Toytec 3" lift springs to replace the tired factory springs that had been on lift spacers for about 150,000 miles
- Rear 3" lift Rancho 9000 shocks
- New RCI 3/16" powder coated front skid plate
- New ABS sensors and wiring harnesses for all 4 corners
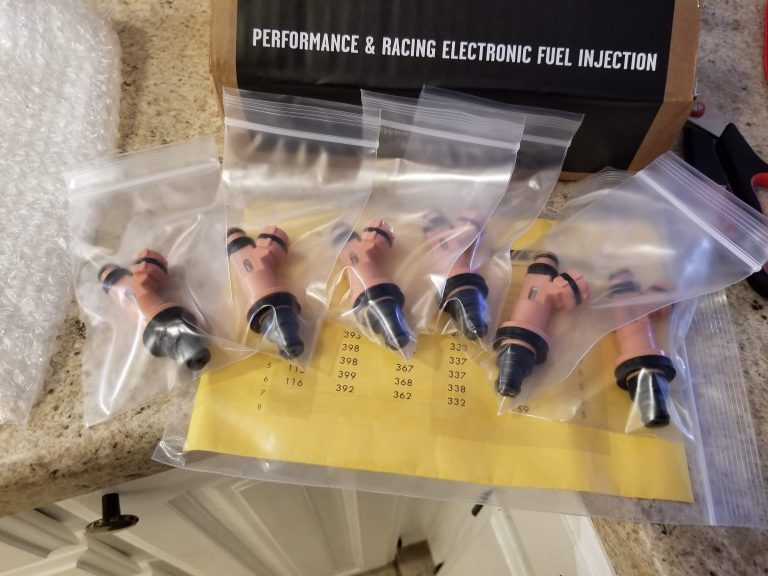
- New Fuel Pump, Fuel Filter, and 330cc Fuel Injectors
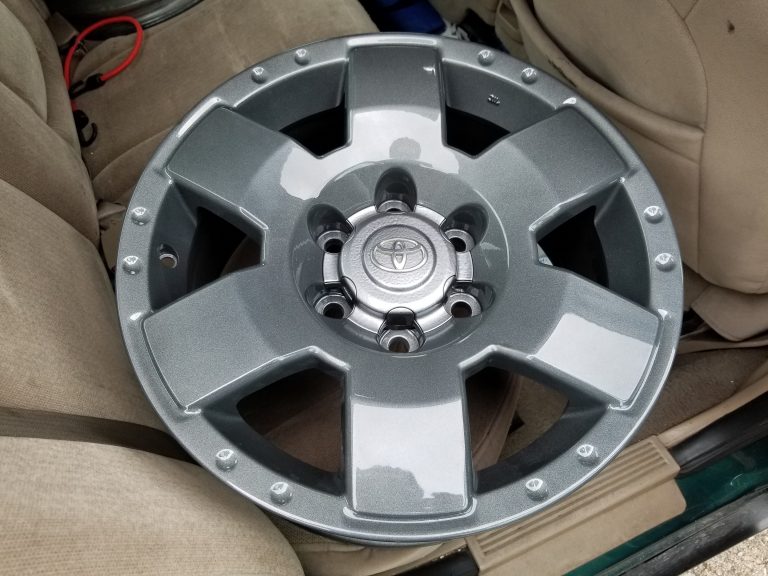
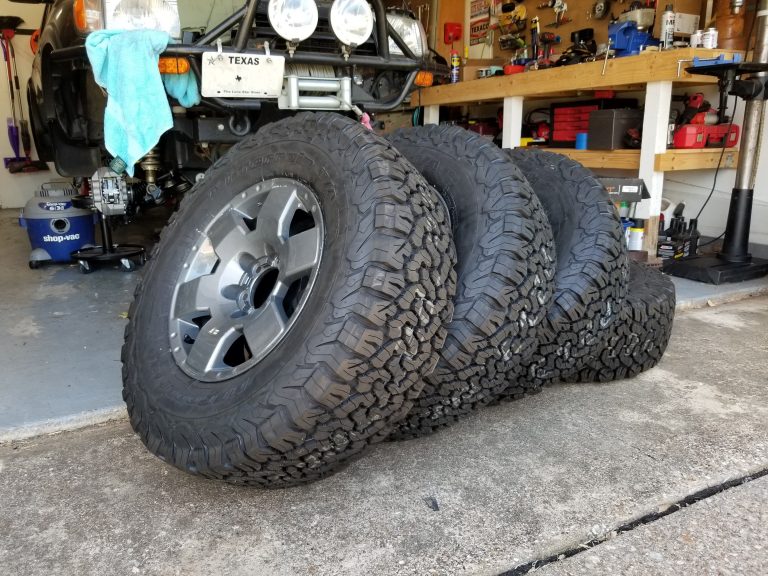
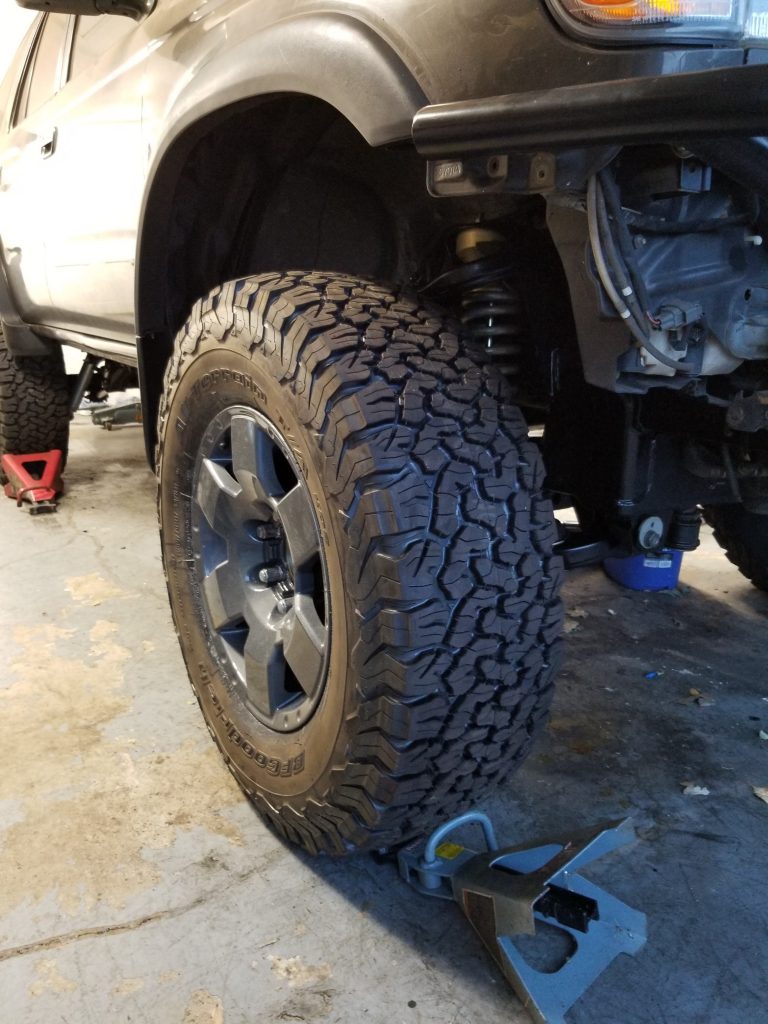
- Refinished and powder-coated wheels (17" FJ Cruiser Alloys) with 285x70r17 BFG All Terrain KO2
The parts pile in its mostly complete state:
New Calipers:
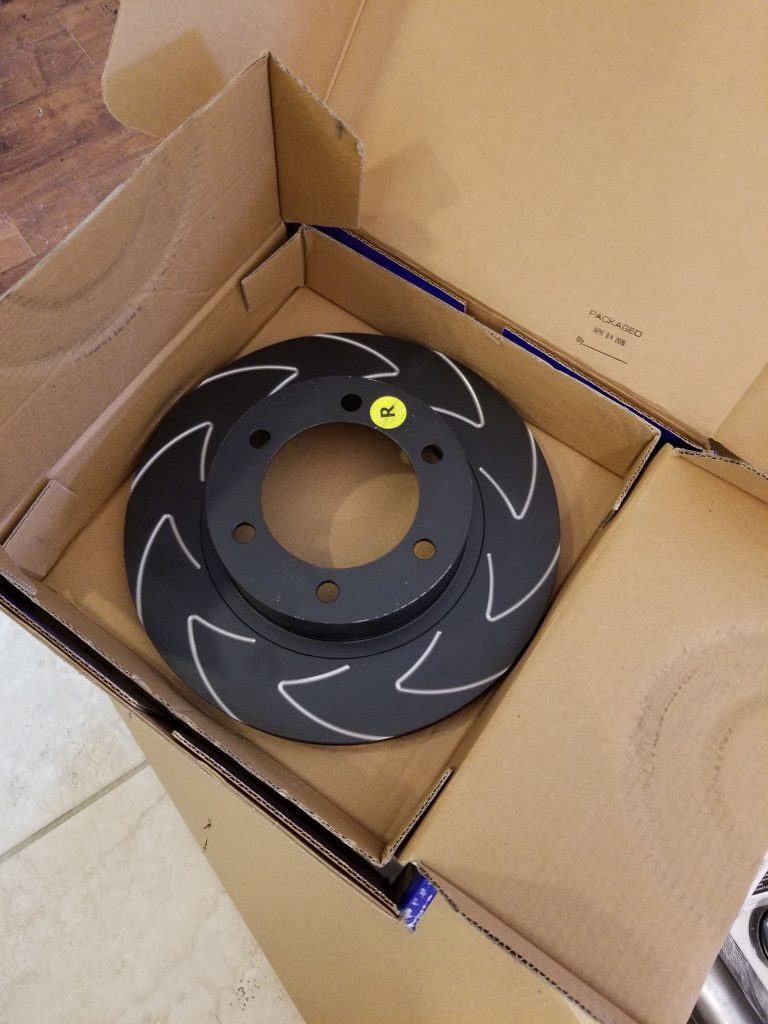
Obnoxious slotted brake rotors from EBC:
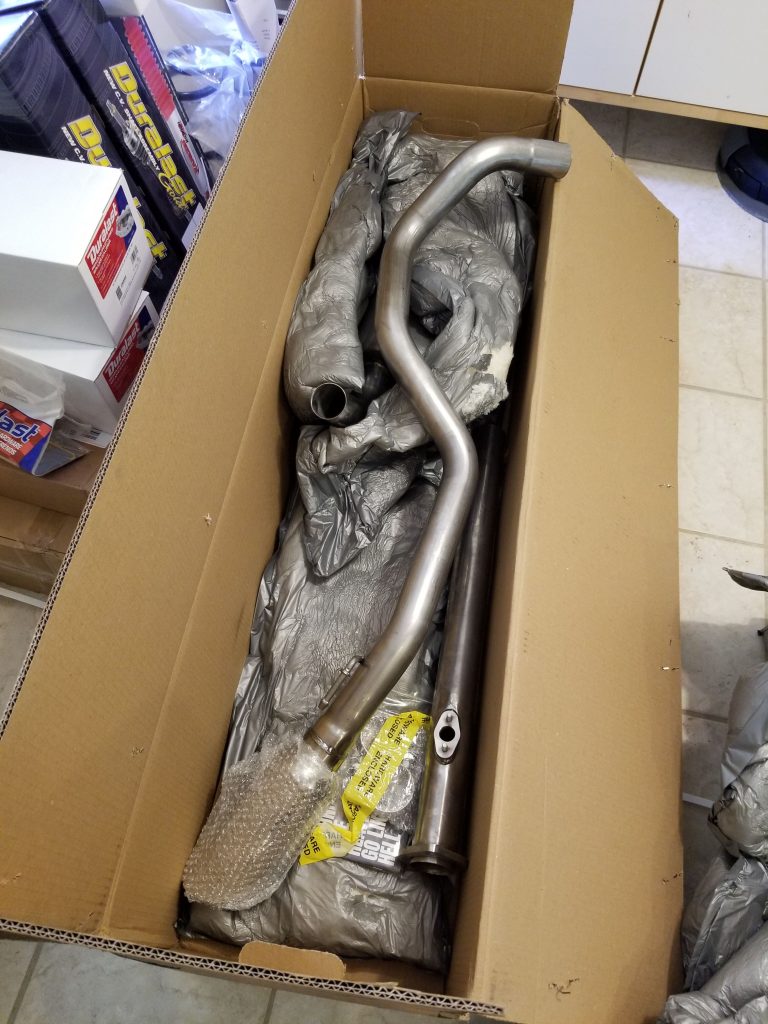
Pre-bent ready to bolt in Borla exhaust:
Sand blasted and powder coated wheels:
BFG All Terrains:
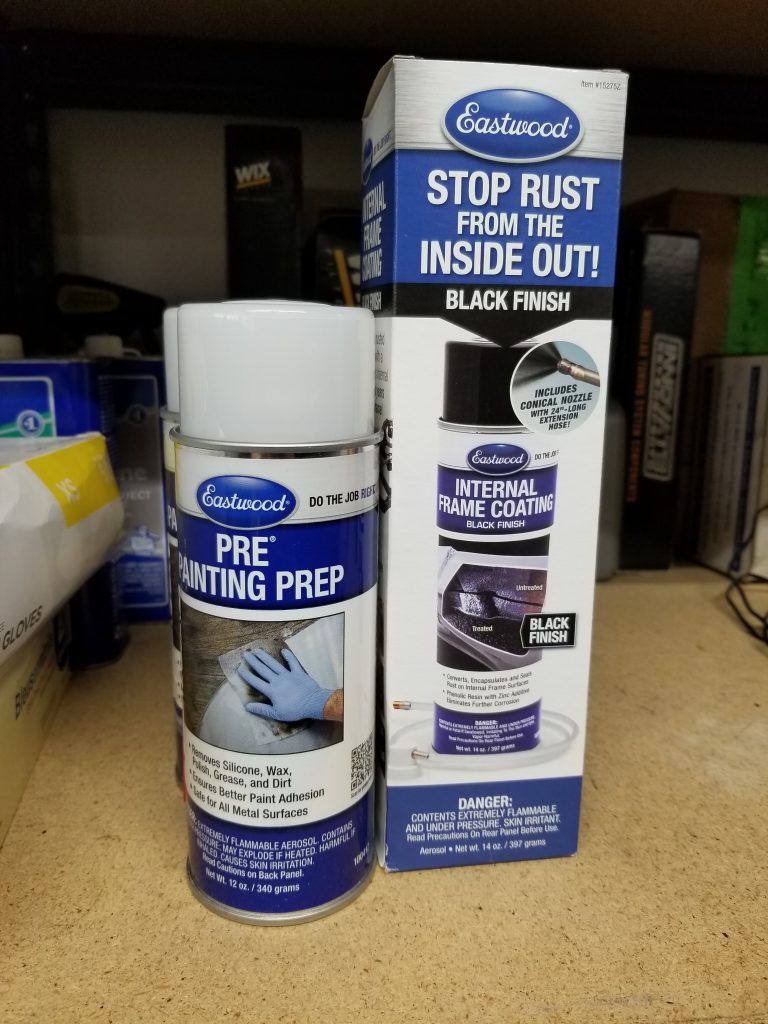
And my secret weapon to prevent future frame rust:
I had been taking apart and cleaning/painting parts for months now, time to start bolting stuff back together. Before that though, one last step- rust work on the undercarriage!
I basically laid under the 4Runner with a creeper, safety goggles, and a cordless drill with wire wheel. I ground anywhere I found even a little rust. I even pulled the gas tank and did it too (I had to install a new fuel pump anyway).
Cleaned up front end frame ready for paint. I used Rustoleum Rust Reformer pretty much everywhere, and then for good measure I taped up all the holes in the frame and used Eastwood Internal Frame Coating to seal up anything going on inside the frame:
I didn't take a lot of pictures of the rear during, because I was focused on the task at hand. Here you can see part of the end result though (don't worry I used Rust Reformer on the e-brake hardware too):
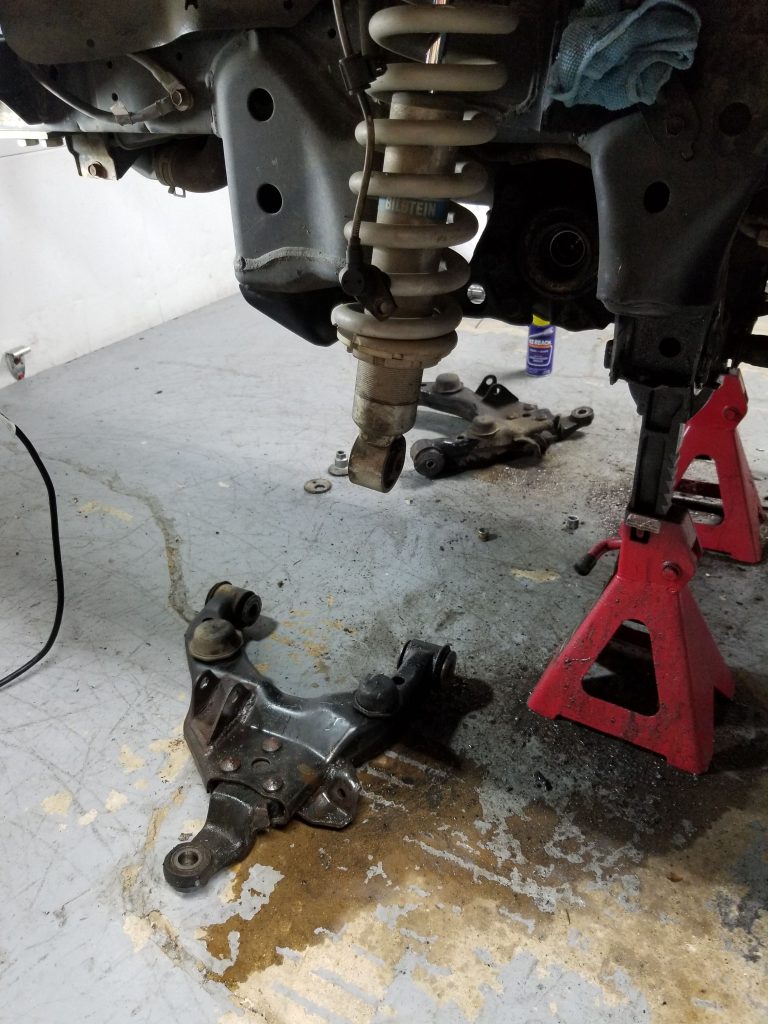
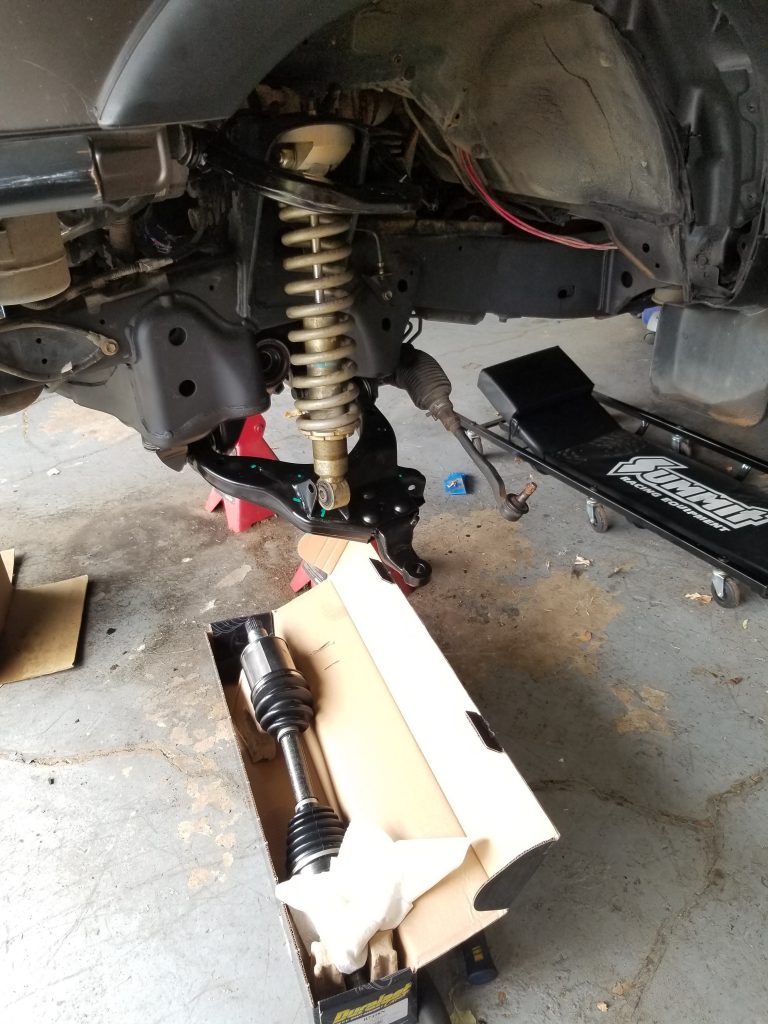
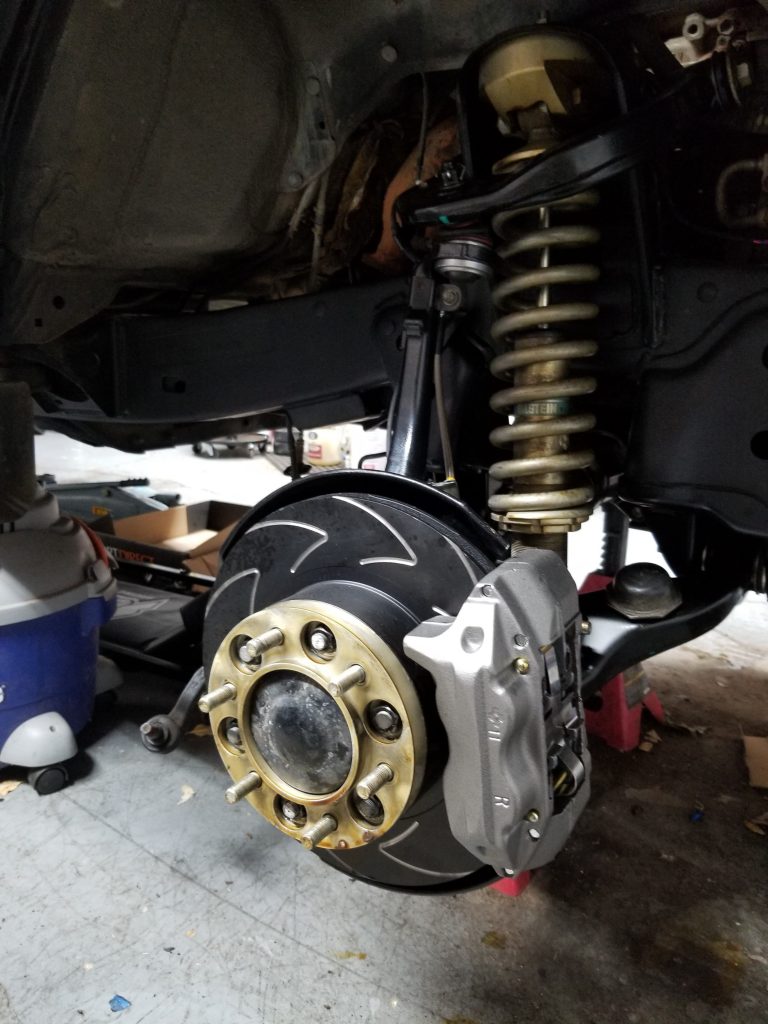
Starting re-assembly on the front end:
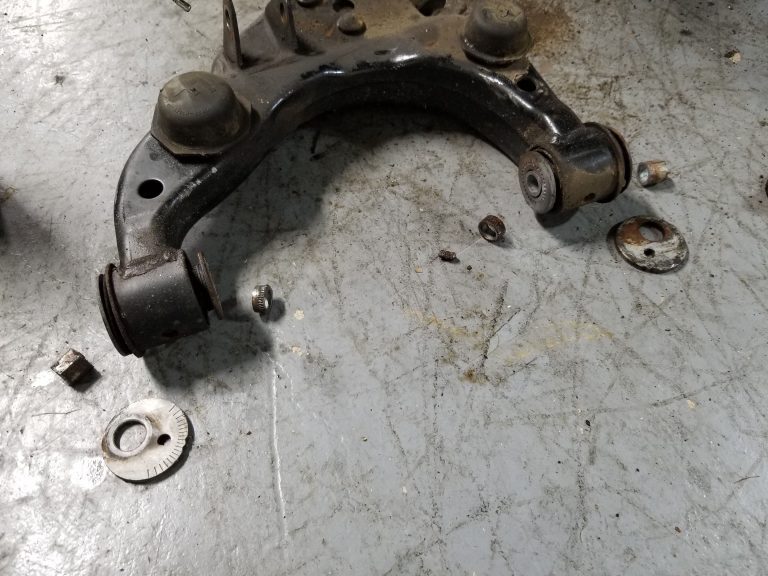
New upper control arms, ball joints, everything:
Shiny new parts everywhere!
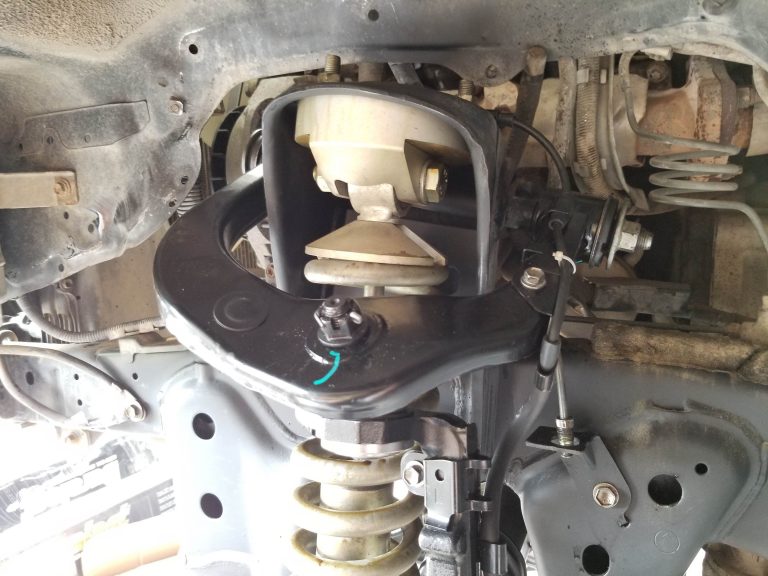
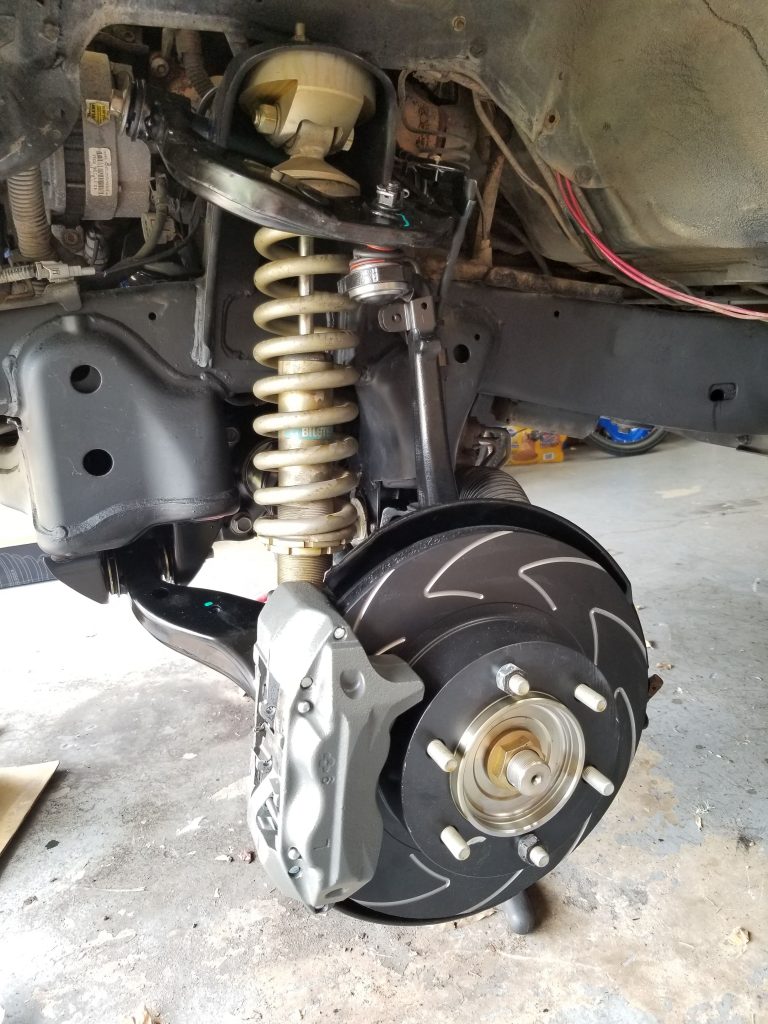
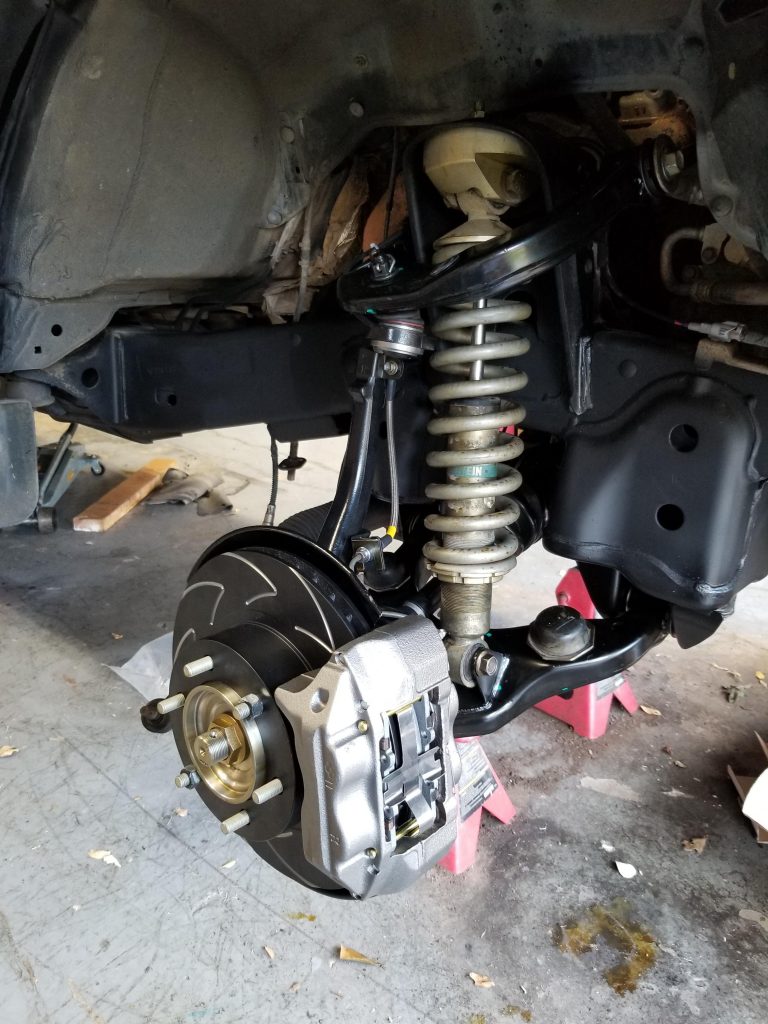
Almost done:
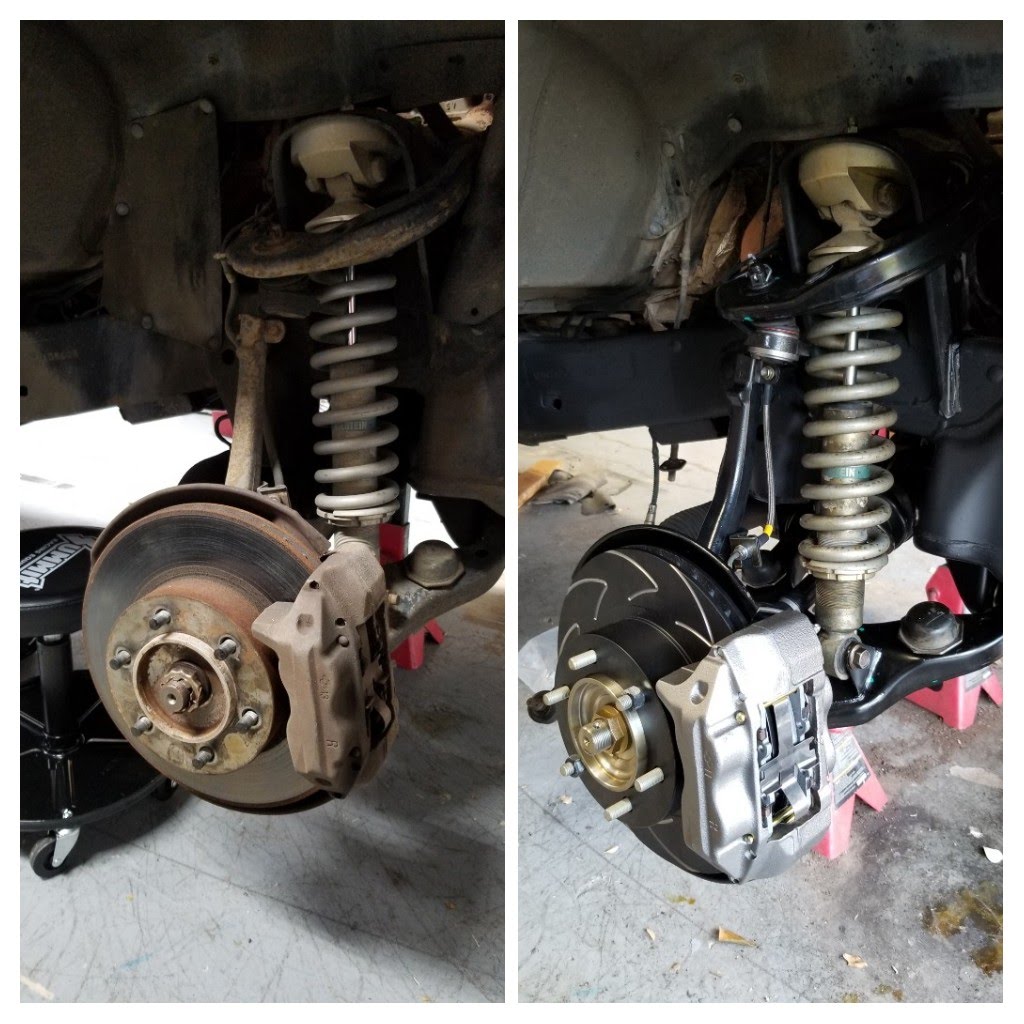
A before and after shot really shows the difference:
Putting the rear back together I had some stud break, so I got fancy new ones from ARP:
Side by side of an old stud and a new one:
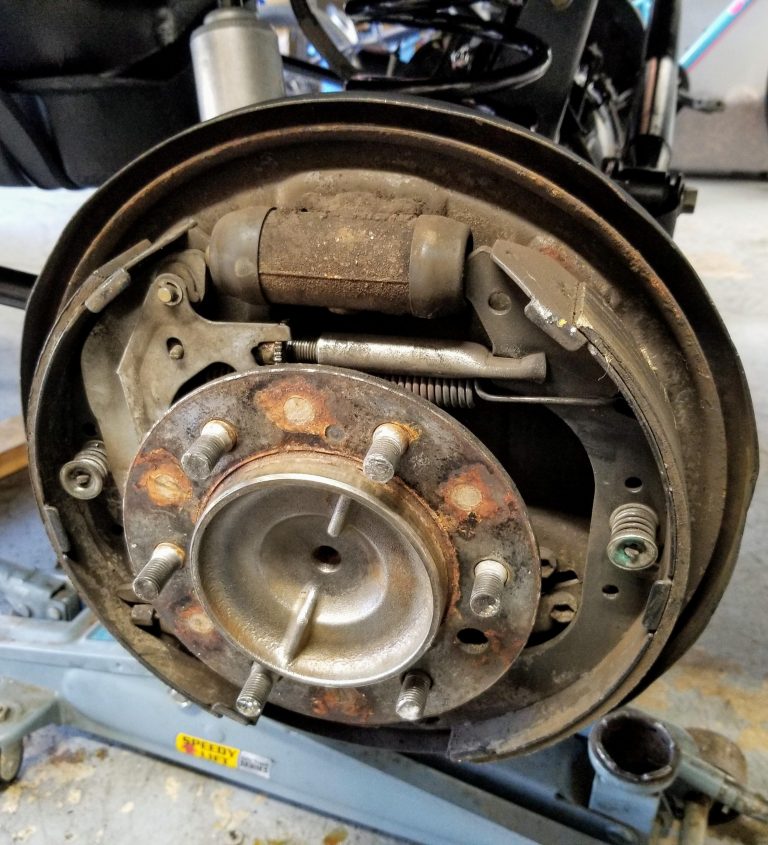
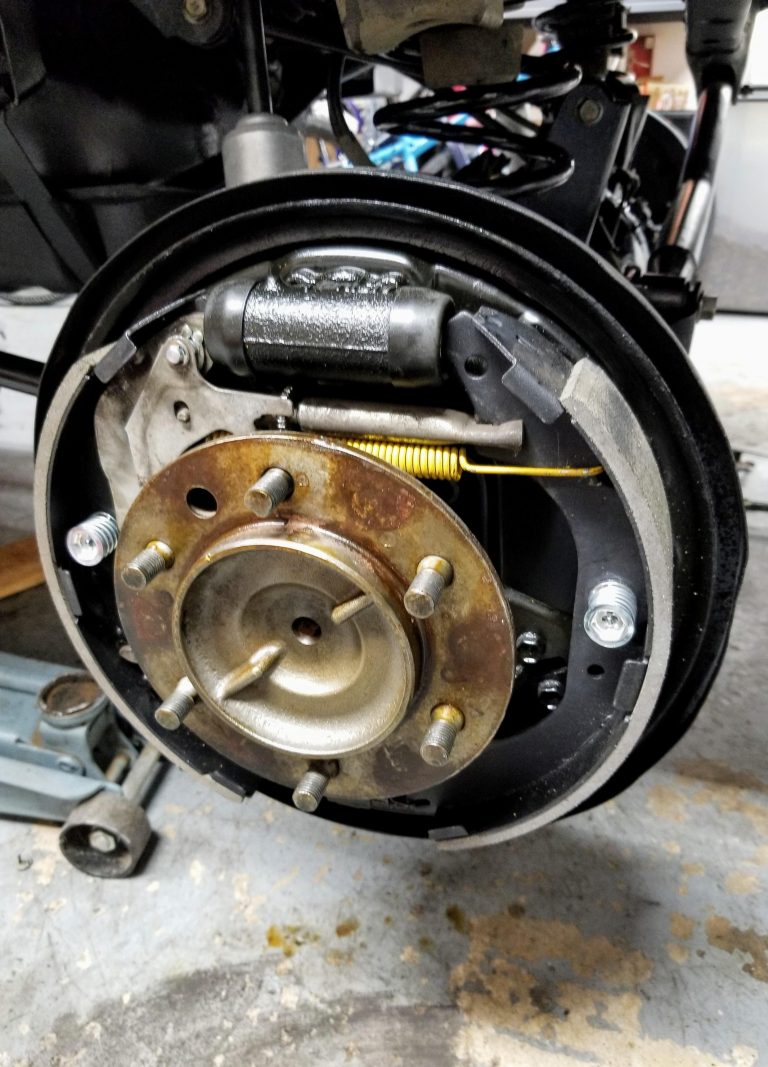
The rear brakes were pretty gross, gotta clean them up:
Cleaned and painted rear brakes, and then installed new hardware with rebuild kit:
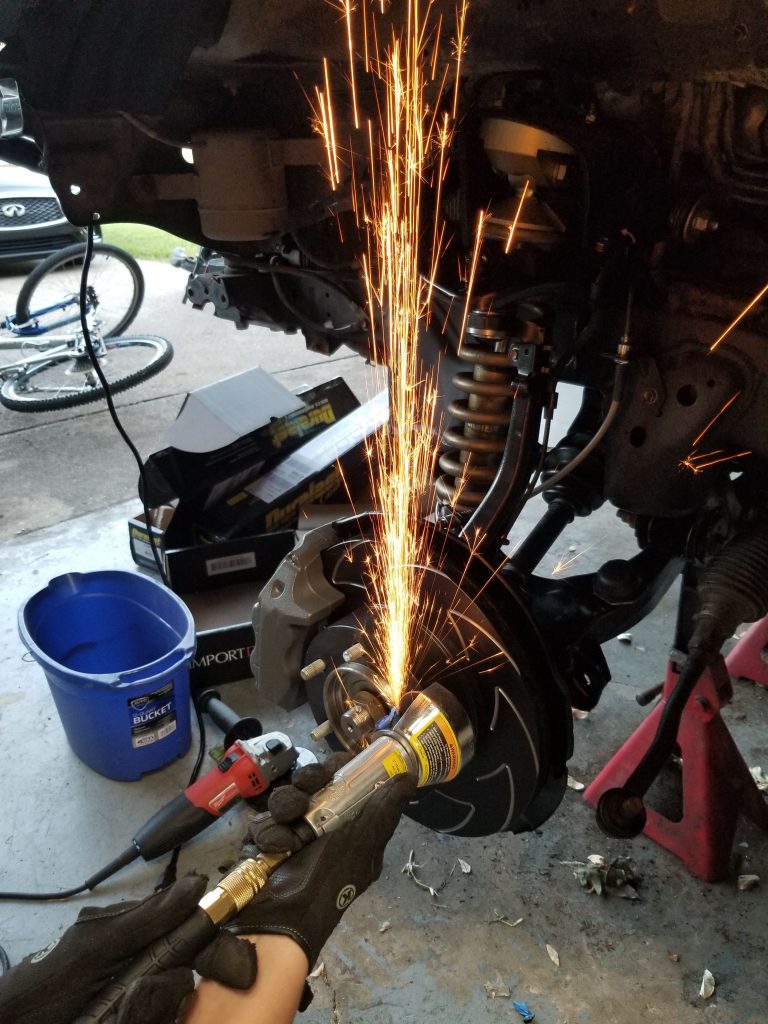
Throwing sparks to trim the new lugs on the front, to work with my custom wheel spacers:
Getting very close to the finish line and I had a trip to Austin in 2 days, so I had to rush things a bit... Still, I've got a couple pictures of things going on. Mainly, I had to get the driveshafts and exhaust in, mount the gas tank skid plate, and then lay down a new coat of rust protectant to ensure anything I might have missed would get locked in place.
First, gotta try on the new shoes and then start torquing down the bolt in the suspension. You have to torque them when the vehicle's sitting at ride height on level ground:
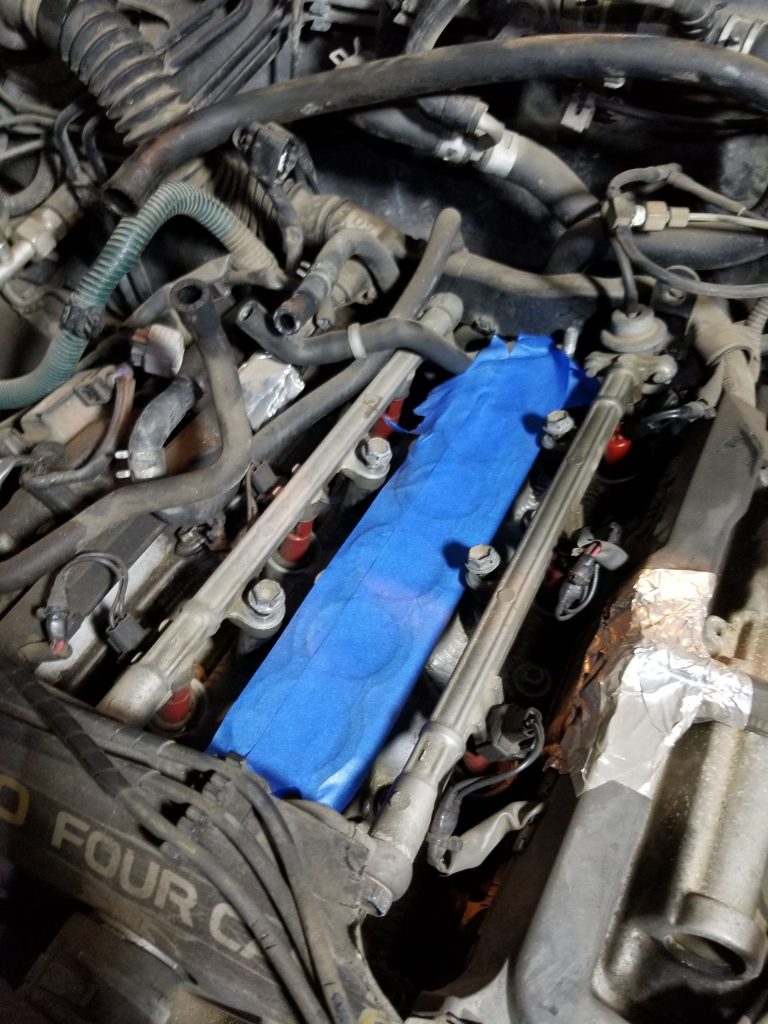
Next I had to get the fuel system in order, I installed a new fuel pump in the tank, new fuel filter, and new injectors. This took care of several issues and cleaned things up a good bit. The new fuel injectors are from a Five O Motorsport, and are the exact same size as factory but flow at 330cc and are flow tested to all match:
One trick I wish I'd known about a long time ago is wax-based metal protectant. I sprayed this stuff on everything underneath the truck (except the brakes). It would have saved me a lot of work if I'd started using it about 15 years ago!
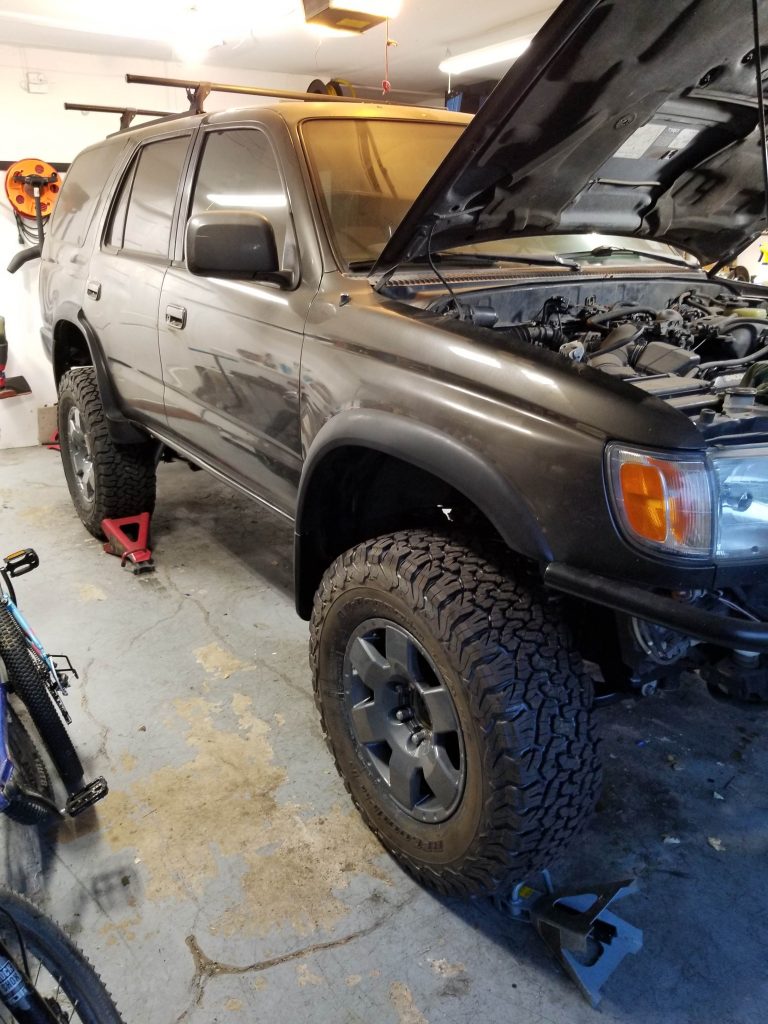
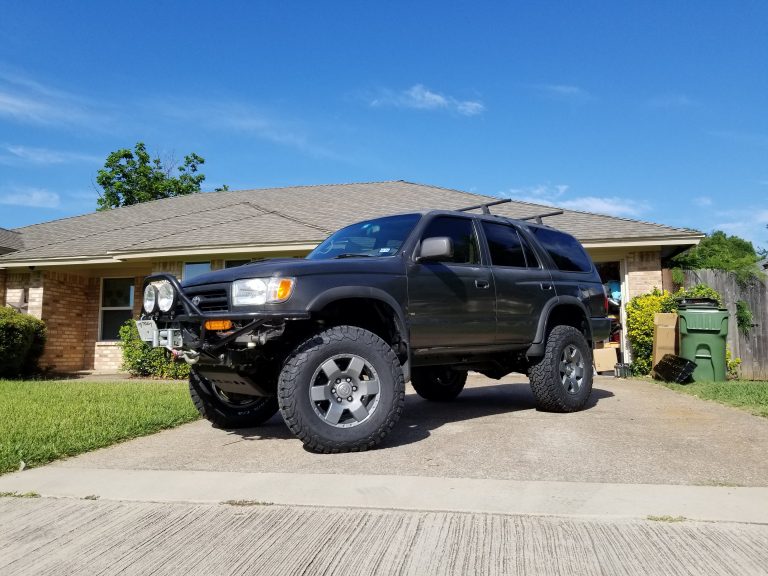
Fired up the 4Runner at about 3am and it drives! Took it to get an alignment, ready for another couple of decades of adventures! (Don't worry I did put the gas tank skid plate back on, but you can see even it got a fresh coat!) 3 more years and it qualifies for classic car plates!!!
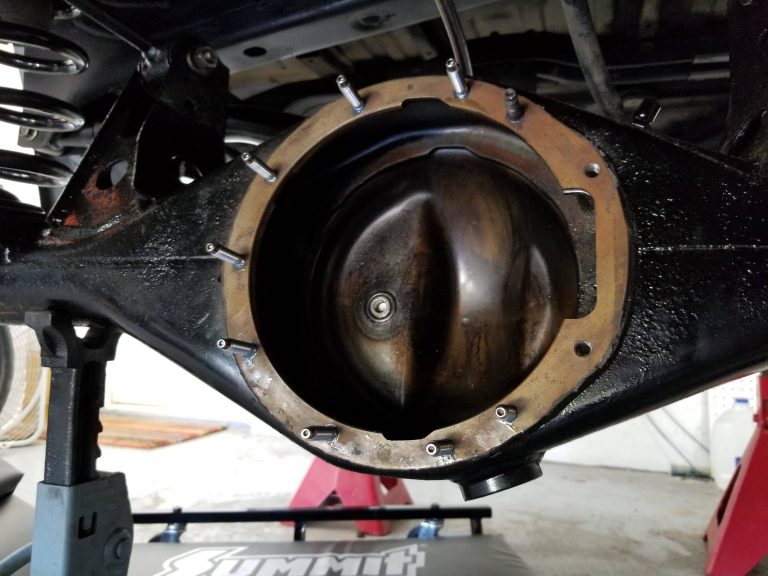
A unique thing that came up for me during the restoration was I had several of the 3rd member studs strip and/or break when I was removing the rear axle, and I wasn't able to get a quick set of replacement studs from Toyota. Lucky for me however I live near a Summit Racing warehouse, and they have a full selection of ARP studs in stock! I was able to identify a high-strength stud set that is the same length and are "broached" studs meaning they have a machined hex hole on top can be installed using an allen wrench.
This is something I hadn't really seen before, so I thought I would document the part numbers I used:
I replaced both the "short" 37mm and "medium" 42mm Toyota studs with ARP stud set 800-4013.
This set includes eight M8x1.25 45mm long broached studs with 12-point nuts and washers.
The sharp-eyed of you will notice yes, I needed 9 studs so I kept one of the factory Toyota studs. I'm ok with it ;-)
I replaced the unusual "long" 111mm Toyota studs (unique to E-Locker differentials) with ARP bolt set 771-1015.
This set includes five M8x1.25 12-point flange head bolts (I only needed 2, so I have 3 spares).
I've attached some pictures showing the install. I cleaned the threads in the axle housing with a tap and the studs and bolts worked perfectly. I used blue Loctite to ensure they don't loosen, and torqued them all to the factory torque spec. Look at that stainless steel shininess!
For future reference, the Toyota stud part numbers are below. The torque spec is 18 ft-lbs! There's a typo in the FSM that says 54 ft-lbs or some such nonsense, I crossed out the incorrect number in my FSM and put the correct one.

 Sep 9, 2020 | 08:58 AM