
xxxtreme22r's 1987 Pickup Build-Up Thread
 Jul 8, 2010 | 03:14 PM
#42
Thread Starter
Registered User
Joined: Aug 2009
Posts: 13,574
Likes: 72
From: Wilkes-Barre, PA, USA
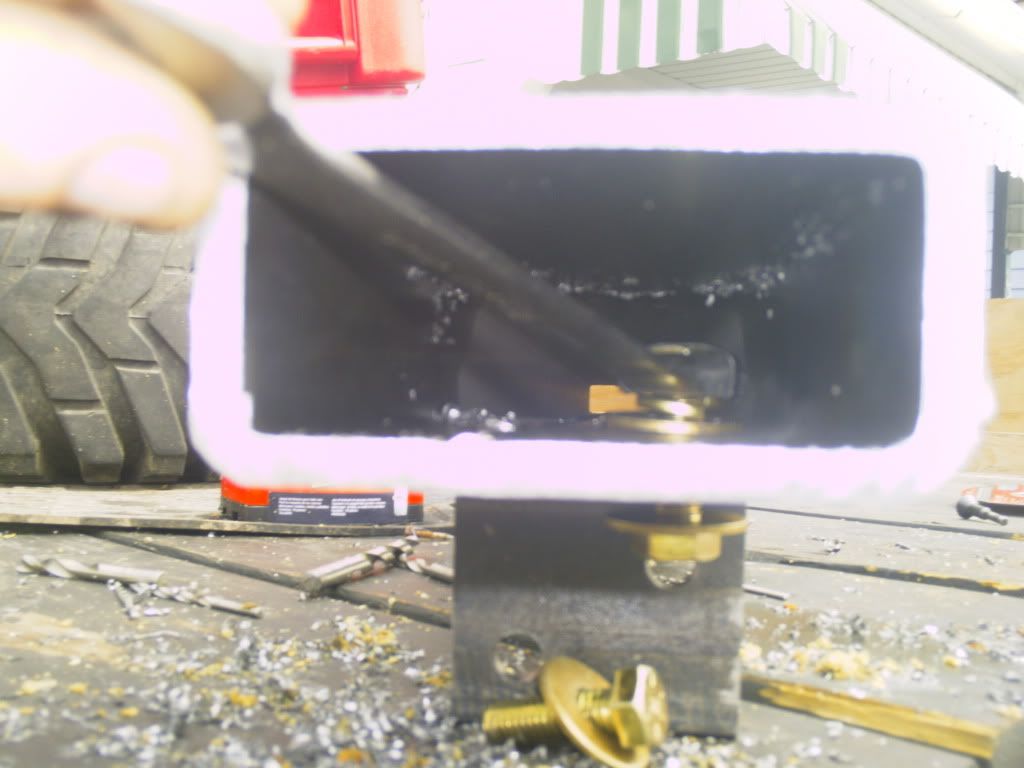
yeah, wishigng I had one, almost bought a $60 special from Harbor Freight. Drill bits might have been saved in that case.
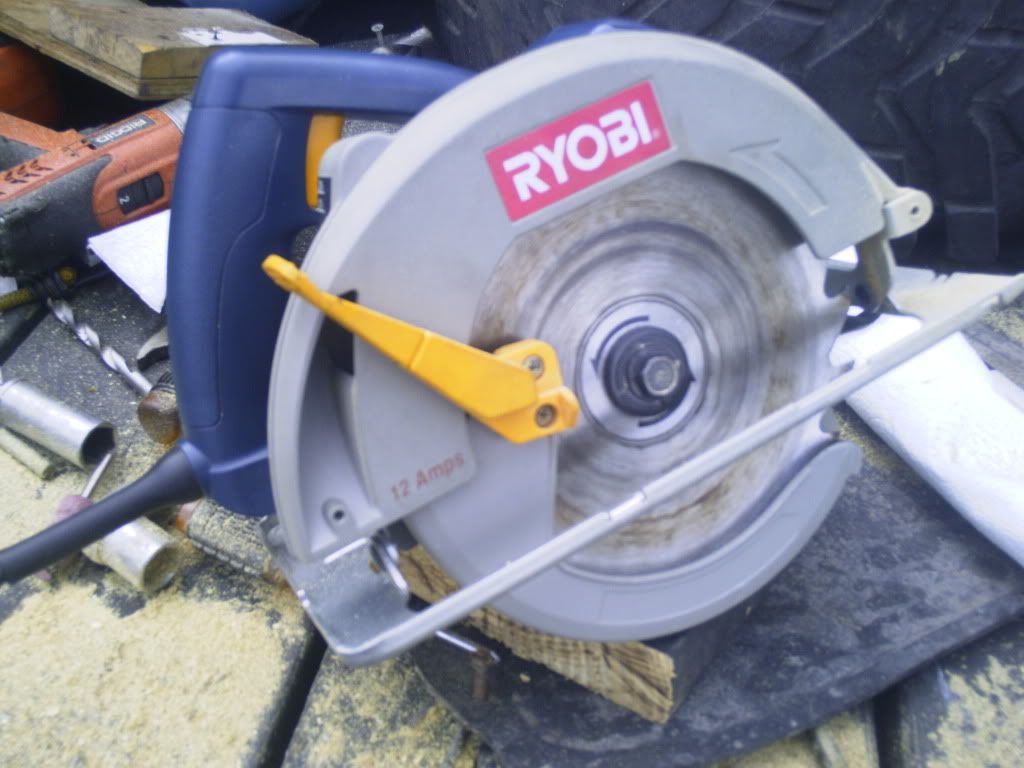
This was really meant for the guys without much fab skill or fully stocked shop so I decided to do it with the standard cordless drill.
BTW, I was wondering where my other wire wheel went. hahaha
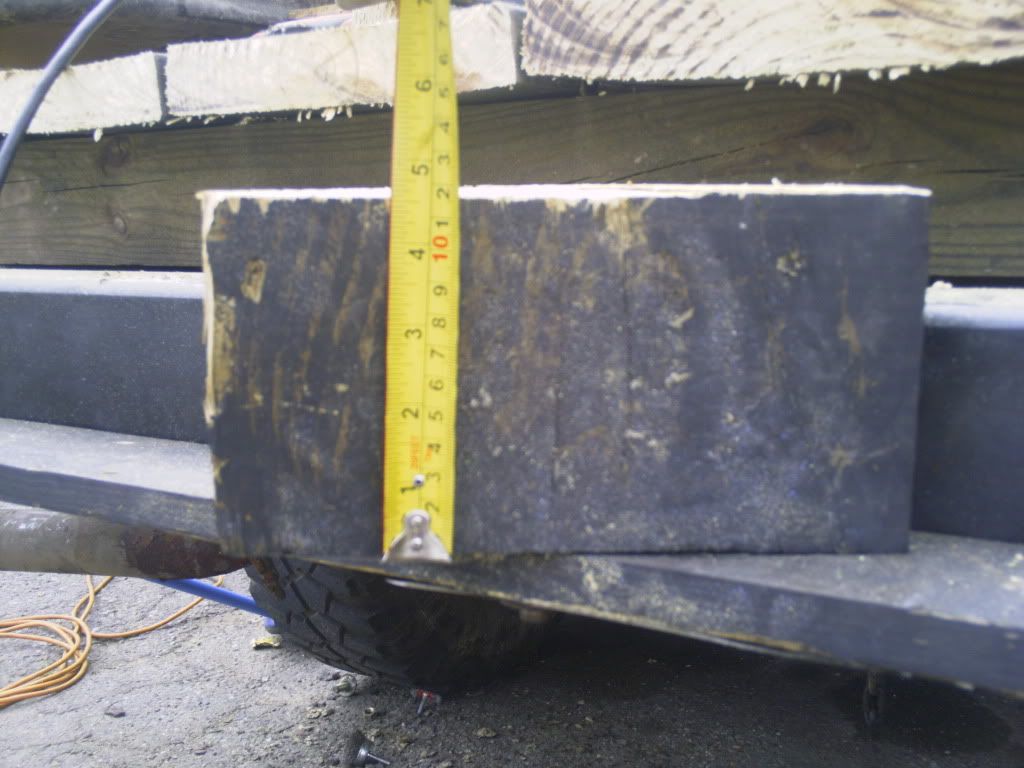
Now to figure out how I am gonna hold up this 45lb 4 x 2 tube to mark it. hhahaa
This was really meant for the guys without much fab skill or fully stocked shop so I decided to do it with the standard cordless drill.
BTW, I was wondering where my other wire wheel went. hahaha
Now to figure out how I am gonna hold up this 45lb 4 x 2 tube to mark it. hhahaa
Last edited by xxxtreme22r; Jul 8, 2010 at 03:16 PM.
Jul 8, 2010 | 04:41 PM
#43
Registered User
Joined: Jul 2009
Posts: 832
Likes: 0
From: Eastern NC
Hope I'm not telling you something you already know. But about 320 rpm is all you need on the drill. And lot of cutting fluid. You can get it done with a cordless just got to work the trigger a little. Also be careful putting the bit in a bind. Looking good though.
Jul 8, 2010 | 04:44 PM
#44
Thread Starter
Registered User
Joined: Aug 2009
Posts: 13,574
Likes: 72
From: Wilkes-Barre, PA, USA
yeah the bind deal is what got me, kinda hard to not go off to an angle every once in a while with a cordless drill.  I am also working the trigger quite a bit. Got quite a bit of cutting fluid too. Bottle almost gone and I got 2 more holes to drill. lol Almost done wit the build then got to clean it up for paint.
I am also working the trigger quite a bit. Got quite a bit of cutting fluid too. Bottle almost gone and I got 2 more holes to drill. lol Almost done wit the build then got to clean it up for paint.
Last edited by xxxtreme22r; Jul 8, 2010 at 04:45 PM.
Jul 9, 2010 | 10:36 AM
#45
Thread Starter
Registered User
Joined: Aug 2009
Posts: 13,574
Likes: 72
From: Wilkes-Barre, PA, USA
ok got it all mocked and mounted up. Note to self measure twice cut once. (I'll see if anyone can point it out.) My guess is it will be 92TOY and his OCD. lol)
Anyway
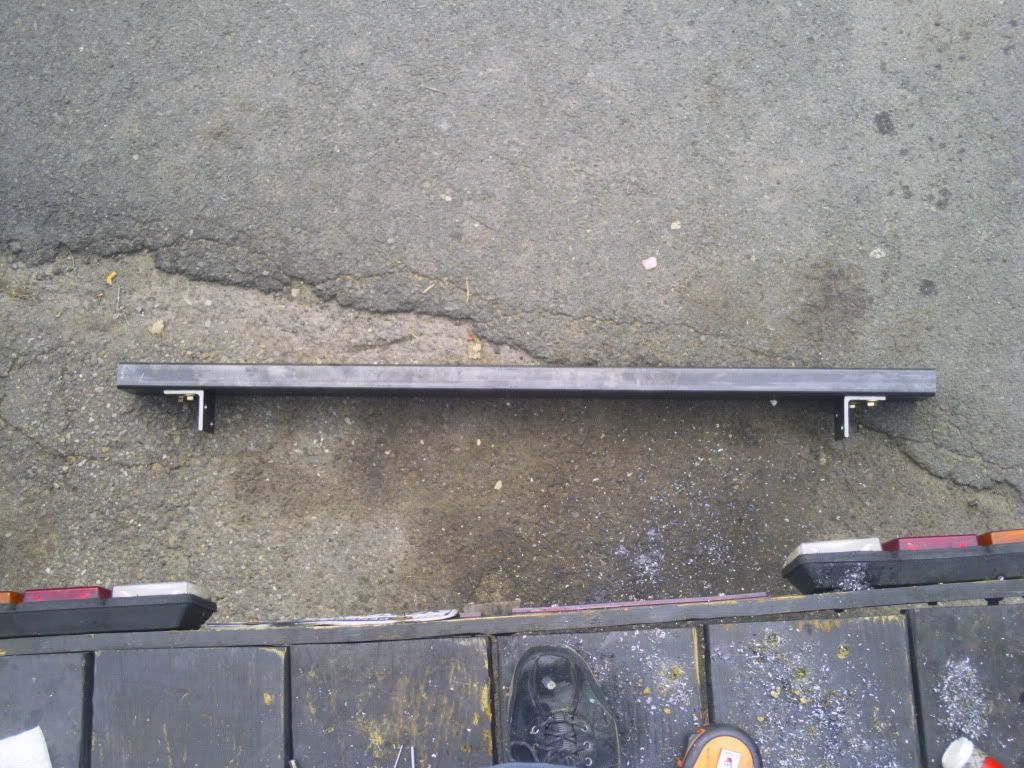
Got the angle parts of the bracket drilled out for the tube on both sides:
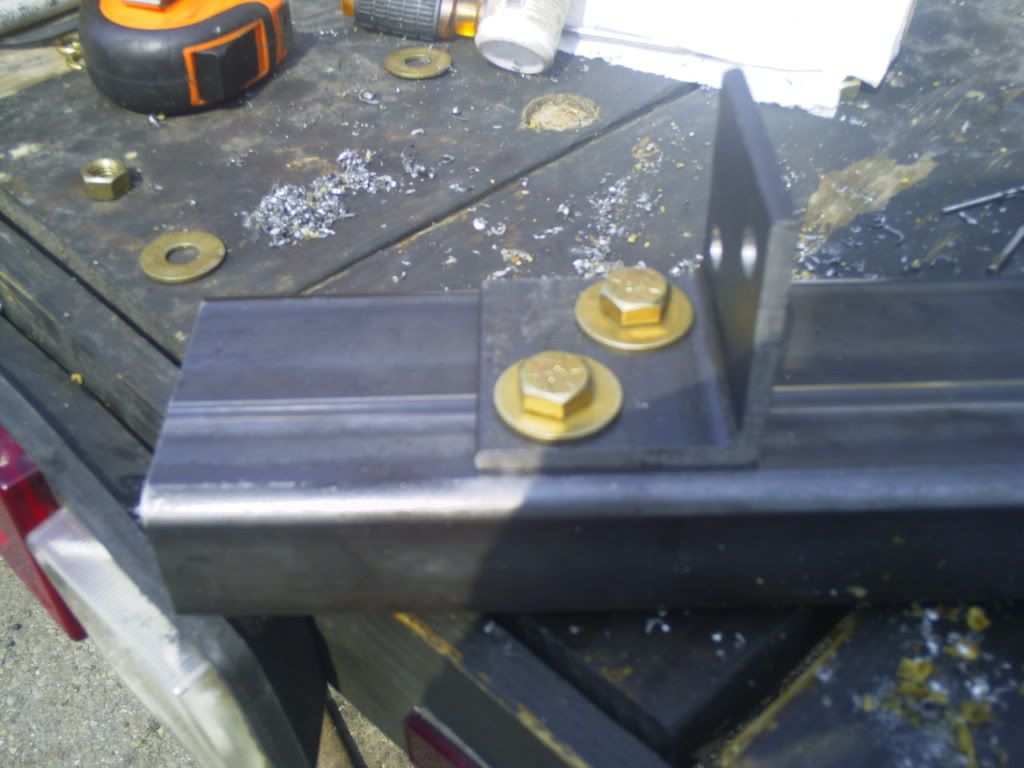
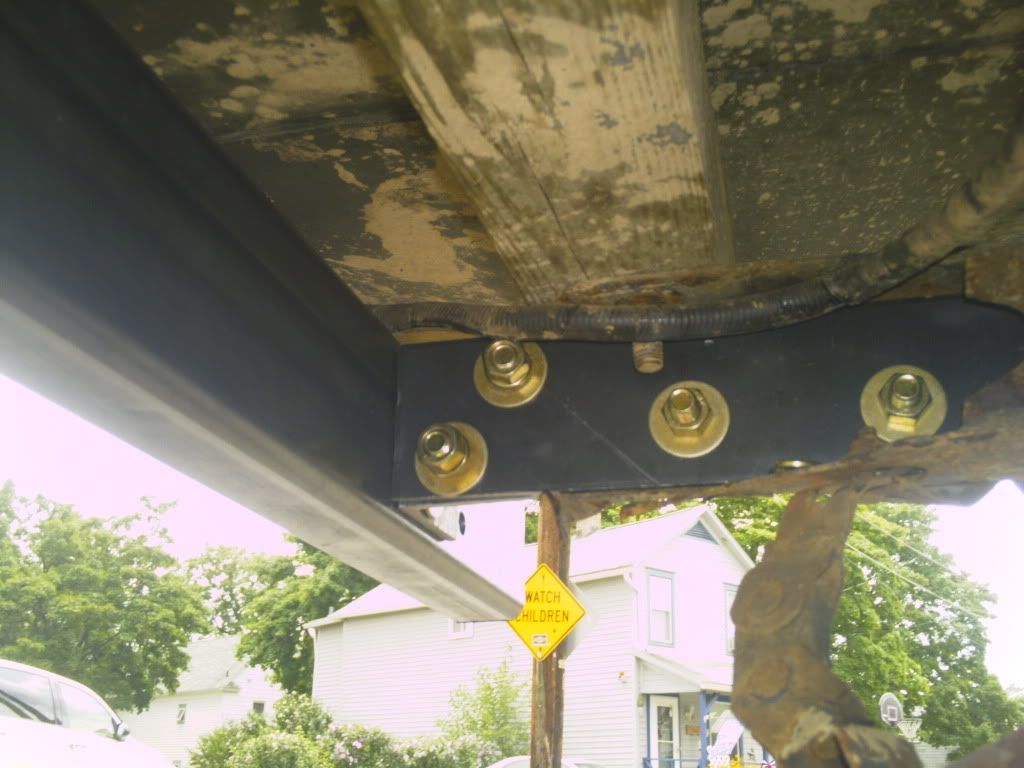
This shows the clearance of the bolts:
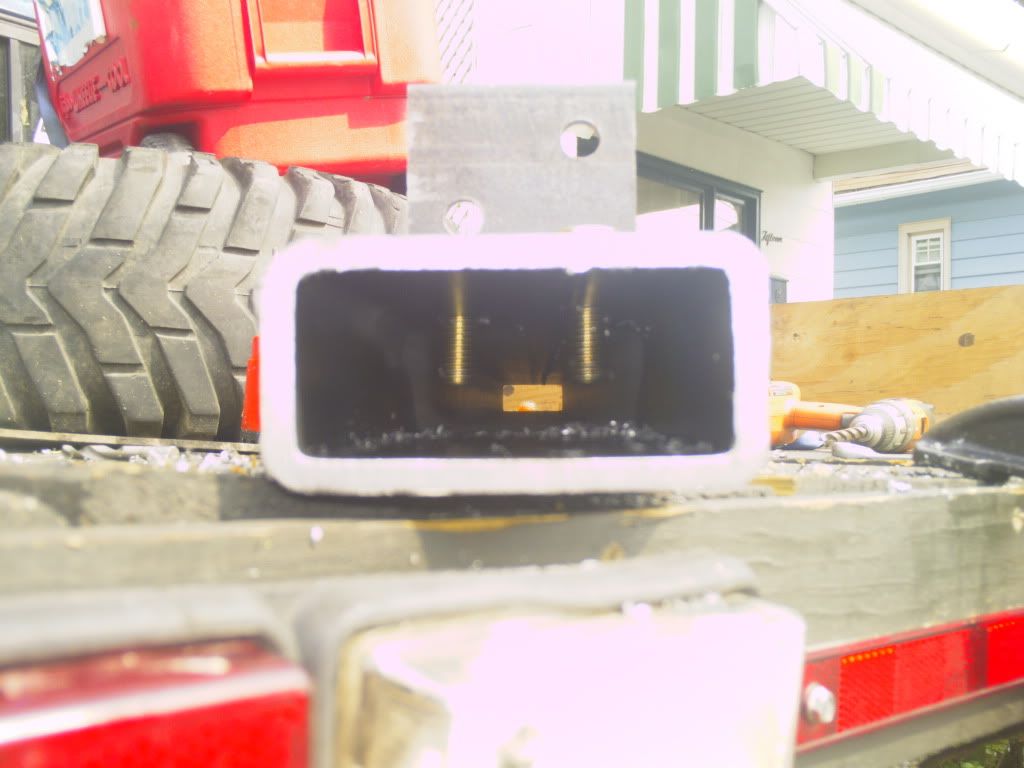
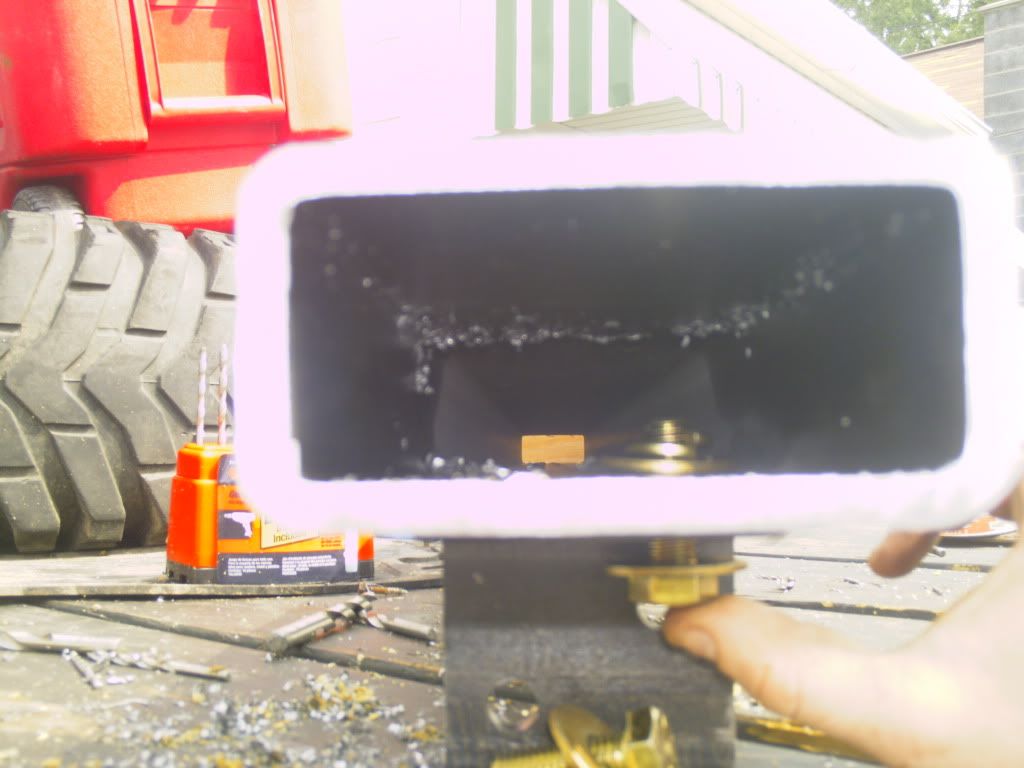
To make it easier to put the nuts and stuff on I flipped it over and used som tape for the nuts:
Angle brackets mocked up ready to hang.
Since this thing is rather heavy (about 50lbs) I had my 4 year old hold a washer and bolt for each sid as I layed on my back to lift it into place. When one of the holes lined up on each side she put in the bolts for me. Sorry no photos as it's only me and her at home right now.
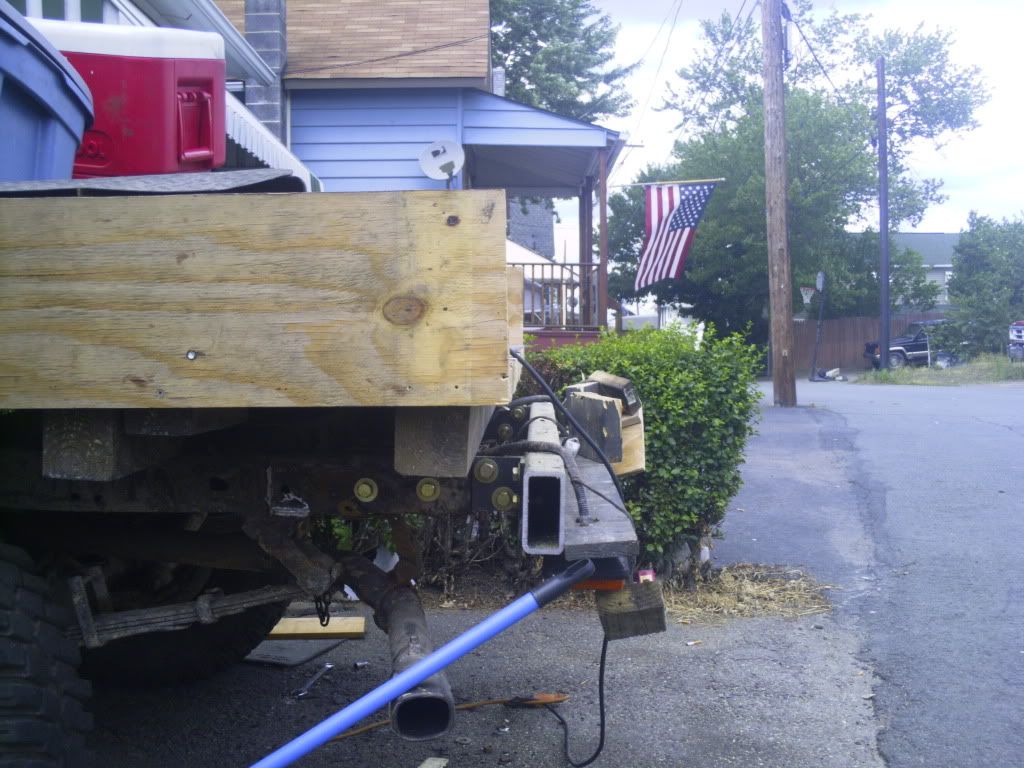
This is how it looks mocked up
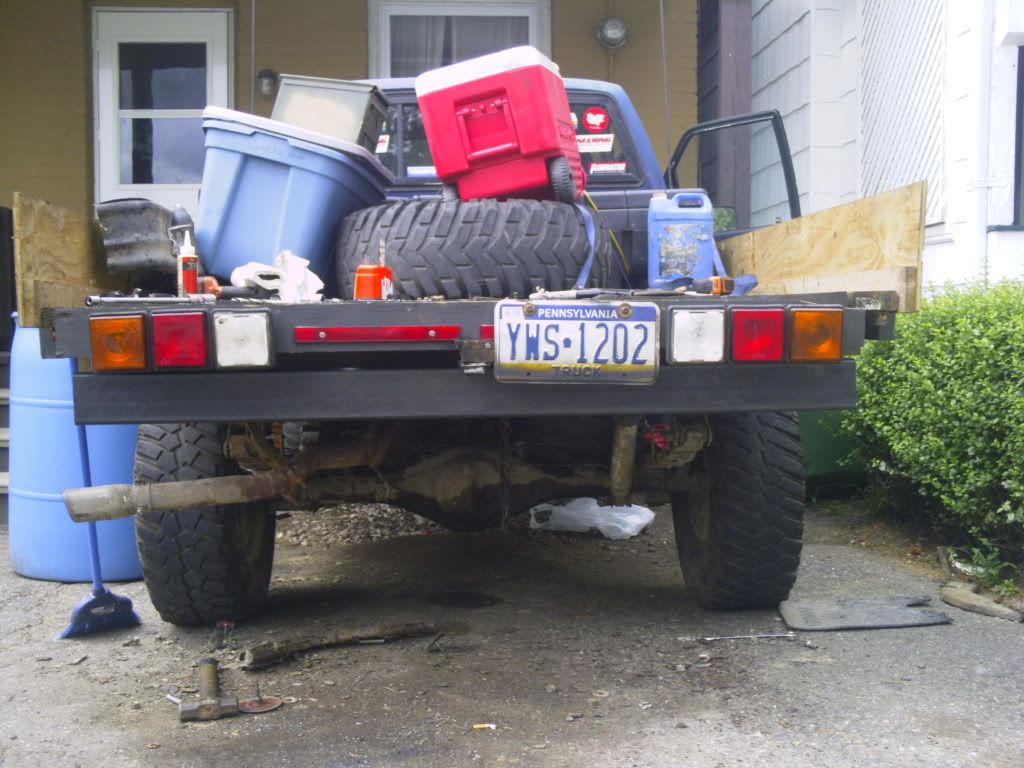
Other side looks the same:
Time for me to bob the bed now as it overhangs the new bumper. Then I will take the bumper off and paint it up.
Anyway
Got the angle parts of the bracket drilled out for the tube on both sides:
This shows the clearance of the bolts:
To make it easier to put the nuts and stuff on I flipped it over and used som tape for the nuts:
Angle brackets mocked up ready to hang.
Since this thing is rather heavy (about 50lbs) I had my 4 year old hold a washer and bolt for each sid as I layed on my back to lift it into place. When one of the holes lined up on each side she put in the bolts for me. Sorry no photos as it's only me and her at home right now.
This is how it looks mocked up
Other side looks the same:
Time for me to bob the bed now as it overhangs the new bumper. Then I will take the bumper off and paint it up.
 Jul 10, 2010 | 06:03 AM
#49
Registered User
Joined: Dec 2006
Posts: 157
Likes: 0
From: Wilkes Barre Pa.
you should have taken it to the trucking station on New Fredrick ST they would have welded it for you for a couple of bucks,then you only needed to bolt it to the frame.Nice bumper by the way
Jul 10, 2010 | 06:21 AM
#50
YotaTech Milestone-Two Millionth Post
Joined: Jan 2009
Posts: 12,009
Likes: 122
From: Northeast Pennsylvania
hey...good tip...i may have to check into that when i get to mine.
XXXTREME...where did you get your metal from anyway? Bloom?
Jul 11, 2010 | 01:31 PM
#51
Thread Starter
Registered User
Joined: Aug 2009
Posts: 13,574
Likes: 72
From: Wilkes-Barre, PA, USA
yah I got it from bloom.
Thanks for tip ozzydg55. Might check them out to do a receiver tube and shackle eyelets. Maybe finish weld the joints from the bolt on. But I wanted to do it this way to show people it's possible to do without knowing how to weld and using simple hand tools.
Thanks for tip ozzydg55. Might check them out to do a receiver tube and shackle eyelets. Maybe finish weld the joints from the bolt on. But I wanted to do it this way to show people it's possible to do without knowing how to weld and using simple hand tools.
Sep 6, 2010 | 09:08 AM
#54
Thread Starter
Registered User
Joined: Aug 2009
Posts: 13,574
Likes: 72
From: Wilkes-Barre, PA, USA
now onto my next problem, after a recent mud bog, a few days after I developed a grinding noise from the front drivers side wheel. Thinking it might be a dry spindle bushing. But you will see how far it goes.
here is the start, lower control arm up on jack spinning wheel by hand hubs unlocked of course. pretty sure you can hear it. it's kinda liight so I am almost thinking its just a bent dust shield rubbing on the rotor, but we will see when I take the wheel off.
http://www.youtube.com/watch?v=ZlCTjm620GY
Last edited by xxxtreme22r; Sep 6, 2010 at 09:10 AM.
Sep 6, 2010 | 09:26 AM
#55
Thread Starter
Registered User
Joined: Aug 2009
Posts: 13,574
Likes: 72
From: Wilkes-Barre, PA, USA
ok wheel off same conditions as before.
noise still there, but I think I am 99% sure of what the culprit is now. which now leads me to this thread: https://www.yotatech.com/forums/f116...emoval-146581/
http://www.youtube.com/watch?v=yIVNWWWmEYA
noise still there, but I think I am 99% sure of what the culprit is now. which now leads me to this thread: https://www.yotatech.com/forums/f116...emoval-146581/
http://www.youtube.com/watch?v=yIVNWWWmEYA


 Sep 6, 2010 | 09:47 AM
#60
Thread Starter
Registered User
Joined: Aug 2009
Posts: 13,574
Likes: 72
From: Wilkes-Barre, PA, USA
Hint 1 : may or may not be related to the mudbog at all.
Hint 2 : No part of the truck will have to be removed from the truck to fix (yet) except for the obvious wheel that is already off.
Hint 2 : No part of the truck will have to be removed from the truck to fix (yet) except for the obvious wheel that is already off.


