When you click on links to various merchants on this site and make a purchase, this can result in this site earning a commission. Affiliate programs and affiliations include, but are not limited to, the eBay Partner Network.
The two biggest issues with these motors are the plastic timing chain guides breaking and the timing chain cutting through the cover right where the water pump is, and the head gaskets giving way. You can get the dual row chain upgrade LCE , but I'd at a minimum get metal backed timing guides (several companies make kits engnbldr is good. The head gasket issue can be somewhat avoided using ARP studs instead of head bolts but you've gotta clearance the underside oil dispersion pan in the valve cover for it to sit over the top of them.
I really believe that the HG issues come from people using cheap head gaskets, like the ones in eBay gasket kits, and or reusing the OEM torque to yield head bolts. A new gasket, and new bolts should run about $100. That's... Not much considering how long quality parts can last.
I agree with bootscoot. There are three things I never skimp on and always make sure to buy quality: q-tips (because a level of panic sets in when you pull a bare dum-dum stick out of your ear and have to go digging for the cotton), toilet paper (because you don't want the last time you got a piece of a$$ to be when your finger poked through some one ply), and car parts (because those eBay $25 kits were manufactured for under $5).
never reuse head bolts that have been torqued, chase the threads out with a tap (12x1.25mm) and use some grease when installing them. Buy good gaskets and I even spray copper coat them but everyone has their own opinion on that
Joelsmithdesigns, I have been dealing with the weather problems on the farm and simply have NOT had a chance to get back with ya on the parts. I DO need to first verify my engine #s on the plate are correct with the VIN #.
I attempted several searchs here but this site is very vast IMO. Got to be a thread or post with this information somewhere.
Any idea what you want for the parts ? I " may " go ahead and rebuild the 1986/87 ( Not totally certain of the year or if it is an original motor ) Im not certain I trust a jasper or parts store crate motor. Id almost rather build her correctly with the engine and go from there. ( Its just a time issue but how much time am I going to save if the engine does not last ? ) LoL
I still need to verify the VIN matches the engine plate #s. Also would like 1 or 2 suppliers for all the parts Ill need. ( Ill research when I get time ) I would imagine clutch , pressure plate and so on needs up-grade as well as shocks. That's the minimum for now other than rims and tires maybe. Dunno.
A lot of these older 22R's have been swapped out at some point, so it's not a huge deal if your engine # doesn't match your vin. What is a big deal is that you have the same year range block. The earlier 22R's (81-84) have a different engine deck height (from oil pan mounting surface to top of block) and used pop up "donut" topped pistons that actually came up past the top of the block and into the rounded out combustion chamber of the head. Later blocks (much more common) 95-95 had flat topped pistons and smaller combustion chambers with pear shaped exhaust ports and a "spaceship" boss cast into the driver's side of the block that was bored out for a turbo oil return line on the turbo blocks (86-87). The only thing you really need to be cautious about when swapping your block at a place that assembly line builds them like Jasper, or City Motor, is that you're getting the same year block. Do a quick visual inspection on the driver's side of the engine and see if it has this:
Whatever you do, you don't want to mix and match parts / heads / etc from the early 22R to the late style as the timing chains are different. When I bought my '89 4Runner, some dingleberry had put an '81 celica motor in it and mixed and matched parts (longer timing chain that ended up blowing it up). When I went to rebuild it, I made sure to get the correct year block so that would never happen again.
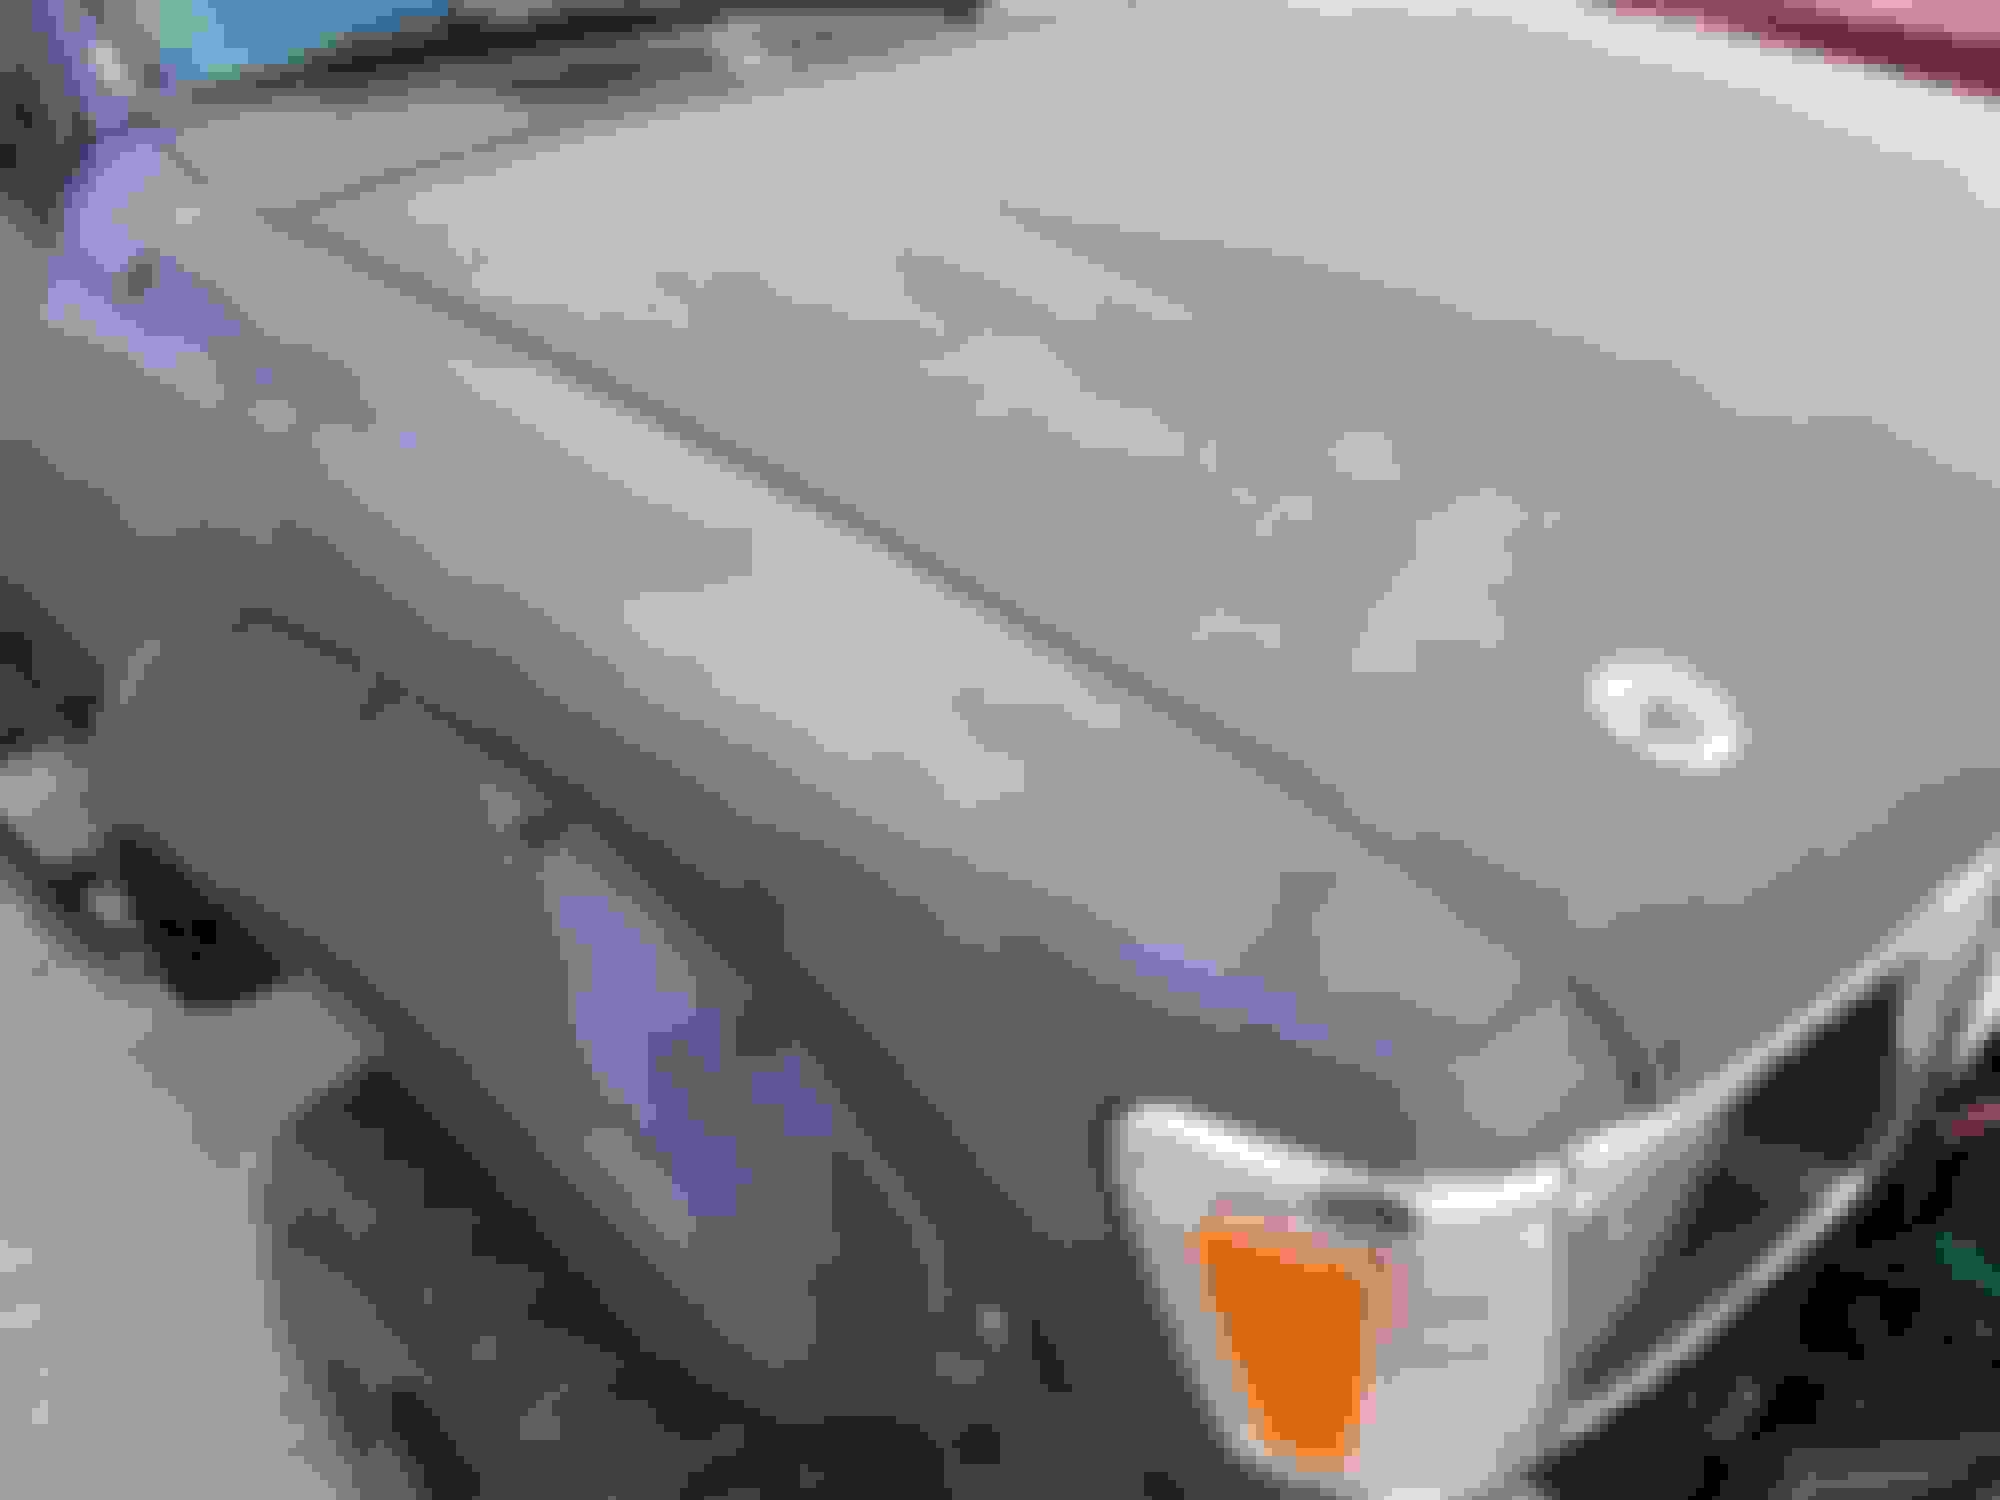
Sadly, I've been focused on other projects at the moment and haven't got a chance to work on the '89 or the '92 Turbo truck. However, I did get a wild hair this weekend and pulled the truck out and started prepping it for paint. It was rattle canned by the PO and has a bunch of dents and dings here and there, but it shouldn't be too much to get it all smoothed out and ready to shoot with the UPOL Raptor liner. It's currently sanded down and ready for the first coat of primer (everything but the bed interior......I'll have to wire cup brush that with a grinder). I think I'm going to go all black with a couple of red racing stripes. I'm also considering just painting the interior of the bed and getting a plastic liner as I don't want to blow a gallon of liner in the bed.....but we'll see about that.
Since I've had to focus on other projects for a while, and hadn't been able to get anything done on the yotas, I figured I'd go ahead and spray the black '92 Turbo truck with some bedliner. The guy I bought it from spent upwards of $30K fixing it up with all kinds of upgrades, and then rattle canned it black in his driveway. no prep, nothing...and on top of that, bought the cheapest crappiest roll on autozone bedliner kit and gave that a shot in the bed and on the lower rocker / fender flares......and it looked rather turdish. On the other hand, the '86 went from being an eyesore to looking super sharp, and was so easy to spray with the UPOL, I had already bought a couple more kits, and decided I'd go ahead and use them on the truck. Got a space cleared (no small feat) and prepped with plastic down, and sanded the entire truck this weekend. Finally shot the first coat of primer last night....and there's really only 4-5 spots I'll have to do any kind of bondo or glass (I'm not worried about the smaller dents and dings), so I'm hoping I can get to that tonight. Oddly enough, the only thing I may not be spraying with bedliner is the bed.....because I'm seriously considering getting a factory plastic bed liner (used off craigslist) for it. The inside of the bed is beat to crap from something heavy rolling around, and has a super botched and splotchy job of the roll on kit already. It would take more than a random orbital sander to get it knocked down, and would probably be me with a wire cup brush on my grinder for several hours.....which doesn't sound like fun.
Anyway....everyone loves pitchas - here is the junk paint job that was on it...
Sanded and prepped to shoot....
and with the first coat of primer on....
I'm thinking since it's a pretty quick truck with the high boost turbo motor....why not go all black with two "Shelby" or "Le Mans" style stripes down the middle in hot rod red.....but mainly because I already have the hot rod red =) Also might do something on the lower rocker, but not 100% sure about that yet. I'll wait till I get it shot in black and all of the door jambs and stuff painted matte black with the other stripes laid out before messing with others.
Unlike Line-X or Rhino-liner, the UPOL Raptor is a super thick urethane (basically like a splatter painted 2 part epoxy). It stays shiny, doesn't fade (because it's basically paint), and leaves a gritty texture (if you adjust the gun correctly) that keeps things from sliding around your bed if you actually use it for the bed. I used a shutz gun from monstaliner and it only cost about $250 (with $50 of that being a gallon of primer) to shoot the whole truck. This is the second one I've done and it's so easy to do and the texture covers up 95% of imperfections, so you don't have to waste a ton of time on body with getting a perfect base coat of primer. I shot all the seams and cracks with flat black prior to spraying the UPOL.
Thank you for that. I'm wanting to put something in the bed of my '83 I will definitely keep that in mind. I noticed you sprayed it in a shop, how bad is the over spray? I'd assume not terrible do to it being a bit thicker. I spray bombed my 4runner in the garage, and even though I taped everything off, and tarped the entire garage I still ended up with orange paint in some places.
The primer was a little worse with the overspray, but that's probably because I had the pressure set too high on the HPLV gun. The liner itself wasn't bad, it doesn't "mist" up and is heavy, so the splatters don't go far. You do have to be aware of what direction you're holding the gun though. I got a tiny bit of red overspray in the bed from doing the stripes, but wiped it up before it set. The tube bumpers were the hardest thing to shoot and ended up with a decent amount of it on the ground.
I shot the first 4Runner in the gravel drive with some cardboard down and leaves falling on it. It came out pretty decent. Don't over think it, that texture covers up a ton.
Cheap PVC framing with some 6 mil sheet plastic will also work as a temp spray booth. As long as your neighbors don't call the city on you =)
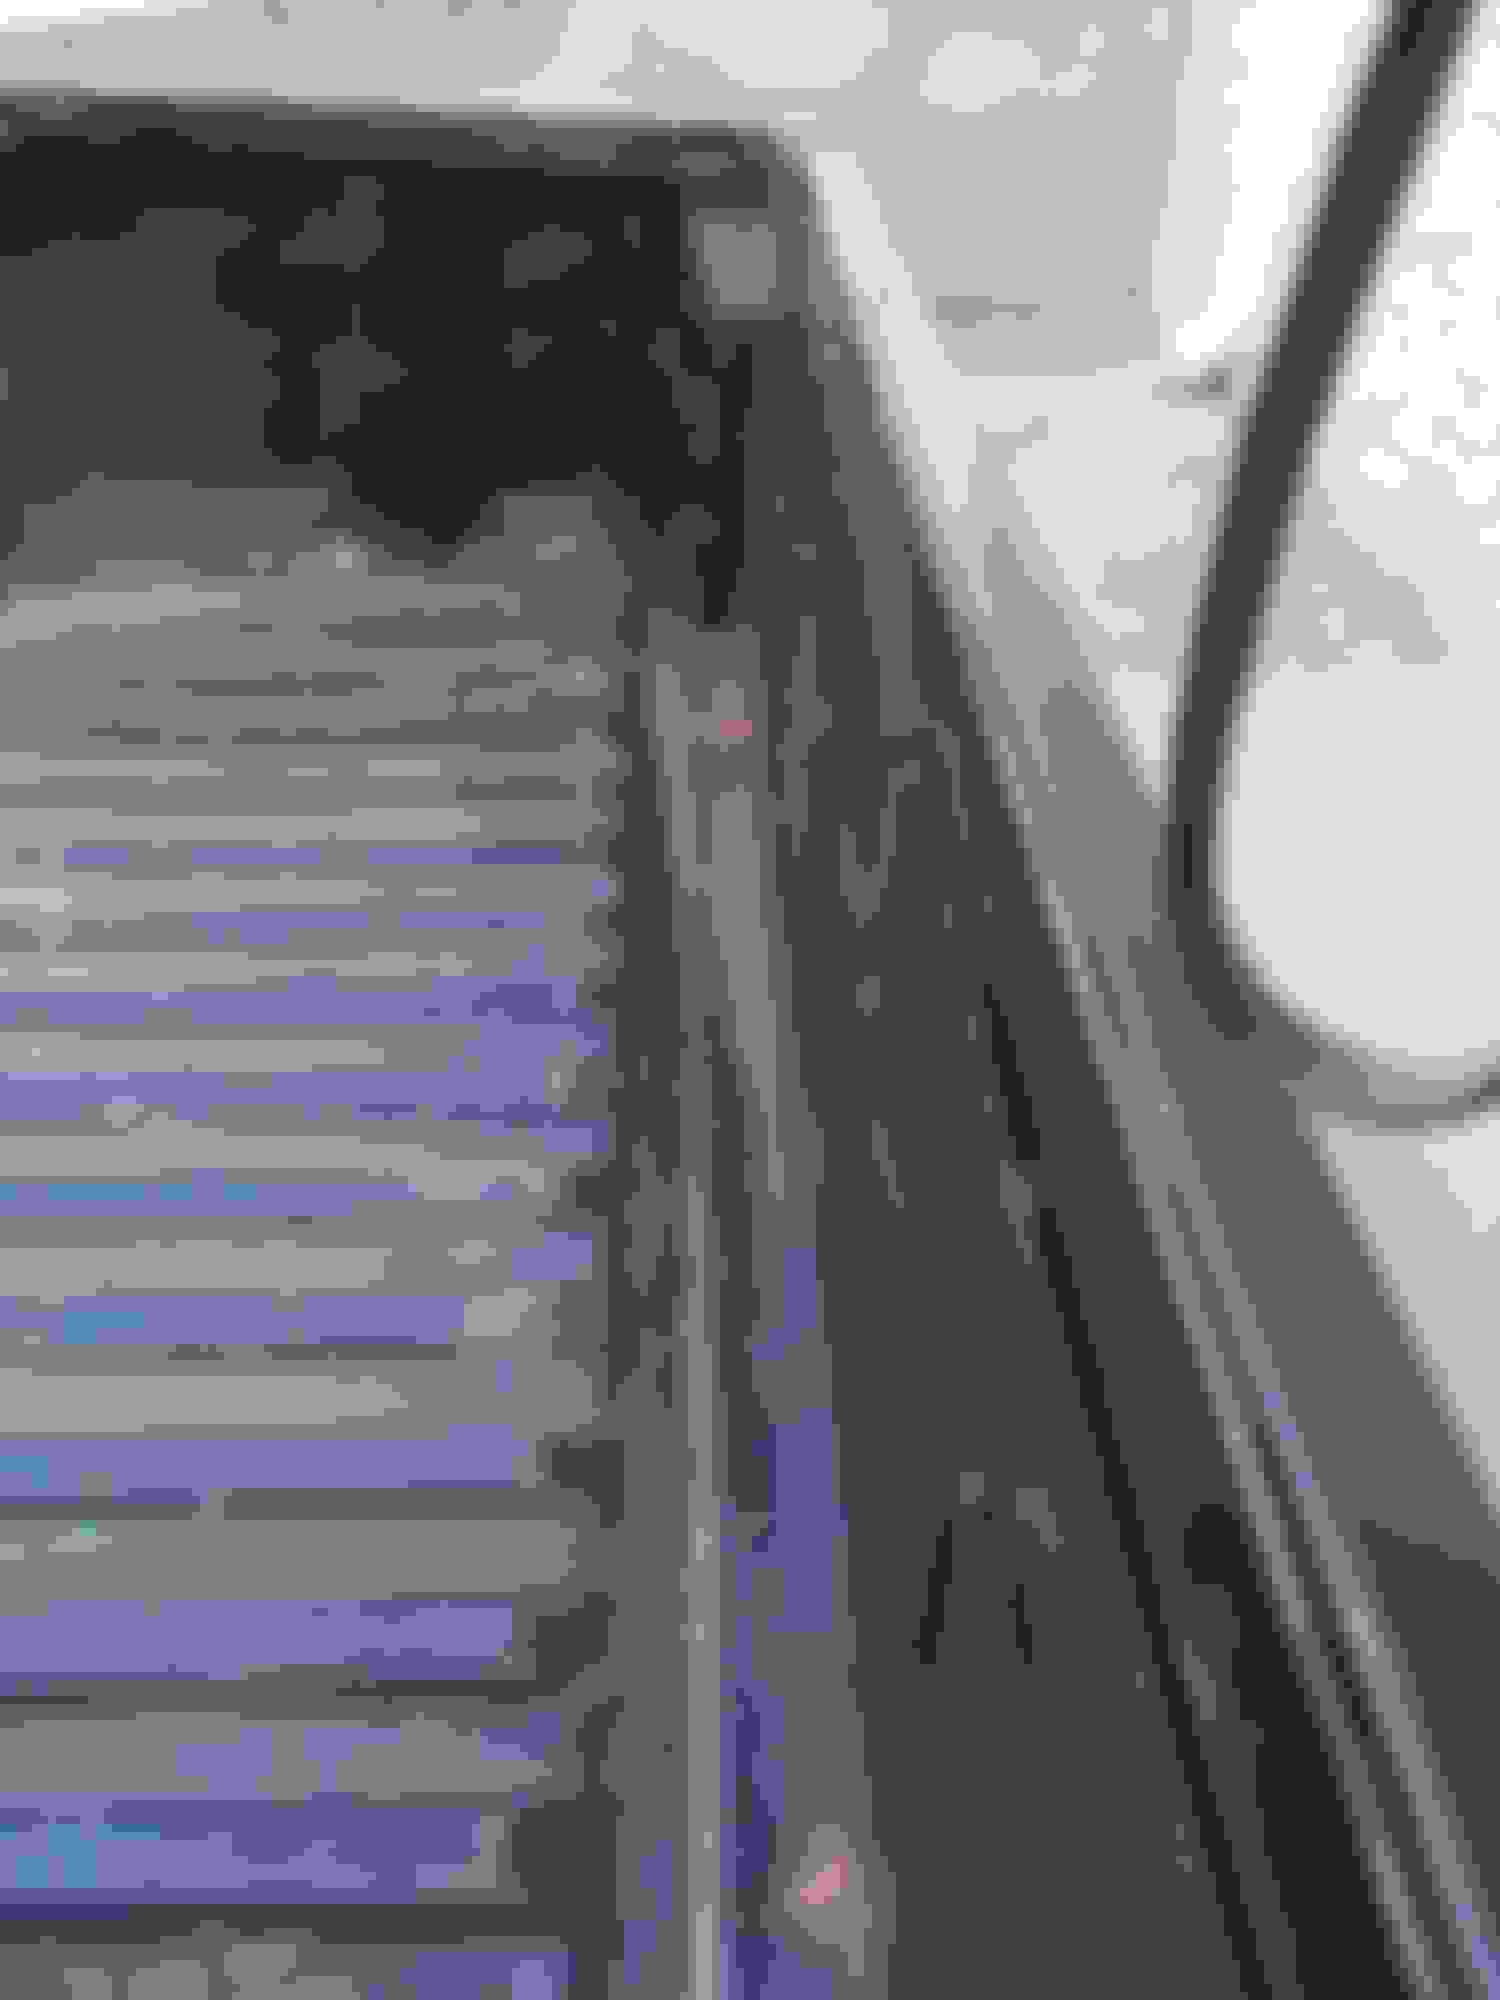
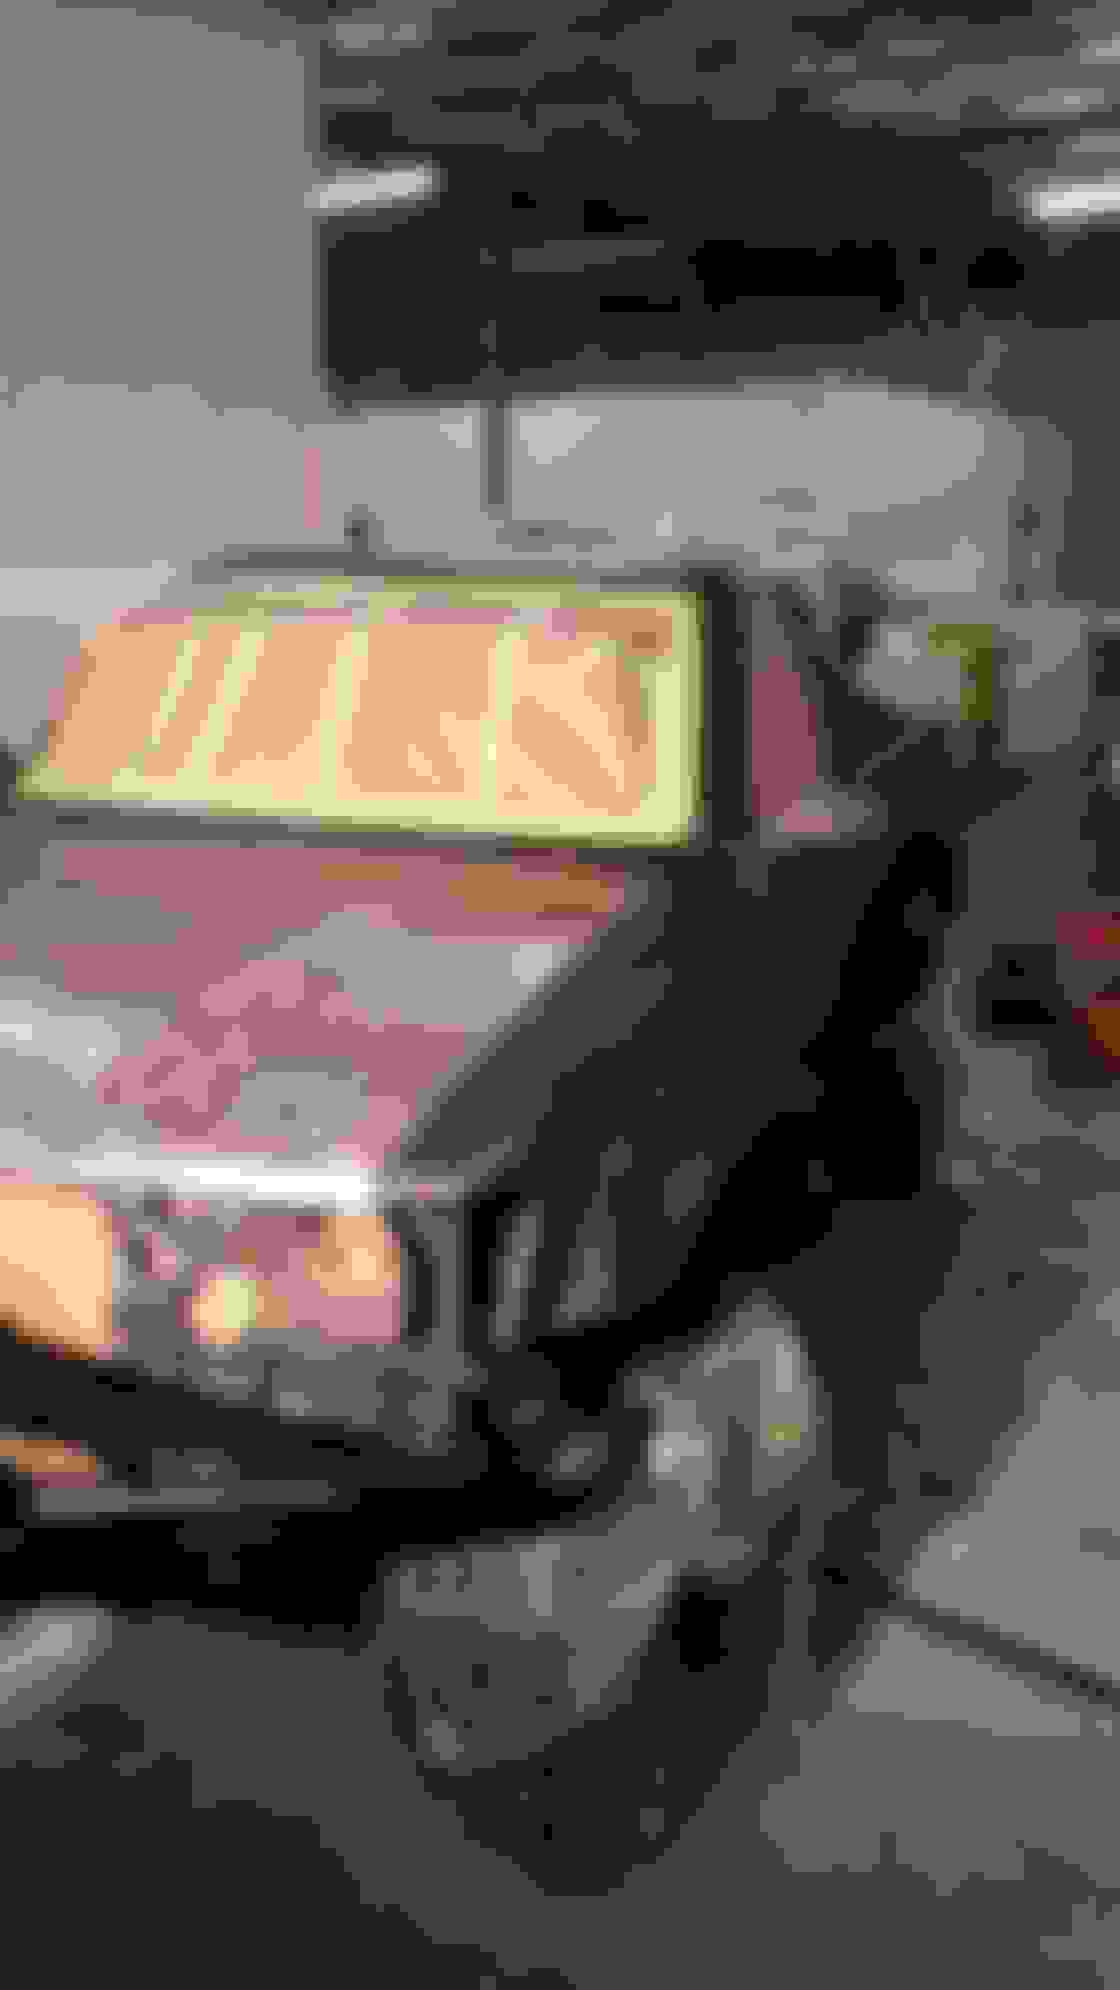
Hi Guys.....sorry. I've been busy with work and other things and haven't made much progress on any Yotas. I ordered in a 2" Polished Aluminum universal intercooler pipe kit and need to mock up the tubing to re-install the intercooler. The PO. Had the center grill out and just some snap on mesh over it originally...and that just won't do. I looked around and really liked some of the "Satoshi" grille modifications that were out there. I had to cut a bunch of the original grille out to clear the intercooler, and thought why not just add in some honecomb and a more retro logo / satoshi grille while I'm at it. I need to get the radiator and fan reinstalled (funny...the PO did drop brackets to match the body lift, but has the S-blade electric fan? I guess it was so the hoses would reach? No real need for fan clearance) before I can mock up and cut the pipe bends to route them where I need them. I've also got several 3" Stainless bends and straights I bought for the snorkel on my 4Runner and will use one of those / mock up some piping for a "cold air intake" with a K&N Filter that will go where the PO currently has an old gas can as the overflow tank.
Original intercooler position.....without a grille. I'm going to flip it upside down so it's completely behind the grille
What it would look like flipped upside down
You can barely see the "plastic button snapped in place" mesh screen he was using as a grille
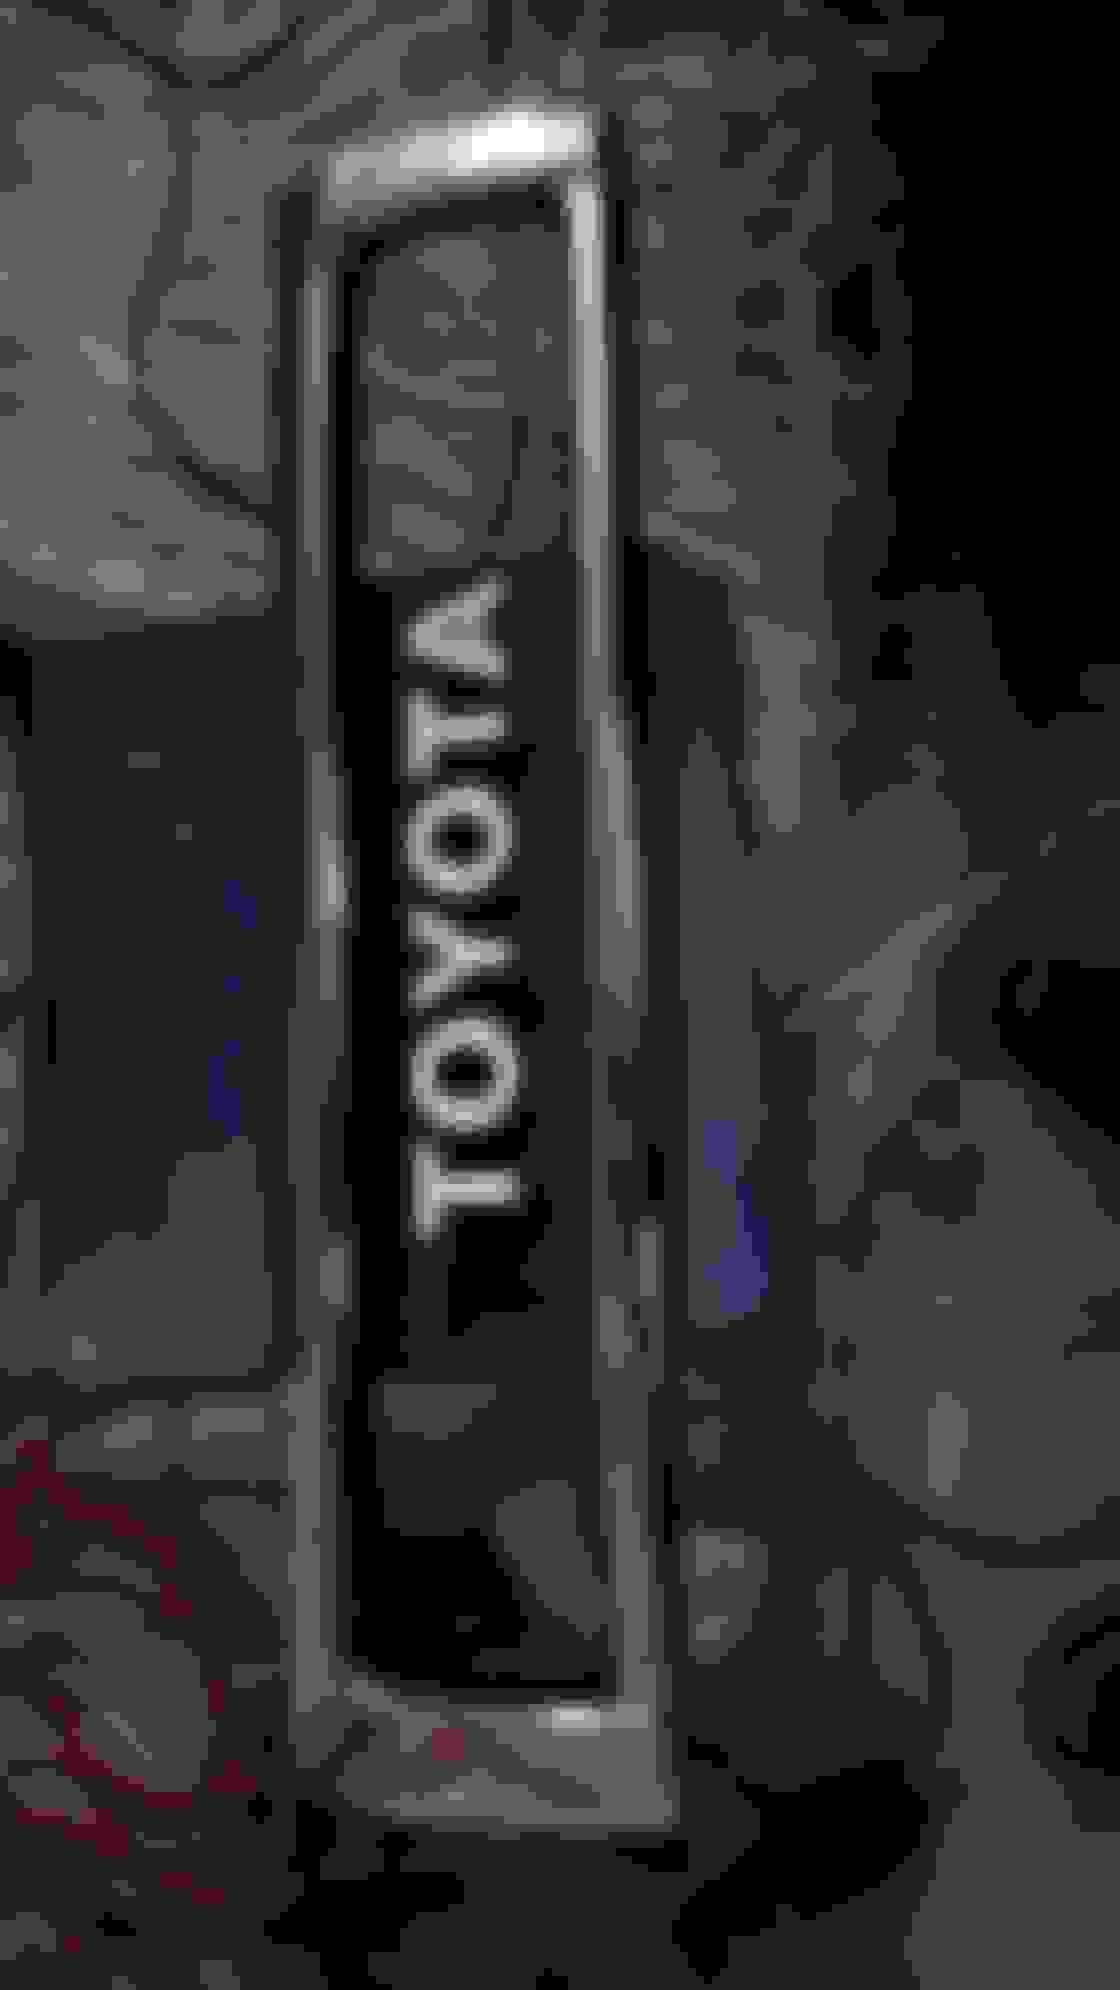
I had to cut a bunch of the original grille out so it would clear the intercooler thickness - Looked around and liked the "Satoshi" grille mods I saw, so I got some aluminum honeycomb and an FJ60 logo - I may paint the "TOYOTA" red before installing it to match the stripes.....not really sure and am open to suggestions
Just drilled holes and zip tied the aluminum honeycomb in place
more zip ties and you can see how much I cut out of the original grille. I taped it off to keep the chrome and repainted the center when I was done. Got the honeycomb from www.customcargrills.com
Original center bar got trashed
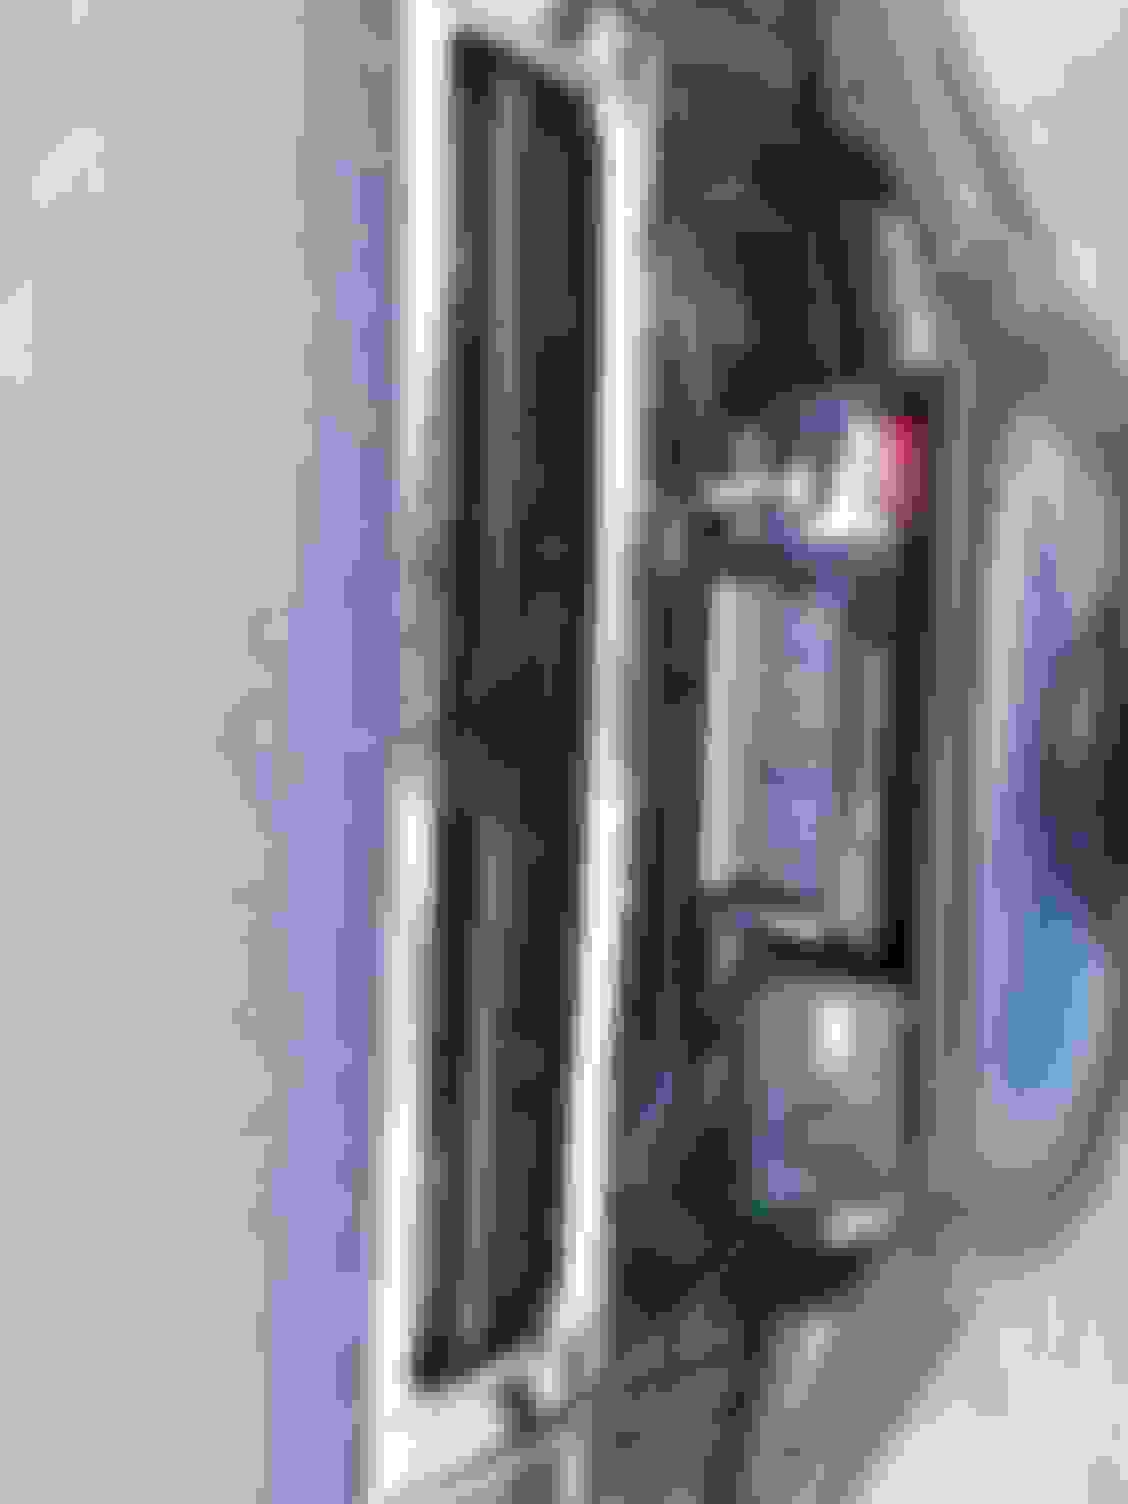
had to buy a custom 2.75" to 2" silicone coupler for the intercooler pipes - still need to finish cutting and routing them
Current gas can overflow tank will be removed and 3" stainless bend and K&N filter + separator sheet metal will be made for a custom "cold air intake" of sorts versus just putting the filter straight to the turbo like the PO
Re-installed the light bar. I personally hate these things and prefer the look of the old school Rally lights (what I'm planning on doing for the 4Runner), but the PO spent $700 on this and it's already wired up, so whatever
Random Ebay 2" Polished aluminum intercooler piping kit with couplers and clamps - I think I paid $60 for it
I had some extra PIAA backup lights laying around (I have a rough tote full of PIAA lights I've scrounged off ebay) I'm planning on wiring up for the back of this (on with backup lights, off, on - triple pole style)
I actually think I'm going to bust out the die grinder and cutting wheel and cut out the rear valence so they can mount flush for a really sleek look. There's plenty of room back there.
The truck looks totally badass!!! I agree with you in the rally lights, that light bar looks tacky as heck. Just my 2 cents!
if I was planning on keeping it, I'd get rid of the light bar, but the previous owner spent $700 on it and it's already wired up, so I'm not going to mess with it.
the other hilarious thing is the gun rack with the Corbeau seats...the barrel or buttstock would be your head rest in this single cab. Just doesn't make any sense.
I've got to get a few more things hooked up before I can take it in to get it tuned, then I'll probably be driving it around with a for sale sign in the window.

 Dec 14, 2017 | 01:31 PM