
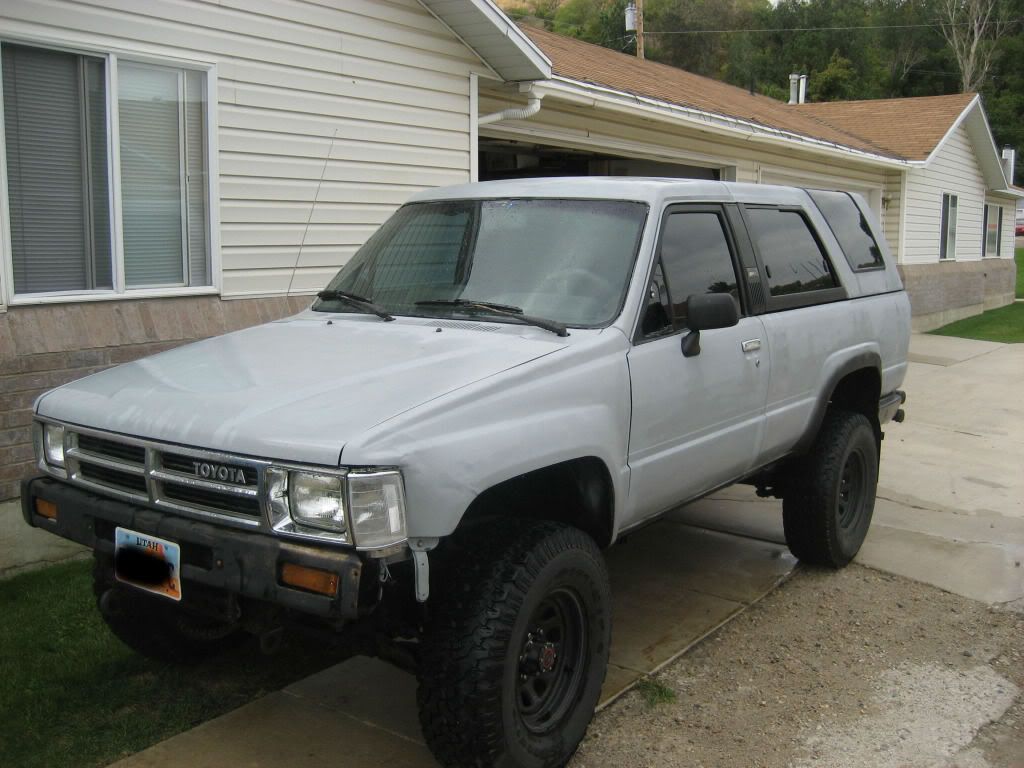
Motox711's 87 4runner build

 Sep 23, 2012 | 12:37 PM
#23
Thread Starter
Registered User
Joined: Jul 2009
Posts: 86
Likes: 0
From: Riverdale, UT
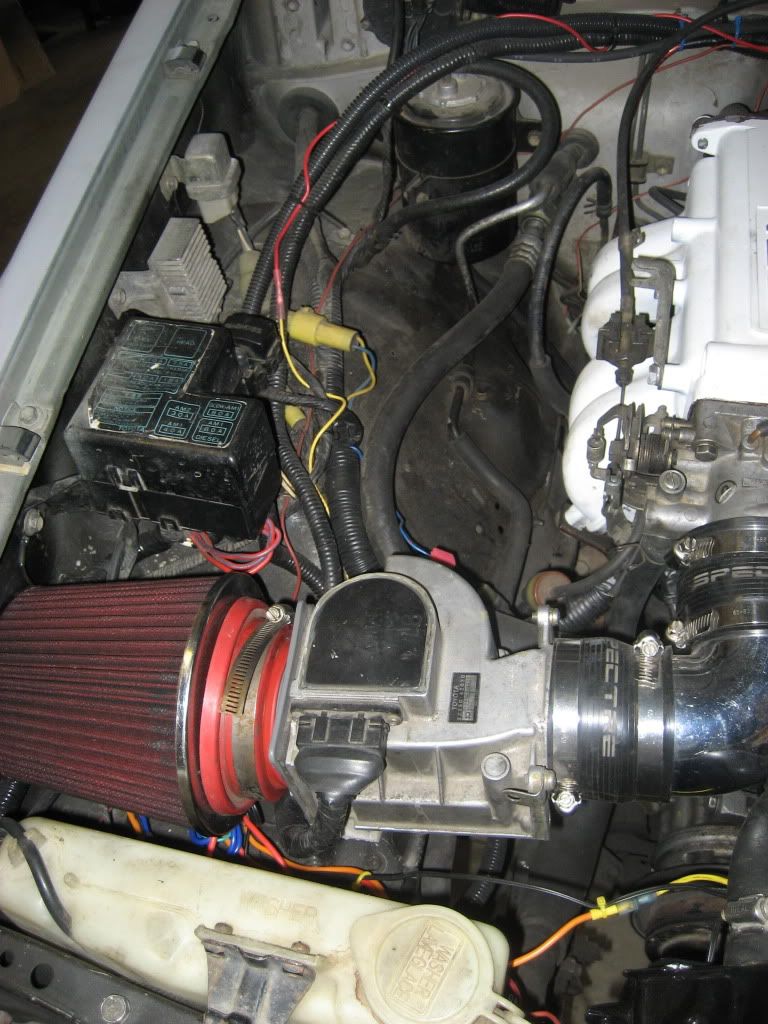
I also put on some pace setter headers to save money. they really didn't fit well which i was pissed about. oh well. i also moved the O2 sensor from where they had it to the bottom of the header itself. this helped with a code i was getting.
 Sep 23, 2012 | 12:41 PM
#25
Thread Starter
Registered User
Joined: Jul 2009
Posts: 86
Likes: 0
From: Riverdale, UT
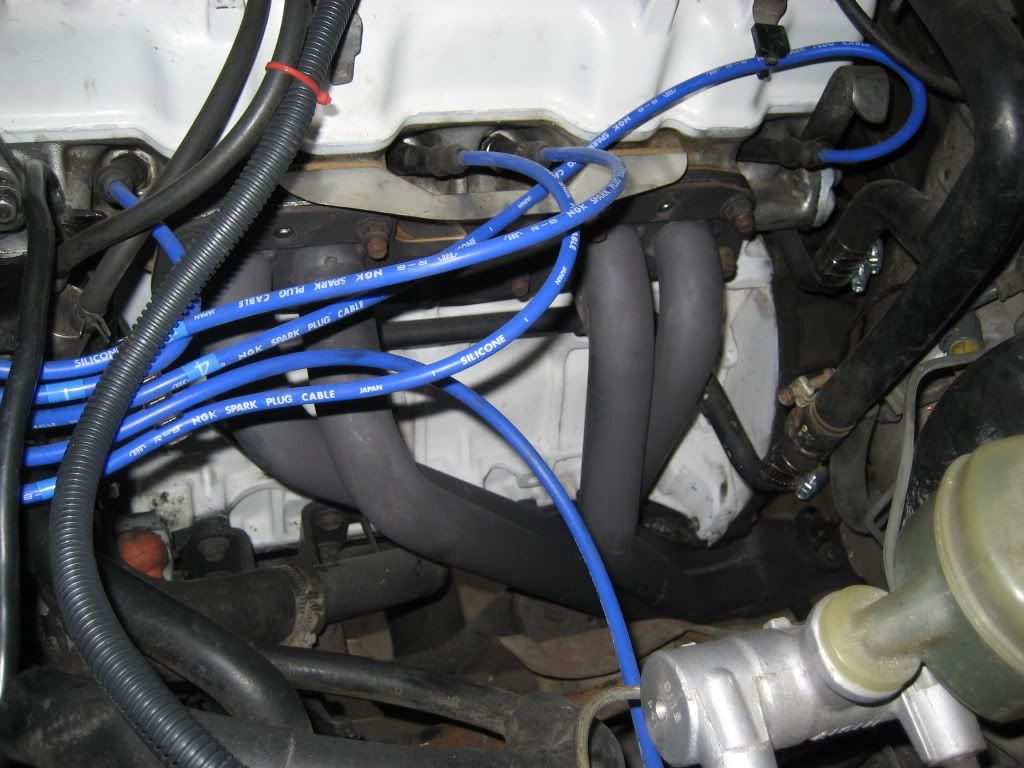
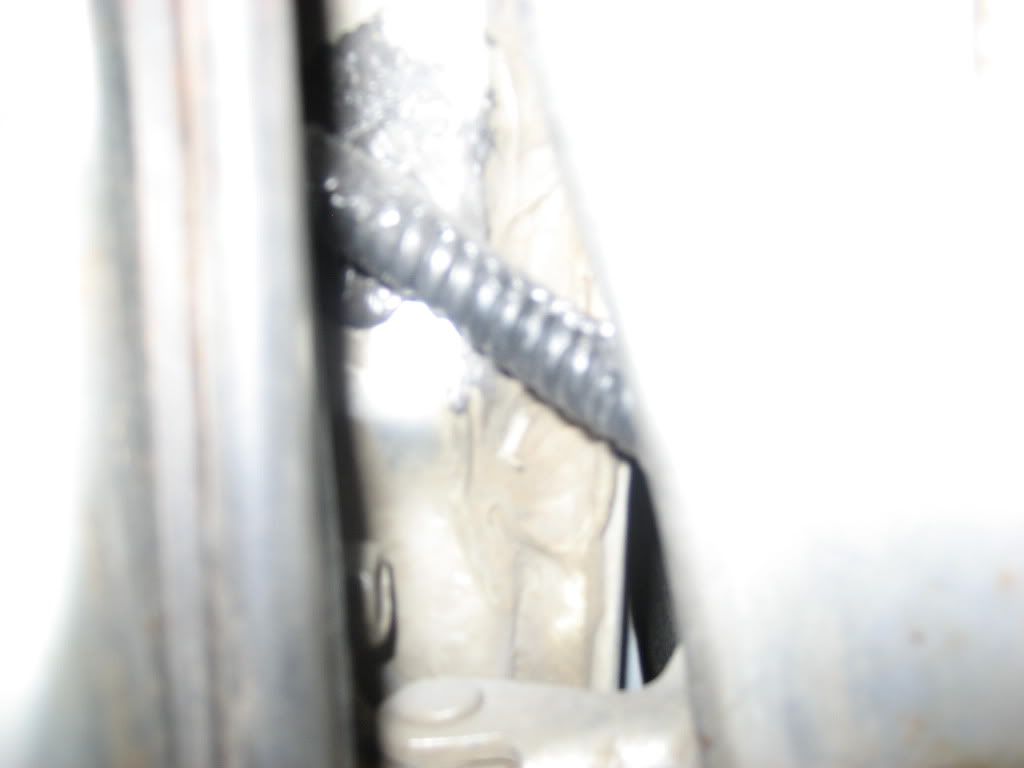
When cleaning my motor i went through every thing and cleaned it the best i could. this pic is the egr stuff on the back of the motor. as you can tell the ports are full of carbon crap. i took a screw driver and cleaned them all out.

Sep 23, 2012 | 12:48 PM
#26
Thread Starter
Registered User
Joined: Jul 2009
Posts: 86
Likes: 0
From: Riverdale, UT
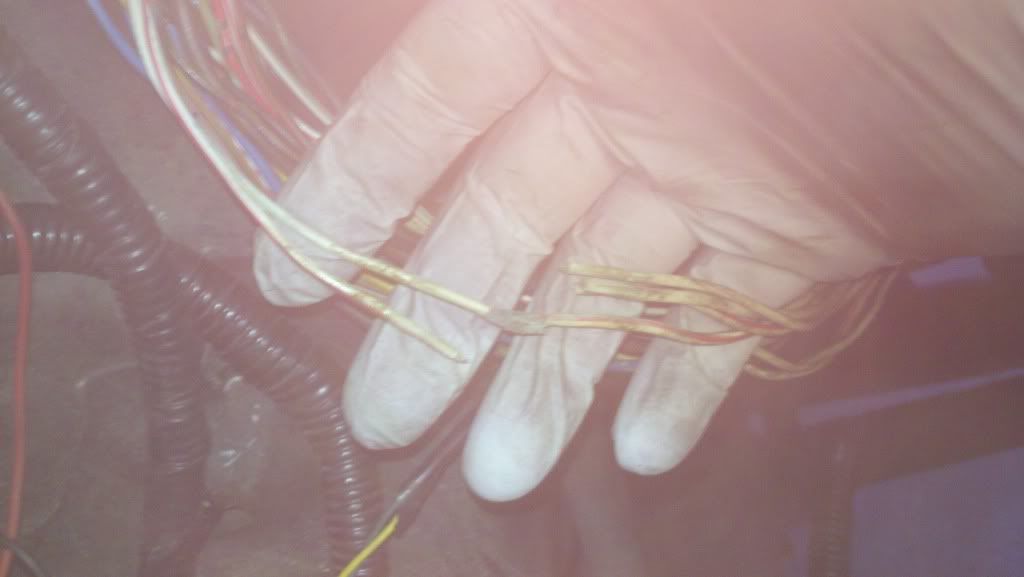
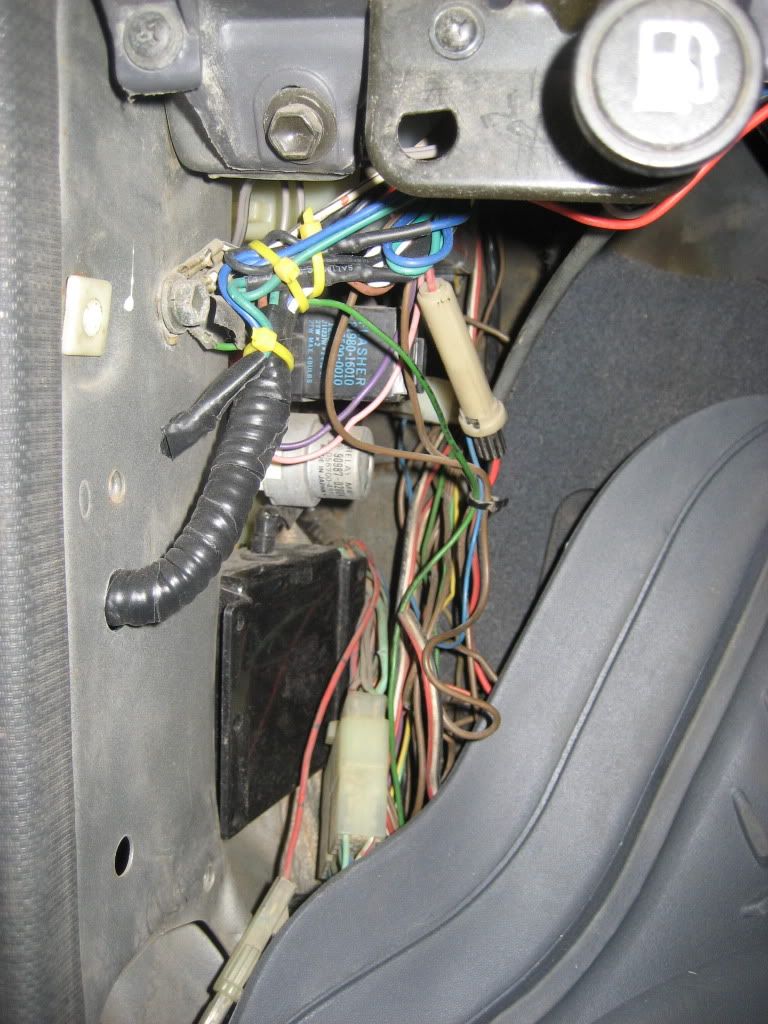
So when I put my motor back and started it, it was running like crap. come to find out the 3rd fuel injector wasn't working. come to find out when it was twisting and pulling my wiring harness I broke some of the corroded wires.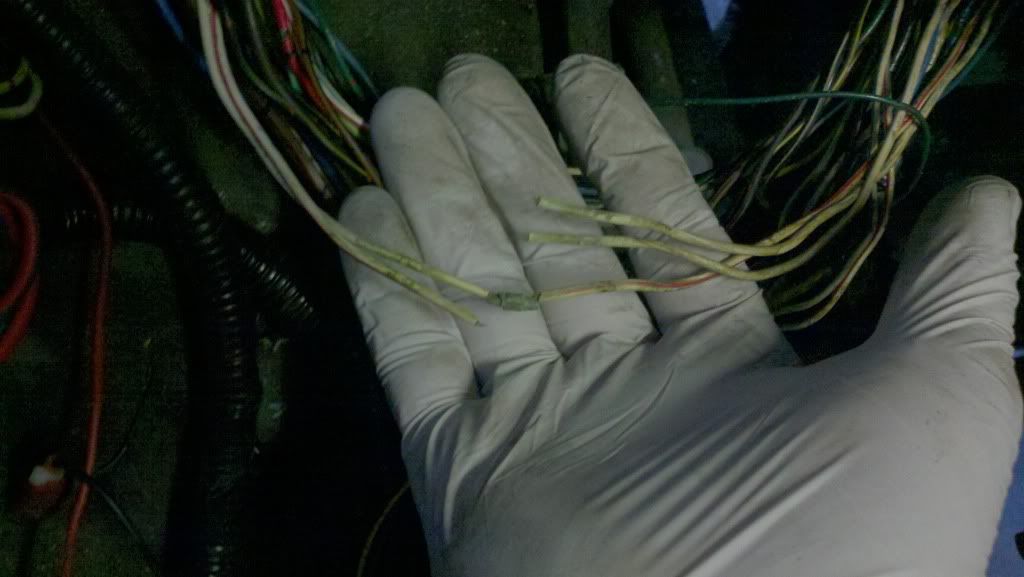
Sep 23, 2012 | 12:51 PM
#27
Thread Starter
Registered User
Joined: Jul 2009
Posts: 86
Likes: 0
From: Riverdale, UT
so i went through the harness wires up to the fire wall and fixed all the fubar connections. I mostly soldered taped and then covered themm in black rvt stuff so they are water proof. then wrapped them up with plastic sheilding. truck ran much better.
Sep 23, 2012 | 01:01 PM
#28
Thread Starter
Registered User
Joined: Jul 2009
Posts: 86
Likes: 0
From: Riverdale, UT
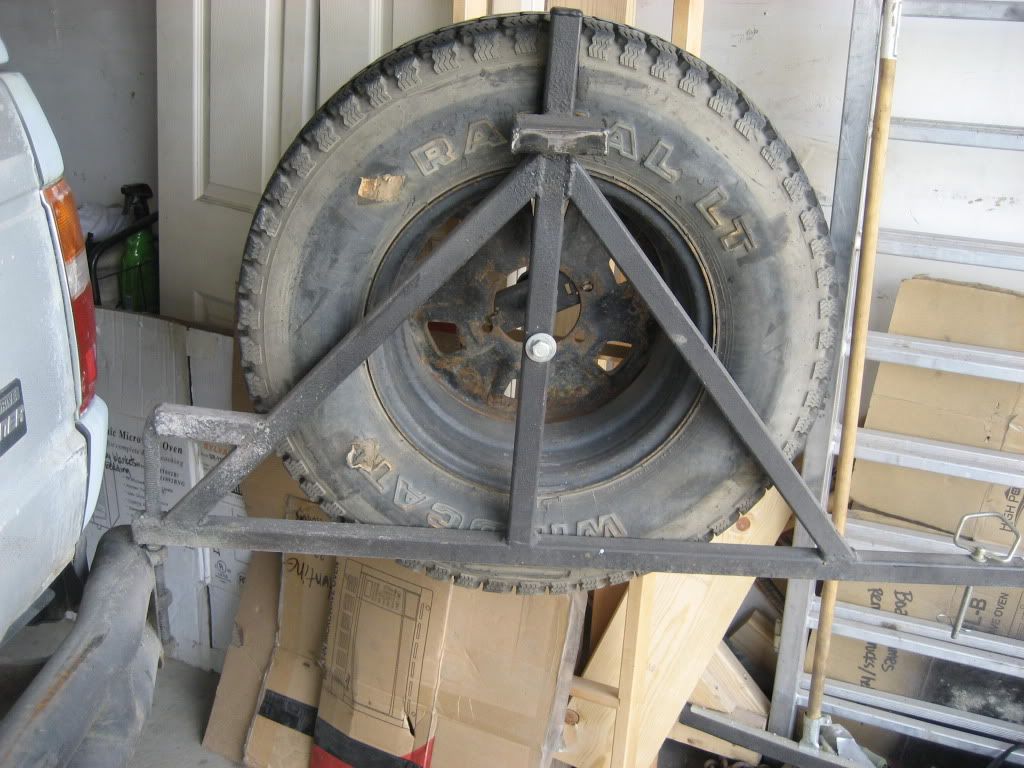
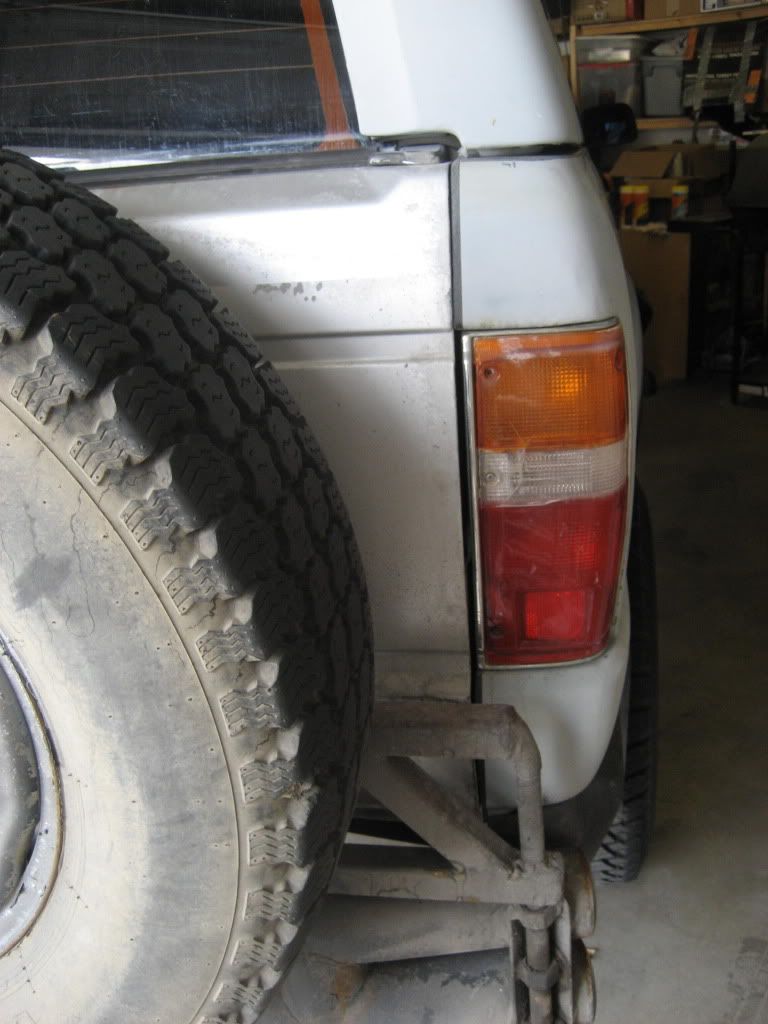
Another thing that I have done was made a rear tire carrier out of some scraps from my Father-in-law's. we used a gate hinge thing and welded some square tubing up. I plan on making a better one once i get rid of the smitty built rust bumper. but this works great and it saved me once. I basically had to cut the chain on the bottom carrier to get the tire off, it was so rusted with dirt and grime.
 Sep 24, 2012 | 02:46 PM
#30
Thread Starter
Registered User
Joined: Jul 2009
Posts: 86
Likes: 0
From: Riverdale, UT
Something else that i did, and I got a little out of control was put peal&seal on most of the exterior body panels. I did the doors the entire floor of and obviously the rear quarters. It made a huge difference. Like so..

 Sep 24, 2012 | 02:55 PM
#32
Thread Starter
Registered User
Joined: Jul 2009
Posts: 86
Likes: 0
From: Riverdale, UT
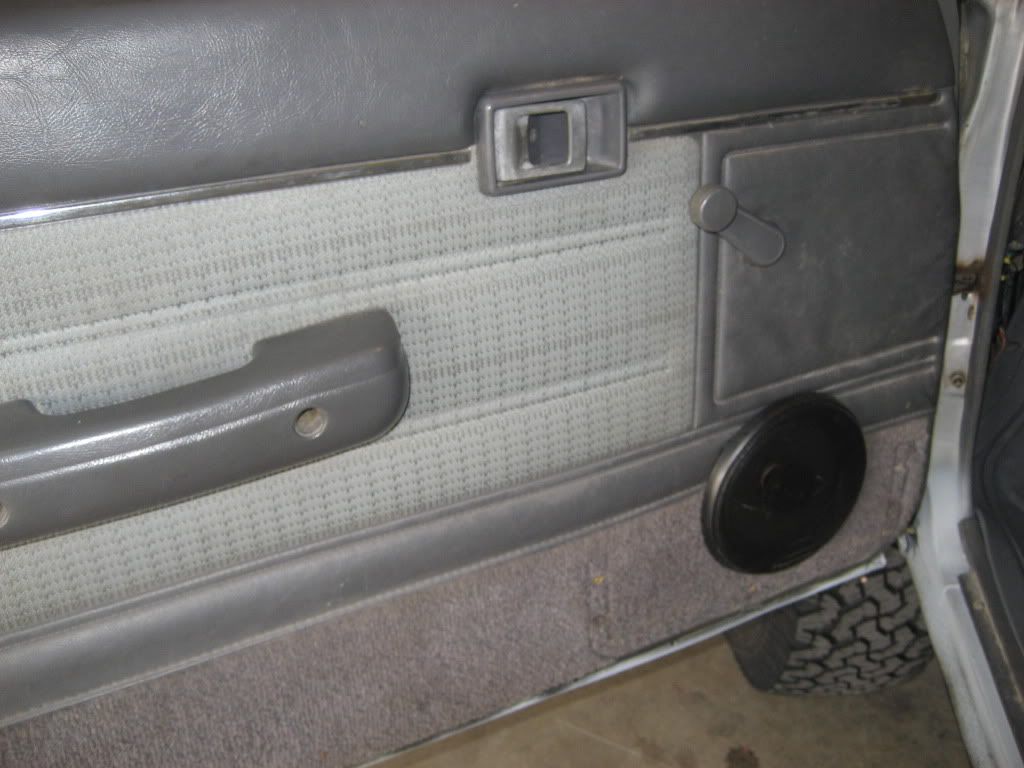
I was also getting tired of reaching over to unlock the pass door. so i found a pretty cool universal door lock/unlock system on ebay for around 30 bones. It was fairly easy to install just time consuming. I drilled the holes from the door to the cab at a different level so when i open close the door the wire loom stuff doesn't even move. I'll admit that this was sort of by mistake but it works great. I wanted this so that their wasn't going to be any wear on the wiring. Also while i was at it I installed some door speakers(my wife complained so much how crappy the stock speakers were) to help with the sound system.
 Sep 24, 2012 | 03:59 PM
#36
Thread Starter
Registered User
Joined: Jul 2009
Posts: 86
Likes: 0
From: Riverdale, UT
here is the link for the autolock system: http://www.ebay.com/itm/110877107488...84.m1439.l2649
and description
Universal Remote Power Door Lock Conversion Kit With 4 Solenoids Full System VIP
and description
Universal Remote Power Door Lock Conversion Kit With 4 Solenoids Full System VIP
 Oct 18, 2012 | 04:21 PM
#38
Registered User


Joined: Mar 2012
Posts: 7,125
Likes: 681
Good build. Kudos to you for having that much patience with the truck! I'm with you on the wiring; many people take shortcuts that bite them (Or us future owners) in the end. Looks like the splices on those injector wires corroded at the splices. That's why I prefer to wrap/twist and solder splices, then insulate them properly. Soldering makes them more resistant to corrosion.
Nice job on the speakers- Nice thing about door mounting is you can use bigger, better ones there.
Thanks for commenting on the P&S application on my thread. I notice some smell but should go away once I lay solid Ensolite sheet for further insulation on horizontal surfaces.
Regards,
RAD
Oct 19, 2012 | 10:08 AM
#39
Thread Starter
Registered User
Joined: Jul 2009
Posts: 86
Likes: 0
From: Riverdale, UT
Thanks for looking RAD, I really like the door speakers it made a huge difference in sound quality. I'd imagine once your done with your sound proofing it will be like a new lexus with no outside noise.


