When you click on links to various merchants on this site and make a purchase, this can result in this site earning a commission. Affiliate programs and affiliations include, but are not limited to, the eBay Partner Network.
Since moving back in June haven't had time to update the thread. I have continued to work on the mini truck in the past 6 months, just at a reduced pace compared to last winter. I'll pick up where i left off.
The plan was always to be done the truck by the time we moved... but you know how plans go, so now it was time to haul the project 50kms to its new home.
Unfortunately no garage at the new place, which is why i was so keen to get the major stuff finished before leaving our old place, here is the new digs haha
I took a lot of time off during the summer, we had both been going really hard leading up to the move, plus starting a new job, but after a few weeks i started on wiring.
there are so many small things to do at this stage of the build, but I'm getting there.
Which brings us about up to speed, electrical is pretty much complete, I'm now mostly working on plumbing, as with most things on this build its all new line going in for fuel and brakes so it's a bit of a process.
chipping away out here, its been a really mild winter which has helped. Fuel is basically complete! just have to hook up the flex lines for vent & return. New sending unit, fuel bracket, pump, hard lines and high pressure lines...etc, pretty exciting.
You can see the single rear brake line in there as well, I am simplifying the rear system a bit, getting rid of the LSP & BV, as well as the rear abs actuator. Replacing the LSP with an adjustable Willwood portioning valve in the rear, that will be mounted where the old rust ball was, roughly. so the rear circuit will go from the master cylinder over to the tree, then directly back. I will plug the BV out on the front circuit 'T' and plug the IN and OUT on the brake actuator. This way I have an adjustable rear bias with only one line going to the back,no ABS and no By pass valve.
Was able to get stock line for pretty much everything, had to do some modifying but I'm pretty happy with how its turning out. Not sure about the placement of the ebrake cable, now that I have the stock fuel filter in its proper position, seems a little awkward and close.
Fuel main line is complete (and 100% new) from tank to rail.
Front brakes are complete.
This is my solution to mounting the 3.4 evap can, going to put a wedge of foam underneath to stop it from bouncing up and down.
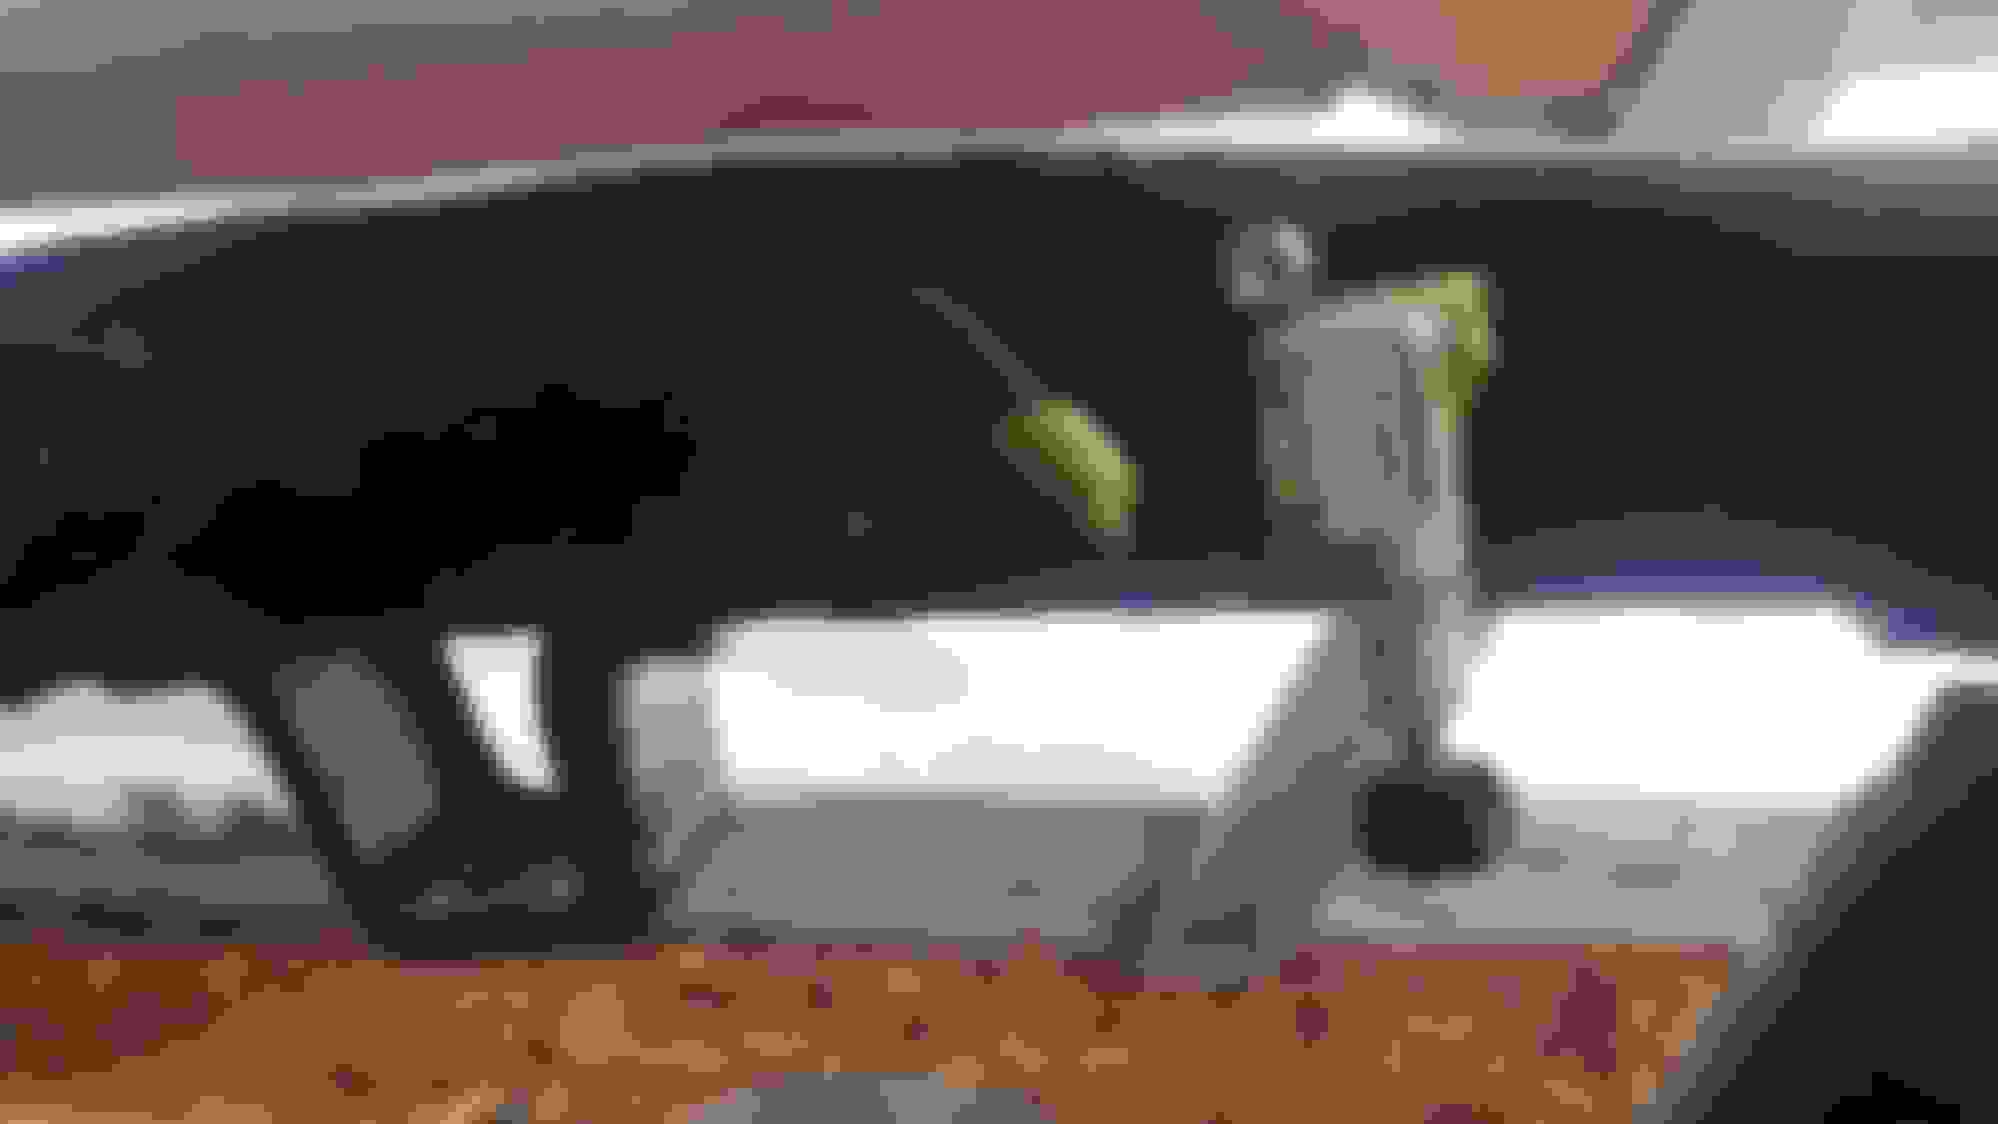
Here are some things that concern me, firstly the proximity of the alternator wiring to the header, there isn't any alternative because the plug comes out the back of the alternator just centimeters away from the header, I think im going to have to heat wrap the crap out of it but it still concerns me, also the clearance between the alternator and the steering column is super close, not sure what can be done about that either. ALSO! what is this ground for? anybody?
OKAY! onwards and forwards. I have a new 'to order' list (it never ends) and the to do list just keeps extending, but i can see the end of the tunnel...i think.
greetings, had some hiccups this weekend but whats new. After an exhaustive search I found the adapters I was looking for (male 1/8th NPT to female M10x1.0) to hook my wilwood portioning valve into my rear brake circuit.
Also 4 crawlers plugs came in, so i blocked off the ABS and by-pass line out.
Then I got the Rear brake lines all done, I had snapped all the bolt heads off the mounting points for the rear hard lines that are on the axle housing and diff when I was taking the truck apart, so I drilled the bolts out and managed to get a nut on the back to get a new clamp on the diff, and the new union on the RH side axle, on the LH side I would have had to do the same but instead made use of where the Load-Sensing Arm used to mount.
Mocked up. My co worker made this simple little stand-off bracket to mount the valve to the frame. Three more connections and brakes will be compete.
So after getting in contact with low range offroad about the adapters i got from them not fitting, they pulled stock and tried themselves. Turns out the threads are wrong, they will not fit.
My solution is fairly simple, got some brake line, put m10x1.0 nut on one side 3/8-24 nut on the other, union to join it with the stock line, and make use of the 3/8-24 to 1/8 NPT adapter that came with the portioning valve.
Very very excited to finish the brakes this weekend, also got the rest of the fuel hose i needed to button up the flex lines at the ends of the vent and return lines, plus some foam to go underneath the evap can so that can get mounted up and i can start running vac lines. Booyah!
Took some creative hand bending to get the line to and from the portion valve done but i think it came out nicely
Fuel is complete! Got the flex hoses on there finally, after getting the wrong hose a couple of times.
And got the clutch lines hooked up. Modified my 3.0 bracket to fit the 3.4, the braided flex hose i got from marlin was too short so i used an extra front caliper flex hose i had sitting around, same same right?
Getting the hard line onto the slave was a real pain, holy.
Did a bunch of work on the evap mounting system as well, almost done with that just need to make one more bracket.
Started the day off by pulling out the main engine wiring harness and re wrapping it from the grommet out, with 3m Mastic. This stuff is awesome, no more worries of water intrusion.
On the other side of the firewall, took the opportunity while the ecu was unplugged, to attach another mounting point, feels solid now.
Finished Evap mounting!
It's a bit over complicated, but it isn't going anywhere. Then i was able to run vac lines.
feels good to get hoses routed in their permanent homes and clamp everything down. Mounted the igniter while i was at it.
Pulled the combination meter out to do the tach mod, noticed a few other things that are in need of attention as well.
The goal right now is to start trying to turn it over by the end of March.
Got busy on the remaining engine components this weekend, tightened up the belts, mounted the airbox, (I just used the two lower mount points and went through the fender.) Hooked up the remaining vacuum lines, some i still need hose for...., put on the fan, rad and cooling hoses, put in the washer tank and lastly, test fit the coolant reservoir, looks like it will fit in its stock location! Waahoo!
Also re organized the ecu area wiring so it's tucked safely up away from the passenger's foot space.
Question, where to hook up ADD vacuum line from the vsvs, the note from Mike says "to vacuum source on engine" which source?
Right into it, Carpet came in this week, really happy with it, very thick and heavy with the "mass-backing" on there, should help with the road noise immensely. Stoked on the color too, cant really tell from the picture but it's charcoal.
Before putting that in I have a few things left to do...
Did all the fluids this weekend, except coolant because I forgot to grab some distilled water. Filled and bled brakes, filled and bled clutch, filled Trans/T-Case/Diffs with gear oil, and filled power steering. Blood in the veins!!
Also put the shifters on, still waiting on the t-case unit from Marlin Crawler so the stock one had to go back on for now.
Going to try starting it next weekend, just have to put coolant in it, put the filler neck on, put some fuel in, hook up a battery and all leads...turn the key.
You're doing a fantastic restoration job here! Not used to seeing so much advanced body rust on these trucks but you got past it nicely. The engine swap looks clean BTW. I'm changing the carpet in my truck so I'm interested in seeing how that new molded carpet kit fits So pictures please....
Keep up the great work! Justin
Hey thanks Justin! Yea the rust is pretty relentless in this area, lots of moisture, salt on the roads all winter, near the coast...just bad news bears. Hopefully i can keep it at bay on the old pickup for another 20 years haha
So I still have a few things left to do before actually trying to start It this weekend, but I wanted to put the battery in tonight just to see if i'm getting power and what not, well...
!!!!!!!!
It was so awesome to finally here that familiar buzzer for the key in ignition! everything came up, reading voltage, lights are working. Whew, ok. Well I couldn't just stop there, might as well see if the starter will run right?? So I turn the key, immediate starter engagement and combustion! I only had the key turned for half a second before turning it off and it was enough to fire once, blow the rag out of the downpipe and send some smoke out. HAH!


 Nov 19, 2018 | 08:47 PM


 !!!!
!!!!


