
lil red's build/progress thread
 Jul 29, 2013 | 05:18 PM
#81
Thread Starter
Registered User
Joined: Mar 2012
Posts: 153
Likes: 0
From: Louisiana
Ya it's bent down a lil. I'm gonna fix that after I get the bumper built. The po hit something cause that whole side is a lil off. Plan on fixing all of it with a come along and a tree. Lol.
Aug 3, 2013 | 11:37 AM
#83
Thread Starter
Registered User
Joined: Mar 2012
Posts: 153
Likes: 0
From: Louisiana
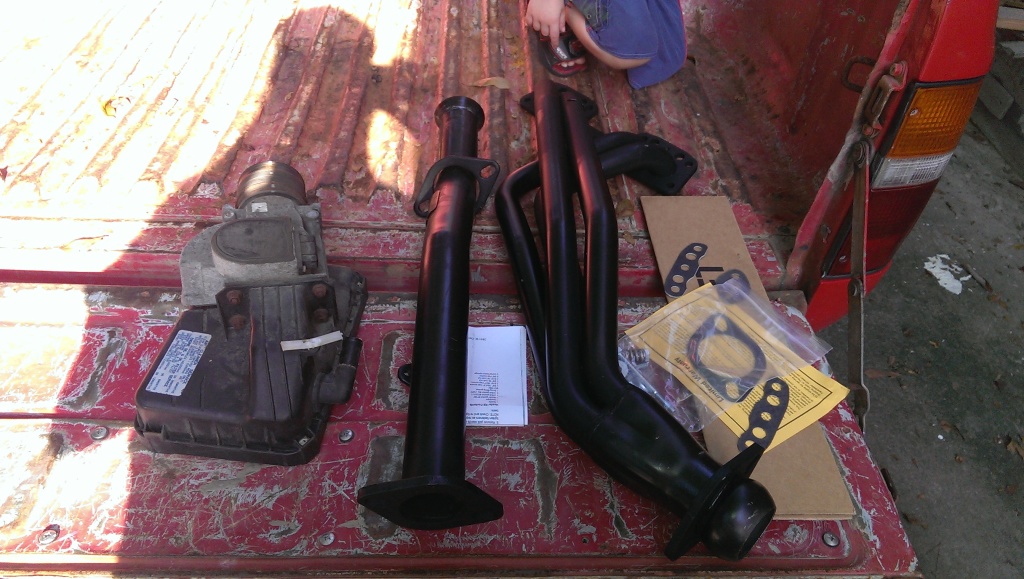
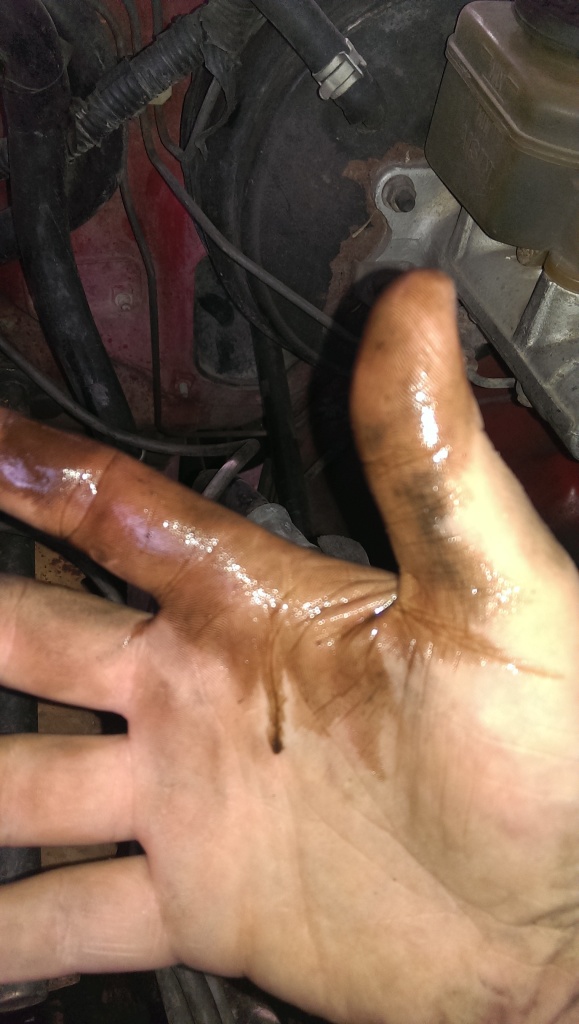
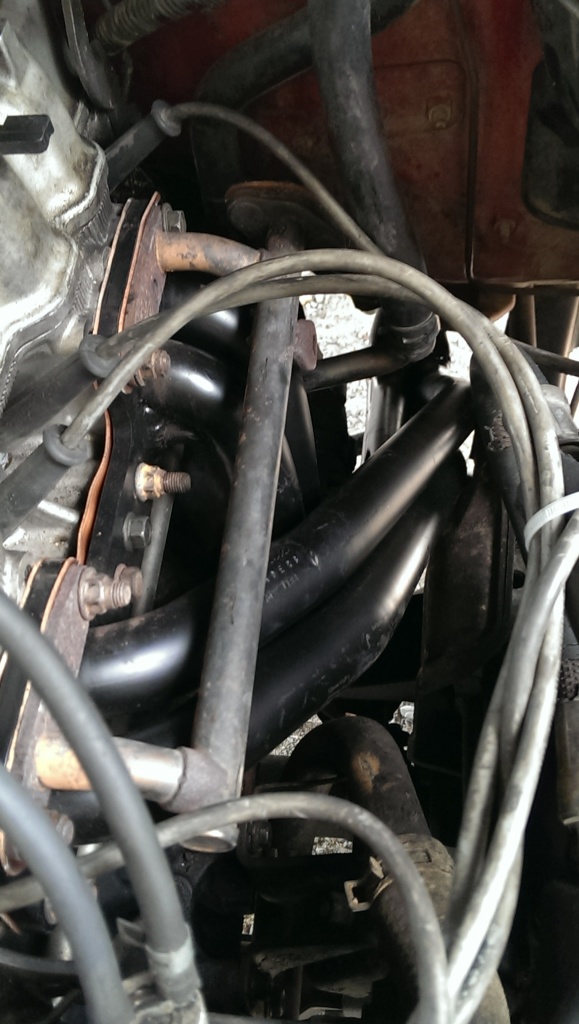
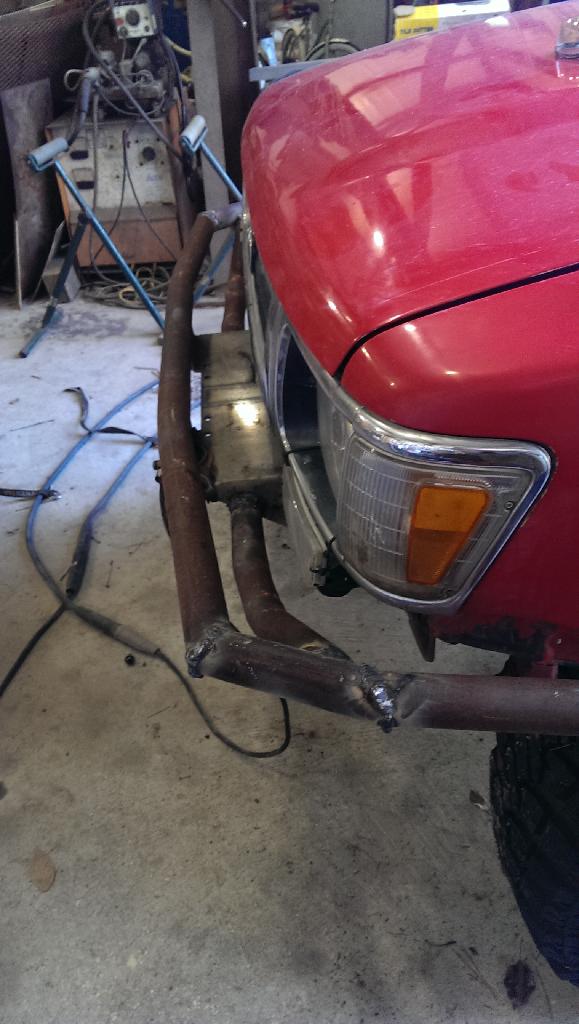
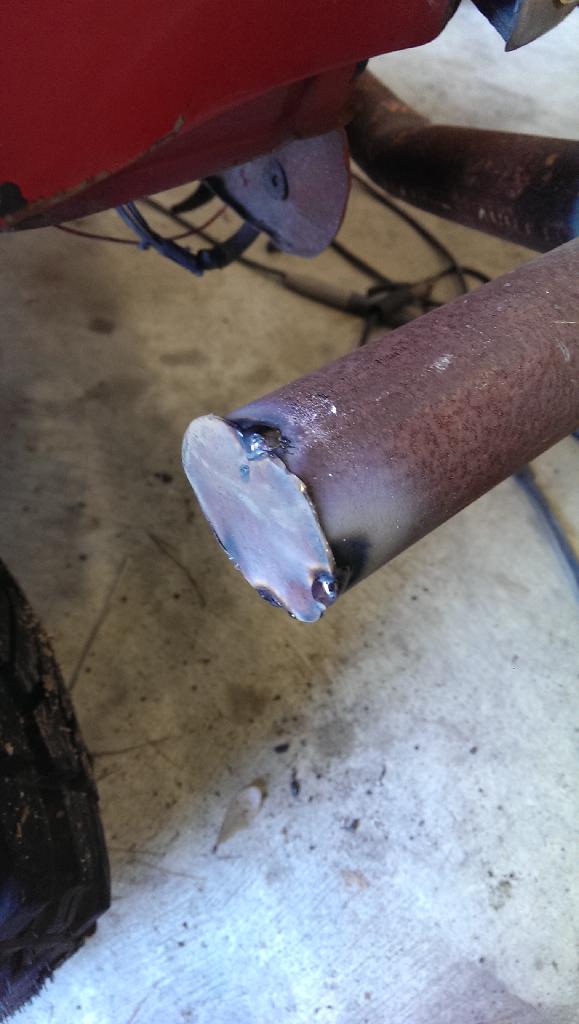
Well got all of my parts in and got them installed the other day. Put the mass air on and the truck fired right put but found out that I had a clutch leak somewhere cause I had no clutch when I went to move the truck. So I put more fluid in and bleed that. Then I went on to installing the header and I will say I've never heard this truck run so quiet!!
Here's some pics.
Clutch fluid looked like dirty engine oil
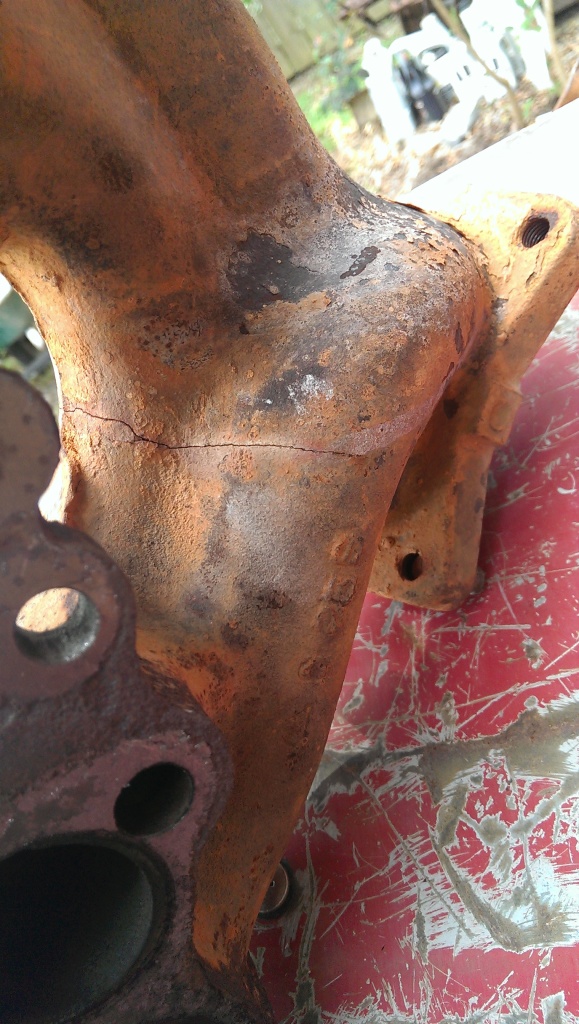
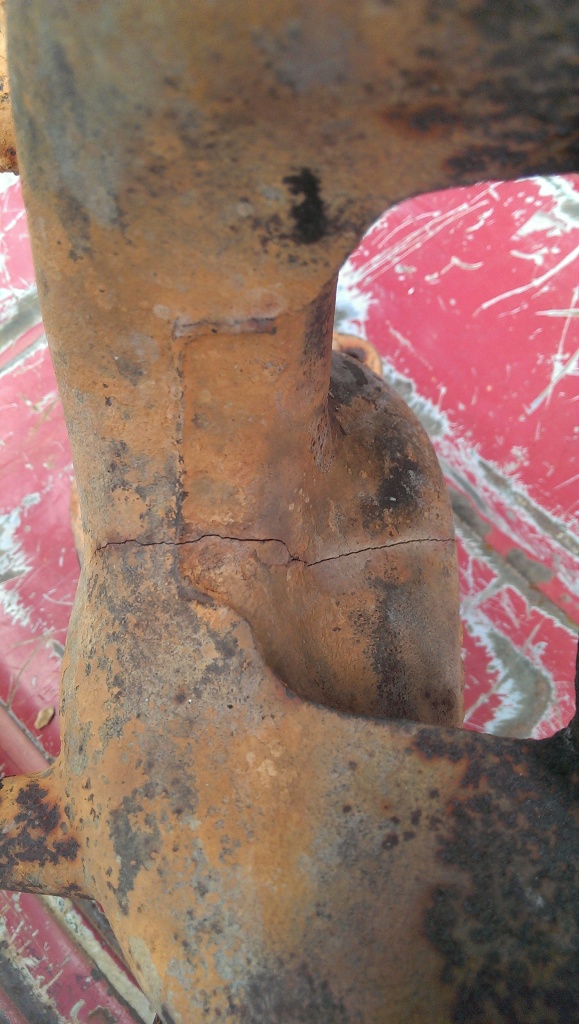
The crack in the stock manifold. I think I'll count putting a header on as weight reduction.
Random wrench strapped to the down pipe.
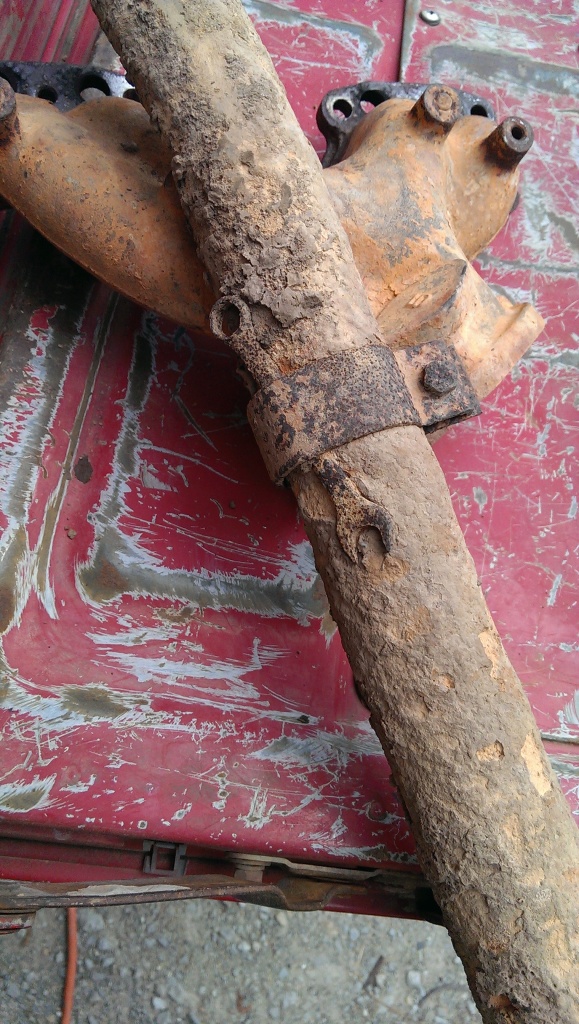
And last but not least all done and torqued down.
Here's some pics.
Clutch fluid looked like dirty engine oil
The crack in the stock manifold. I think I'll count putting a header on as weight reduction.
Random wrench strapped to the down pipe.
And last but not least all done and torqued down.
Last edited by lil_red_yota; Aug 3, 2013 at 11:48 AM.
Oct 12, 2013 | 03:07 PM
#84
Thread Starter
Registered User
Joined: Mar 2012
Posts: 153
Likes: 0
From: Louisiana
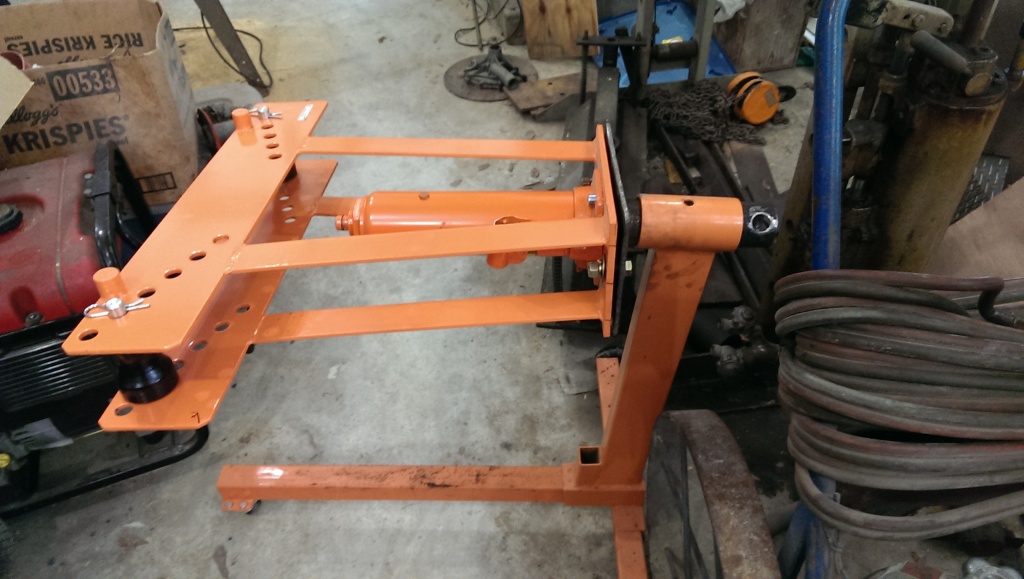
Well today I worked on making my adapter to hold the pipe bender in the engine stand. Got that done so now I'm one step closer to finally after almost a year to building my bumper(s). If there's enough tubing left I'm making a rear bumper too. But when I got done I decided to try and use a 20 ton hydraulic jack to push the passenger front body mount back into position. Well it didn't work. Broke the po's sorry excuse for a weld and he only welded it in the front. So after a lot of grinding and welding I got it back together.
Here's a pic of it before, can definatly can tell it's lower from the drivers side.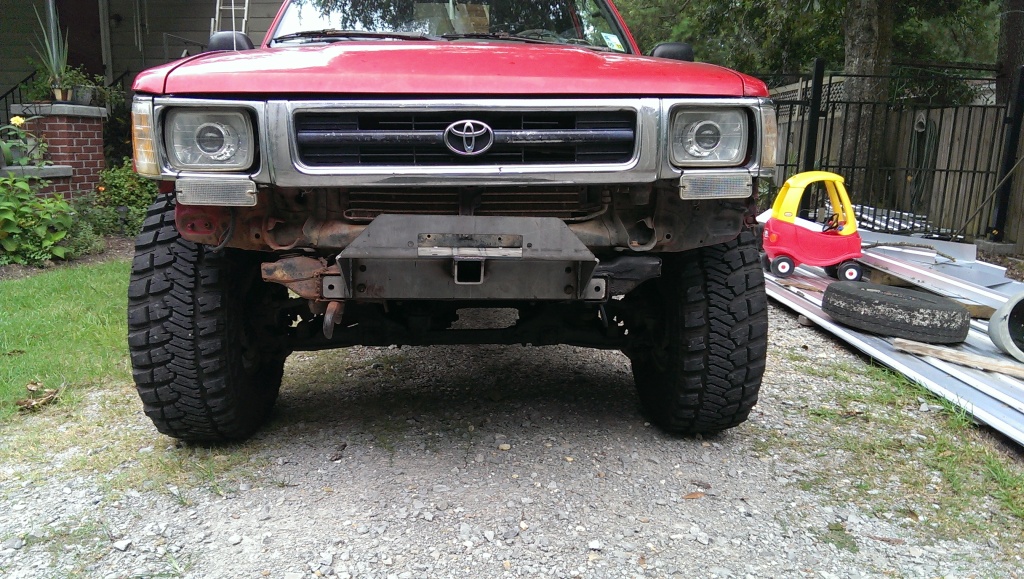
The after.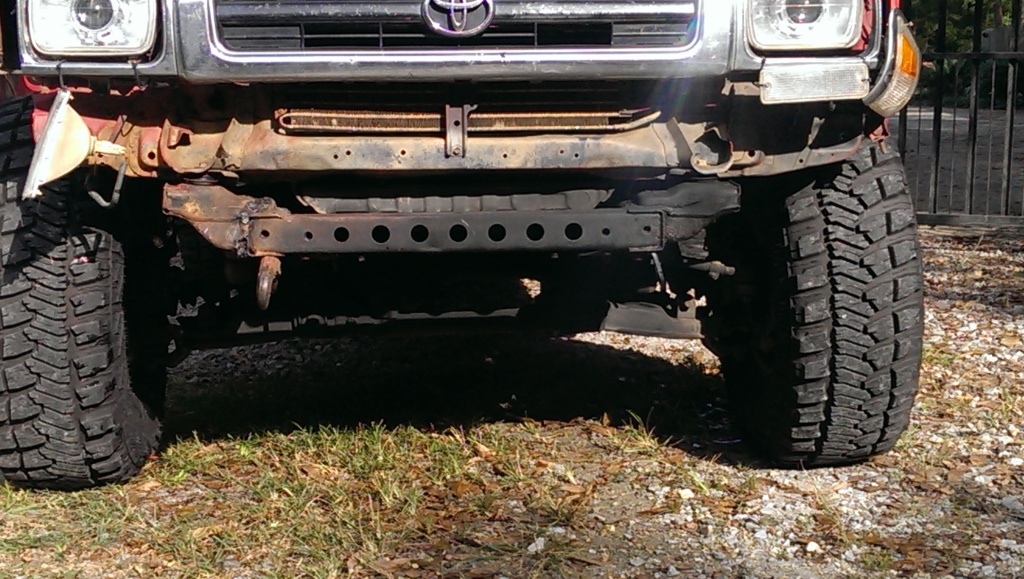
Here's the bender in the engine stand.
Here's a pic of it before, can definatly can tell it's lower from the drivers side.
The after.
Here's the bender in the engine stand.
Last edited by lil_red_yota; Oct 12, 2013 at 03:13 PM.
Dec 3, 2013 | 10:46 AM
#85
Thread Starter
Registered User
Joined: Mar 2012
Posts: 153
Likes: 0
From: Louisiana
Went and pulled the led bulbs I had in the ac controls and gauge cluster out of my old project car. So I'll be doing that soon. Also ordered some radio mounting brackets off of eBay so I'll have a way te secure my next radio in. Which my sister's bf gave me a pretty nice jvc radio.
Also been thinking about what I want to do in the future with the truck. I have a ford 9" rearend and was thinking of pairing that with a Dana 44 front. Get both shortened and get the pumpkin swapped to the correct side on the Dana 44. Also going with a 6" lift when I sas.
Here's a pic of the bulbs I pulled.
 Dec 29, 2013 | 05:15 PM
#87
Thread Starter
Registered User
Joined: Mar 2012
Posts: 153
Likes: 0
From: Louisiana
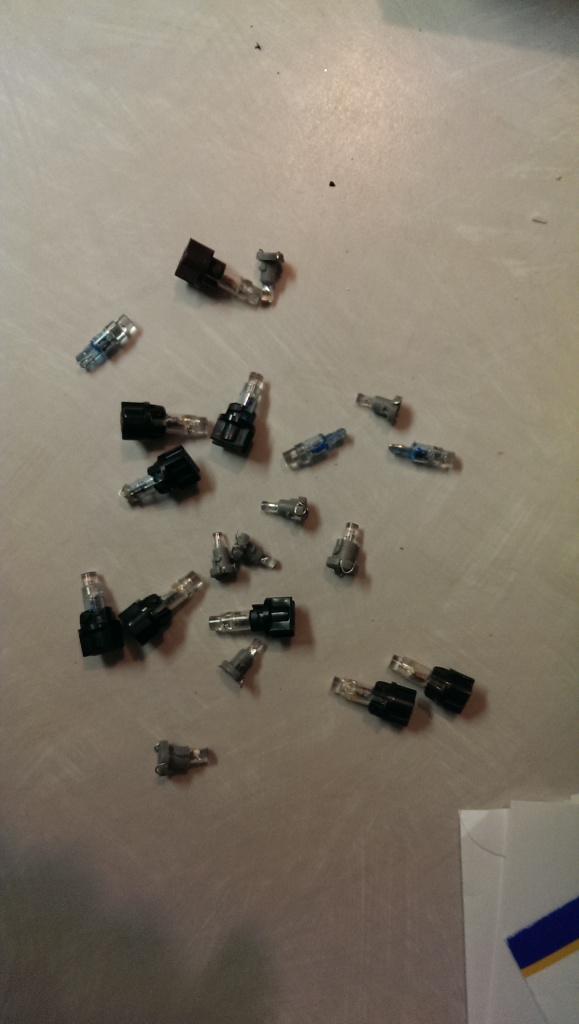
Ok. Finally got around to installing my new radio. Had to wait till I got a din pocket and an auxiliary cable to do the install. Well I found out I have taco radio brackets and not pick-up brackets. So I had to use the lower bracket holes, and had to use a lil more pushing n shoving when putting the dash back together. Prolly sits an 1/8" forward.˟
Also had a coolant line bust around the intake, and found out my driver front tire is leaking around the bead slowly. So own gonna add some slime to seal it up. Here's pics.˟

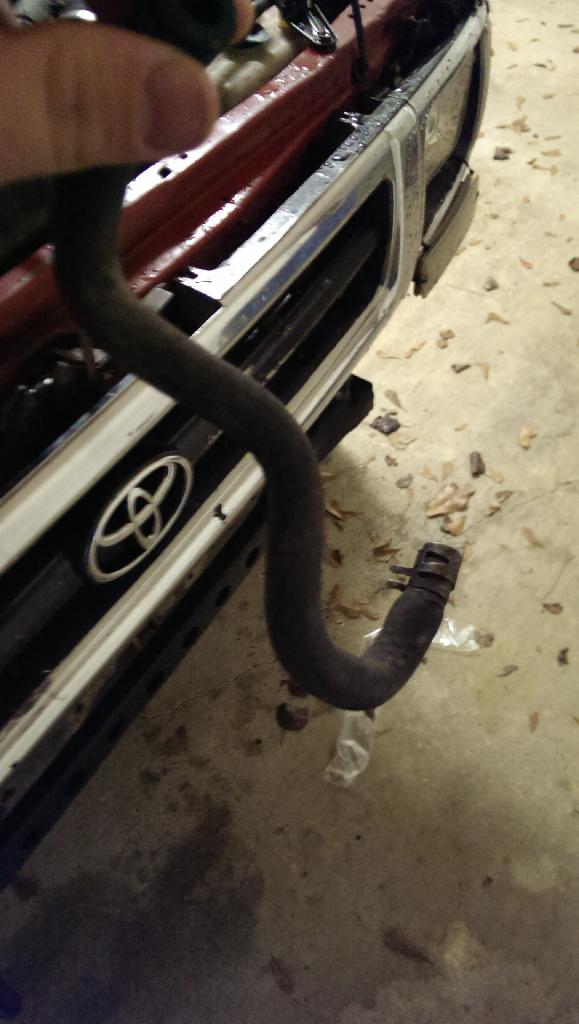
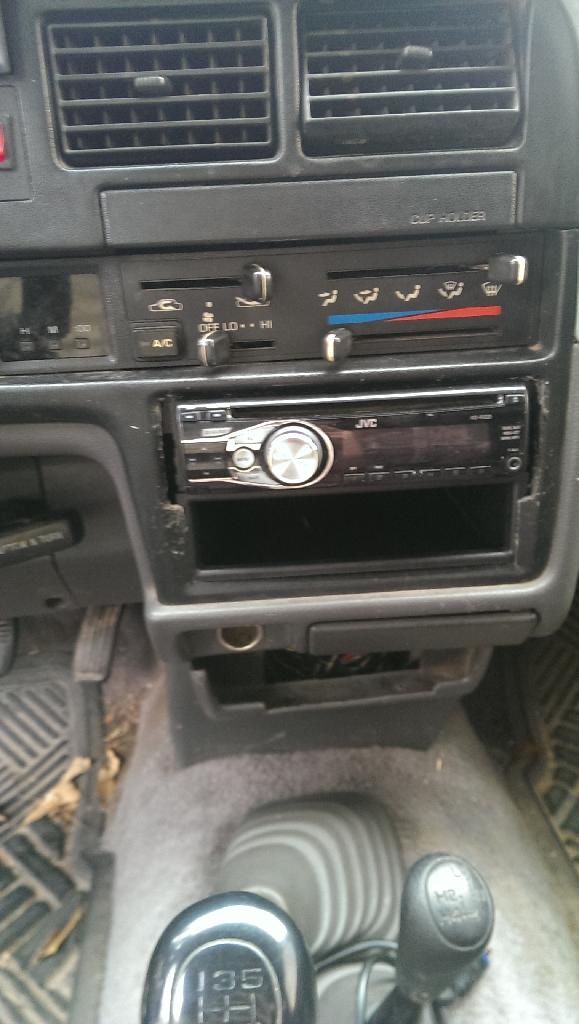
Also had a coolant line bust around the intake, and found out my driver front tire is leaking around the bead slowly. So own gonna add some slime to seal it up. Here's pics.˟


Last edited by lil_red_yota; Dec 29, 2013 at 05:16 PM.
Dec 29, 2013 | 06:11 PM
#88
Registered User
Joined: Apr 2012
Posts: 2,817
Likes: 2
From: Los Angeles CA
Woo hooo Another bumper build Is that winch plate the Trailgear one? Cant wait to see what you create. I found a paper drawing is completely different from the real thing when i made mine. Good luck buddy! Nice job on the stereo install. Did you solder and heat shrink wires afterward?
Dec 29, 2013 | 06:36 PM
#89
Thread Starter
Registered User
Joined: Mar 2012
Posts: 153
Likes: 0
From: Louisiana
I can't remember but I think it is. Hopefully soon I will be finally getting the bumper built. Been on the back burner for a while due to work.
I twisted and electrical taped the wires. Then took some zip ties and made the harness look decent. Don't have a solder gun at the moment to do that.
I twisted and electrical taped the wires. Then took some zip ties and made the harness look decent. Don't have a solder gun at the moment to do that.
Jan 28, 2014 | 06:57 AM
#90
Thread Starter
Registered User
Joined: Mar 2012
Posts: 153
Likes: 0
From: Louisiana
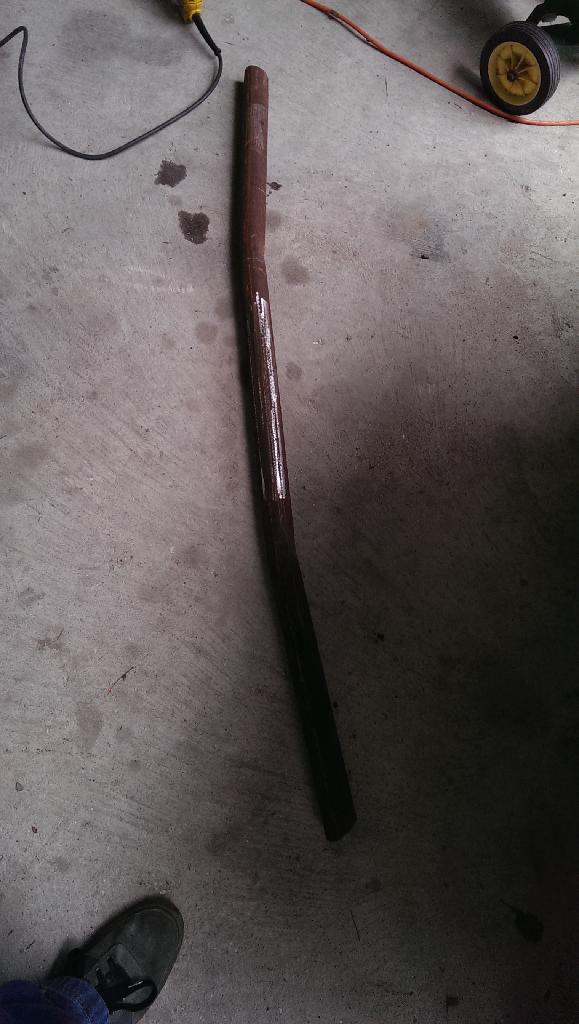
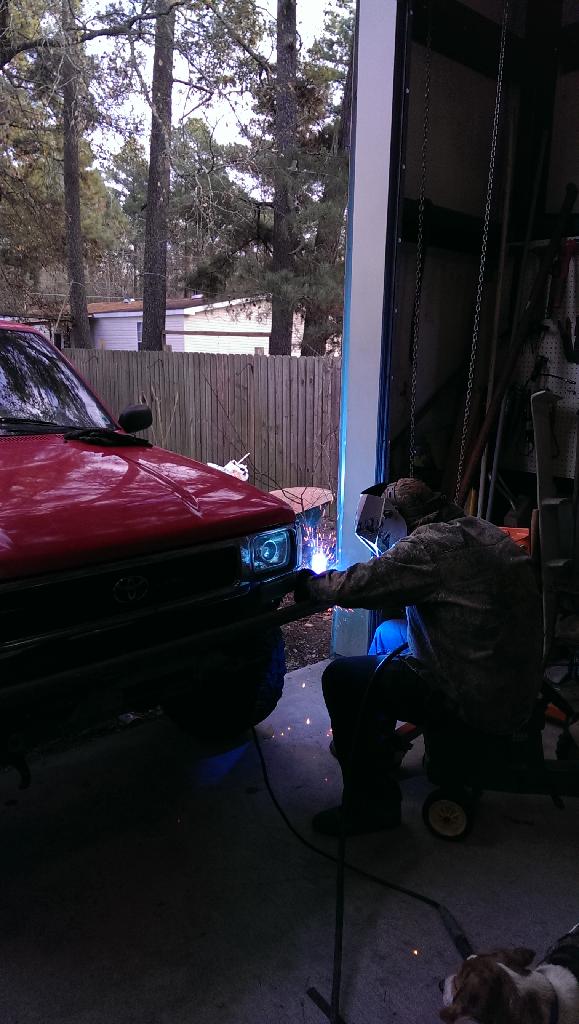
Finally started making my bumper. I know a few ppl said months back they were gonna follow this. But I'm nearing an inspection sticker and getting tired of getting funny looks and getting asked where my bumper is. So with out a further a do here is what I have done in one days time. Everything but one brace and a stinger (nut a big pointed stinger, more of a squared U shape one). The blast prime and paint. Also learned that even with a no dog level you still get slight dog legs when using a harbor freight bender, also learned that 90� bends aren't possible in this bender with thin wall tubing.
Here's a pic of the main top piece with the ends 45ed.˟
Failed 90� bend.˟
Got the main piece tacked into place. You can see slight downward dog leg on the drivers side.˟
Me welding the piece that's transitions the next piece down the side of the truck.˟
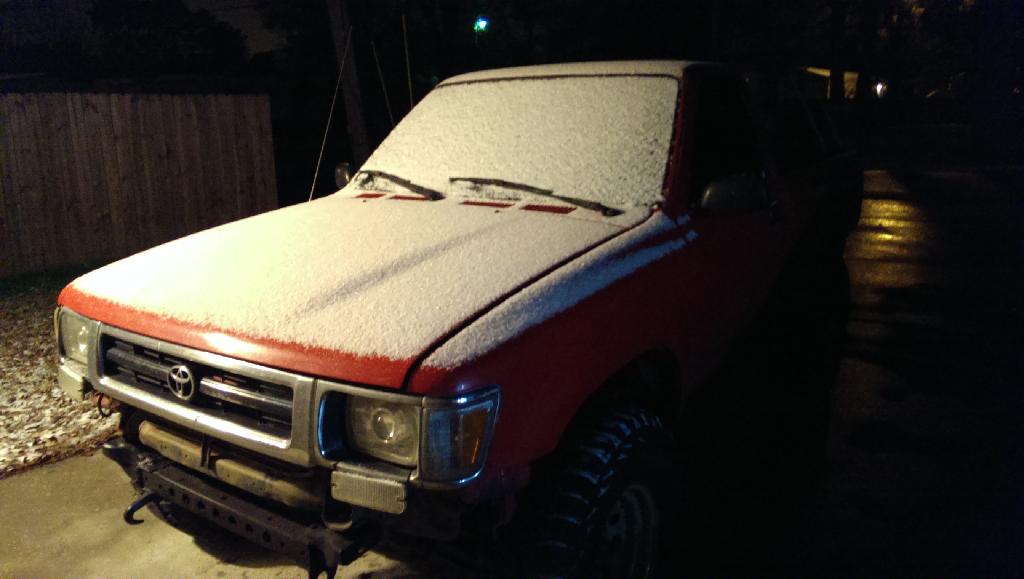
Now some ice storm pics. Very unusual in Louisiana and as I type this were getting a second dose of it.
5:30am Friday morning when I went to go to work.˟
Here's a pic of the main top piece with the ends 45ed.˟

Failed 90� bend.˟

Got the main piece tacked into place. You can see slight downward dog leg on the drivers side.˟

Me welding the piece that's transitions the next piece down the side of the truck.˟

Now some ice storm pics. Very unusual in Louisiana and as I type this were getting a second dose of it.
5:30am Friday morning when I went to go to work.˟


 Feb 8, 2014 | 12:19 PM
#95
Thread Starter
Registered User
Joined: Mar 2012
Posts: 153
Likes: 0
From: Louisiana
Well got the other brace done. It sits a lil lower on the winch plate than the first one. Finished welding everything out, now gotta grind everything down (mig gun welded like crap, and the 7018 rods I used after a few bad welds with the mig gun don't weld worth a crap either from never being in a rod box). Really considering leaving the stinger off just for easy of access to motor when I need to work on it. Also need to cap the ends of the pipe off and get the reinforcement kit for the winch plate. Can feel the amount of flex in it when I stand on it.
 Feb 9, 2014 | 02:56 PM
#96
Thread Starter
Registered User
Joined: Mar 2012
Posts: 153
Likes: 0
From: Louisiana
Here's a couple of more pics of the bumper. Also a pic of the end caps I made out of an 1/8" plate. Everything is welded out and ready for some grinding, sand blasting, then prime and paint.˟


Last edited by lil_red_yota; Feb 9, 2014 at 02:58 PM.
Feb 27, 2014 | 11:17 AM
#98
Thread Starter
Registered User
Joined: Mar 2012
Posts: 153
Likes: 0
From: Louisiana
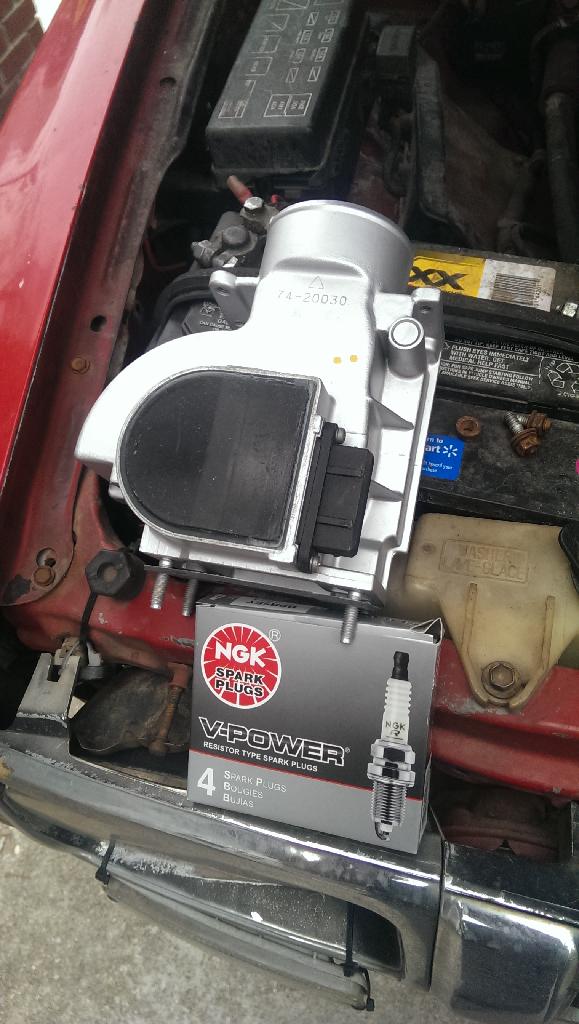
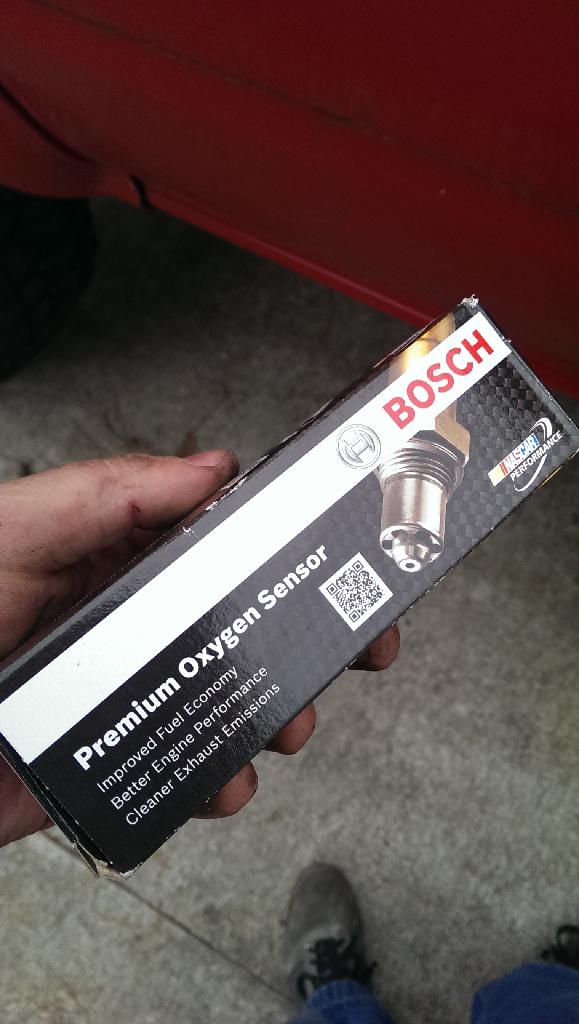
So last weekend I went to change my mass air cause my trucks was still showing a code for it and found out the new one was bad and just needed an o2 sensor. Which I believe I need to do an induction service and put some fuel treatment in my next tank of gas. Have a miss at idle and still smells a lil rich, like an injector is sticking.˟
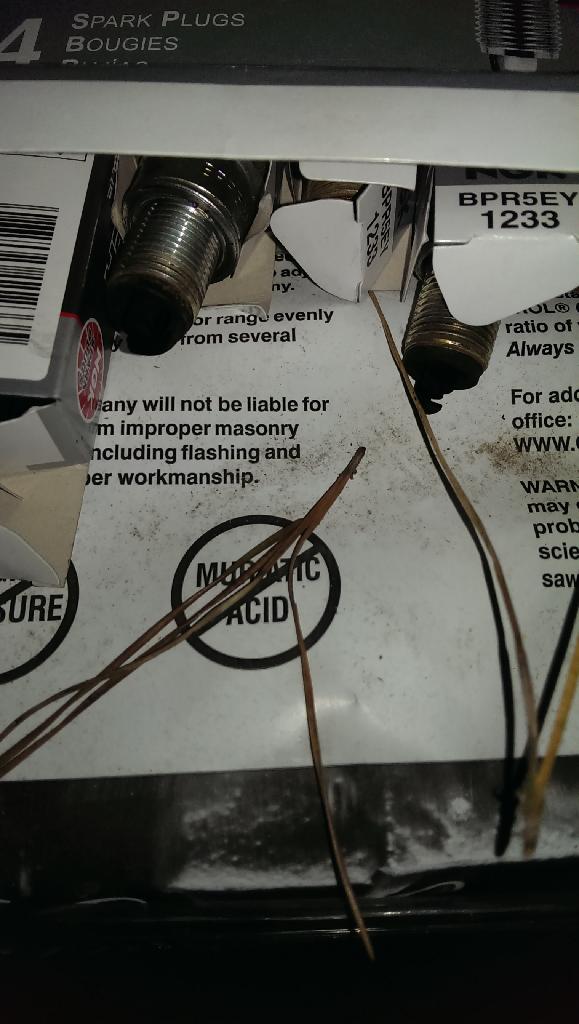
So after an all day ordeal ˟of having to wait on an o2 and finding out the new mass air is bad. Then I went to put new plugs in cause I figured it running rich for so long fried the plugs. Well that went real smooth. The metal clips inside of the boot didn't come off with the wires and messed up the spark plug wires. Luckily I had a lifetime warranty and I'm friends with ppl at oriellys and they bumped me up to the better wires for the cost of the difference. So here's some pics.˟
˟
Kinda hard to see put the ends of the old plugs are solid black.˟
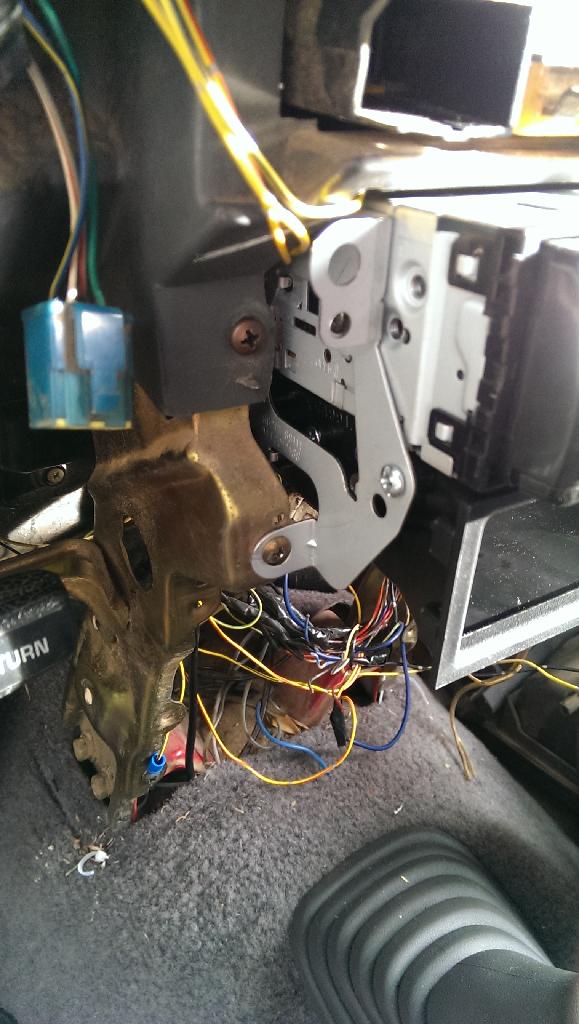
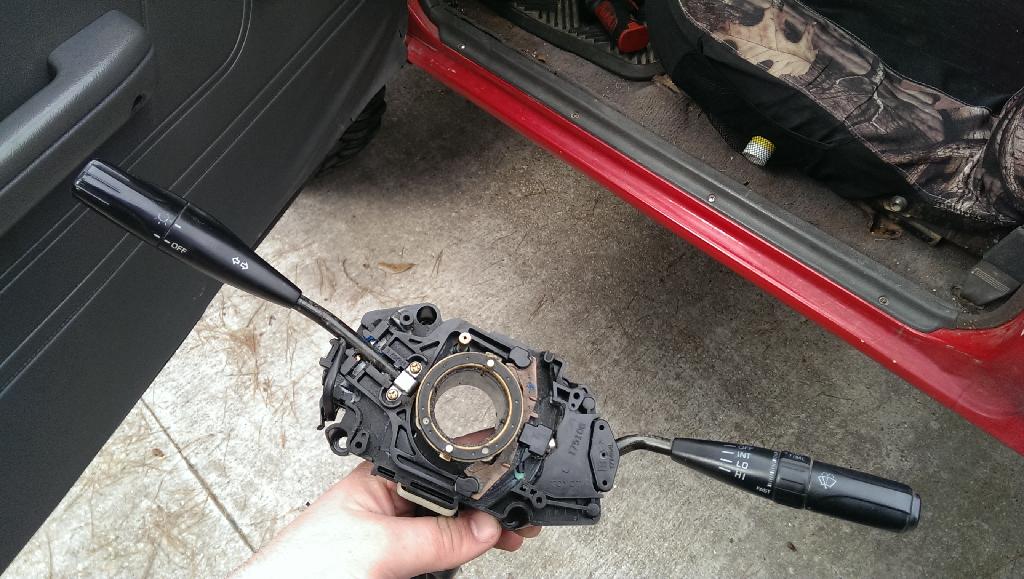
New combination switch set. Works better than my old one. But still no highbeams. Gonna have to look somewhere else for the problem.˟
So after an all day ordeal ˟of having to wait on an o2 and finding out the new mass air is bad. Then I went to put new plugs in cause I figured it running rich for so long fried the plugs. Well that went real smooth. The metal clips inside of the boot didn't come off with the wires and messed up the spark plug wires. Luckily I had a lifetime warranty and I'm friends with ppl at oriellys and they bumped me up to the better wires for the cost of the difference. So here's some pics.˟
˟


Kinda hard to see put the ends of the old plugs are solid black.˟

New combination switch set. Works better than my old one. But still no highbeams. Gonna have to look somewhere else for the problem.˟
 Apr 15, 2014 | 08:55 AM
#99
Thread Starter
Registered User
Joined: Mar 2012
Posts: 153
Likes: 0
From: Louisiana
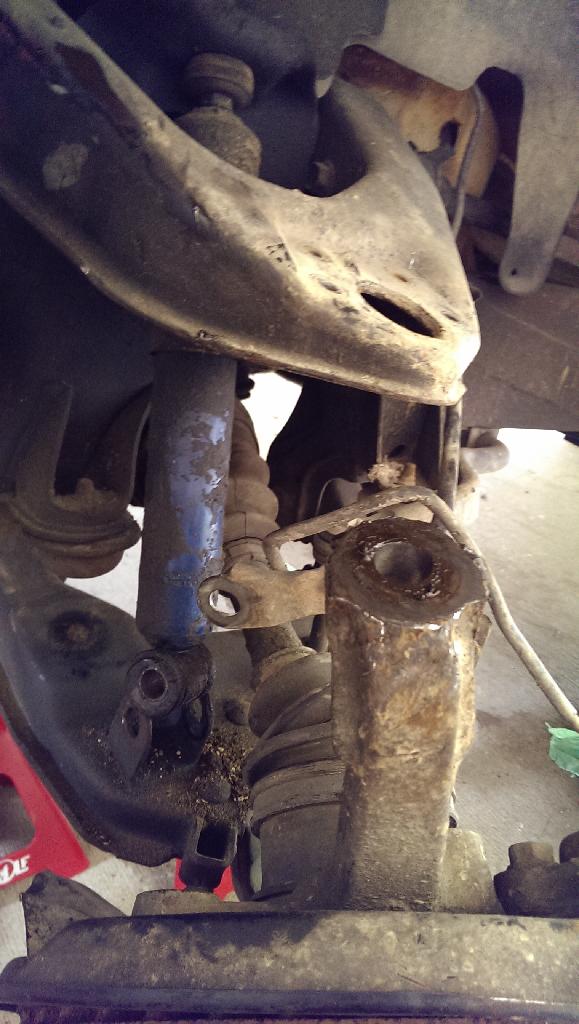
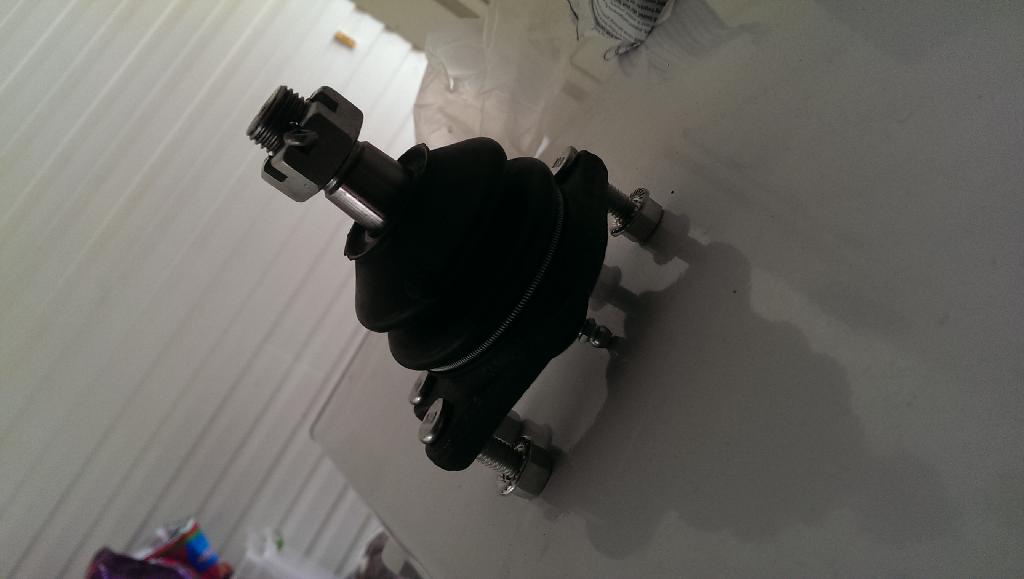
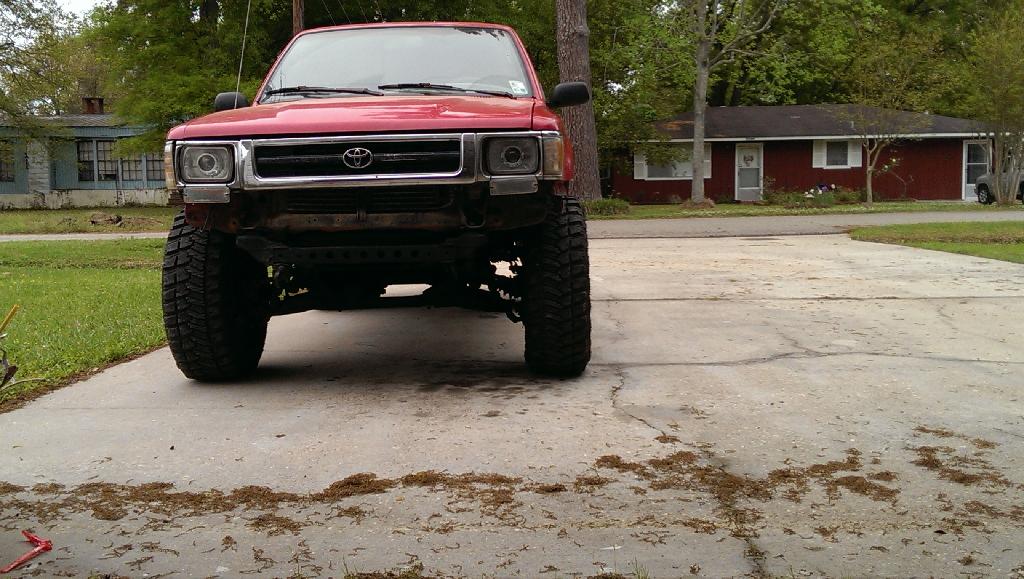
Changed the upper ball joint on the drivers side last weekend. Pretty easy and straight forward. Thing I need a new shocks though cause when I unbolted the shock I pushed it in by hand and it didn't return it stayed compressed so I'll be back in there changing both sides soon. Also when I hit bumps while driving it feels like something is loose since I did the ball joint. Everything is tight nothing has come loose. Found an 85 front axle that I'm trying to get. If I can get a hold if the guy.˟
Here's some pics.˟
Old ball joint.˟
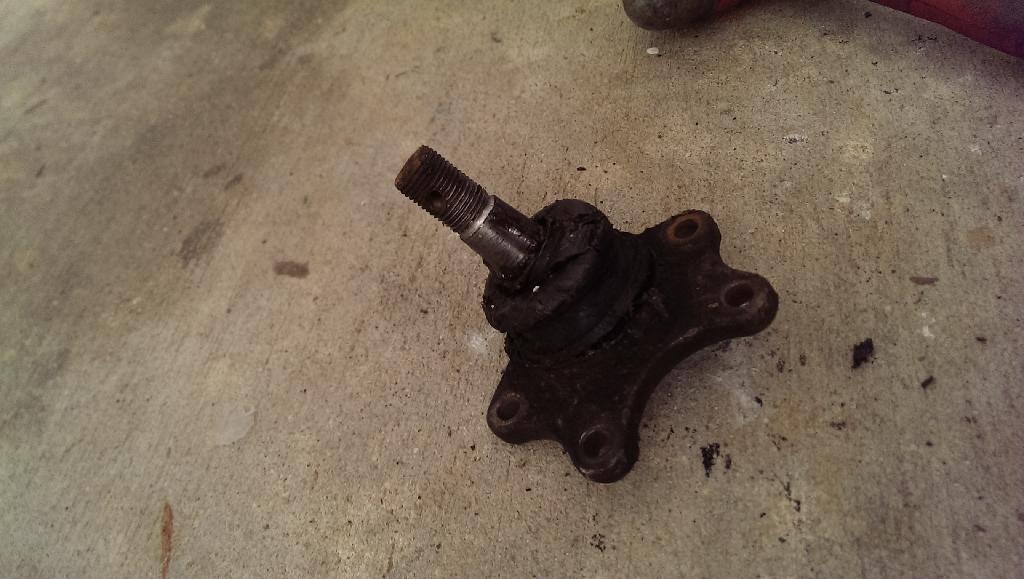
New ball joint.˟
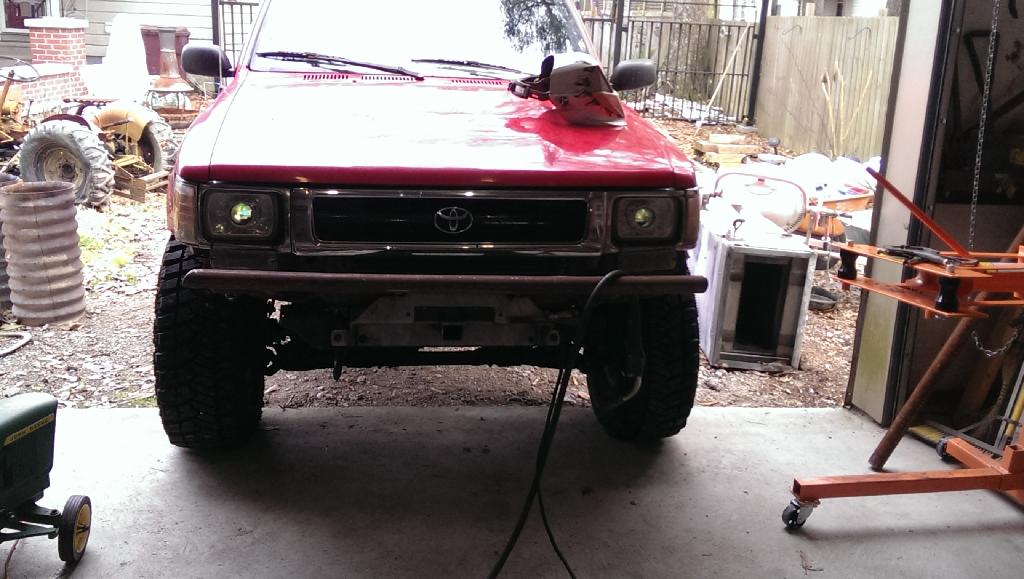
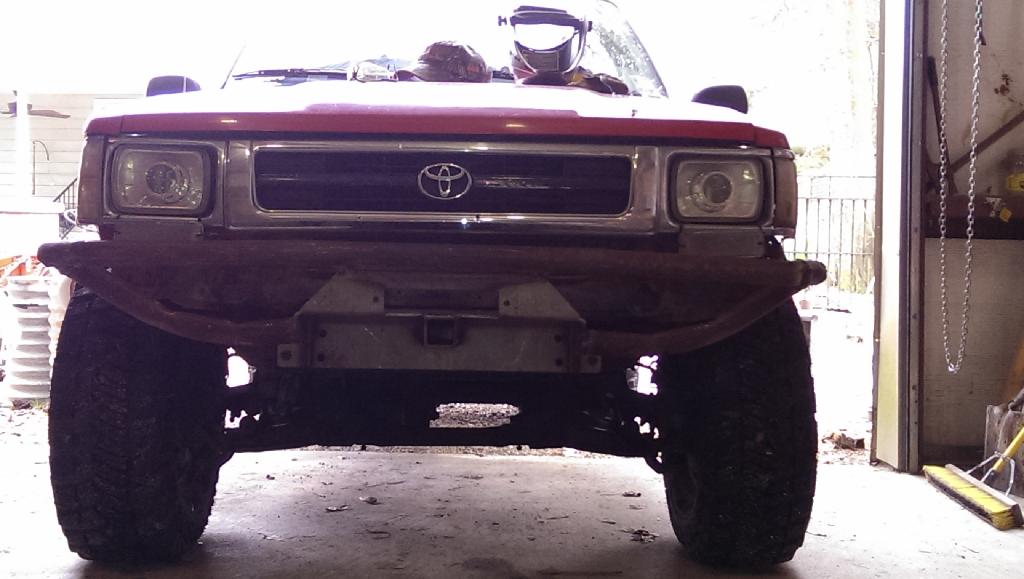
Straightest I've seen that tire in a long time.˟
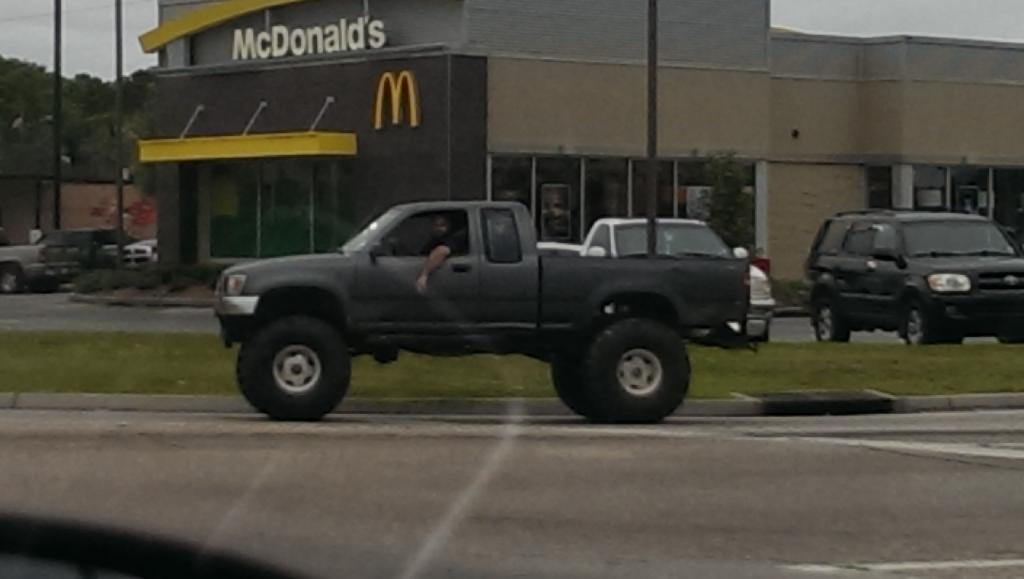
Yota I saw in town later that day.˟
Here's some pics.˟

Old ball joint.˟

New ball joint.˟

Straightest I've seen that tire in a long time.˟

Yota I saw in town later that day.˟


