
DIRTCO's 1986 4Runner Build-Up Thread

 Oct 9, 2008 | 01:23 PM
#86
Registered User
Joined: Dec 2006
Posts: 611
Likes: 0
From: Boise, ID
great looking build...can't wait to see more!
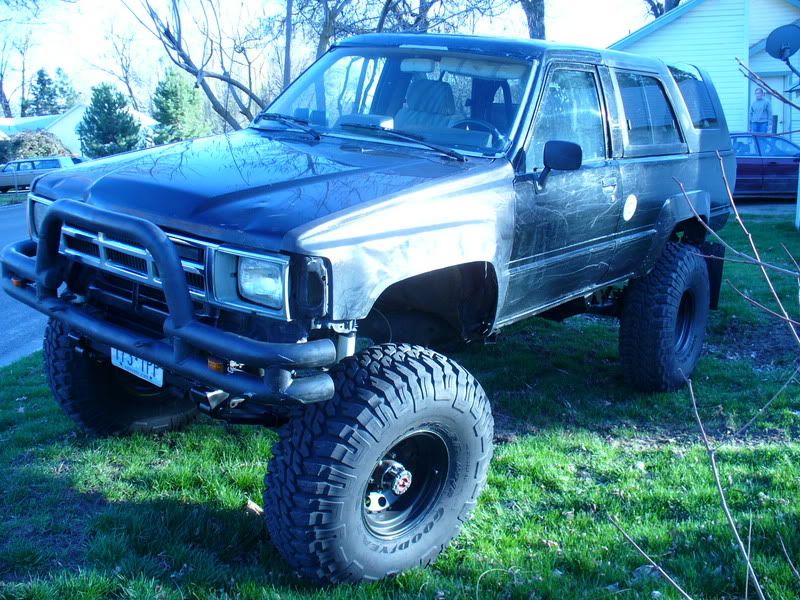
i put marlin's 4" springs on my '84 and cleared 37's with no trimming. i put the front axle 1 1/2" forward of stock i believe (might have to double check on that) and it cleared the firewall on full compression and full lock turns. i also had a 1" body lift that i never got around to taking off, but was confident that if i did the front tires would still have not contacted the firewall, but might have had to redo my bumpstops to keep from contacting the fenders both front and rear. very flexy, fairly good ride height (but would have liked to take out the body lift). would have liked it a fuzz shorter, but to make up for the heavier rear i used a two inch longer shackle in the rear (which gives an additional inch of ride height).
i put marlin's 4" springs on my '84 and cleared 37's with no trimming. i put the front axle 1 1/2" forward of stock i believe (might have to double check on that) and it cleared the firewall on full compression and full lock turns. i also had a 1" body lift that i never got around to taking off, but was confident that if i did the front tires would still have not contacted the firewall, but might have had to redo my bumpstops to keep from contacting the fenders both front and rear. very flexy, fairly good ride height (but would have liked to take out the body lift). would have liked it a fuzz shorter, but to make up for the heavier rear i used a two inch longer shackle in the rear (which gives an additional inch of ride height).
 Oct 9, 2008 | 02:36 PM
#88
Registered User
Joined: Mar 2008
Posts: 4,371
Likes: 6
From: Texas
Oct 9, 2008 | 03:56 PM
#89
Thread Starter
Registered User
Joined: May 2007
Posts: 1,441
Likes: 0
From: Summit County, Colorado
I picked up a buddy's old tank a long time ago, held on to it for a while and then used that for my exchange. I don't know how much it would cost to get a tank out right without a core to return. Next time I'm there I'll ask.
I usually go to Lynweld, it's couple blocks from the 4 Wheel Parts store in Denver off of Peoria (kill two birds with one stone).
I usually go to Lynweld, it's couple blocks from the 4 Wheel Parts store in Denver off of Peoria (kill two birds with one stone).
Oct 9, 2008 | 03:59 PM
#90
Thread Starter
Registered User
Joined: May 2007
Posts: 1,441
Likes: 0
From: Summit County, Colorado
Oct 9, 2008 | 04:30 PM
#91
Thread Starter
Registered User
Joined: May 2007
Posts: 1,441
Likes: 0
From: Summit County, Colorado
 I think I might have to get back to work, so we have something to talk about beside's gas milage!
great looking build...can't wait to see more!
i put marlin's 4" springs on my '84 and cleared 37's with no trimming. i put the front axle 1 1/2" forward of stock i believe (might have to double check on that) and it cleared the firewall on full compression and full lock turns. i also had a 1" body lift that i never got around to taking off, but was confident that if i did the front tires would still have not contacted the firewall, but might have had to redo my bumpstops to keep from contacting the fenders both front and rear. very flexy, fairly good ride height (but would have liked to take out the body lift). would have liked it a fuzz shorter, but to make up for the heavier rear i used a two inch longer shackle in the rear (which gives an additional inch of ride height).
i put marlin's 4" springs on my '84 and cleared 37's with no trimming. i put the front axle 1 1/2" forward of stock i believe (might have to double check on that) and it cleared the firewall on full compression and full lock turns. i also had a 1" body lift that i never got around to taking off, but was confident that if i did the front tires would still have not contacted the firewall, but might have had to redo my bumpstops to keep from contacting the fenders both front and rear. very flexy, fairly good ride height (but would have liked to take out the body lift). would have liked it a fuzz shorter, but to make up for the heavier rear i used a two inch longer shackle in the rear (which gives an additional inch of ride height).
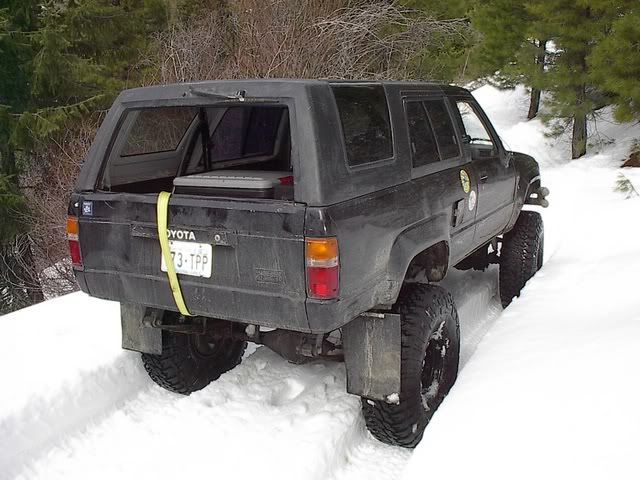
Is your suspension broken in on the above pictures? Most the rigs I've seen are after they installed the suspension and I'm wondering how much it's going to sag after a season or two of wheeling.
 The only reason I can afford it is because I scraped the crawler, it took me over five years of saving and wrenching to get that one were I wanted it to be. After I finish selling and saving the old parts I should almost break even (besides for the ARB's/E-lockers, I'm going to have to save up a while for those
  ).
Oct 9, 2008 | 07:28 PM
).
Oct 9, 2008 | 07:28 PM
#93
Registered User
Joined: Dec 2006
Posts: 611
Likes: 0
From: Boise, ID
end hijack...
 Oct 11, 2008 | 05:19 PM
#94
Thread Starter
Registered User
Joined: May 2007
Posts: 1,441
Likes: 0
From: Summit County, Colorado
Oct 11, 2008 | 05:40 PM
#95
Thread Starter
Registered User
Joined: May 2007
Posts: 1,441
Likes: 0
From: Summit County, Colorado
I got a couple little things done (hardly worth posting, but oh well). I'm waiting to order all the big stuff (next week or two), so I'm just working on keeping busy with little stuff that I can do now.
I first mounted my rear cargo light, I wanted something bright that would light up the entire cargo area. I also wanted it to be out of the way, here's what I came up with.
It's a cheap Wal-mart fog light that I had in the old truck, mounted on the back of the fiberglass top.
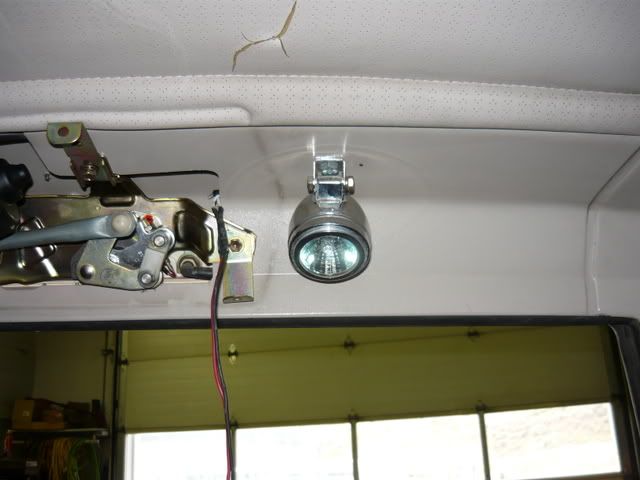
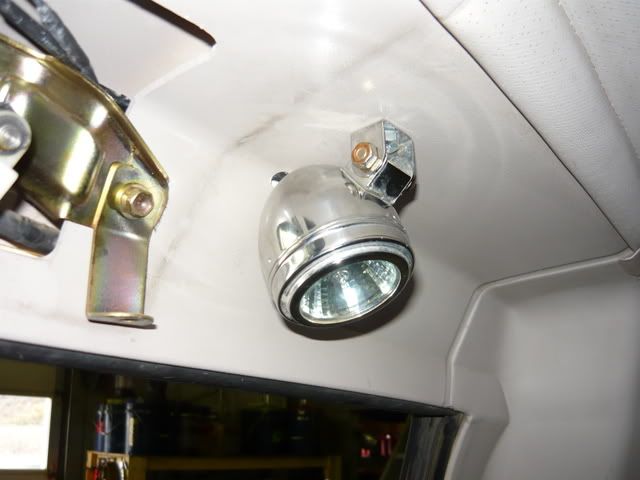
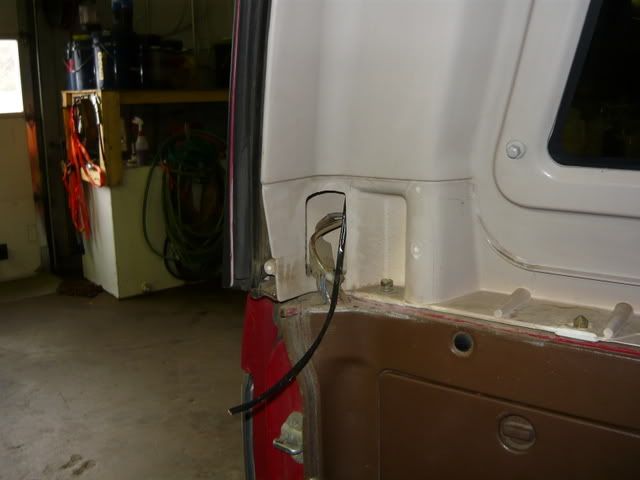
I ran the wiring down to the corner of the top, where the factory connector is for the rear wiper. I plan on building a complete accessory wiring harness for all the lights and other stuff. Once I build that, there will be a connector for removing the top.
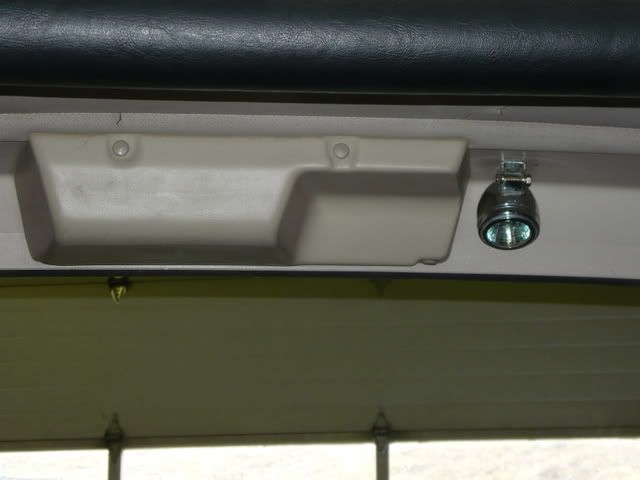
And with everything back together
I first mounted my rear cargo light, I wanted something bright that would light up the entire cargo area. I also wanted it to be out of the way, here's what I came up with.
It's a cheap Wal-mart fog light that I had in the old truck, mounted on the back of the fiberglass top.
I ran the wiring down to the corner of the top, where the factory connector is for the rear wiper. I plan on building a complete accessory wiring harness for all the lights and other stuff. Once I build that, there will be a connector for removing the top.
And with everything back together
Oct 11, 2008 | 05:48 PM
#96
Thread Starter
Registered User
Joined: May 2007
Posts: 1,441
Likes: 0
From: Summit County, Colorado
And here's how the light shines into the cargo area. It will make finding stuff in the back alot easier.
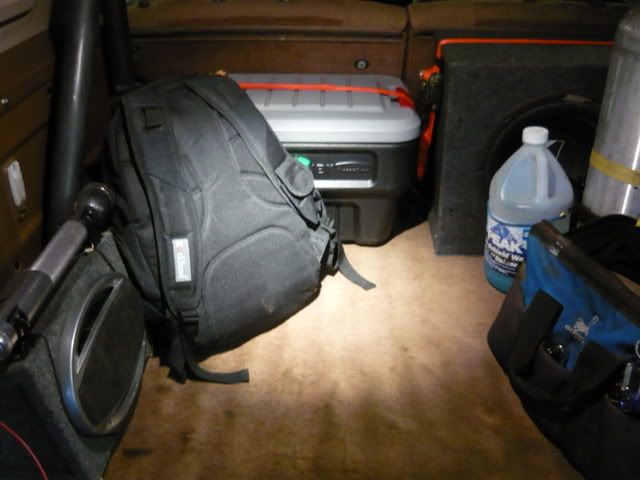
I also made a little holder for my rain coat (can you tell I was bored ). It's just a small bungie that I cut the hooks off of and screwed to one of the speaker boxes.
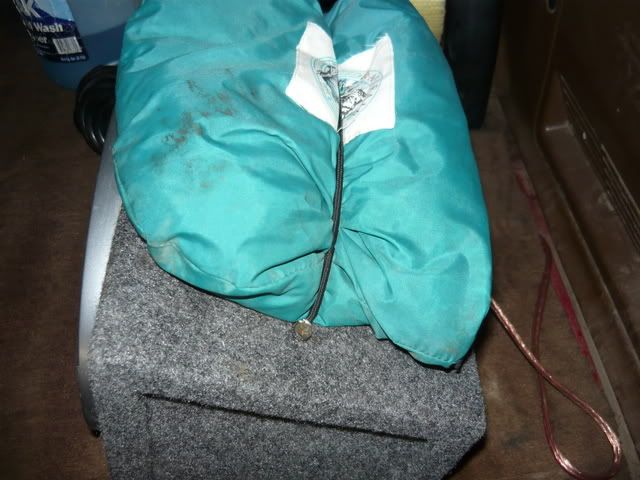
I also made a little holder for my rain coat (can you tell I was bored
). It's just a small bungie that I cut the hooks off of and screwed to one of the speaker boxes.
Oct 11, 2008 | 06:01 PM
#97
Thread Starter
Registered User
Joined: May 2007
Posts: 1,441
Likes: 0
From: Summit County, Colorado
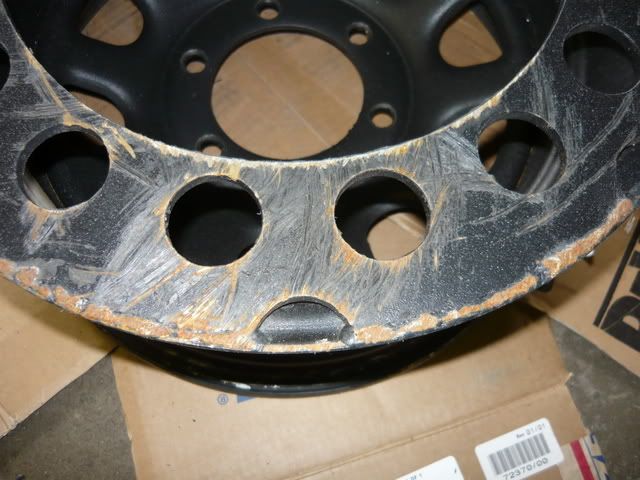
I will be re-using my old wheels on this project, so I gave them a new coat of paint (bedliner). They got a little tore up in Carnage, but did their job.
They are 15 x 8, reversed steel wheels with 2" of backspacing. I also installed some wheel stiffeners from Copperhead Fabrication to keep them from bending and getting tore up. It might be a little overkill for this 4Runner but I like them.
After a couple trails
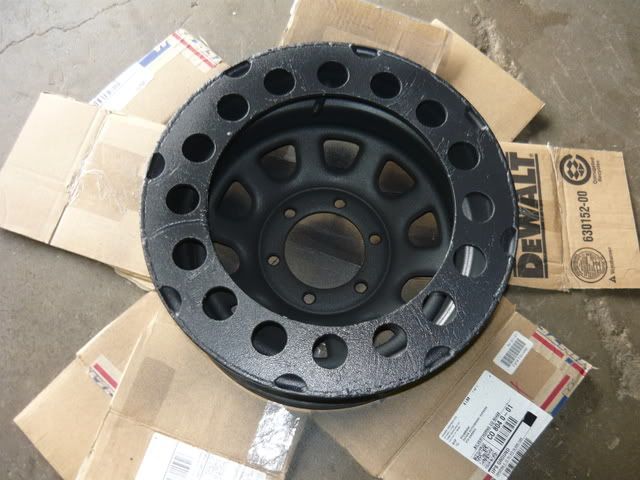
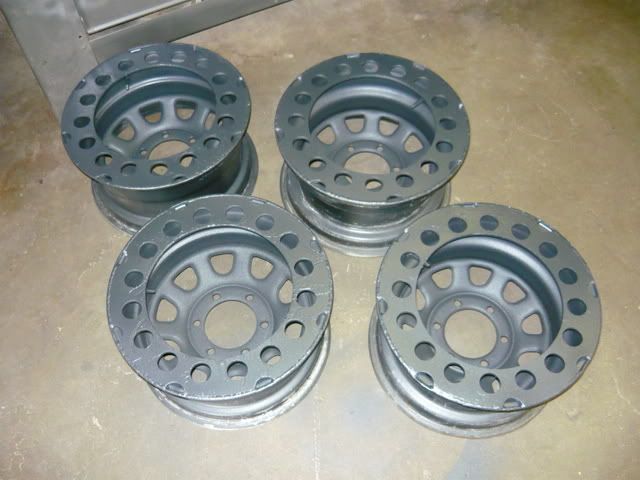
And a little paint I will be mounting up the new tires tomorrow, so I wanted to get the wheels ready and be done with it.
They are 15 x 8, reversed steel wheels with 2" of backspacing. I also installed some wheel stiffeners from Copperhead Fabrication to keep them from bending and getting tore up. It might be a little overkill for this 4Runner but I like them.
After a couple trails
And a little paint
I will be mounting up the new tires tomorrow, so I wanted to get the wheels ready and be done with it.
Oct 12, 2008 | 06:45 AM
#99
Thread Starter
Registered User
Joined: May 2007
Posts: 1,441
Likes: 0
From: Summit County, Colorado
Last edited by DIRTCO; Oct 12, 2008 at 06:47 AM.


