
Andersej: 1993 2nd Gen 4runner
 Jul 23, 2014 | 07:02 AM
#61

Registered User
Joined: Jul 2007
Posts: 149
Likes: 1
You can do it two ways.
A) coil over conversion- 400-700lb coil spring depending on weight/application.
B) coil over assist- 200-400 coil spring w/ stock T-bars.
The coil over conversion will put more loads on the shock hoops. Under severe duty a strut running over the engine connecting the hoops is a good idea. A engine cage would be even stronger. My shock hoops are lighter duty but have been holding up for the most part. The exception is "huck fest" big air on an early prototype using .095 wall pipe and not .120 wall DOM. Purposefully under built to see what would fail.
The coil over assist will reduce the loads to the shock hoop as the spring load is divided between the coil and the T-bars. The coil over assist is also nice as it gives two areas to make adjustments / tuning. T-bar and coil spring load up differently.
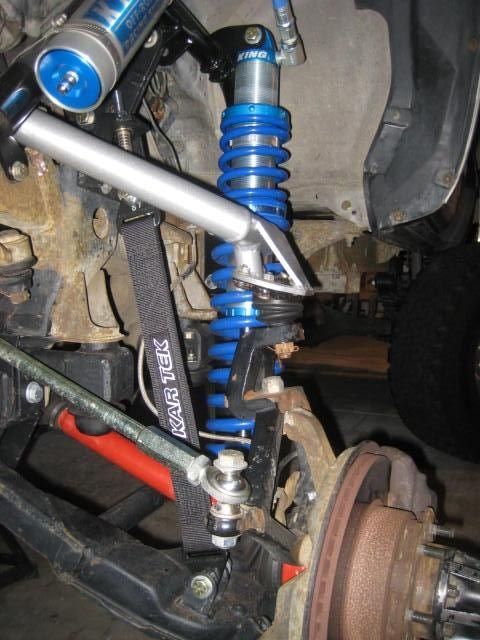
Either route will put more load on the upper BJ so adding a limit strap to control down travel will reduce the possibility of popping the ball joint "ball" from the socket. You would want to connect one end of the strap to the frame and the other end to the LCA. The old shock mounting tabs work well. For the upper attachment use an adjustable clevis for dialing in the droop stop.
A) coil over conversion- 400-700lb coil spring depending on weight/application.
B) coil over assist- 200-400 coil spring w/ stock T-bars.
The coil over conversion will put more loads on the shock hoops. Under severe duty a strut running over the engine connecting the hoops is a good idea. A engine cage would be even stronger. My shock hoops are lighter duty but have been holding up for the most part. The exception is "huck fest" big air on an early prototype using .095 wall pipe and not .120 wall DOM. Purposefully under built to see what would fail.
The coil over assist will reduce the loads to the shock hoop as the spring load is divided between the coil and the T-bars. The coil over assist is also nice as it gives two areas to make adjustments / tuning. T-bar and coil spring load up differently.
Either route will put more load on the upper BJ so adding a limit strap to control down travel will reduce the possibility of popping the ball joint "ball" from the socket. You would want to connect one end of the strap to the frame and the other end to the LCA. The old shock mounting tabs work well. For the upper attachment use an adjustable clevis for dialing in the droop stop.
Jul 23, 2014 | 10:23 AM
#62
Registered User
Joined: Jun 2009
Posts: 977
Likes: 4
From: Southern California
James, sorry to see you had the clearance conflict between the spring and the UCA. Like I mentioned before the space is limited to fit a coil spring behind the UCA. Its a fine line between the tire rubbing the spring or the UCA rubbing the spring. The alignment in the caster plays a roll in pushing the LCA forward or back which complicates clearance buffers. In your case the LCAs must be pushing forward causing the UCA / Spring contact.
Your solution is exactly correct. The UCA has extra material s that can be trimmed. Good Job! And yeah, using a 2.0 vs a 2.5 would make a difference. Personally I would rather use a 2.5 and have to adjust for clearance. I think for future shock hoops I may position the tabs to be wider and this will allow shimming the shock forward or back as needed. Oddly though, you are the first person to report the spring / UCA rubbing?
Odonekanobe, the difference in travel between having a coil over conversion, a coil over assist, or straight T-Bar don't vary. The pivot points are the same so the geometry is the same. The bump and droop stops (or limit straps if used) limit the travel so the spring method is irrelevant in terms of travel range.
The suspension system I pictured is a prototype design I am working on. I call it the Mega Travel. I just showed it as a visual for the limit strap. You can read about it on my 4 Runner build thread.
Jul 23, 2014 | 03:47 PM
#63
Thread Starter
Registered User
Joined: Dec 2011
Posts: 228
Likes: 0
Well did a few test runs today and had to grind a little more off the passenger side.
I had the shocks filled with nitrogen to 150psi. Honestly think I am a little firm on my spring choice. But I am going on a trip this friday doing some moderate rock crawling so I see how she feels out there.
I had the shocks filled with nitrogen to 150psi. Honestly think I am a little firm on my spring choice. But I am going on a trip this friday doing some moderate rock crawling so I see how she feels out there.
Jul 24, 2014 | 10:18 AM
#65
Registered User
Joined: Jul 2007
Posts: 149
Likes: 1
Just in case you don't know, the drivers side front window will work for the tailgate also. It's more common to find in parts stores and I believe it's cheaper also.
Jul 24, 2014 | 04:40 PM
#67
Thread Starter
Registered User
Joined: Dec 2011
Posts: 228
Likes: 0
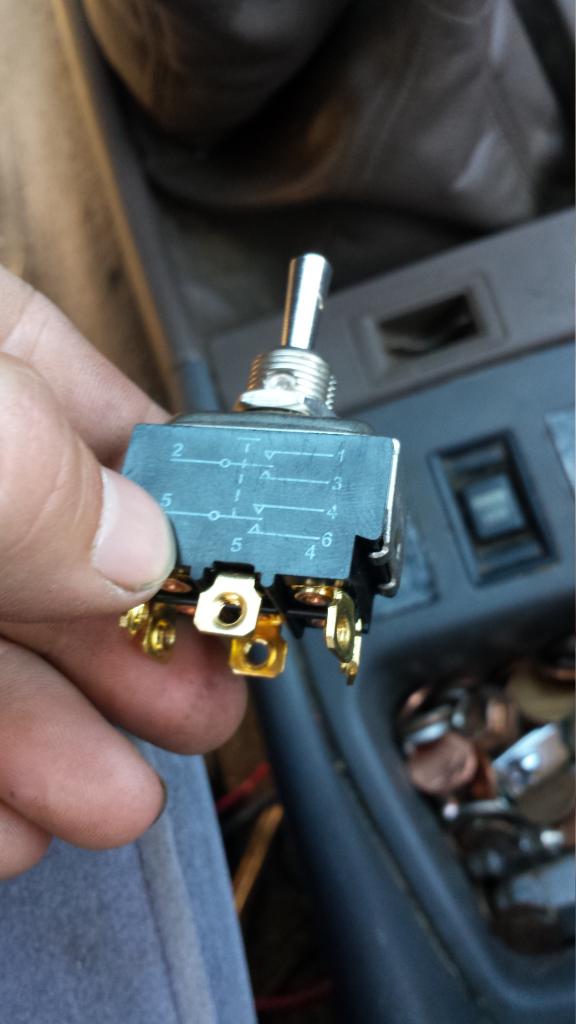
Man I lucked out it was just my switch. I went down and grabbed a new one real quick and was able to get my window to work again. I run mine with this momentary switch.
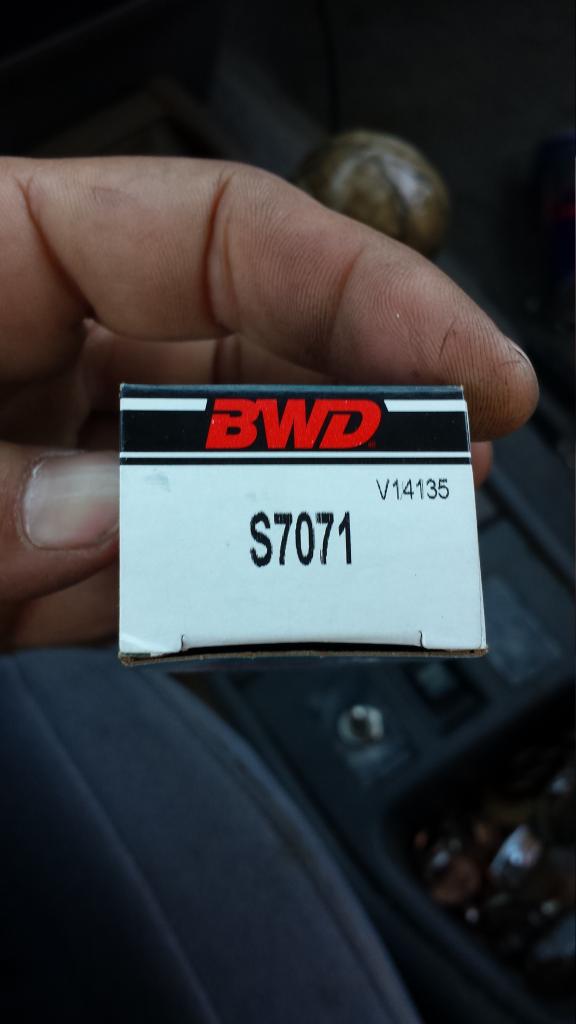
That's an oreilly's part number if you guys ever run across needed to re- wire your tailgate window.
If anyone needs an explanation on how to wire up a switch like this I can show them.
Now it's time to finish packing for my trip to the McGrew Trail in southern Oregon. Have a good weekend everyone!


That's an oreilly's part number if you guys ever run across needed to re- wire your tailgate window.
If anyone needs an explanation on how to wire up a switch like this I can show them.
Now it's time to finish packing for my trip to the McGrew Trail in southern Oregon. Have a good weekend everyone!
Jul 28, 2014 | 04:02 PM
#69
Thread Starter
Registered User
Joined: Dec 2011
Posts: 228
Likes: 0
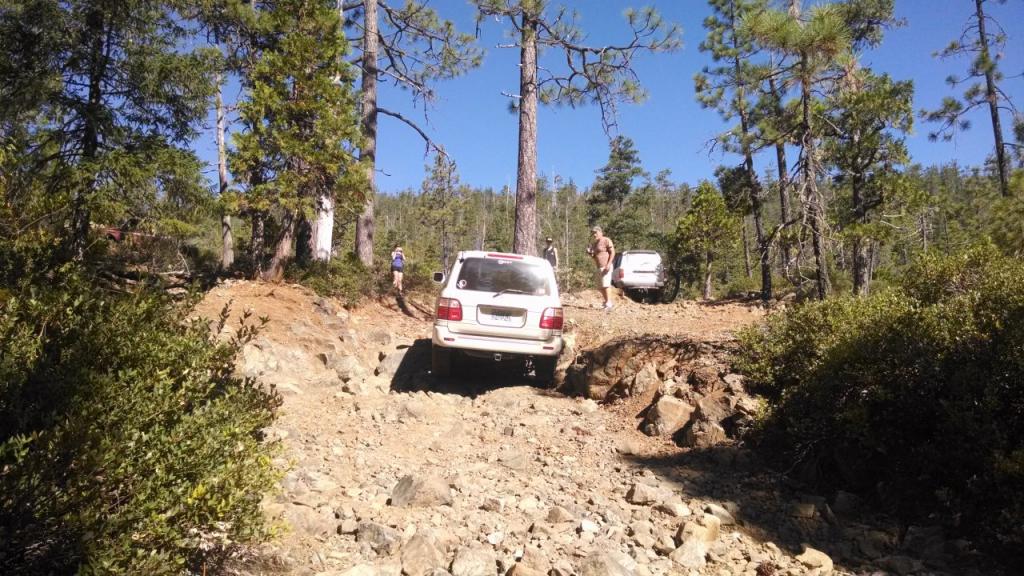
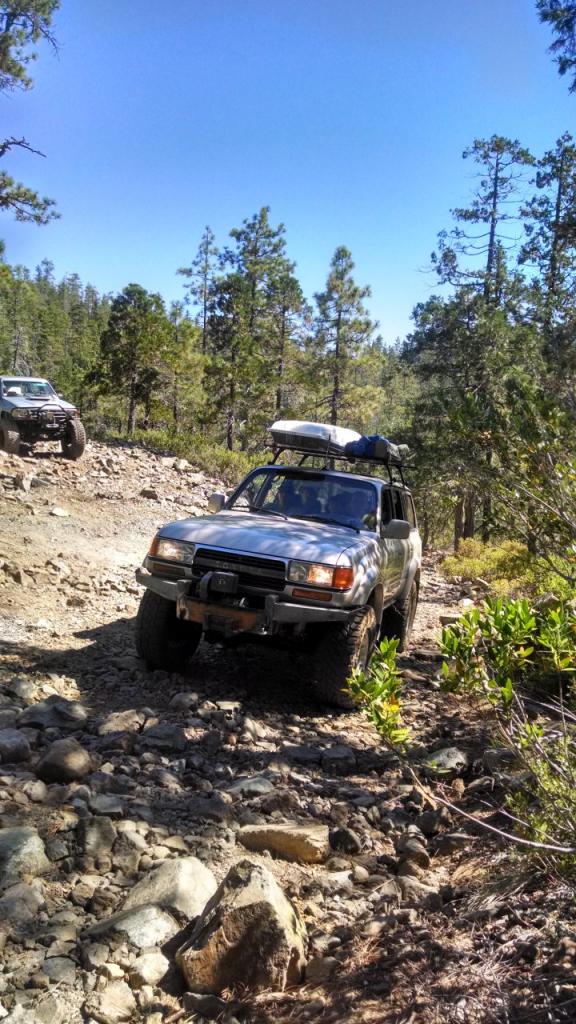
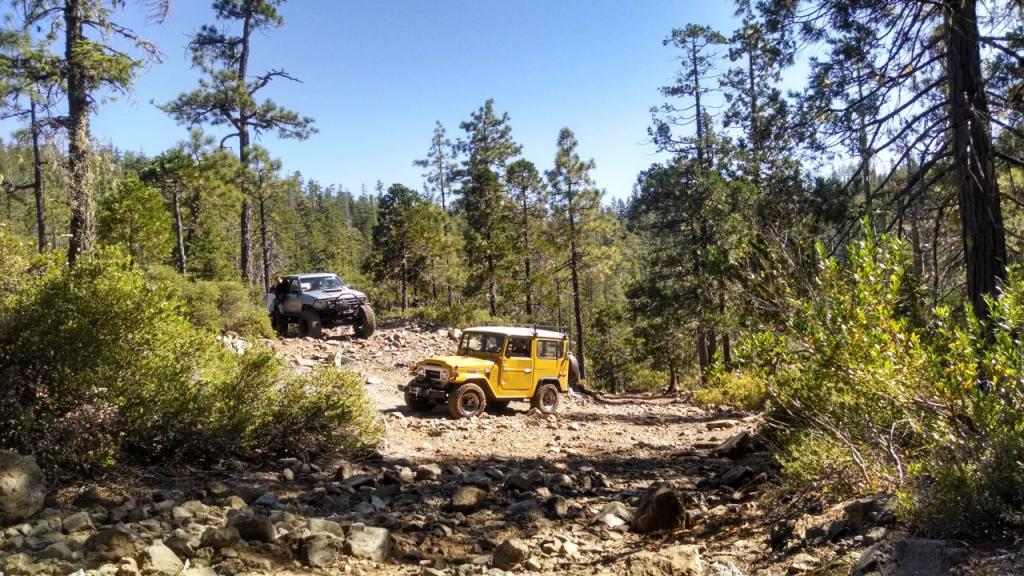
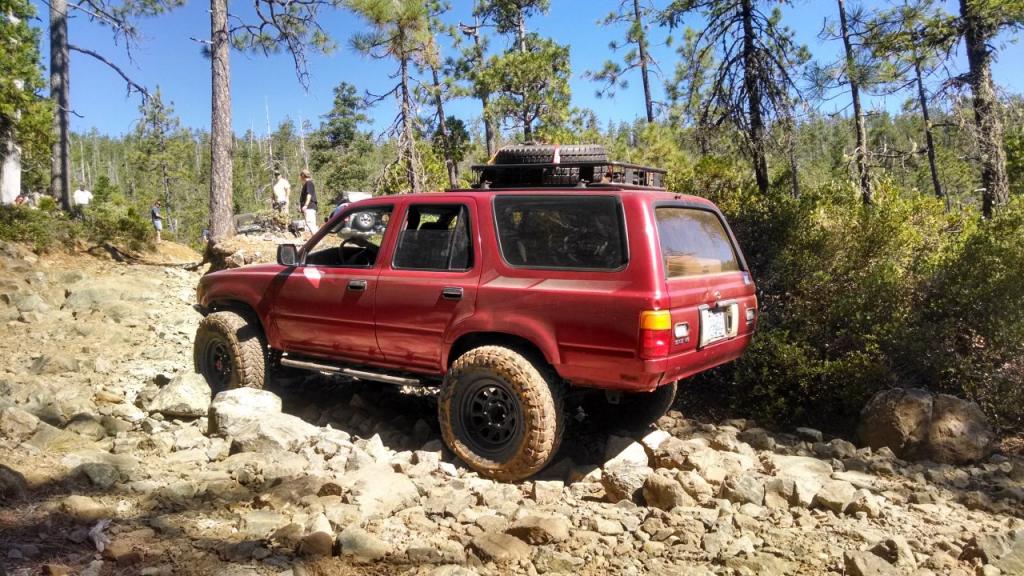
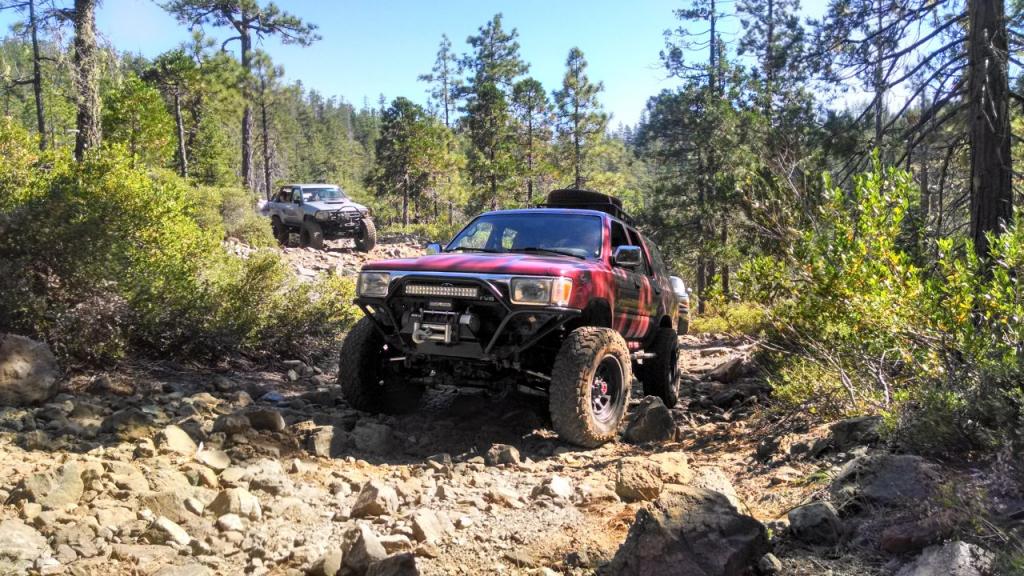
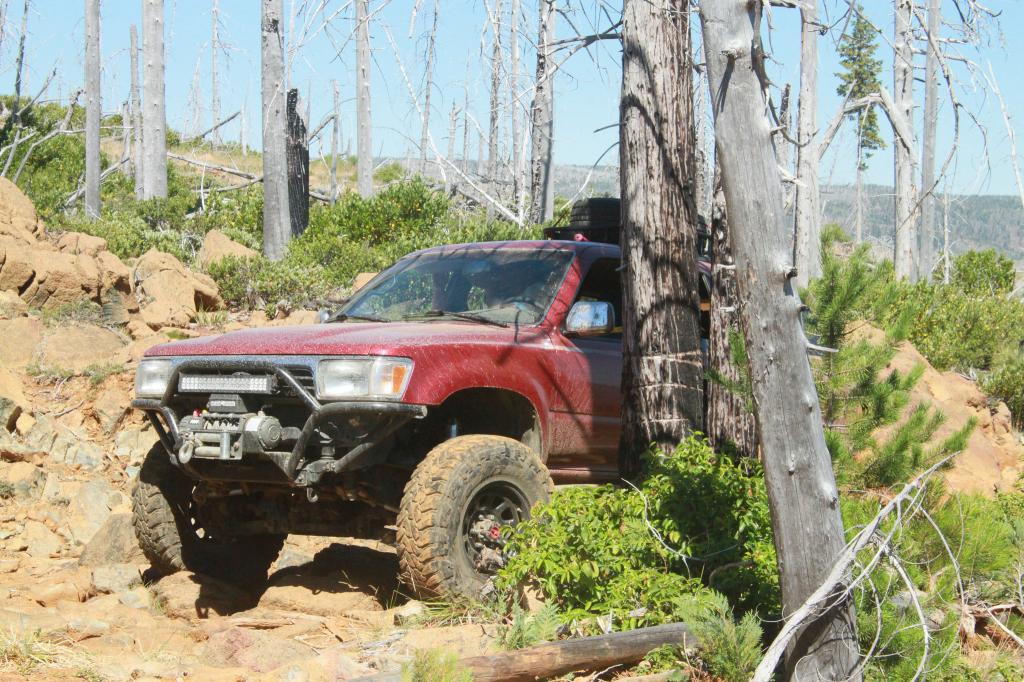
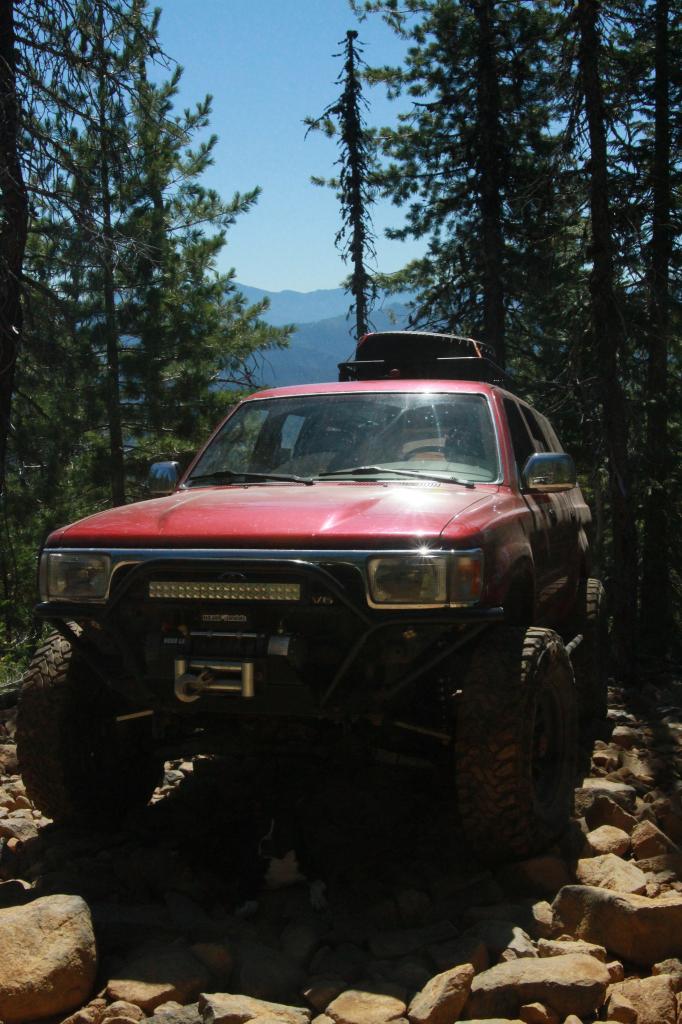
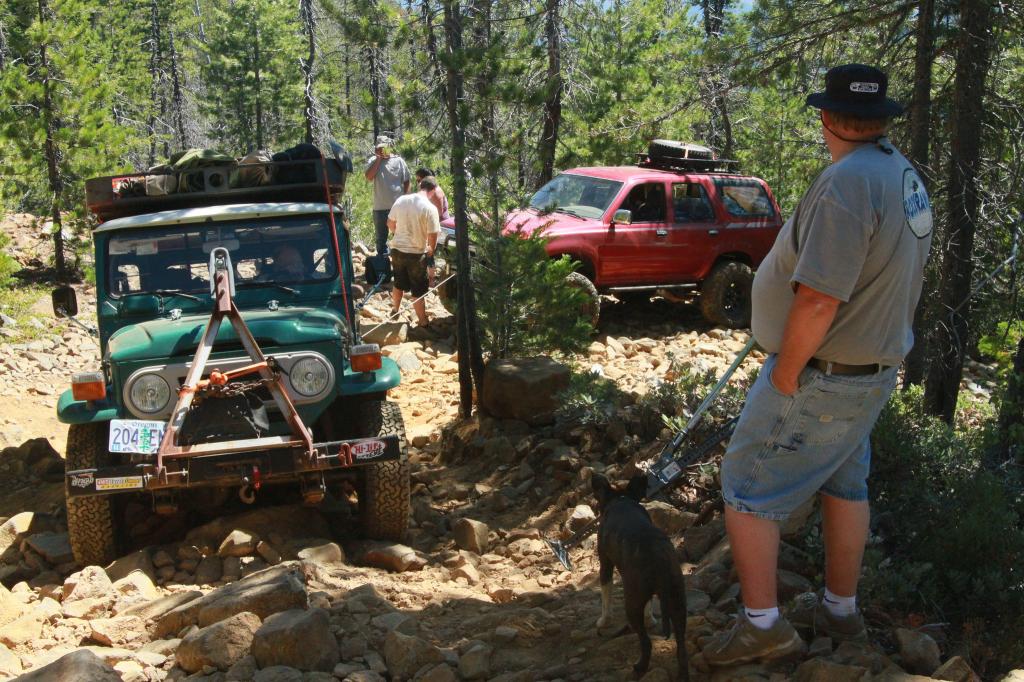
Had a great time at the McGrew Trail. Lots of rocks!
Was about 20+ rigs on the trail and took aprox 6 hours to get through.
Had the driver side lower weld pull away from my shock hoop bracket. I wrapped it with a ratchet strap and kept going


Was about 20+ rigs on the trail and took aprox 6 hours to get through.
Had the driver side lower weld pull away from my shock hoop bracket. I wrapped it with a ratchet strap and kept going


 Jul 30, 2014 | 05:17 PM
#76
Thread Starter
Registered User
Joined: Dec 2011
Posts: 228
Likes: 0

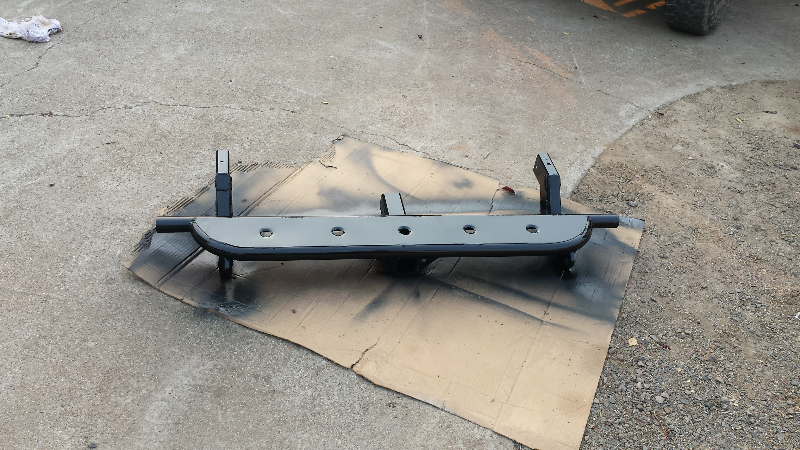
 Sep 11, 2014 | 08:51 PM
#80
Registered User
Joined: Oct 2008
Posts: 1,621
Likes: 7
From: Sacramento, Crawlifonia
Nice writeup on the Blazeland install. Your post makes it look so easy and quick, however I am sure, you, like me, know it take all day and then some. My install took eleven hours. how long for you?


