A2theK's 87' 4Runner Build
 Dec 29, 2014 | 07:13 PM
#1
A2theK's 87' 4Runner Build
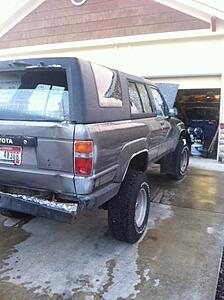
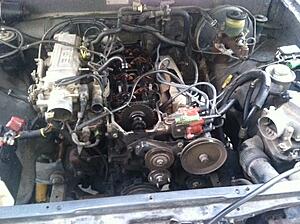
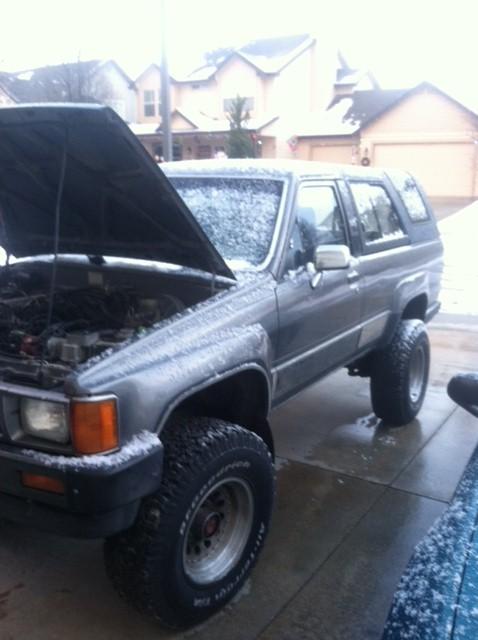
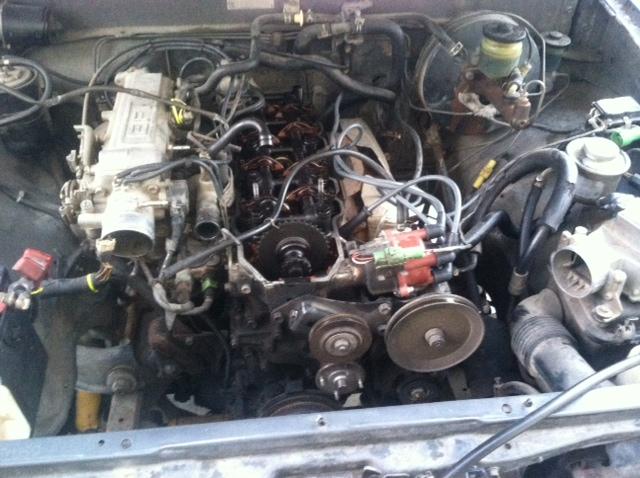
Well.. Looks like I picked up a new project! Found a 1987 4runner on CL not running for a good price. Came with tonnnnns of parts, boxes and boxes of misc stuff, wiper motors, relays, heater core, lots of interior pieces, etc.. PO had taken it to a mechanic after it stopped running and was told it was the timing chain so he bought a new one which I received in the deal as well. Has 294k on the clock and supposedly was rebuilt at some point. Has brand new Old Man EMU 2" lift in the rear, shocks all the way around and BJ spacers up front, not bad!
PLANS! If you saw my 91' Pickup buildup; I SAS'd her and plan on doing the same to the runner. Should be a little more fun this time around because I plan on fabbing all my mounting brackets, shock tubes, etc. Once I get her running I'll really start on the build. Depending on the motor condition, theres a mercedes OM617 I found I'm considering getting for the swap as well.. Bumper builds, slider builds, possibly cage build? Just got a new pipe bender so pretty eager to get to work


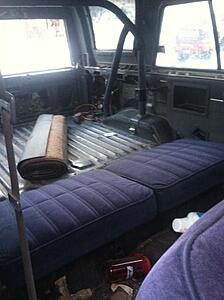
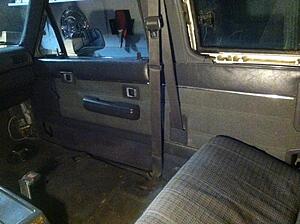
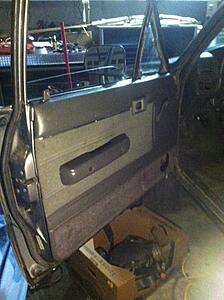
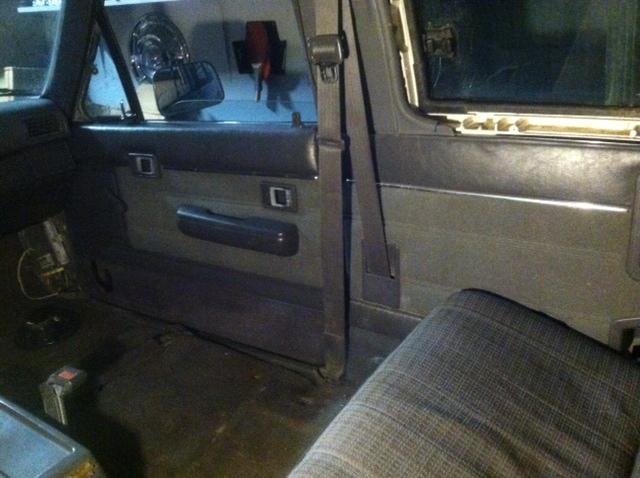
Don't mind the ugly blue seats. There's some nice grey ones at the picknpull I'll be grabbing soon! Also came with nice SR5 door panels.
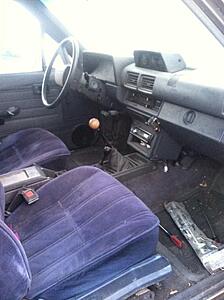
Have all the plastics as well just all torn apart..
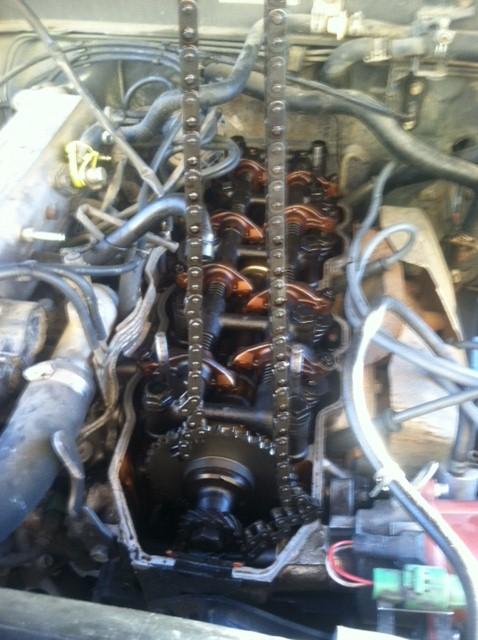
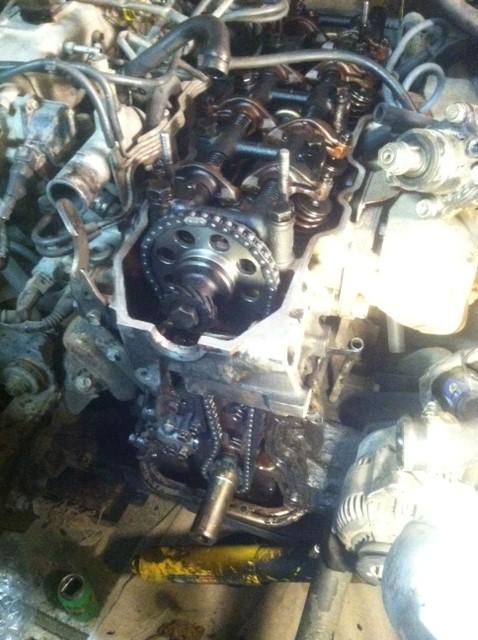
Pulled the VC and found my new necklace. Assuming it was rebuilt around 100k ago? If the chain was replaced and is snapped..

Got all the misc front end out of the way then turned to start cleaning out the garage so I can pull her in and work on it. It's been snowing the past few days and will be getting near 0 degrees out so I'd like to get it inside!
PLANS! If you saw my 91' Pickup buildup; I SAS'd her and plan on doing the same to the runner. Should be a little more fun this time around because I plan on fabbing all my mounting brackets, shock tubes, etc. Once I get her running I'll really start on the build. Depending on the motor condition, theres a mercedes OM617 I found I'm considering getting for the swap as well.. Bumper builds, slider builds, possibly cage build? Just got a new pipe bender so pretty eager to get to work


Don't mind the ugly blue seats. There's some nice grey ones at the picknpull I'll be grabbing soon! Also came with nice SR5 door panels.

Have all the plastics as well just all torn apart..

Pulled the VC and found my new necklace. Assuming it was rebuilt around 100k ago? If the chain was replaced and is snapped..
Got all the misc front end out of the way then turned to start cleaning out the garage so I can pull her in and work on it. It's been snowing the past few days and will be getting near 0 degrees out so I'd like to get it inside!


 Jan 3, 2015 | 07:13 PM
#3
Thanks!! Stoked about picking it up. 1st gens have always been one of my dream rigs 
Finished up the chain today and got her running today! Bolted it all up and fired up within the first crank. Been sitting for the past 6 months and was surprised it fired up without hesitation.. Quick spin around the block and seems to have good power and shifts well.
Breaking the crankshaft bolt free with ease!

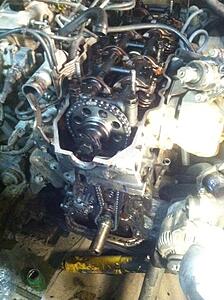
New chain, grooves in the timing cover but not too deep, lower sprocket had 2 teeth chewed off and driver side guide was snapped in 3 pieces which were stuck in the lower sprocket..
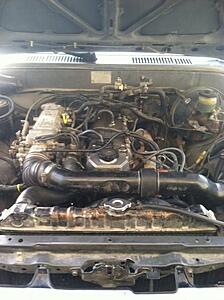
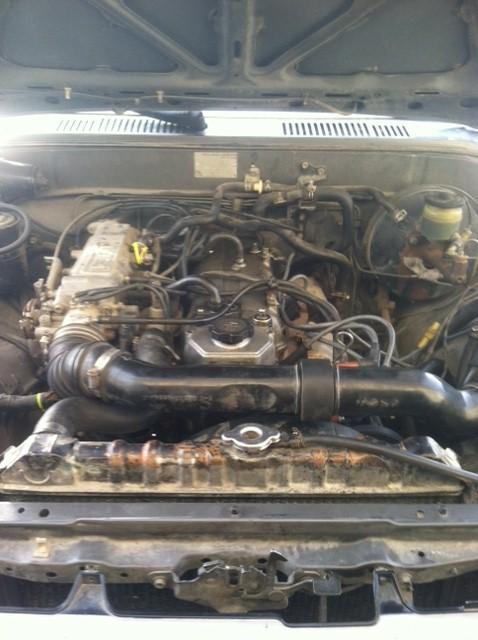
All buttoned up! No leaks as of now!
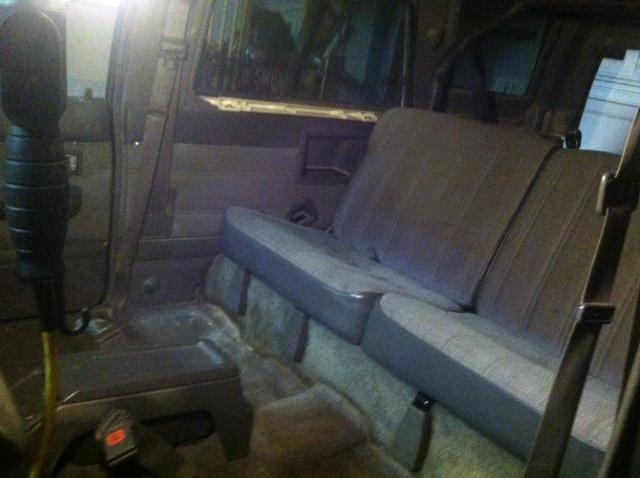
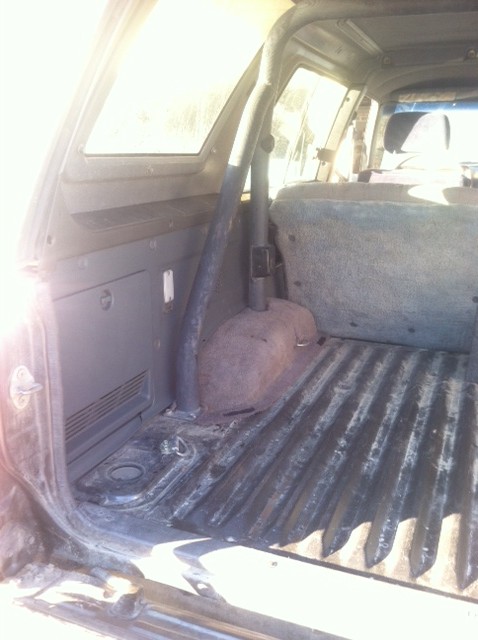
Started cleaning up the interior, Got some nice grey rear split seats from the pick n pull.. still on the look for some nice grey buckets for the front.

SR5 door panels on as well!
Finished up the chain today and got her running today! Bolted it all up and fired up within the first crank. Been sitting for the past 6 months and was surprised it fired up without hesitation.. Quick spin around the block and seems to have good power and shifts well.
Breaking the crankshaft bolt free with ease!
New chain, grooves in the timing cover but not too deep, lower sprocket had 2 teeth chewed off and driver side guide was snapped in 3 pieces which were stuck in the lower sprocket..
All buttoned up! No leaks as of now!
Started cleaning up the interior, Got some nice grey rear split seats from the pick n pull.. still on the look for some nice grey buckets for the front.
SR5 door panels on as well!
 Jan 3, 2015 | 09:10 PM
#4
Nice score on the runner, that's awesome that you got it running! Thats sweet that it came with all the extra parts. Look forward to your build, I love sas builds, lol!
Last edited by rustED; Jan 3, 2015 at 09:12 PM.
Jan 31, 2015 | 05:49 PM
#5
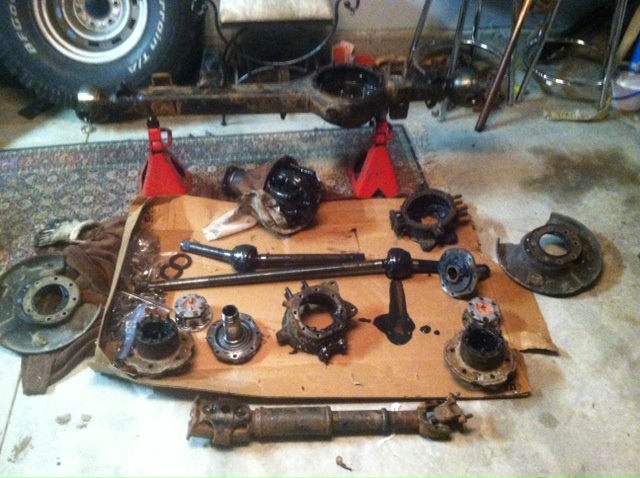
Got started on a few mods here and there while I'm waiting to rebuild an 84' front axle I picked up the other week.
Complete 84' been sitting in this guy's backyard in the boonies for 12 years..
 I love bringing them back from the dead Besides that who knows how long old grease and oil in it, looked great! I like white knuckles, don't judge me.
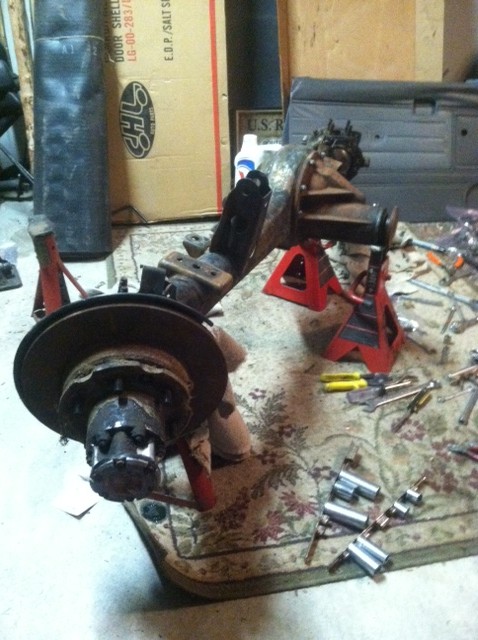


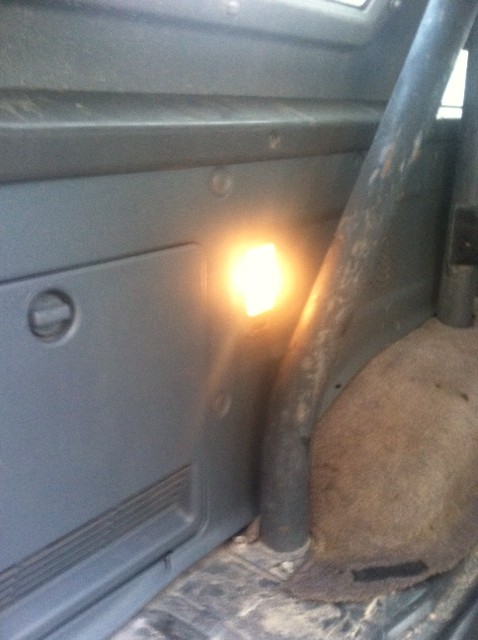
Anddd a few things more for my convenience that were bugging me that needed fixin'. Not sure who came up with the idea of having 1 usable light in the entire rig but I grabbed a 3rd gen sr5 rear mirror/dome light that I had to wire in since it wasn't pre-wired for anything. Just need to swap in some LED's!

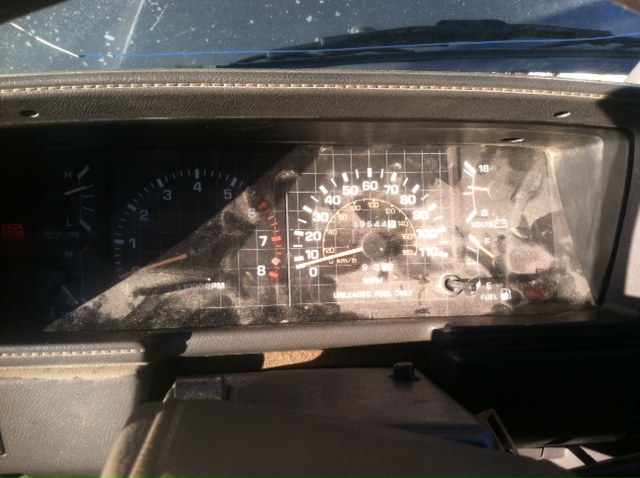
SR5 Cluster swap which I was putting off because I thought it was going to be the same as my 3rd gen pickup which has to remove the entire dash apart to swap. My buddy then told me it was only 5 screws to swap hahaha so I was pretty stoked. Need some LED's in this too, not too fond of the crappy green lighting.
Of course the rear window would not roll up or down so I got everything apart and cleaned up connections and greased everything up and found a thread somewhere about a jumper wire in the toggle switch which works its magic and makes everything in the rear work again!
 Window rolls up/down with switch and key, rear wiper and squirter work great, rear defrost too!
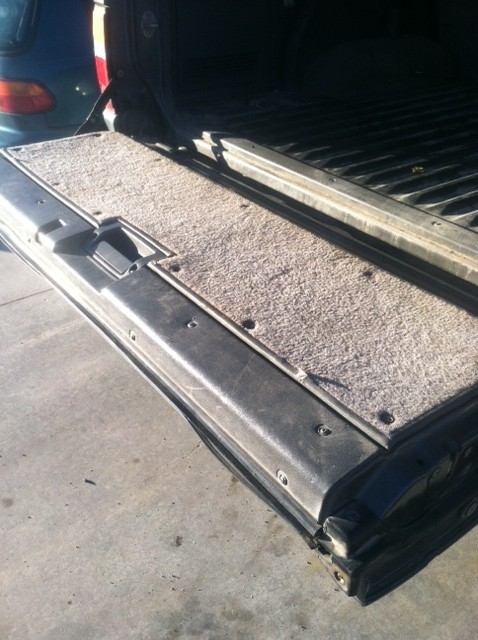

Rear panels back on, still need to look for some carpet in the back. Found one at the pick n pull but was completely frozen to the cab and ripped pulling it up haha.. Why would anyone make this light only work with the headlights on? Hahaha
This ended up being alot of work but was 100% worth it, will get em mounted back up tomorrow and see how they look! I forgot to take a before pic but really I think anyone who has a 1st gen can look at their own and see how bad they look.. haha
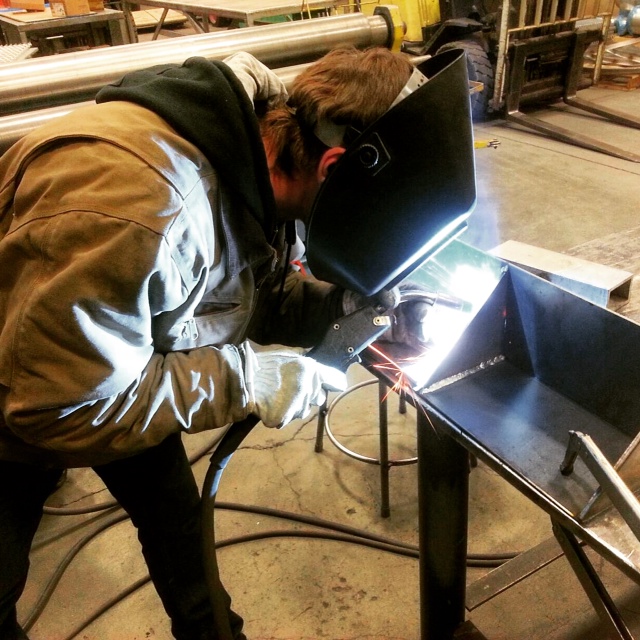
Finally picked up a pipe bender too! Will pick some up soon to start with the bumper builds. Already got the winch mount plate all welded up too.

Last edited by A2theK; Jan 31, 2015 at 05:52 PM.
Trending Topics
 Feb 2, 2015 | 06:26 PM
#10
Thanks! It's nice already going through everything once with my other rig so I know where I can save costs and time from previous mistakes! Haha
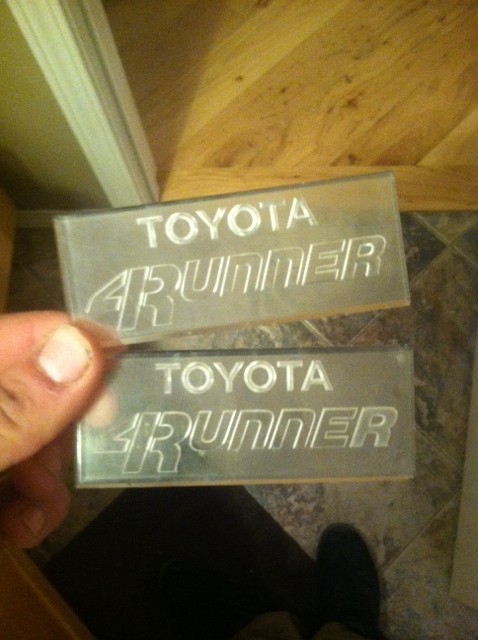
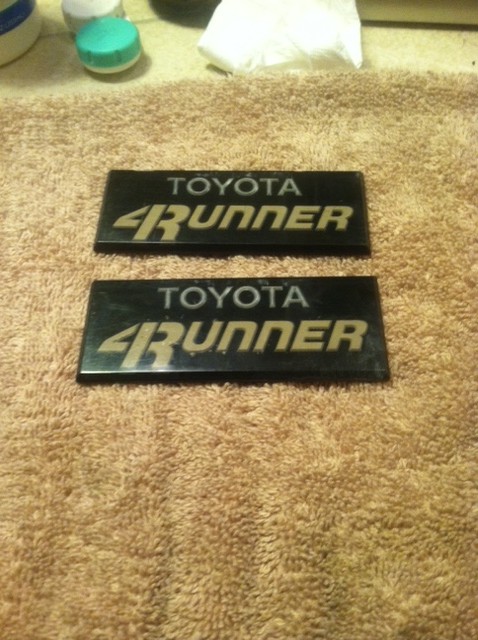
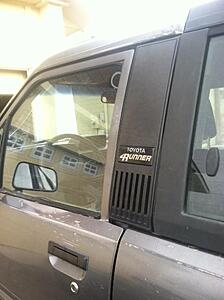
I'll be getting some tubing in the next few days to start it. I built the one on my pickup too but welding everything together instead of bending so it should be interesting getting used to it.. Removed the emblems with my knife trying to be careful not to crack the plastic too much, ended up with a few stress cracks anyways.. Removed all the paint with a can of vandalism remover I got from work; had to use a razor blade to get rid of the stubborn paint that didn't want to come off but being careful not to scratch the plastic then just painted the letters with some random paint and paintbrush I had lying around then shot the background with black spray paint and glued em' back on! A bit tedious but 1000x better looking than before..
 Feb 4, 2015 | 06:07 PM
#12
Grabbed some decent buckets out of a 2nd gen 4runner too and got em in!
 Feb 5, 2015 | 09:20 AM
#13
Registered User
Joined: May 2009
Posts: 578
Likes: 11
From: Southern NH
Nice find on the seats, not many left in decent shape around here. Were you able to use the mounting brackets and all from the second gen seats or did those have to be moved to bolt up to the 1st gen holes? Welding required?
 Feb 6, 2015 | 10:49 PM
#15
Ended up swapping the rear seats again for a matching 2nd gen 4runner sr5 seats.. Still need to move the mounting brackets for the bottom seats and move the top seat hanger bracket down a few inches but fit other than that! Also decided to see if a 2nd gen rear carpet would fit as well and it really doesn't fit too bad! Not perfect but good enough for me!
As for the front axle, still waiting to find some factory 4.88's.. The one I had an eye on ended up being blown out with like 6 teeth missing..

 Feb 7, 2015 | 09:11 AM
#16
Nice work on the seats, they turned out looking really good! For my 2nd gen rear seats I welded my bottom seat cushion hinges to some flat stock to shift them over so they would line up with the holes. It worked out really good. I won't clutter up your build thread with my pics, but here's a link in case you want to see how it turned out, post# 395
https://www.yotatech.com/forums/f199...3/index20.html
https://www.yotatech.com/forums/f199...3/index20.html
Last edited by rustED; Feb 7, 2015 at 09:19 AM.
Feb 7, 2015 | 04:46 PM
#17
Registered User
Joined: May 2009
Posts: 578
Likes: 11
From: Southern NH
All the holes fit on the driver seat, with the passenger seat the from 2 lined up with the stock holes and one of the rear holes mounted up with a threaded hole thats drilled out factory a few inches behind the stock mounts which you just have to make a small cut out in the carpet.. You wouldn't even know the hole was there unless you look underneath the rig, and just have to drill out one extra hole for the last mount. You lose the push/slide feature but mine didn't work anyways with the previous seats..
Feb 7, 2015 | 05:11 PM
#18
Nice work on the seats, they turned out looking really good! For my 2nd gen rear seats I welded my bottom seat cushion hinges to some flat stock to shift them over so they would line up with the holes. It worked out really good. I won't clutter up your build thread with my pics, but here's a link in case you want to see how it turned out, post# 395
https://www.yotatech.com/forums/f199...3/index20.html
https://www.yotatech.com/forums/f199...3/index20.html
Not sure if you've ever noticed, but there is supposed to be a wire connecting both of the toothed rails under the seats. When you pull the adjusting lever in front, that unlocks one rail and as it unlocks it pulls a wire which unlocks the other side. I've had to fix several of my seats over the years when that wire comes loose, and once when it fell off and got lost. Just needs to be replaced with a piece of flexible steel wire from the hardware store if you're missing it, very possible it was knocked off when the seats were pulled. Or does the seat sit lower and rub the floor or something like that? Being tall, not being able to slide the seat back would be a dealbreaker for me.


 Feb 12, 2015 | 05:32 PM
#20
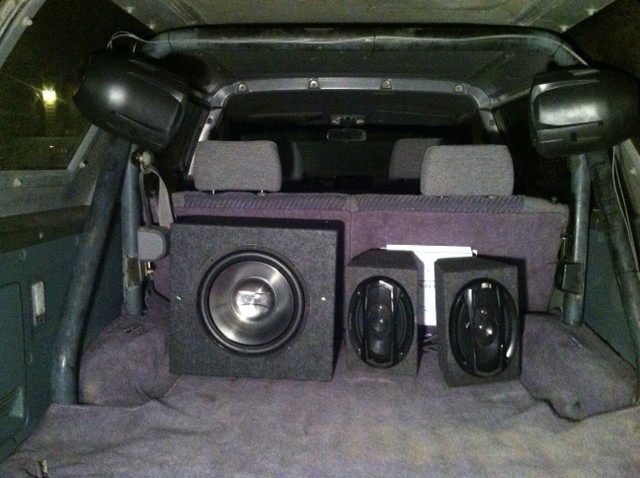
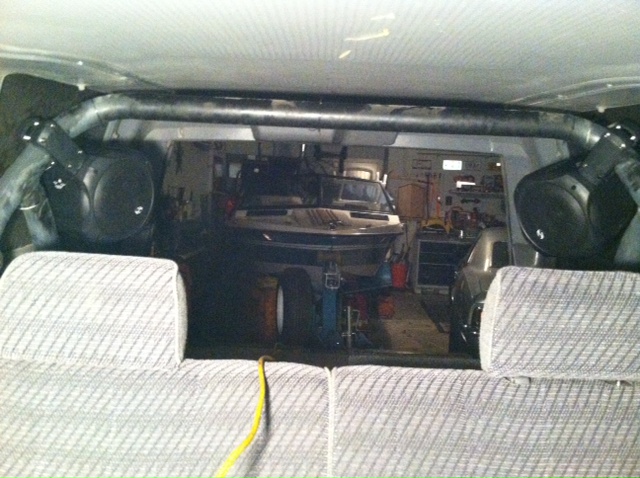
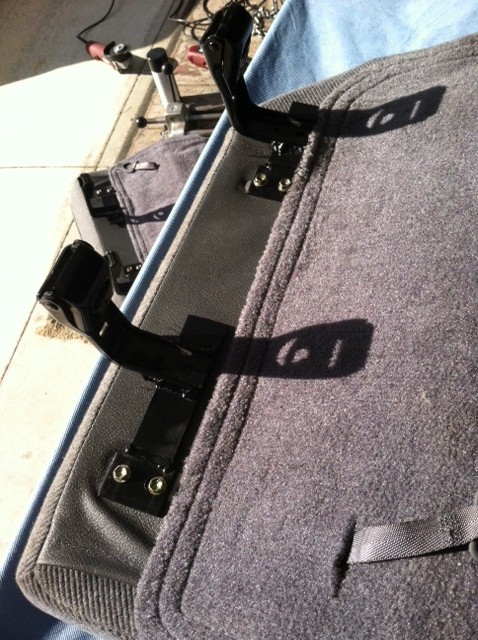
Couldn't handle the crappy sound system anymore so I picked up a few new goodies! 2 - 6.5's for the front doors, 2 - 6x9's in the rear, 12" sub, 1000 Watt amp, and 2 - 6.5 boat speakers for the roll bar Idk why my carpet looks so purply, it's really a dark grey I swear ahaha


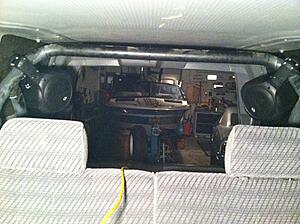
Idk why my carpet looks so purply, it's really a dark grey I swear ahaha