
94mackyota's 94 Pickup Build Up Thread


 Apr 21, 2014 | 09:38 AM
#24

Thread Starter
Registered User
Joined: Aug 2013
Posts: 43
Likes: 0
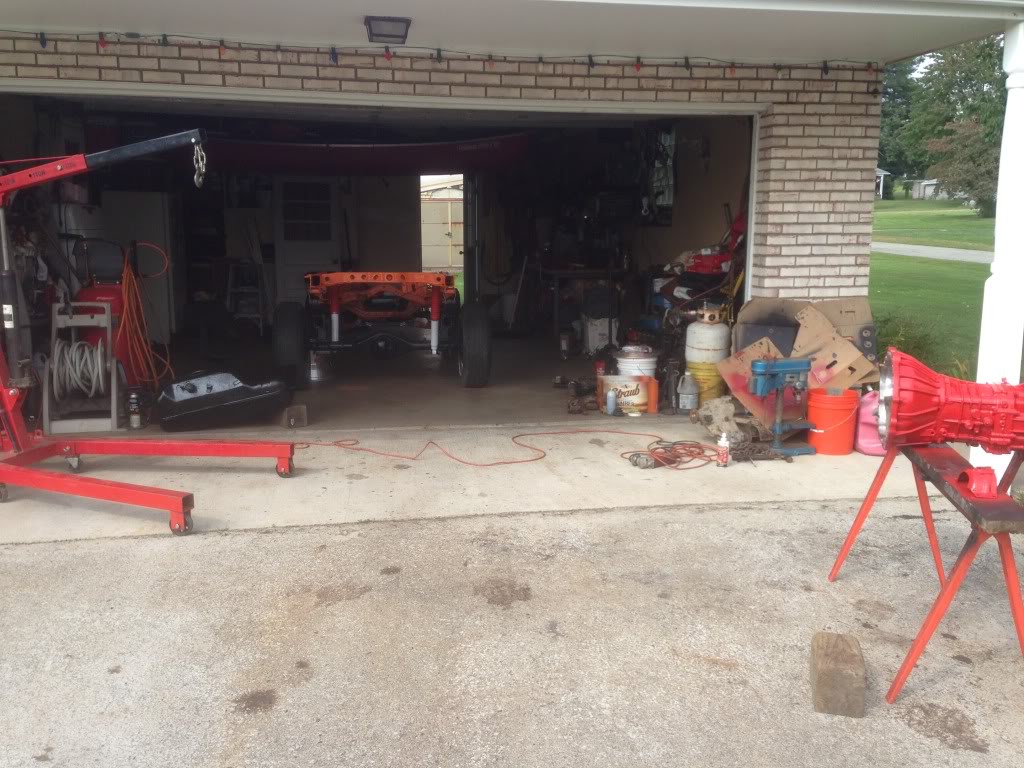
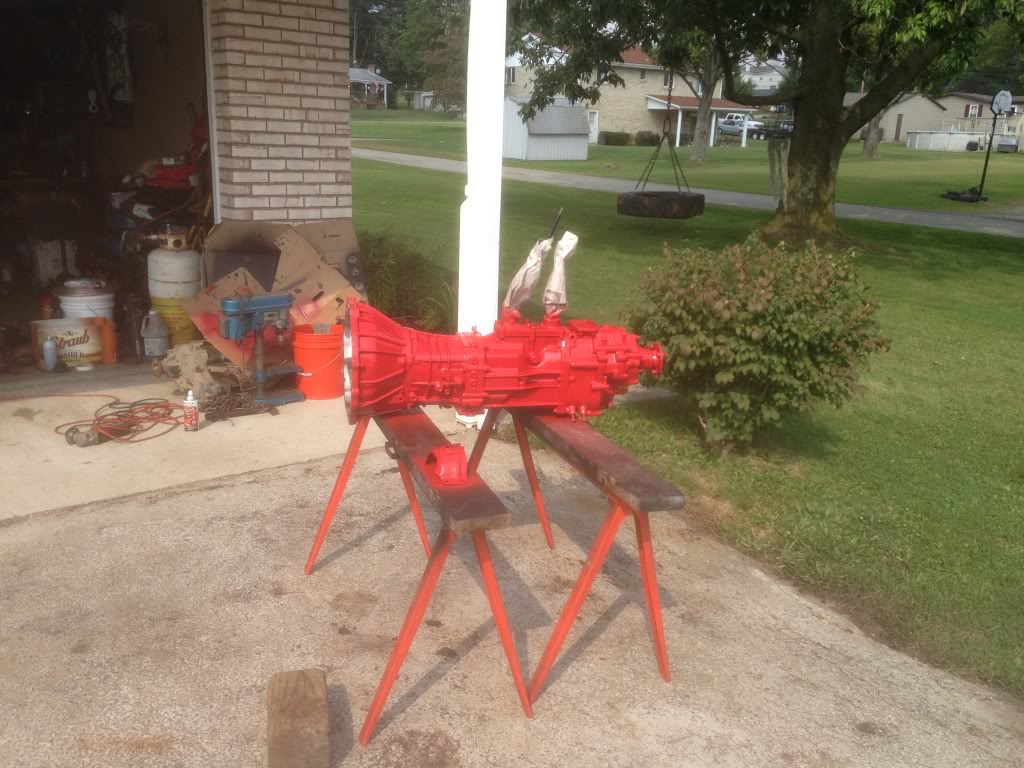
Next step was to get the fuel tank spruced up. Took the old sending unit off and drained the tank. Sucked all the dirt out of the bottom of the tank. There really wasn't much rust on the tank. I wire wheeled the tank and painted it with rust encapsulator, undercoating and a top coat of rustoleom gloss black. Went to Napa and bought a new strainer and gasket. Traded with a guy to get a new sending unit assembly because all of the lines coming out of the top of the tank were rusted through. Cleaned up the skid plate as well and mounted the tank in the chassis. Don't have any pics of working on the tank. Next step was to work on the transmission. Degreased the tranny and took off the bell housing. Wire wheeled it and cleaned all of the oxidation off of it. Changed the input and output seals. Drained the fluid in the transmission and transfer case and replaced it with Royal Purple 80w-90. Then sprayed it with some red ceramic engine paint.

 Apr 22, 2014 | 01:12 PM
#25
Thread Starter
Registered User
Joined: Aug 2013
Posts: 43
Likes: 0
I was browsing craigslist as I normally do once a week for Toyota parts. I stumbled upon a guy that said he had (4) Mickey Thompson Classic II Aluminum 15 x 12 wheels. The post said he wanted $400. So I contacted the guy and took a trip to see him. He had one of the wheels polished and the other three needed some love. They were much bigger in person than I expected. I took my buddy's 94 Pickup with me to size them up. They were very wide but I knew I wanted to run 33 x 12.50s. I was on the fence with them but the guy really wanted rid of them. I ended up buying them for $300 with some other Toyota parts he had. I realized I could always sell them if I didn't like them. They sat for a couple months while I did my frame work. Here are some pictures of me trying them on.
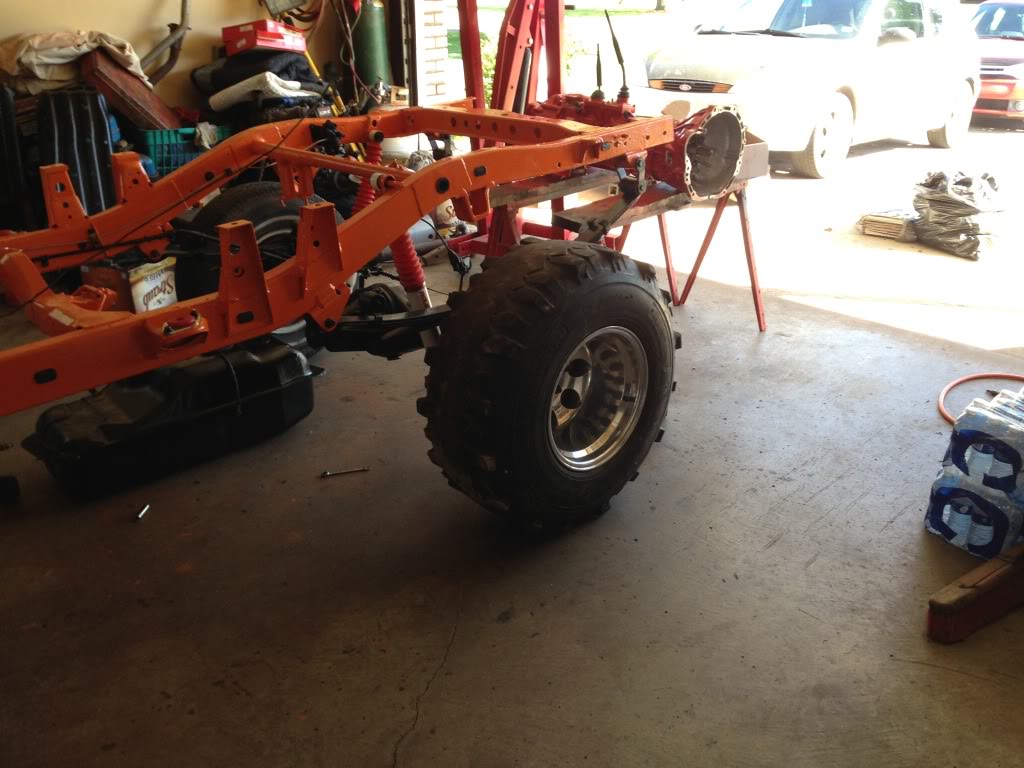
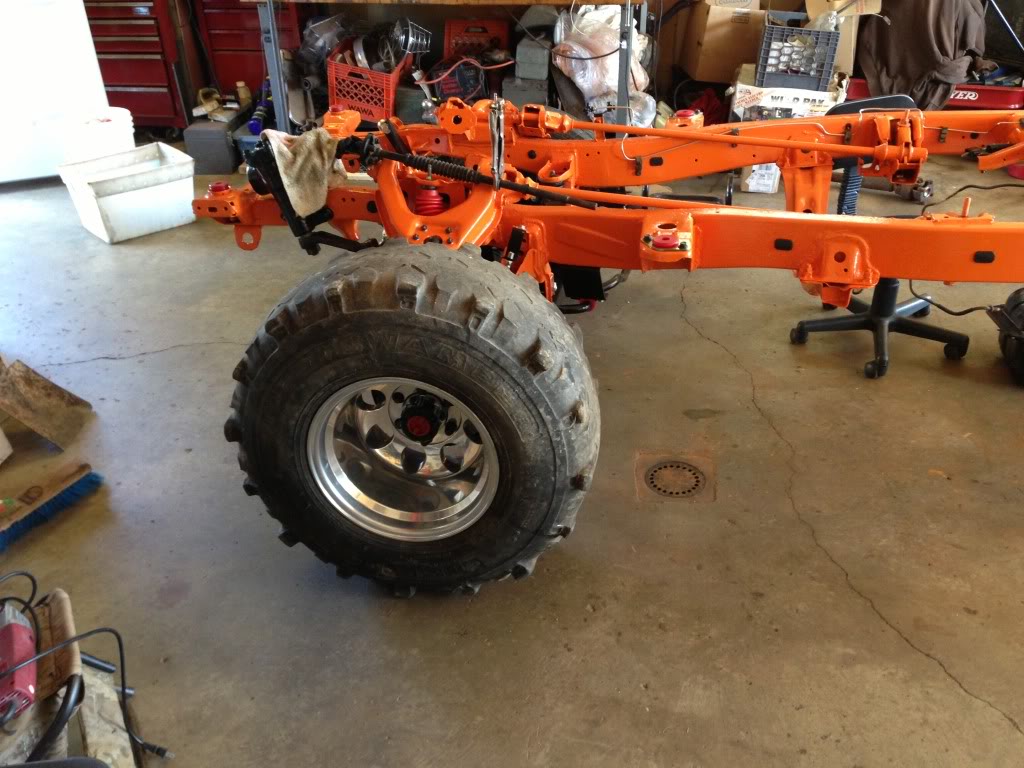
Pretty wide but I didn't hate them. You also vaguely see the start of my brake line restoration. I ran totally new brake lines and fuel lines everywhere. I used copper nickel line which isn't cheap but very easy to work with and won't rot.
I ordered some Red Letter 33 x 12.50 x 15 General Grabbers.
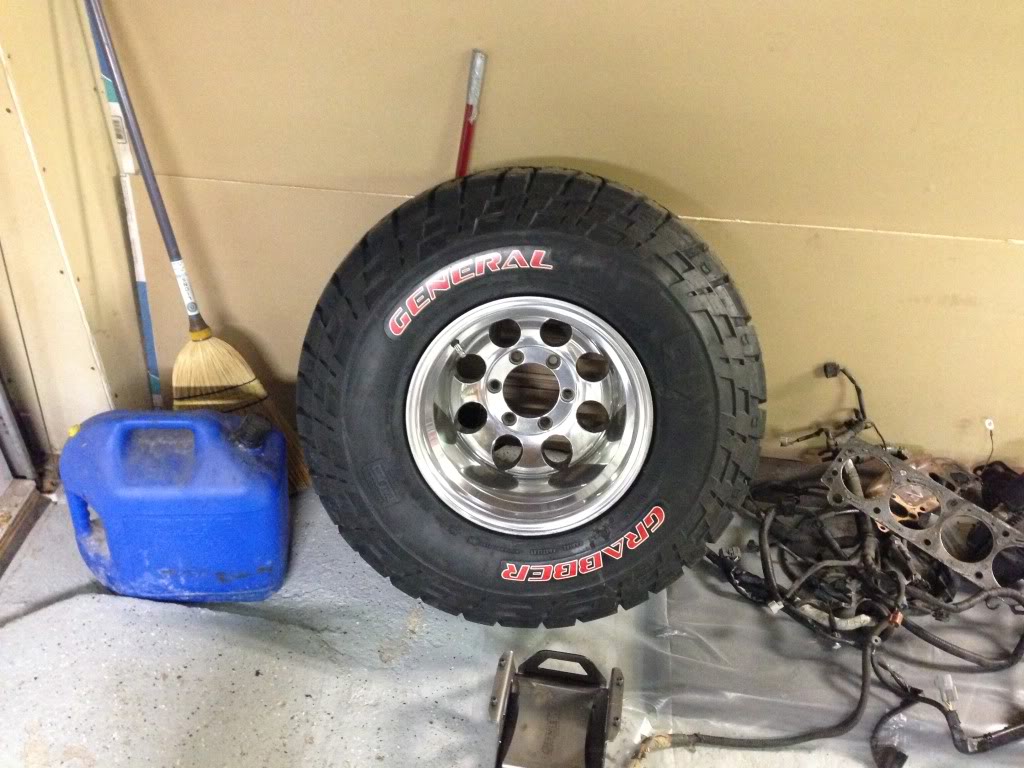
Going to look great with a black truck.
Apr 22, 2014 | 01:18 PM
#27
Thread Starter
Registered User
Joined: Aug 2013
Posts: 43
Likes: 0
A couple days later a 94 Toyota single cab 22re 4wd was posted on craigslist about 20 minutes from my house. The guy said he wanted $500. I couldn't go look that particular day but sent my Toyota buddy and gave him the authority to pull the trigger on buying it. About an hour later he called me and said he got it for $250. Not bad. So we got a truck and trailer and went to pick it up. What he failed to leave out was that the guy smacked a guiderail with the truck. The front diff was smashed, engine pushed back, frame junk, cab mostly junk, but still a lot of good parts for the price.

Everytime I take a part off of it I love it more and more.

Everytime I take a part off of it I love it more and more.
Apr 22, 2014 | 01:24 PM
#28
Registered User
iTrader: (1)
Joined: Nov 2012
Posts: 358
Likes: 0
From: Elko NV, at the foot of the Rubys
teaMJPx couldn't have said it any better. This is excellent work! Great job on everything, looking forward to seeing the final product.
$250 for a parts truck is a pretty good deal by any standard.
$250 for a parts truck is a pretty good deal by any standard.
Apr 22, 2014 | 03:42 PM
#29
Thread Starter
Registered User
Joined: Aug 2013
Posts: 43
Likes: 0
Thanks guys. It means a lot to hear someone appreciate your time and effort put into a project. I'm going to keep posting pieces of my story every day or so until I reach where the project is currently....which is waiting for a fiberglass bed from B & G Fiberglass.
Apr 24, 2014 | 07:05 AM
#30
Thread Starter
Registered User
Joined: Aug 2013
Posts: 43
Likes: 0
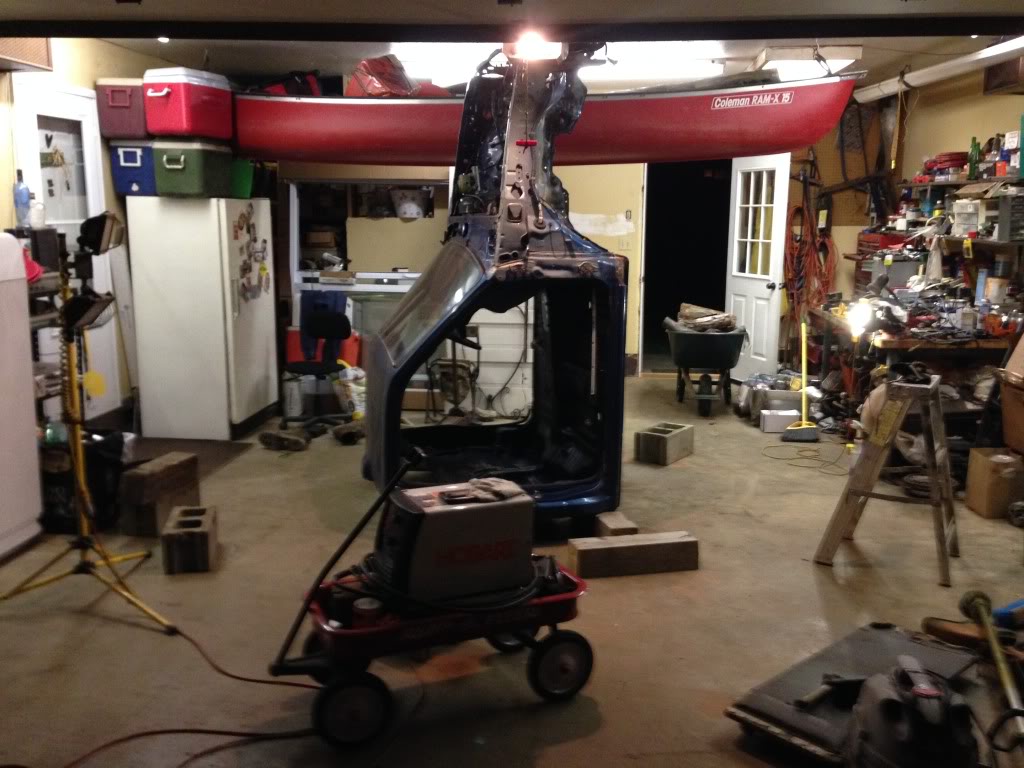
Got all of the brake lines and fuel lines bent. Every line on the entire truck is now copper nickel. I wish I would've bought the pre-bent caliper lines. It was a real pain trying to get those bends. I kinked a couple before I got it right. Hooked up the fuel lines and breathers to the gas tank. Mounted the gas tank shield back up. Also hooked up the back section of the emergency brake assembly and pivot arm. Cleaned and painted the drive shafts and greased the universals. Got a new transmission mount and set the tranny into the chassis. Bolted up the drive shafts. My rolling chassis was now ready for a cab. I forgot to take pictures of this step. Sorry. Next thing I did was bring the cab in the shop for it to be overhauled.
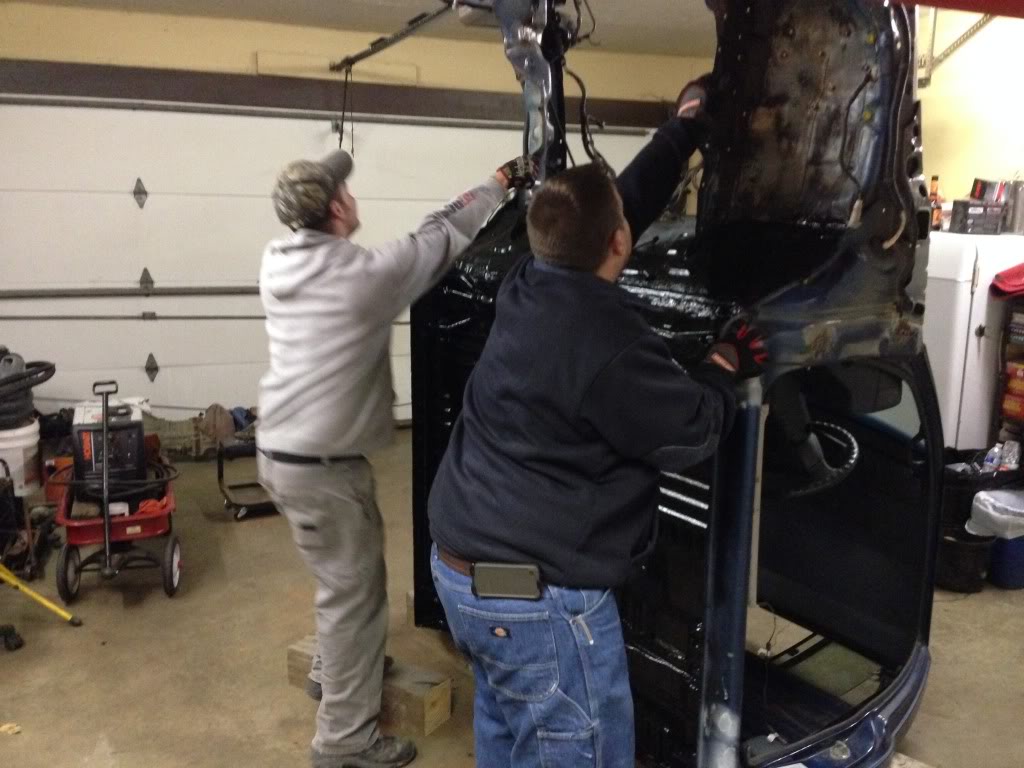
Started working on the cab. Stripped every part and nut and bolt from the engine bay and underneath. Removed all of the sound deadening material from the cab floor. Began wire wheeling the heck out of the thing. Started finding rust holes as usual. There was a bad spot in the drivers side floor pan. Got some plate and fixed it up. There were also some rust holes in the the top of the wheel wells at the fire wall. I did not want to weld metal in because I was afraid i would catch the backing on fire behind the dash. I did some research and bought some two-part metal bonding epoxy that people use to put on quarter panels. I used that to fix the holes. It was tough to wire wheel under the cab because rust and dirt kept getting in my eyes. So my buddy had an idea.....
That worked a lot better. Got the whole bottom cleaned up and welded what needed fixed. Painted the whole bottom with rust encapsulator. Bought some good seam sealer and re-sealed all of the seams. Then painted everything with undercoating. Finally a top coat of black rustoleum. Finished product was....
Started working on the cab. Stripped every part and nut and bolt from the engine bay and underneath. Removed all of the sound deadening material from the cab floor. Began wire wheeling the heck out of the thing. Started finding rust holes as usual. There was a bad spot in the drivers side floor pan. Got some plate and fixed it up. There were also some rust holes in the the top of the wheel wells at the fire wall. I did not want to weld metal in because I was afraid i would catch the backing on fire behind the dash. I did some research and bought some two-part metal bonding epoxy that people use to put on quarter panels. I used that to fix the holes. It was tough to wire wheel under the cab because rust and dirt kept getting in my eyes. So my buddy had an idea.....

That worked a lot better. Got the whole bottom cleaned up and welded what needed fixed. Painted the whole bottom with rust encapsulator. Bought some good seam sealer and re-sealed all of the seams. Then painted everything with undercoating. Finally a top coat of black rustoleum. Finished product was....
 Apr 24, 2014 | 07:35 AM
#31
Wow man you have made alot of progress!! It makes things so much easier when the cab is off and you can stand it up to repair the bottom of it.
Great score on the 250$ parts truck. Tons and tons of various parts you could use from it. Well worth the money.
I love the red letters. I had them on my runner for quite some time and they did great. I ended up selling them to Kornhuskerwizrd and replaced them with BFG All terrains. But I assure you that you will like them. Especially wheeling in the PA terrain!!
I still think its funny that you live in Perryopolis, PA. I was always going through that area. My parents had a cabin um in Mt. Davis, PA that we used to go to every weekend. And we would always stop at the Perryopolis flea market on Sundays when coming home.
I really like the Red you put on the tranny. I really wish that I would have taken the time, while mine was out, to clean more than the bellhousing and paint it with some enamel. I love the enamel paint for applications like this, the dirt does not like to stick to it which makes keeping it clean easier.
I dont remember, I will read back through your thread, but did you do any type of encapsulator on the inside of the frame?
Apr 24, 2014 | 08:50 AM
#32
Thread Starter
Registered User
Joined: Aug 2013
Posts: 43
Likes: 0
Thanks. It's pretty wild that we were in the same area. That flea market is hit and miss sometimes.
Most of the progress that I'm posting has happened over the last 6 months. I'm trying to catch up to where the progress is currently.
Yes, I did buy some internal frame coating off of Eastwood and put a can in each rail. I'm thinking about buying two more and doing it again while it is somewhat apart. I figure it can't hurt.
Apr 24, 2014 | 09:08 AM
#33
Thanks. It's pretty wild that we were in the same area. That flea market is hit and miss sometimes. Most of the progress that I'm posting has happened over the last 6 months. I'm trying to catch up to where the progress is currently. Yes, I did buy some internal frame coating off of Eastwood and put a can in each rail. I'm thinking about buying two more and doing it again while it is somewhat apart. I figure it can't hurt.
I would do the extra can of encapsulator while you can. I wish I could take my body off and do over the frame. I just don't have the time right now.
Apr 25, 2014 | 05:47 AM
#34
Thread Starter
Registered User
Joined: Aug 2013
Posts: 43
Likes: 0
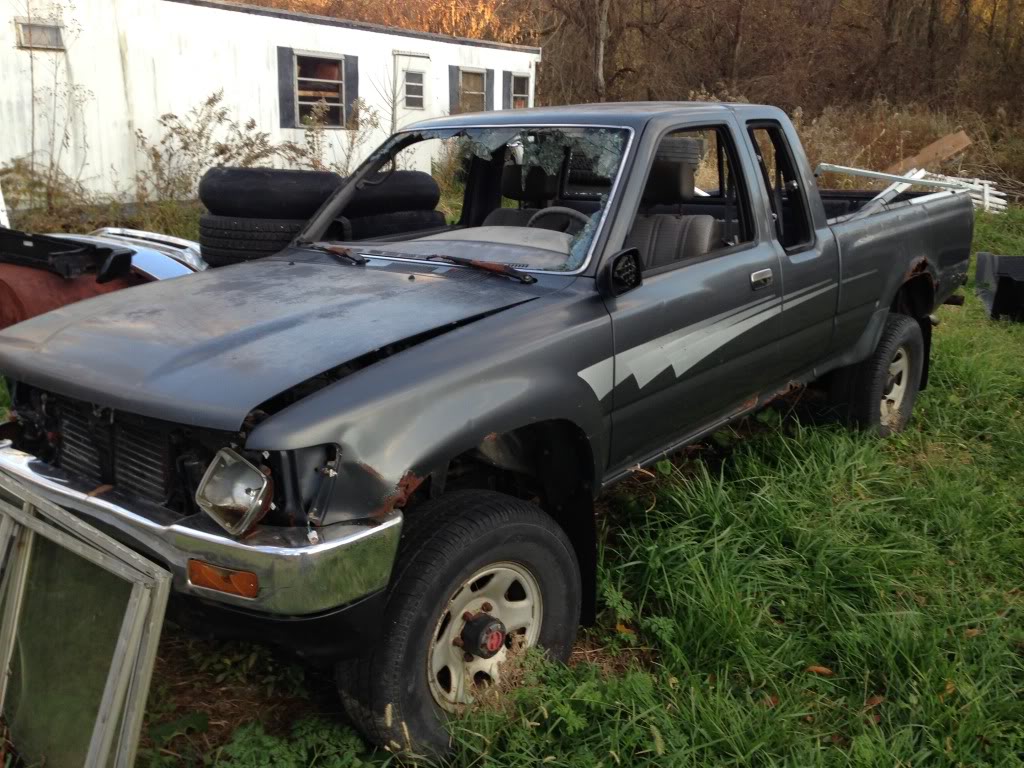
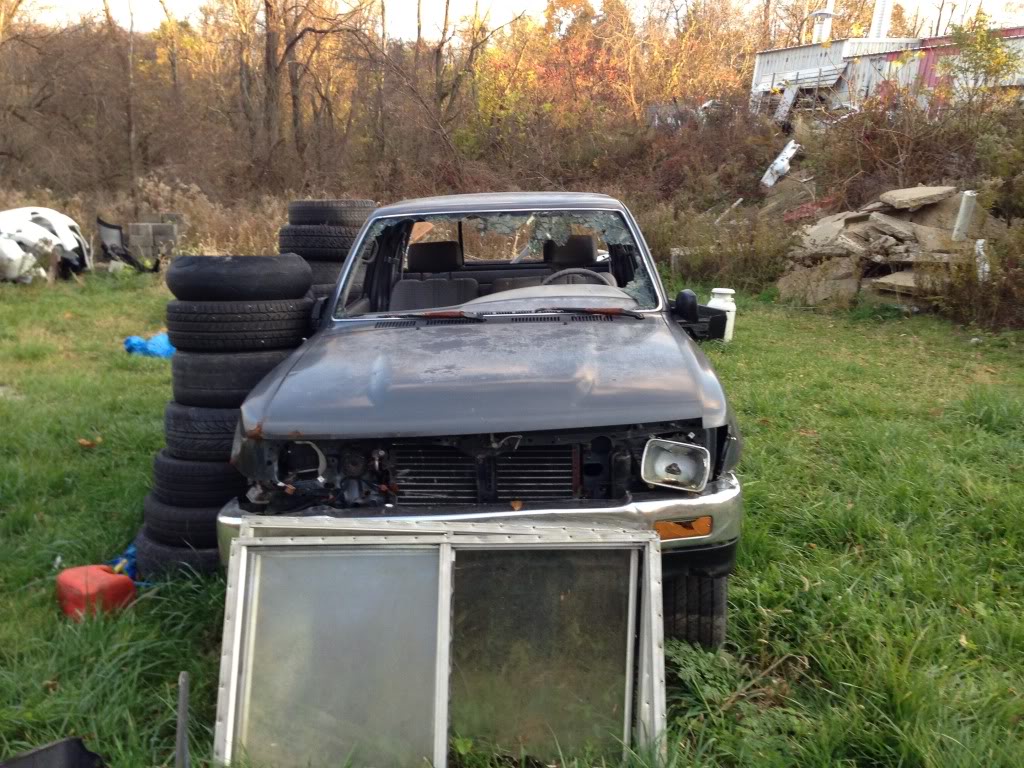
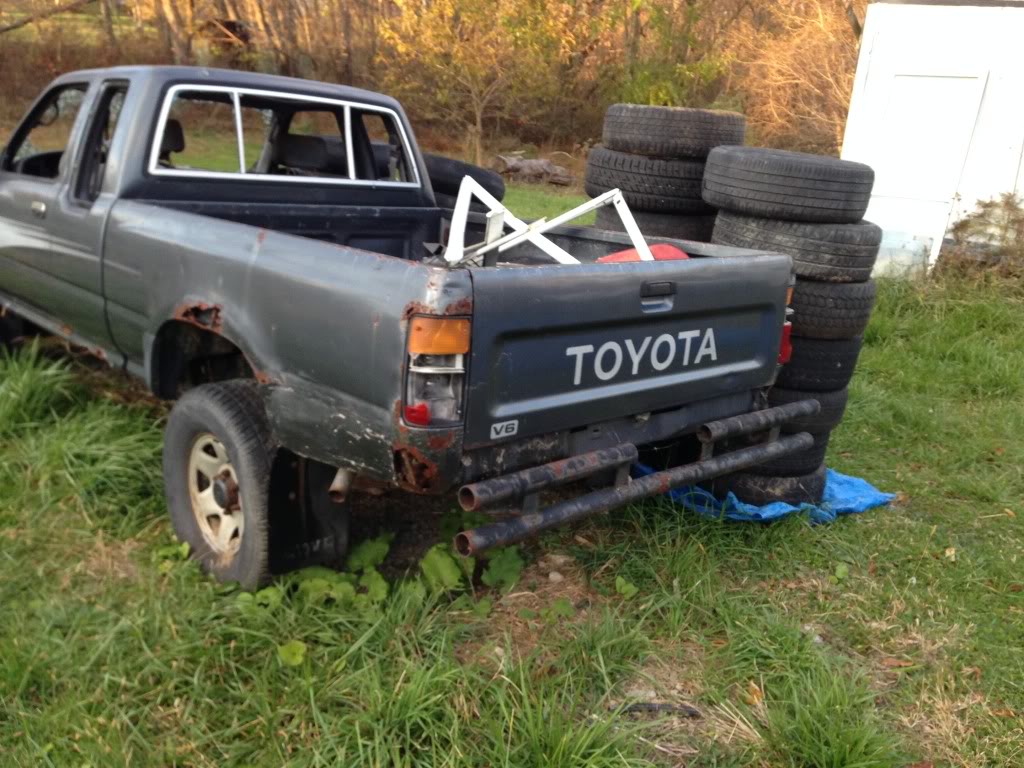
Was at work the other day and a Toyota found me. Guy I work with new I was building a truck and asked me if I was interested in another one. So I inquire about it and find out his dad has one in a field behind his body shop. Long story short, some guy wrecked the truck and didn't want to get it fixed and left it there to pay for the tow job but never signed the title over. While sitting at the shop some kids broke ALL and I mean ALL of the windows out of the truck. So I went and looked at it for curiosity reasons. Its a 92 4wd, 5 speed, 3 vze. Frame looked solid and so did the drivetrain. I heckled with the guy and got it for junk price, $225. Not bad at all. So off it went to a new home.


 May 5, 2014 | 10:02 AM
#40
Thread Starter
Registered User
Joined: Aug 2013
Posts: 43
Likes: 0
Sorry guys been really busy with work and working on the truck the past few weeks. I bought another parts truck last week for $225. Yes, another one. I'll have some pictures in a couple days. Also, on Friday I went and picked up my fiberglass bed from B & G Fiberglass. I'll have some pictures of that as well because I'm sure you guys are itching to see what it looks like.


