
85Toyman's 1994 4Runner Build up Thread

 Nov 5, 2016 | 09:32 PM
#424
Registered User
Joined: Oct 2015
Posts: 202
Likes: 0
From: Oregon
So here is where I am at with the rear bumper.
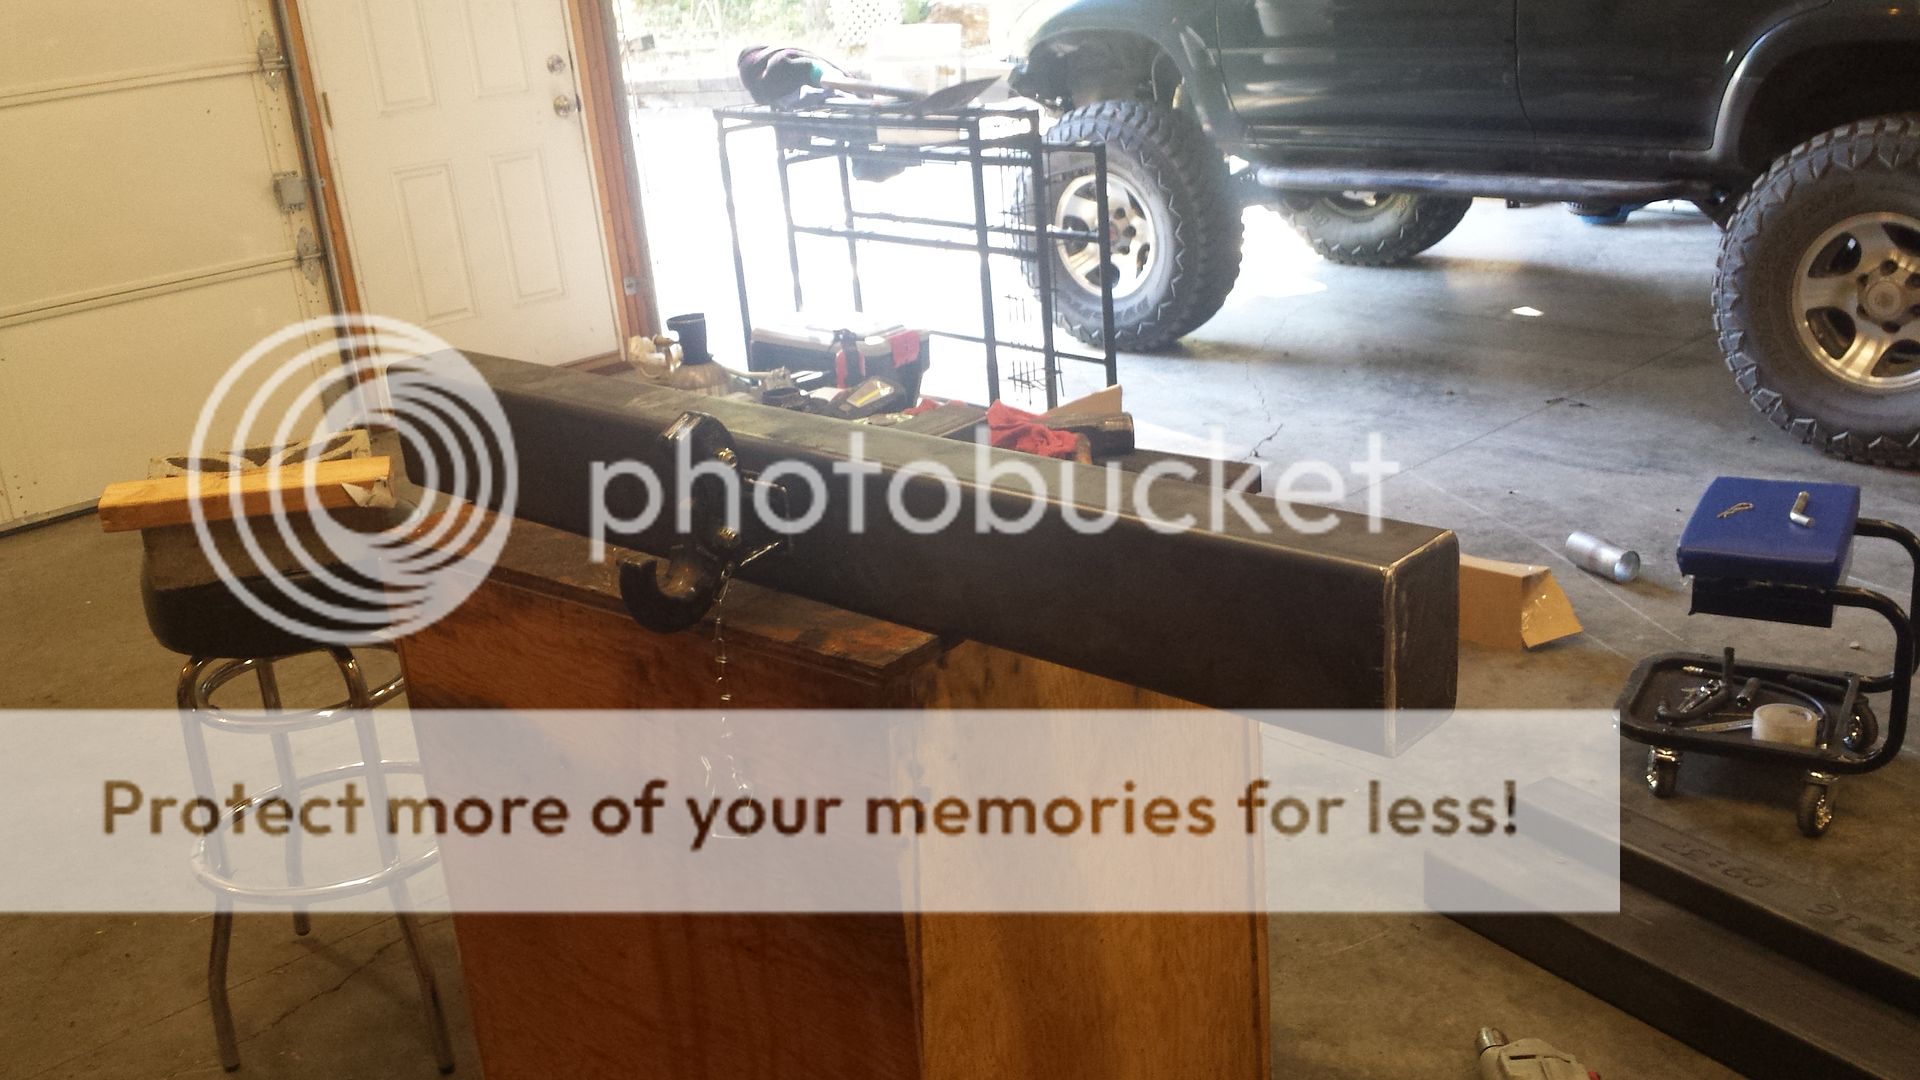
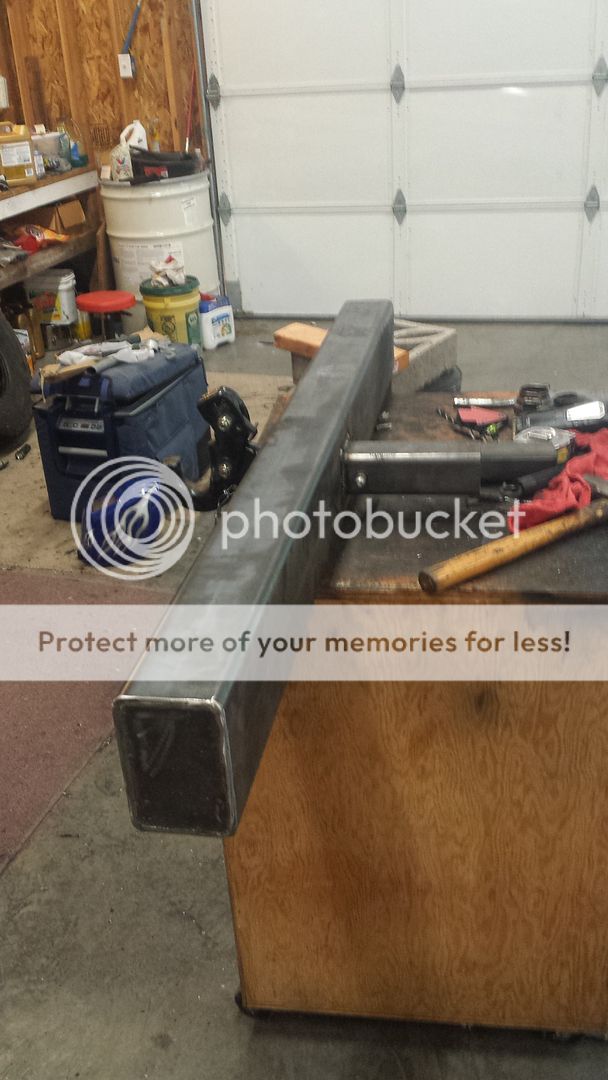
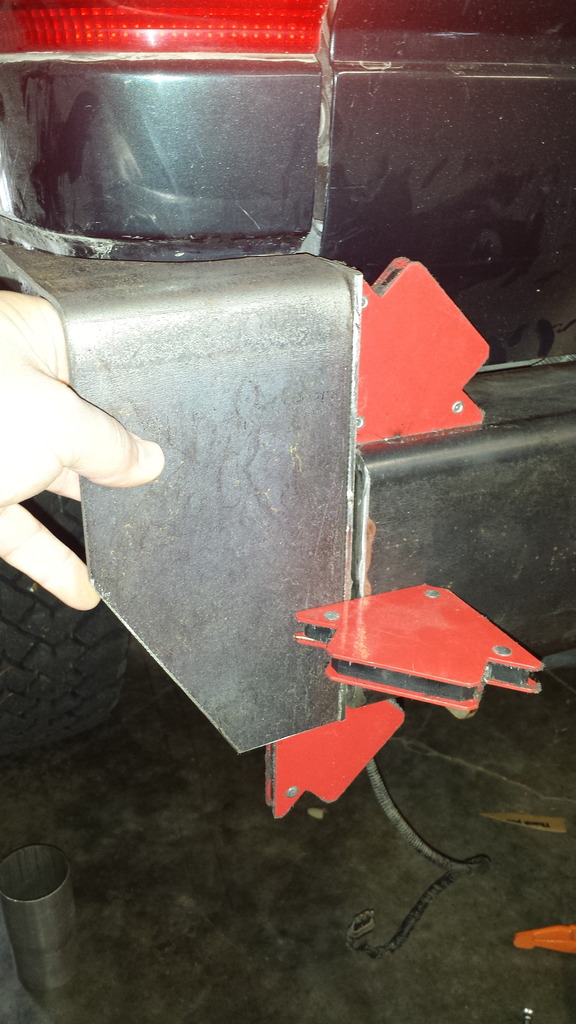
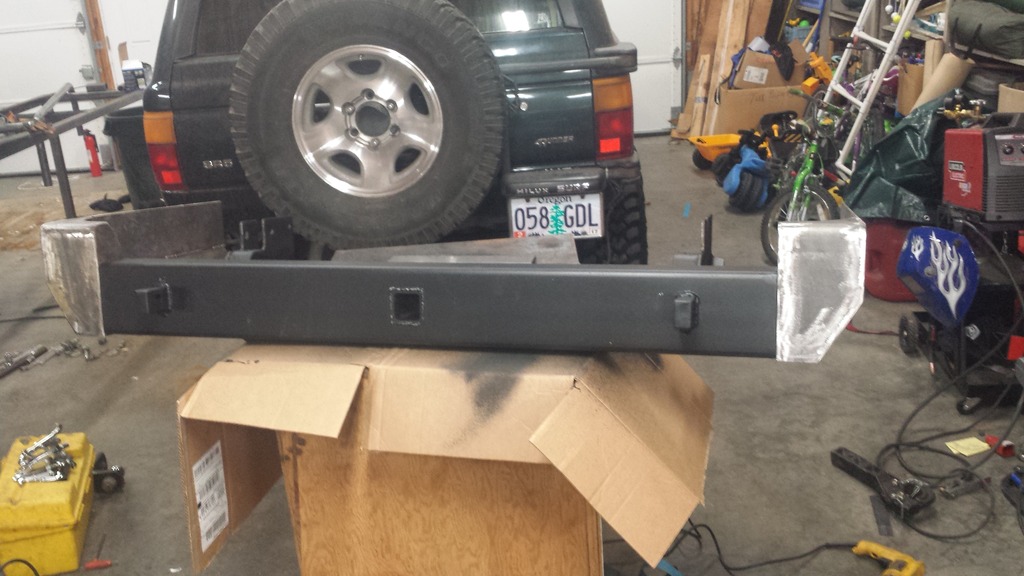
I started with 4"x6" 3/16" wall rectangle tubing. I have welded 3/16" plugs into each end. I will use this as the center section under the tailgate. I then cut out and welded in a piece of 2 1/2" 1/4" wall receiver tubing. This is the main body of the bumper. I will brace the back side of the receiver on each side and add a place to secure trailer safety hooks. This will create a very smooth front with no obstruction from a hitch. Still need to cut out for the recessed backup lights too.
The end plugs will be tapped. I will build the wings as a bolt on item. This will be so if any damage does happen to the wing I can replace them easily. The wing will also have a bar that will bolt to the frame towards the end of the wing so bending will be less likely.
I have thought about building these for sale, but other companies have done the same thing and discontinued them for one reason or another. If I had a big enough request I would look at building these for others. I still need to work on the tire swing out carrier.
I will get more done as soon as possible. I am working on an engine swap for a customer at the moment as well as building a rear bumper, rock slider for another customer, so my stuff does take a back seat from time to time. Again if I have anyone that wants one, then it will become a priority to get it buttoned up asap.
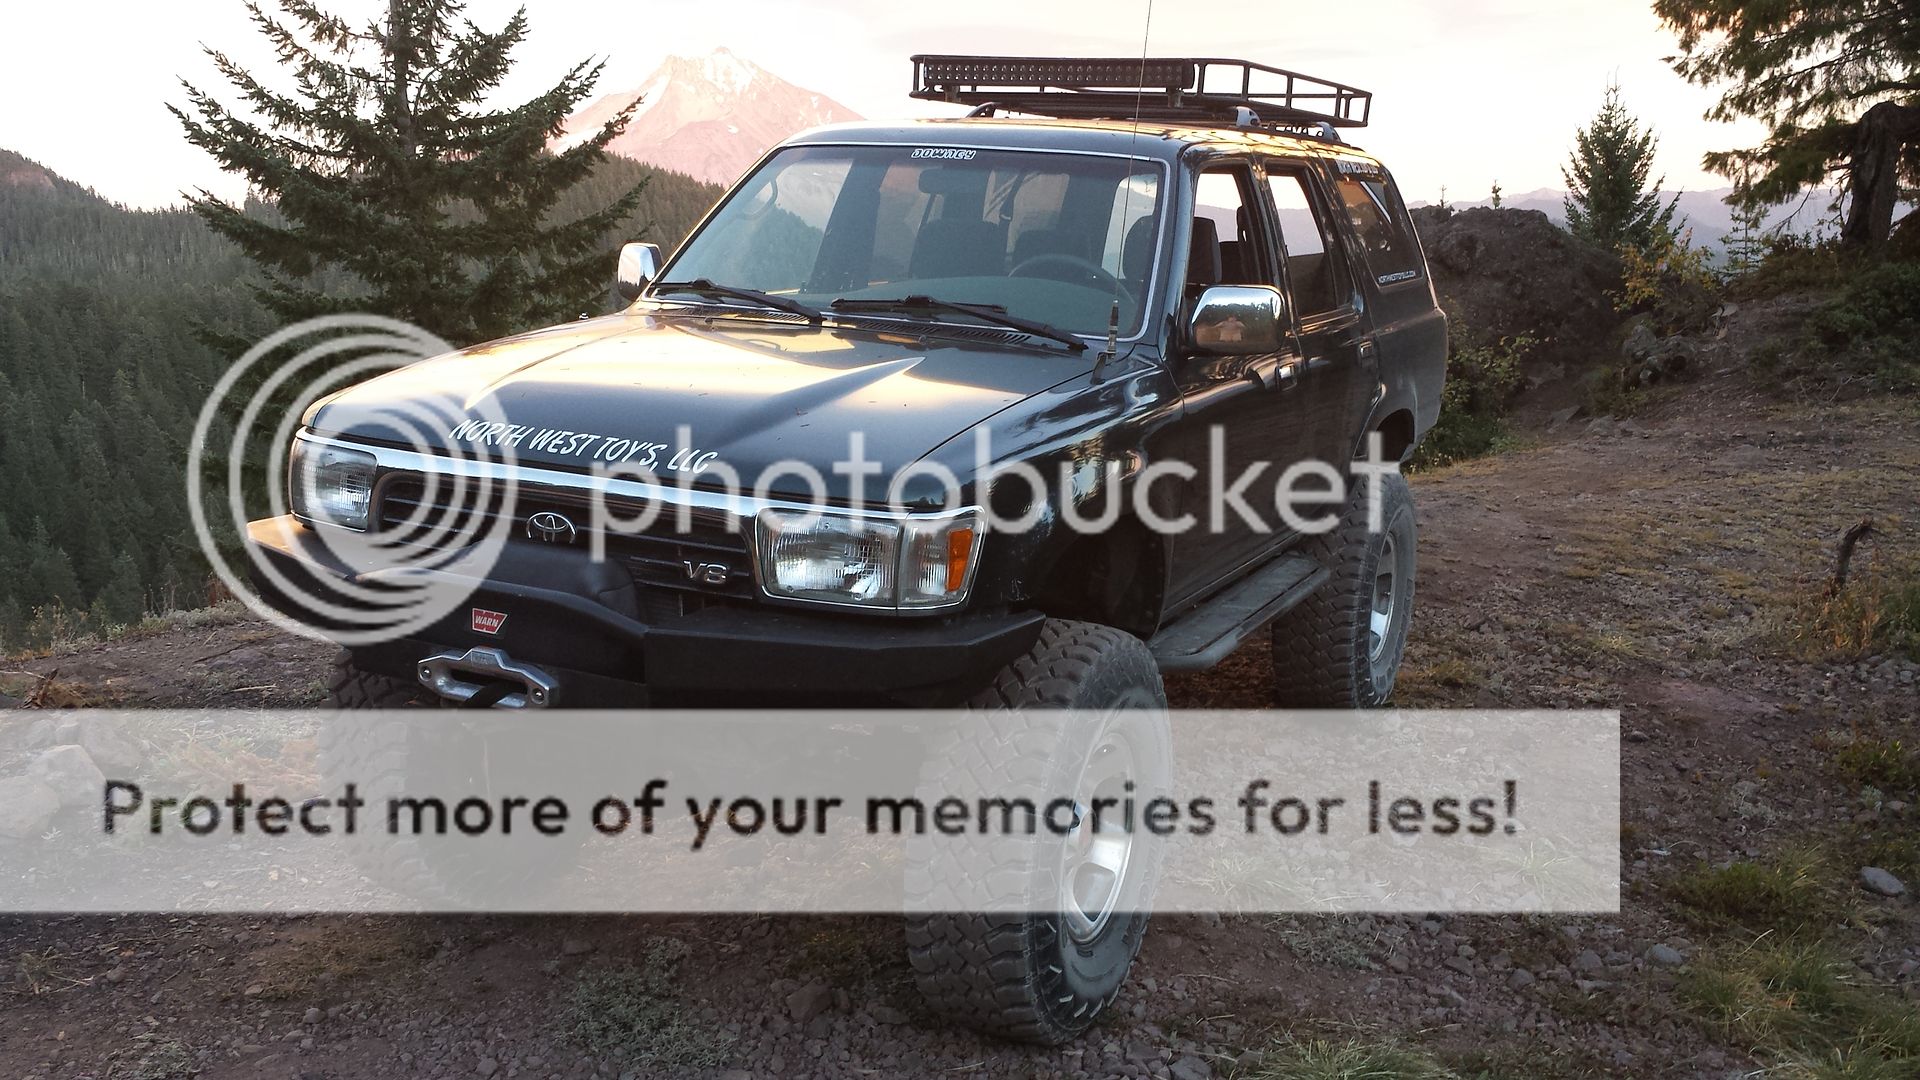
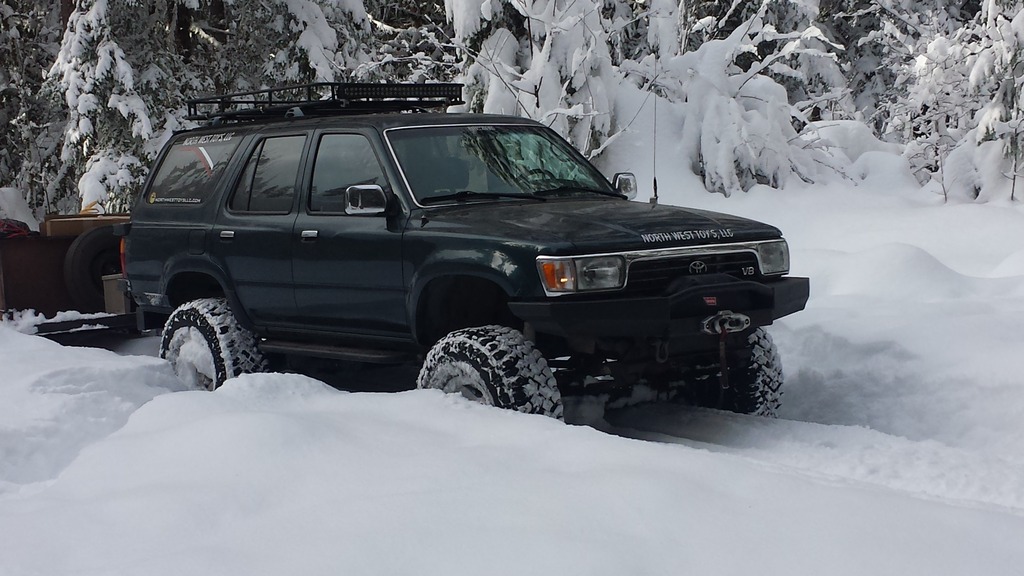
I went out for a night time photo op at Mt. Jefferson last night. It was beautiful sunset

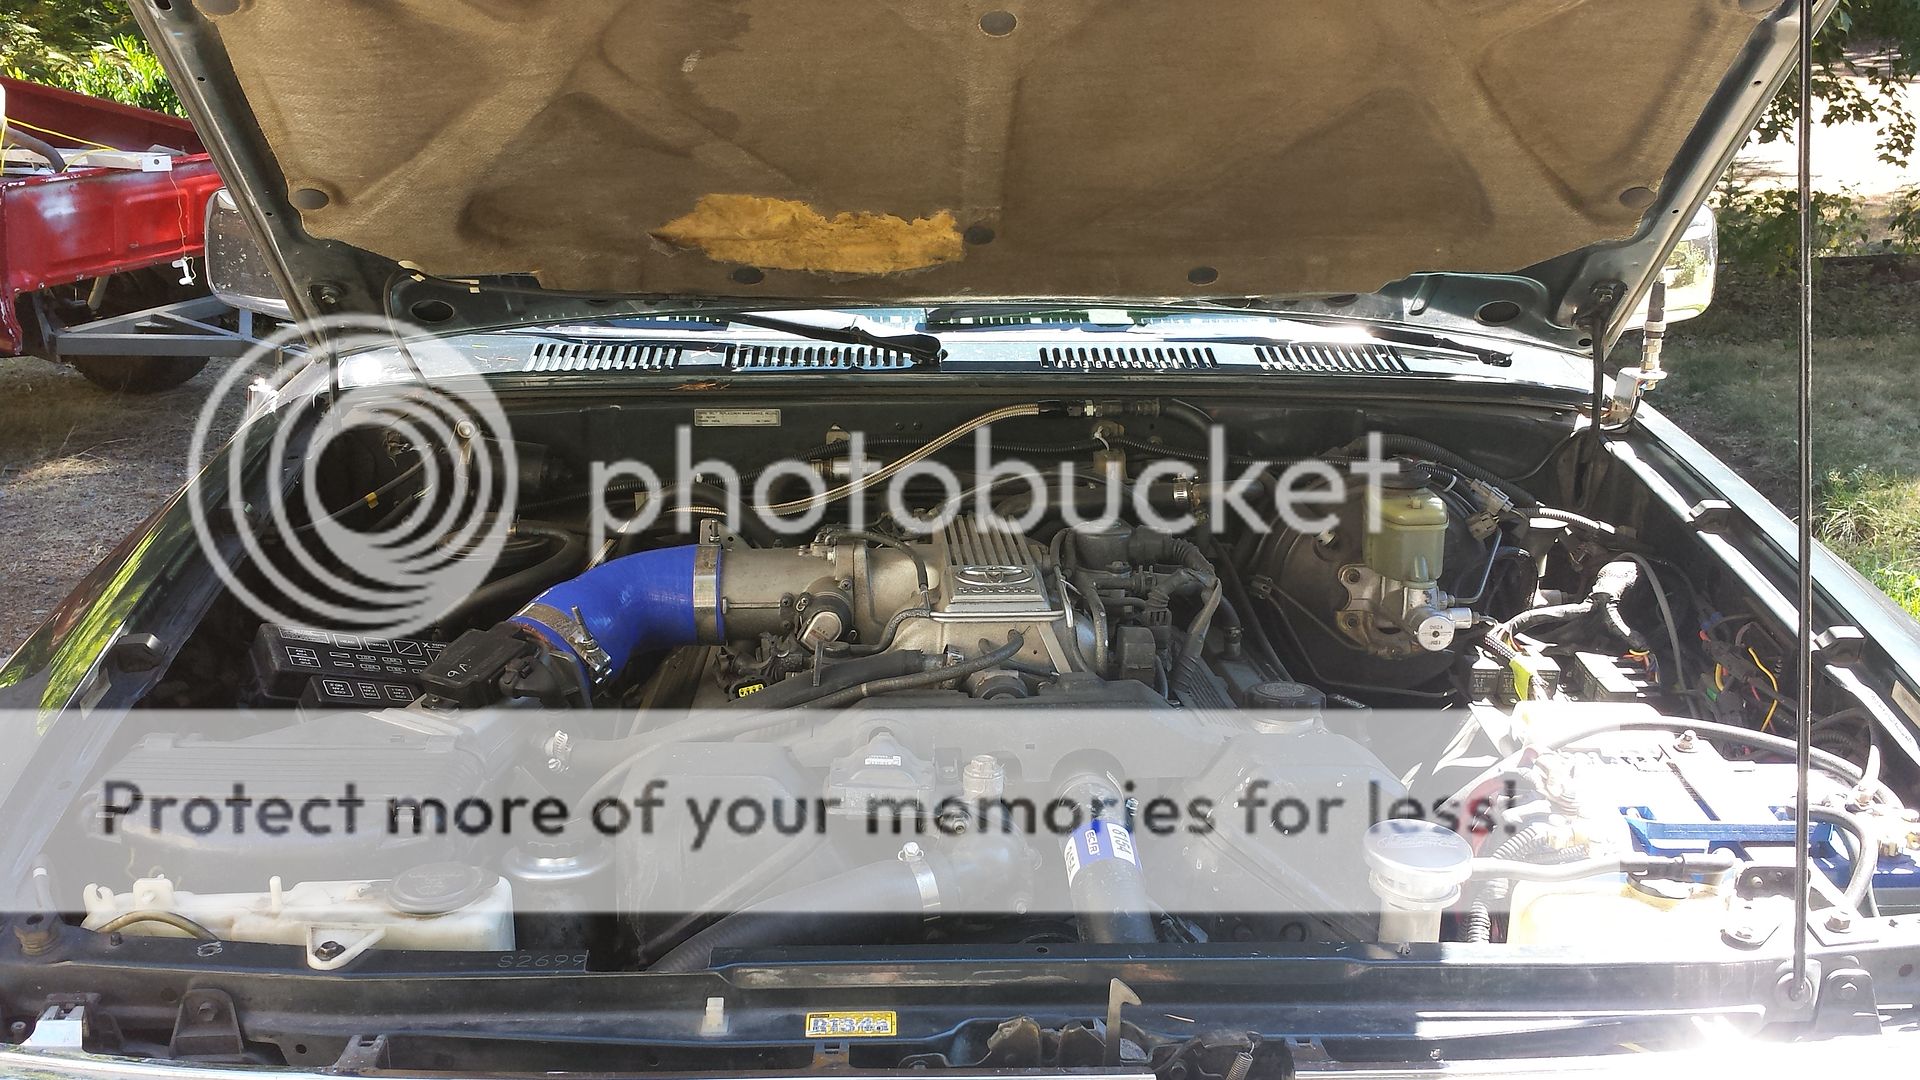
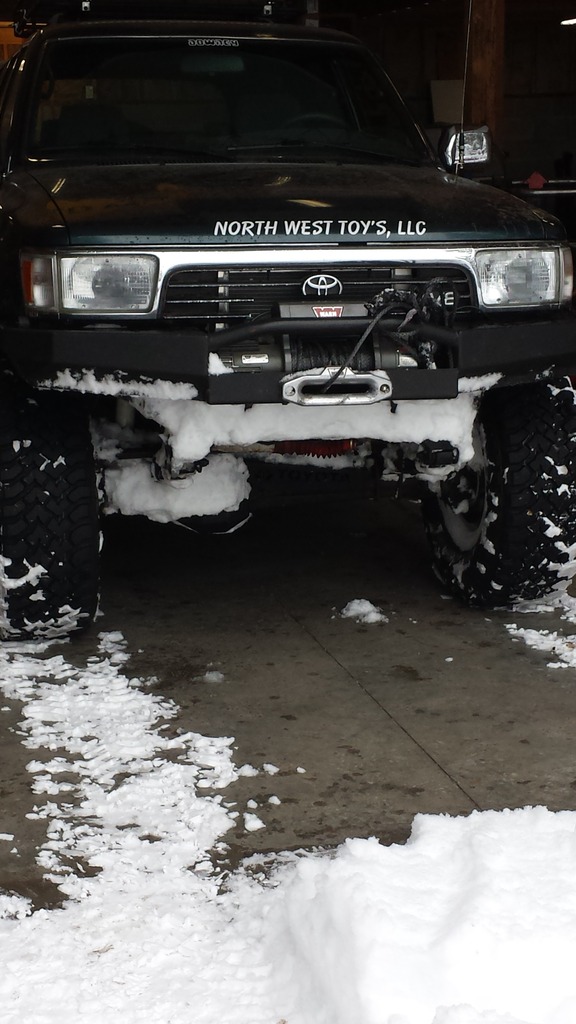
I have had some people as about the engine compartment. I haven't updated any photo's in a while so here ya go!!!
I started with 4"x6" 3/16" wall rectangle tubing. I have welded 3/16" plugs into each end. I will use this as the center section under the tailgate. I then cut out and welded in a piece of 2 1/2" 1/4" wall receiver tubing. This is the main body of the bumper. I will brace the back side of the receiver on each side and add a place to secure trailer safety hooks. This will create a very smooth front with no obstruction from a hitch. Still need to cut out for the recessed backup lights too.
The end plugs will be tapped. I will build the wings as a bolt on item. This will be so if any damage does happen to the wing I can replace them easily. The wing will also have a bar that will bolt to the frame towards the end of the wing so bending will be less likely.
I have thought about building these for sale, but other companies have done the same thing and discontinued them for one reason or another. If I had a big enough request I would look at building these for others. I still need to work on the tire swing out carrier.
I will get more done as soon as possible. I am working on an engine swap for a customer at the moment as well as building a rear bumper, rock slider for another customer, so my stuff does take a back seat from time to time. Again if I have anyone that wants one, then it will become a priority to get it buttoned up asap.


I went out for a night time photo op at Mt. Jefferson last night. It was beautiful sunset


I have had some people as about the engine compartment. I haven't updated any photo's in a while so here ya go!!!
 Nov 5, 2016 | 09:46 PM
#425
Thread Starter
Registered User
iTrader: (2)
Joined: Oct 2009
Posts: 1,044
Likes: 6
From: Centeral Willamette Valley Oregon
I was actually going to work on welding it together this weekend. Got 2 tack welds done and the spool was out of wire. Doh. I will pick up more wire this week. Should be rocking again next weekend.


Last edited by 85toyman; Nov 7, 2016 at 05:44 PM. Reason: add photo
Nov 20, 2016 | 03:06 PM
#426
Thread Starter
Registered User
iTrader: (2)
Joined: Oct 2009
Posts: 1,044
Likes: 6
From: Centeral Willamette Valley Oregon
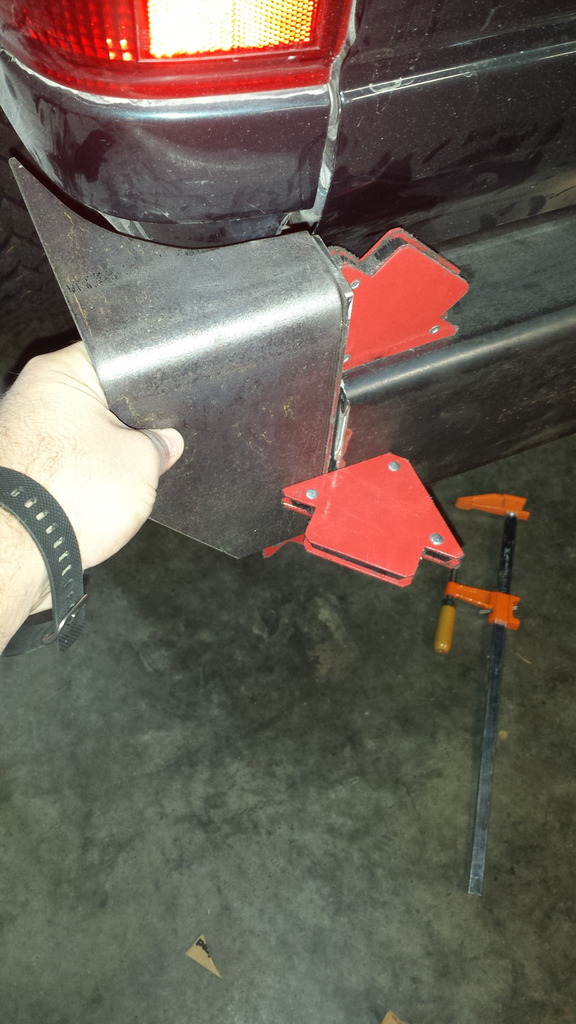
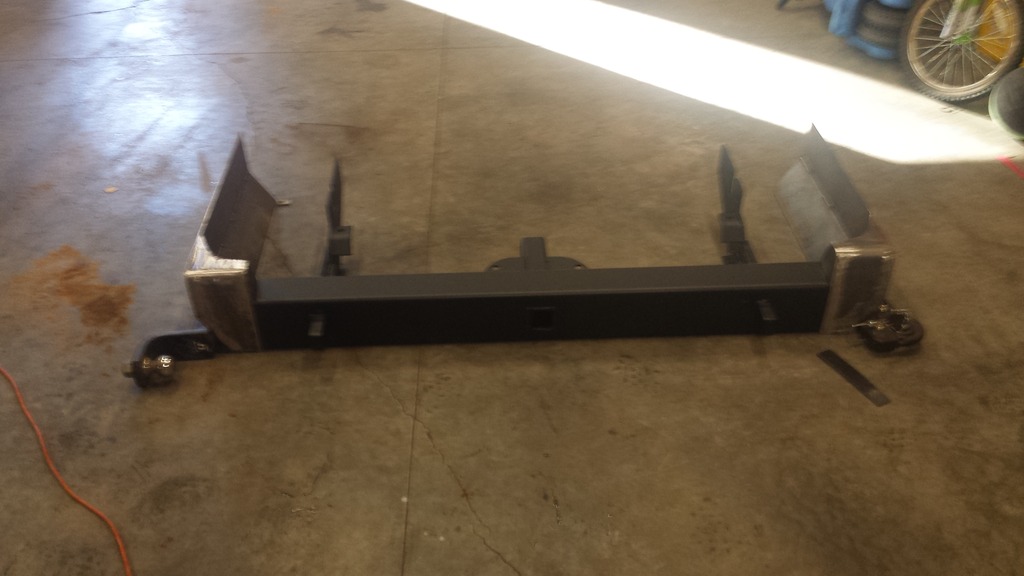
Here is one corner just about complete. I still have some grinding and a little more welding to do for it to be perfect. I picked up a new tap and some bolts as well. I will finish this one up this week and get it sprayed. Its coming together, just slowely. The shop has been crazy busy the last few weeks!!!
 Dec 29, 2016 | 06:33 PM
#428
Thread Starter
Registered User
iTrader: (2)
Joined: Oct 2009
Posts: 1,044
Likes: 6
From: Centeral Willamette Valley Oregon
Hey guys,
Been busy lately. Lots of orders to fill and working on my stuff.
The radiator on the Hilux was removed so I could rebuild the power steering pump. The last owner of the Hilux must have over tightened a bolt cause when I went to unbolt the P/S pump the head of one bolt came out by hand. Silicone was holding it in place. Doh, really. LOL
When I pulled the radiator I also noticed that the welds were looking pretty bad on the tank. So I am building a brand new high flow aluminum radiator just like the 1uz radiator. The only difference on this diesel one is this unit is bigger flow over a stock radiator and it will bolt into the stock location with no modification it will flow much better and be able to support the turbo that is coming for the diesel.
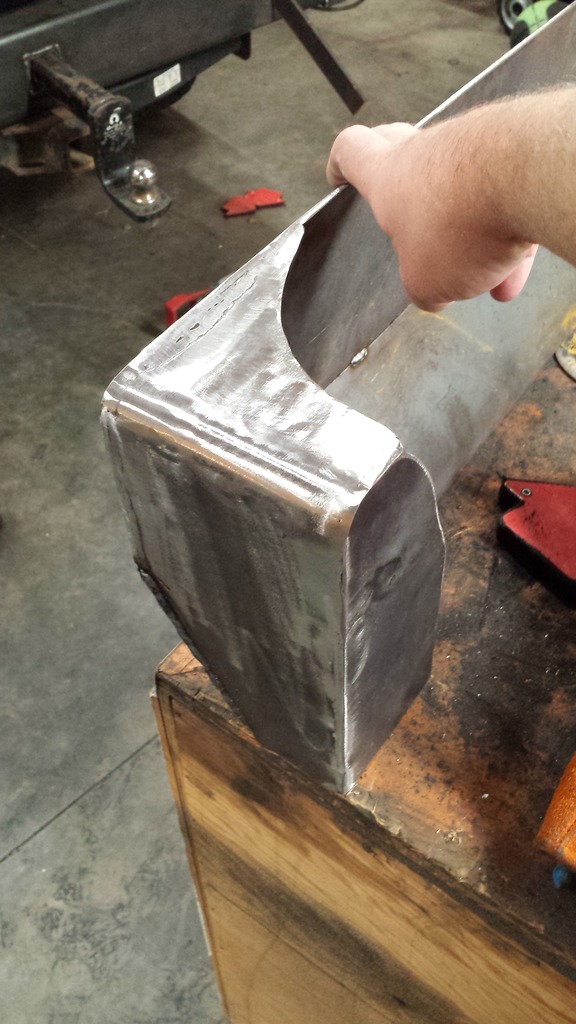
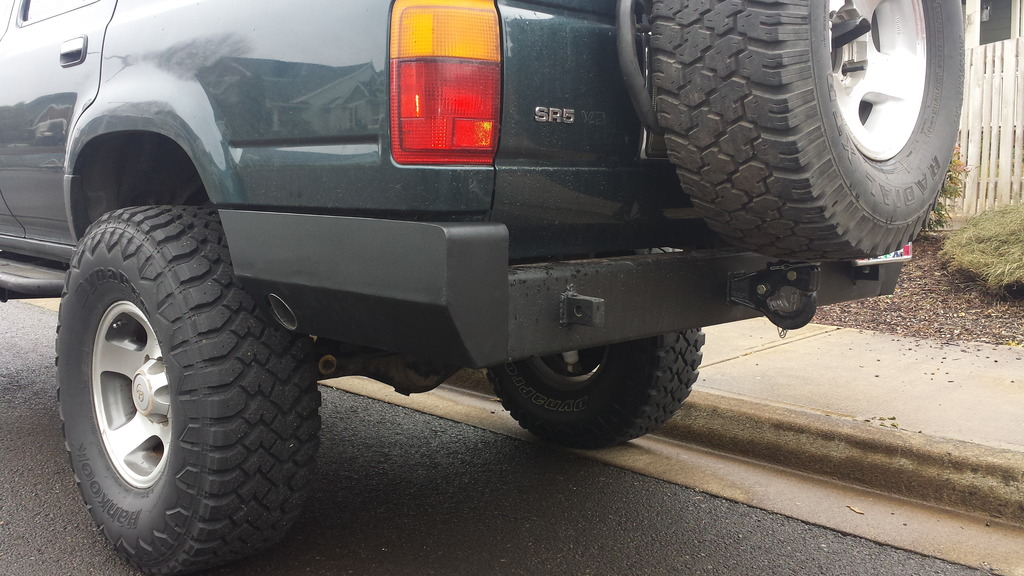
Here is the bumper for the 4runner. Wings are all done and welded up. I primed the base today and painted. It is painted in a textured black. I will post pics as soon as I have it installed. I ended up using the stock hitch installation plates with 5/16" steel plates thru the bumper. I then sandwiched the 5/16" with another layer of 5/16" plates onto the outside of that so I ended up with almost 1" on the front of the bumper for clevis recover spots and 1" bar on the back of the bumper with a solid plate going thru the bumper. This should be stout enough to pull the rig straight up vertical.
I have recessed Rigid duelly lights that will be frenched into the bumper here soon. I plan on also replacing the factory tire carrier with a unit that I build to incorporate the spare and 2 jerry cans. I need to the find the spindle first. Soon!!!
Been busy lately. Lots of orders to fill and working on my stuff.
The radiator on the Hilux was removed so I could rebuild the power steering pump. The last owner of the Hilux must have over tightened a bolt cause when I went to unbolt the P/S pump the head of one bolt came out by hand. Silicone was holding it in place. Doh, really. LOL
When I pulled the radiator I also noticed that the welds were looking pretty bad on the tank. So I am building a brand new high flow aluminum radiator just like the 1uz radiator. The only difference on this diesel one is this unit is bigger flow over a stock radiator and it will bolt into the stock location with no modification it will flow much better and be able to support the turbo that is coming for the diesel.
Here is the bumper for the 4runner. Wings are all done and welded up. I primed the base today and painted. It is painted in a textured black. I will post pics as soon as I have it installed. I ended up using the stock hitch installation plates with 5/16" steel plates thru the bumper. I then sandwiched the 5/16" with another layer of 5/16" plates onto the outside of that so I ended up with almost 1" on the front of the bumper for clevis recover spots and 1" bar on the back of the bumper with a solid plate going thru the bumper. This should be stout enough to pull the rig straight up vertical.
I have recessed Rigid duelly lights that will be frenched into the bumper here soon. I plan on also replacing the factory tire carrier with a unit that I build to incorporate the spare and 2 jerry cans. I need to the find the spindle first. Soon!!!

Last edited by 85toyman; Dec 29, 2016 at 06:39 PM.
Jan 2, 2017 | 05:40 PM
#429
Thread Starter
Registered User
iTrader: (2)
Joined: Oct 2009
Posts: 1,044
Likes: 6
From: Centeral Willamette Valley Oregon
Christmas vacation update.
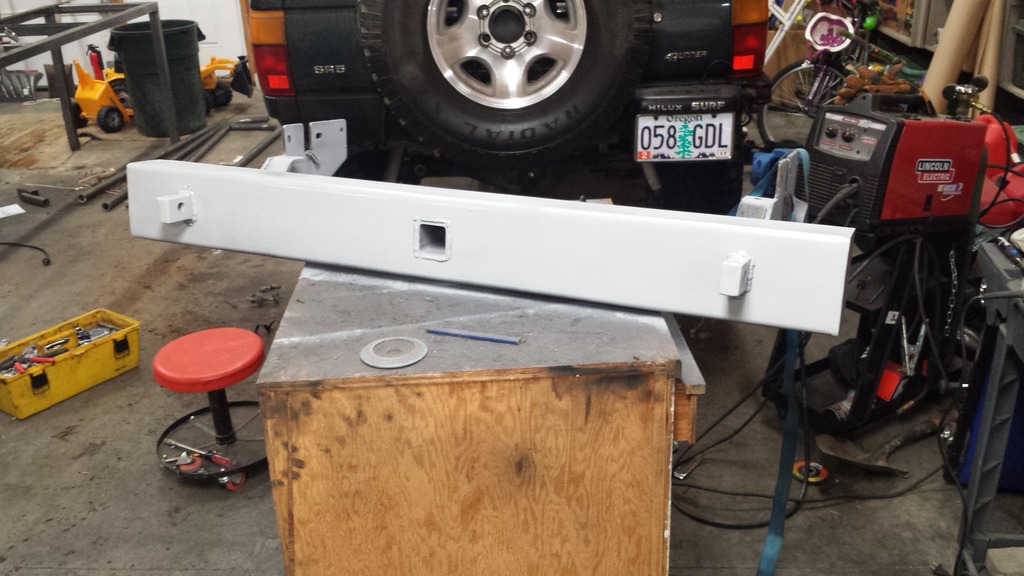
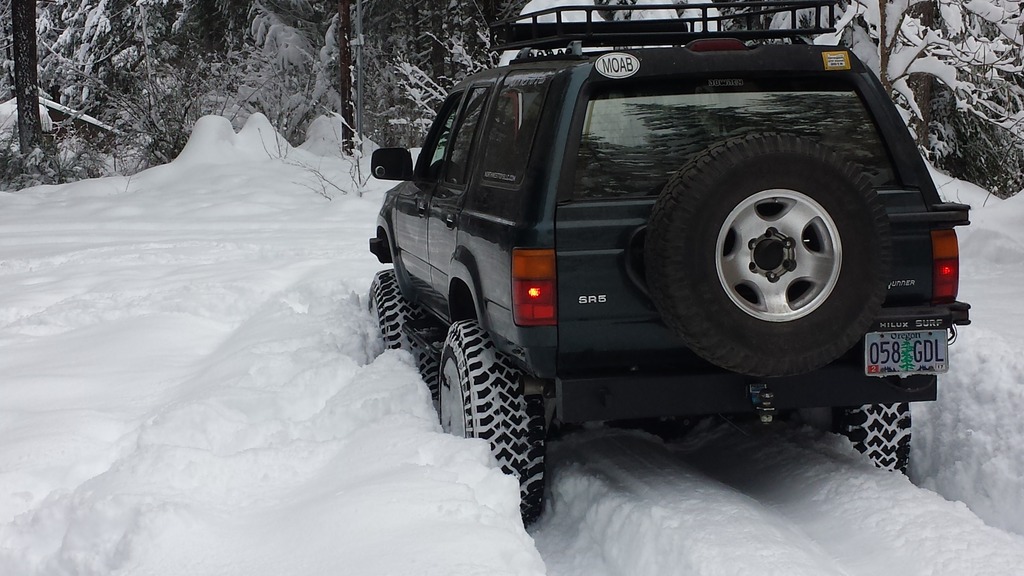
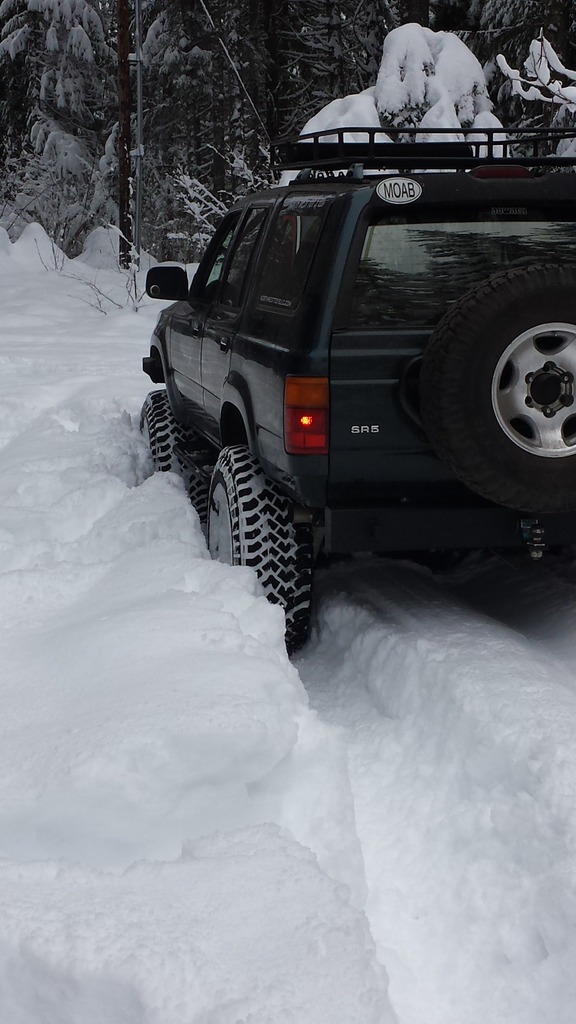
I finally welded the rest of the main bumper together and applied truck bed liner sealer to the main body. I have installed the main body. I have a few finishing touches to the wings and then they will bolt in place. I did get a chance to go out and wheel in the snow.
I got some beanie's made up!
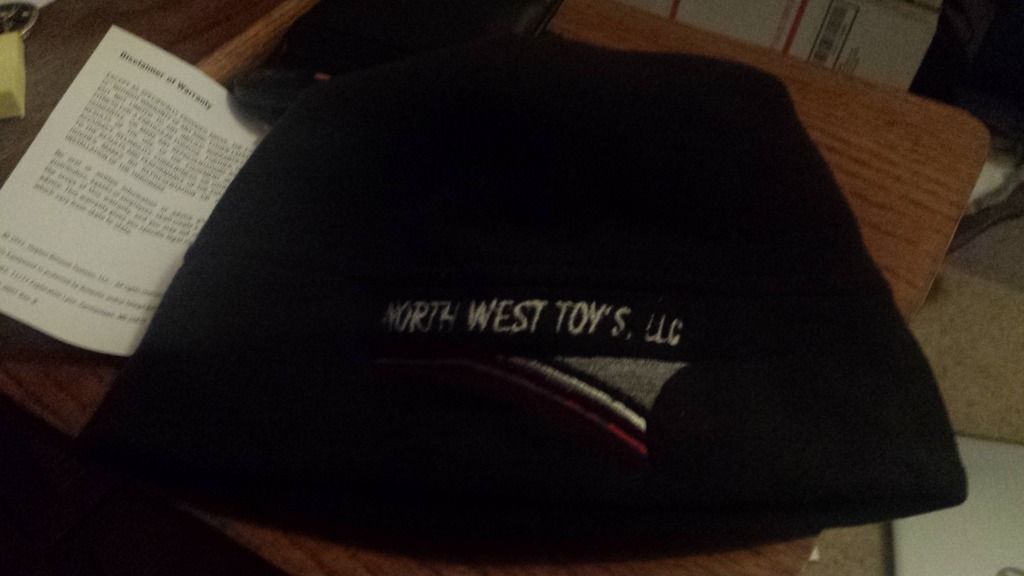
Fuzzy, but I will get a better pic soon.
Had to pull a trailer up a hill so the landcruiser could take it. Double locked and 4 low and she crawled right up!

I finally welded the rest of the main bumper together and applied truck bed liner sealer to the main body. I have installed the main body. I have a few finishing touches to the wings and then they will bolt in place. I did get a chance to go out and wheel in the snow.
I got some beanie's made up!


Fuzzy, but I will get a better pic soon.

Had to pull a trailer up a hill so the landcruiser could take it. Double locked and 4 low and she crawled right up!

Last edited by 85toyman; Jan 2, 2017 at 05:42 PM.
Jan 3, 2017 | 08:44 PM
#432
 ) but would like a lower profile rack since 95% of the time there won't be anything on it
Feb 27, 2017 | 01:39 PM
) but would like a lower profile rack since 95% of the time there won't be anything on it
Feb 27, 2017 | 01:39 PM
#433
Thread Starter
Registered User
iTrader: (2)
Joined: Oct 2009
Posts: 1,044
Likes: 6
From: Centeral Willamette Valley Oregon
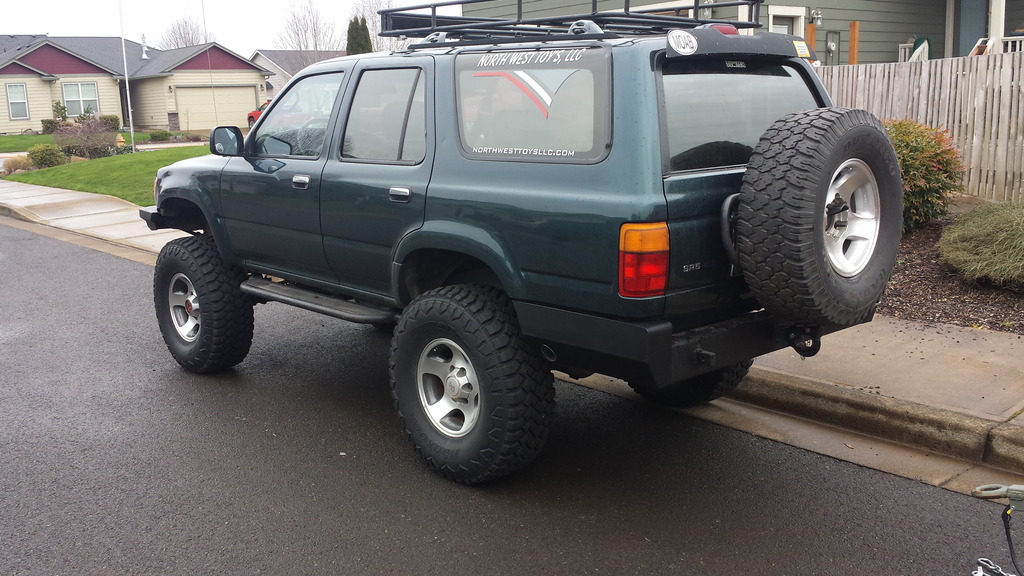
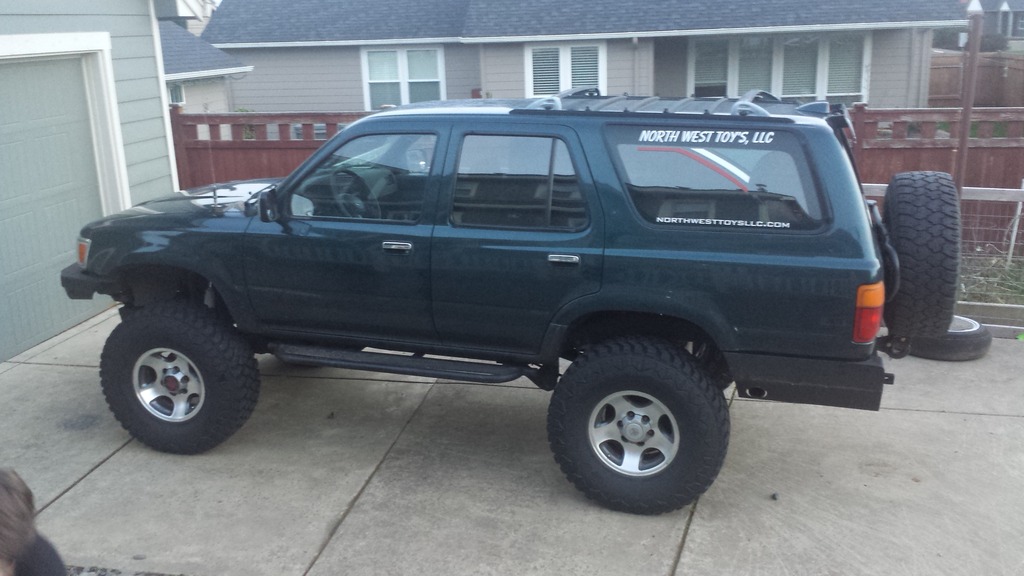
Bumper is finished for now. I plan on redesigning the swing out carrier and moving it from the body to the bumper. But here it is all painted up and installed!!


 Mar 5, 2017 | 07:42 PM
#437
Thread Starter
Registered User
iTrader: (2)
Joined: Oct 2009
Posts: 1,044
Likes: 6
From: Centeral Willamette Valley Oregon
Long week this last week. We have had a lot of orders get placed for 1uz parts.
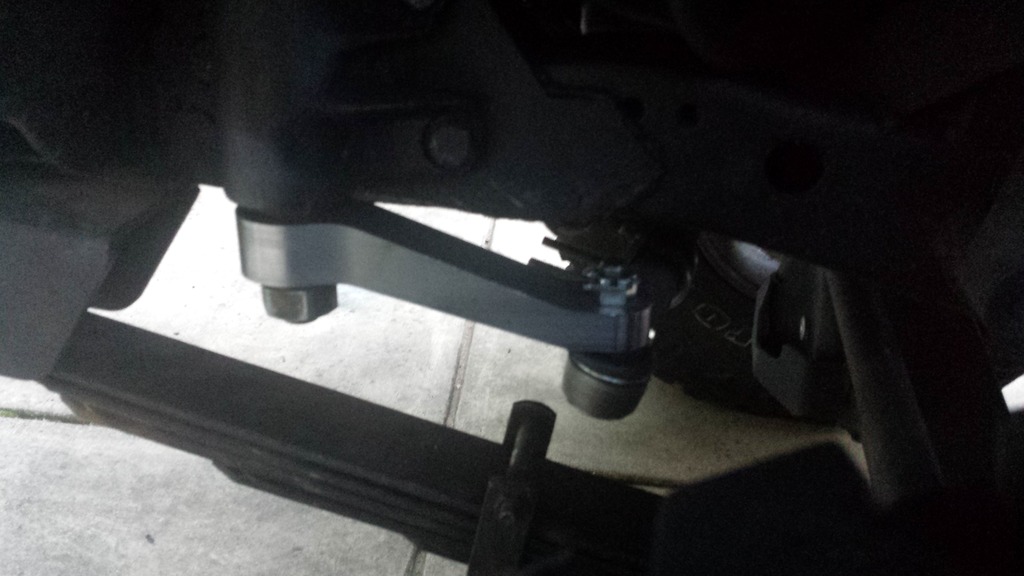
The runner has started to wonder when I hit the highways I really noticed it. Checked all the steering over visually and nothing looked out of sorts. I decided to take it into the local shop that had an alignment rack. Put it up on the rack and found that the rubber bushing cover that protects the pitman arm joint had failed and caused the joint to loose all its grease. Needless to say it has some slop in it too. I guess its time to order new FJ80 tie rod ends and a billet 3/4" less drop pitman arm. Parts are on order and should be later this week!!
The runner has started to wonder when I hit the highways I really noticed it. Checked all the steering over visually and nothing looked out of sorts. I decided to take it into the local shop that had an alignment rack. Put it up on the rack and found that the rubber bushing cover that protects the pitman arm joint had failed and caused the joint to loose all its grease. Needless to say it has some slop in it too. I guess its time to order new FJ80 tie rod ends and a billet 3/4" less drop pitman arm. Parts are on order and should be later this week!!
Mar 10, 2017 | 05:31 PM
#438
Thread Starter
Registered User
iTrader: (2)
Joined: Oct 2009
Posts: 1,044
Likes: 6
From: Centeral Willamette Valley Oregon
Pitman arm and new FJ80 rod ends installed.
I decided to pull the roof rack and light bar and sell them. I put it on CL for less then an hour and it sold. I had 4 guys lined up that wanted it. Apparently I need to make more of them and sell them..... I have the metal in the shop to build another one that is cab length. This will allow me to put the RTT up there and still fit totes or fuel cans in front of the tent. I am also going low profile with this next version.
It looks naked now


