When you click on links to various merchants on this site and make a purchase, this can result in this site earning a commission. Affiliate programs and affiliations include, but are not limited to, the eBay Partner Network.
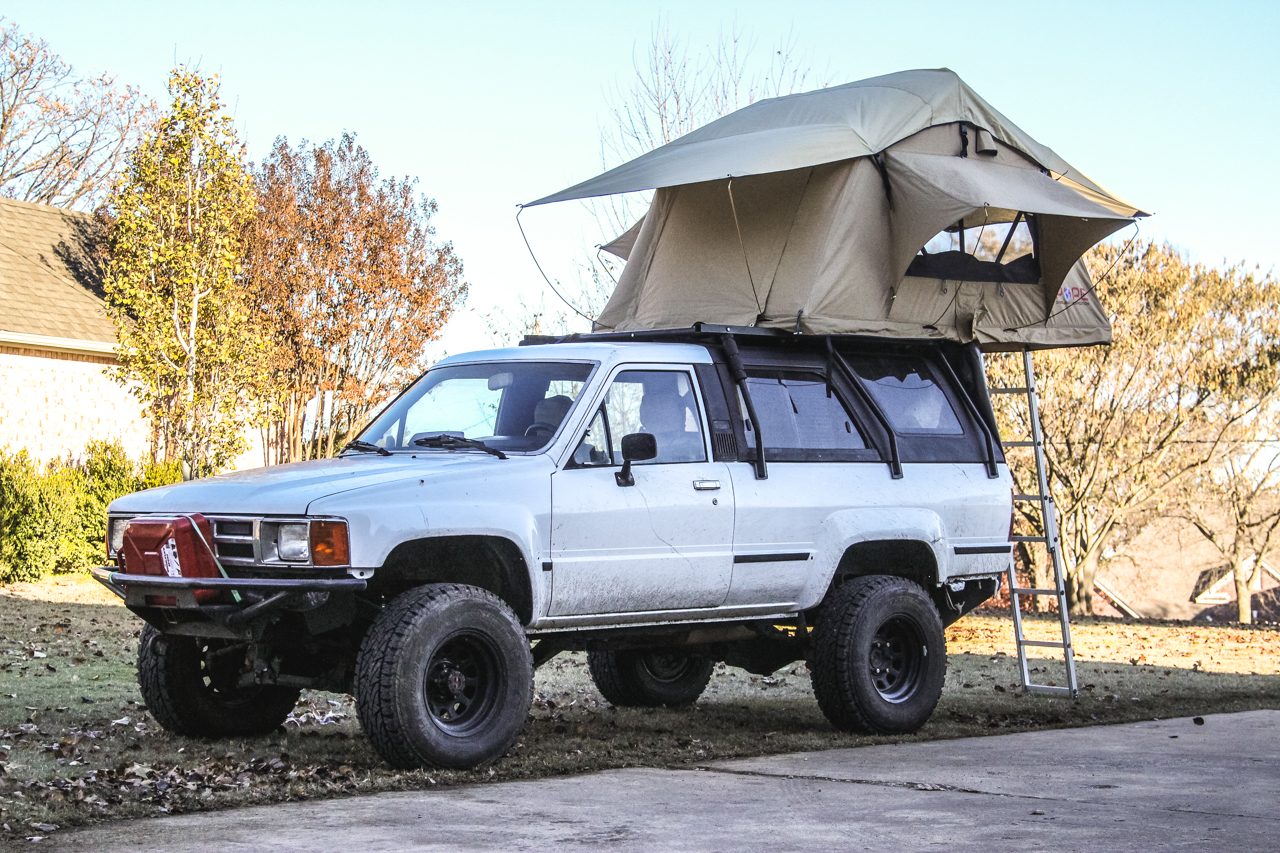
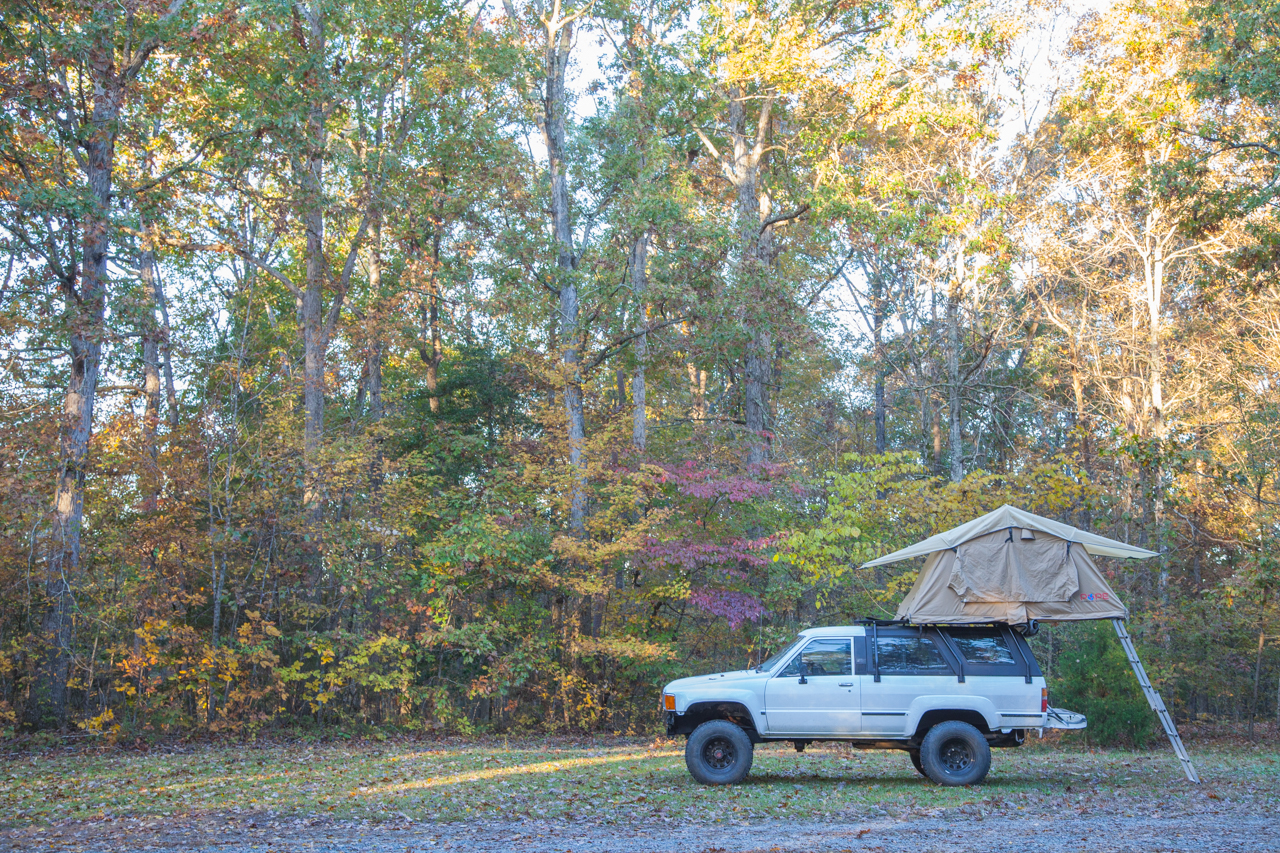
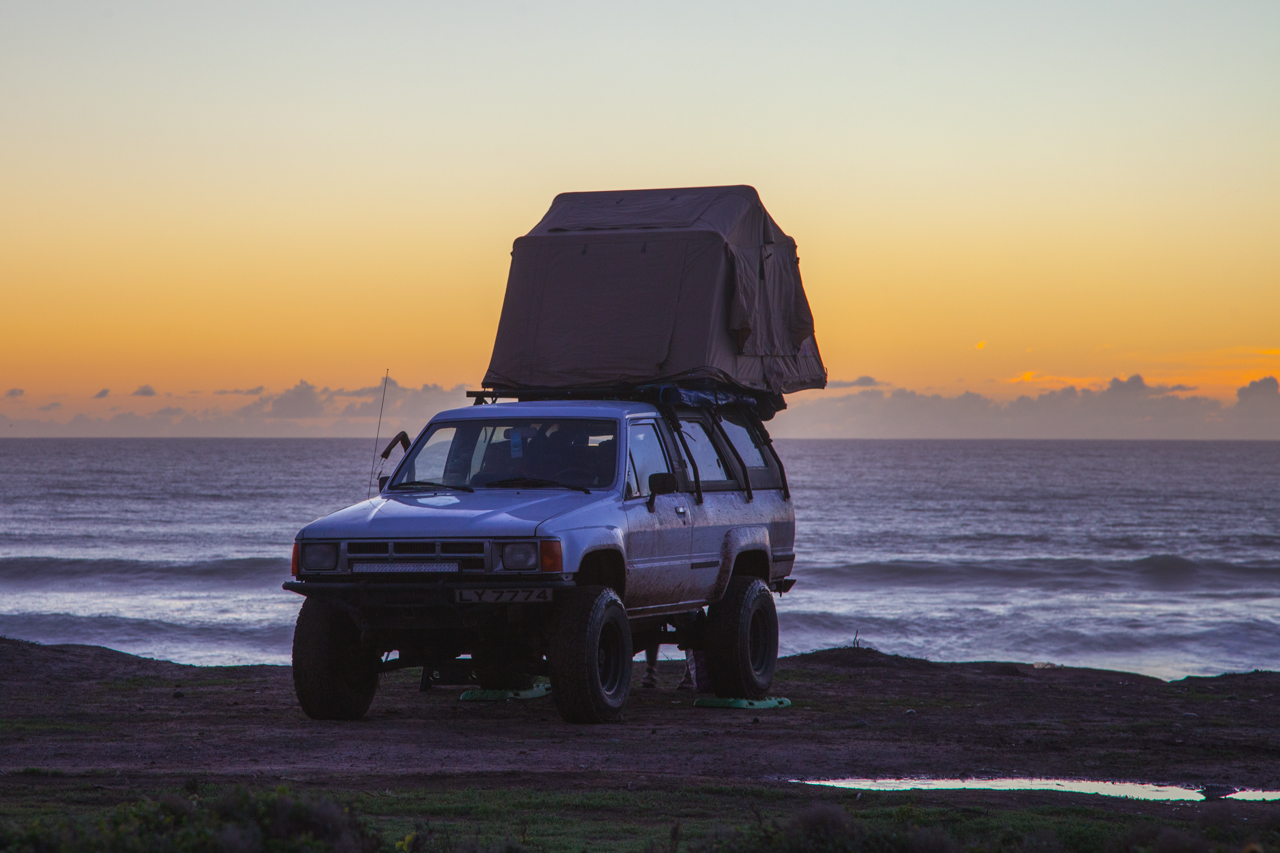
It almost looks as if it were part of a factory camping package for the 4Runner back in 1986.
I would definitely feel better about the new support structure versus just trying to reinforce the fiberglass top.
We like it so far. We will likely add some padding (think pipe insulation) on the inside of the uprights to prevent any racking from causing damage to the shell. It seems much more secure than the fiberglass topper mounting.
Originally Posted by SomedayJ
I love it!
Can you bolt the hard top to the cabin like before?
+10!
You absolutely can. Some of our requirements for the rack were that you could run topless with the rack on, still mount the top traditionally, and be able to support the roof top tent. So far so good!
Originally Posted by coryc85
Rack came out great. I'd buy one if you would produce those. I have a soft top, and that rack would be great for it.
Thanks! Unfortunately this is likely a one off as my father in law has a full time job and doesn't seem too interested in mass producing these guys. I'll let you know if he decides to sell one.
It has been a whirlwind of a couple of weeks, apologies for the lack of updates. We through a lot of work in on the 4Runner before heading off to Expo EAST and didn’t have a ton of time to post progress.
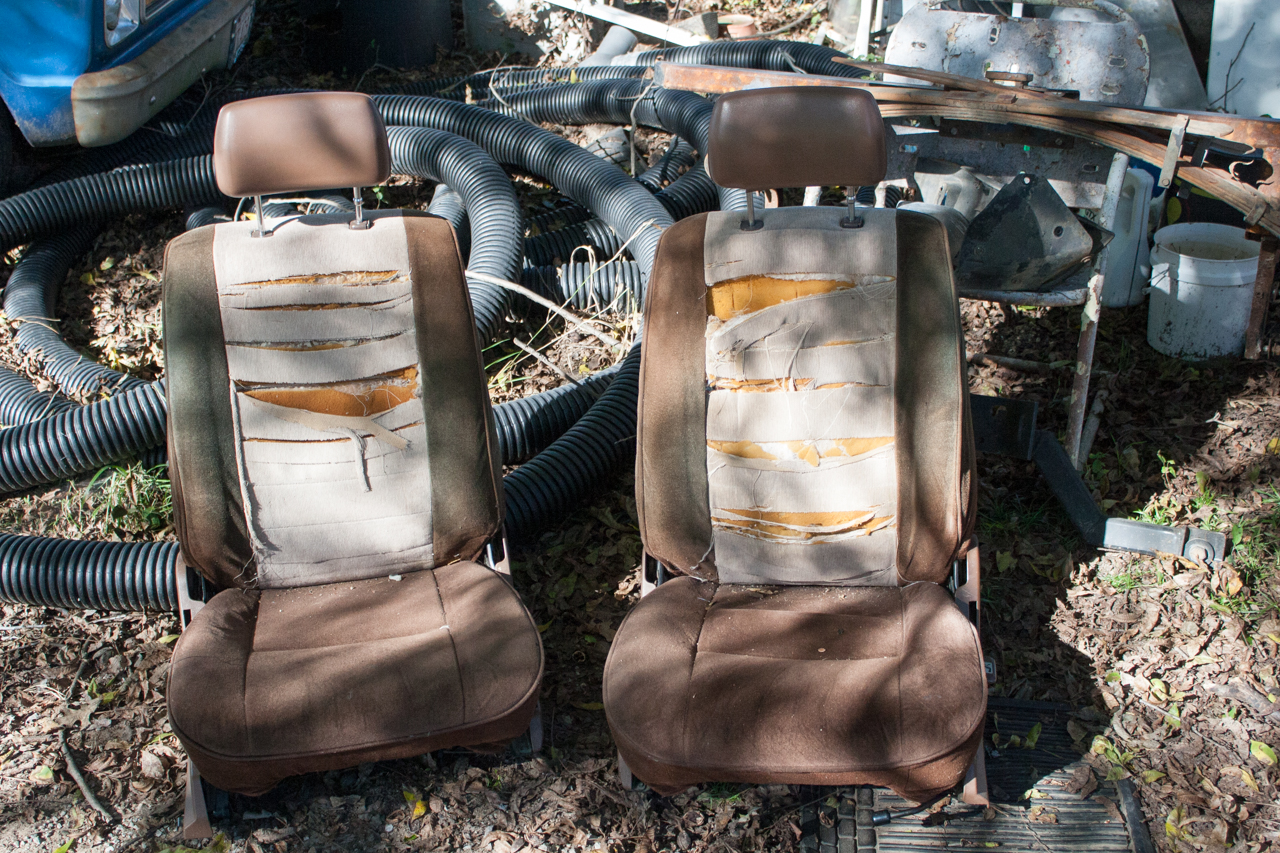
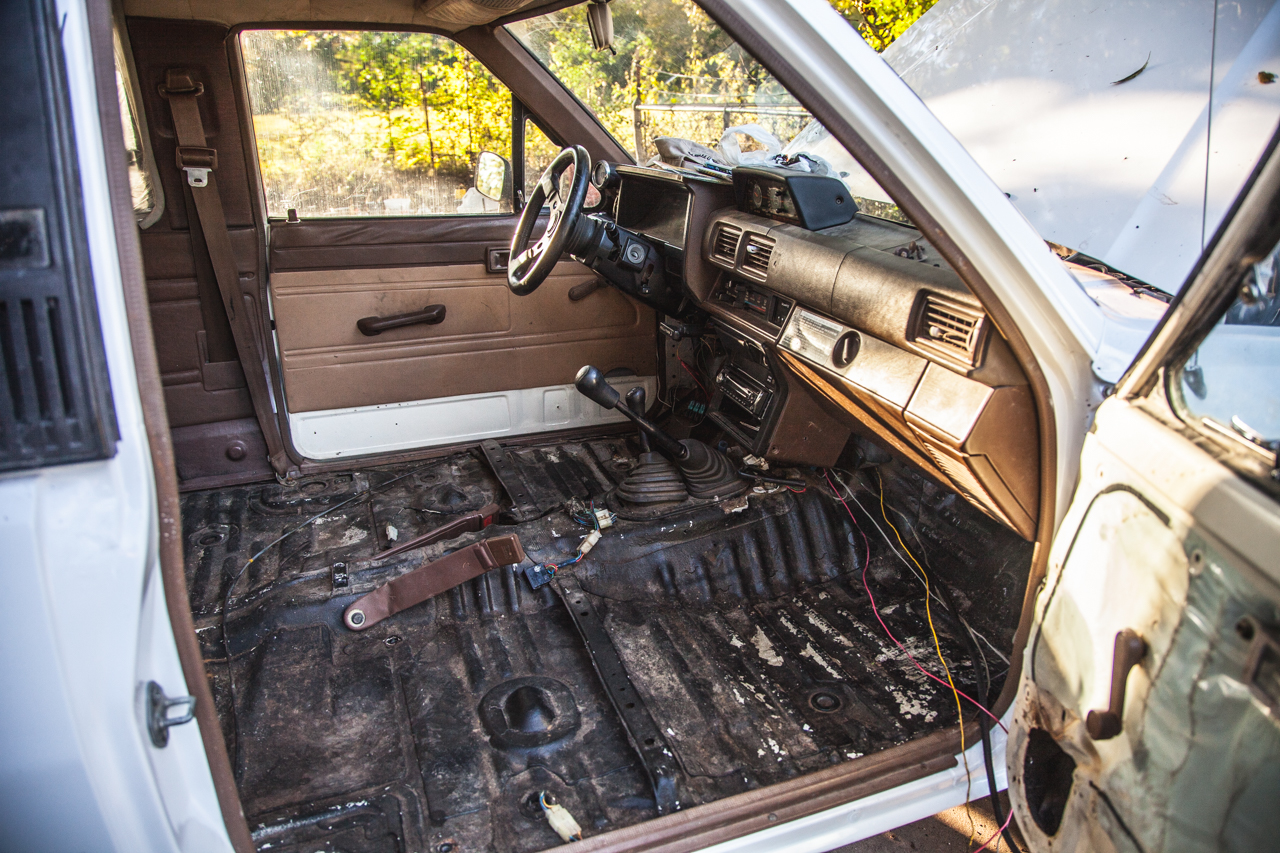
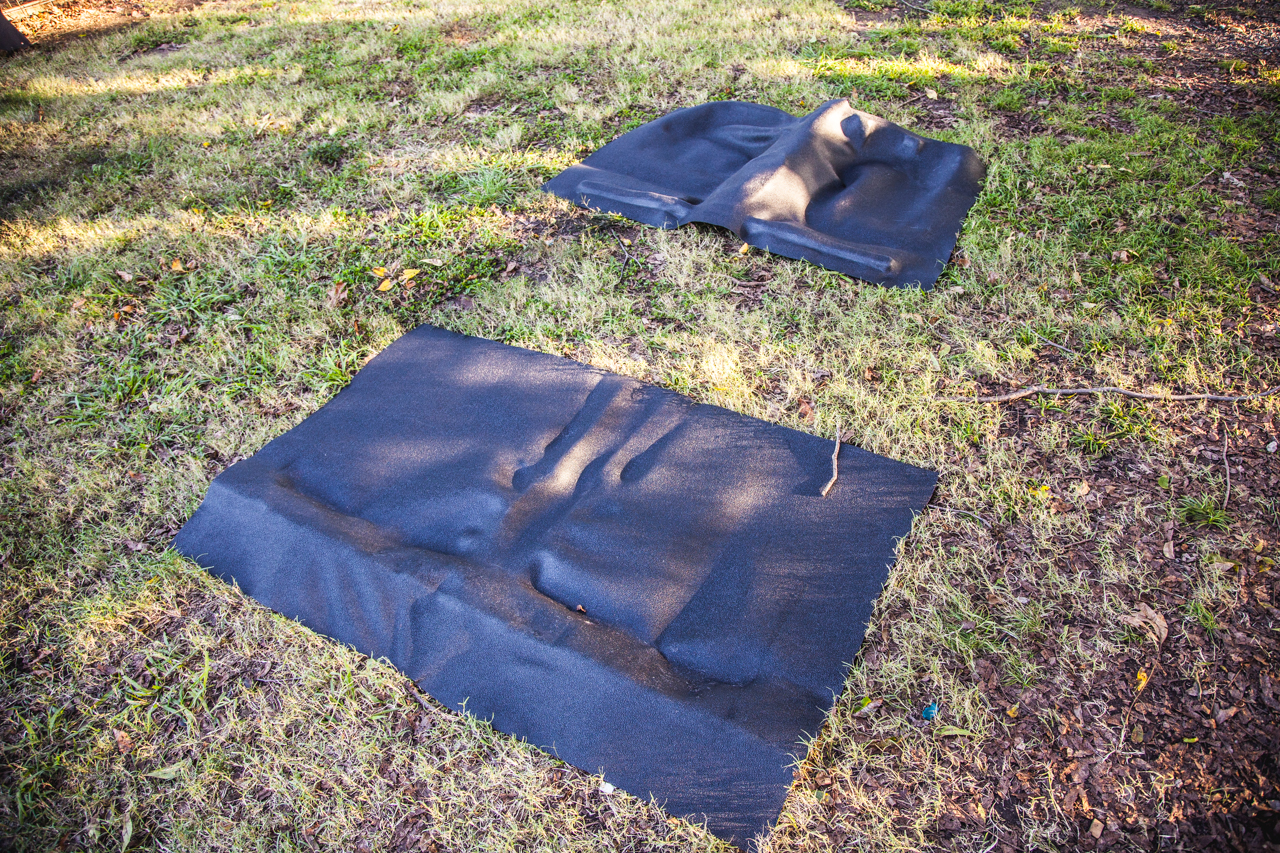
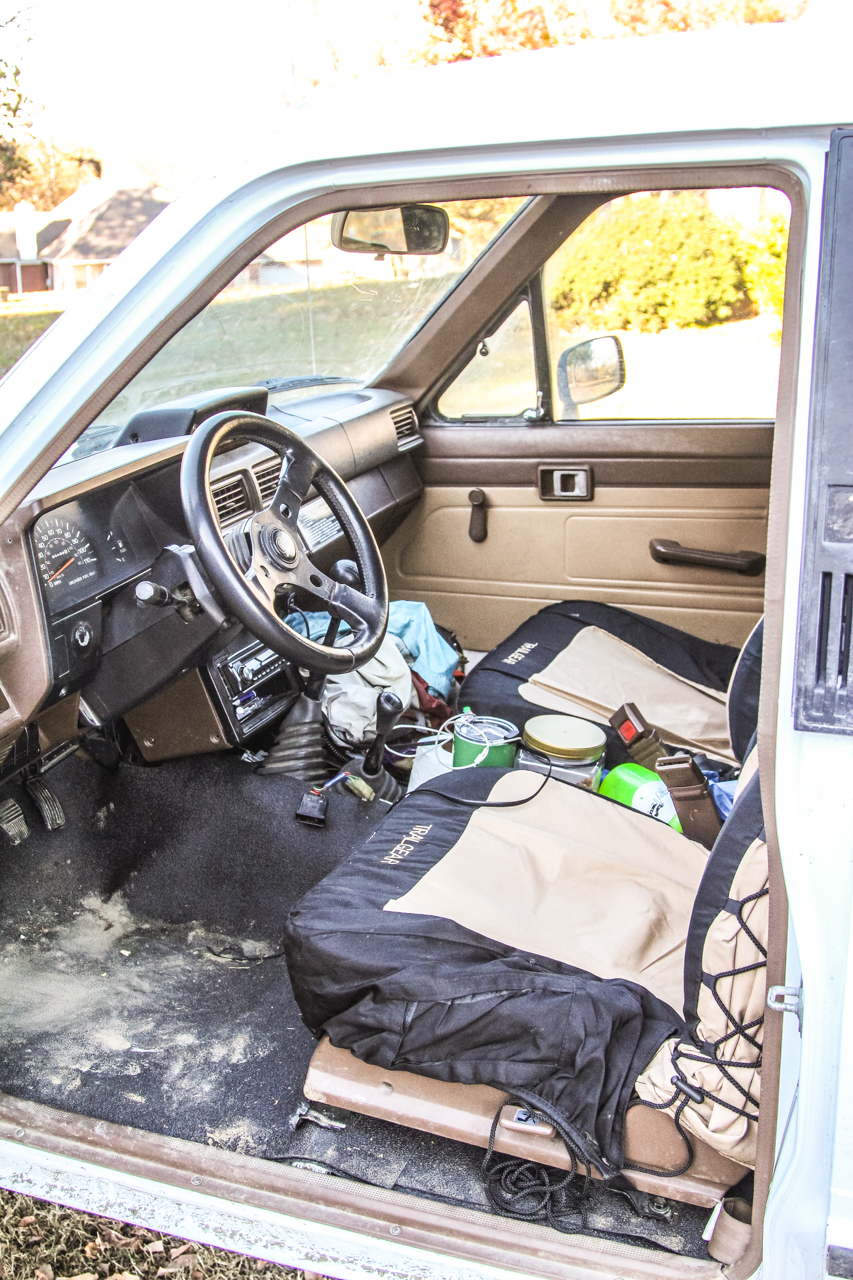
We pulled the seats and crappy seat covers to reveal some pretty chewed up seats. We will be keeping an eye out for some vintage correct Toyota seats, but in the meantime some Cabelas Trail Gear seat covers will do the trick. These are some of the best seat covers I have ever used for the price. While the seats were out we added a vinyl floor kit from OC Auto Carpets.
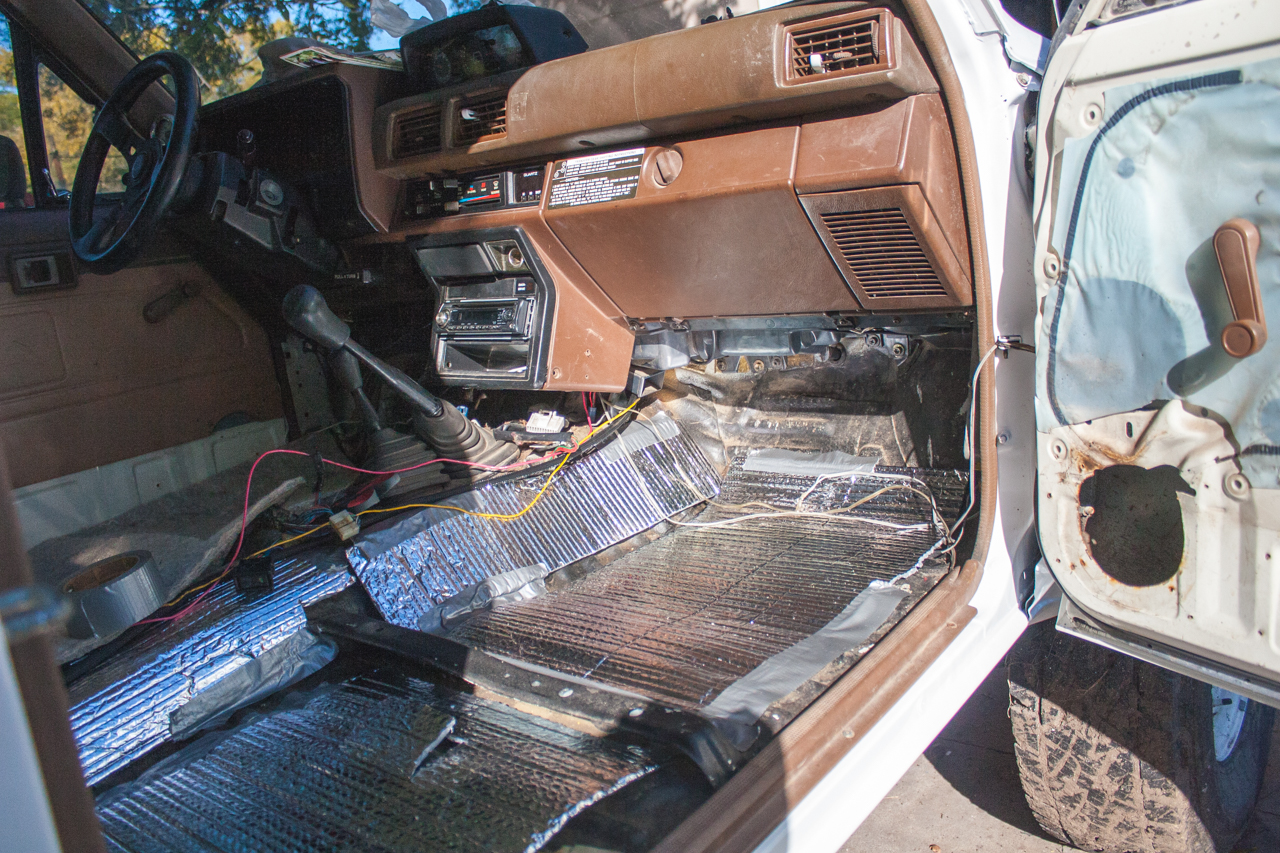
The vinyl quality is top notch, however cutting it to fit the floor and still fit under the trim and around the shifters is not easy. I didn’t have existing carpet to compare to and in hindsight I should have picked up a carpet piece from a junker 1stgen and marked all of the holes and edges. I made some bad cuts and there are definitely some issues, but it is much quieter and easier to clean than the metal floor. I added some reflectix to the floor boards to help insulate and reduce the noise and the sound difference is HUGE!
We ran all of the wiring for the dual battery (behind the seats) and all of the accessories running off of the AUX fuse box. Accessories will include the radio (stock wiring was useless), LED Lighting over the tailgate, and the refrigerator for now. I will post more details of the electrical system once we get the rear platform area constructed and finalized.
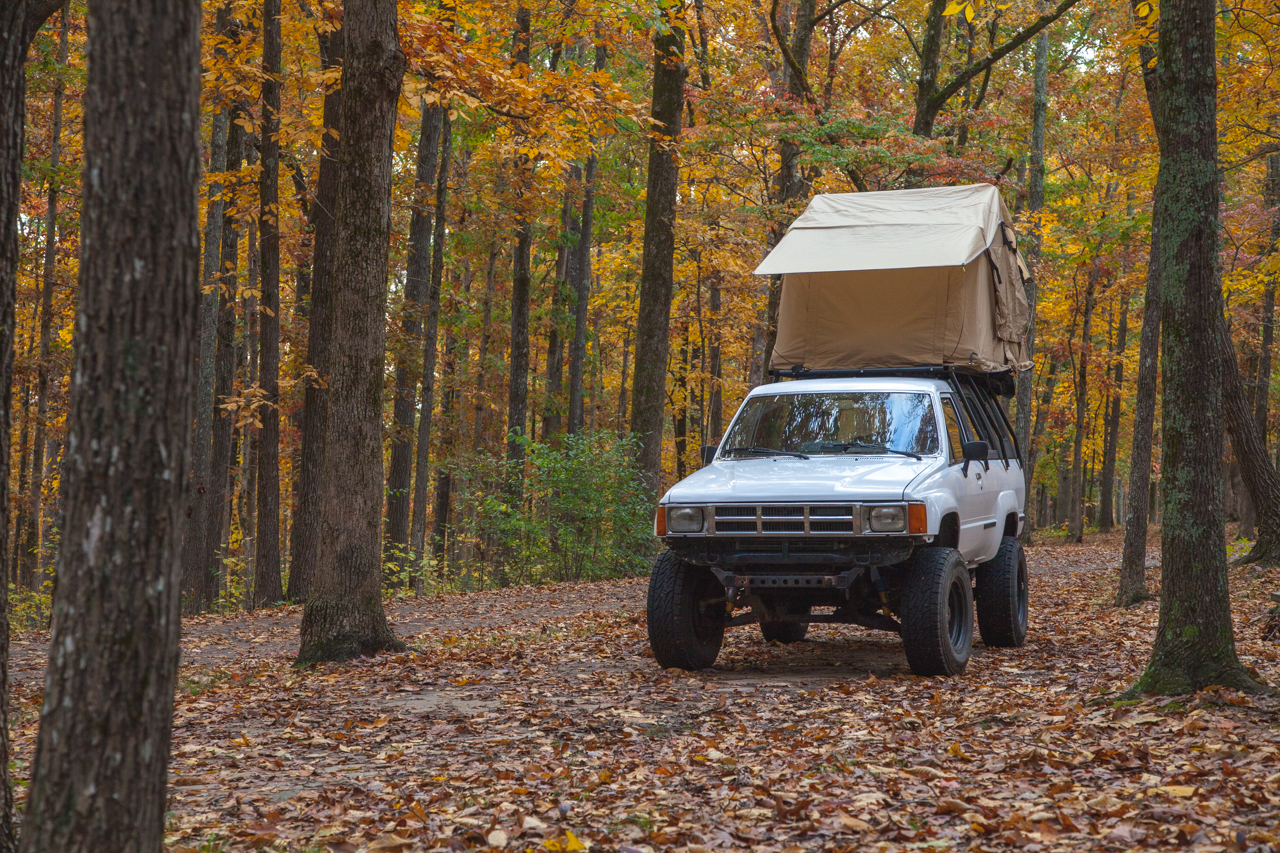
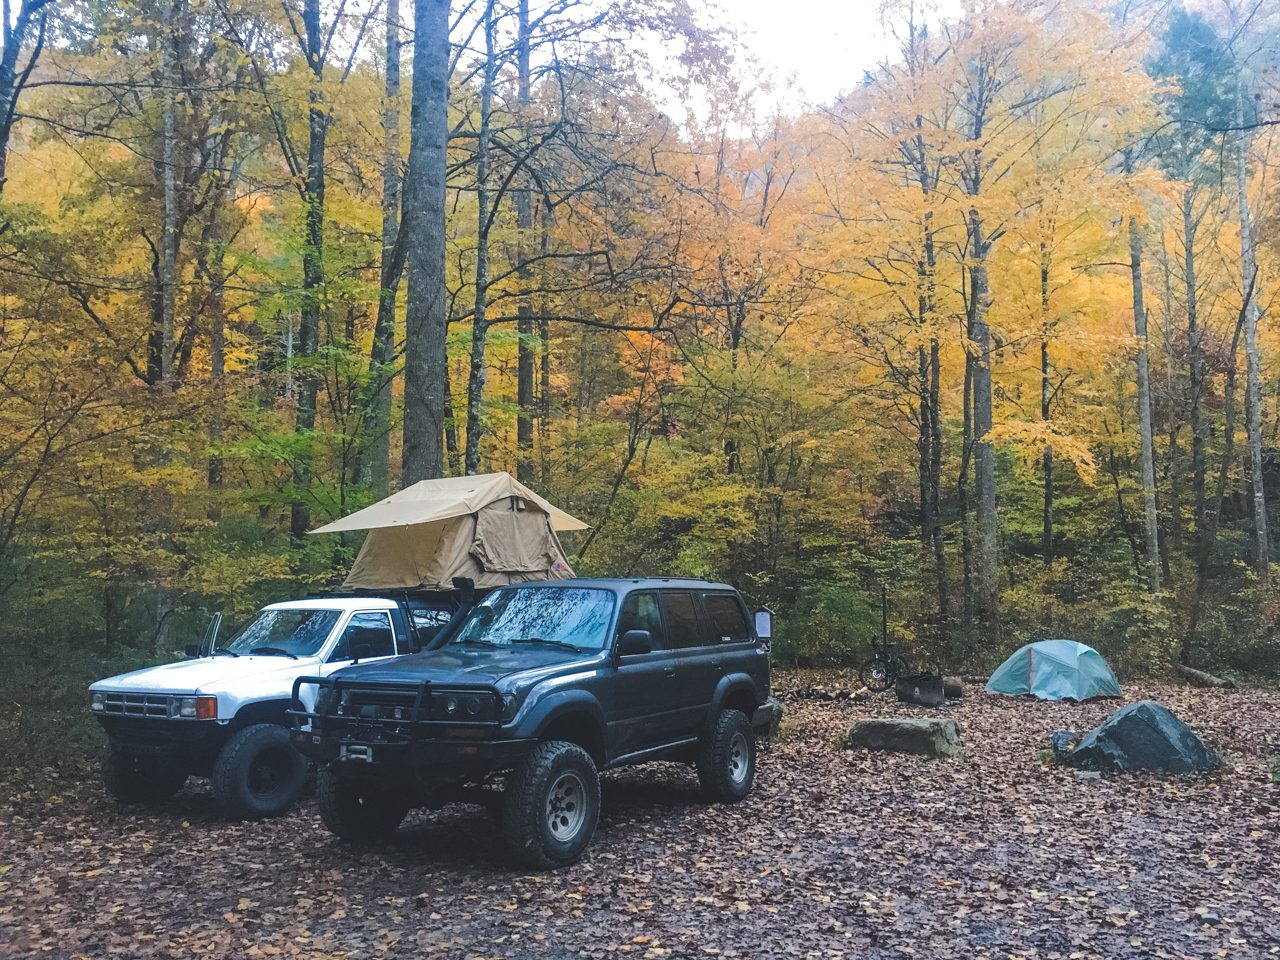
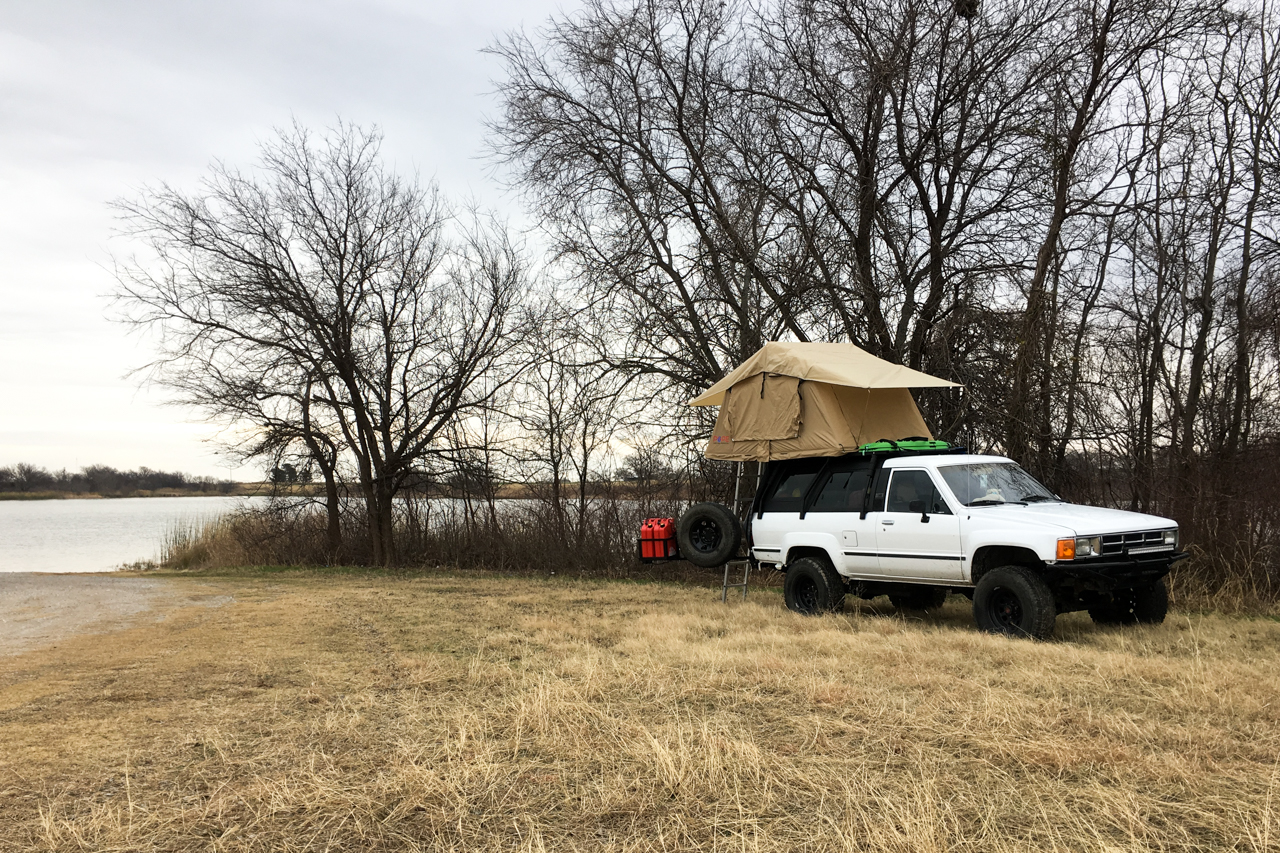
We ran out of time and took off for the 1000-mile trip to Expo EAST. The drive through the South is extremely beautiful in the Fall and our campsite half-way was no exception. We stopped at the Meriwether Lewis Campground near Hohenwald, TN (https://freecampsites.net/#!1082&query=sitedetails).
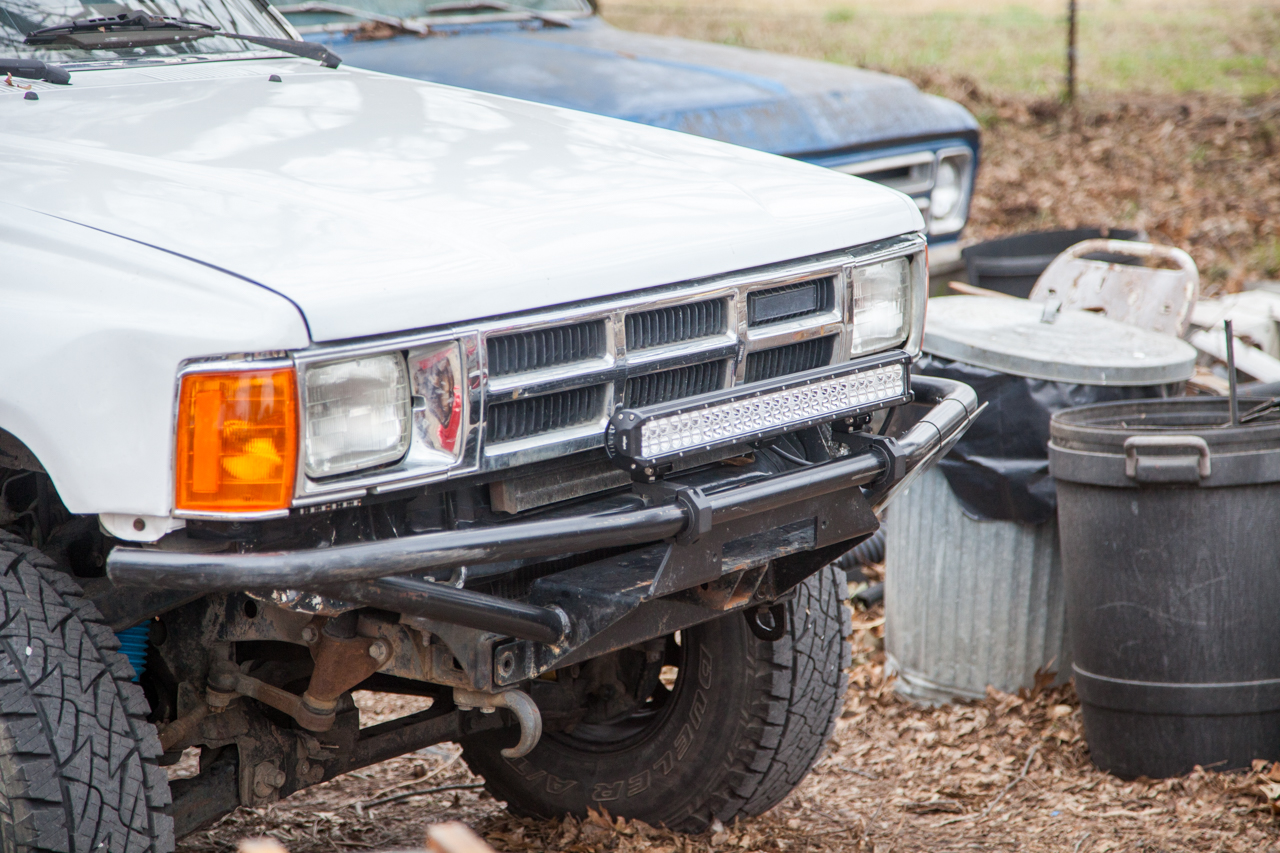
This campsite was way too nice to be free and both times that we stopped there it was flawlessly clean and well maintained. This was our first trip camping in the roof top tent and it worked really well. We are really excited about camping in this rig more. We took a detour up to Winston-Salem to pick up the Trail Gear front bumper for our rig. We got a good deal on it and it looks so much better and functions so much better than the DIY hack-job bumper (150lbs) that was welded on when we bought it. The TG bumper will allow us to run a winch eventually, have a recovery point, and greatly increase the appearance of the front end.
Our second campsite (https://freecampsites.net/#!60883&query=sitedetails) was almost as good as the first. It was a simple trailhead in the National Forest and it was a really nice place to stay the night.
Our third campsite in the East-South was lack luster to say the least. We met up with a friend and tried to camp in Pisgah National Forest and ended up crashing a campsite that was being used as a permanent tent home for a local on a bicycle. The domestic violence and loud noises that carried on that night was less than impressive. Needless to say, we skipped breakfast and got out of there early in the AM.
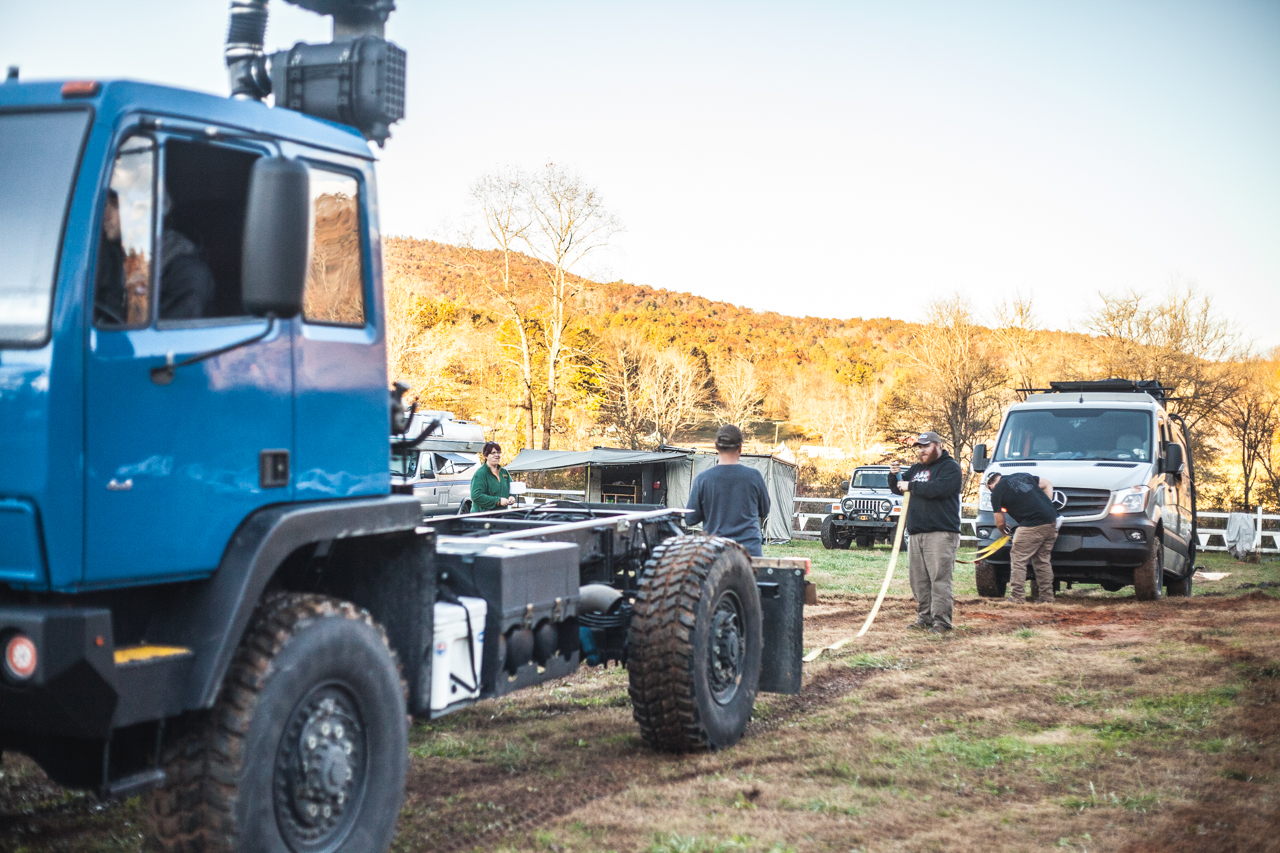
We wandered into Brevard, NC for EAST and enjoyed a really good week at REEB Ranch. The event was very wet which created a really challenging week, but it was a fun first Expo EAST experience. We now want to return with bikes to enjoy REEB Ranch and DuPont State Forest properly.
The weather was crazy and the truck handled the mud, rain, and more mud with ease. We were hoping that this shakedown trip would give us a chance to shakedown the truck and find any issues that could possibly come up on our trip to Baja. The list is growing…
-Suspected rear main leak
-Torn CV boots
-Brights don’t work (potentially a combo switch failure)
-License plate light doesn’t work
-Needs trans fluid change
-Needs oil change
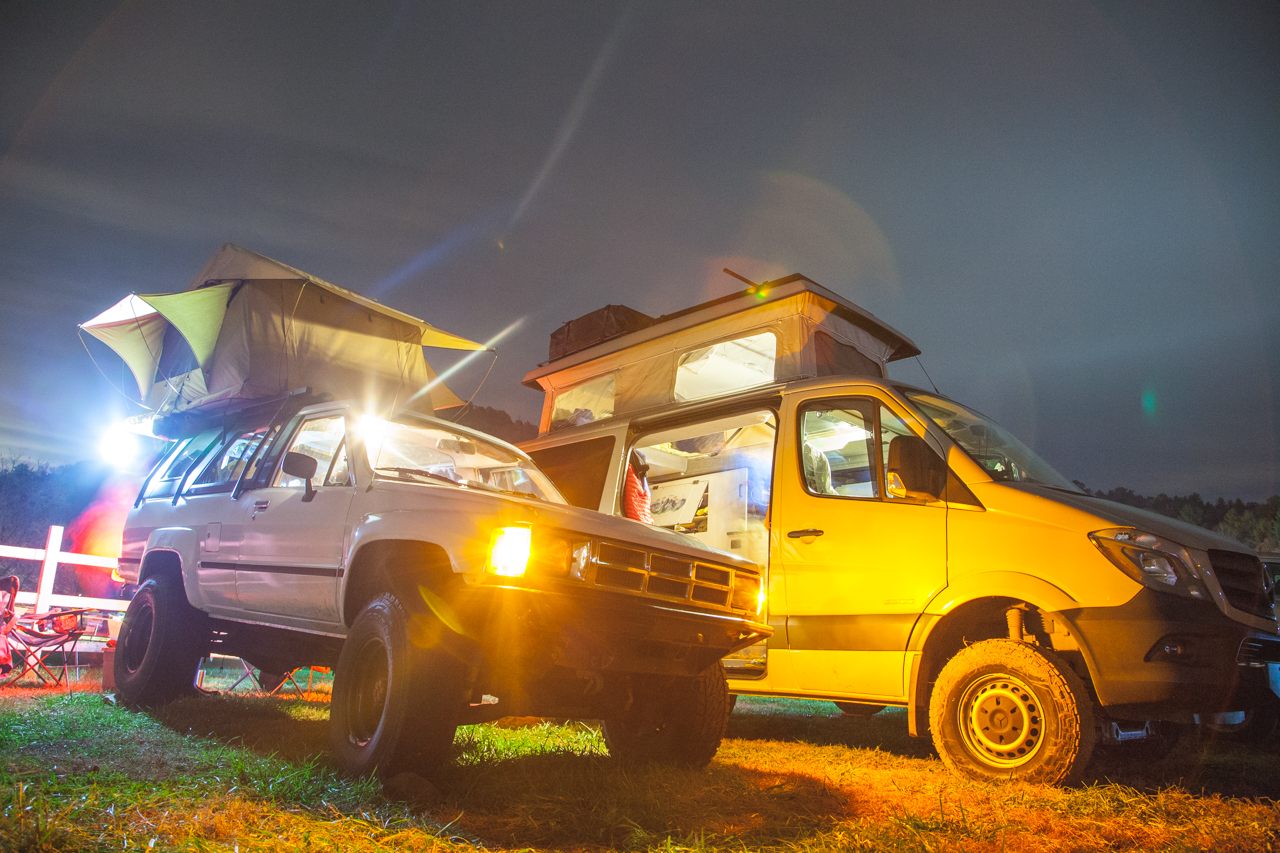
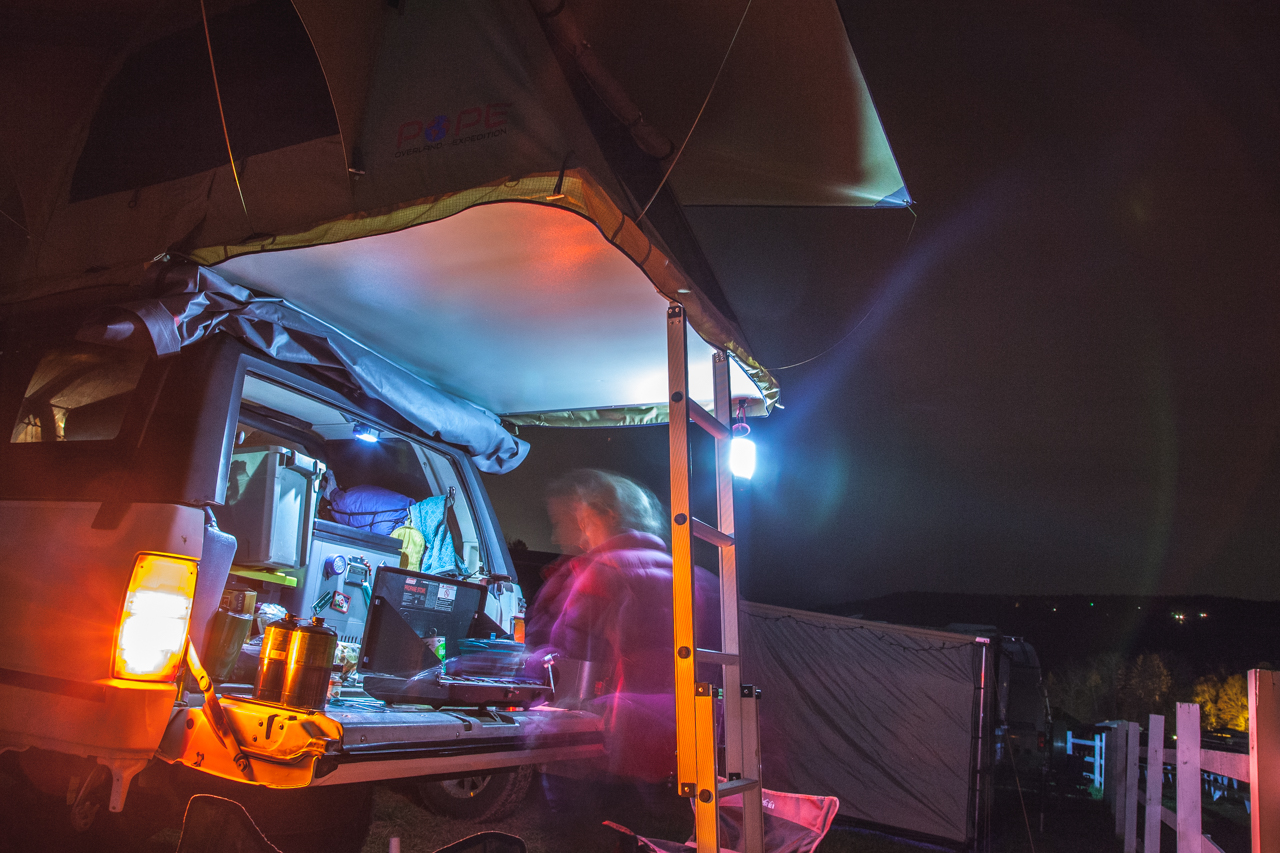
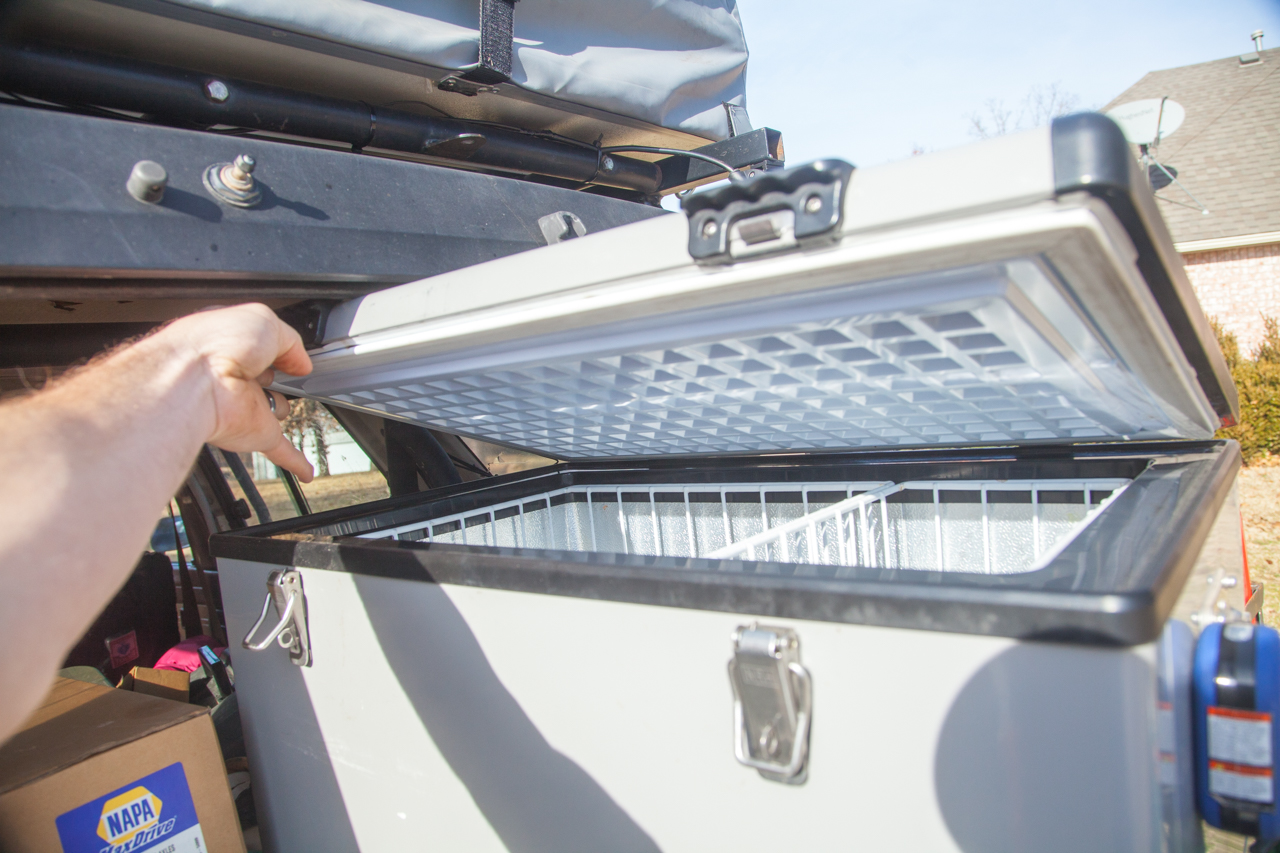
We leave for Baja after Christmas, so we will be cranking on this thing again starting on Monday. The good news is that the living situation with the tent and fridge works really well and the 100AH AGM battery is going to work with our needs. Will update when we have some more progress!
okienomads,
Nice work, teamwork and adventures!!
If you're planing to visit So Cal, especially San Diego or Anza-Borrego Desert, please ping me. Would love to meet you and the rig.
How is the suspension working out? Did you have to adjust front height to level the truck?
Let us know what other symptoms you have on headlight. Does flash work?
When you're done restoring wiring to stock, we can start troubleshooting.
I like these^^ NWOR rack feet because they sit on the corner of the roof, the most rigid part. Just need a more robust way to bolt them down.
That looks like an add-on starter relay next to the ignitor resistor module, meaning you got an early- 1986 truck without stock starter relay.
Cheers!
Last edited by RAD4Runner; Nov 26, 2018 at 12:02 PM.
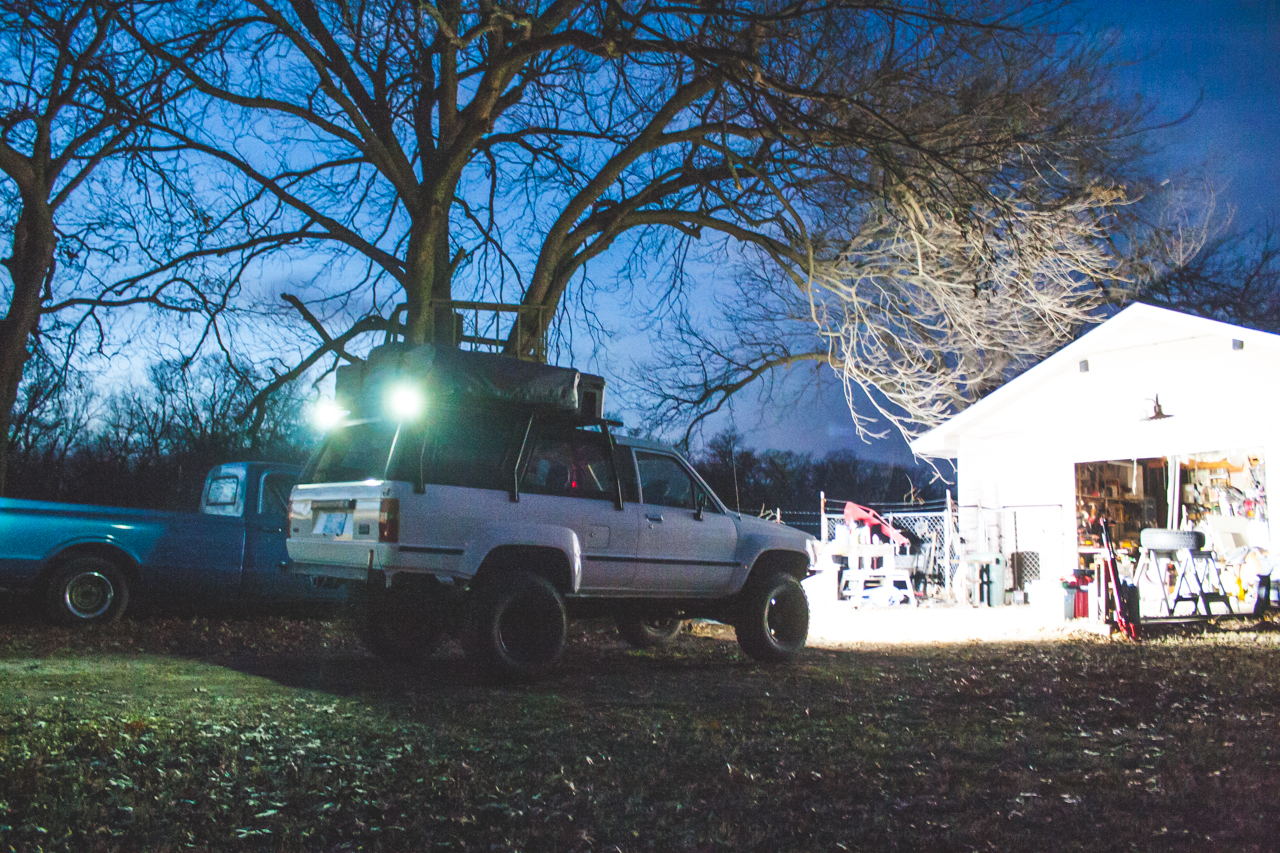
Got some time to get the light bar and rear lights hooked up. We are shaking the truck down in Baja in January, so extra lighting was a must! We went cheap and spent $50 for the front light bar and the rear LED pods combined. I tore them apart and siliconed the lights shut to make sure water couldn't infiltrate. These lights are bright and will serve our purposes really well. If they suck? We can replace them with 10 different branded cheap ones before we reach the cost of a rigid bar.
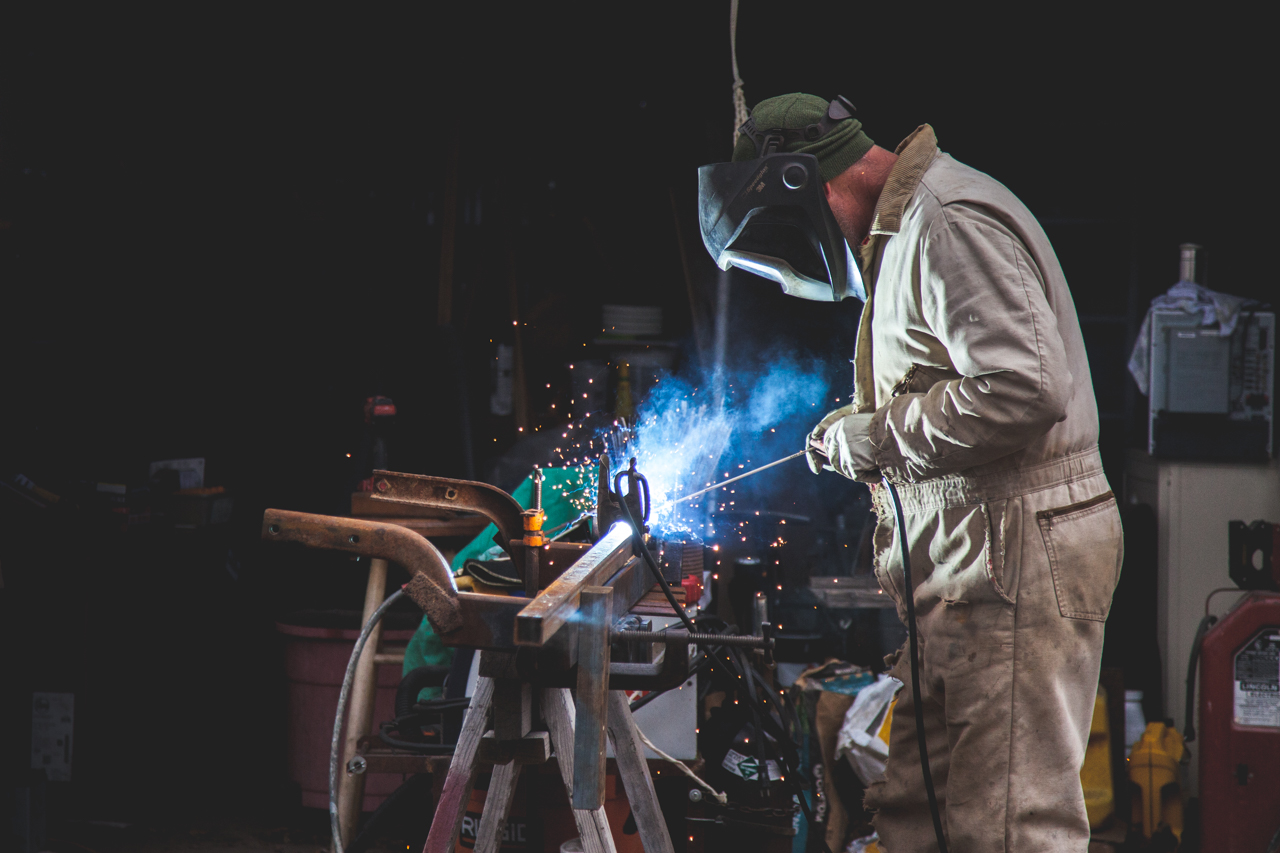
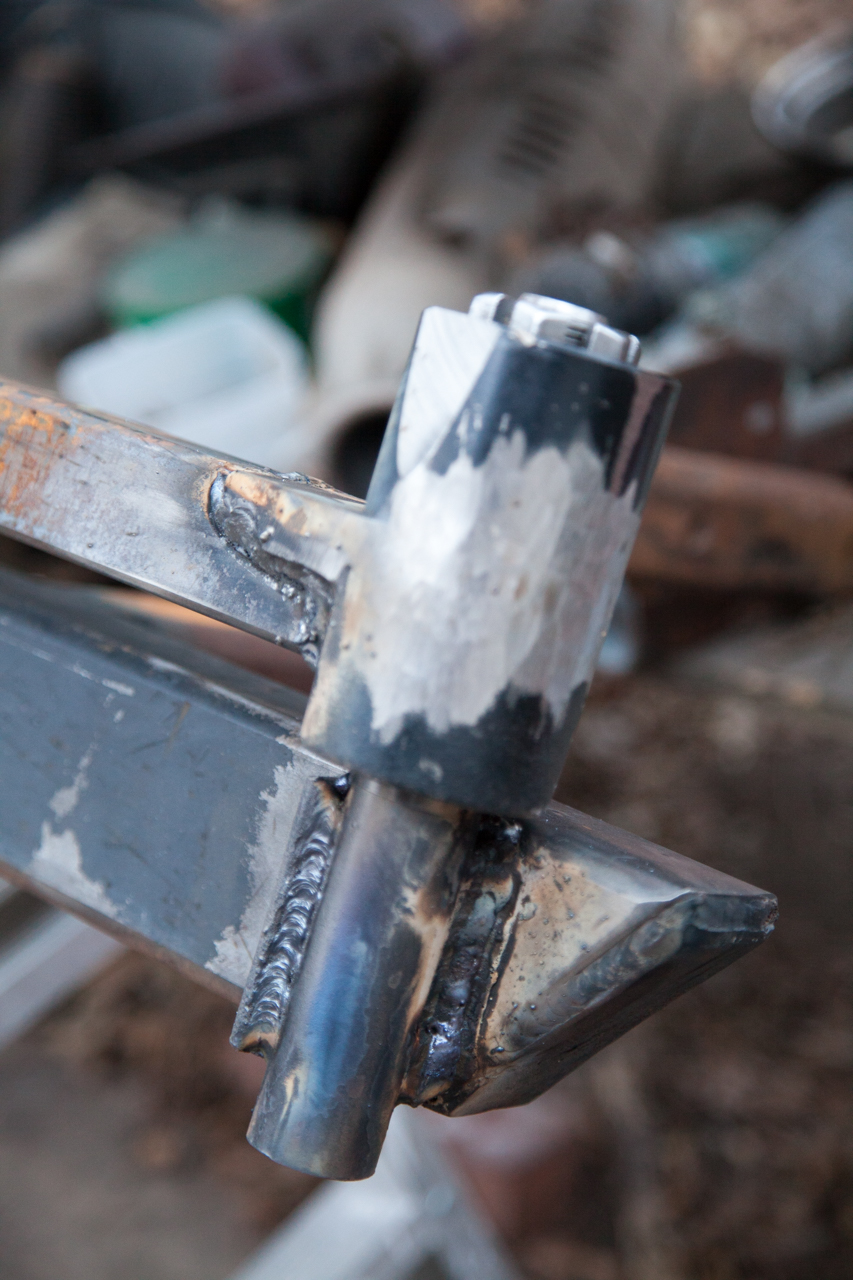
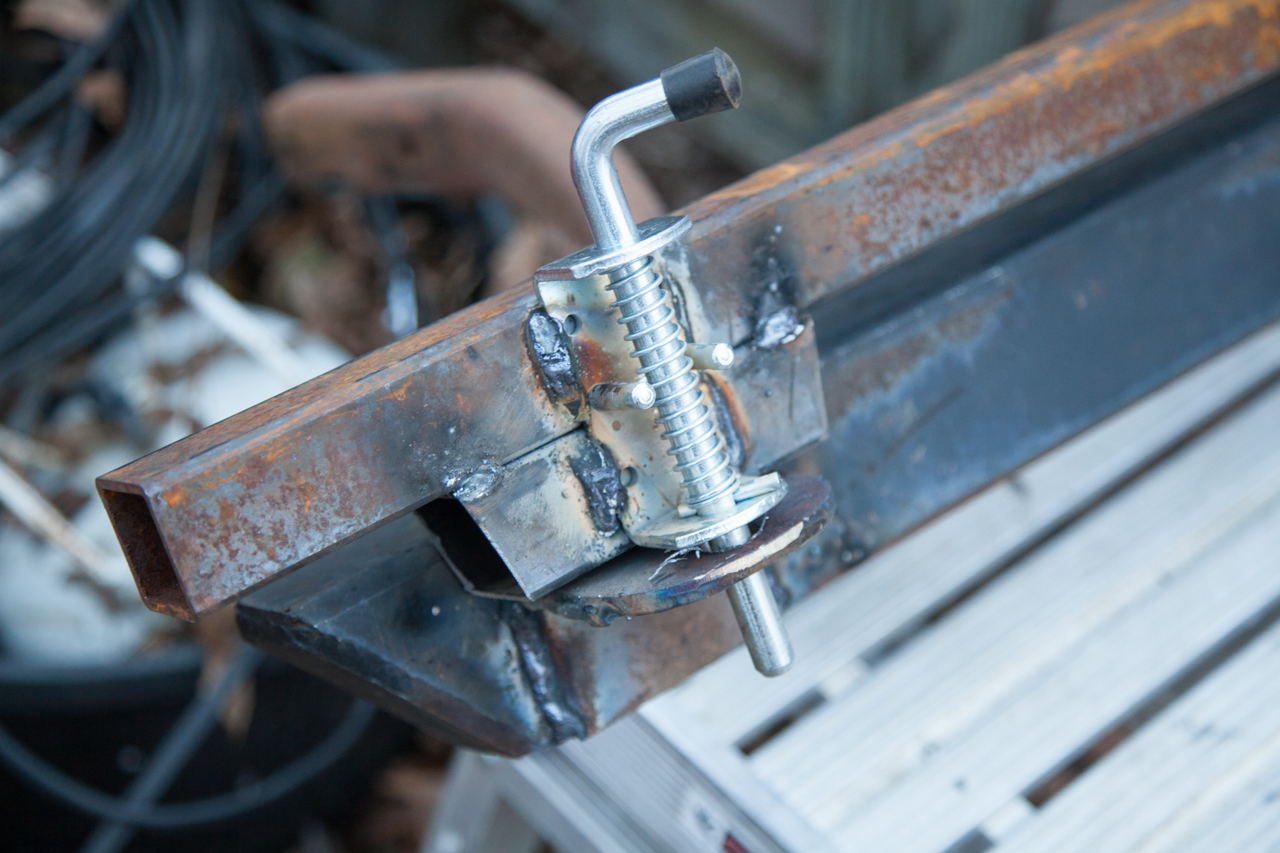
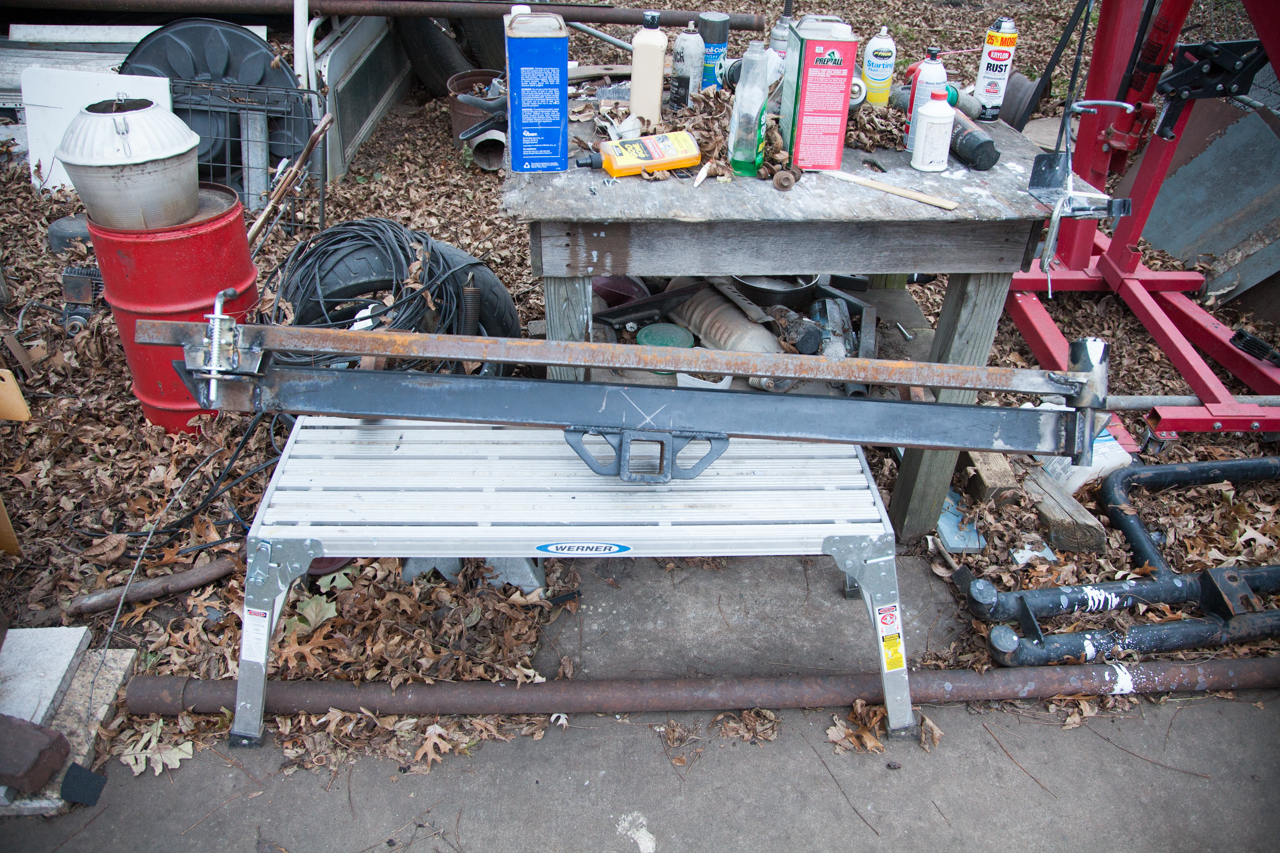
We also got started on the rear swing out bumper. Neither my father in law nor myself have ever built a swingout, so this is a giant trial and error. We are using the bumper that was on the truck when we bought it, which was a simple 2x3 steel trapezoid shaped bumper. We welded on a trailer axle and fabbed up a swing arm with a tire mount and jerry can holder. All it needs now is to be ground, prepped, and painted. We are looking forward to having more weight on the back springs to take out some of the harshness.
In the last picture you can see the smittybuilt knock off that was welded to the front of the truck when we picked it up...thing has to weigh 100lbs. Anyways, the bumper is ready to be prepped and painted, and I need to take more photos. The weather has been kinda awful in Oklahoma and we've had a family member in the hospital, so hopefully things will pick up soon!
The rear main seal came in the male yesterday, so hopefully we will get some shop time very soon to replace the rear main, CV's, PS pressure line, and brake pads. We are also changing out the differential gear oil, transmission fluid, and engine oil. It should be a fun couple of days.
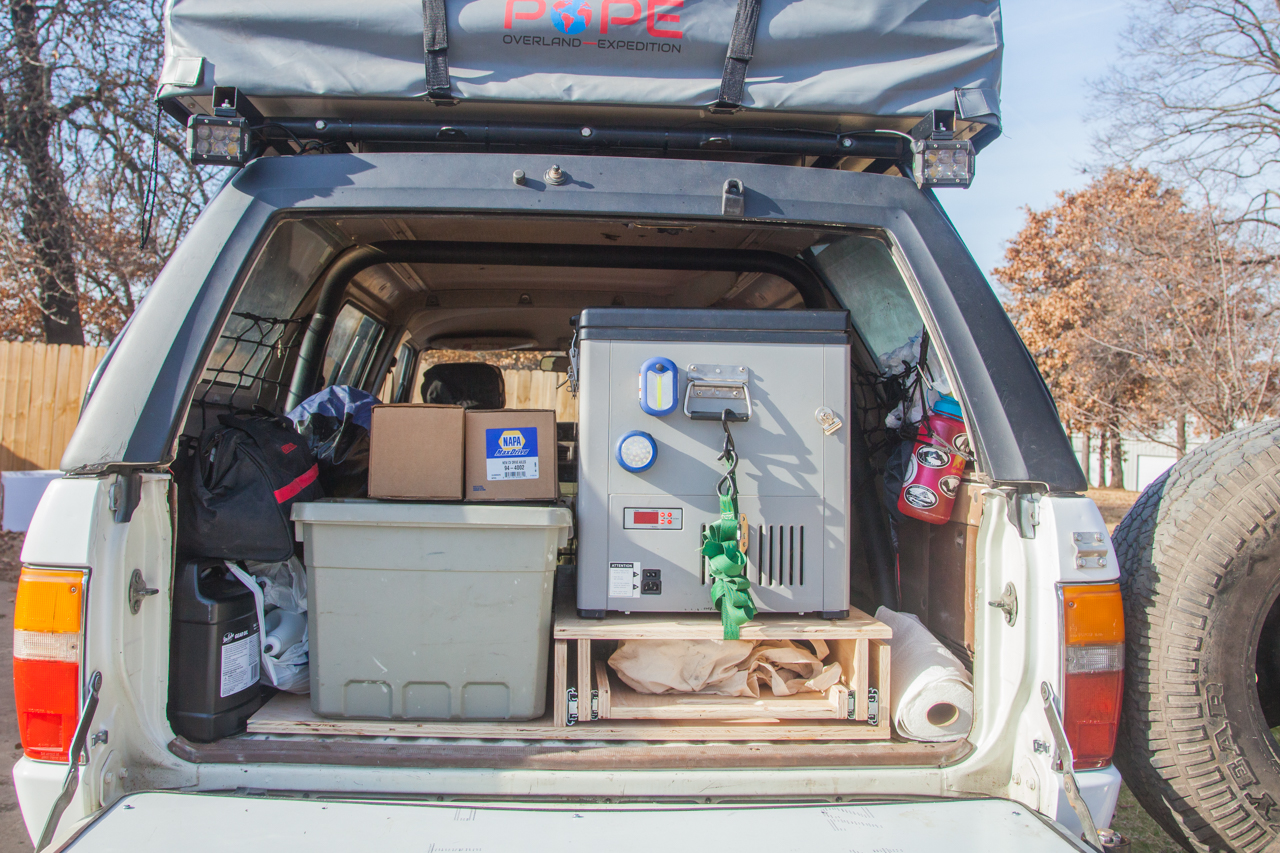
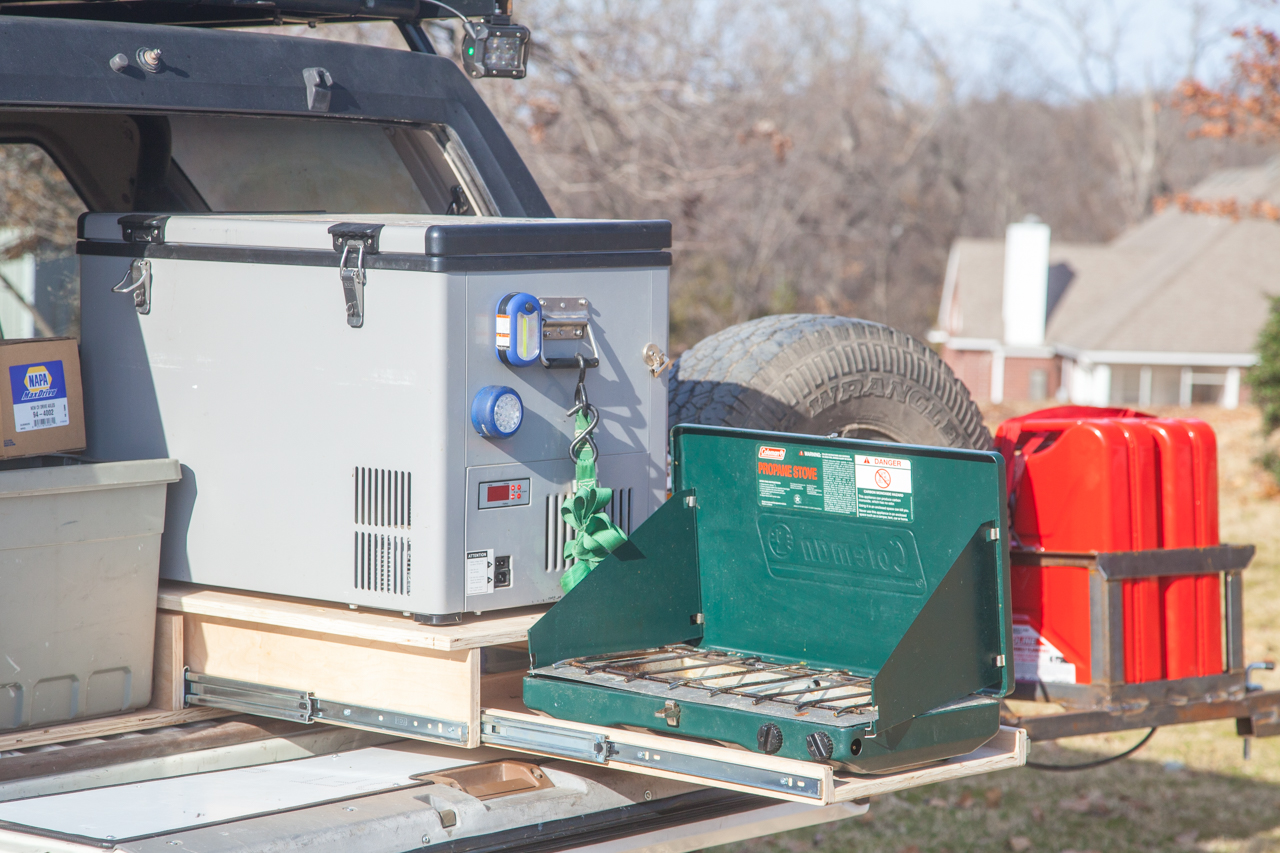
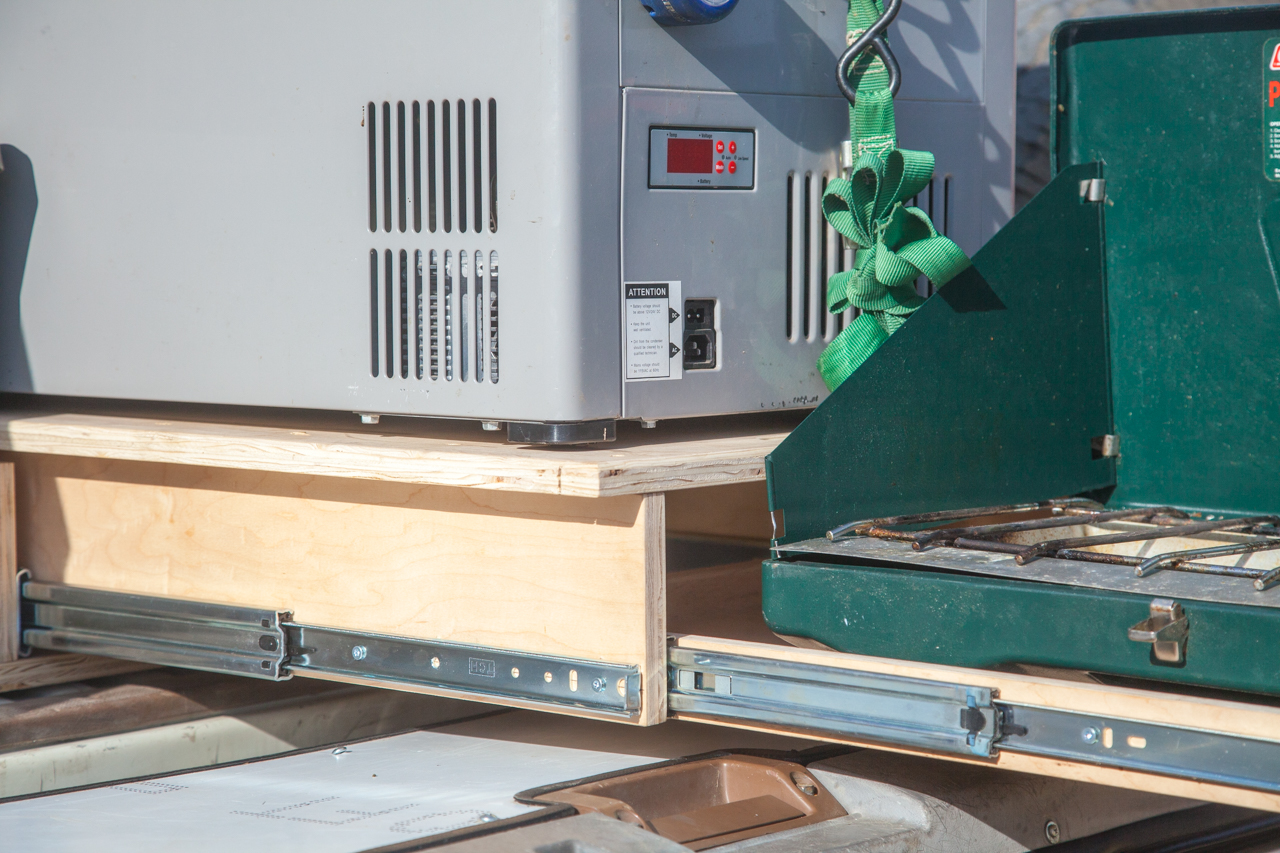
We finally got to work on the rear storage area. This are is important as we will be essentially living out of this thing on our way to and from Baja and while we explore the peninsula. The plan included a fridge slide out with an underslide for the Coleman stove as well as two drawers on the opposite side for cooking supplies and gear. We ran out of time and only got the fridge slide finished, but we can easily replace the drawers with storage tubs. All of the lumber used is 3/4 birch ply with some glue and nail joints and other pocket hole joints.
Heavy duty drawer slides were used for the fridge slide out and standard cabinet slides were used for the stove. I will likely be adding a latch to keep the stove and fridge "locked in" at some point later in the future. I discovered very quickly that I measured poorly and the fridge doesn't clear the topper. No biggie, a gallon of milk will still fit through the gap and I can see in well enough.
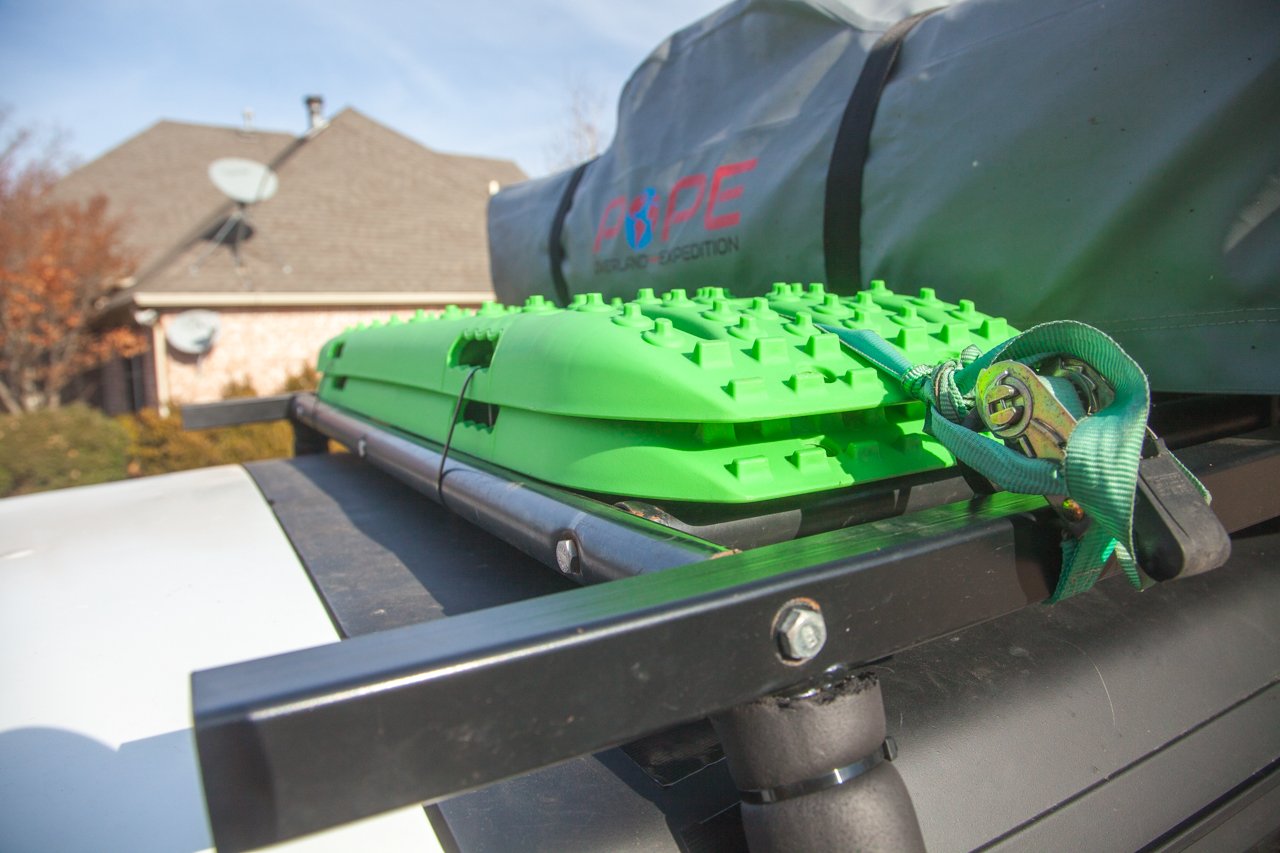
I got the knock-off MaxTrax mounted on the roof temporarily. I will later find a way to mount them to the spare/rear bumper and free up some roof space.
I spent much of the holidays wrenching on the 4runner to get it prepared for the 2500 mile trek to Baja. I replaced the following as they were neglected and needed to be done yesterday:
Differential fluid change FR&R
Transfer Case fluid change
Transmission fluid change
Replaced both CV shafts
Replaced FR brake pads and fluid
Engine oil & filter change
I had intended on replacing the rear main that has been leaking, but put it off as it is a lot of work and I didn't want to risk not being able to leave on time. Since I am writing this after the fact, SPOILER ALERT, we likely run into this issue again.
I finished grinding and painting the rear swing out bumper and I am pretty pleased with how it turned out considering it cost less than $100 to build. I didn't get any photos after paint, but here it is on the truck. We should have added a latch to secure the swing out to the bumper, but we can do that later on. A bungee works ok for now.
We left Oklahoma with the thought that the Southwest US would be much warmer than the near freezing temps in OK. We were wrong.
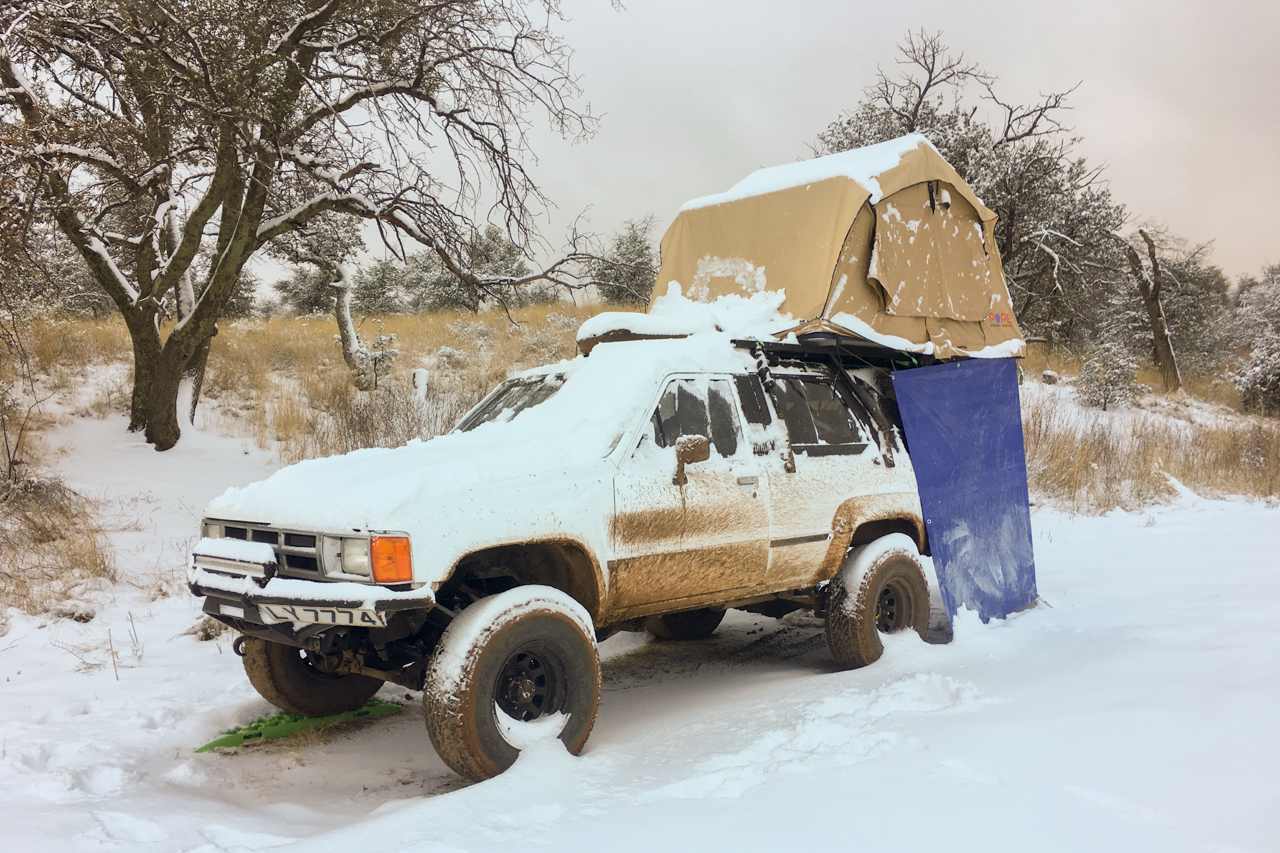
Camped near Lawton, OK on the first night with temps in the 20's
The second night we made it to Alamogordo, NM after driving through snow and sleet with you guessed it, temps in the 20's:
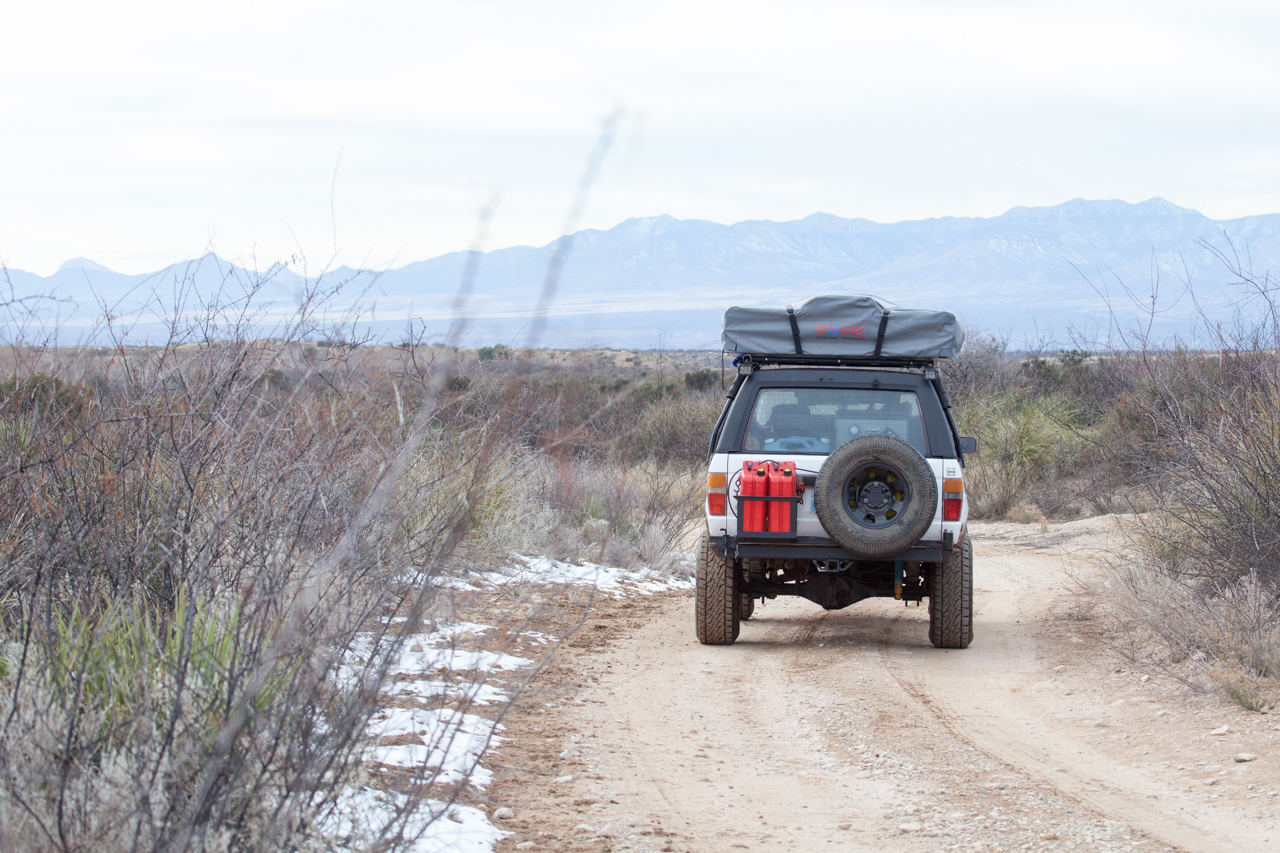
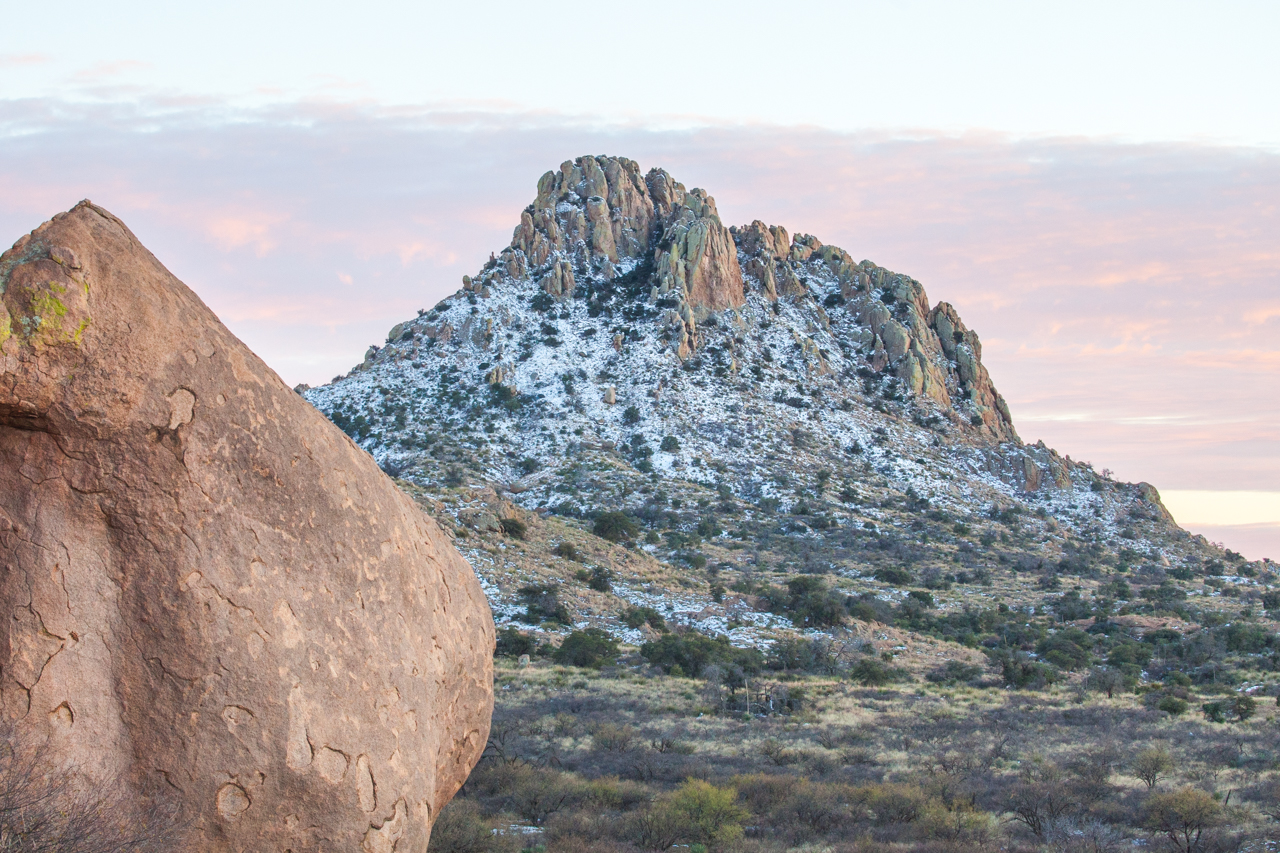
The truck did really well and got us to our destination for the weekend near Tombstone, AZ at Cochise Stronghold. This was a sweet place to camp, but temps were most definitely in the 20's.
We hung out in Bisbee, AZ for the weekend and drove down to Tucson for another night of camping in 20 degree temps with the first snow of the season for Tucson. We were really wishing we had sprung for an awning and annex room about now.
We got caught up on work in Tucson and had to lay over long enough to tend to the oil leak that has gone from a drip to a puddle under the truck after a long drive. We found a shop in Tucson that got us in quick, replaced the rear main, the input shaft seal, and the clutch for an affordable price in less than 24 hours. We got a cheap hotel and a hot shower. Temps the night we were in the hotel were in the low 20's in TUCSON!
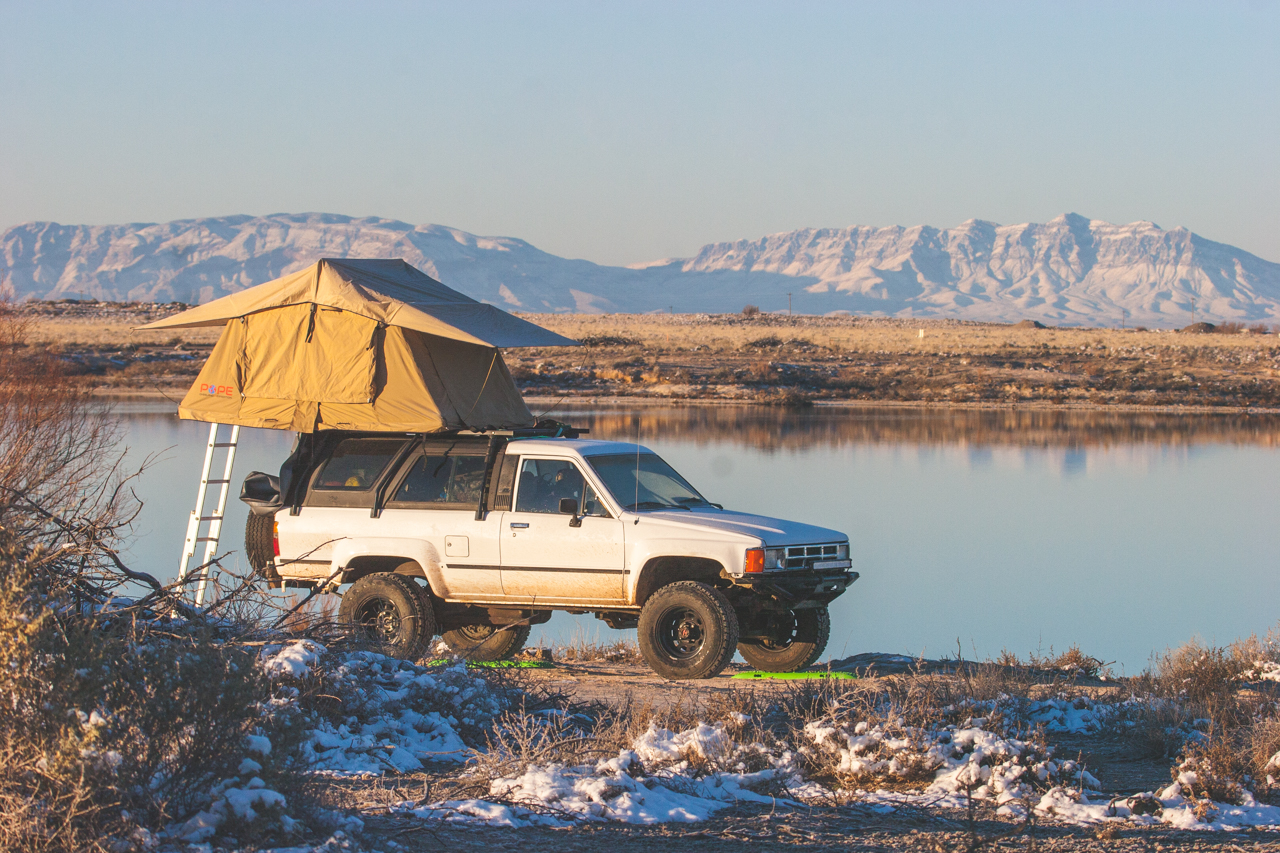
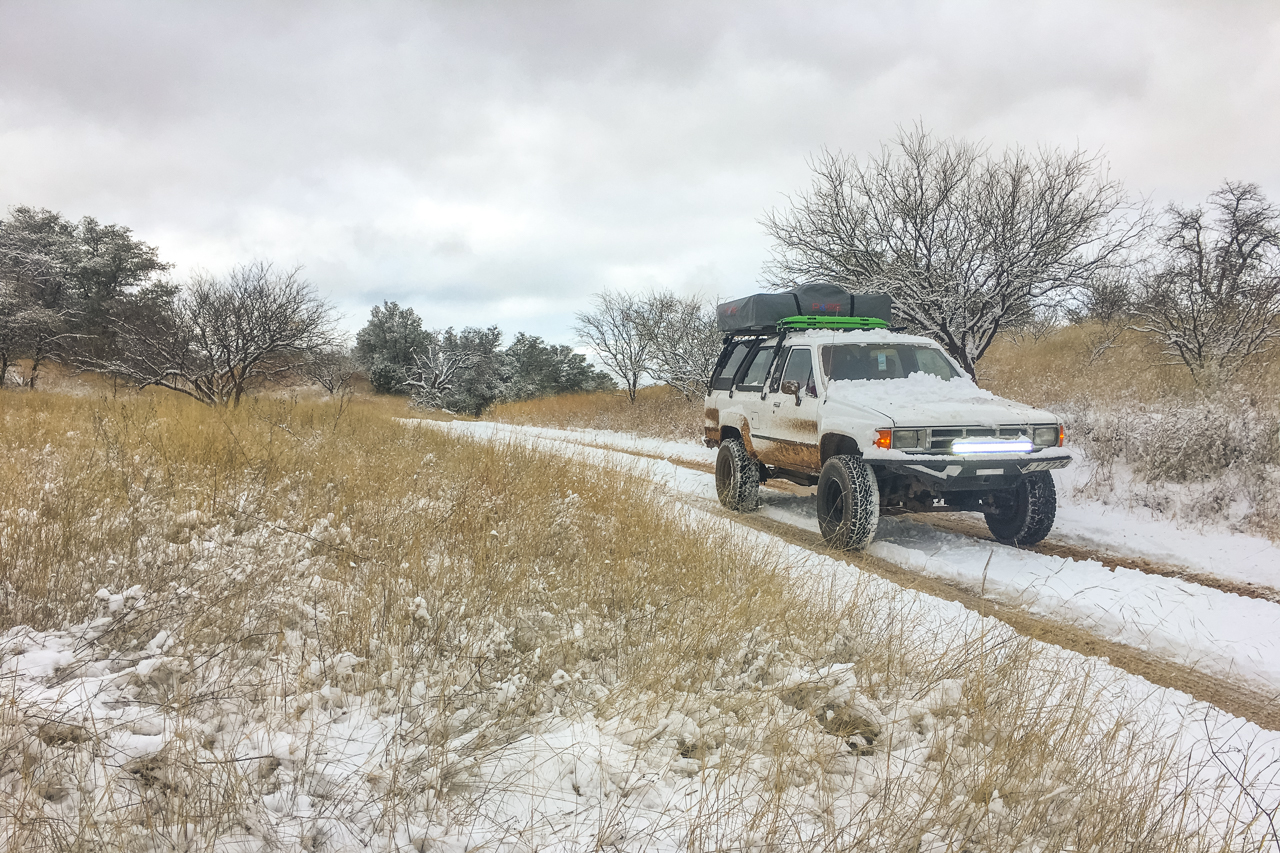
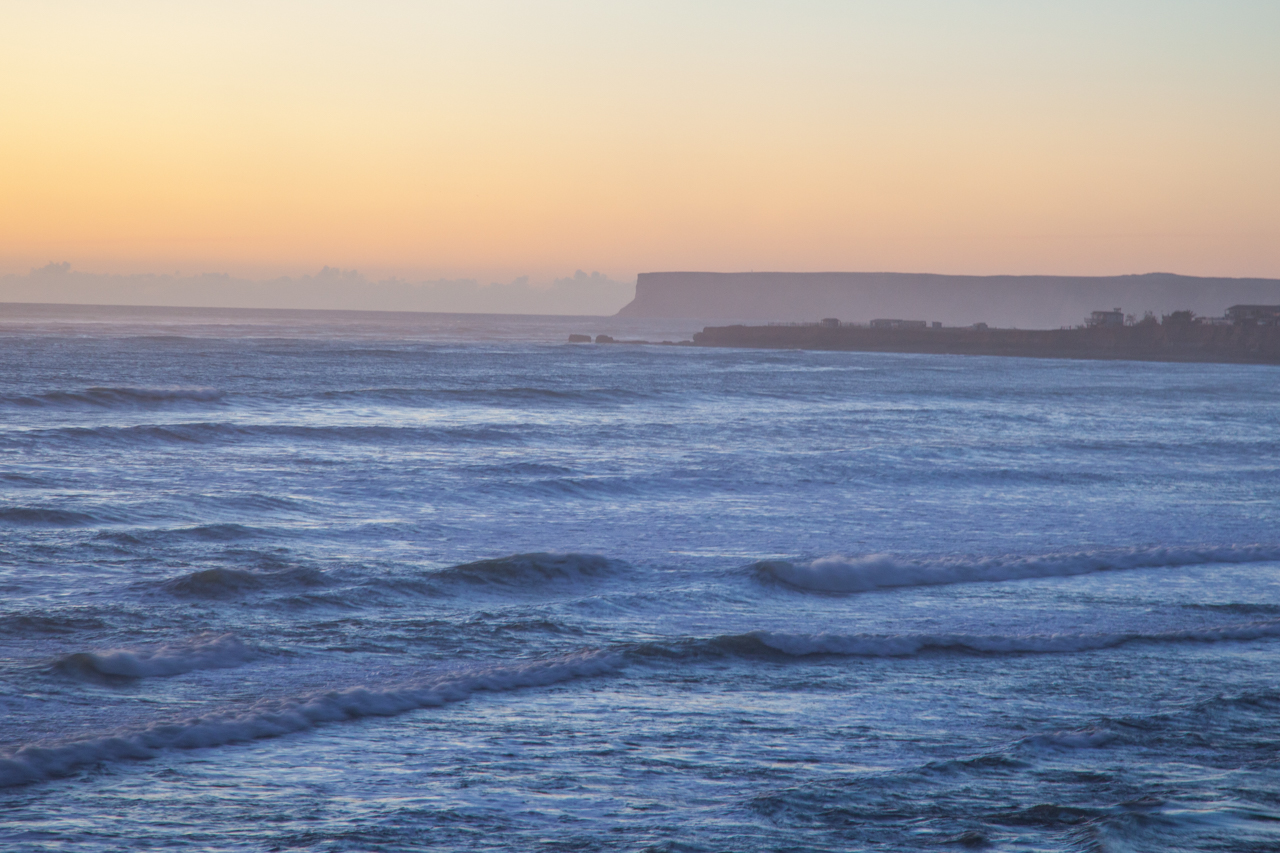
We picked up the truck from the shop and made our way West. We got good driving in and chased the sunset into Anza Borrego State Park for a quiet and slightly warmer night's sleep.
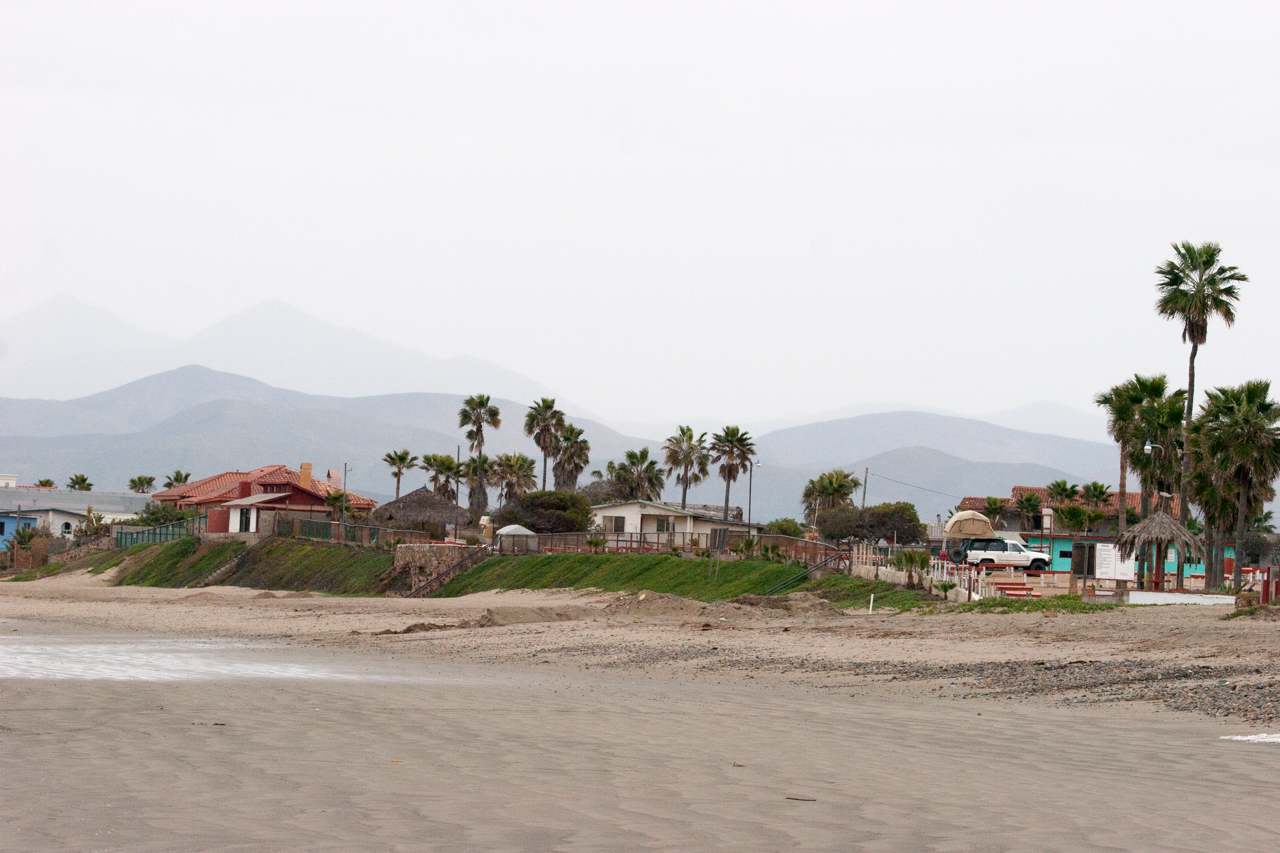
The next morning we loaded up, gassed up and made our way to Tecate for the easiest border crossing of my life. Tecate was a fun little town to walk around and soak in, but we had bigger plans of getting to the beach. There is little beach camping near Ensenada and we regretfully had to pay for a campsite on the beach.
We spent the day in Ensenada to meet our Housesitting hosts and eat some Tacos de Pescador. Once we finished lunch and getting information on the house, we drove south and found a beautiful spot on the beach near our turn off of the 1.
We have been housesitting in the mountains and are really enjoying it so far, but that part that is kinda love hate is the road into and out of the ranch. It is 6KM of rough 4x4 trail and it takes roughly 40 minutes to drive one way. I took some video on the GoPro of me driving it starting at the pavement and ending at the ranch. Enjoy!
This is awesome build! My wife and I just bought an '87 4runner and are planning to do something very similar. Okienomads, do you have a copy of the design or dimensions of your rack for the RTT? I love it and would love to build an identical one. Any info would be greatly appreciated!
Cheers!
The rig looks AWESOME and you guys are KILLING IT!
20s ... Could be worse, I woke up to 5 degree and a frozen water pump this morning!
Thanks for the kind words! The temperature wasn't so bad if we weren't living out of the truck. Sleeping in the tent was fine in the cold as we had warm bags and appropriate clothing. Cooking outside is miserable when it is that cold and windy/rainy. Glad you are enjoying the adventures!
Originally Posted by old87yota
I love seeing the adventure! Thanks for sharing the pictures!
One day I will be able to do cool adventures like this.
20�F camping sounds pretty chilly!
Cool video!
Glad you are enjoying the ride! A lifestyle like ours is doable for most anyone. We don't have ultra in demand skills or trust funds, we just manage our money well and don't live in excess. You can travel a lot with a basic job and good money management. Get out there and live the life you want!
Originally Posted by 92xcab
This is awesome build! My wife and I just bought an '87 4runner and are planning to do something very similar. Okienomads, do you have a copy of the design or dimensions of your rack for the RTT? I love it and would love to build an identical one. Any info would be greatly appreciated!
Cheers!
Thanks for the kind words! We have really enjoyed our truck so far. We haven't put together any design documents, but we took some photos of the build that might be helpful here: http://www.okienomads.com/1stgen4runnerroofrack/


 Oct 30, 2018 | 04:24 PM