Sam24th's 84 Darkside build

 Oct 12, 2014 | 04:12 AM
#82
Registered User
Joined: Sep 2012
Posts: 5
Likes: 0


 Feb 1, 2017 | 06:10 PM
#88
Thread Starter
Registered User
Joined: Mar 2012
Posts: 111
Likes: 0
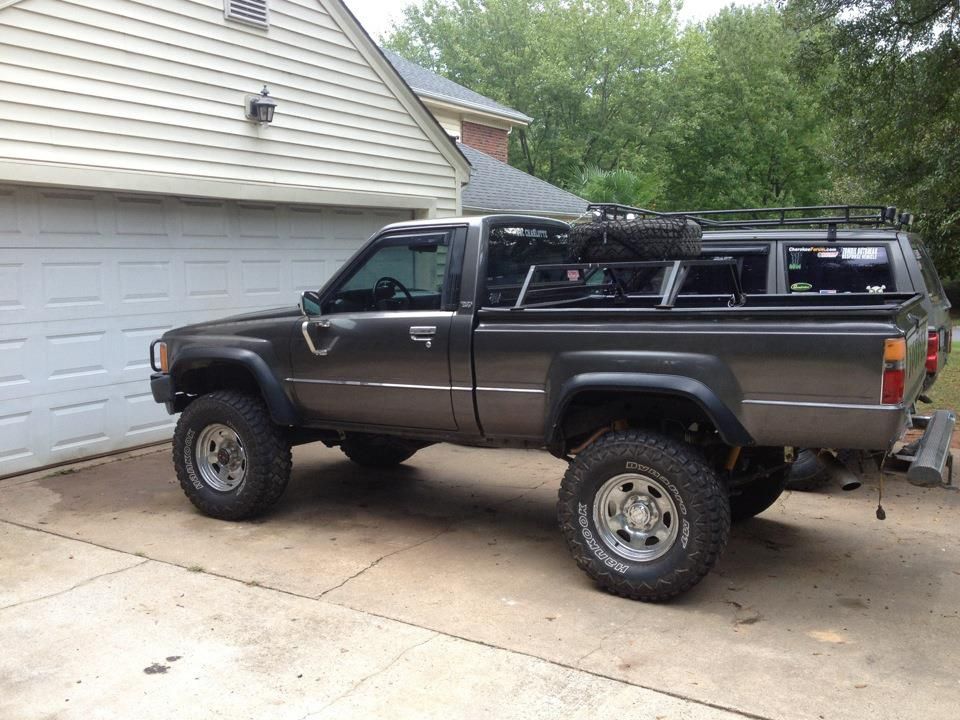
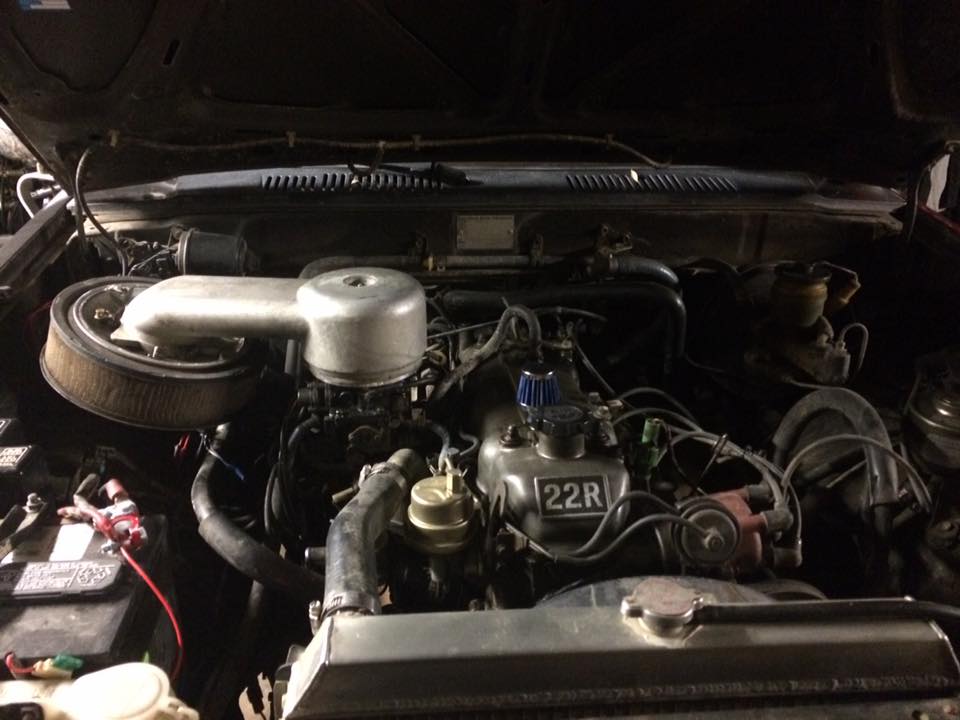
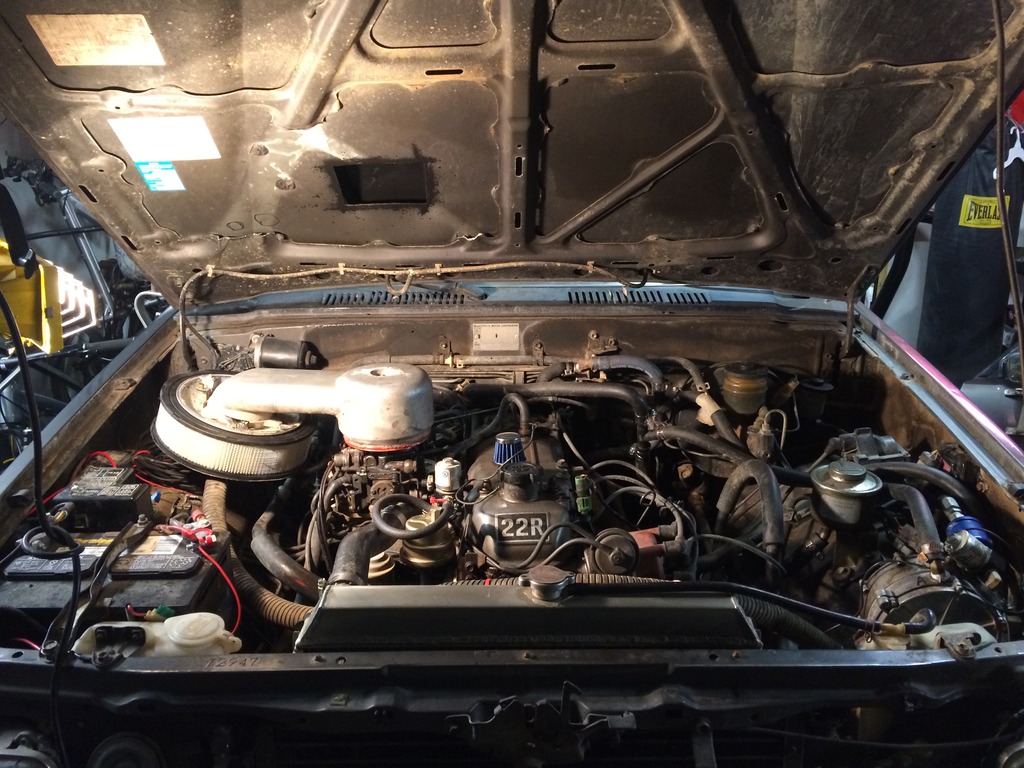
Been a really long time since I showed up around these parts. I decided to start building my pickup truck again. So I picked up a dual fuel kit for it recently. The kit is a got propane dual fuel kit. So I can run either gasoline or propane. I also have a painless dual battery system going int he pickup soon. Worked on the truck a bit tonight and ran into my first major snag. The intake seems to be sitting a tab bit too tall and the hood wont close. Im going to attempt to remove some of the ribbing in the hood since thats what its hitting on. If that doesnt work i may have to resort to cutting the hood or doing a 1inch bodylift.


 Feb 8, 2017 | 04:35 AM
#89
Thread Starter
Registered User
Joined: Mar 2012
Posts: 111
Likes: 0
Finally got the propane kit mounted in the truck. Mounted the vaporizer behind the drivers front headlight light with a bracket I made. I routed all the lines and test fired the engine on propane. Truck seems to runs great. Also ended up putting a hole in the hood and a small vent to clear the intake. Now I just need to finish wiring and mount the tank in the bed down.


 Feb 28, 2017 | 06:41 PM
#92
Thread Starter
Registered User
Joined: Mar 2012
Posts: 111
Likes: 0
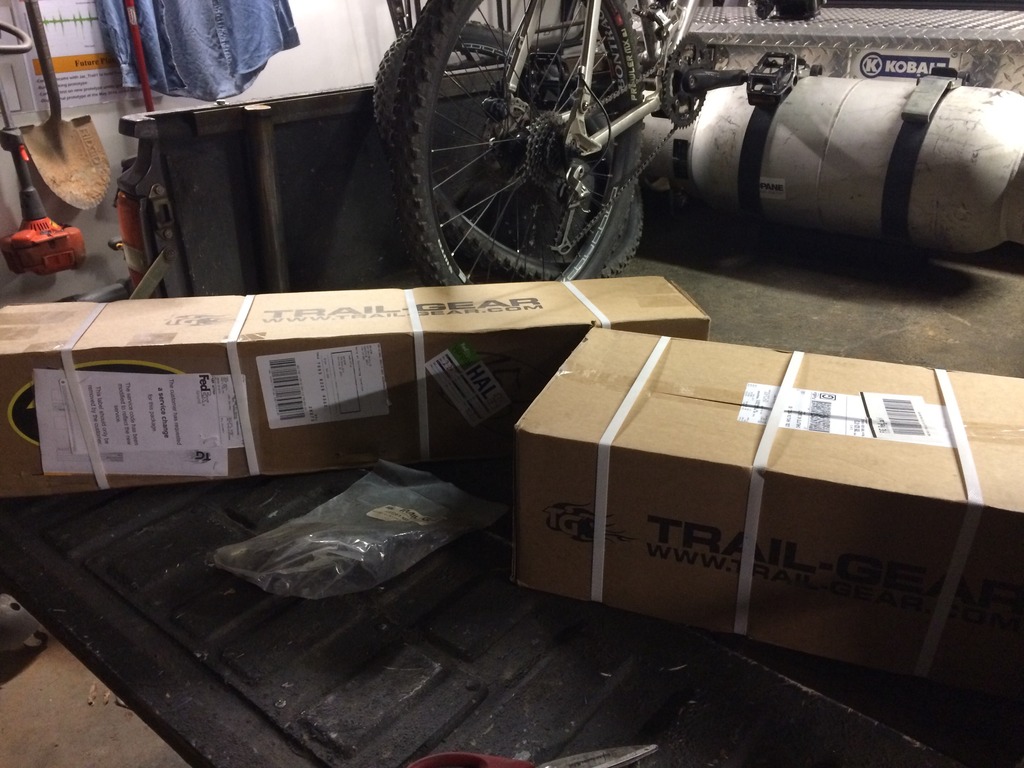
Brown santa showed up at my house today. Got some goodies from trail gear for the pickup. Still waiting for some more parts. But I got a front top truss, shock hoops, and frame reinforcment plates. Also had a GM alternator bracket that ill be installing for dual batteries.


 Apr 15, 2017 | 08:26 PM
#94
Thread Starter
Registered User
Joined: Mar 2012
Posts: 111
Likes: 0
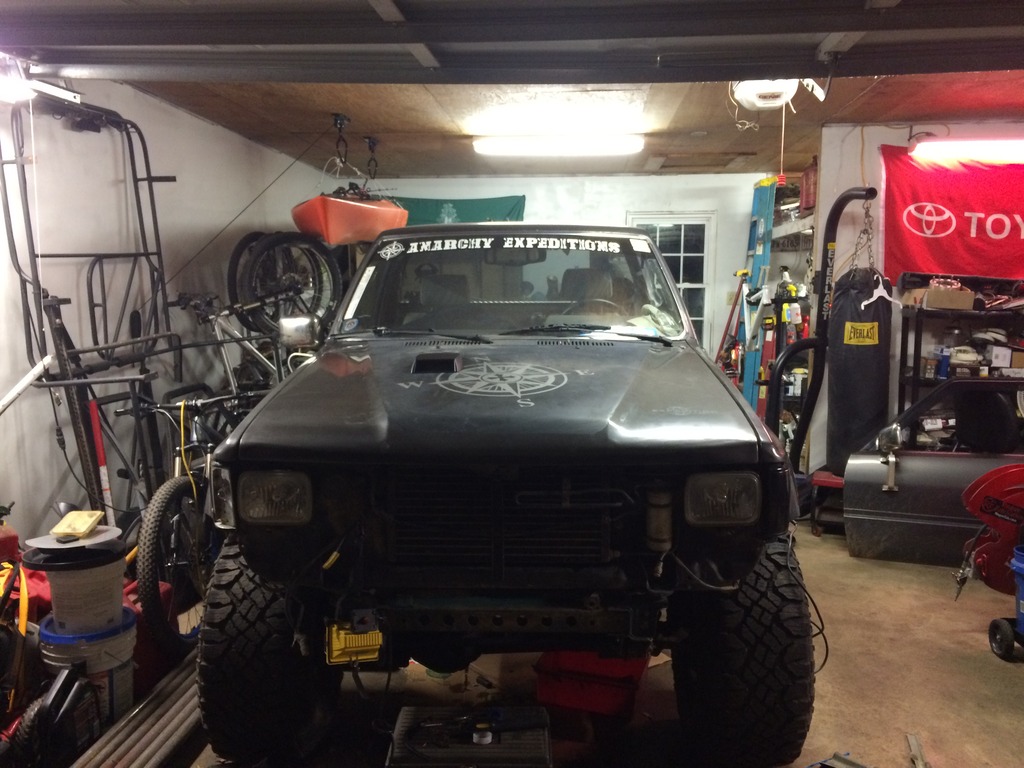
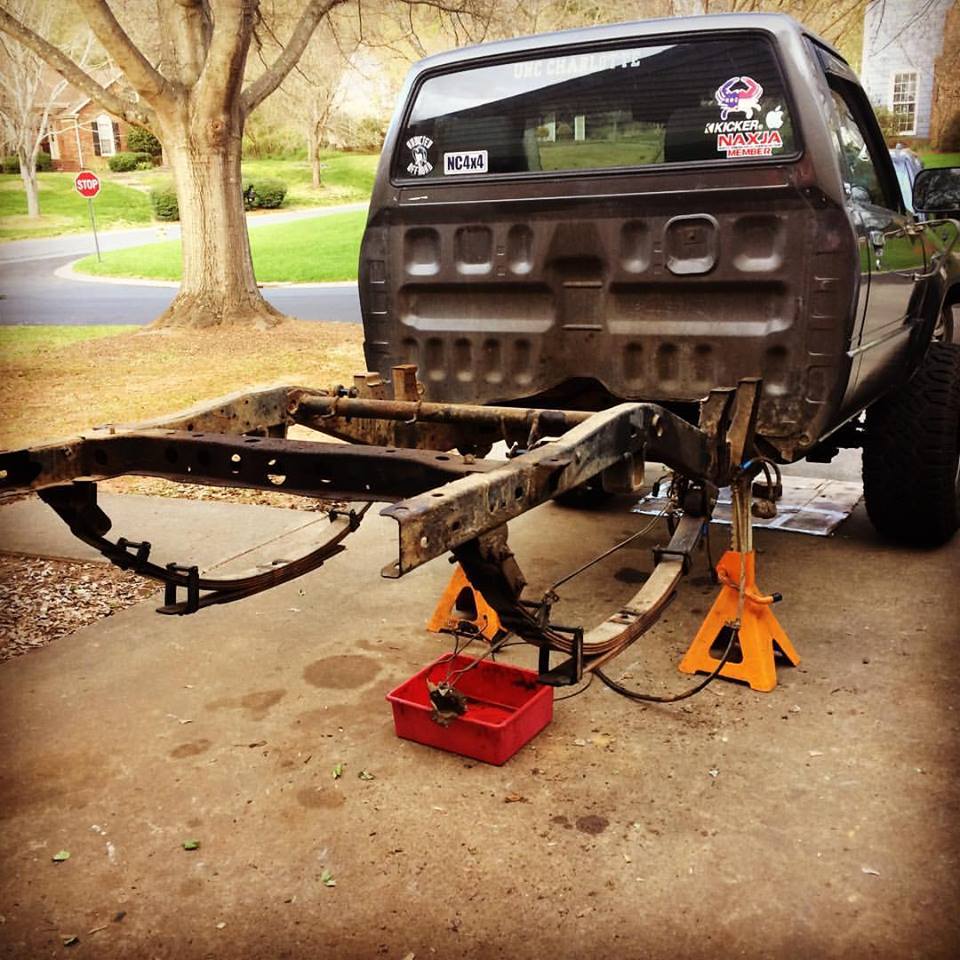
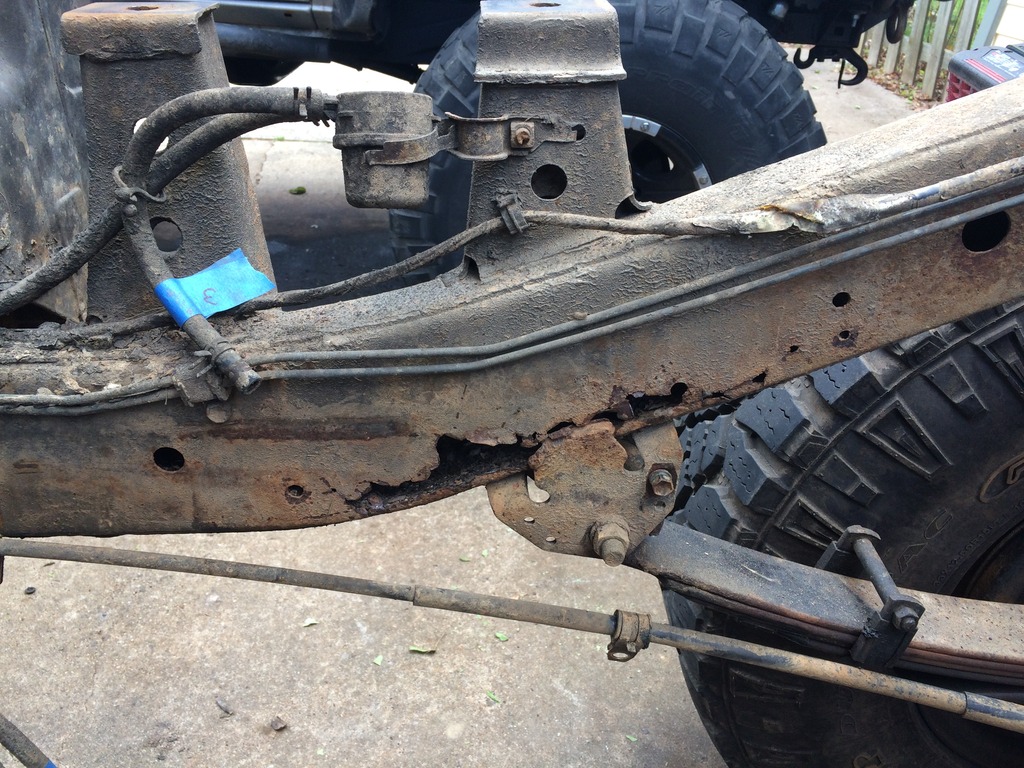
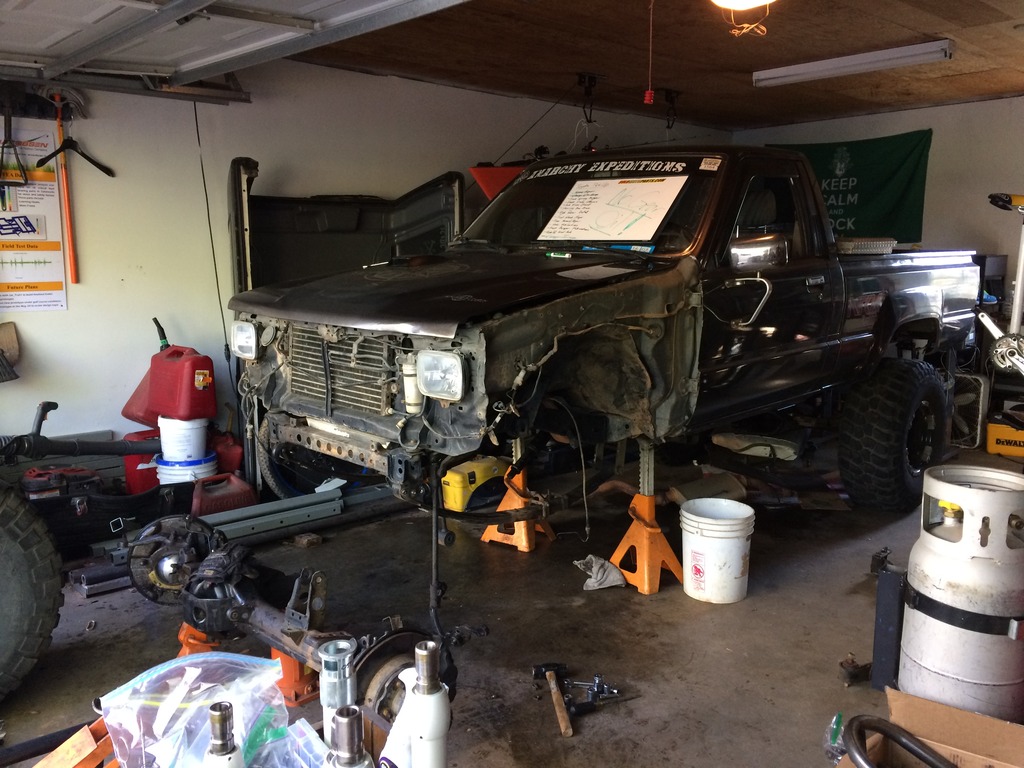
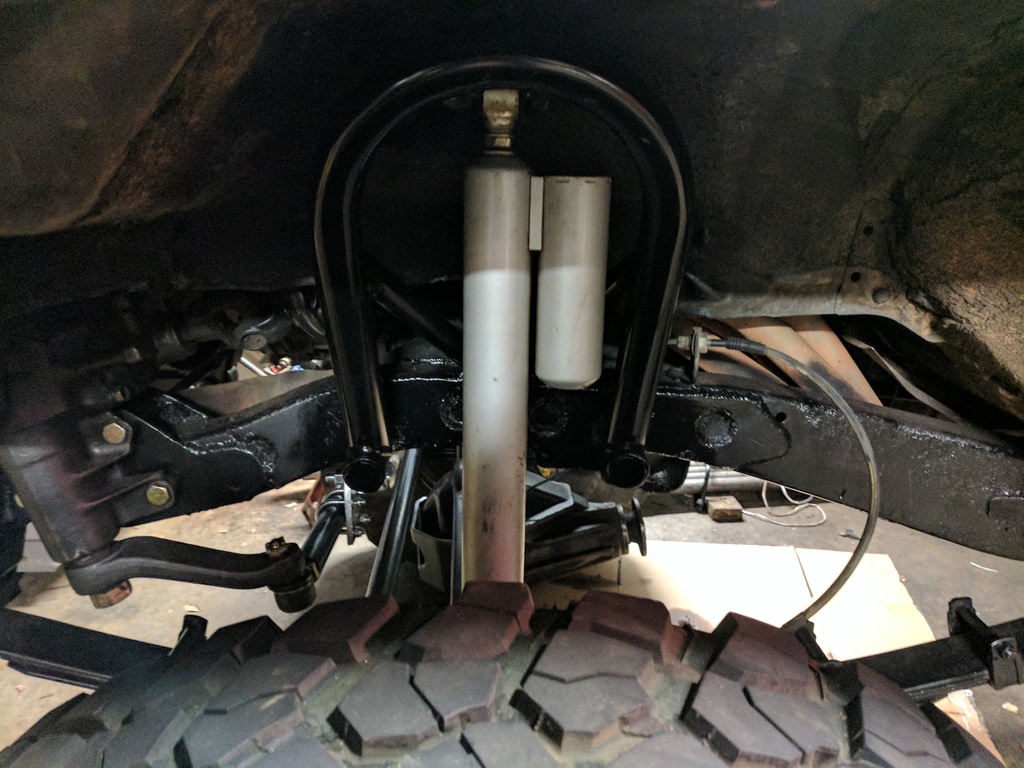
Some updates: Had a bit of frame rust on the passenger side. It was actually pretty bad, but I replated the whole passenger side and finished the Chevy 63 swap. Also got the truck pulled into the garage after the swap, and pulled the front axle for a rebuild and diff swap. Decided to pull the front locker and stick it in the rear. Then I pulled the ARB from the 4runner and am going to stick it in the front of the pickup.


 Apr 21, 2017 | 06:47 PM
#95
Thread Starter
Registered User
Joined: Mar 2012
Posts: 111
Likes: 0
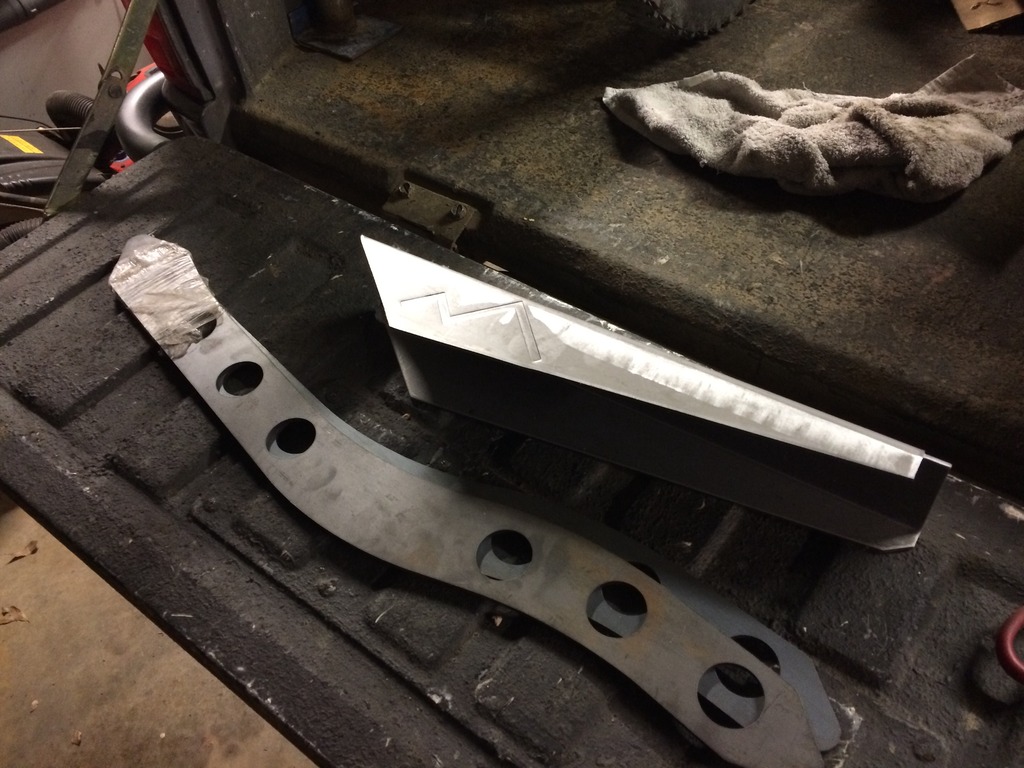
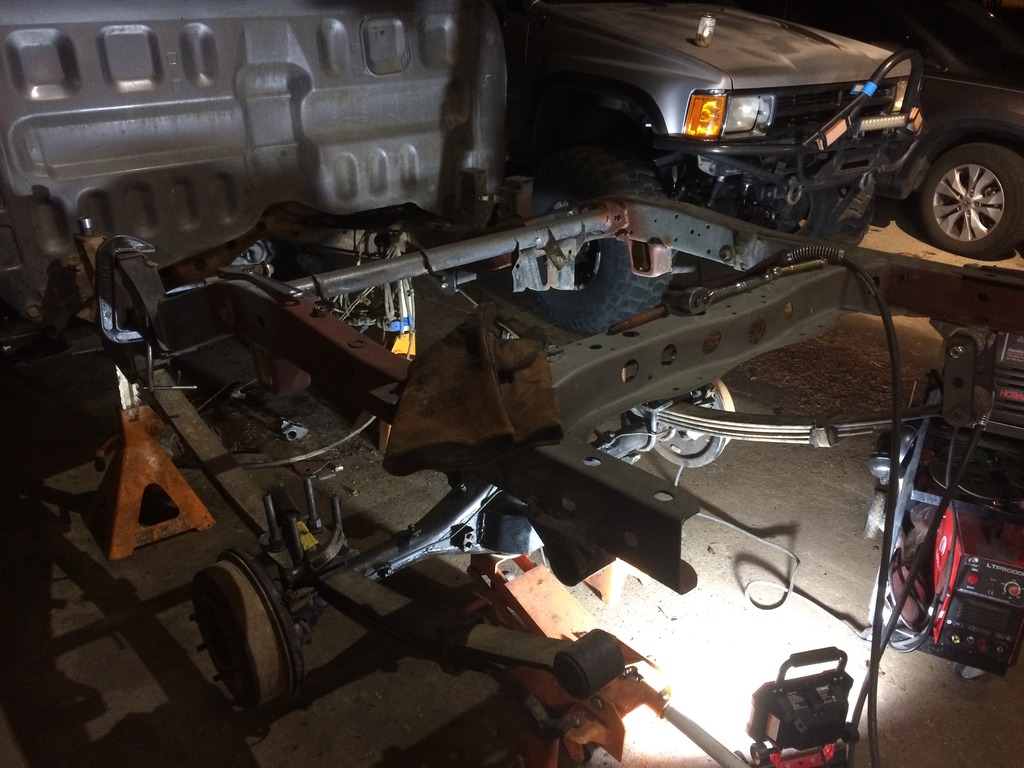
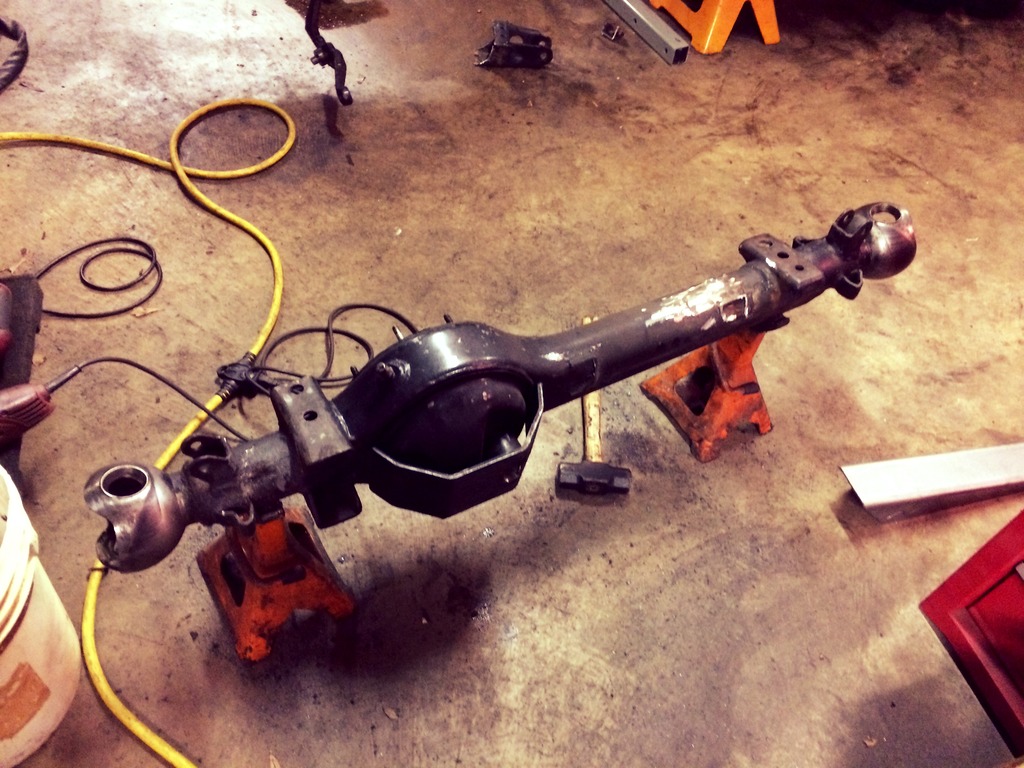
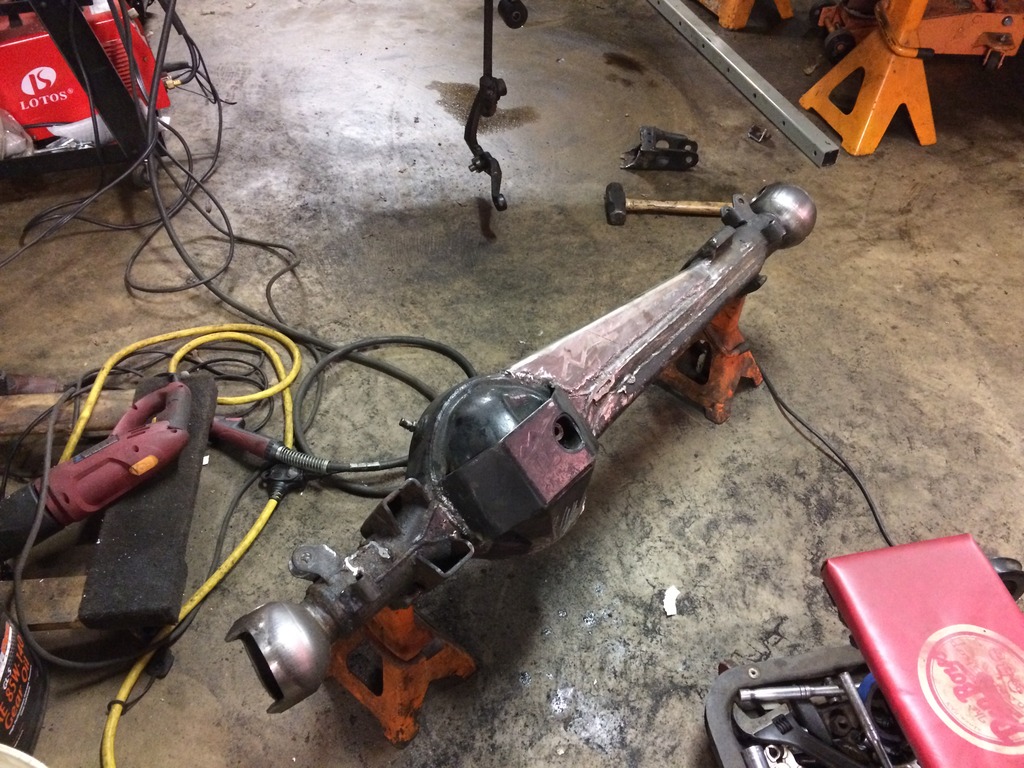
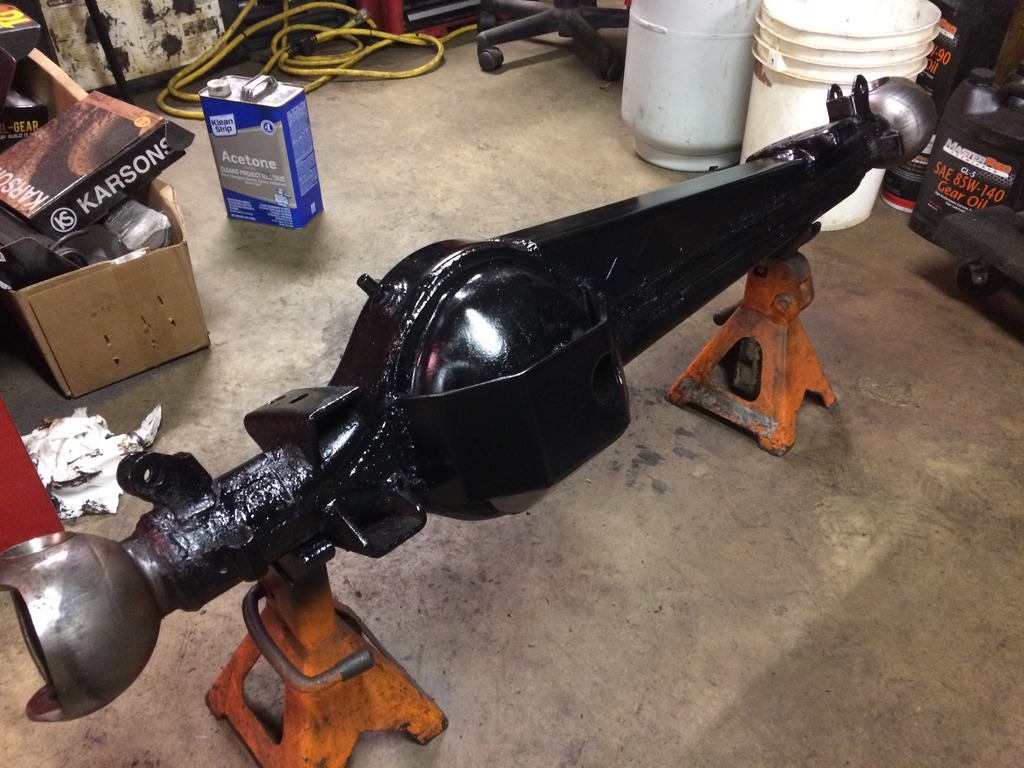
Got the front axle housing apart and prepped it today. Cut the old Dogbone mount, stabilizer, and sway bar mounts off. Trussed the axle and gusseted it in a few areas. Got it painted and prepped to accept the ARB Air Locker.


 Jun 19, 2017 | 05:36 AM
#98
Thread Starter
Registered User
Joined: Mar 2012
Posts: 111
Likes: 0
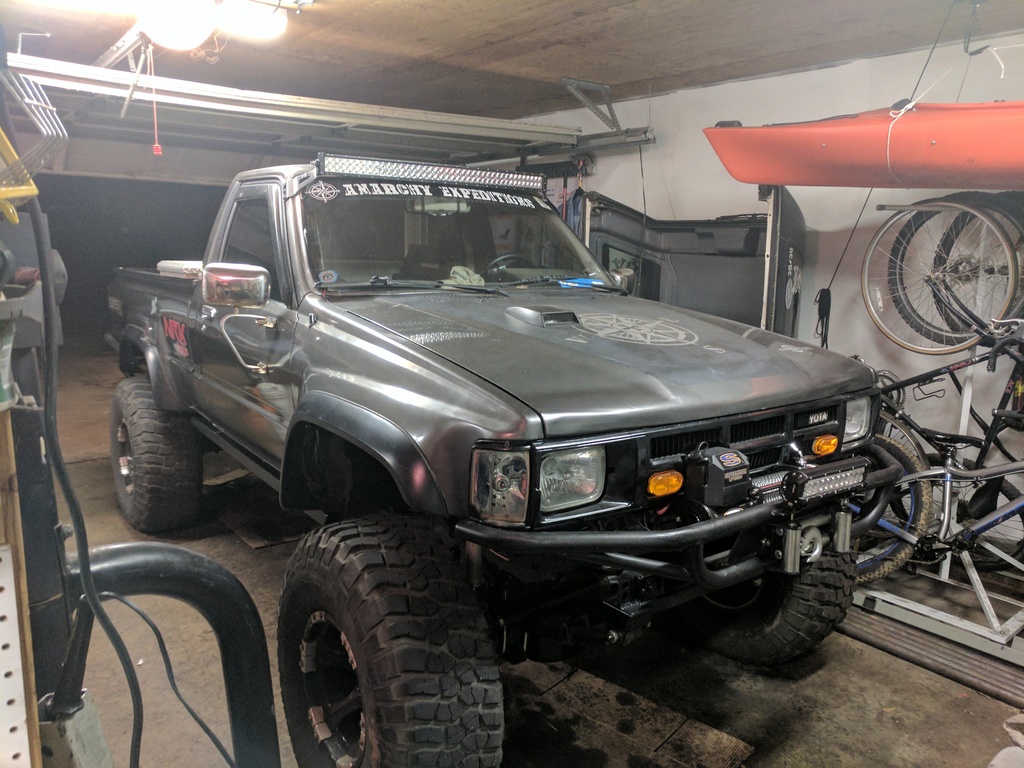
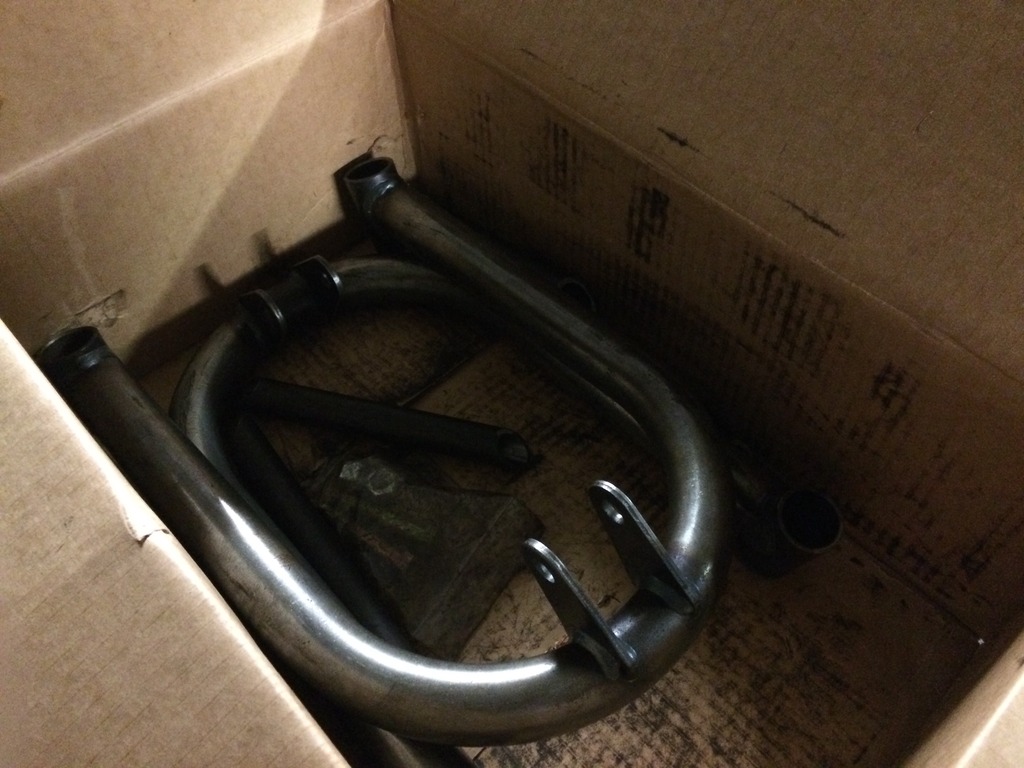
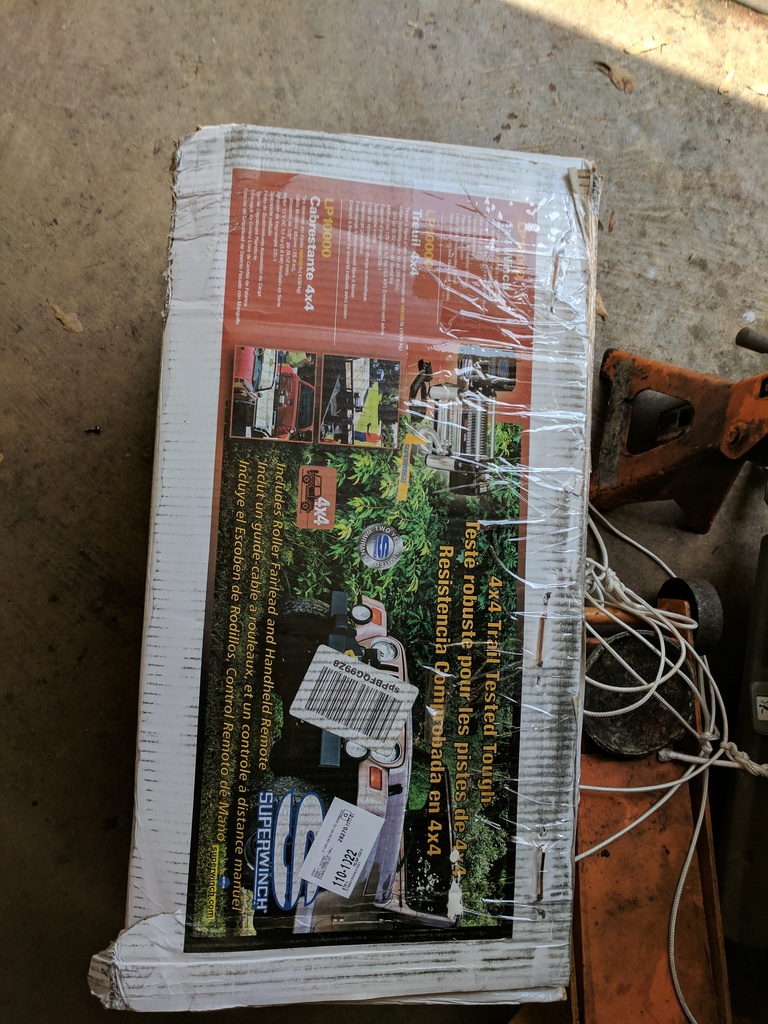
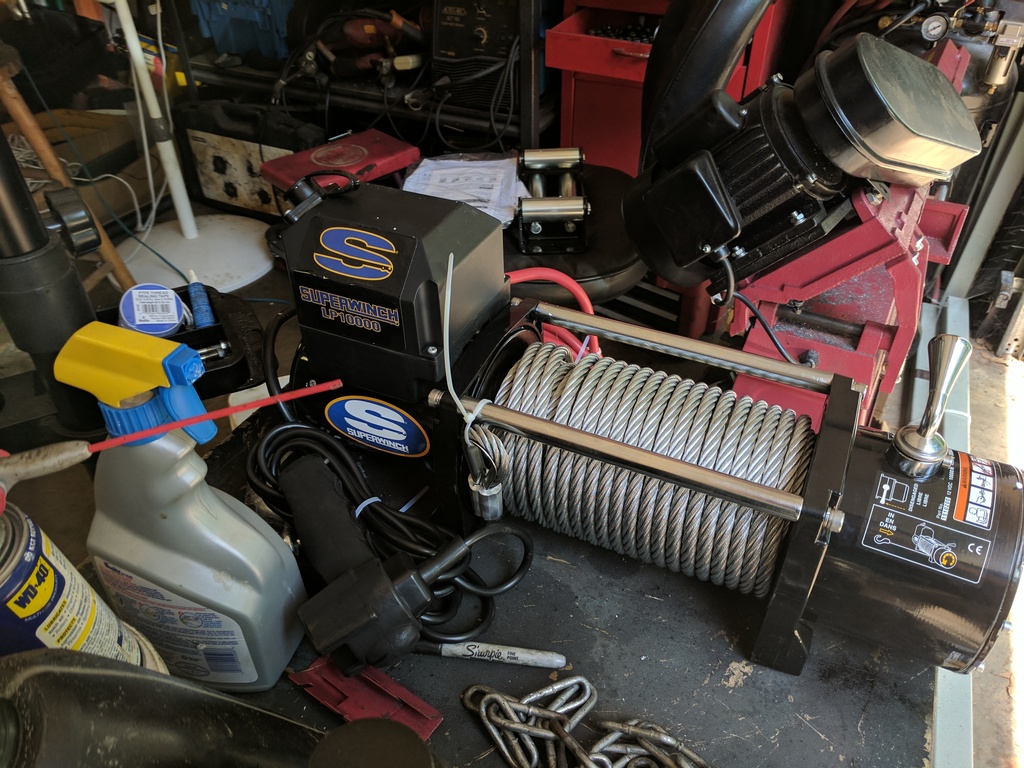
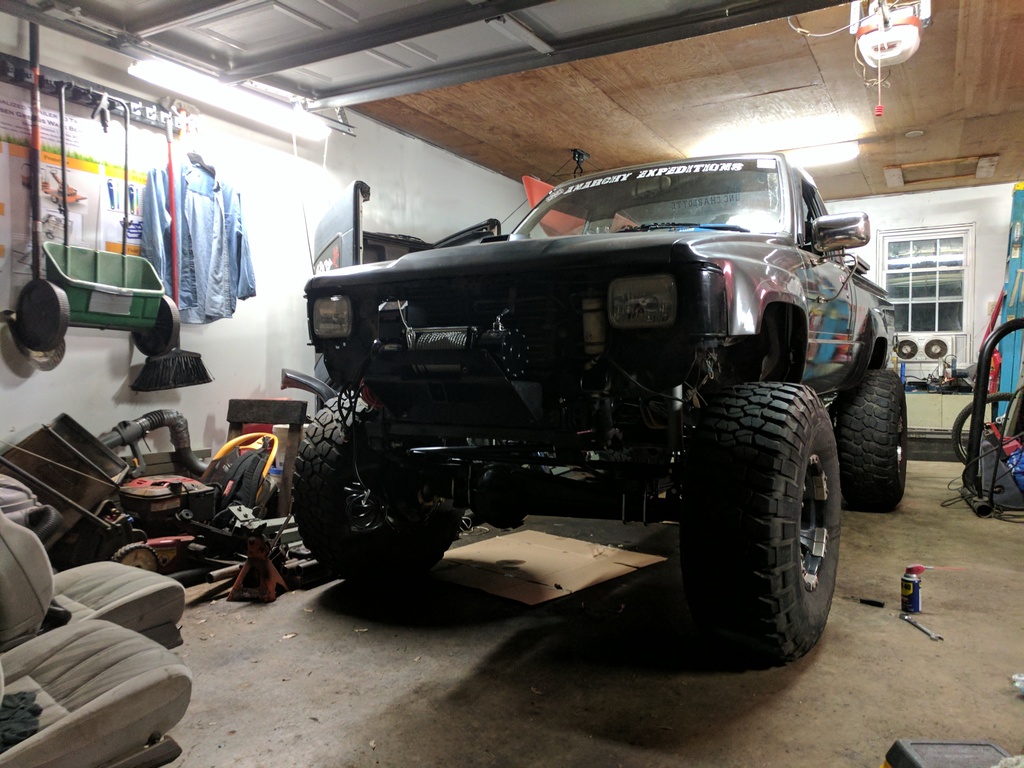
Brown santa delivered more goodies. I got my new 10k superwinch. I installed it on the winch plate and made a quick front bumper. Still need to add a hoop and braces. Also mounted my bilstein shocks.


 Jun 21, 2017 | 05:20 AM
#99
Thread Starter
Registered User
Joined: Mar 2012
Posts: 111
Likes: 0
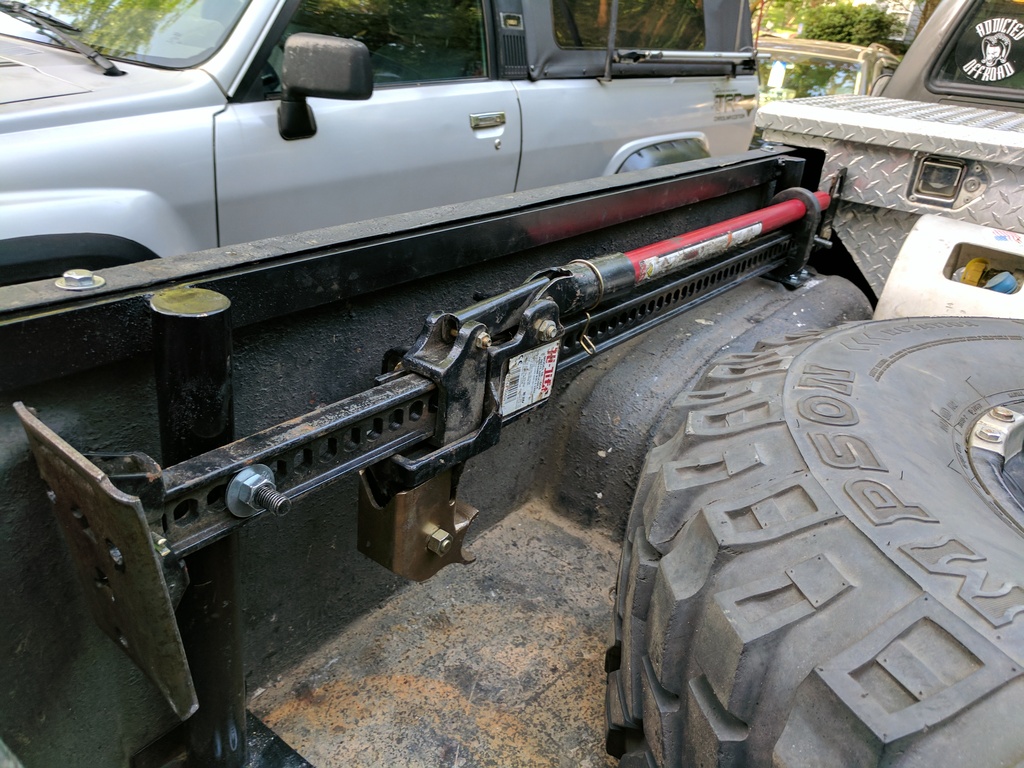
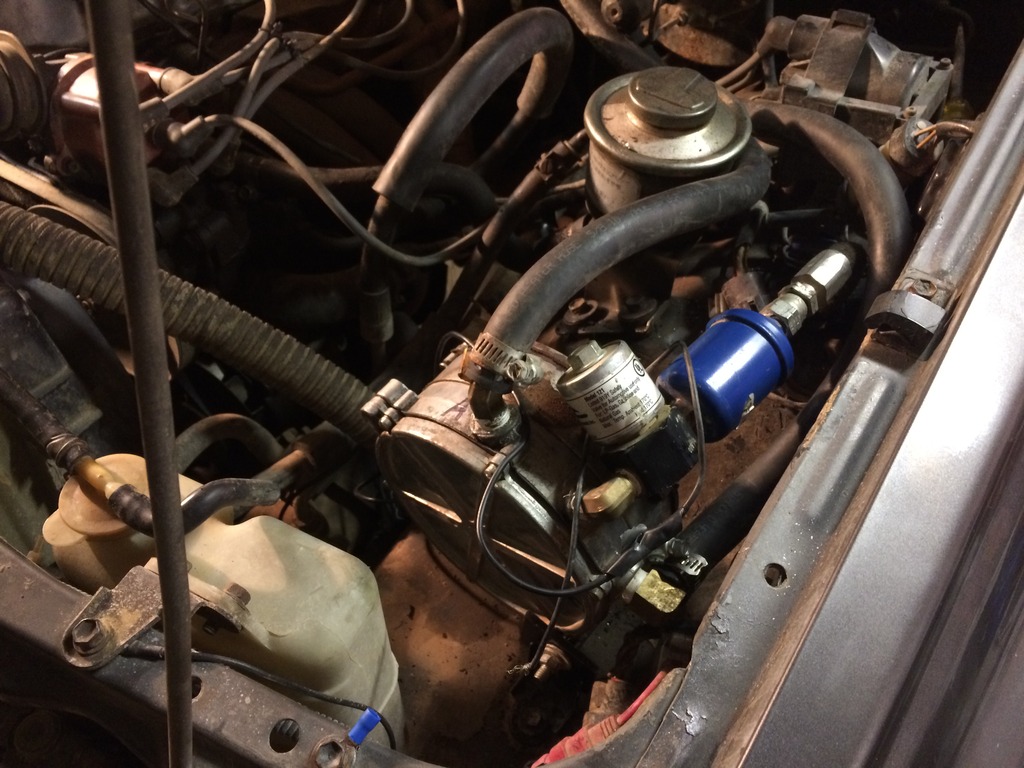
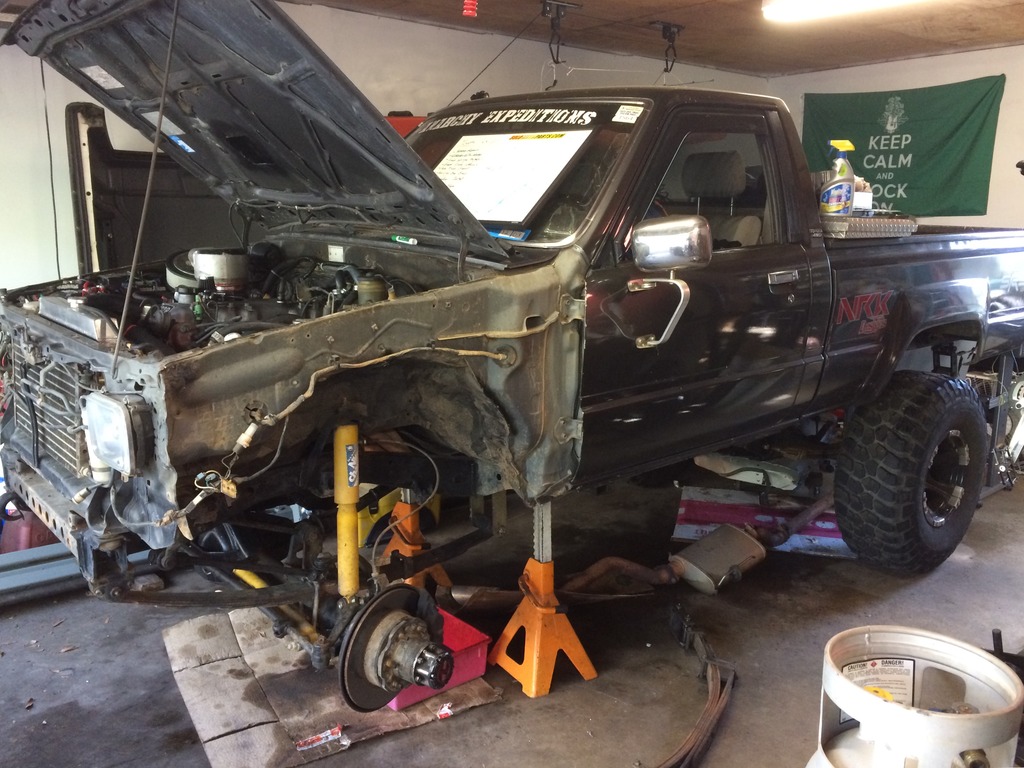
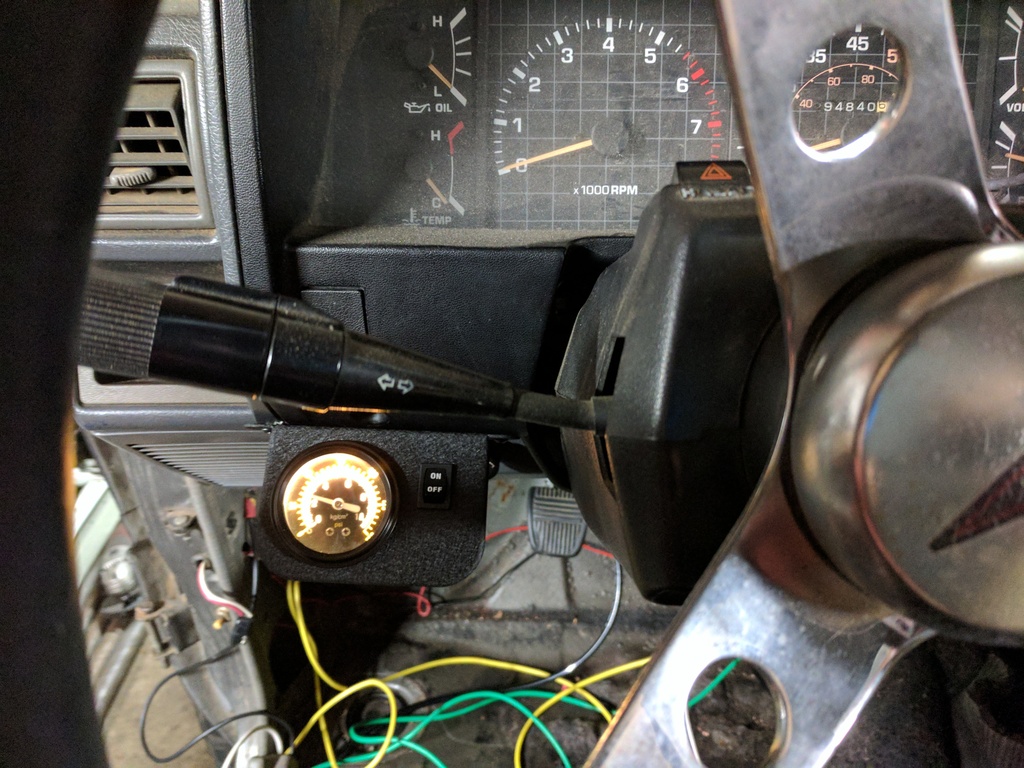
Starting to get into more expedition type gear now. Mounted my aircompressor last night, ran all the wiring for the compressor and locker switch, and tested the solenoids. Still waiting for a couple fittings to finalize the compressor and tidy up the wiring. Probably going to make a new switch plate for the gauge and toggle that will go in the change holder (left open pocket in picture.) The tank itself is a 4gal tank which will be running at 150psi/110psi. Compressor auto kicks on at 110 and shuts off at 150.
Attachment 109345
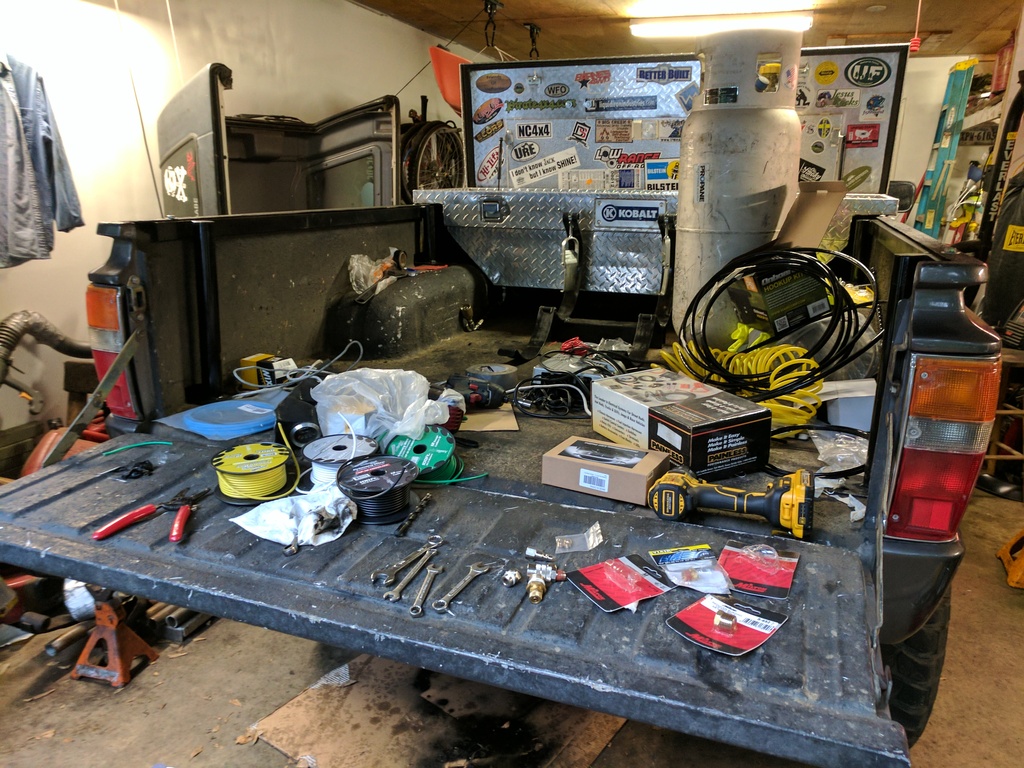
Attachment 109345

 Jun 28, 2017 | 06:16 AM
#100
Thread Starter
Registered User
Joined: Mar 2012
Posts: 111
Likes: 0
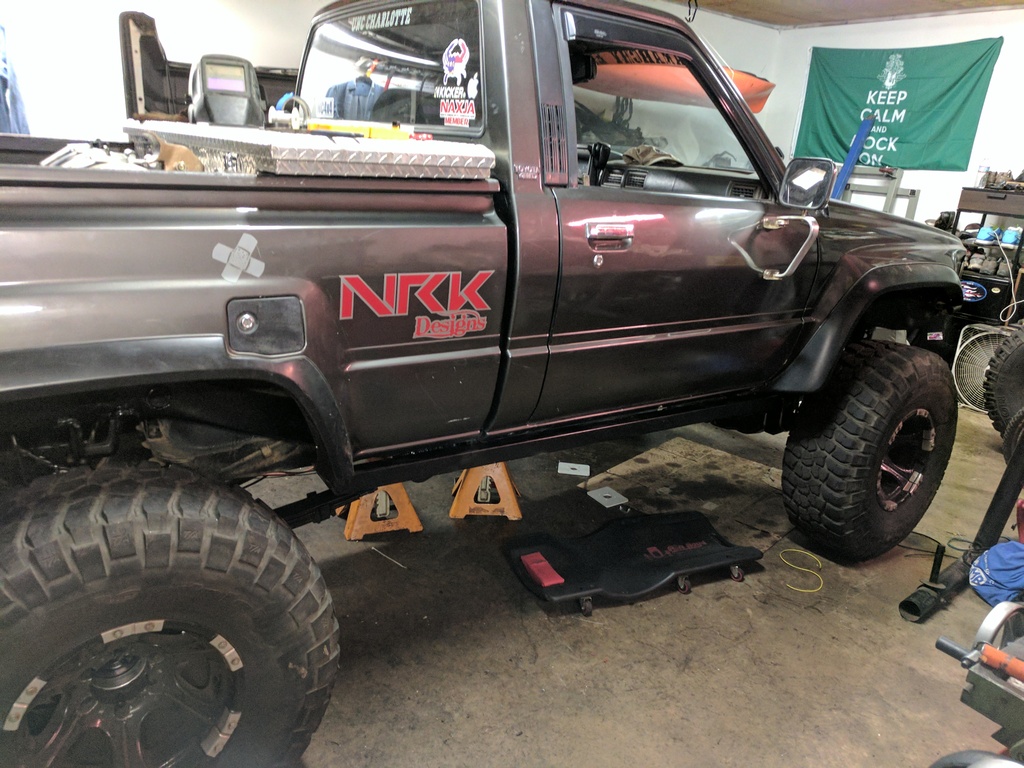
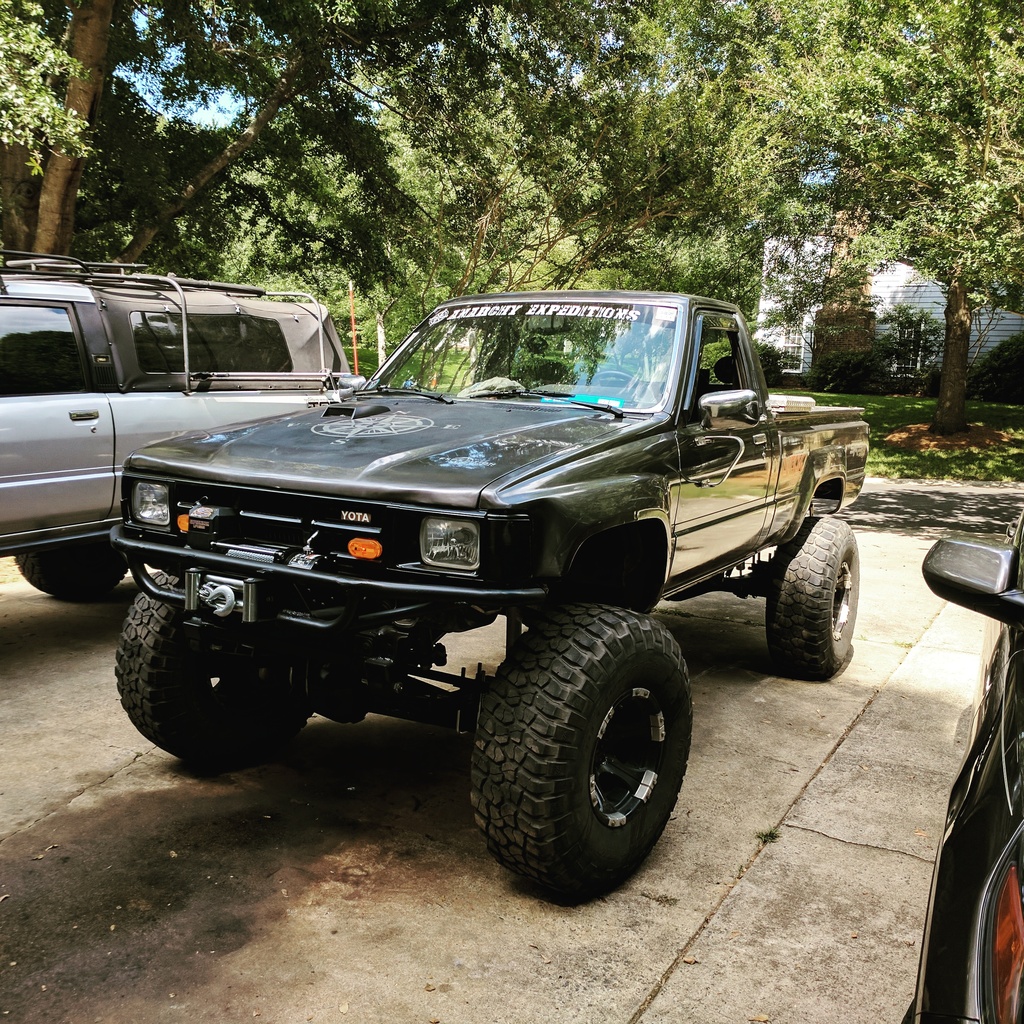
Finished up a few more items and got a test run in with Carolina Trailblazers. I got part my sliders made and welded on the truck. Mounted my top light bar that I had for ages. Finished up the compressor and mounted my highlift in the bed. As far as the test run went, I found out I need a new front driveshaft lol. My driveshaft was too short and I lost 4wd on the first trail. So theres that.