When you click on links to various merchants on this site and make a purchase, this can result in this site earning a commission. Affiliate programs and affiliations include, but are not limited to, the eBay Partner Network.
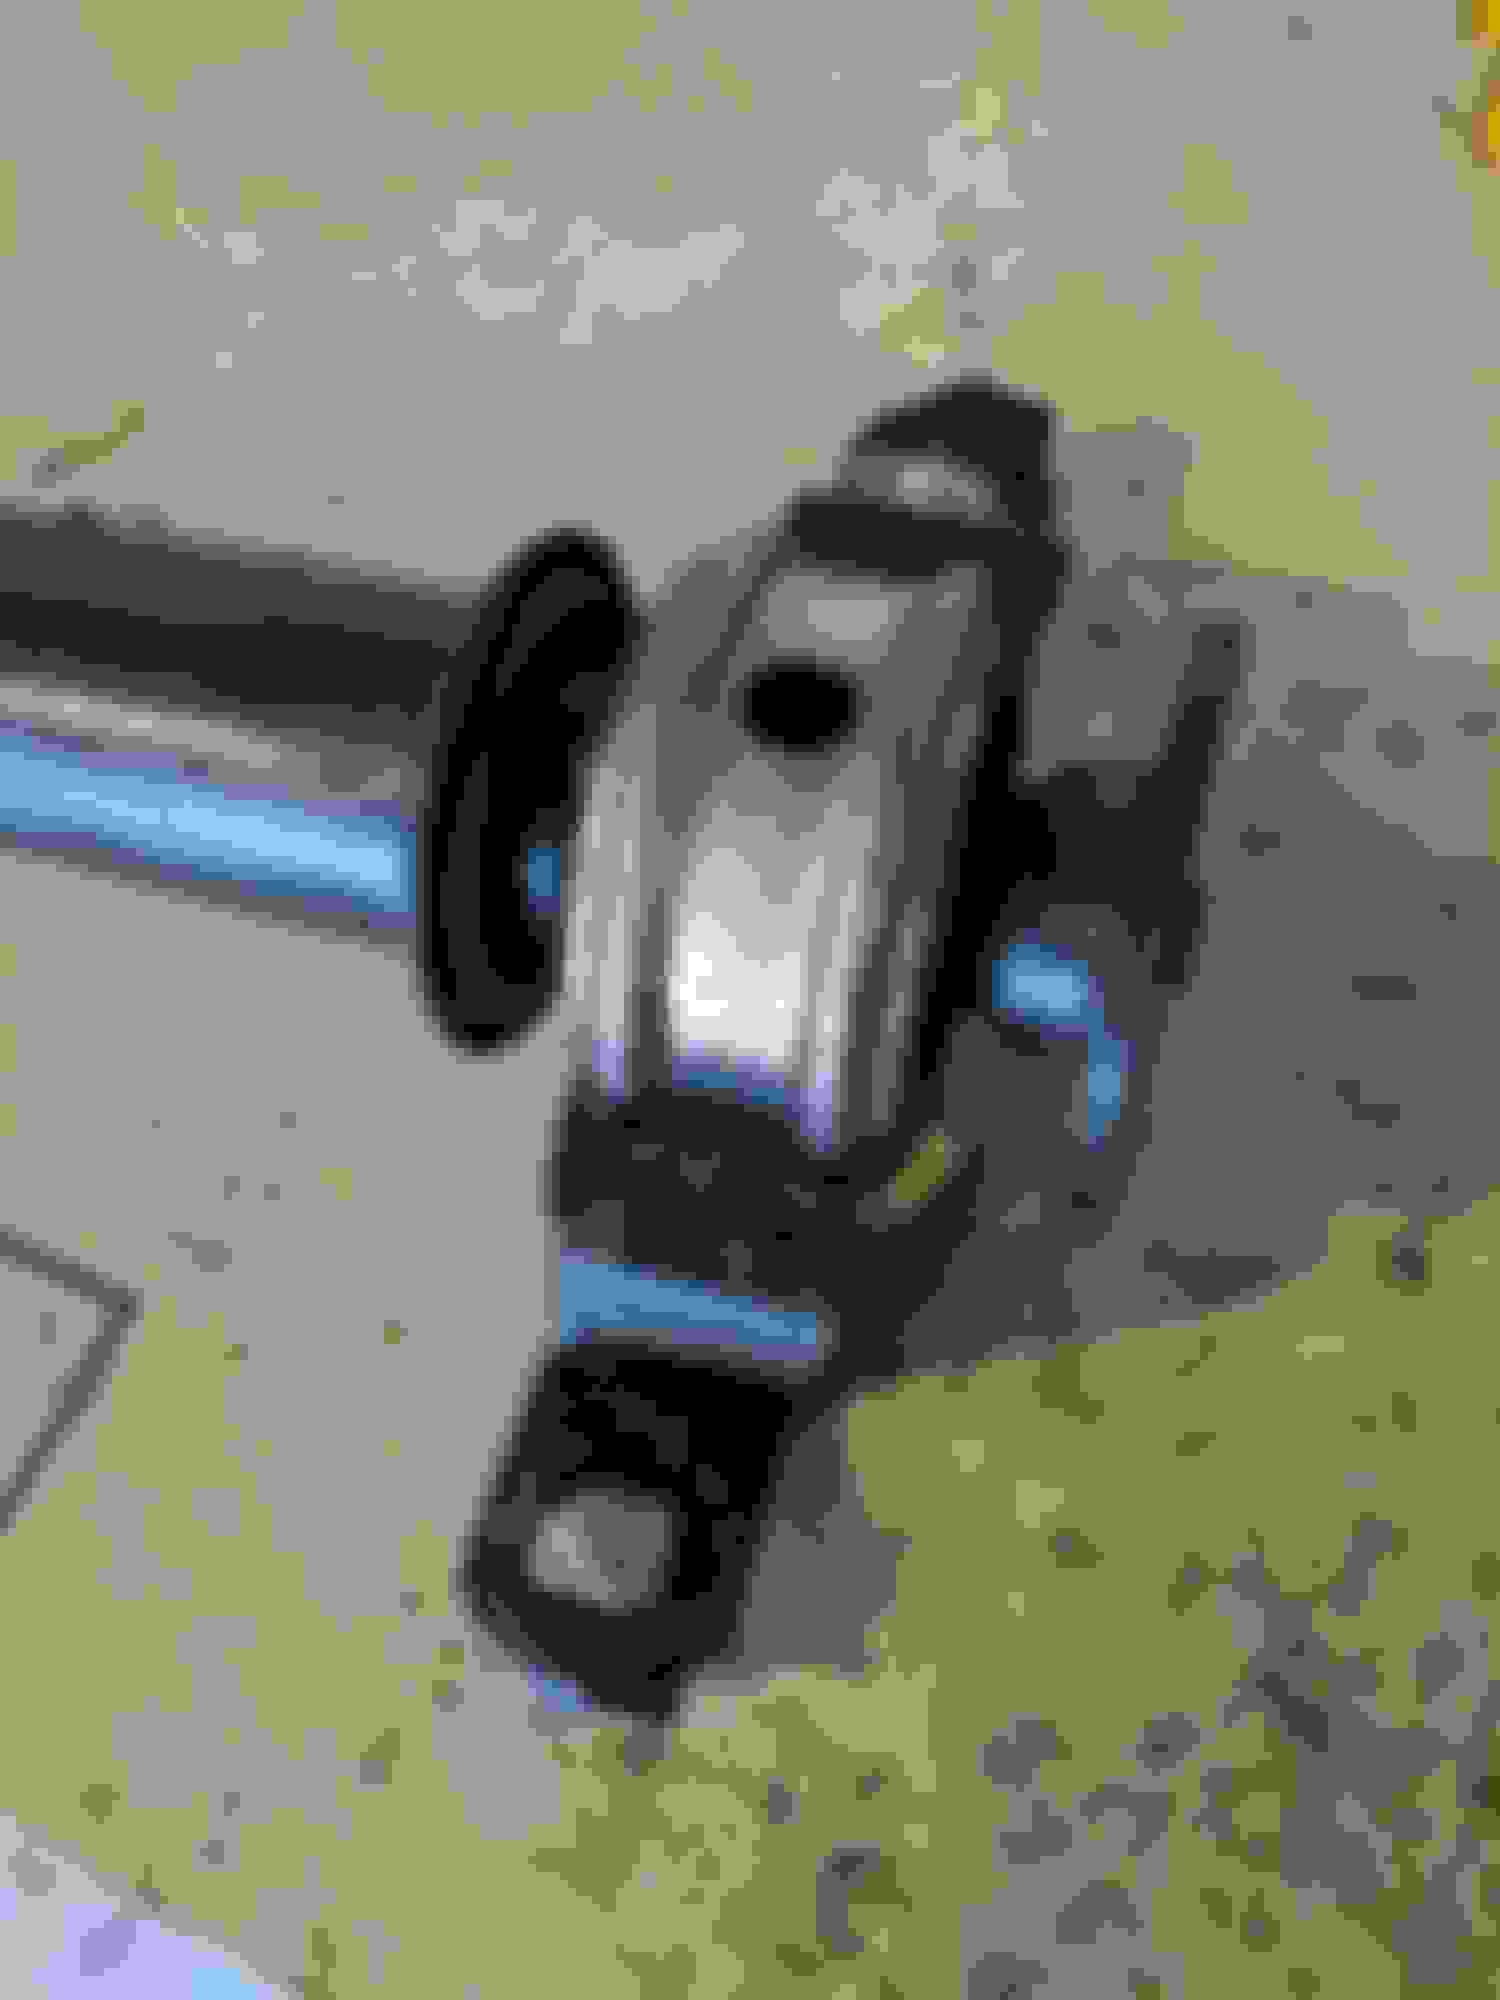
I got my tires put on my rims today. I also picked up the power steering pump seal kit. I put all but one in. My snap ring pliers didn't seem to be a shape that worked with the snap ring. Also, that spot seemed dry and rusty, so I don't think it was leaking there.
After messing around with the rearend a little bit and tightening the ubolts down, I realized that the way I positioned one of the shocks is going to hit the ebrake cable when the passenger side compresses. I'm going to have to re-do my lower shock mounts. I'll get to that after I finish the front, put the interior back in and get it running.
I have to order frame plates and lower shock mounts.
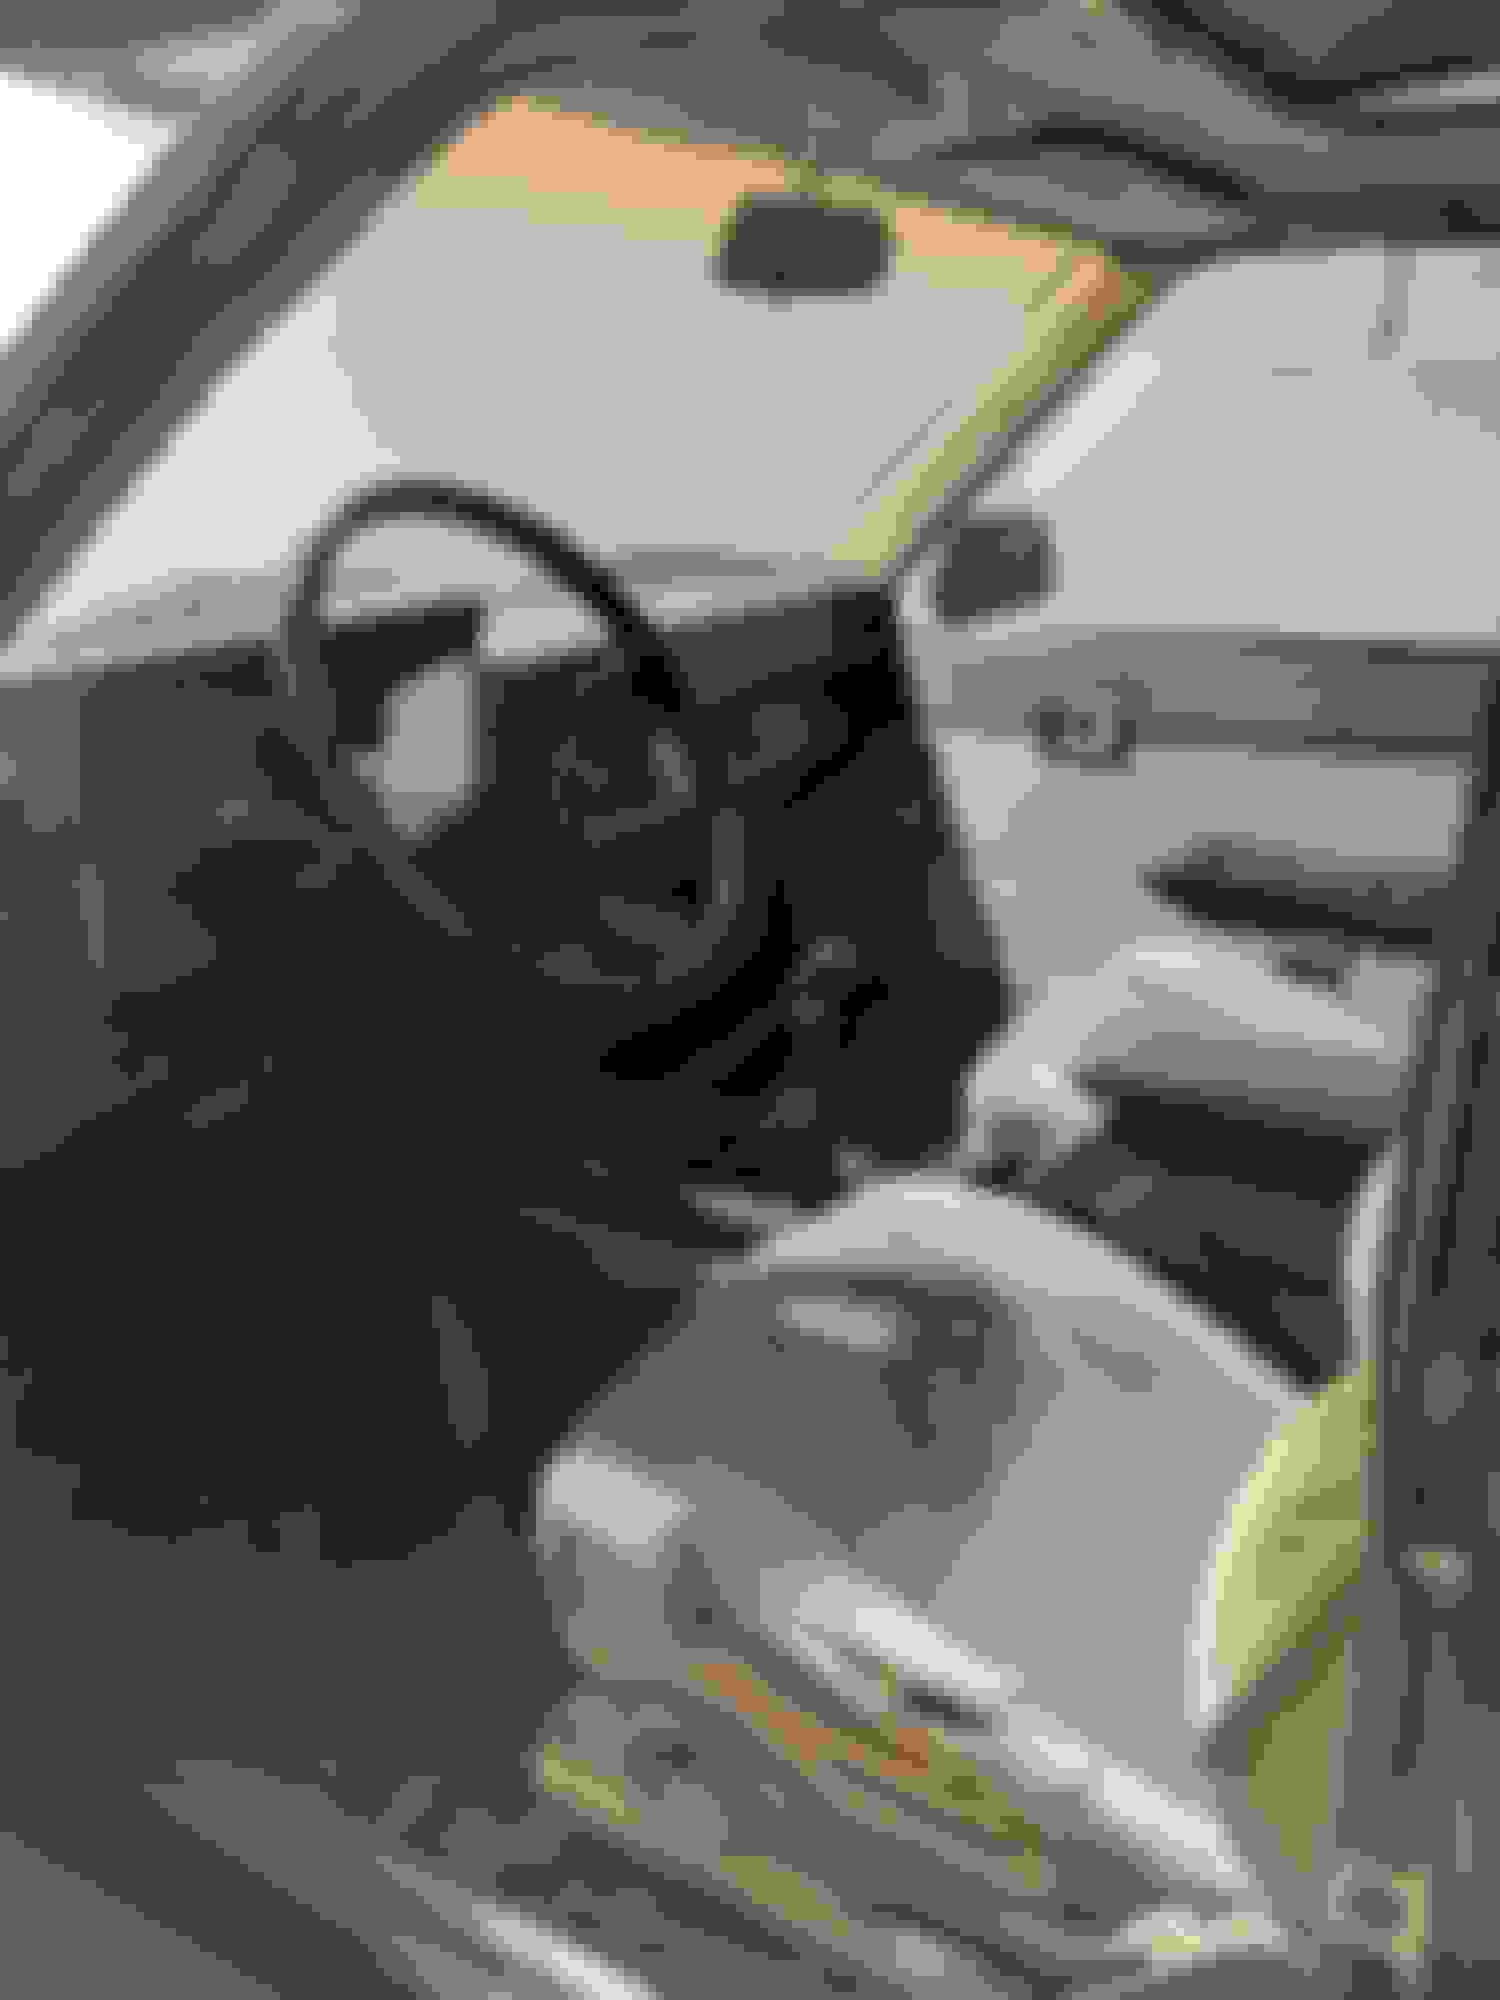
I finally put the dash back in. It was a bit of a puzzle since it's been several years since I took it apart to have a new heater core built. I replaced a bunch of clips and fasteners that were missing as I put it back together.
I'm trying to get it running and driving again with as little input of parts and money as possible beyond what I've already accumulated. To accomplish that, I need to at least do the following things:
Mount IFS steering box
Install drag link
Steering alignment
Mount new power steering cooler
Plumb power steering
Front and rear shock mounts
Clean fuel tank
Replace fuel filter
Install brake lines and bleed brakes
Buy and install a new battery
Install radiator
Install some of the coolant hoses
Because I'm using a flat pitman arm, the Dave's steering frame plates weren't going to work. My box has to be at a totally different angle than these allow. I drew out some cardboard templates for different plates that I'm going to have cut out at a place a water jet and a laser. I'm not sure which they'll use to cut this.
The waterjet people wanted me to come up with a CAD file for them cut from. I scanned one of my templates and worked from it in Photoshop and Illustrator to come up with something that looks like this.
I wound up getting a friend with a not so great DIY CNC plasma to cut my stuff out. I should have had Big Blue Saw do it. They cut it things out and supply the stock for really good prices. Anyway... I went with sourcing my own piece of steel and heat my buddy cut it out. I wound up with two of three pieces cut out, and the third like 80% of the way cut. That was right about the time I last posted.
I got some time to work on the truck again last week. I inherited a torch from my dad. I hadn't used it since I was a kid, and no one had used it since it since he passed in 2015. I wound up needing a new low pressure gauge for my oxygen regulator and a whole new torch body. His had two leaks, and there were no parts available. It's a Marquette StarJet. Marquette has been defunct, I guess, since the '90s. The torch turns out to be about as old as I am. It looks like it's been about 10 years since anyone made parts for it. I wound up getting a deal on a new old stock Victor torch. Finish cutting those plates out with it.
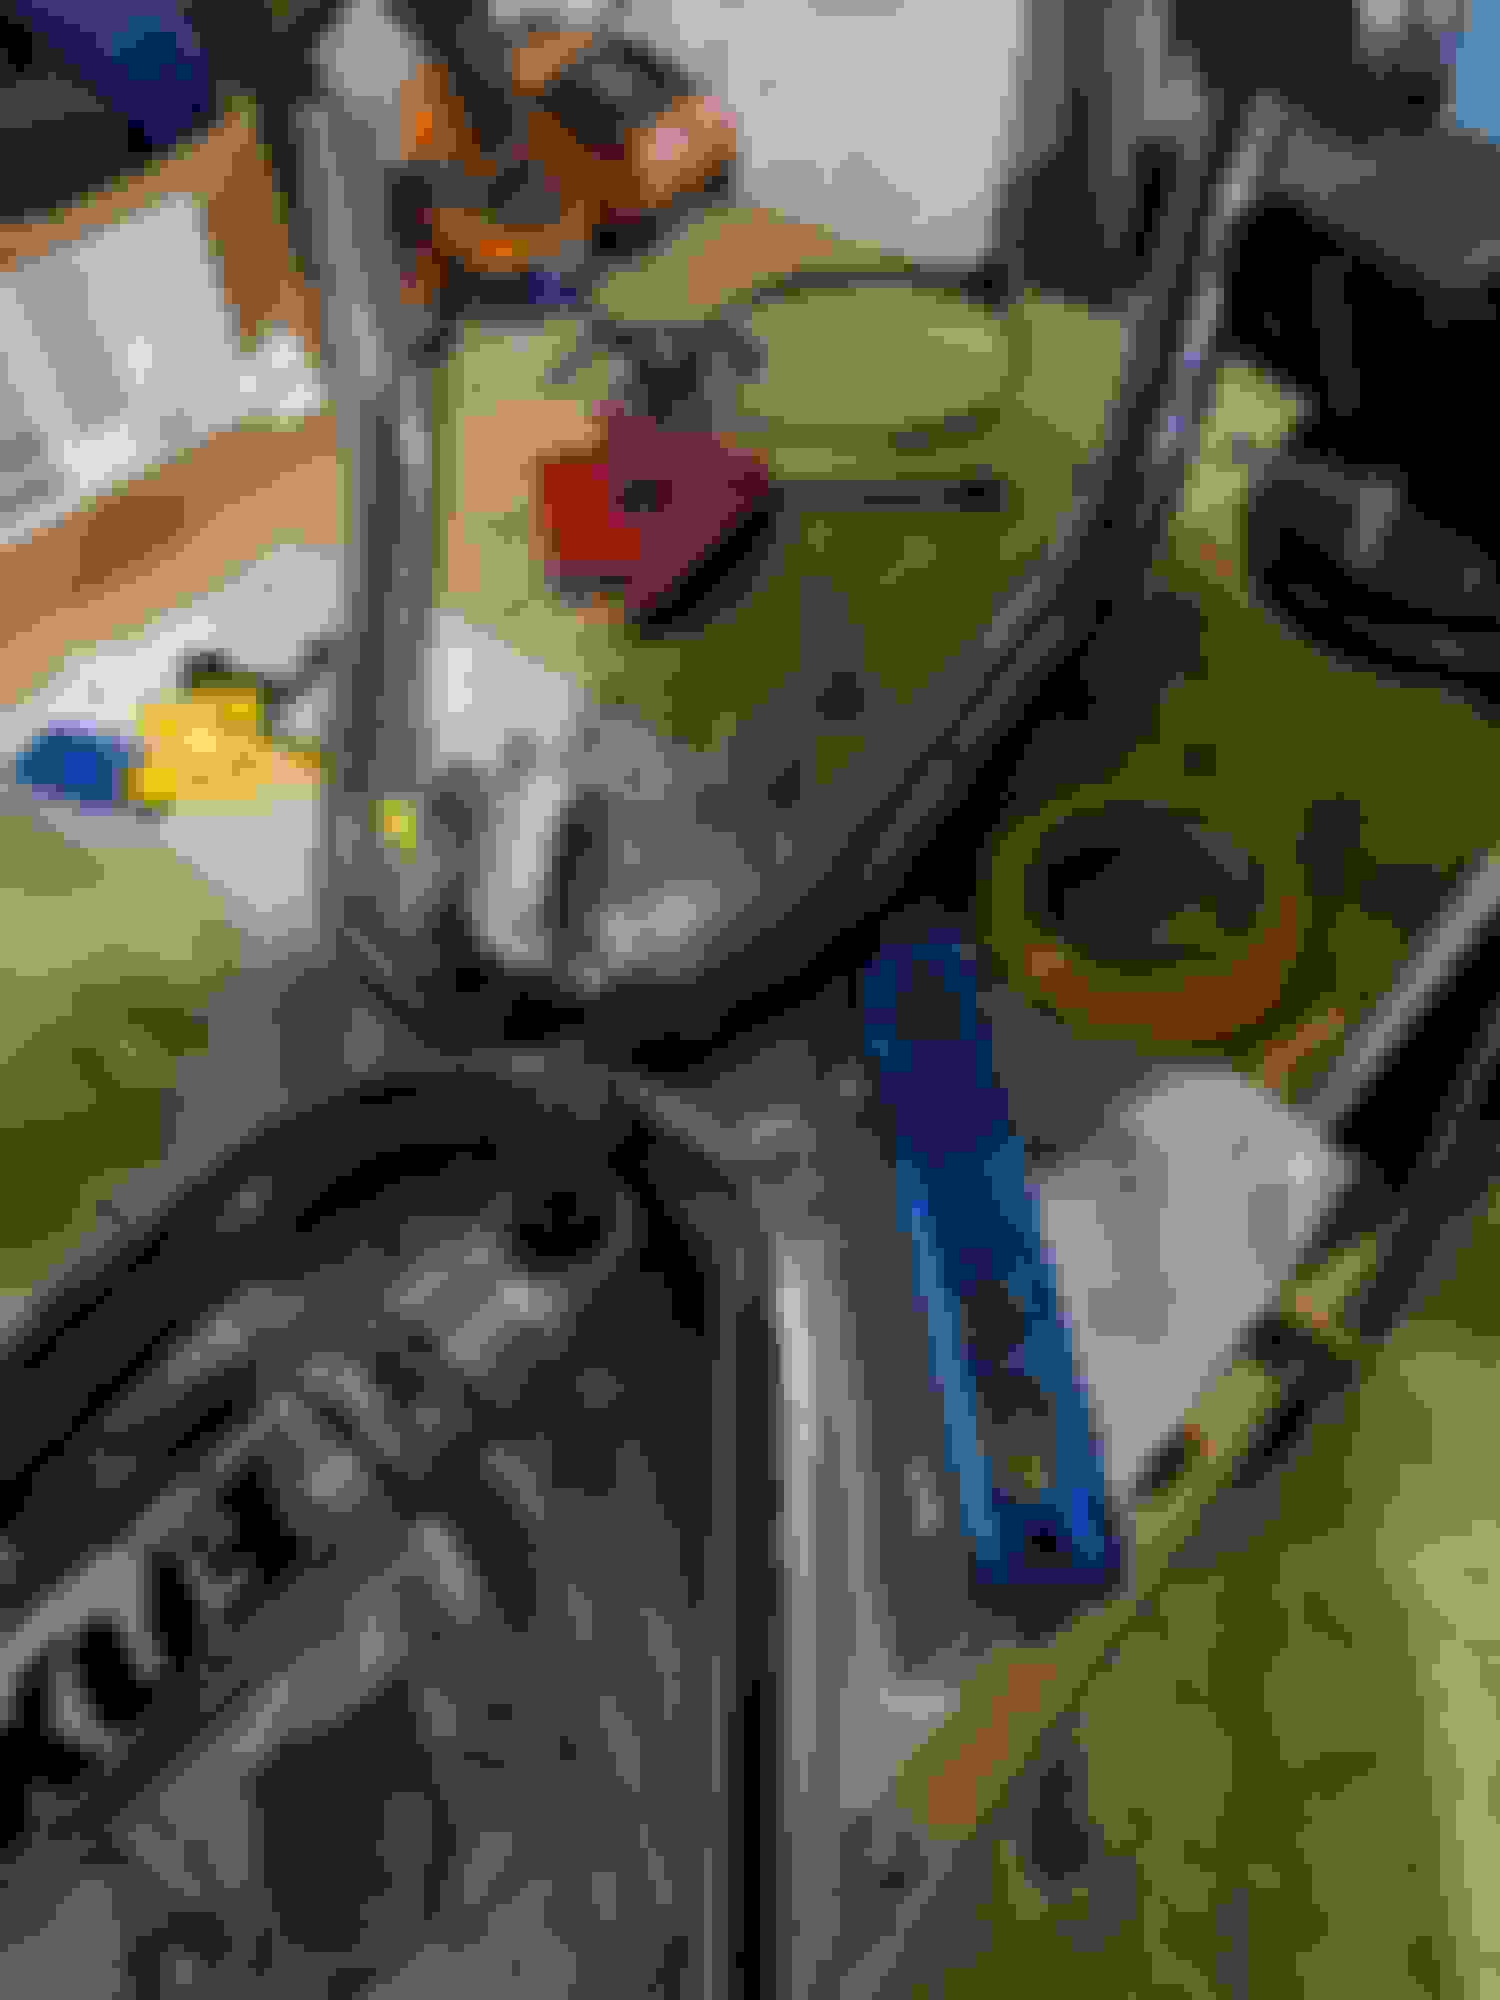
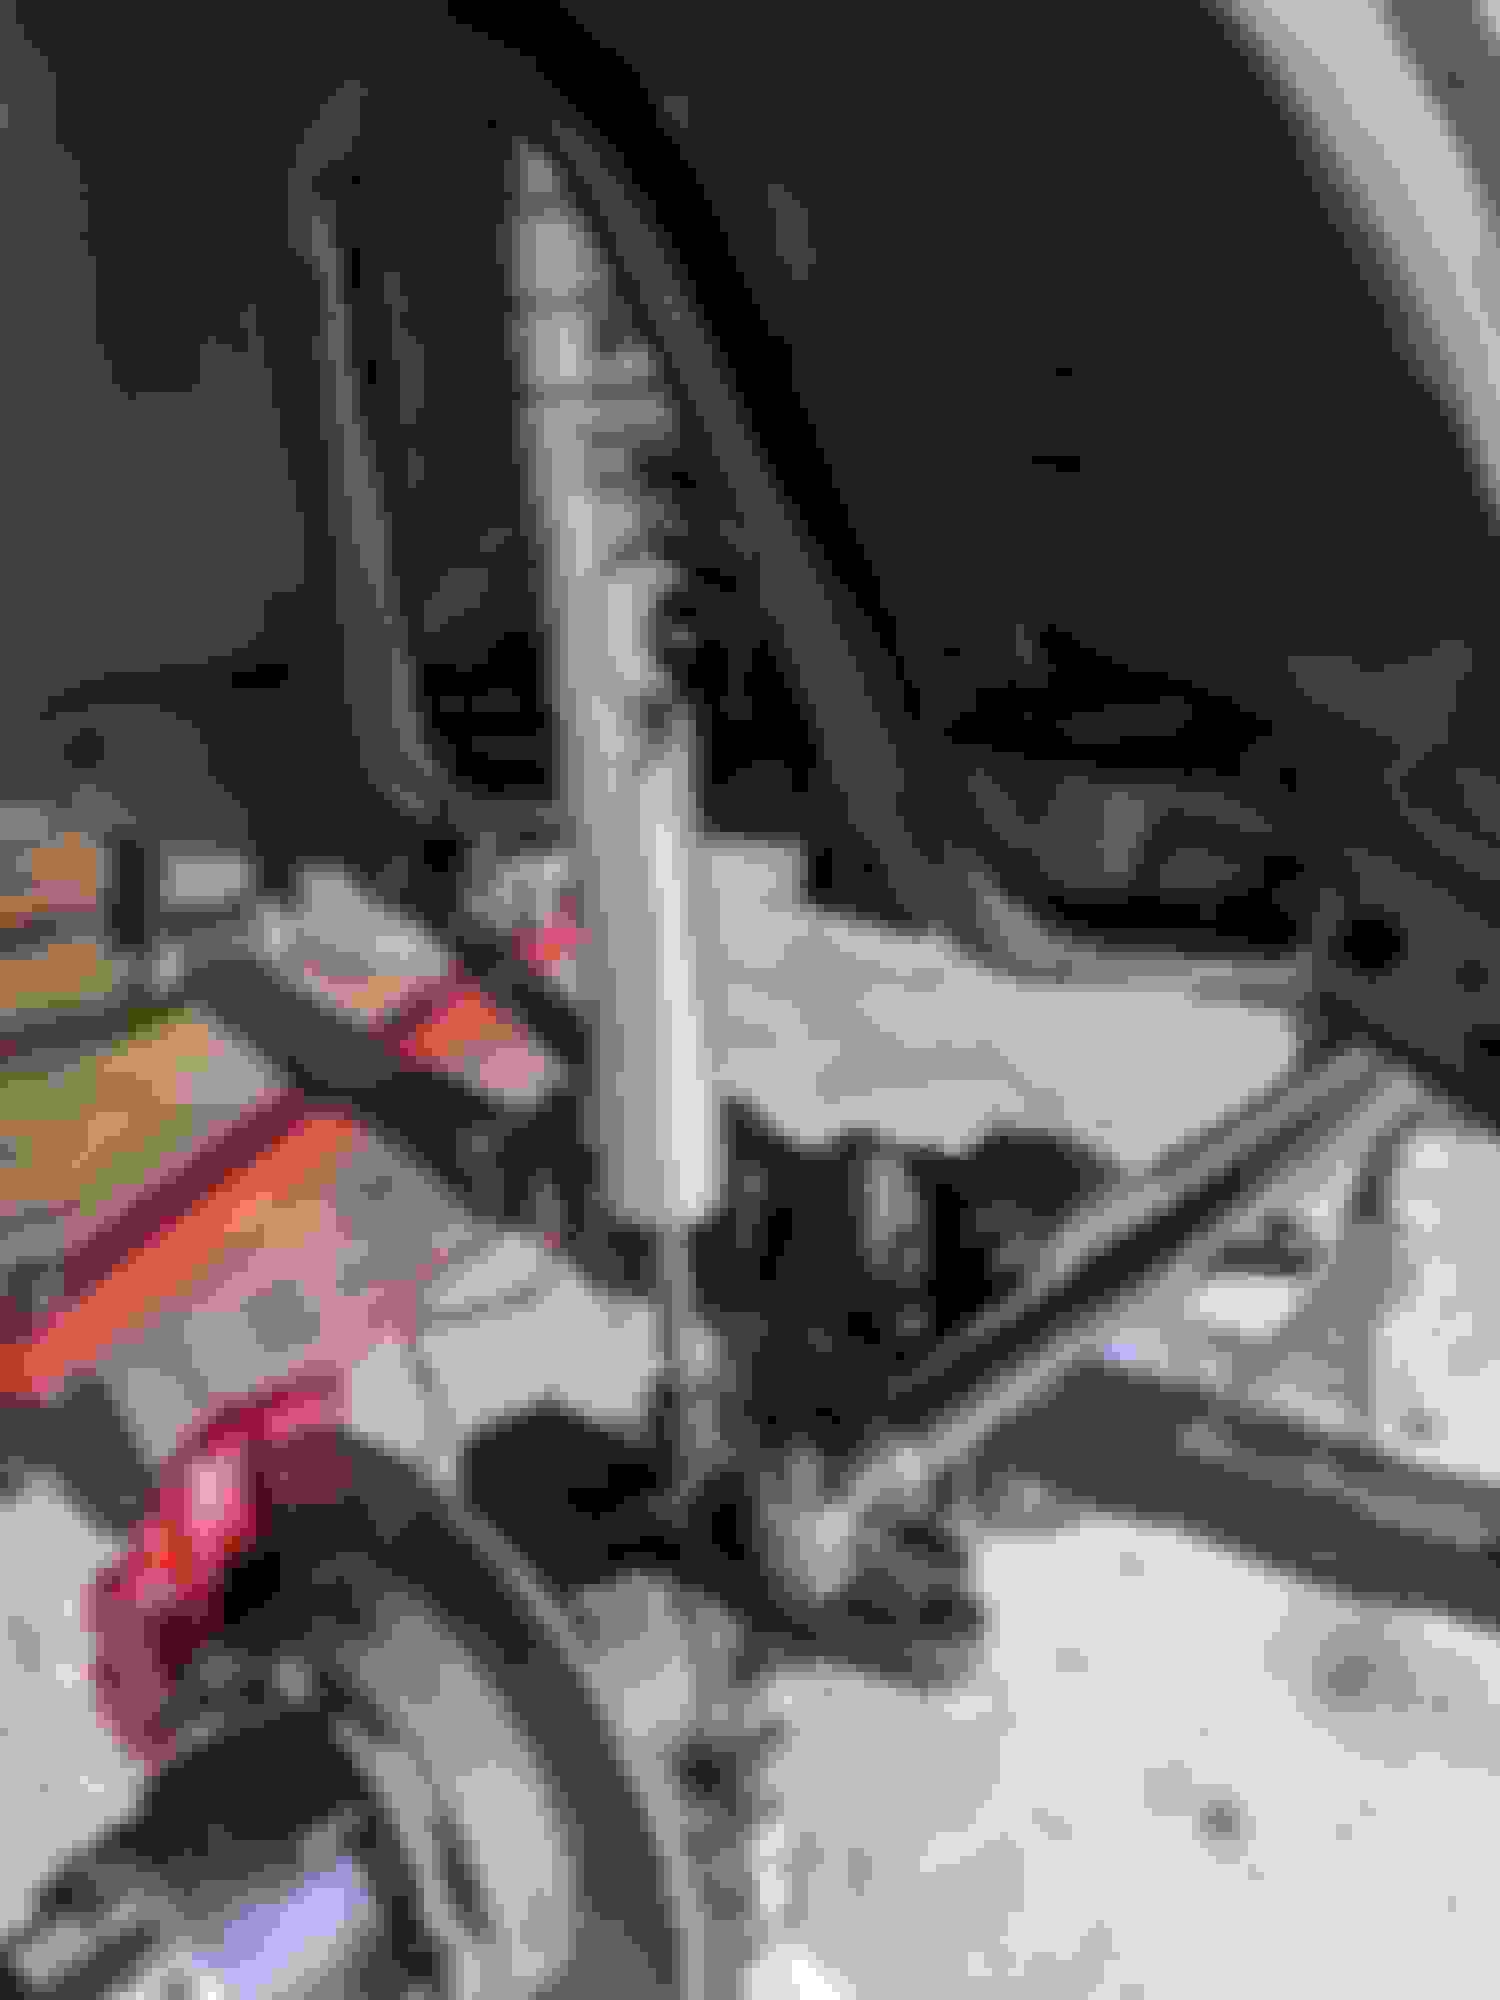
I drilled the holes in the frame for the steering box and cut the original shock mounts off. I was about to start welding the shock mounts and box mounts on, but my welder was having feed issues. I also inherited it. It's from the early 90's, and my dad was super hard on tools. I had to take it apart and drill out the set screw that holds the lead in place in order to replace the liner. It also needed a new feed wheel. It took all day to figure that all out. It seems to weld reliably now. I got one shock mount tacked together after all that.
I got a few more minutes in tonight before the ol' lady came home. I finished putting the driver's side shock hoop together and started trying to figure out how to reflect the tab positioning onto the other piece of tubing for the passenger side.
I got the passenger side together.
And test fitted this heavy joker.
I should be able to get the driver's side together tomorrow, but I leave town for work again for a week after that. I'm so close to being able to drive this thing again after all these years. Since this thing has been down, I've moved twice, including buying my first house, traveled all over the country for work, ended one long term relationship, started another, lost a parent, had a parent move back to the South from England, left the country for the first time, been through 4 Volkswagen Jettas. I sold 3 of them at one time to one guy.
And, the driver's side is all welded up.
The next steps are plumb everything, install the drag link, get a new battery, and try to get this thing started. After that, I'll drive it a little bit, see what issues arise, fix those, and take it from there. I'd really like to get the e-locker Tacoma rear end into it sometime this year and build some sliders and a rear bumper.
Got a few hours in today:
Installed my front brake lines.
Bled my brakes.
Installed the steering box.
Got a pressure line made at the hydraulics shop.
Plumbed the power steering back up.
Filled the power steering up. It doesn't seem like it's going to bleed until I start the truck.
Filled the front differential.
Started trying to see if this battery will take a charge.
Installed drag link. I need two new castle nuts though.
I also need a 32mm end wrench or a shallower 32mm socket to get the pitman arm nut tightened down. The leaf spring gets in the way.
Still gotta get the cooling system all back together.
Today, I put the last three shocks on, cleaned the idle air valve, replaced the thermostat, reinstalled the radiator, hooked up all the coolant lines up, hooked up the air box, and pulled it out of the garage. I drove it for the first time since, I think, 2014.
I have an oil leak on the front of the engine. I'm not sure if it's the oil pump or the front main seal. The oil pressure appears sort of low, so maybe it's the pump.
The brakes went really soft after driving a little bit. Seems like I must need to bleed them again.
I'm not sure what's up with my steering. It's like it won't bleed. It feels like I have no power steering. My turning radius also sucks. I definitely can't get to the steering stops in either direction.
The radio doesn't have any power to it for whatever reason. I need to investigate.
The passenger side needs the window motor replaced. Turns out I have one from a junk yard.
My coolant system was a chronic problem when the truck was last running. I had one leak after another. I've now replaced everything in the system except the water pump. I've drained and refilled it with distilled water twice since I got it running again. The water gets pretty gross pretty fast. I'm going to keep changing it until I have clean clear water in the system then go to Toyota OE Pink Coolant and distilled water.
I fought with my crank bolt pretty much all day yesterday. I didn't get anywhere. I even heated it up red hot with the torch and quenched it in penetrating oil. I'm ordering a better 19mm socket and a new crank bolt. Mine is almost fubared. I might wind up welding a socket to it.
This video has some good suggestions on how to get it out:
I drove it around a little bit and determined that my center support bearing was going out. I ordered a Timken HB17 for $109 on eBay. I also found a little bit of play in the universal joint on the shaft with the center bearing on it. I replaced that.
How to properly phase a two piece driveshaft:
The rag joint gave up on me. I just bolted the steering shaft solid at the flange there with some M8 bolts with lock nuts and Locktite. The splined female part coming out of the cab always gives me a fight coming out. It dawned on me today that I could pull the bolt all the way out, thread it in the opposite direction and put a big washer in the slot of the clamp to use the bolt to open it.


 Oct 15, 2016 | 03:21 PM