When you click on links to various merchants on this site and make a purchase, this can result in this site earning a commission. Affiliate programs and affiliations include, but are not limited to, the eBay Partner Network.
This u-joint in the back is getting sloppier by the day. I'm going to have to figure out which one it is. I can't deal with it much longer. I guess it's time to read about that thing holds the rear drive shaft in the middle
Sorry to hear about your wiring issues.I got some wires to straighten out from the PO myself as well. I was able to get a title for my 85 and am in the process of getting it all back together. Do you have what they call a shelf in the extended part of the cab? I have heard of it and was wondering what it is and if you could post some pics of it.
I am restoring mine. For now it is motor and interior. It is on the last few pages of my 88 runner build. Are you talking about the carrier bearing on yours? Those tend to be problematic and I will just have a solid shaft built as mine is missing any ways. Will be using your build to try and get mine back together. Subscribed.
I'll get pictures of the shelf later. It's pretty handy having out back there. And, the center bearing would bee a straight forward replacement. Geometrically, my u joints can't must be pressed out. They have too be milled out or the spider cap sawed in two with a cut off wheel. I should be getting my driveshaft back around noon today and reinstalling it.
Man... I replaced my all my belts. They were shredded. I thought that this would solve a belt noise problem that I was experiencing. No go! I just couldn't seem to find a balance between sounding like I have a super charger and belts so loose that the squeal and chirp. I got one of those $10 parts store stethoscopes and started listening to things. Everything sounded really quiet and like mild engine noise until I checked the idler pulleys. I'm pretty sure that I'm going to need both of those. Touch the bolt on either one of those, and it sounds like there's a skateboard rolling over rough pavement inside my head. Apparently, the last person to change the belts on this thing didn't have a 19mm wrench because the lock nut on the top idler pulley is nearly rounded off. That's been frustrating to say the least. I'll be ordering some parts this Friday, it looks like.
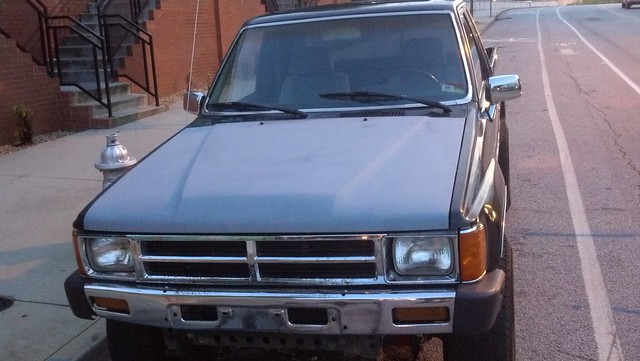
In other news, I fixed the rust spots in my hood a few days ago. Now, I just have the whole rest of the truck to do the same with.
The windshield wipers are really rusty, but it's right on the top. Shouldn't take long to pull those off, sand them and repaint them black. Maybe I'll have time for that tomorrow.
I have to work this weekend, so I'm going to have to put off driving up to Nashville and getting help replacing my wiring harness.
I noticed the other day that my brake master cylinder leaks and has corroded the ˟˟˟˟ out of my brake booster. I only plan to put 33's with a mild lift on it, so I don't think that I need the full on brake upgrade that I've seen. I'm thinking about sticking with my stock set up at the wheels but replacing my master cylinder and booster with the parts spec'ed for a 90-94 or whatever.
Originally Posted by Terrys87
Do you have what they call a shelf in the extended part of the cab? I have heard of it and was wondering what it is and if you could post some pics of it.
I am restoring mine. For now it is motor and interior. It is on the last few pages of my 88 runner build. Are you talking about the carrier bearing on yours? Those tend to be problematic and I will just have a solid shaft built as mine is missing any ways. Will be using your build to try and get mine back together. Subscribed.
I'm sorry that I didn't ever put up pictures of that shelf. I've been really busy looking for a new job the last couple of weeks and totally spaced on that. If you still need them, I'll snap a couple tomorrow.
I got all my drive shaft issues sorted. Carrier bearing was in good shape. I had to take it to a drive shaft shop to get the u-joints replaced. I just couldn't do anything with them. Apparently, it took the guy there like 3.5 hours to change them. I broke the slip yoke grease fitting off when I was trying to change them myself... had to EZ-Out the little part that was left. Came right out.
I want to get on my interior. I really like the SR5 fabric on my seats and the adjustments that the driver's seat has. The passenger's seat is in pretty good condition, but the driver's seat is really worn out. I'm thinking about trying to find an upholstery shop that can restore them. I wonder if that fabric is available somewhere.
I'm waiting to replace my wiring harness before I start my interior restoration. Here's a list of what I'm planning:
Fix emergency brake light switch
A previous owner removed the grilles and screwed speakers that don't fit in back there. I'm going to figure out a clean way to get 6x9's back there, since that's gross looking and sounded retarded.
I'm going to put 4" speakers in the stock dash locations. I need to get a hold of the pockets that are supposed to be back there.
I've spent hours cleaning and degreasing the undercarriage, but it's still pretty gross under there. I have a few occasional fluid drips that I notice. I'm going to go on a seal replacing mission eventually.
So, there isn't really anything to see, but I changed my transmission gear oil to AMSOIL GL-4 and changed my motor oil to AMSOIL with a new OEM filter.
I adjusted the valves to .008/.012 warm, inspected my timing chain and tensioners, and replaced my valve cover gasket.
I replaced all my heater hoses.
I spent about 7 hours with a soldering iron and heat shrink fixing wiring in the dash. The radio has OEM style connections now. It has 4 factory size speakers nicely installed. The CD player is still just kinda loose in the dash. The factory mounting brackets are on order.
Clock works now. I adjusted my brake light switch. I loctited in the little thingy that presses the parking brake switch. That works now. I removed a fair amount more wiring that was hacked up and went to nothing. I removed two switches that went to nothing.
I noticed that several of the bolts that hold the bed down were loose or missing. I rustled up some M12 bolts, washers, lock washers and some rubber washers. That situation is sorted now.
I found a small rust hole in the driver's side bed skin. I'm not sure what to do about that. I wire wheeled a ton of rusty spots in the bed and touch up painted those.
I replaced the tailgate handle and put some pusher springs in the slam stop latch things. Tailgate has gone from non functional to working like new.
I got a master cylinder and booster out of a 94 4Runner at the pull-a-part. I got those all cleaned up and need to drop them in.
I noticed that the last leak I haven't sorted out is my rear pinion seal. I got a Marlin one. I have to get a seal puller, a harmonic balancer type puller, a breaker bar, some GL-5 and a little punch before I can get that jammer in there.
That's what my truck and I have been up to since my last post. I'm still trying to save up for some fun stuff.
This is happening, so I rebuilt my fuel injector wiring harness. Hopefully, that solves that problem.
I have Marlin high steer in the mail. I'll be getting the rest of my suspension stuff together over the next month or two. I'm going with Marlin steering box mount, OME springs, 5" shackles, Fox 2.0 IFP shocks, Davez rear shock mount, Trail Gear frame reinforcement plates and shock hoops.
Just getting caught up on your thread and starting to get ideas for mine. The 84-85 section sometimes gets overlooked and I keep forgetting about all the great builds in this section. Maybe you will get your truck back soon and things can get back to normal.
Man... It's been a while. Since my last part, I've moved twice, accumulated some parts, inherited my childhood home and am in the process of putting up a 30x40 shop on that property in Tennessee. I inherited all the tools that I was missing, so it feels like it's time to get this show on the road. The truck is in a sad state currently. It's sitting in my garage with four totally bald tires, only one holding air.
I've acquired a couple of diesel Jettas to keep me on the road over the last couple of years, so this thing is just for fun now. It was cool driving this thing everywhere, but 50mpg in the other car and working on this without that pressure to get back on the road are way better.
The previous valve cover gasket replacement was a fail. I did that before I even knew the half moons were replaceable. I let it leak oil so long that it had dissolved part of my lower radiator hose.
I've been chasing a coolant leak since I got the thing. The heater control valve is shot. The heater core is shot. The CFC radiator that I'd installed is a piece of crap and has been leaking since it was new.
I replaced the valve cover gasket, half moons, and donut rubber washer things. Let's hope that's it for the oil leak. I put Ultra Black RTV on both all the way around the half moons and nowhere else.
The factory radiator is in the shop getting repaired, and I have every coolant hose. Ripped out the CFC piece of crap:
Man... Terry... I was looking at some of your recent posts. Your way of casually sharing tons of information is great. You've been steadily killing it at restoring these things for years now. That's really cool.
This thing should kick into gear now...
I just ordered the parts were broken in the climate control controls, a thermostat, air filter, radiator cap from Toyota.
I have used Marlin high steer, non leaking junkyard IFS steering box, and a u-bolt flip kit sitting around. I just ordered 5 33x10.50x15 BFG KM2, some OME springs, and Fox 2.0 IFP shocks (a pair of 10" travel and a pair of 11" travel). I placed an order with Dave's for an IFS box mount, some front and rear 5" shackles, a pair of front 12" shock hoops, and their rear shock relocation bar and front and rear braided stainless extended brake lines.
I picked up my radiator from the shop. It looks great (not that a nice coat of black paint has a lot to do with whether it's going to work).
The heater core they sourced was all aluminum, not copper like the guy said. It looked like decent quality but was made in China. It turned out to be the wrong inlet size and and wrong overall dimensions.
I'm in the market for a set of e-lockers. There is a ton of info on Toyota differentials here. The front that fits a mini comes from a '90-'97 Landcruiser FJ/FJZ-80. The rear comes from a '95-'04 Taco or Tacorunner. There are a bunch of links on that page as to how the install and wiring go.
Toyota says they don't sell these heater cores anymore, and I don't really want to put a piece of junk in there. I talked to the guys at The Brassworks in Paso Robles, California. They make custom heater cores. This morning I shipped them my heater core and heater box. They're going to send me a new custom copper heater core for between $250-300.
I saw today where Clemons posted some really useful part numbers.They are for a magnetic drain plug (9034118021) and steel (1215710010) and aluminum (9043018008) gaskets. They fit the diffs and the transmission. Choice of washer has to do with type of metal the plug is screwing into. I think Marlin also sells these things.
I also ordered $$$ in torque wrenches. I'll need those to do the timing belt job on the CJAA TDI motor in my wagon anyway. It still makes my stomach turn. Oh well... I was either going to do this now, or it was going to just keep looking more and more neglected over there on the far side of the garage.
I dug out my junkyard AISIN hubs. They are 30 spline!!! They definitely came from a First Gen.
The truck currently has Selectro hubs. I wonder when these were put on.
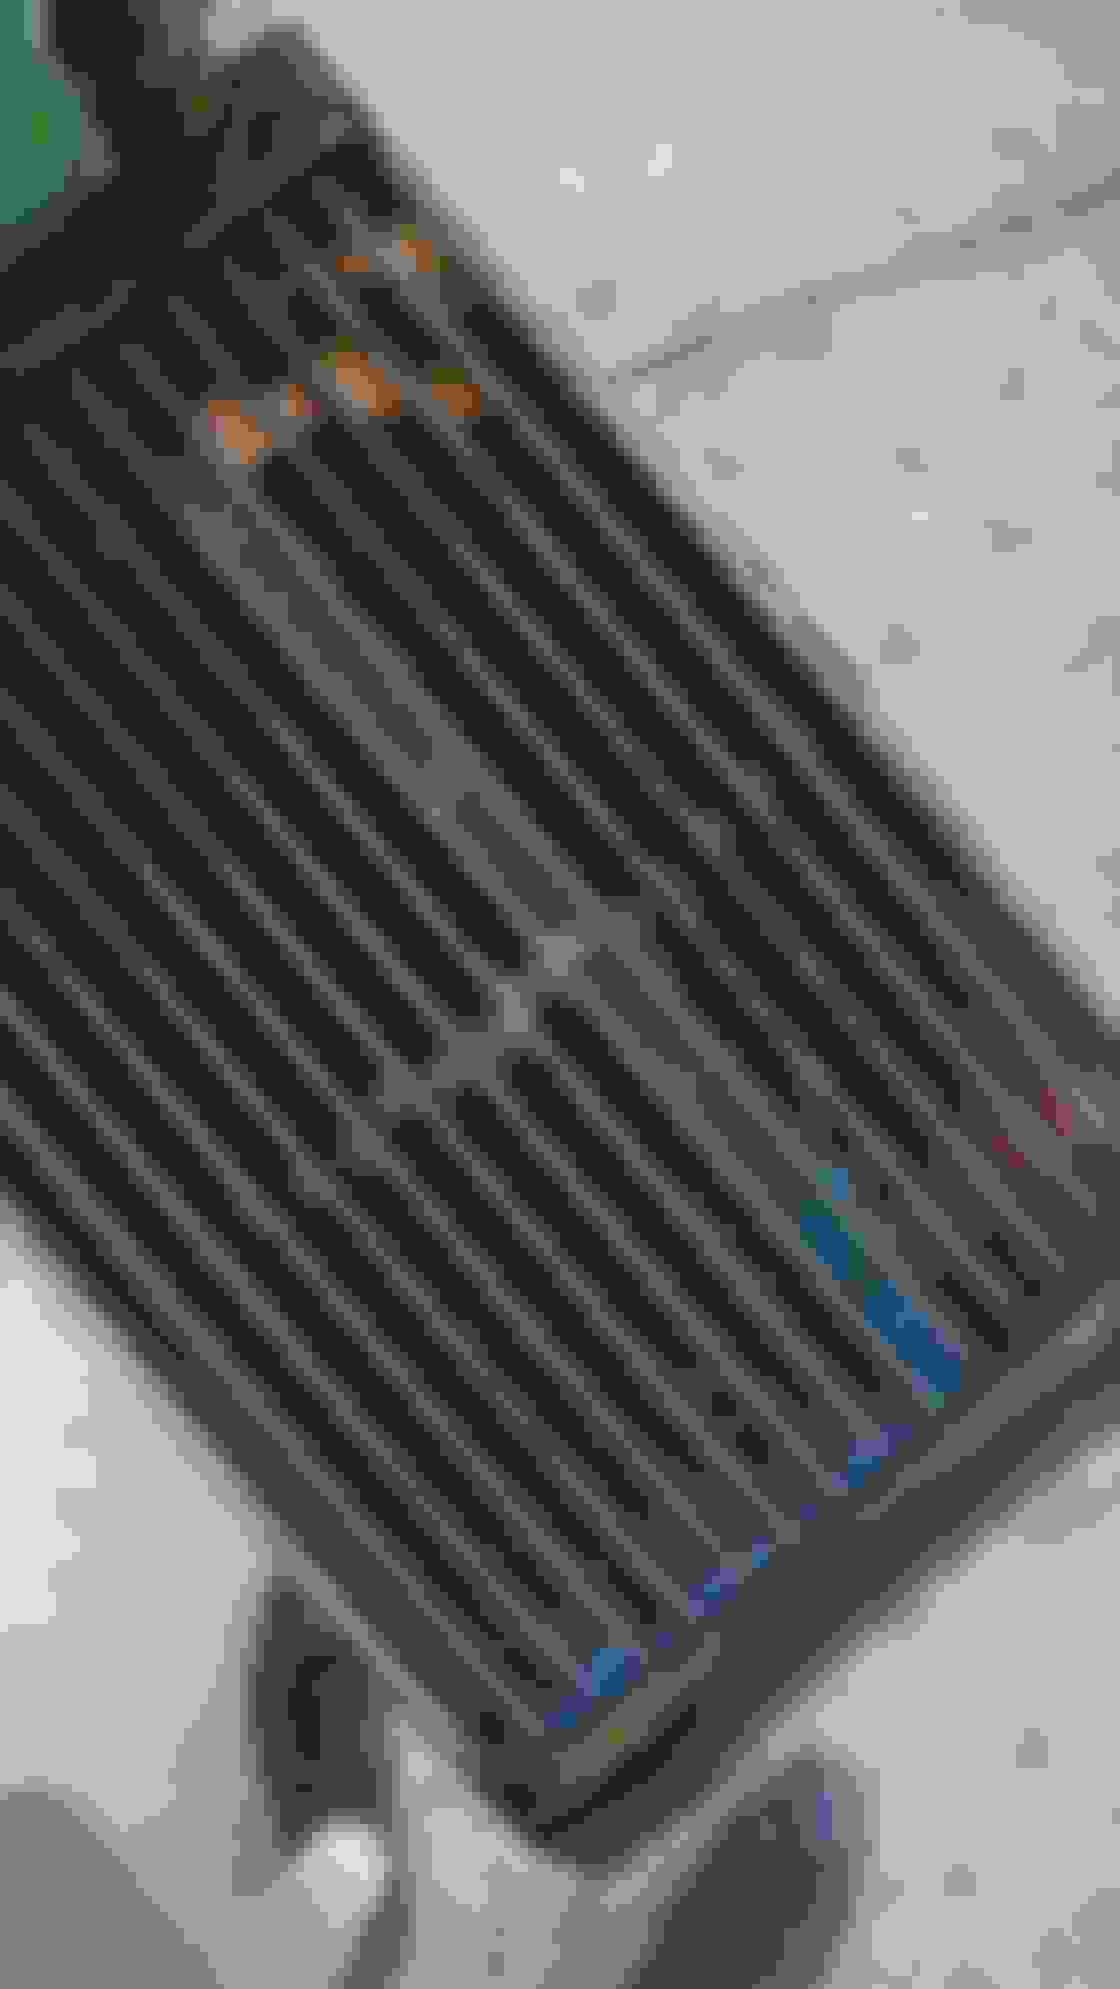
I got a little bit in before work today. I started replacing those pain in the butt coolant bypass hoses going to the throttle body. I got the top one that loops around the thermostat housing done, but then realized that there are four, not three in total.
The part numbers for the three I have are 16264-35030, 16261-35030, and 16267-35030. I'll have to figure out the fourth. There is also an air hose right there, going from that coolant valve to the throttle body. That thing is cracked and needs to be replaced. A big flathead screwdriver and a set of lineman's plyers seem to be the perfect tool combination for getting at these hoses.
Edit:
Coolant bypass hose: 16281-35010
2 Air hoses: 22233-35010 & 22234-35010
It really seems from the way that these things are accessed that it would be most convenient to do all three hoses and the thermostat at the same time. Having my radiator out right now really helps with access to the bottom three.
The top one was smashed down between the head and the little metal vacuum channel deal. It was pretty much totally hidden.
The other two that I have are pictured here. There is another small one that comes from behind this one and runs up to the bottom of the intake where the big plastic metered filtered air tube connects.
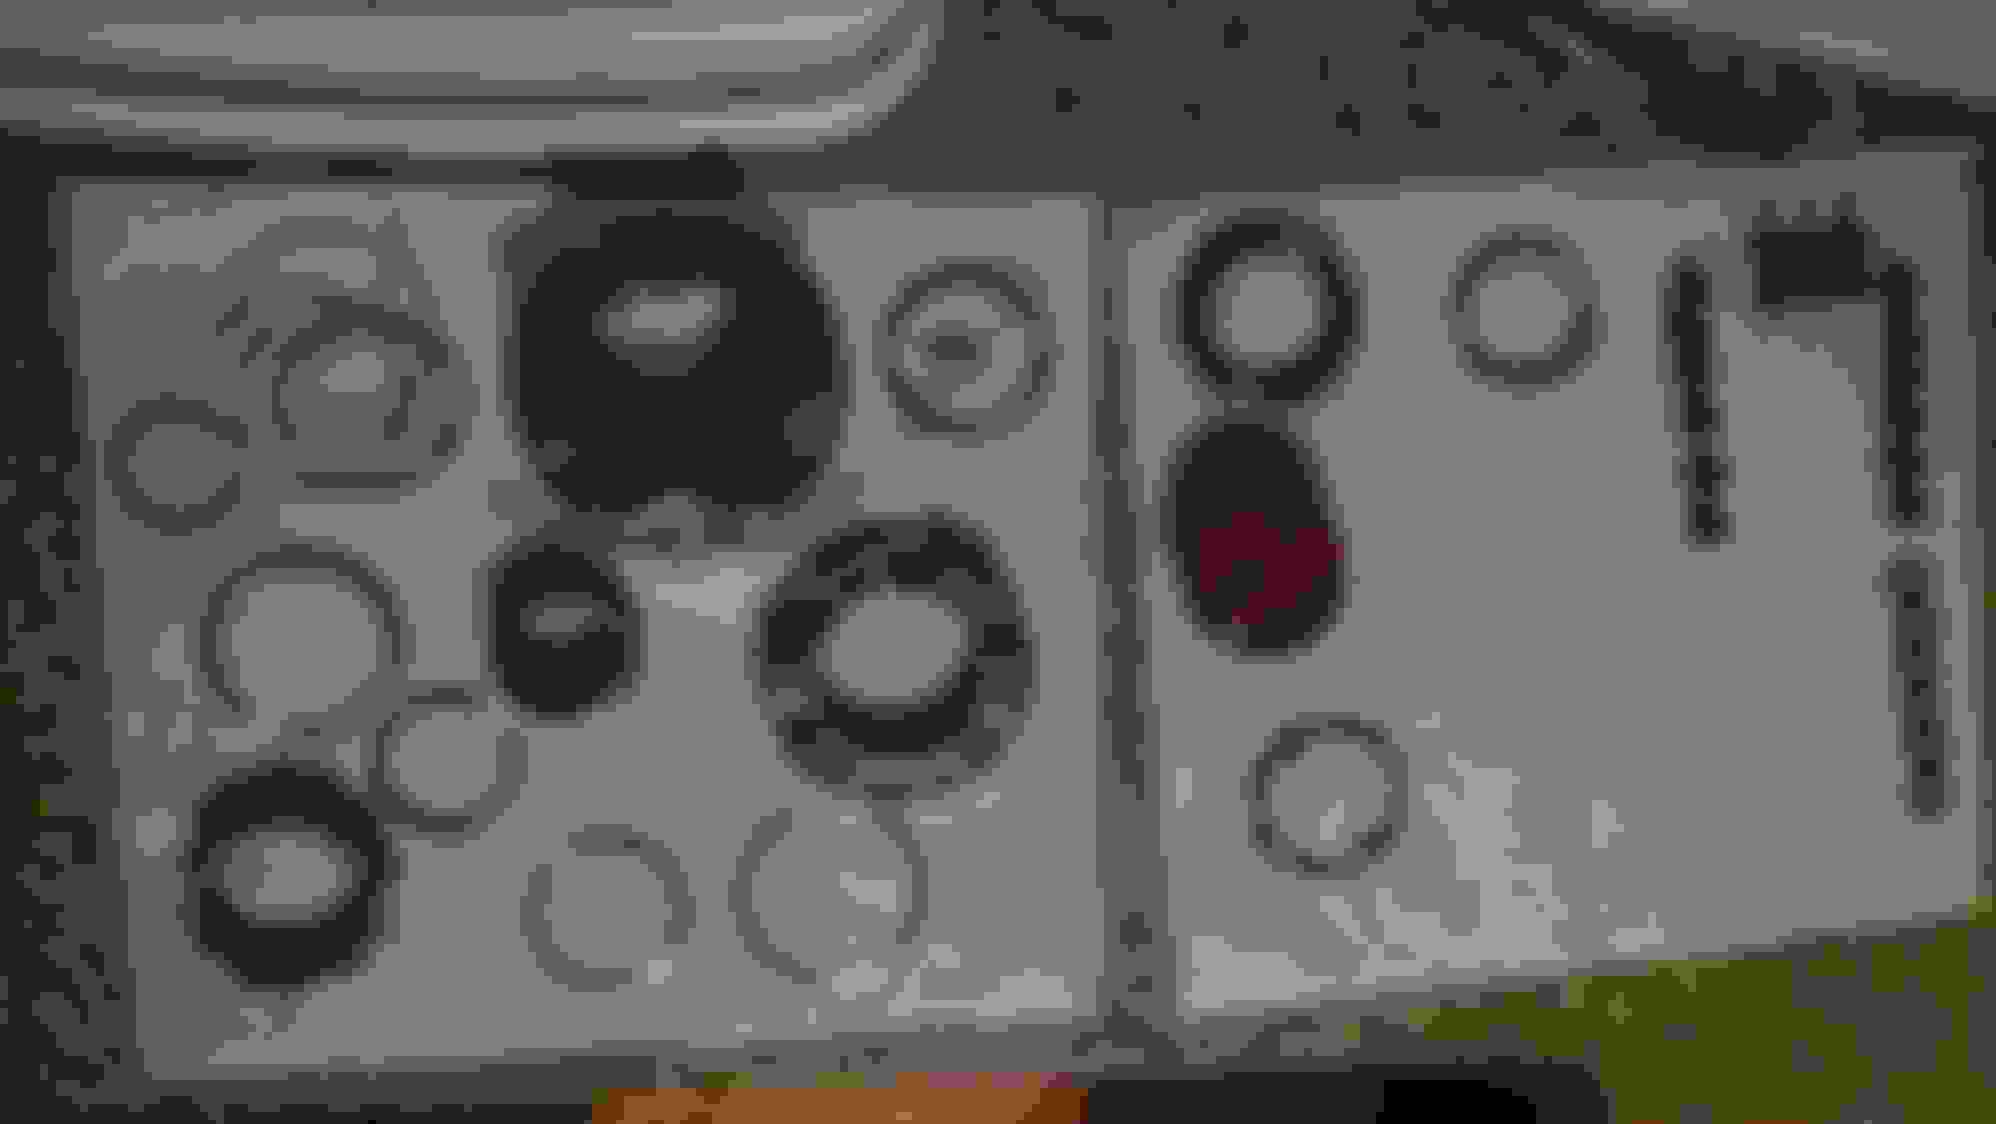
I started rebuilding my junkyard AISIN hubs. I'm missing a couple of seals. The process is mostly just cleaning the internals until they slide against one another smoothly. I have some snapring pliers in the mail. They would make this much easier.
Over in this thread, iamsuperbleeder shares all the part numbers for the hub seals as follows:
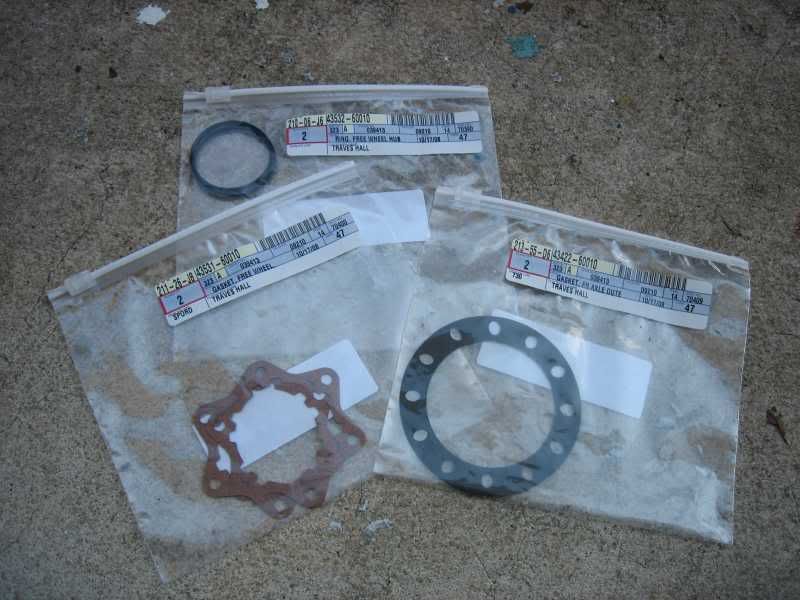
Originally Posted by iamsuperbleeder
there is indeed gaskets from the dealership; might take a day or two to get in though if they don't have them in stock
Dial Cover to Hub Body gasket - p/n 43531-60010 (pictured bottom left)
Hub Body to Wheel Hub gasket - p/n 43422-60010 (pictured bottom right)
if you're rebuilding them, you can also replace the O-ring in the dial; p/n 43532-60010 (pictured top middle)
remember; you need two of each; one for each side. costs about $18 for all of them
I got the second one all cleaned up. Both o-rings are in good shape, but I only had one seal total. Of course the last thing I did was to absent-mindedly drop one of the little balls down the sink by using the paper towel it was sitting on to clean up.
 08-04-2012, 12:49 PM