
Bugzman's 1985 Pickup Build-Up Thread
 Sep 20, 2010 | 11:59 AM
#1
Thread Starter
Registered User
Joined: Jul 2010
Posts: 175
Likes: 1
From: San Clemente, Ca
Bugzman's 1985 Pickup Build-Up Thread
since i have so many plans for this little truck I guess i should start a thread on it.
bought the truck in July of 2010 and ever since i have been saving the $$$ to make this a great expedition vehicle.
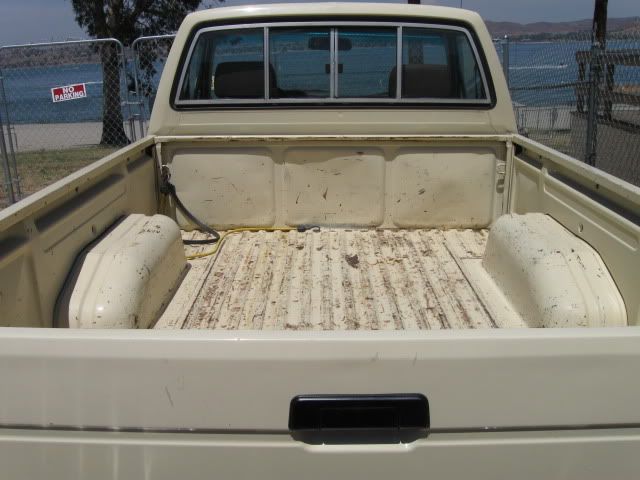
the truck the day i bought it.

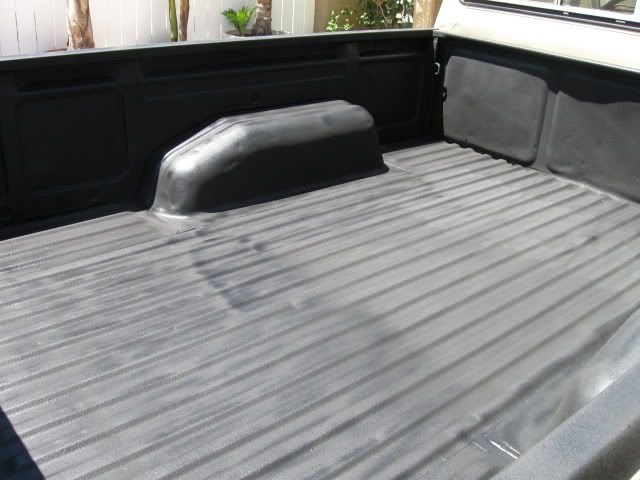
first thing i did was removed the mud flaps and put on a bed liner.
after that I did some wheeling and found out I needed some more traction.
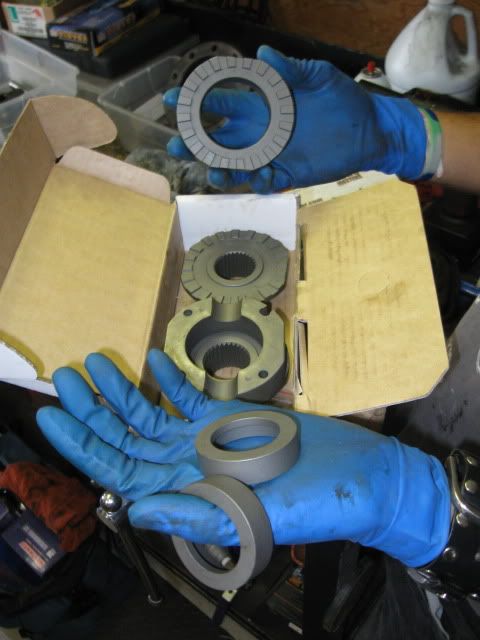
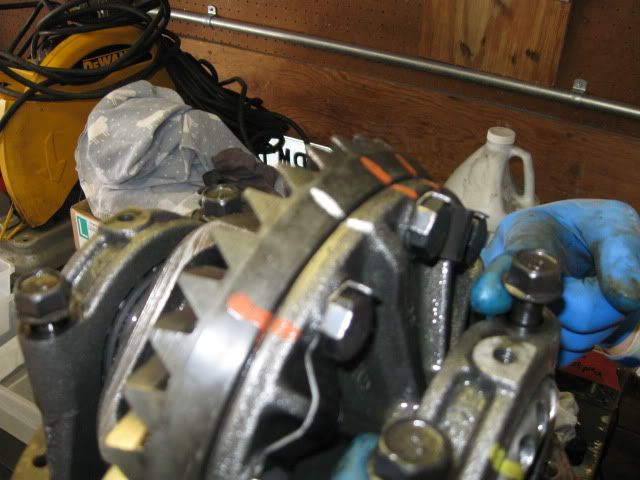
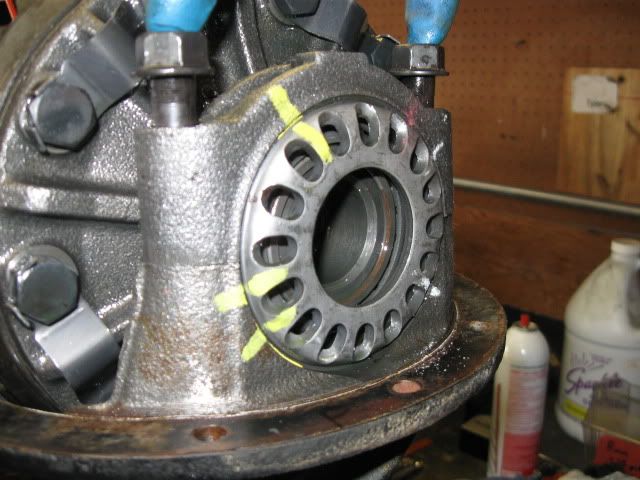
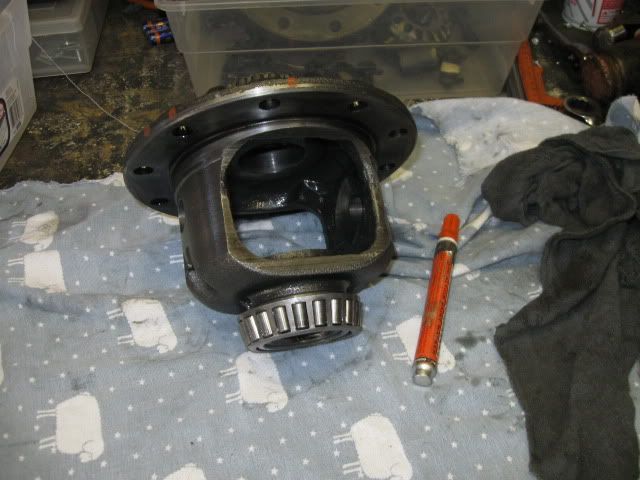
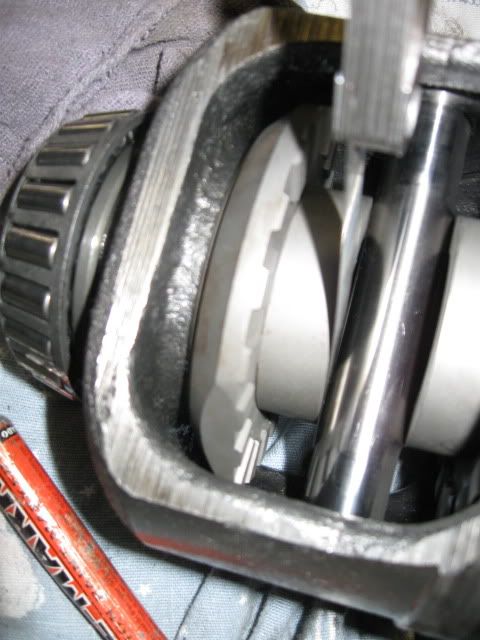
Aussie locker time
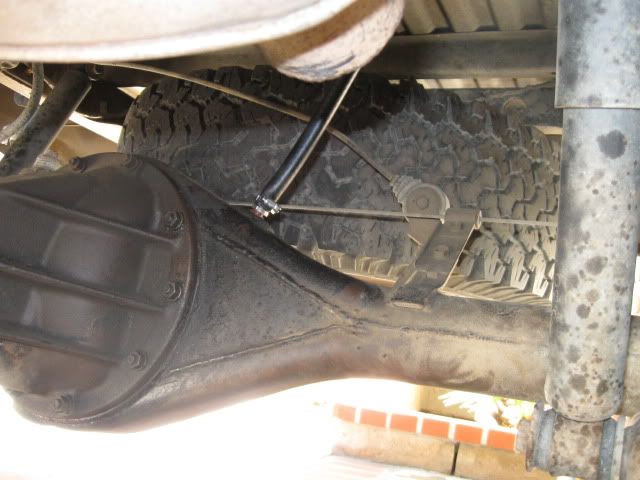
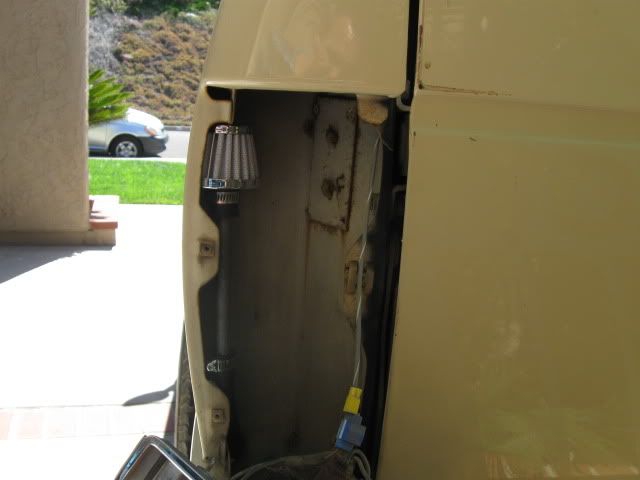
some breather extenders
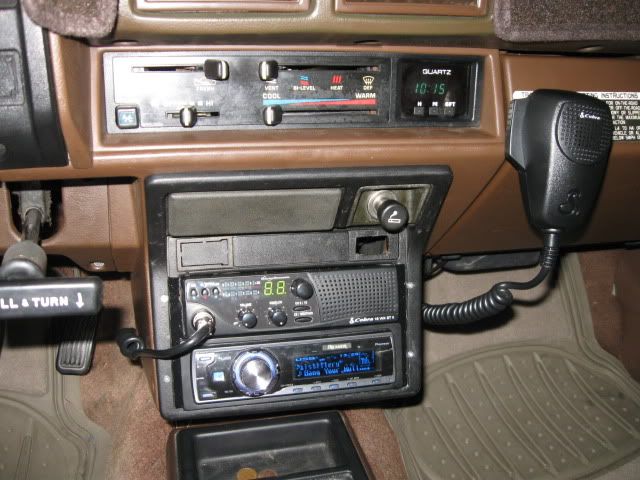
and installed a CB Radio and headunit.
Taking her out this weekend to Anza Borrego Desert in California to do some wheeling. break something then upgrade it.
I think 4.70 and lift and tires are next.
bought the truck in July of 2010 and ever since i have been saving the $$$ to make this a great expedition vehicle.
the truck the day i bought it.
first thing i did was removed the mud flaps and put on a bed liner.
after that I did some wheeling and found out I needed some more traction.
Aussie locker time
some breather extenders
and installed a CB Radio and headunit.
Taking her out this weekend to Anza Borrego Desert in California to do some wheeling. break something then upgrade it.
I think 4.70 and lift and tires are next.
 Sep 26, 2010 | 06:24 PM
#6
Thread Starter
Registered User
Joined: Jul 2010
Posts: 175
Likes: 1
From: San Clemente, Ca
Is it still as affective as the herculiner/rhyno-liner
Sep 26, 2010 | 06:43 PM
#7
Thread Starter
Registered User
Joined: Jul 2010
Posts: 175
Likes: 1
From: San Clemente, Ca
Pinion Mountain Road Test Run
took the truck out for its first serious off road challenge. some friends and i ran Pinion Mountain Road in the Anza Borrego Desert and went trough the Squeeze and ran Heart Attack Hill. which really did almost give me a heart attack. but one thing i noticed that i need to improve is my articulation. i was able to do almost everything with the locker and 31's but if you watch the video below you will see i float a lot of tire.
[YOUTUBE]http://www.youtube.com/watch?v=XCsrALZrXNI[/YOUTUBE]
The Squeeze
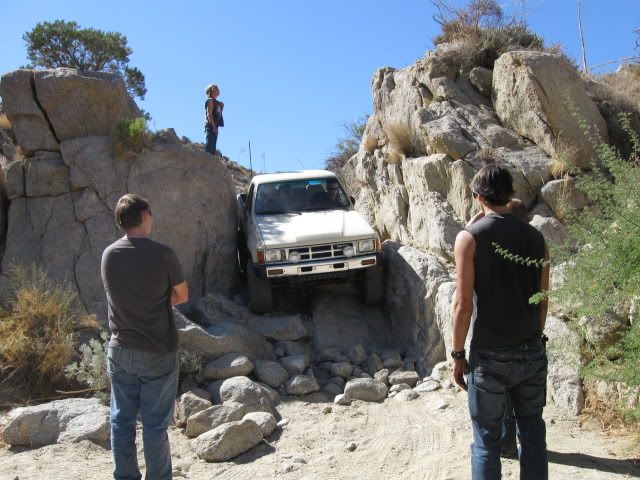
got stuck on one point just after heart attack hill. I don't know what it was call, but i just need a little help because i only have one locker
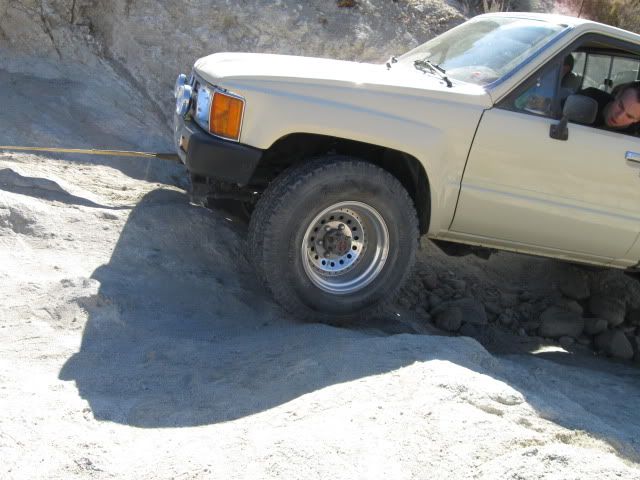
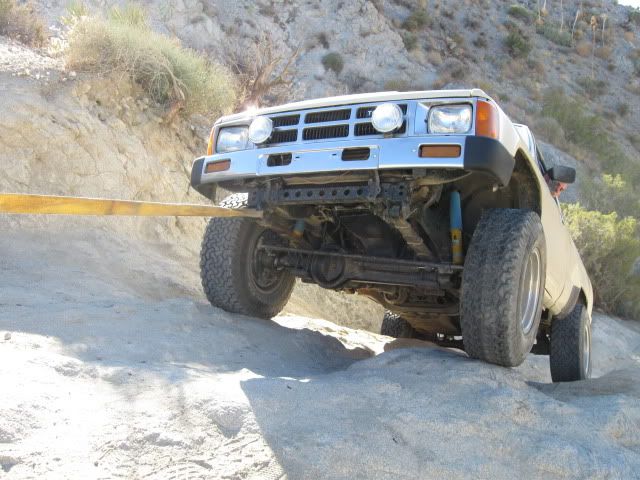
heres the whole i got stuck in.
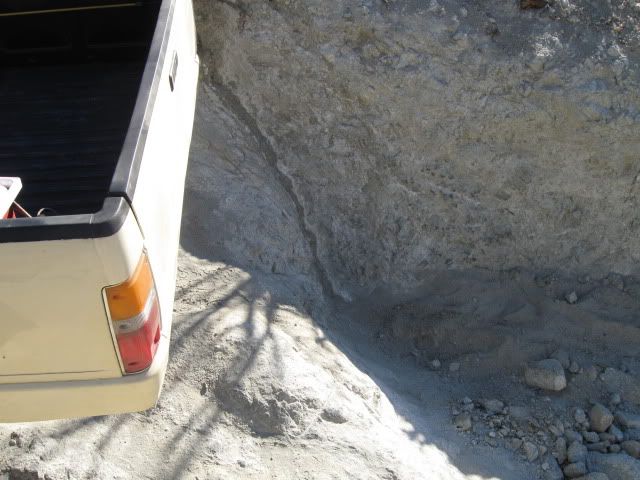
this trip taught me a lot, Gears would help. so that may be the next thing to upgrade. then springs! what springs articulate that best? I dont care much about hight but bigger tires would be helpful.
[YOUTUBE]http://www.youtube.com/watch?v=XCsrALZrXNI[/YOUTUBE]
The Squeeze
got stuck on one point just after heart attack hill. I don't know what it was call, but i just need a little help because i only have one locker
heres the whole i got stuck in.
this trip taught me a lot, Gears would help. so that may be the next thing to upgrade. then springs! what springs articulate that best? I dont care much about hight but bigger tires would be helpful.
Trending Topics
Oct 6, 2010 | 11:17 AM
#9
Registered User
Joined: Sep 2009
Posts: 69
Likes: 0
From: Van Buren, ARKANSAS
2wd Chevy 63" springs are super flexy. You can run them front and rear and get about 4in of lift. They are fairly cheap also. You will need to look for springs after 95 or 96, the newer the better since they will have less miles. Even 08 and 09 springs will still work.
It will take some fab work to get them on but they are cheap and will get 4in of lift.
It will take some fab work to get them on but they are cheap and will get 4in of lift.
Nov 8, 2010 | 03:20 PM
#10
Thread Starter
Registered User
Joined: Jul 2010
Posts: 175
Likes: 1
From: San Clemente, Ca
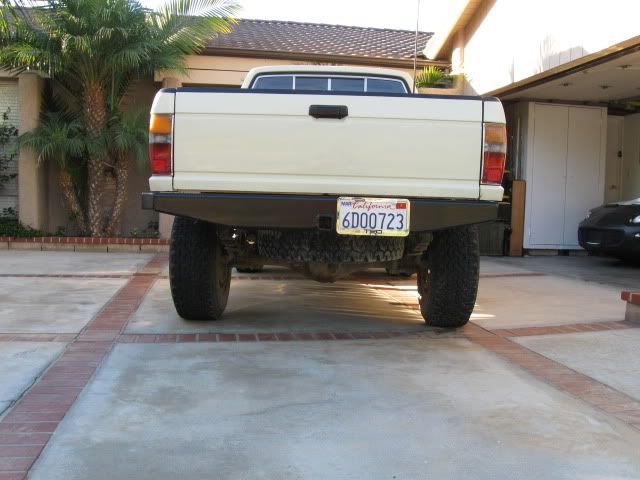
Bumper Build Part I
So my buddies shop got a new toy (Plasma Cutter), so I decided to make an excuse to go and play with it. spent about an hour looking through some scarp metal the Industrial Metal Supply and about 80 dollars and came up with the idea to build a rear bumper.
I did some searching and found one I really liked the looks of. then got to work.
first I cut off everything pretty much below the Tail gate.
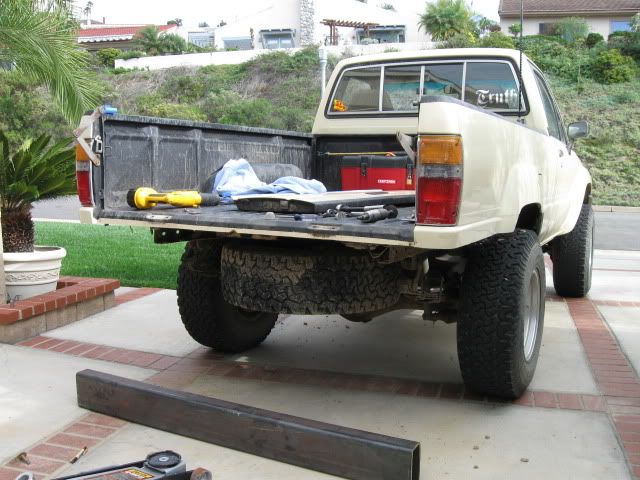
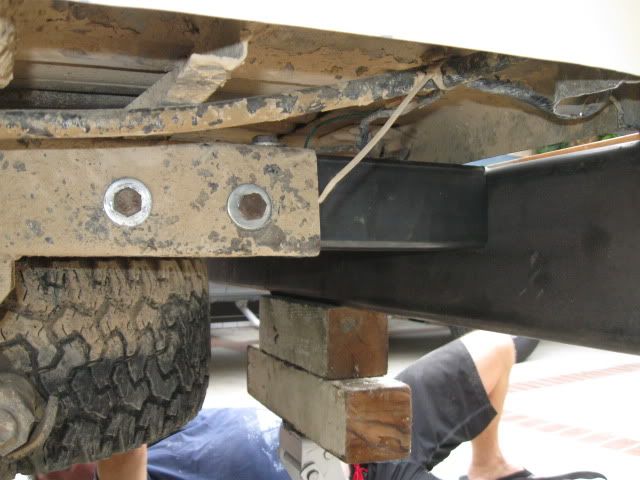
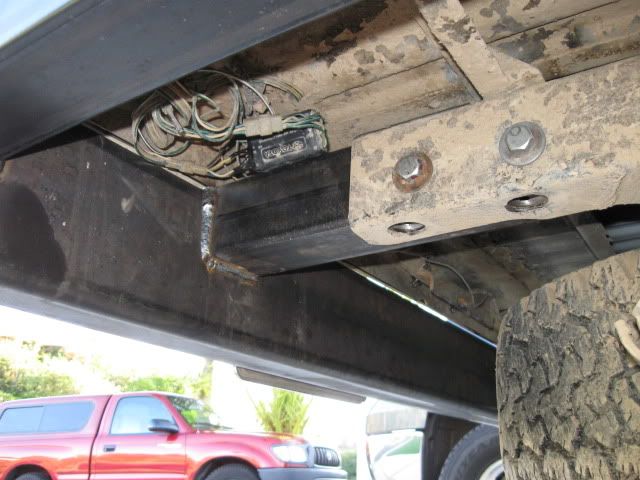
once that was clear, looked at how to connect to the frame.
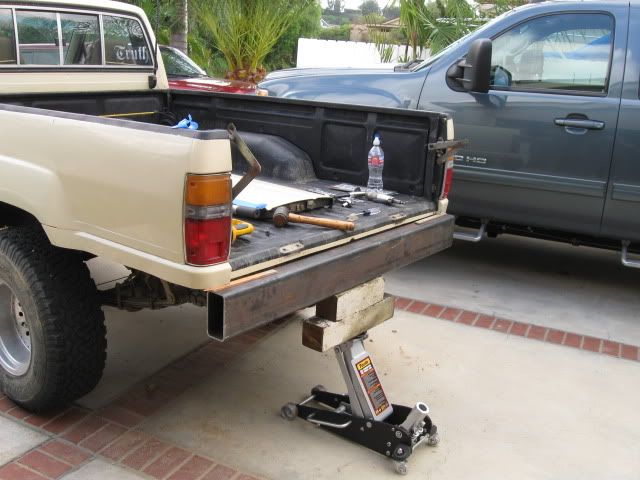
I used a 3x6x 1/4 for the main part across the back.
and some 3x3x3/16 for the frame mounts and the rear quarters.
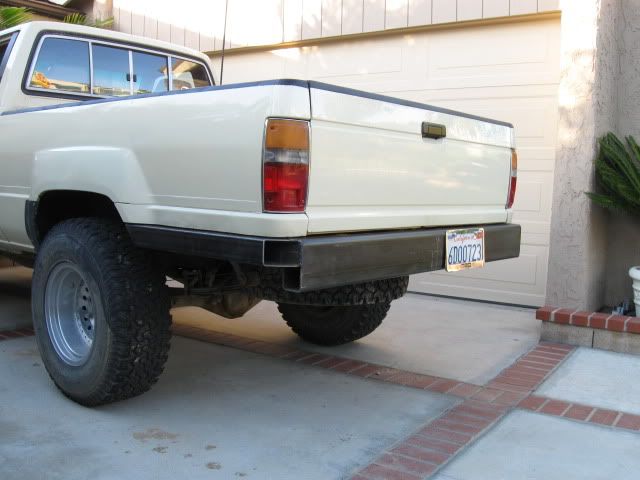
I still have lots to do, but a good start.
List of thing to do.
Cap off tubes.
Trim down main beam
Add Gussets
Add D ring mounts x2
Cut hole of hitch receiver
plus all the stuff i want to add from your suggestions.
I did some searching and found one I really liked the looks of. then got to work.
first I cut off everything pretty much below the Tail gate.
once that was clear, looked at how to connect to the frame.
I used a 3x6x 1/4 for the main part across the back.
and some 3x3x3/16 for the frame mounts and the rear quarters.
I still have lots to do, but a good start.
List of thing to do.
Cap off tubes.
Trim down main beam
Add Gussets
Add D ring mounts x2
Cut hole of hitch receiver
plus all the stuff i want to add from your suggestions.
Nov 15, 2010 | 02:47 PM
#12
Thread Starter
Registered User
Joined: Jul 2010
Posts: 175
Likes: 1
From: San Clemente, Ca
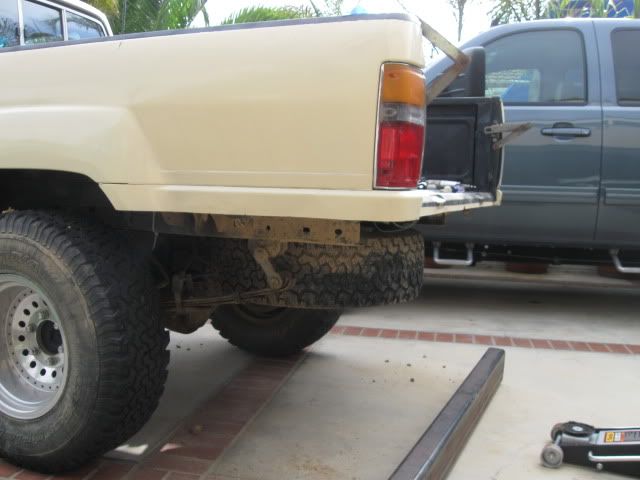
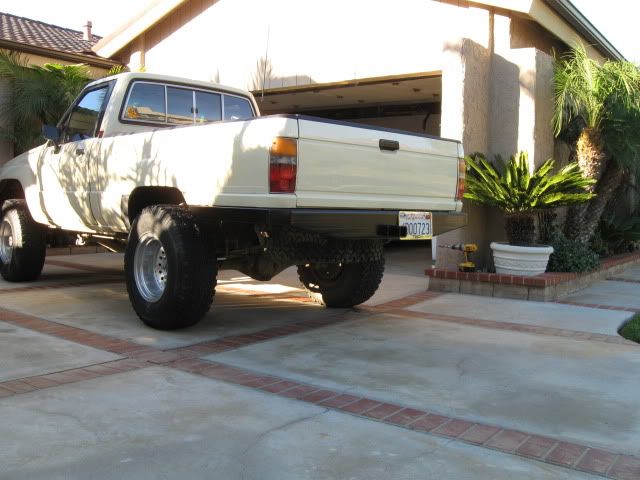
Bumper Build Part II
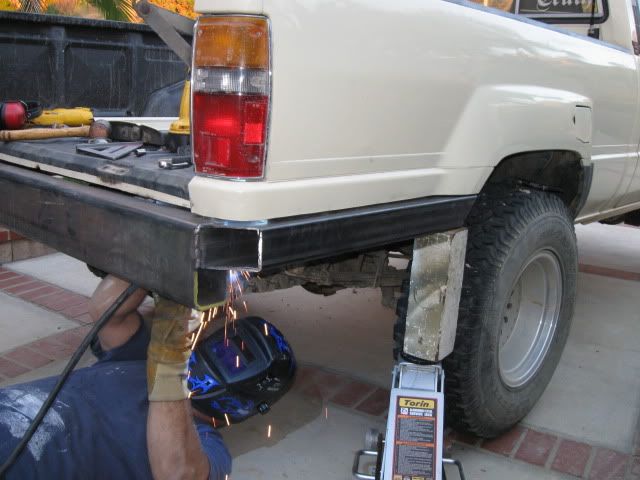
Since Im in collage, Only have a couple hours a day to fabracate. so my time frame for finishing was longer then expected.
so this time I added some gussets and capped off all the pipes.
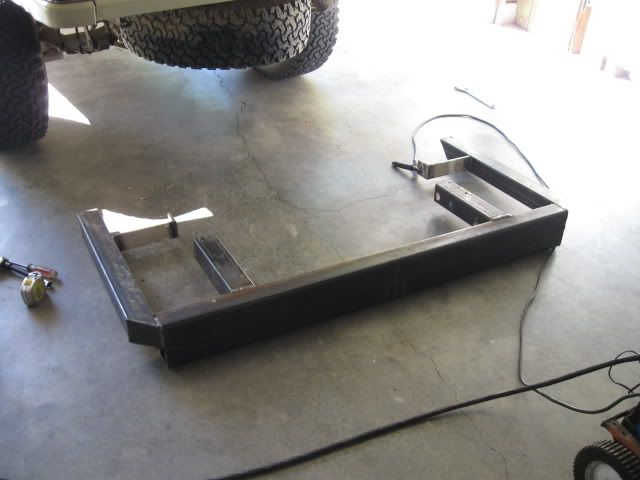
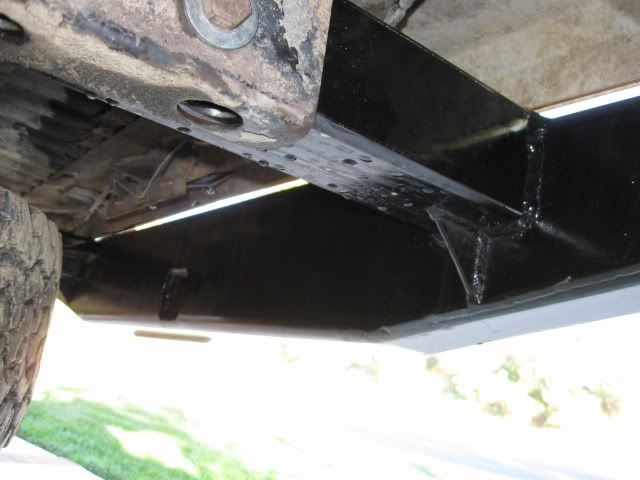
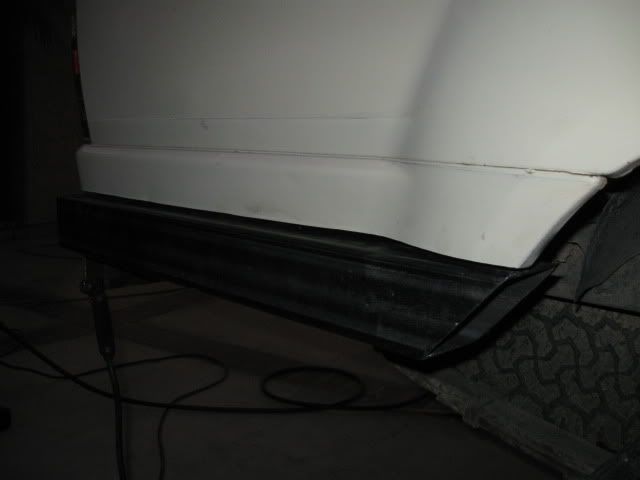
I also took my time when it came to cutting the 1/4" thic main beam. I think it came out lookin good. I shot a couple coats on with a rattle can just to keep the rust away. But im thinking maybe having it powder coated.
Hope you guys like it, cause i sure do.
so this time I added some gussets and capped off all the pipes.
I also took my time when it came to cutting the 1/4" thic main beam. I think it came out lookin good. I shot a couple coats on with a rattle can just to keep the rust away. But im thinking maybe having it powder coated.
Hope you guys like it, cause i sure do.
Nov 15, 2010 | 03:46 PM
#14
Thread Starter
Registered User
Joined: Jul 2010
Posts: 175
Likes: 1
From: San Clemente, Ca
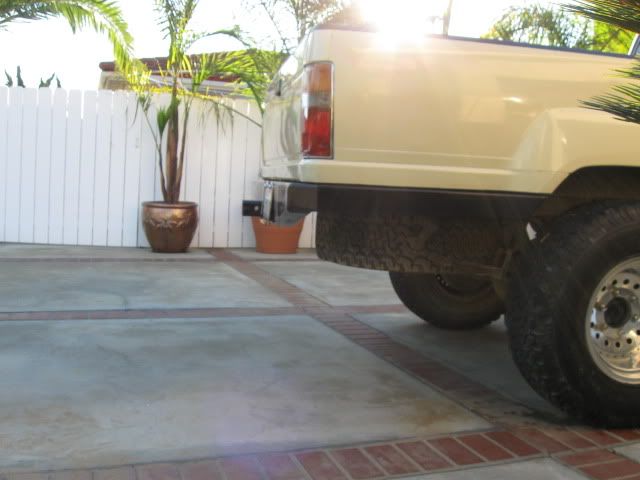
.
where else is there to put it. I kinda need the bad space for hauling dirt bikes and things like that. where do most people with pickups put them?
Bumper looks good! Now that you have all of that extra clerance it's time to relocate that spare tire.
Nov 15, 2010 | 11:22 PM
#15
Registered User
Joined: Sep 2008
Posts: 3,887
Likes: 16
From: Spokane, WA
Nov 16, 2010 | 08:45 AM
#17
Registered User
iTrader: (2)
Joined: Dec 2009
Posts: 2,159
Likes: 8
From: Pleasanton, CA - SF Bay Area
Yeah! I want to see this
Here's something to get you started:
http://www.toyotaholics.com/support/...p?TOPIC_ID=199
Looking good!
Nov 16, 2010 | 09:29 AM
#18
Thread Starter
Registered User
Joined: Jul 2010
Posts: 175
Likes: 1
From: San Clemente, Ca
Here's something to get you started:
http://www.toyotaholics.com/support/...p?TOPIC_ID=199
http://www.toyotaholics.com/support/...p?TOPIC_ID=199
Dec 27, 2010 | 10:24 PM
#20
Thread Starter
Registered User
Joined: Jul 2010
Posts: 175
Likes: 1
From: San Clemente, Ca
Addicted Offroad front bumper.
Santa Clause brought me a unexpected gift. I got a front tube bumper. I was think of making my own, but I dont have a pipe bender yet and I dont like the look of boxy bumpers people are making. Bbut now i dont have to worry about that cause I got Addicted offroads Bumper for Christmas, And i think this is the best lookin bumper for this generation of trucks.
the bumper was not painted when it showed up, and Since its made in Colorado and im in California, there was already some surface rust beginning to form when i got it. I shot some WD 40 on it just to keep it from getting worse and finaly got time today to weld on some tabs for the lights and giving a coat of paint.
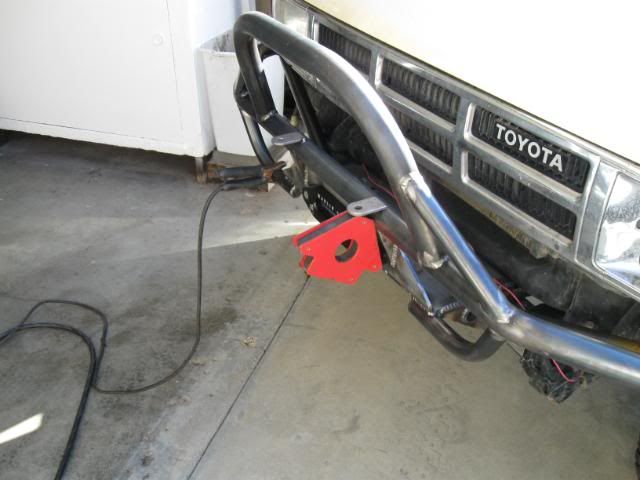
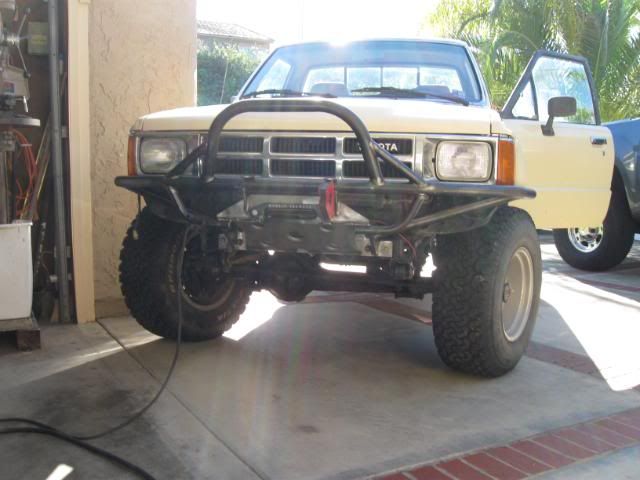
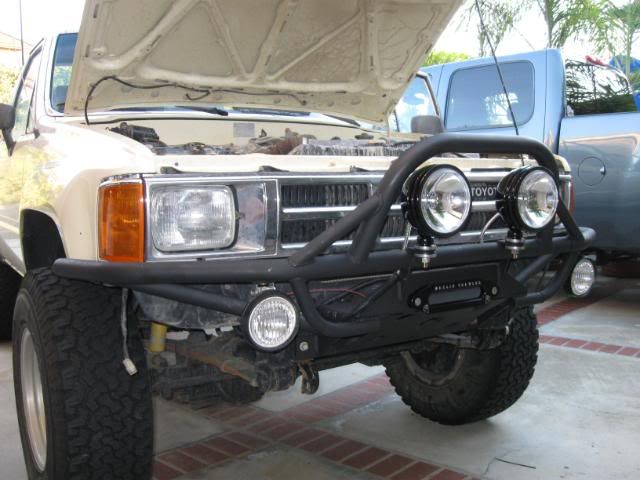
I have some 6 inch KC daylighters in the center and then just some 55W work lights that im using like fogs down below.
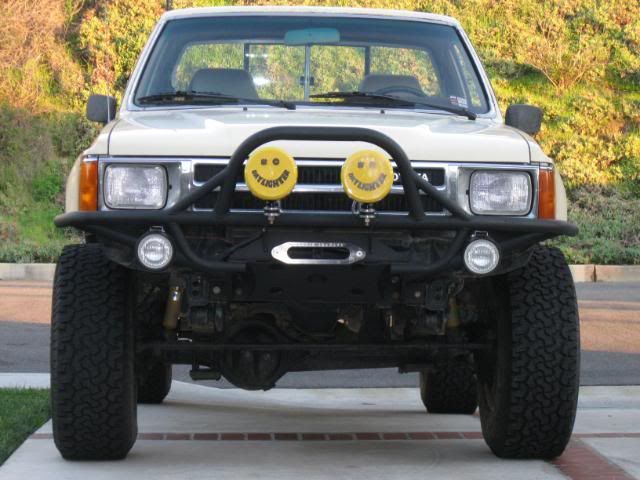
Pretty Freakin Beautiful if I do say so myself. I also got a Twin stick, but my buddy ordered the wrong one, so that will be coming soon.
the bumper was not painted when it showed up, and Since its made in Colorado and im in California, there was already some surface rust beginning to form when i got it. I shot some WD 40 on it just to keep it from getting worse and finaly got time today to weld on some tabs for the lights and giving a coat of paint.
I have some 6 inch KC daylighters in the center and then just some 55W work lights that im using like fogs down below.
Pretty Freakin Beautiful if I do say so myself. I also got a Twin stick, but my buddy ordered the wrong one, so that will be coming soon.


