
toyospearo's 1982 Pickup Build-Up Thread


 Jul 29, 2010 | 07:54 AM
#42
Registered User
Joined: Nov 2006
Posts: 16
Likes: 0
From: Weatherford, Texas
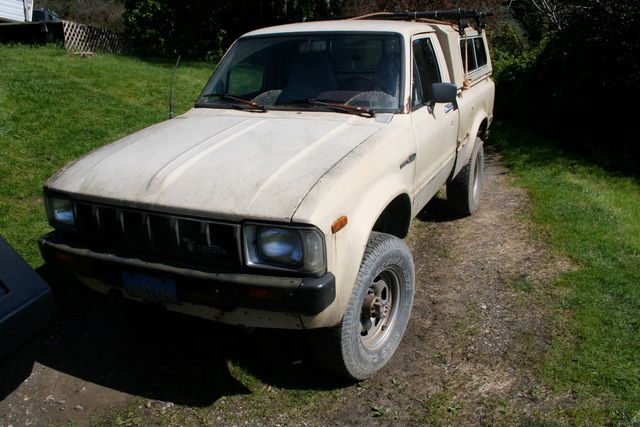
I picked up this 82 here on the north coast of CA. I looked and looked and this one kind of found me  . The guy I got it from took really good care of it over the years but the rust got to be too much for him. He parked it, started it every now and again over the years and then he decided to let it go.
When I got it it was leaking oil from the valve cover and the oil pan. The output shaft seal was leaking as well. There are rust problems galore. I picked up new front leafs and a rebuild kit with bearings, new front rust free fenders and u bolt flip kits.
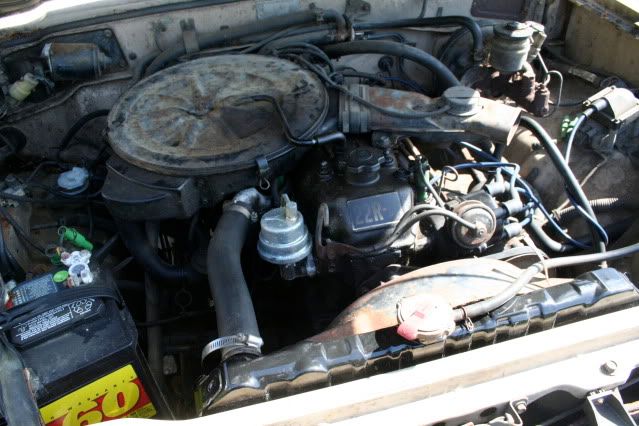
So far I have fixed all the gear oil and oil leaks, flushed the system and replaced most of the gaskets.
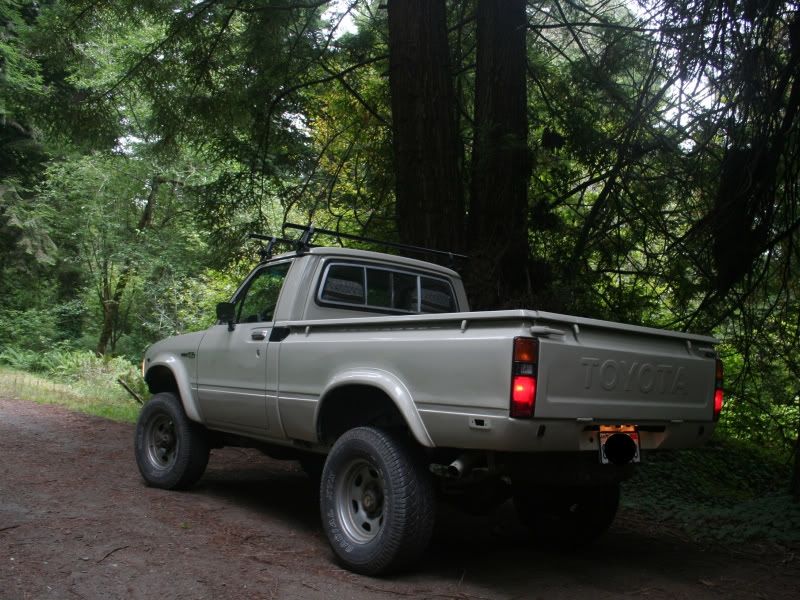
Below is the rig and a few mods... I plan on updating regularly so stay tuned.
The day I got it.
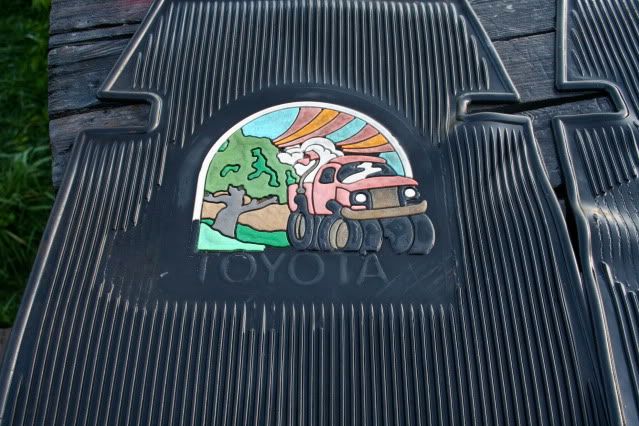
these came with it...
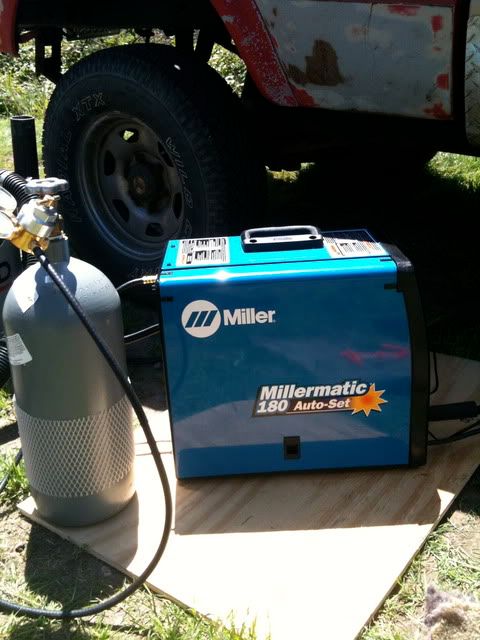
Finally got a decent welder!!
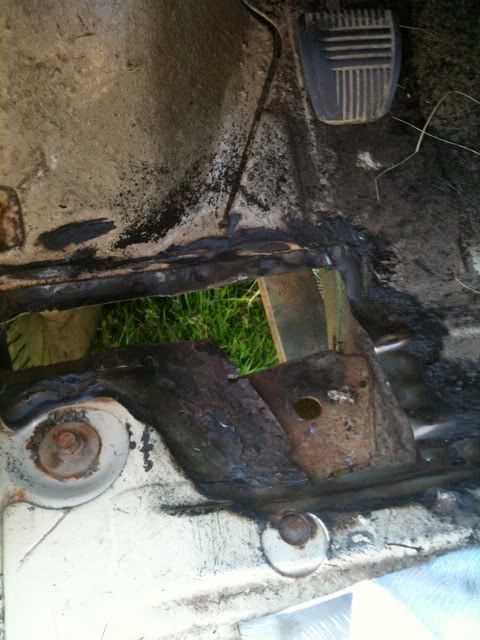
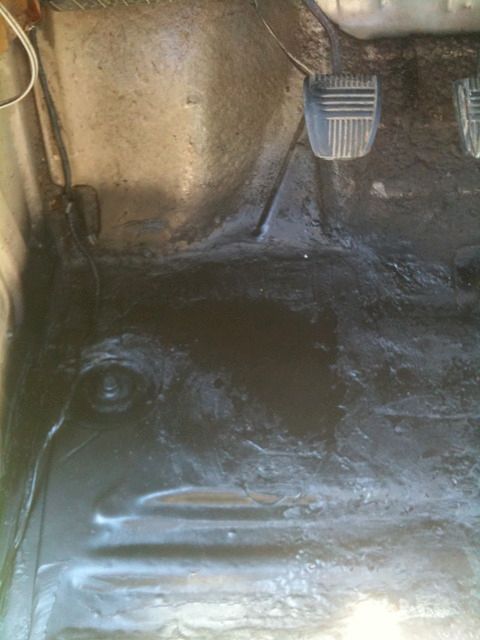
fixing rot..
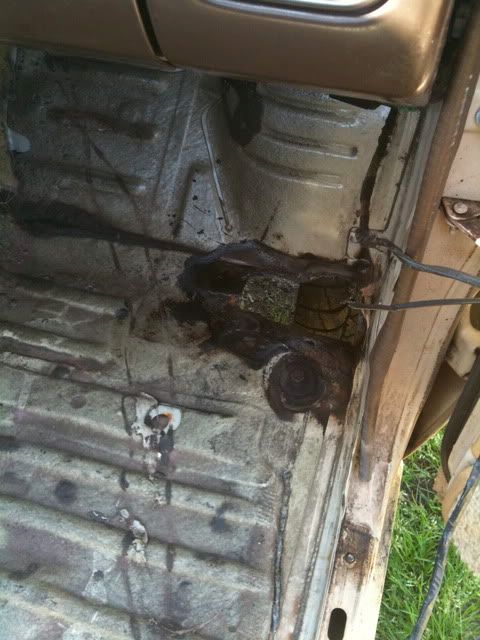
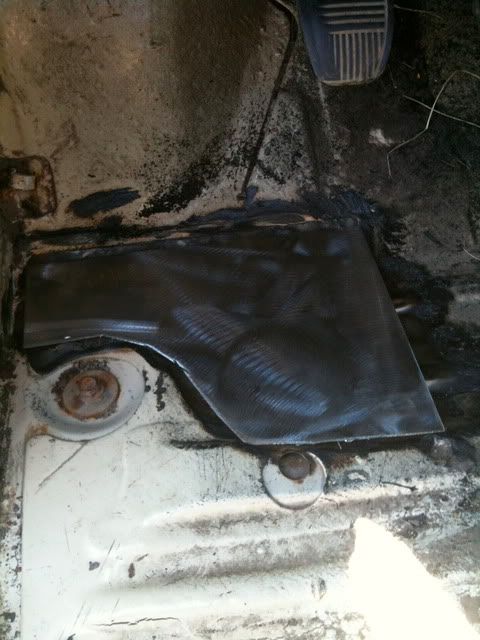
more rot..
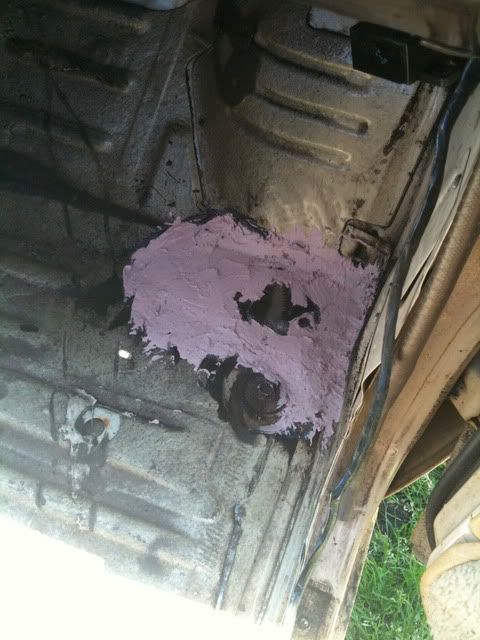
bondo to smooth it out (thanks Bindergirl!)
surf shot to keep from getting bored...

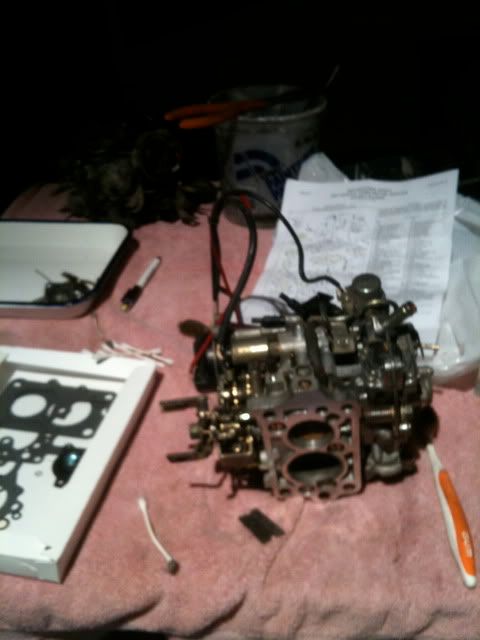
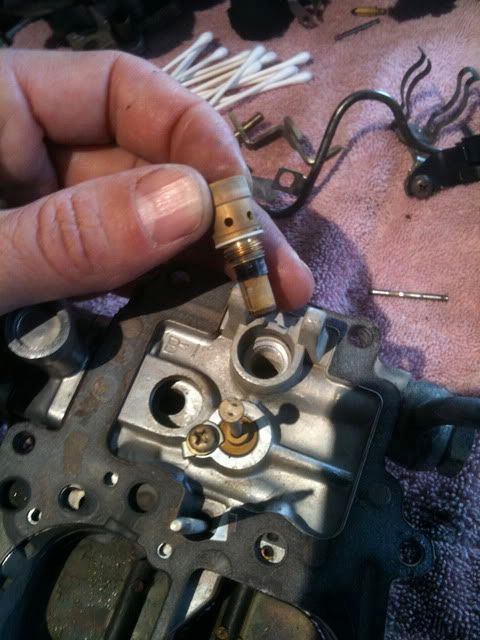
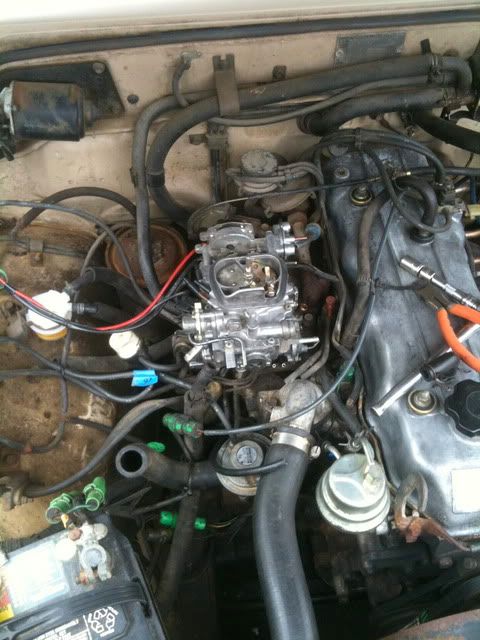
After fixing all the oil leaks I decided to rebuild the carb. I got a Napa kit and went to town!
back on, shiny as hell and running like a champ!!
New carpet goes in this week and much more to come!!
. The guy I got it from took really good care of it over the years but the rust got to be too much for him. He parked it, started it every now and again over the years and then he decided to let it go.When I got it it was leaking oil from the valve cover and the oil pan. The output shaft seal was leaking as well. There are rust problems galore. I picked up new front leafs and a rebuild kit with bearings, new front rust free fenders and u bolt flip kits.
So far I have fixed all the gear oil and oil leaks, flushed the system and replaced most of the gaskets.
Below is the rig and a few mods... I plan on updating regularly so stay tuned.
The day I got it.
these came with it...
Finally got a decent welder!!
fixing rot..
more rot..
bondo to smooth it out (thanks Bindergirl!)
surf shot to keep from getting bored...
After fixing all the oil leaks I decided to rebuild the carb. I got a Napa kit and went to town!
back on, shiny as hell and running like a champ!!
New carpet goes in this week and much more to come!!
Jul 29, 2010 | 03:26 PM
#43

some very nice rust repair right there .. ever want to move to Canada , i'm pretty sure I know a guy that might be able to put you to work restoring/building toyotas 
keep up the great work !!
.
keep up the great work !!
.
Aug 7, 2010 | 07:03 PM
#44
Thread Starter
Registered User

Joined: May 2008
Posts: 3,277
Likes: 23
From: way way nor cal
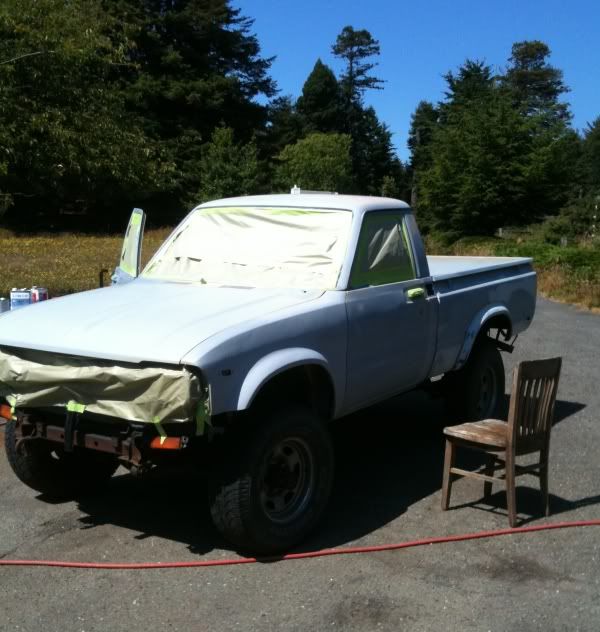
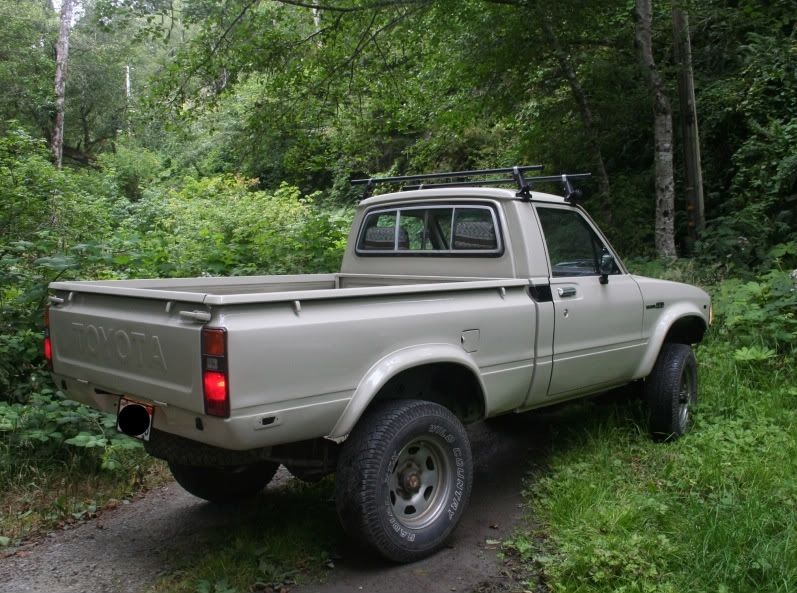
PAINTED!!! 
I took it out for a quick spin after I got the bed back on to make sure things were tight. Wheels, tires and ADDICTED OFFROAD bumper are on the way. Here are a few quick photos..
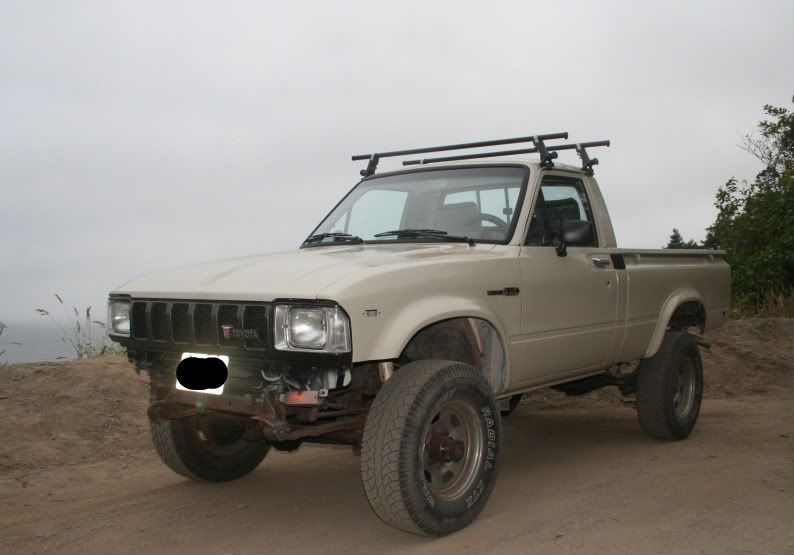
Before...
after...

I also completely restored the inside. I will post up some of those and the new leafs tomorrow..
I took it out for a quick spin after I got the bed back on to make sure things were tight. Wheels, tires and ADDICTED OFFROAD
bumper are on the way. Here are a few quick photos..Before...
after...
I also completely restored the inside. I will post up some of those and the new leafs tomorrow..

 Aug 8, 2010 | 07:13 AM
#52
Contributing Member
Joined: Jul 2003
Posts: 9,076
Likes: 0
From: Orlando, FL
You never cease to amaze me toyo...great work.
The wheels, tires and Scotty's bumper are going to make that look like an entirely different truck...as if you haven't already accomplished that!
So glad I'm subscribed!
Fink
The wheels, tires and Scotty's bumper are going to make that look like an entirely different truck...as if you haven't already accomplished that!
So glad I'm subscribed!
Fink
Aug 10, 2010 | 07:20 PM
#57
Thread Starter
Registered User
Joined: May 2008
Posts: 3,277
Likes: 23
From: way way nor cal
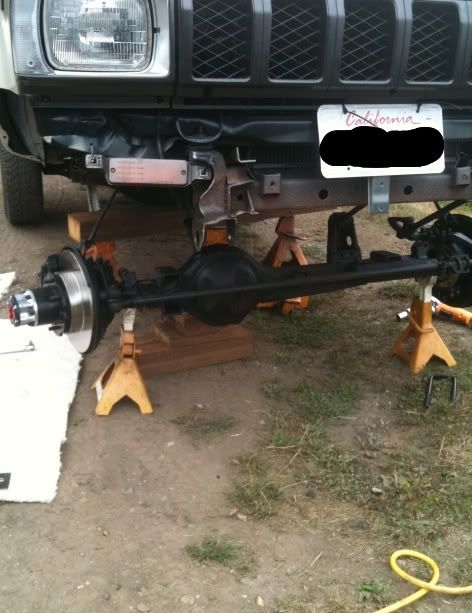
Got the front end totally done from hub to hub (thanks Wabbit  ) as well as new OME leafs. Today I finished the rear end. U bolt flip kit, and add a leafs..
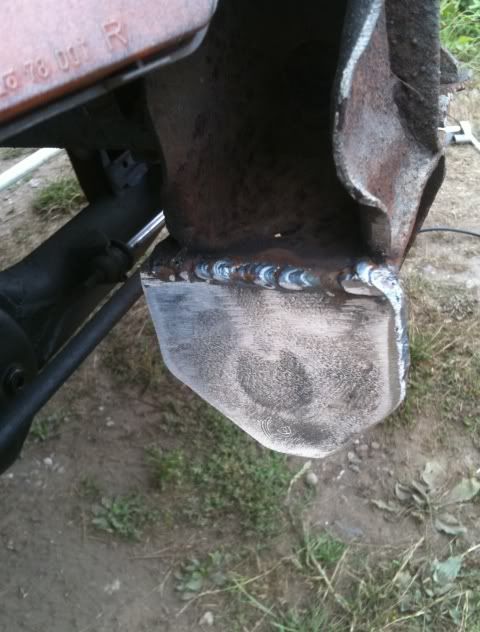
The front hanger stock pins WOULD NOT COME OUT

Sooo, I cut them out. I needed to fab a plate for both sides and drill new holes..
The front end r and r was a TOTAL PITA. It took me all of two days to get it done. In addition to a complete knuckle service kit with new bearings I also had to replace the rotors and calipers. Most of what could go wrong went wrong. I was very relived when it was done. I don't know if I have it in me to do another one.
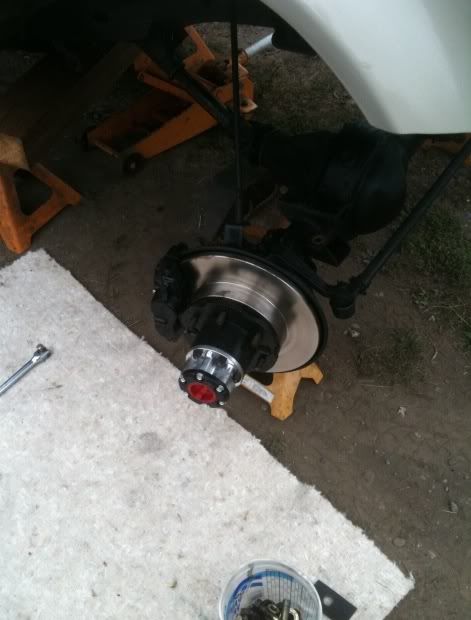
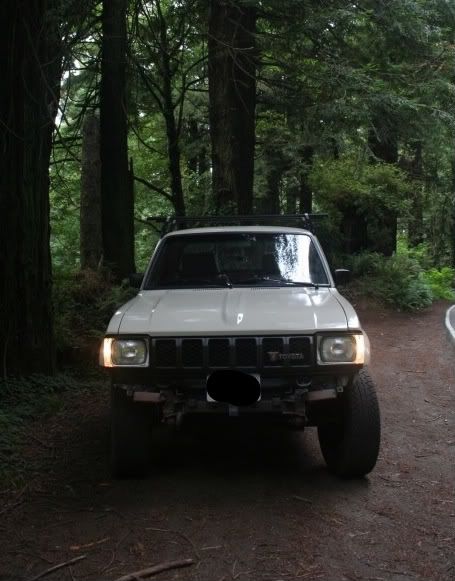
Ready for new rims and tires!
) as well as new OME leafs. Today I finished the rear end. U bolt flip kit, and add a leafs..The front hanger stock pins WOULD NOT COME OUT
Sooo, I cut them out. I needed to fab a plate for both sides and drill new holes..
The front end r and r was a TOTAL PITA. It took me all of two days to get it done. In addition to a complete knuckle service kit with new bearings I also had to replace the rotors and calipers. Most of what could go wrong went wrong. I was very relived when it was done. I don't know if I have it in me to do another one.
Ready for new rims and tires!
Last edited by toyospearo; Aug 10, 2010 at 07:33 PM.
Aug 10, 2010 | 08:44 PM
#58
Registered User
Joined: Jul 2009
Posts: 285
Likes: 0
From: beaverton, oregon
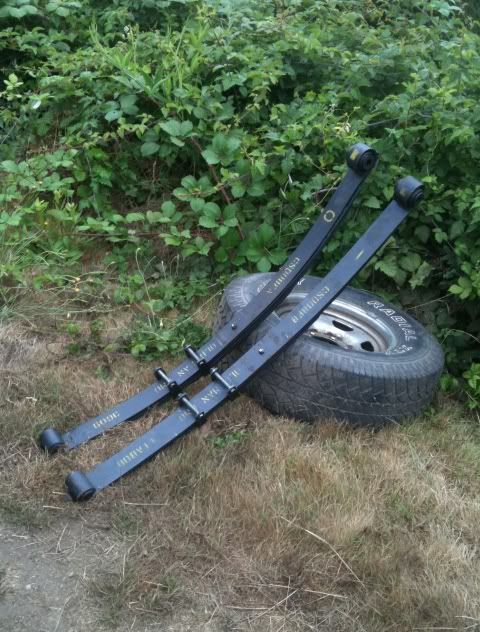
crazy, you actually got the pass/driver leaf springs. when i contacted ARB they said there was no real difference between the 2, both of mine are "A" springs. is there any visible difference side by side when they are lying on the ground?
Aug 10, 2010 | 08:54 PM
#59
Thread Starter
Registered User
Joined: May 2008
Posts: 3,277
Likes: 23
From: way way nor cal
Apparently there is a difference between the two. What that difference is I do not know. I do know that everyone I talked with regarding these leafs said you have to put A on the the drivers side.
I see absolutely no difference and I looked both of them over pretty well.
I am just glad they are in and that front end nightmare is over.
I see absolutely no difference and I looked both of them over pretty well.
I am just glad they are in and that front end nightmare is over.
Aug 11, 2010 | 01:45 AM
#60
Registered User
Joined: Jul 2009
Posts: 832
Likes: 0
From: Eastern NC
Looks nice man. And it is a big job. But you will love the OME springs.
I did my front end the same way you did, just dropped it down with the break lines attached. Ended up stretching the break lines and causing them to narrow on the inside. Which made my brakes pulsate when applied. Which in turn made the rotors warp. So I did the V6 brake upgrade. New brake lines are $18.00 ea at advance. The cheapest I have seen for extended woven brake lines in on summit racing. Might be cheap insurance for your new rotors.
Just something to watch out for.
Later


