When you click on links to various merchants on this site and make a purchase, this can result in this site earning a commission. Affiliate programs and affiliations include, but are not limited to, the eBay Partner Network.
After reading many buildups on here Ive Decided to start my own.
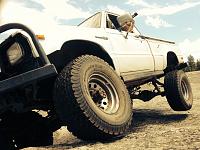
This thread will follow the buildup of my first truck, a 1983 Toyota Pickup. I bought it in August of 2014. Attachment 101490
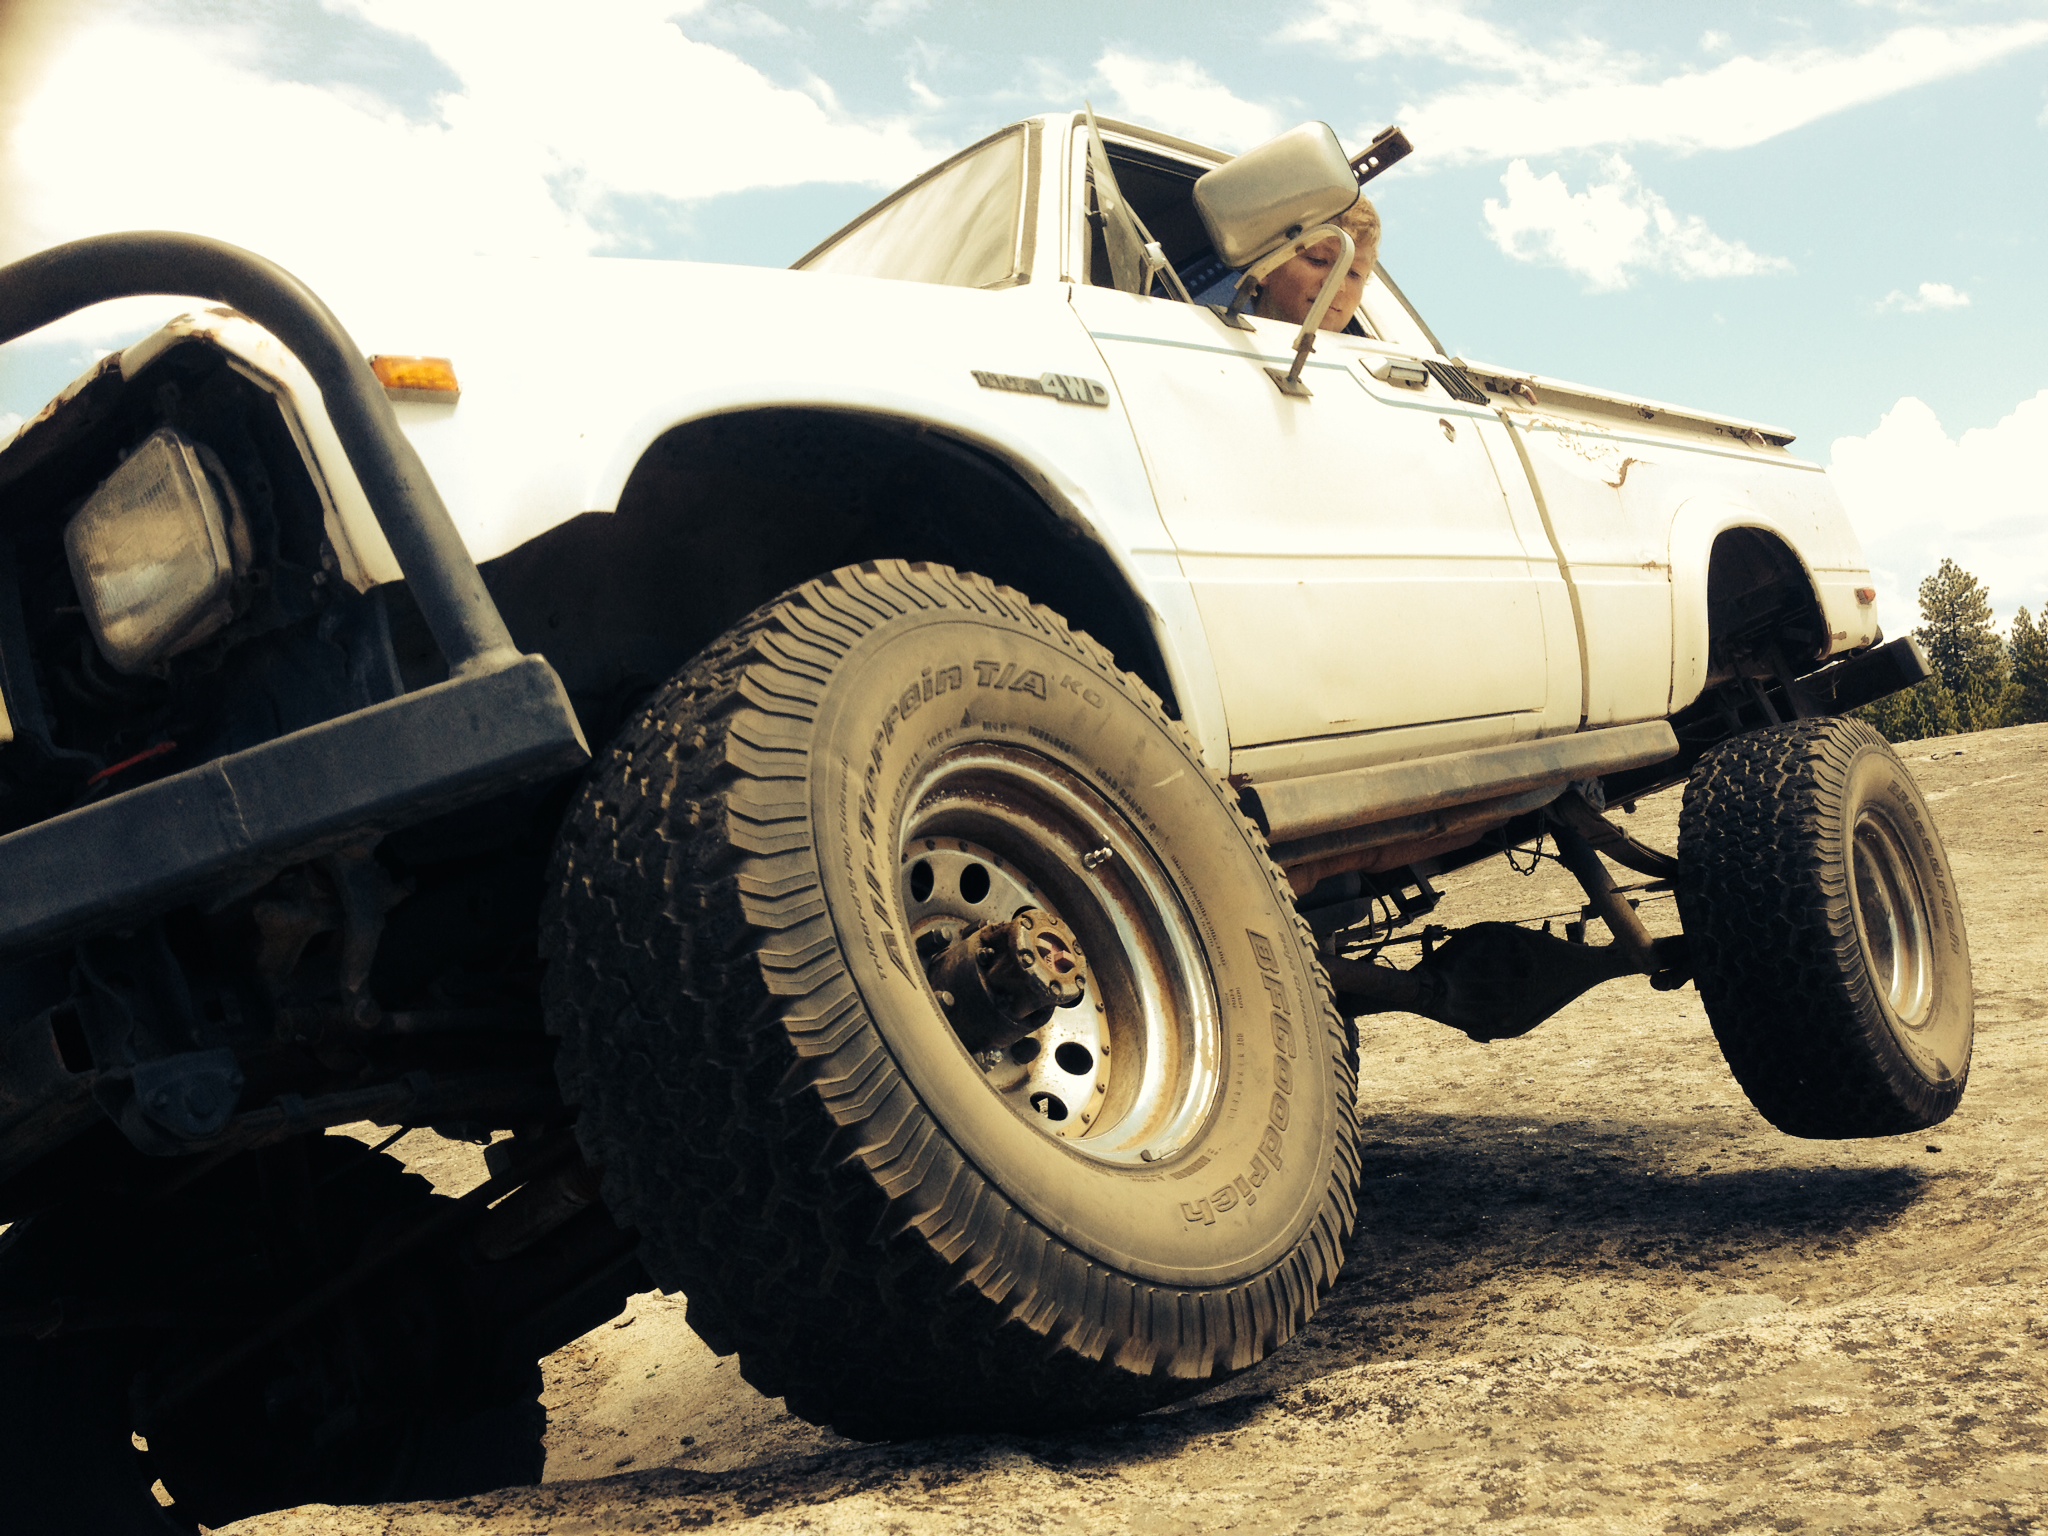
Its a pretty basic setup with the 22r, stock gearing, 33's, and undesirable lift blocks. I drove it for about 2 weeks and wheeled it a little at some spots near my house.
One day coming home from school i was going up a hill and the truck felt like it had no power. Then at a stop light i had to basically floor it to get it to move. After reading up on the problem we decided that the clutch was toast.
So i dropped the tranny and sure enough the front seal on the transmission was leaking and the bellhousing along with the clutch was coated in oil.
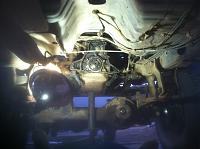
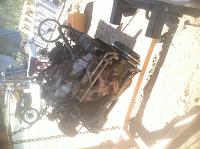
Back of engine...
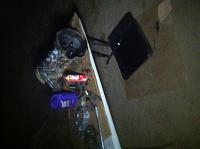
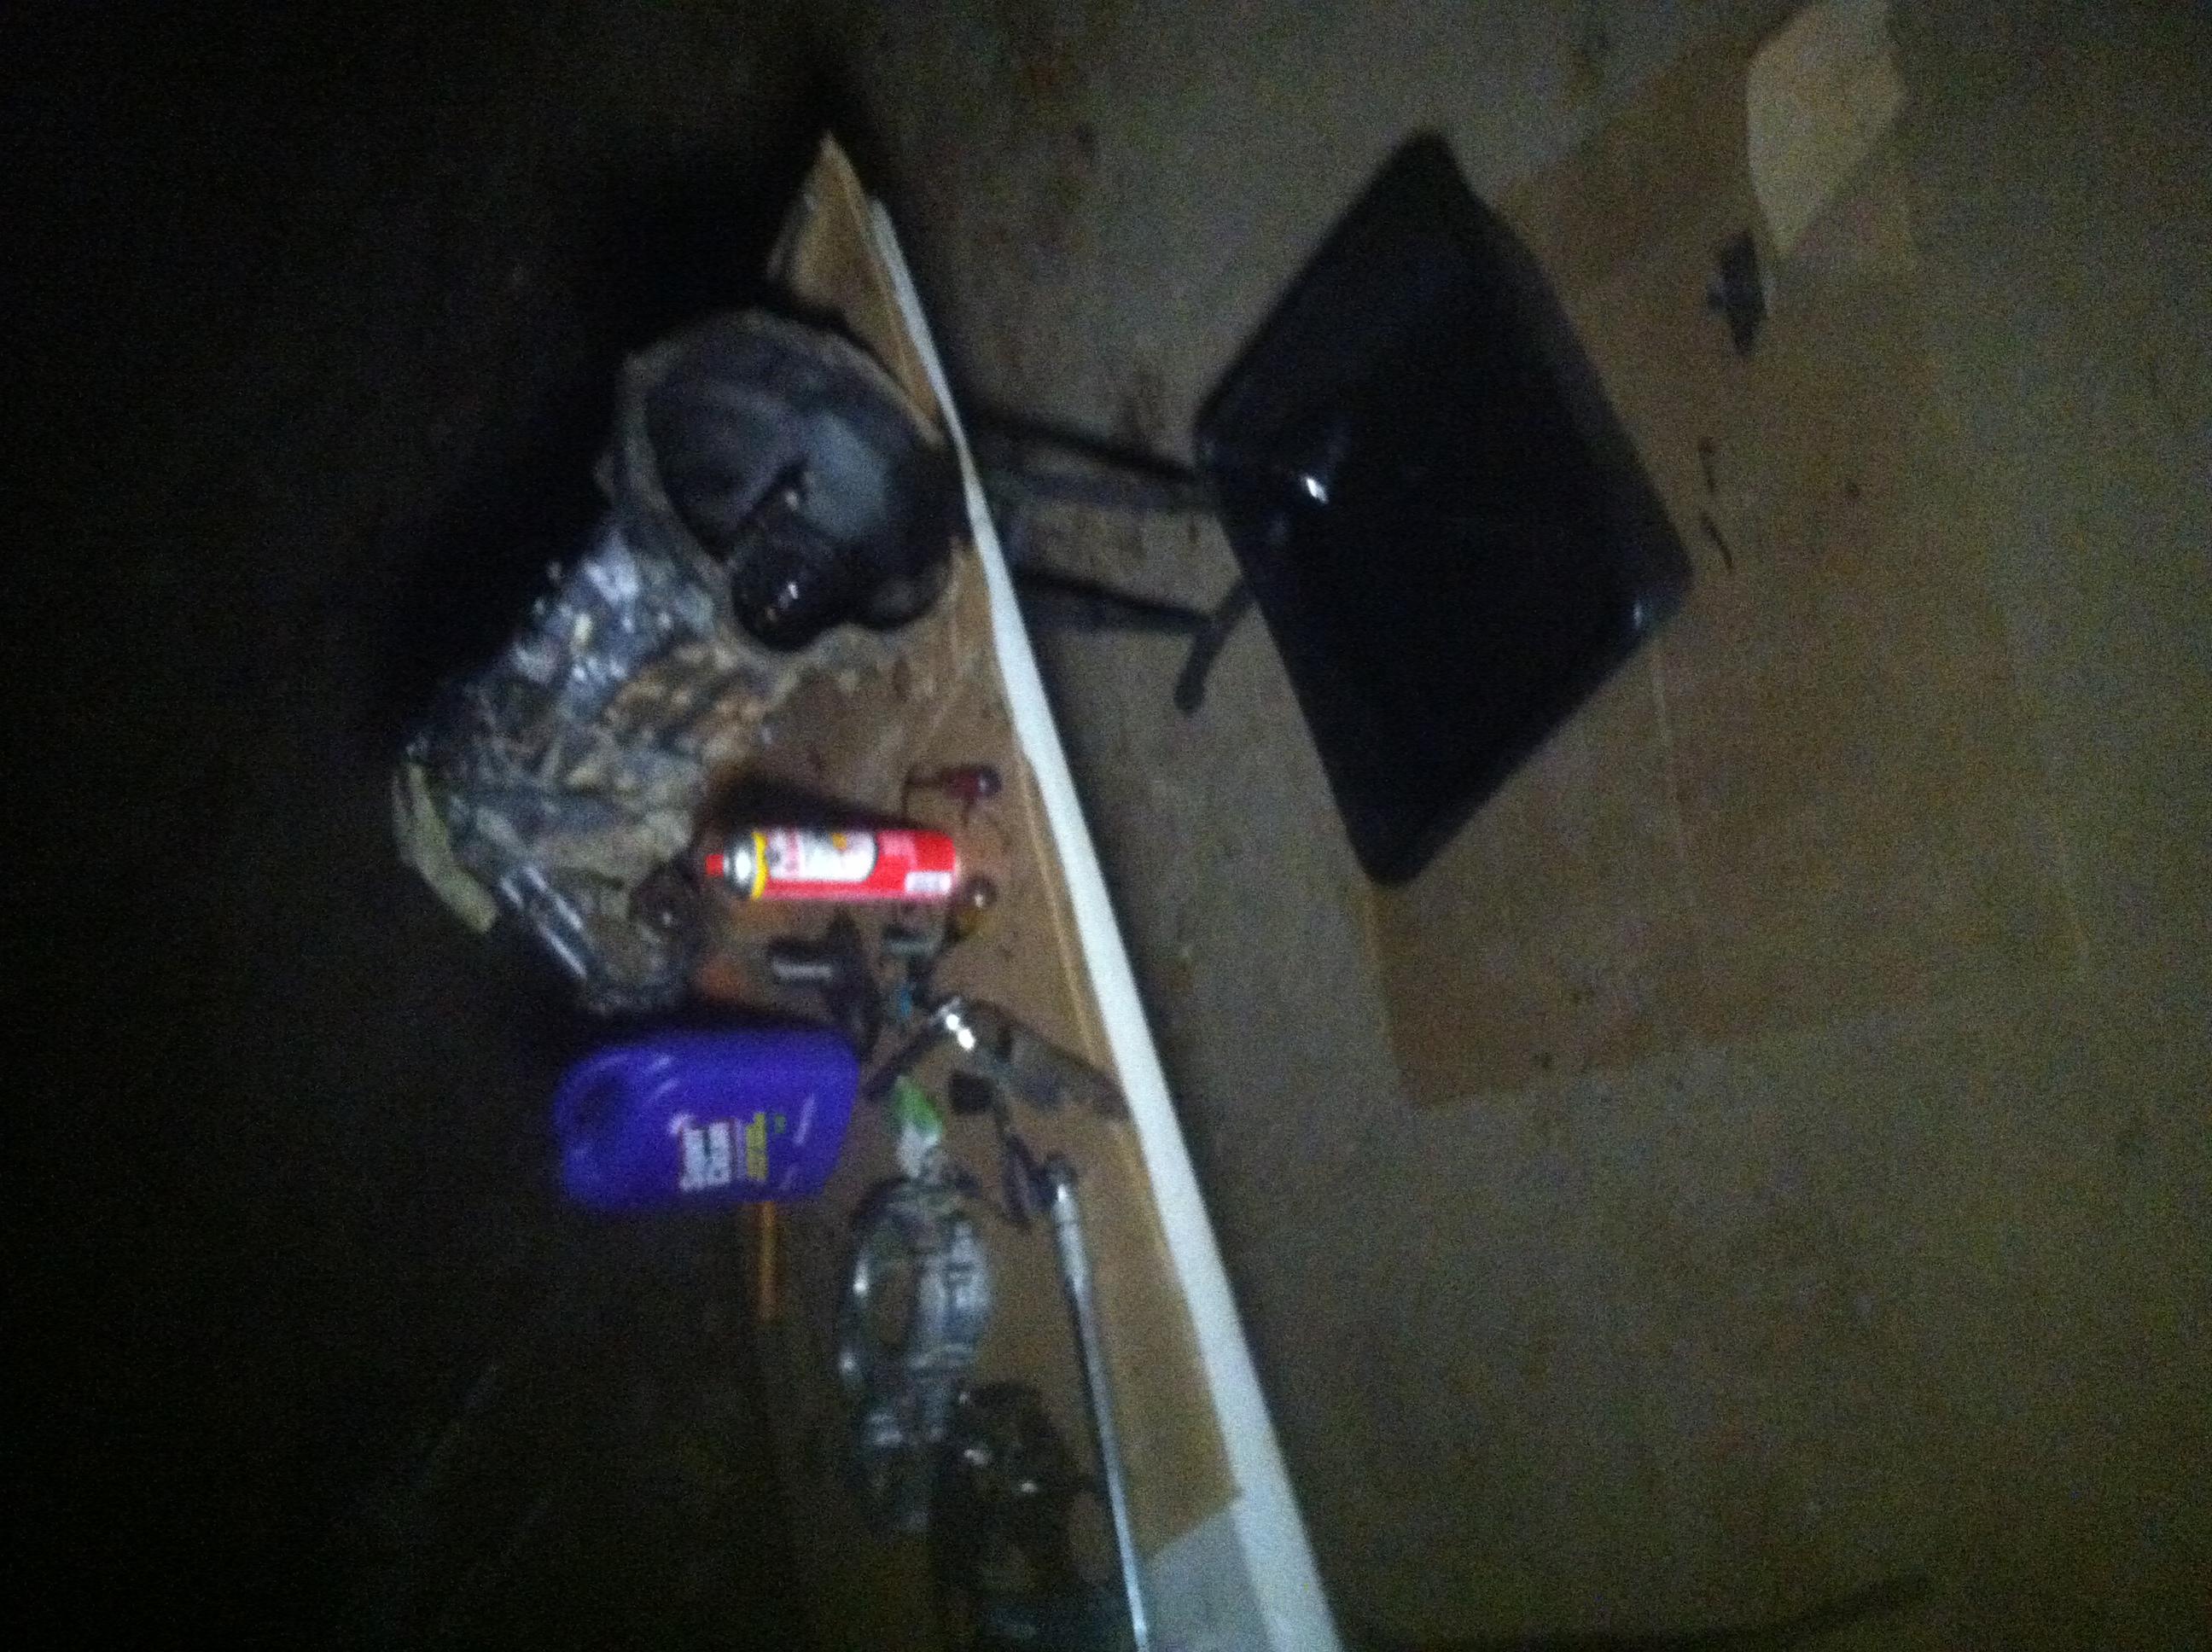
My ghetto work station...
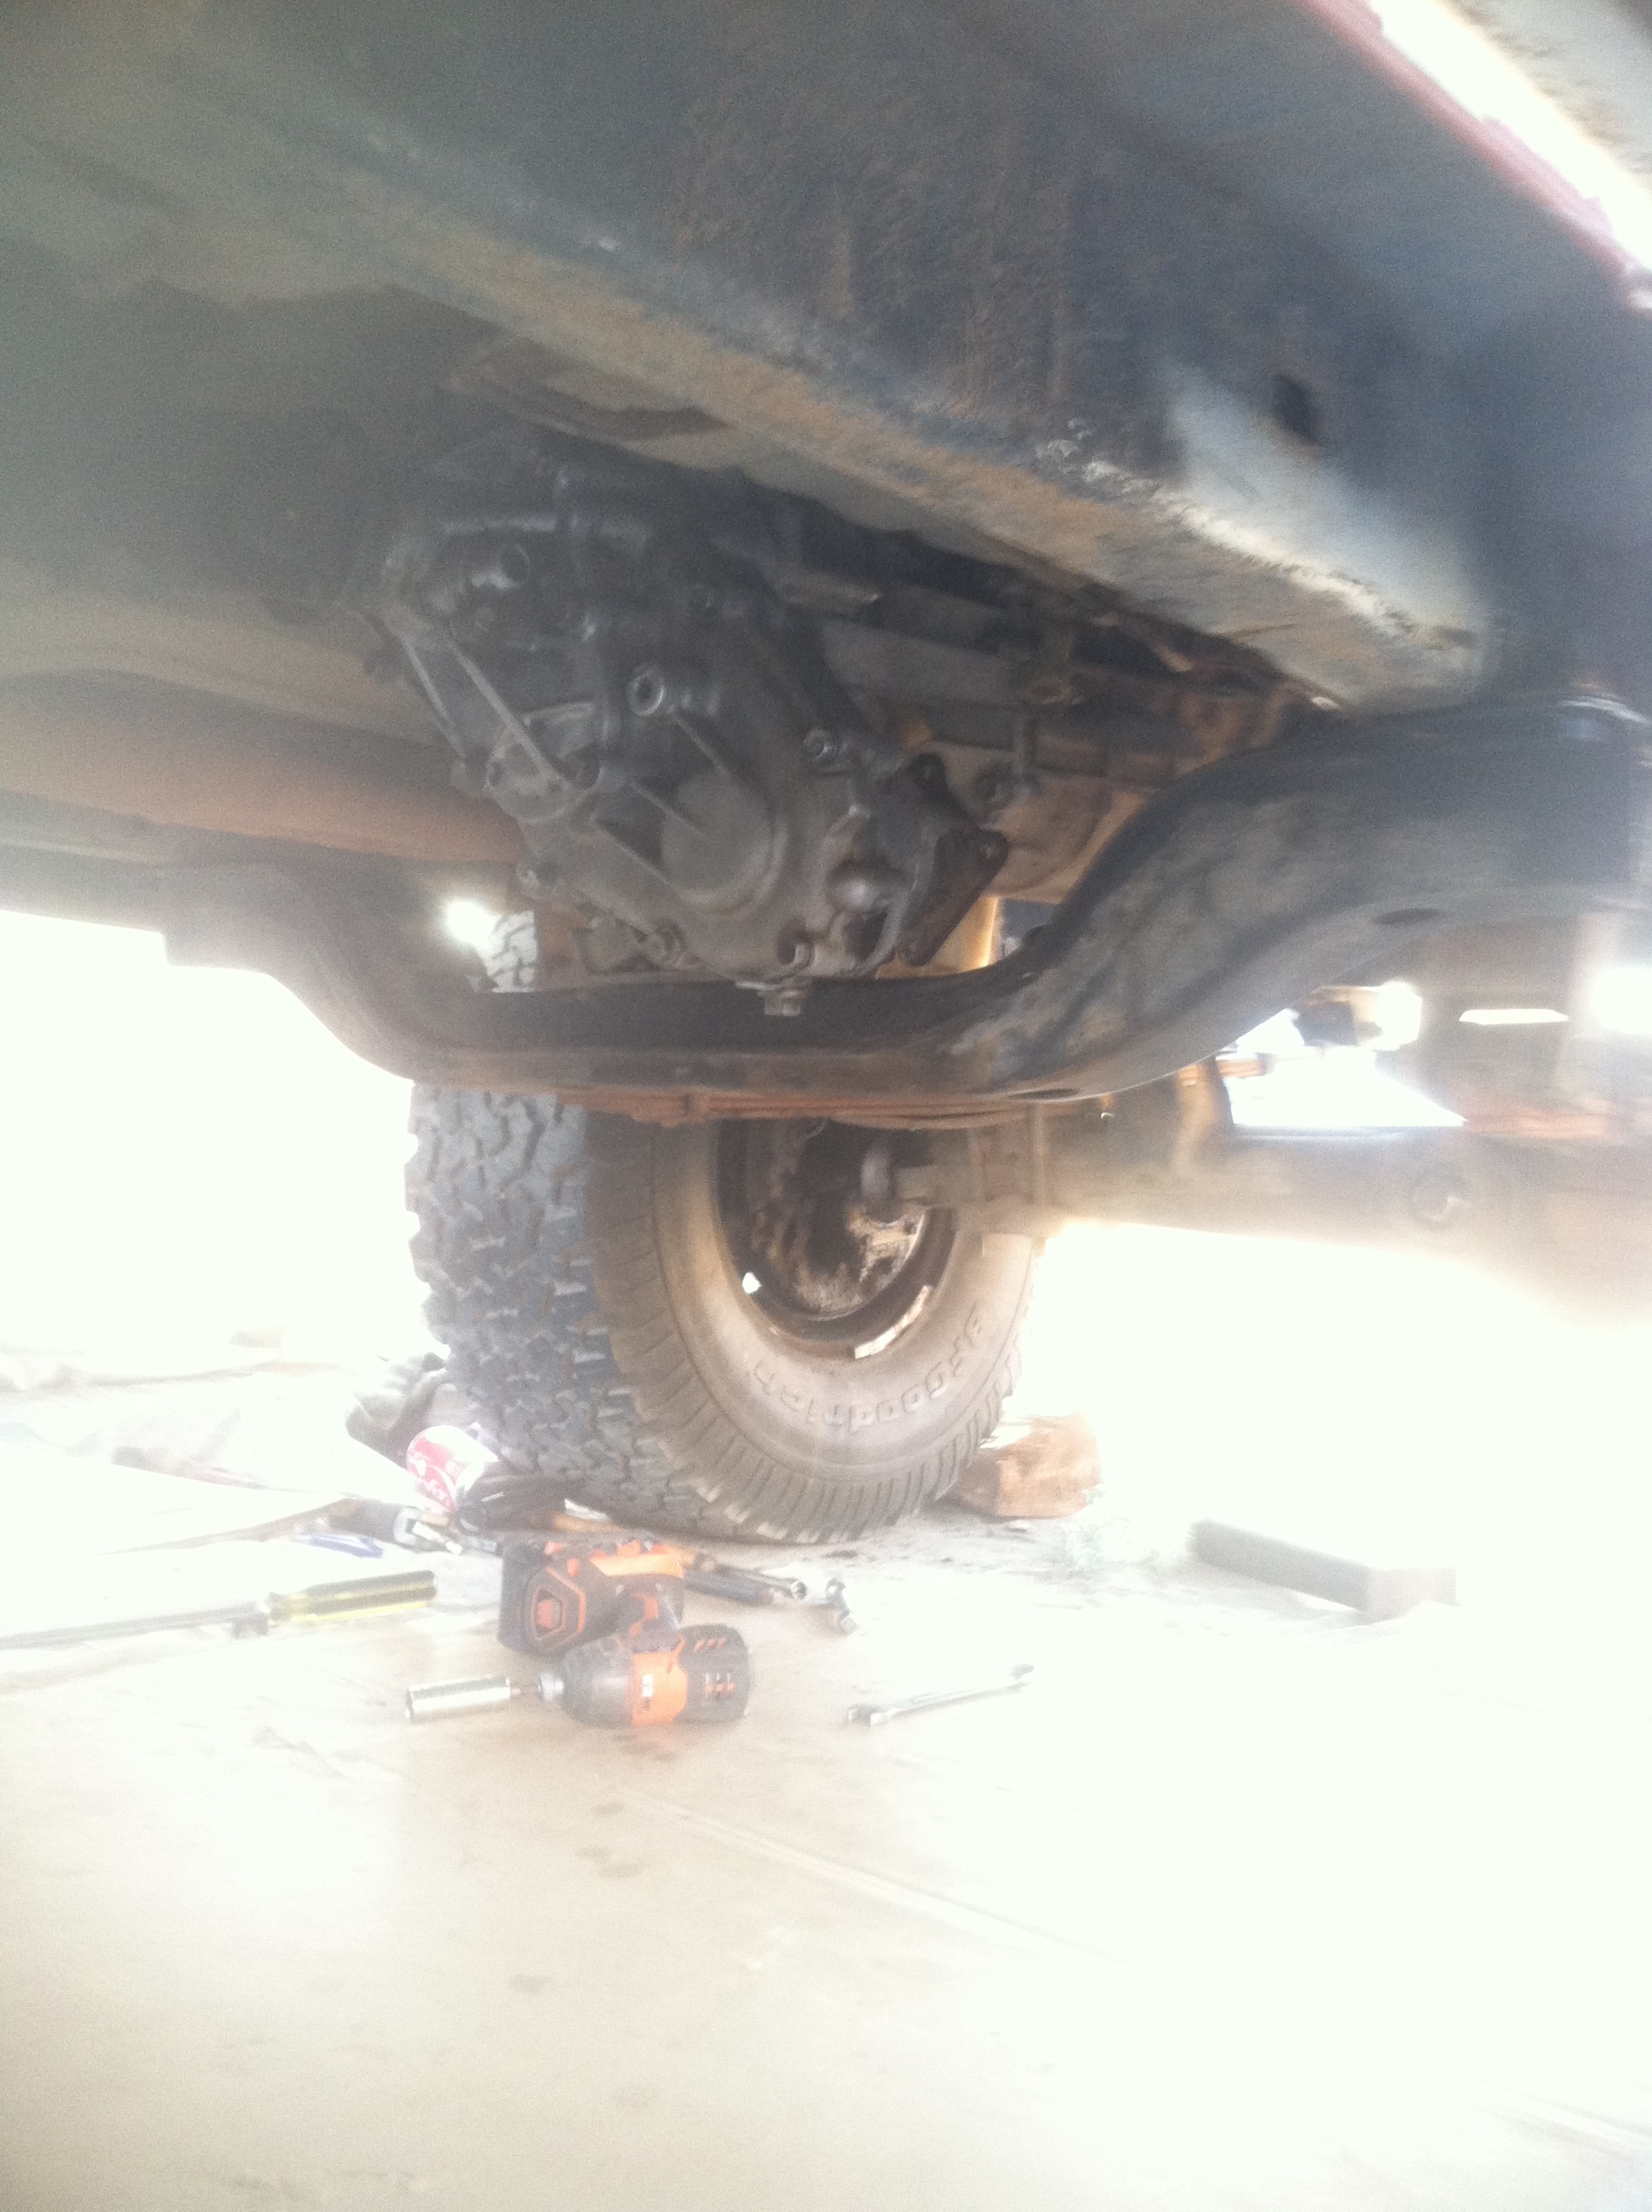
Transmission back up under the truck...
After struggling with the cheap hand oil pump to fill the t-case and tranny up with oil I finally started the truck back up. Sadly the truck still had no drive to the wheels. The motor revved and and seemed to be running great, there was just so power. Well after a compression test my worst fears came true. My motor was shot. Less than 90 psi on all 4 cylinders...
Luckily I had some cash left from working all summer because if I was gonna rebuild my motor it was going to be all top of the line stuff
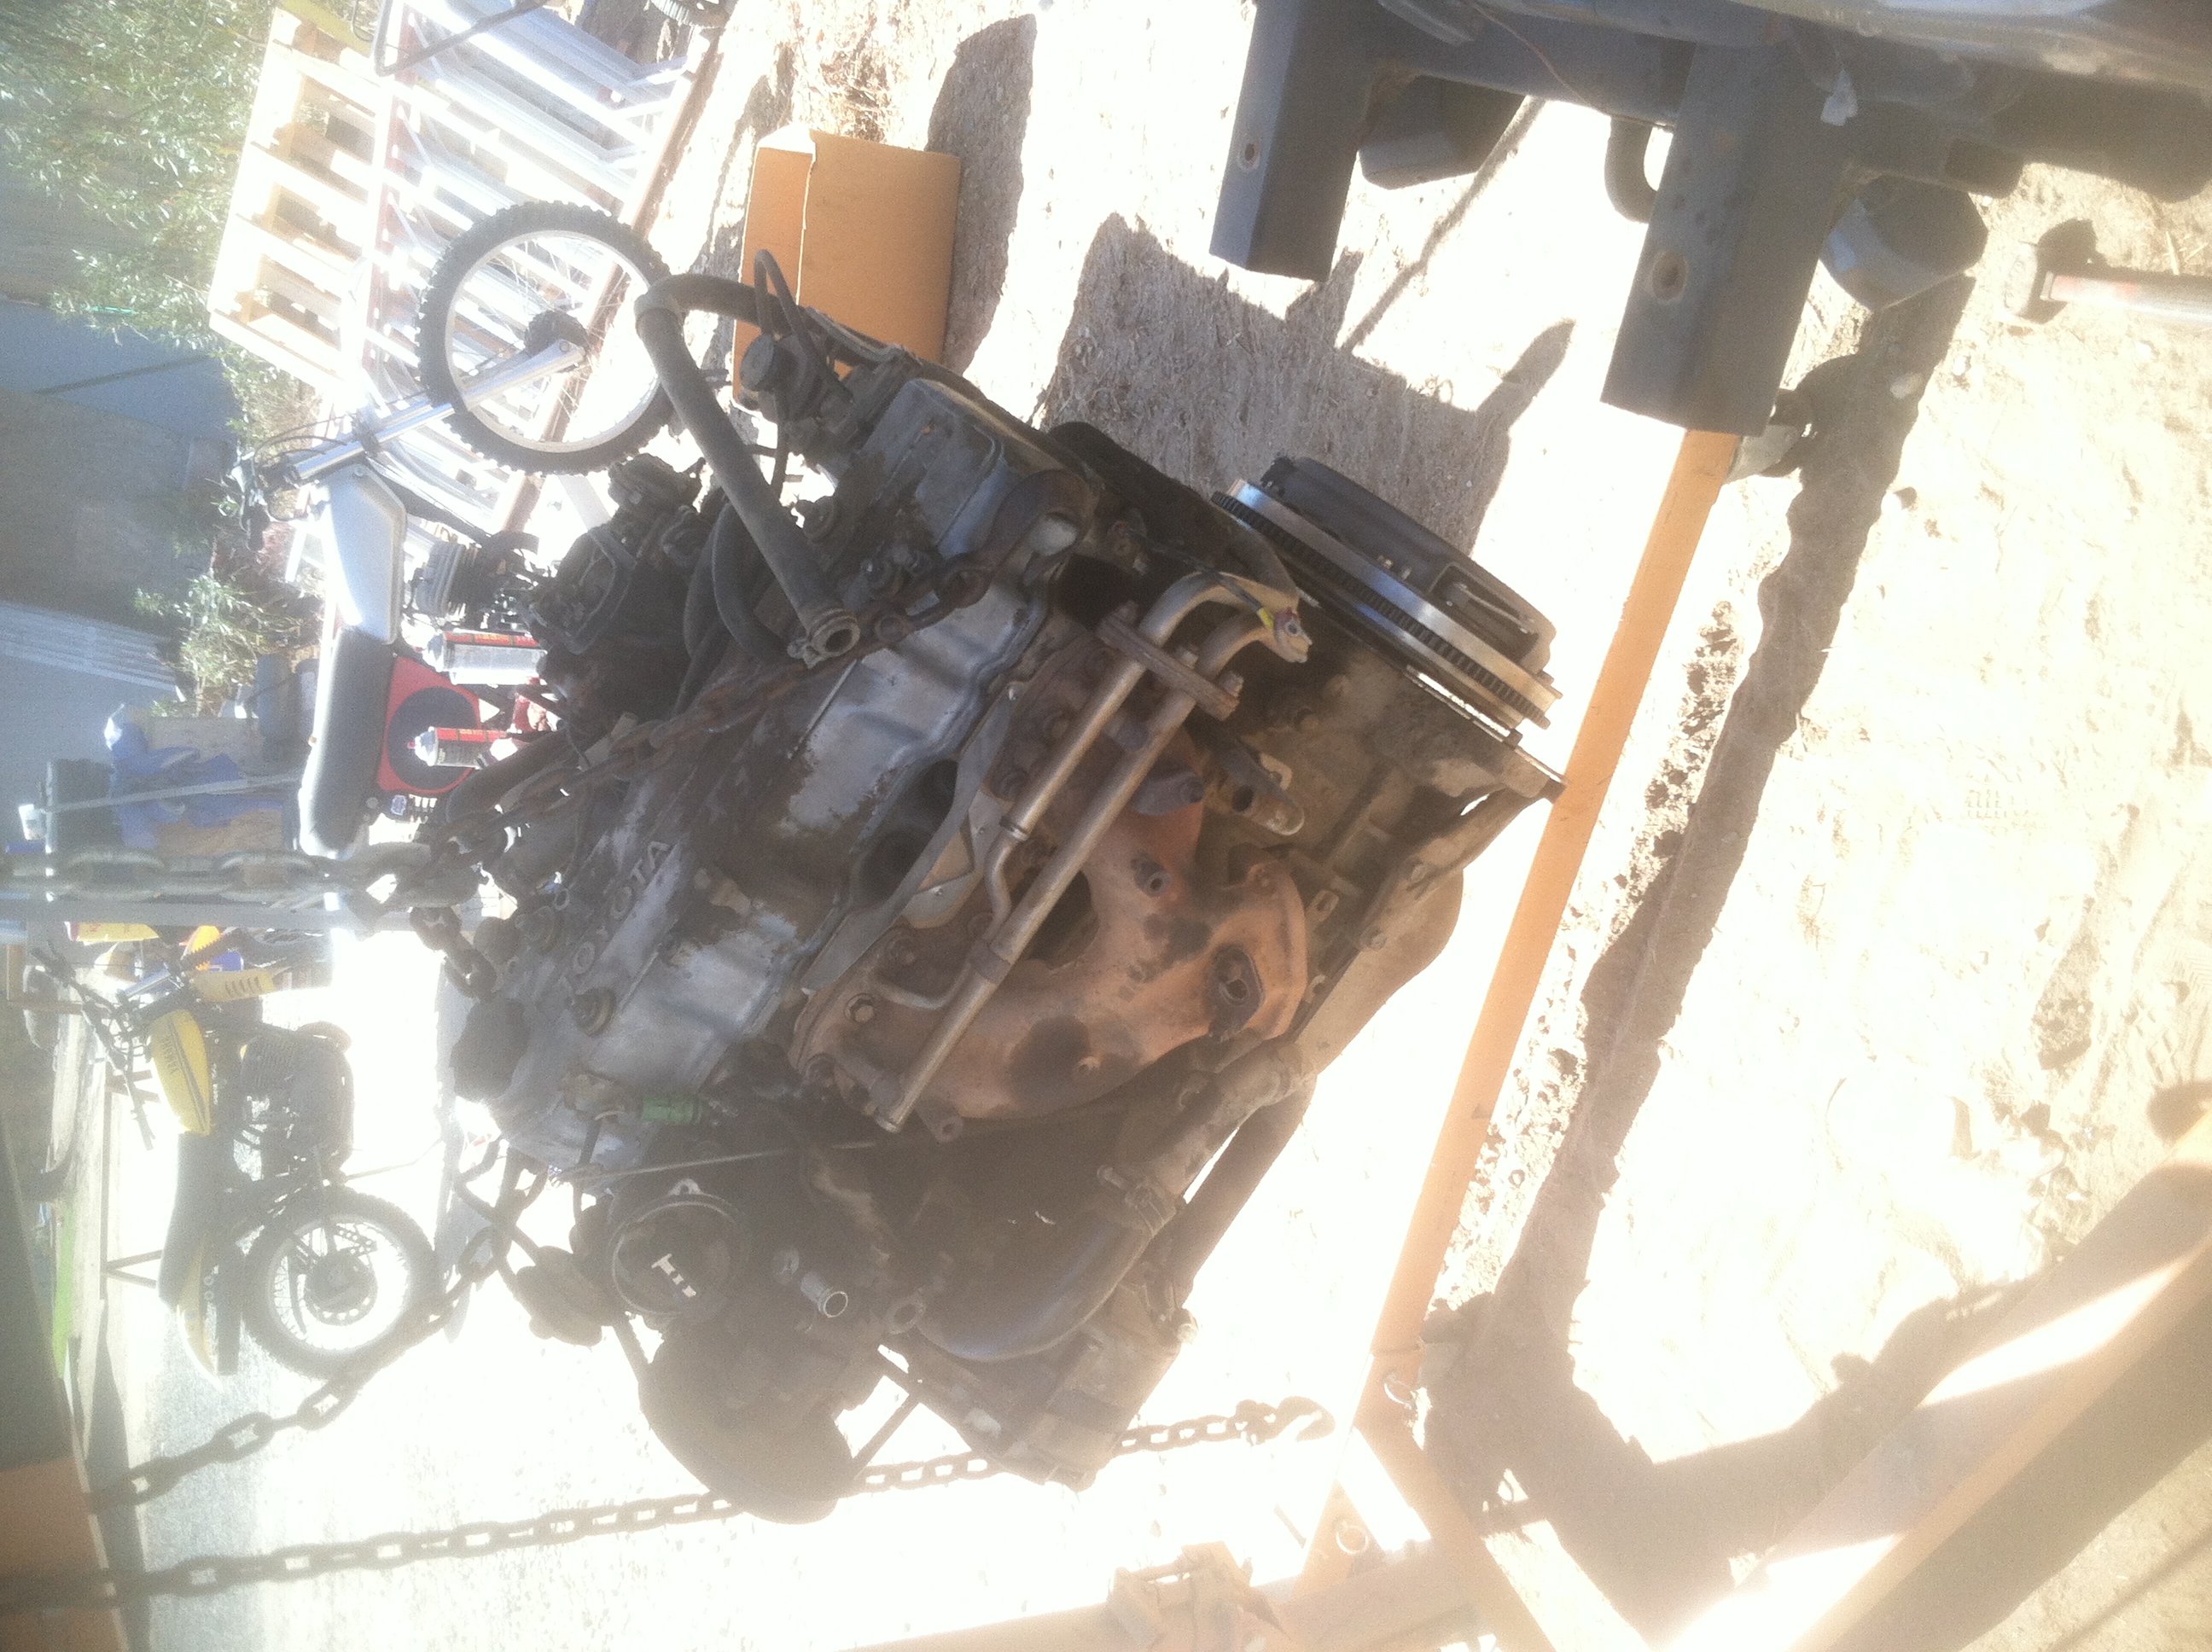
Due to being in school it was hard to find a lot of time to work on my truck. Eventually I yanked that 22r out of there.
I stripped the motor down to the block and head and sent it off to get cleaned up and rebuilt.
$1600 later I got a fresh looking 22r
Block was cleaned and painted, new pistons and rods, cylinders bored .30 over, HD timing set with metal guides, new water pump, new oil pump, rebuilt rocker assembly, ground crankshaft, and a brand new head with Stage 2 cam
Due to me being in school and having no money to buy the parts I wanted (plus a little procrastination) the motor sat in my bedroom for a few months. But starting a few weeks ago i really started pushing to get this thing finished. Instead of throwing the old, stock, 30yr old exhaust manifold on I decided to get myself a nice header. Right before I dropped $400+ on a brand new cali legal LCE Header i stumbled across one on Craigslist for half that.
Basically brand new. The guy also threw in this super trick Toyota Clinometer (i think thats what its called)
I also worked on cleaning up parts I was going to reuse.
I cleaned up my valve cover then got it powder coated.
I also cleaned and painted basically every bracket and part that attaches to the motor.
Hopefully I assemble it all within the next few days and then drop it in. Then i can start upgrading my truck instead of just trying to get it to run.
Keep it up man! You probably know, but in case you don't, that seems to be a 85+ motor, well the head is atleast, there are some slight differences in case you need to order parts. And that inclinometer is super rare congrats on the find! Make sure that's not an 85+ head on a 81-84 block or else you're gonna have a bad time!
Keep it up man! You probably know, but in case you don't, that seems to be a 85+ motor, well the head is atleast, there are some slight differences in case you need to order parts. And that inclinometer is super rare congrats on the find! Make sure that's not an 85+ head on a 81-84 block or else you're gonna have a bad time!
Thanks for the input and I am aware of the differences. The motor is an 86 22r.
So I ordered lce intake studs to replace the bolts on the intake manifold. This made installation of the intake much easier. Basically I've been slowly bolting this thing together. Due to school and now baseball everyday too it's hard to find time to work on this thing but I'm really close to having a running vehicle. Hopefully the motor will go in today. Here are some pics of how it looks right now.
Looks good! Are you building this thing in your living room? My wife would kill me if I brought a bolt in the house, much less an engine! LOL
Haha. My mom definently didn't like the engine being in there but she allowed it because it was only for 2 days.
Since I last updated I got the motor put in and all bolted up.
I am also running a gm alternator with the trail gear bracket. It's great that my local Napa here in Coarsegold is a Trail Gear dealer so for all the little thing like that bracket I can just go in there a pick it up.
While I'm talking about the gm alternator does anybody have any experience running the 1 wire alternators. I've read so many conflicting articles on how it's done and if it's worth it to even put this alternator on.
Anyway, besides the slight holdup on the alternator, I have been making slow but steady progress on getting everything dialed. Because I live in California I get to deal with a rats nest of vacuum lines and smog equipment. The previous owner capped and removed random lines and had stuff switched around so this has been a true task. I am fairly close on having everything dialed in and I hope to get a first start up and break in tonight.
Once I get it smogged and registered I plan to move onto suspension. My rear is looking to be the Chevy 63's but I'm still on the fence about what to do up front. I want something that flexes well but isn't breaking the bank. If anybody has any input it would be greatly appreciated.
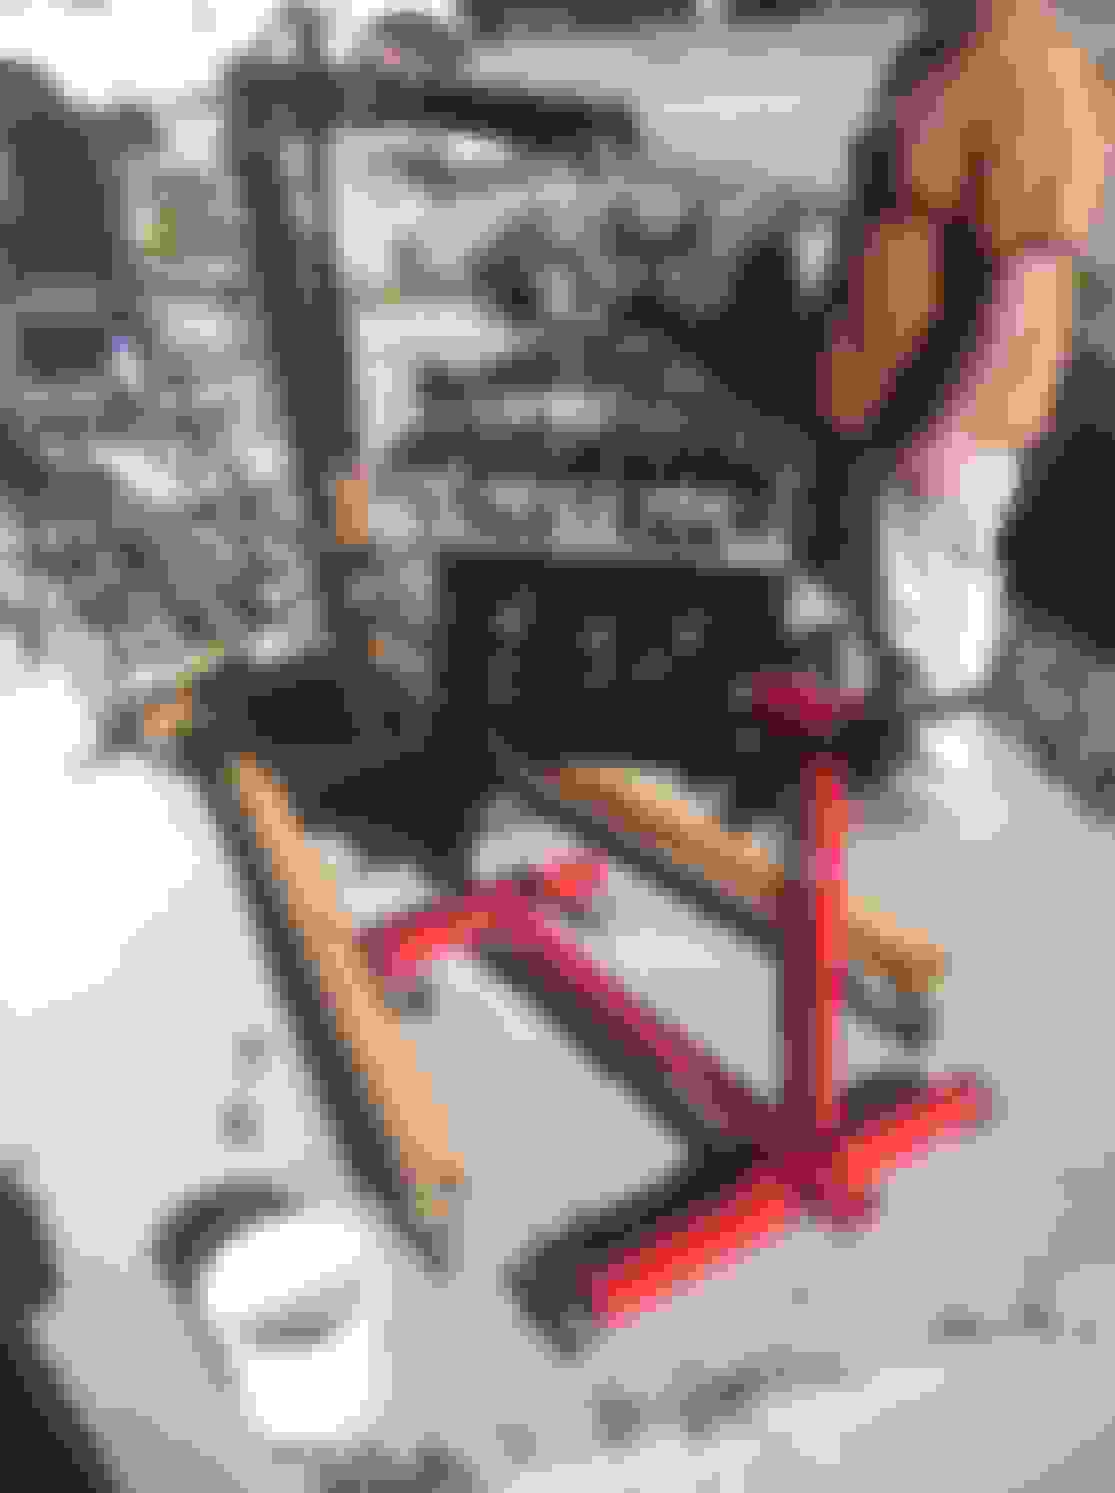
So while i was setting up getting ready to start my motor I realized I made a mistake. My slave cylinder was already messed up from the po so i was shopping around for what i should buy. Thats when i saw this for sale on Marlin Crawlers site...
Yeah. I know for sure those clips are not there. This slows me down even more but it forces me not to rush starting me my new motor I guess.
Ill probably figure it out eventually but does anybody have diagrams or pictures of the fuel line routing. Im talking from the hardlines to the pump and to the carb. Ive been searching for awhile now and can't find any answers. This is for a 22r btw, no efi. Any help would be greatly appreciated.
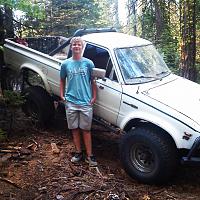
There will be a lot more pictures once i get the truck running. Im lucky enough to live about 5 miles from Sierra National Forest so I have miles and miles of trails to play on. Once i get all dialed in I plan to eventually run the famous dusy/ershim trail because thats only about 45 minutes from my front door.
Its been awhile since ive posted and sadly not much progress has been made. So when i finally got everything hooked up my dad and i tried firing it up. no fuel. after some investigation we found i sidnt have the fuel pump eccentric on there so my mechanical fuel pump wouldnt work. ordered that up and slapped it on.
So next was getting it to run. It finally got fuel but the carb was running terrible. it wouldnt idle and it was so clogged i was just blowin out black smoke like a diesel. Then at one point it just quit. kept fouling plugs too. Popped the thing open an there was a bunch of sediment in the bowl. the jets were probably plugged as well. Instead of messing with the stocker I just odered a weber 32/36.
Had baseball two weekends in a row so that ruled out working on the truck so my new carb just sat in my room and mocked me. Eventually got arount to installing it.
Got it installed and it runs great. As soon as it got fuel the truck fired right up. I spent the day tuning it and it ran like a champ. The lce header is pretty loud driving down the street with no cat or muffler, just open header. Super stoked to finally be able to drive my truck again.
Also during this time i got a set of gauges for the truck.
Got them installed under my destroyed dash.
Also scored a set of front and rear axles out of an 81. Complete front and rear. Going to keep birfs, axle shafts, hubs, one 3rd memeber, and steering arm for spares once i start wheelin this thing. Wanna try and sell the rest for some extra cash. Anybody interested in a front housing with third member?

 Feb 15, 2015 | 08:20 PM