When you click on links to various merchants on this site and make a purchase, this can result in this site earning a commission. Affiliate programs and affiliations include, but are not limited to, the eBay Partner Network.
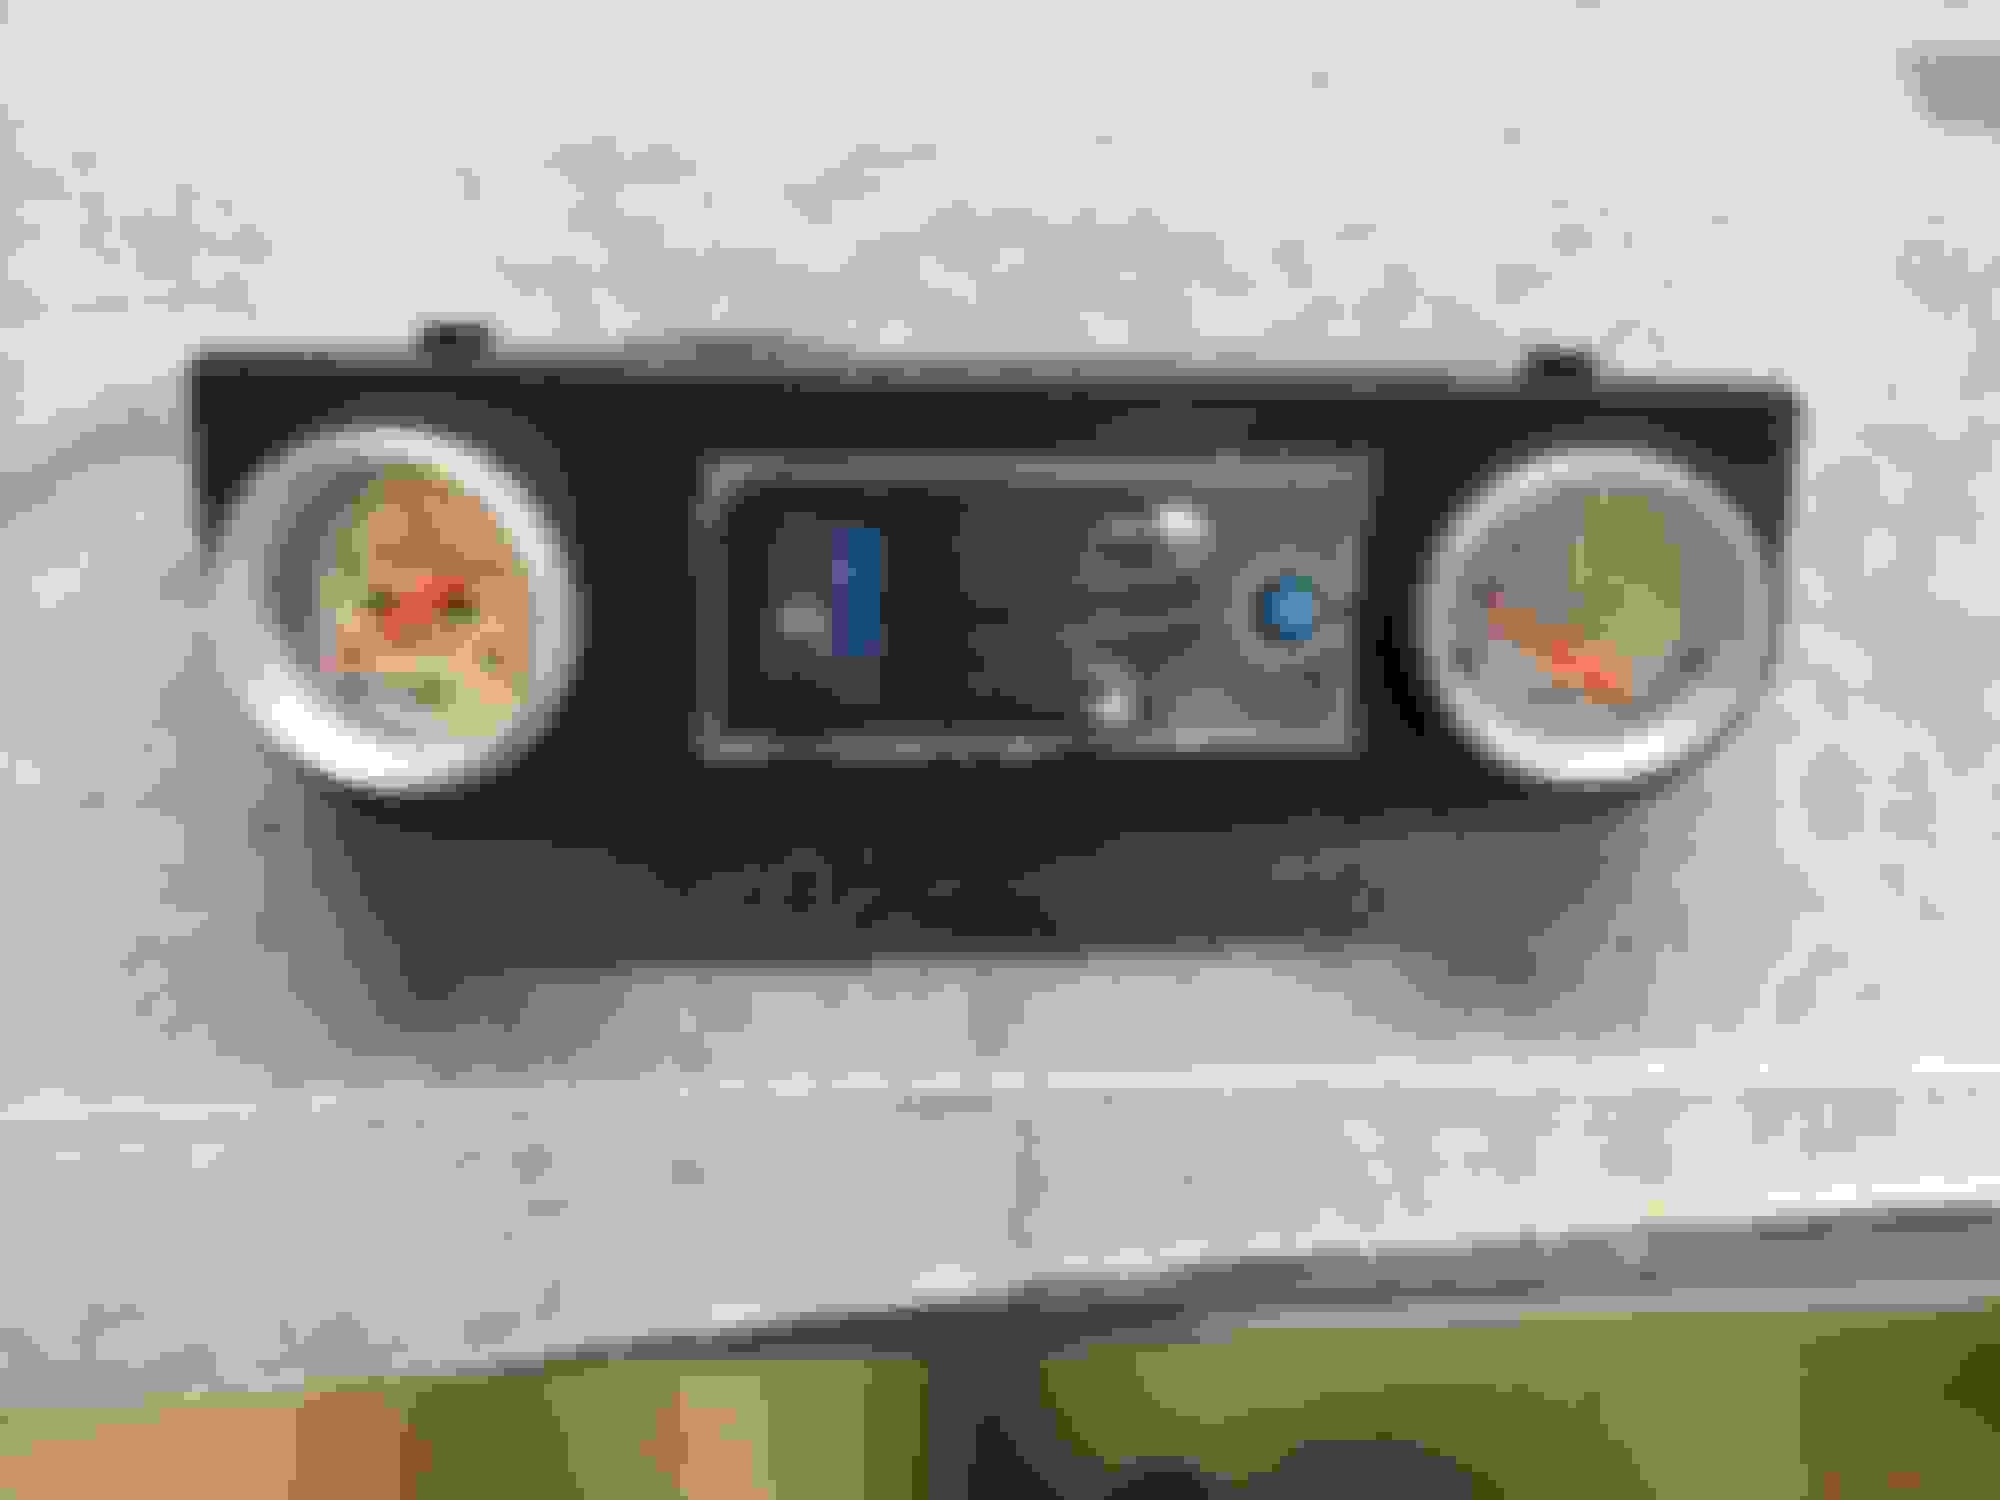
In finishing up the dash, I decided not to use the original center venting pod and stock gauge pod. Bought a A/C electronic control/vent pod and instead of using the supplied ball vents, I mounted my fuel level and volt gauges in it.
Also for the stock outboard vents, I bought new chrome ball vents. Had to use the Dremel and remove some of the plastic on the back, but installs nicely. Matches the center vent
So anywho, this is the final overall look I was going for.
Now for the time being, will continue the dash wiring done with matching plug for easy disconnect.
Metal work hanging in the shop, all nice and cleaned, epoxy primed, ready for install, fit, prime and paint, whenever that happens. The metal part of the dash will be painted either pearl blue or pearl silver. Haven't decided what the paint scheme will be for the outside metal, bumpers, roll bar and wheels. Any ideas with either color, guys and gals
ooooo...I like the way that dash bezel turned out! I may end up having to do that as well since I can't seem to get a hold of an ash tray or dash pocket from anywhere!
Any MOD's out there, should I create a thread in either the Pre-84 or Electric forum, to show the overall dash mods I did? I know in researching on the web, there aren't any specific info on Pre-84 Toyota truck dash mods.
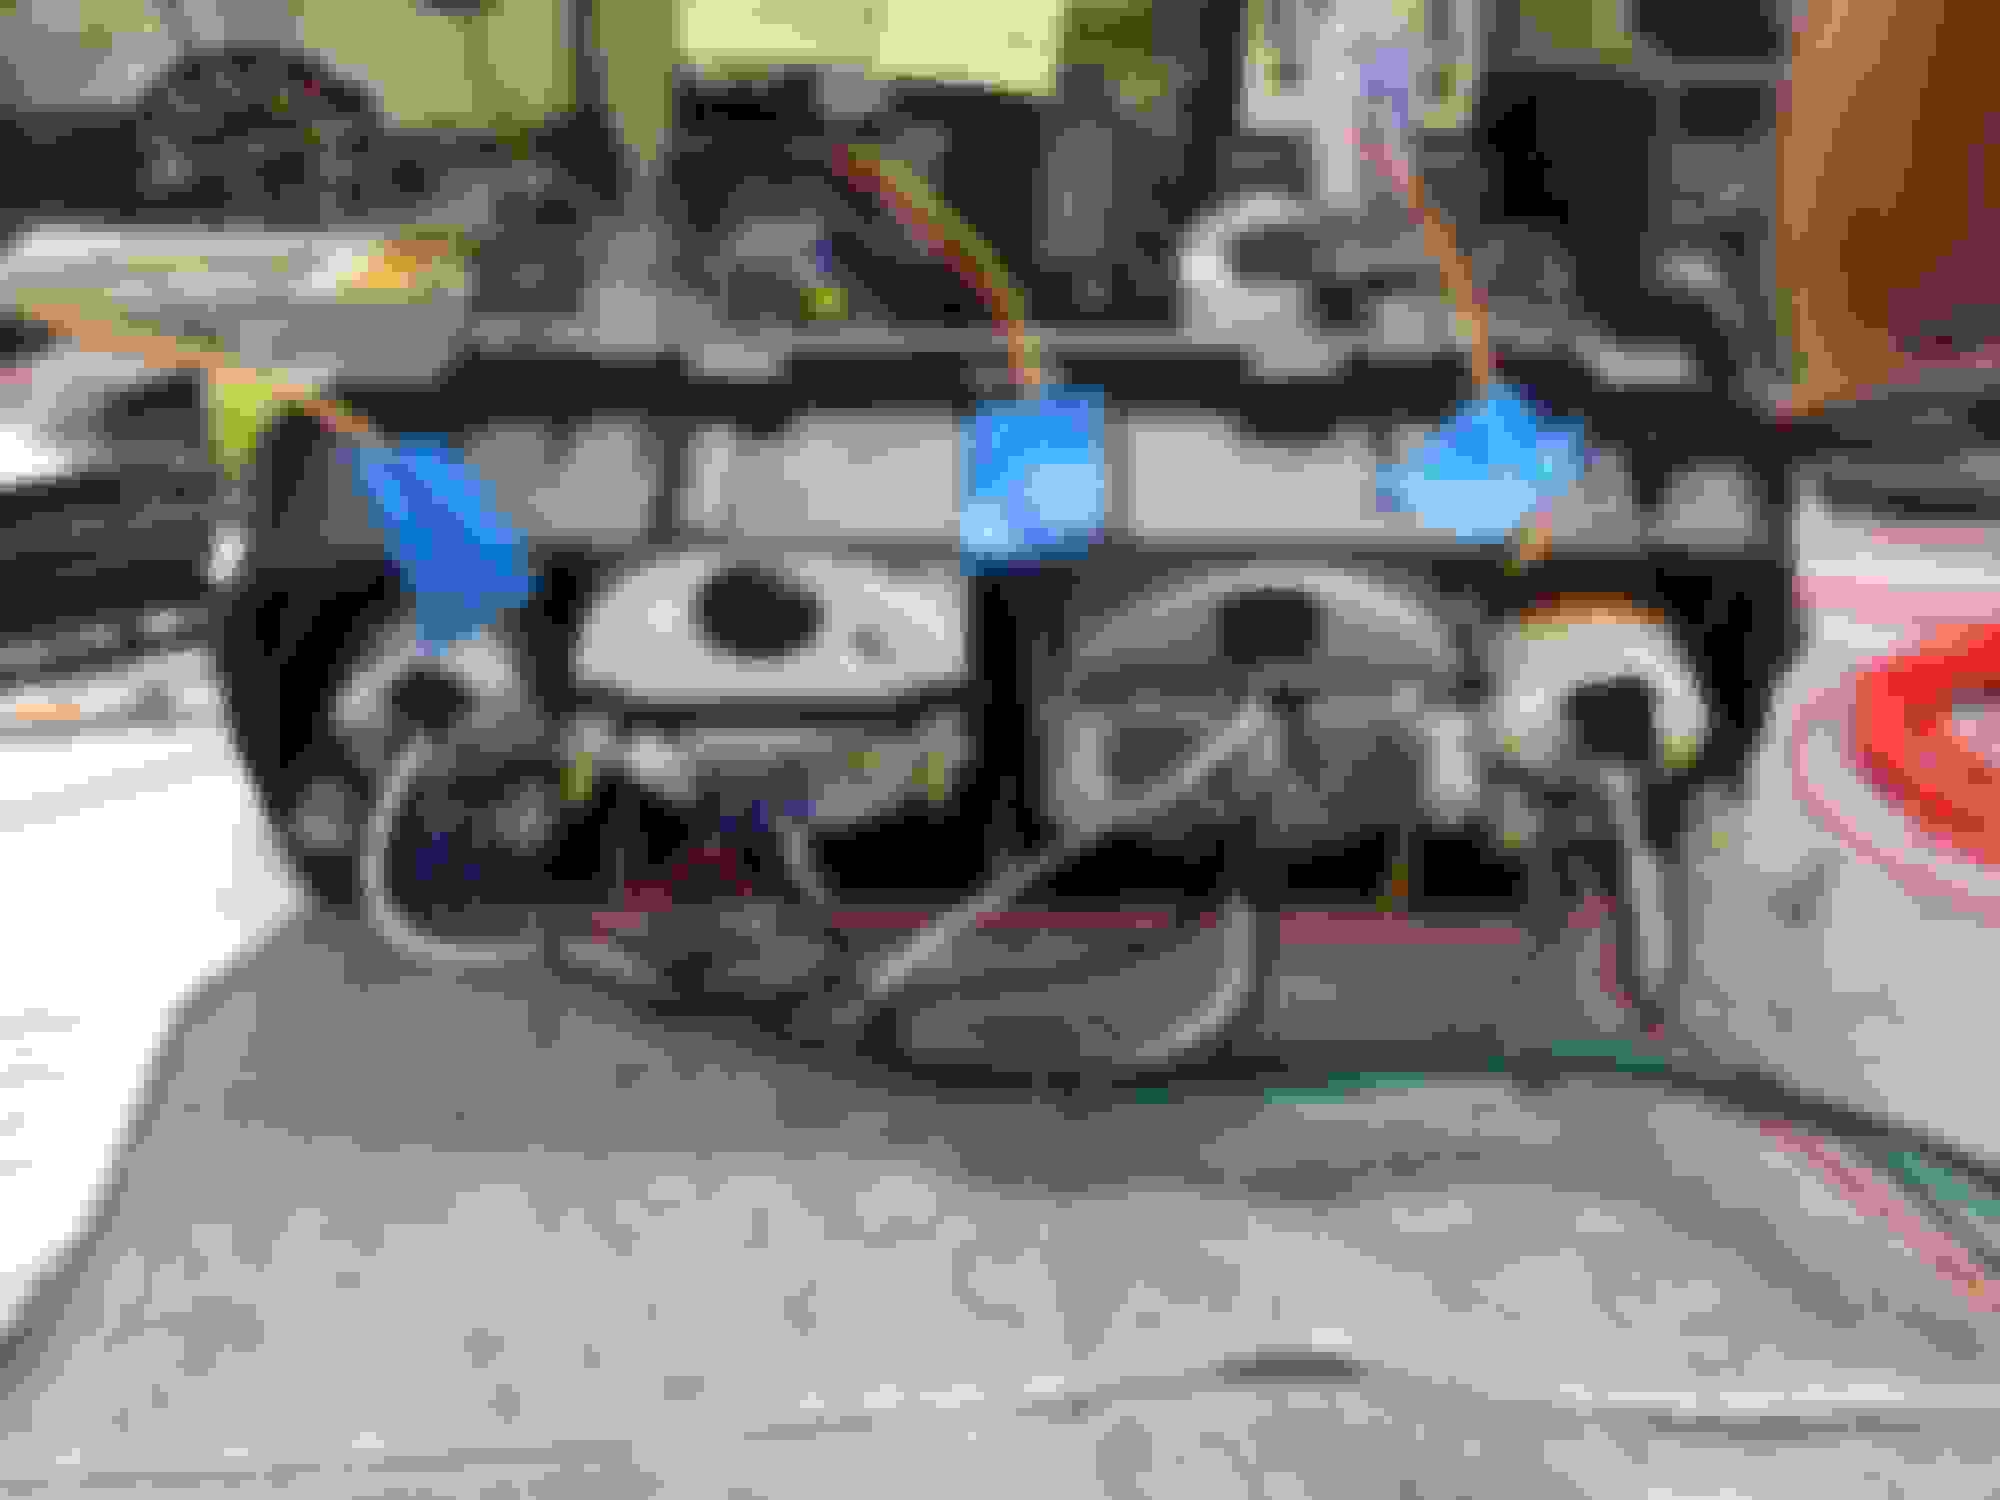
Anyways, I finished my gauge wiring last night and this is what I came up with. Both the pods are ready for hookup to the main harness when the time comes. for the wiring, I used 18 ga. high temp GXL wiring and Molex 4 and 9 circuit connectors
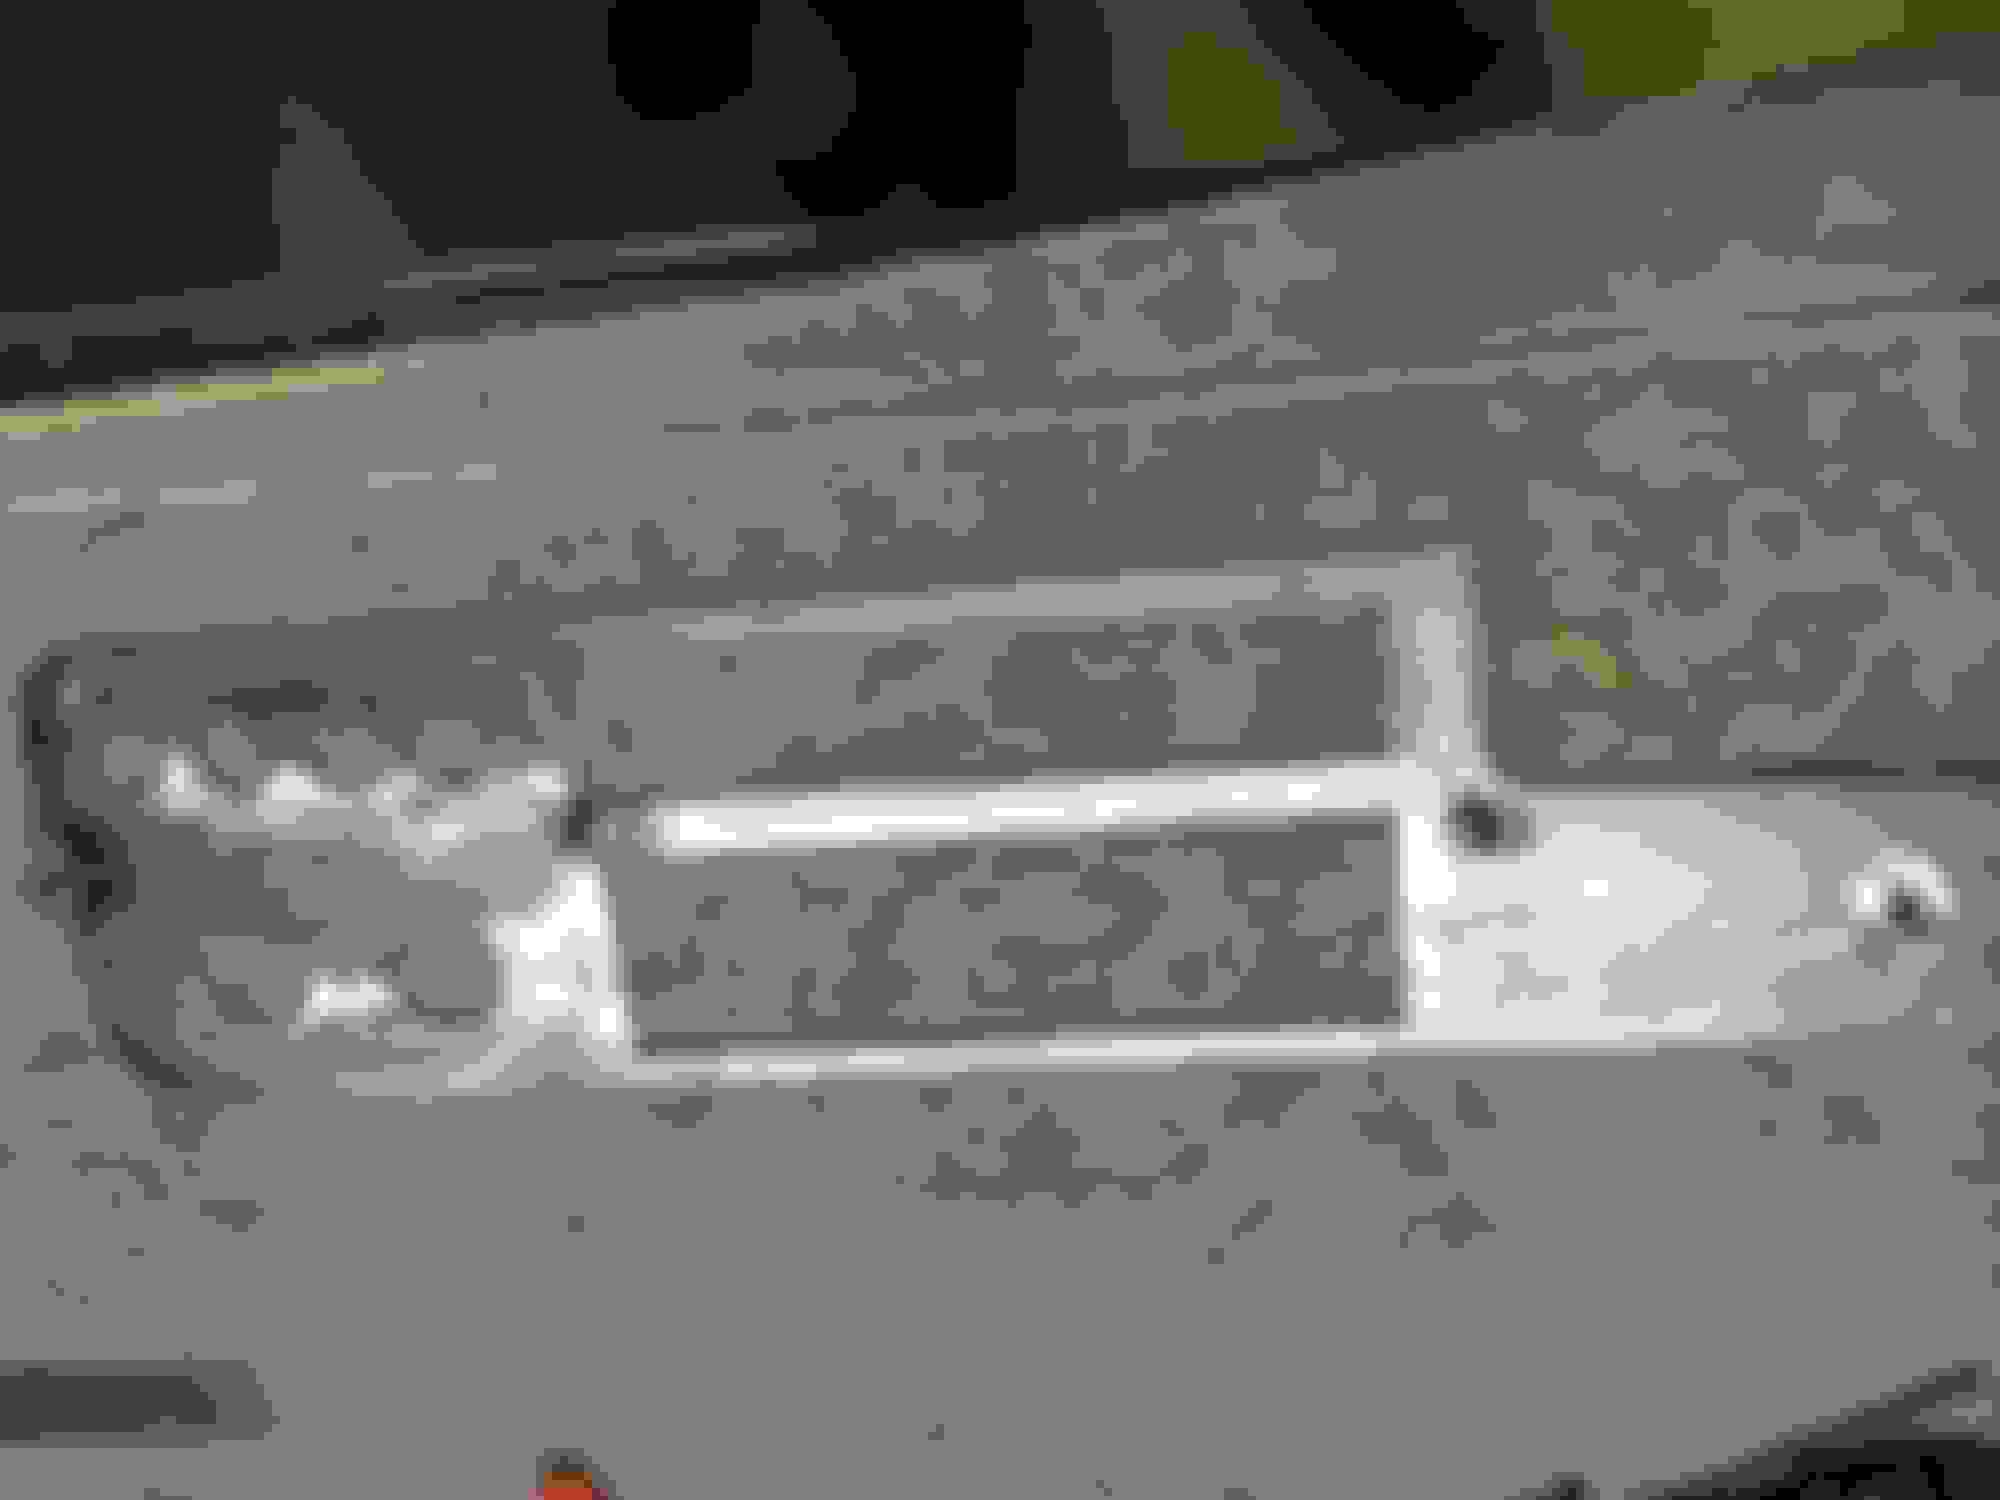
I had to do some cutting on my metal dash to install the single DIN radio, A/C vent and gauge POD. I trimmed with a cutoff wheel in a die grinder, seems that it didn't hurt the strength of the panel.
Cut out part of the left side of the radio bezel opening and squaring it off
My new gauge POD is longer that the old vent, so to get it centered on the lower section, I cut the round over, formed and re-welded it. A little Bondo helped in getting the right profile
A few pics to finish up this mod. I decided to paint the dash a Silver metallic, so the overall truck color scheme will be silver metallic with black accents. I finished the dash pad mod, by spraying it with Duplicolor bed liner over the fiberglass fill, black primer base coat. After that dried, sprayed Duplicolor flat black. Funny thing happened after I sprayed the flat black, it created the texture you see in pic. Before, the bed liner was more of a stipple effect. Kinda like the look.
After was done, I loosely put it all together for one last pic before covering it for storage until needed
Still waiting for new dash light dimmer for the gauges and received a LED dimmer switch for my LED idiot lights.
Hope this dash mod might be of inspiration to others to experiment, design and execute your own ideas into our loved Toy trucks. You know, it would probably would of been cheaper/faster to buy a fiberglass dash from Slacker to accomplish this, but I learned a lot of different things in working with different materials with some failures here and there. Now, onward for more cab work.
I've made a little progress since the last post. Been having fits in getting the rust out of the floorboard and patching it up. I hate trying to weld in thin gauge patch panels, with a passion. But finally was able to get it done.
Before epoxy primer
After sanding, cleaning and shooting epoxy primer. Don't know why in the pic that it looks like it doesn't have good coverage, but it does with two coats
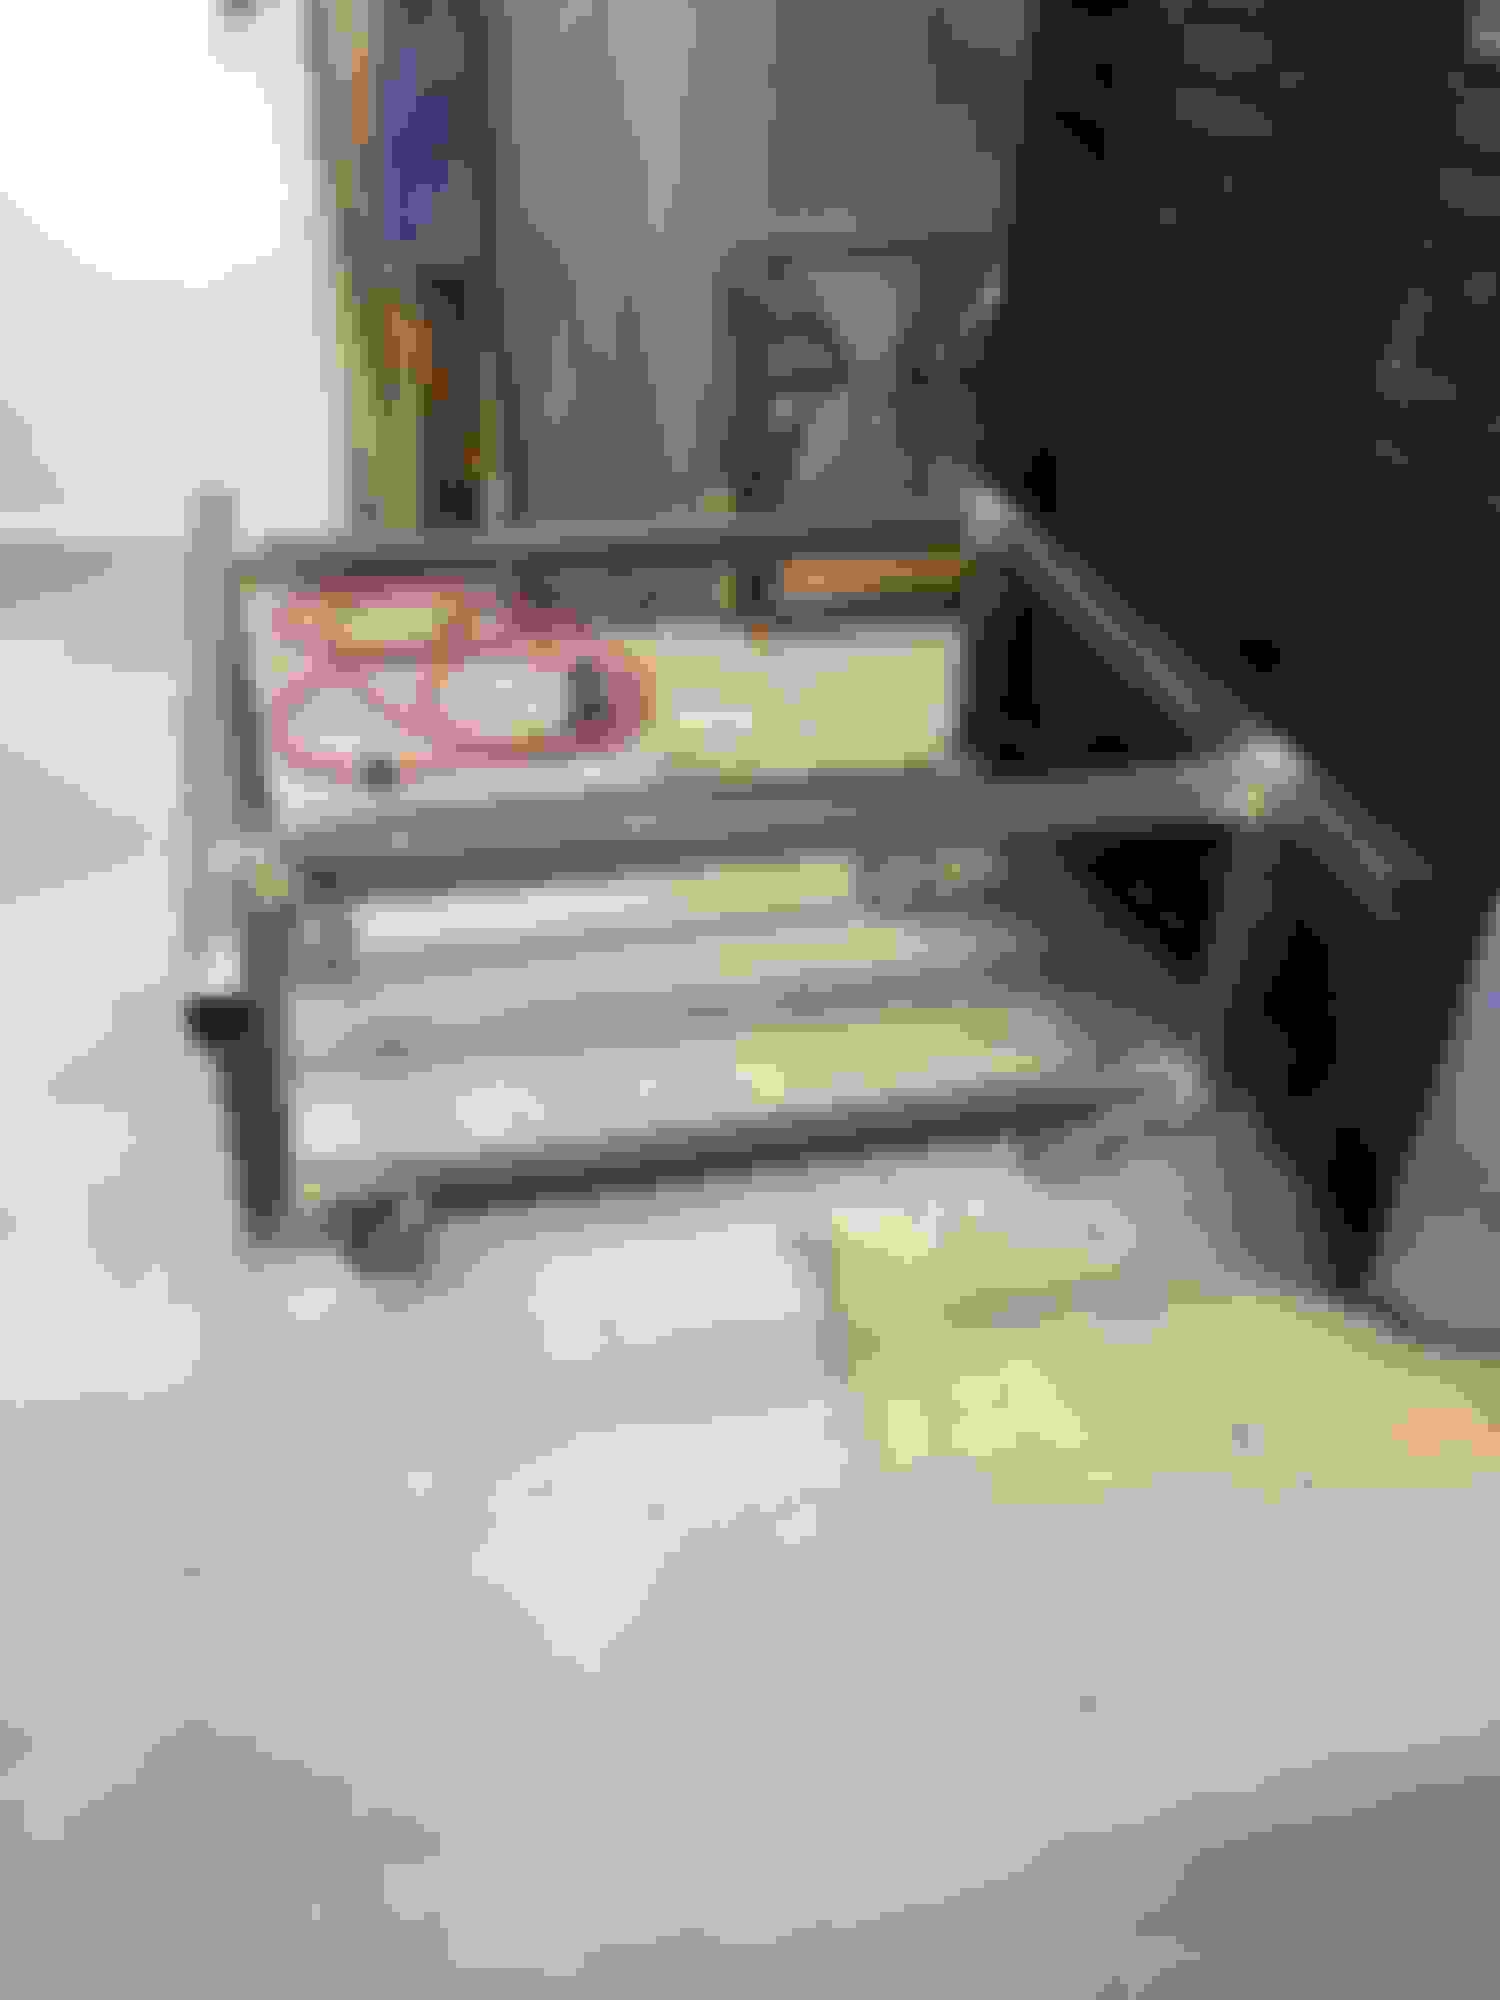
Next is to build a rolling cart for the cab to sit on while working on the rest. Bought some 2" 14 ga. square tubing to build the cart and some heavy duty casters. May need to mod it when I get to the bed repairs
A little more progress over the last couple days. After applying the epoxy primer, had to scuff up the surface on the bottom of cab, added some seam sealer along the rocker panels to smooth that line out. Taped everything off and sprayed 2 1/2 cans of Duplicolor Truck Bed Coating. Figured it would be good coating in that spot instead of the 2K color coat, since it is not prone to be easily damaged. Next is to build a cart to put the cab on. Already cut the 2x2 tubing, hopefully I can get some welding done over the weekend.
Got my cab cart built finally, so now when I can get a few guys over, I can get more cab work done. It is pretty sturdy, even with my bad welds.
The two long top rails will fit inside the cab mounts, to keep it from moving around. The shorter top rails fit well and not hitting any bolts/mounts underneath the flooring
Until I can a few guys to help load cab onto the cart, I decided that it could be used as a paint stripping bench. If you haven't used one of these stripping disc, I was able to use it with my 4 1/2" angle grinder, and stripped this door in just 20 minutes. With a little more prep , then it will be ready for epoxy primer.
Lons, I'm not doubting your skills or knowledge here because clearly you do some cool work, but be careful with those stripping disc. The metal on these trucks is retarded thin and those pads on a high speed right angle grinder can heat up quick and cause some warping that you will not get out. Make sure you are moving around plenty and often on your panels. Another approach that you may want to try (assuming that you are trying to avoid media blasting) is to use aircraft stripper (Zars worked great on my stuff) and then hit it with the stripping disc. Saves time and money because I know you know how cheap those discs are NOT! LOL
Also, want a trick for getting that cab on the dolly without friends? Flip the cab up like it was when you sprayed the bottom and flip the dolly on it's side. Drill some holes in the dolly corresponding to the body mount holes on the cab and bolt the dolly to the cab. Then you can literally tip the cab upright with the dolly attached by yourself. I did it dozens of times (even after body work) and never had any issues or damage. I'm the king of flying solo and having to figure things out on my own. Funny how friends are conveniently unavailable to help out when you really need it.

 Jun 9, 2015 | 12:59 PM