When you click on links to various merchants on this site and make a purchase, this can result in this site earning a commission. Affiliate programs and affiliations include, but are not limited to, the eBay Partner Network.
I got the coolant straightened out. I ended up getting one of the fancy funnels and worked like a champ! The napa guy was insistent that I did not need it and was a waste of money. He went into great detail about how he saw a method on youtube to build one with a milk jug, tubing etc. I was like just take my money already dude! C'mon! I still do not have heat blowing from all the vents, the floor blows super hot, defrost pretty hot and side vents cold. I don't know anything about how the heat system works in these trucks, so if anyone has insight please let me know.
I had a loose wire splice going to the tach. Re crimped it and we are back in business. It still reads higher than my test tachometer, but it was that way before.
Got the carb tuned and adjusted the valves. The intake was spot on and the exhaust were all at 0 ?!
I know this is going to sound like a PITA, but get under your dash and look for the heater hoses that run to the outer vents, the y are a cloth wrapped sort of tube that easily get small holes or tears, resulting in heat being dumped into the dash. I went through them with a roll of hockey tape a few years back and got better air flow, but it never really pumped hot air to those vents, warm at best. Also getting behind your glove box and using foam stick on sealing tape for house windows, you can improve how well the inside/outside air baffle lets drafts into the cab.
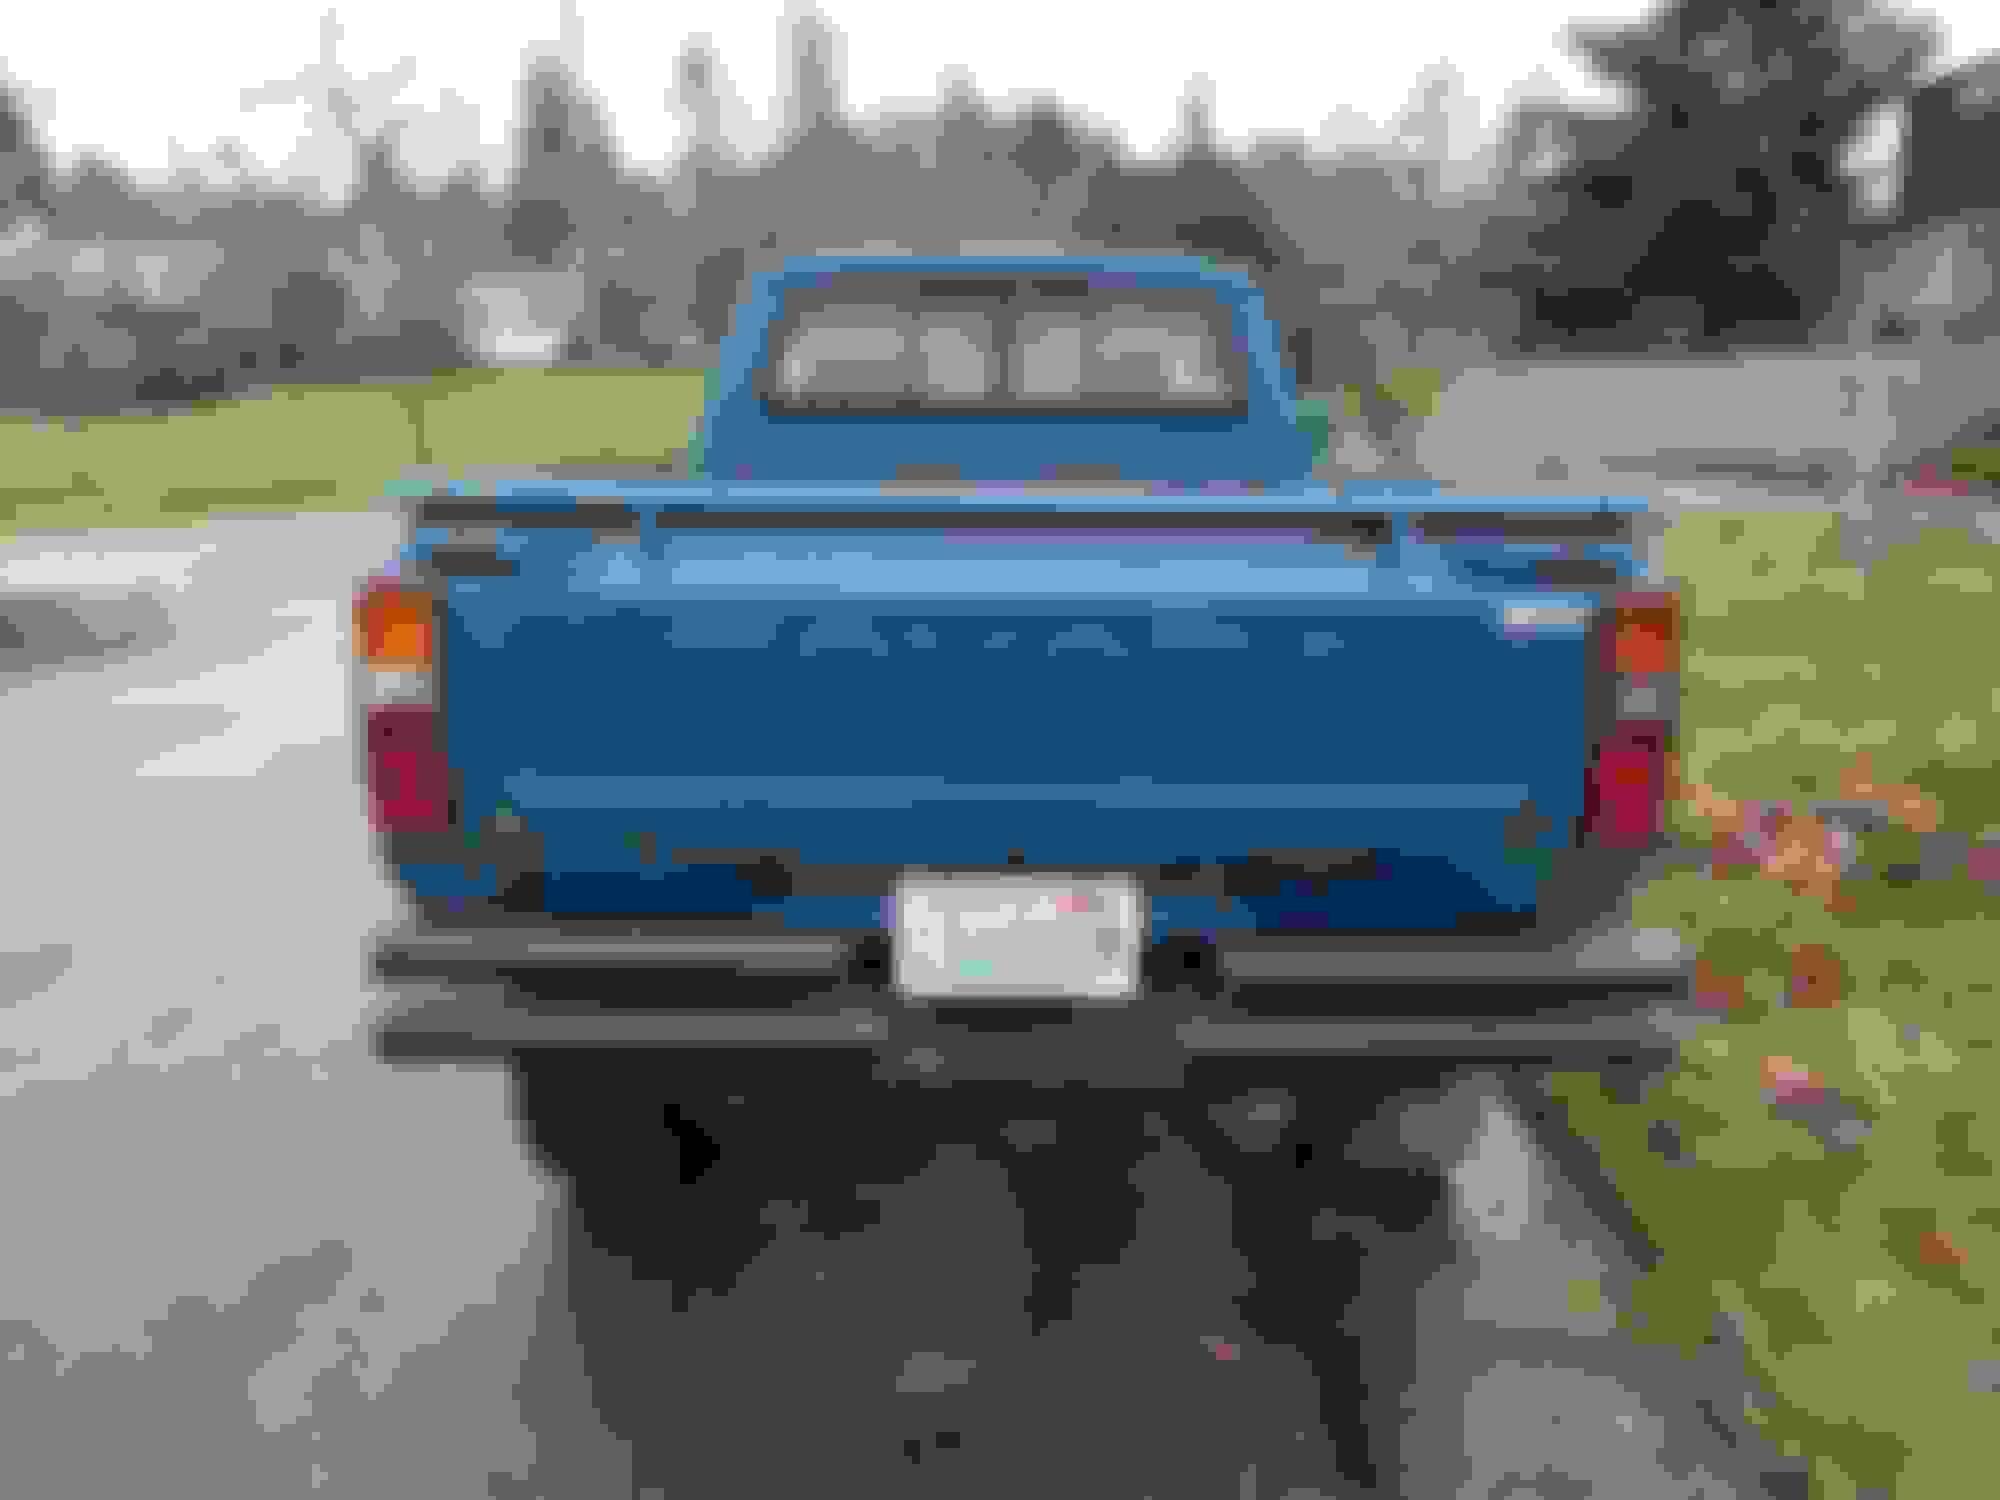
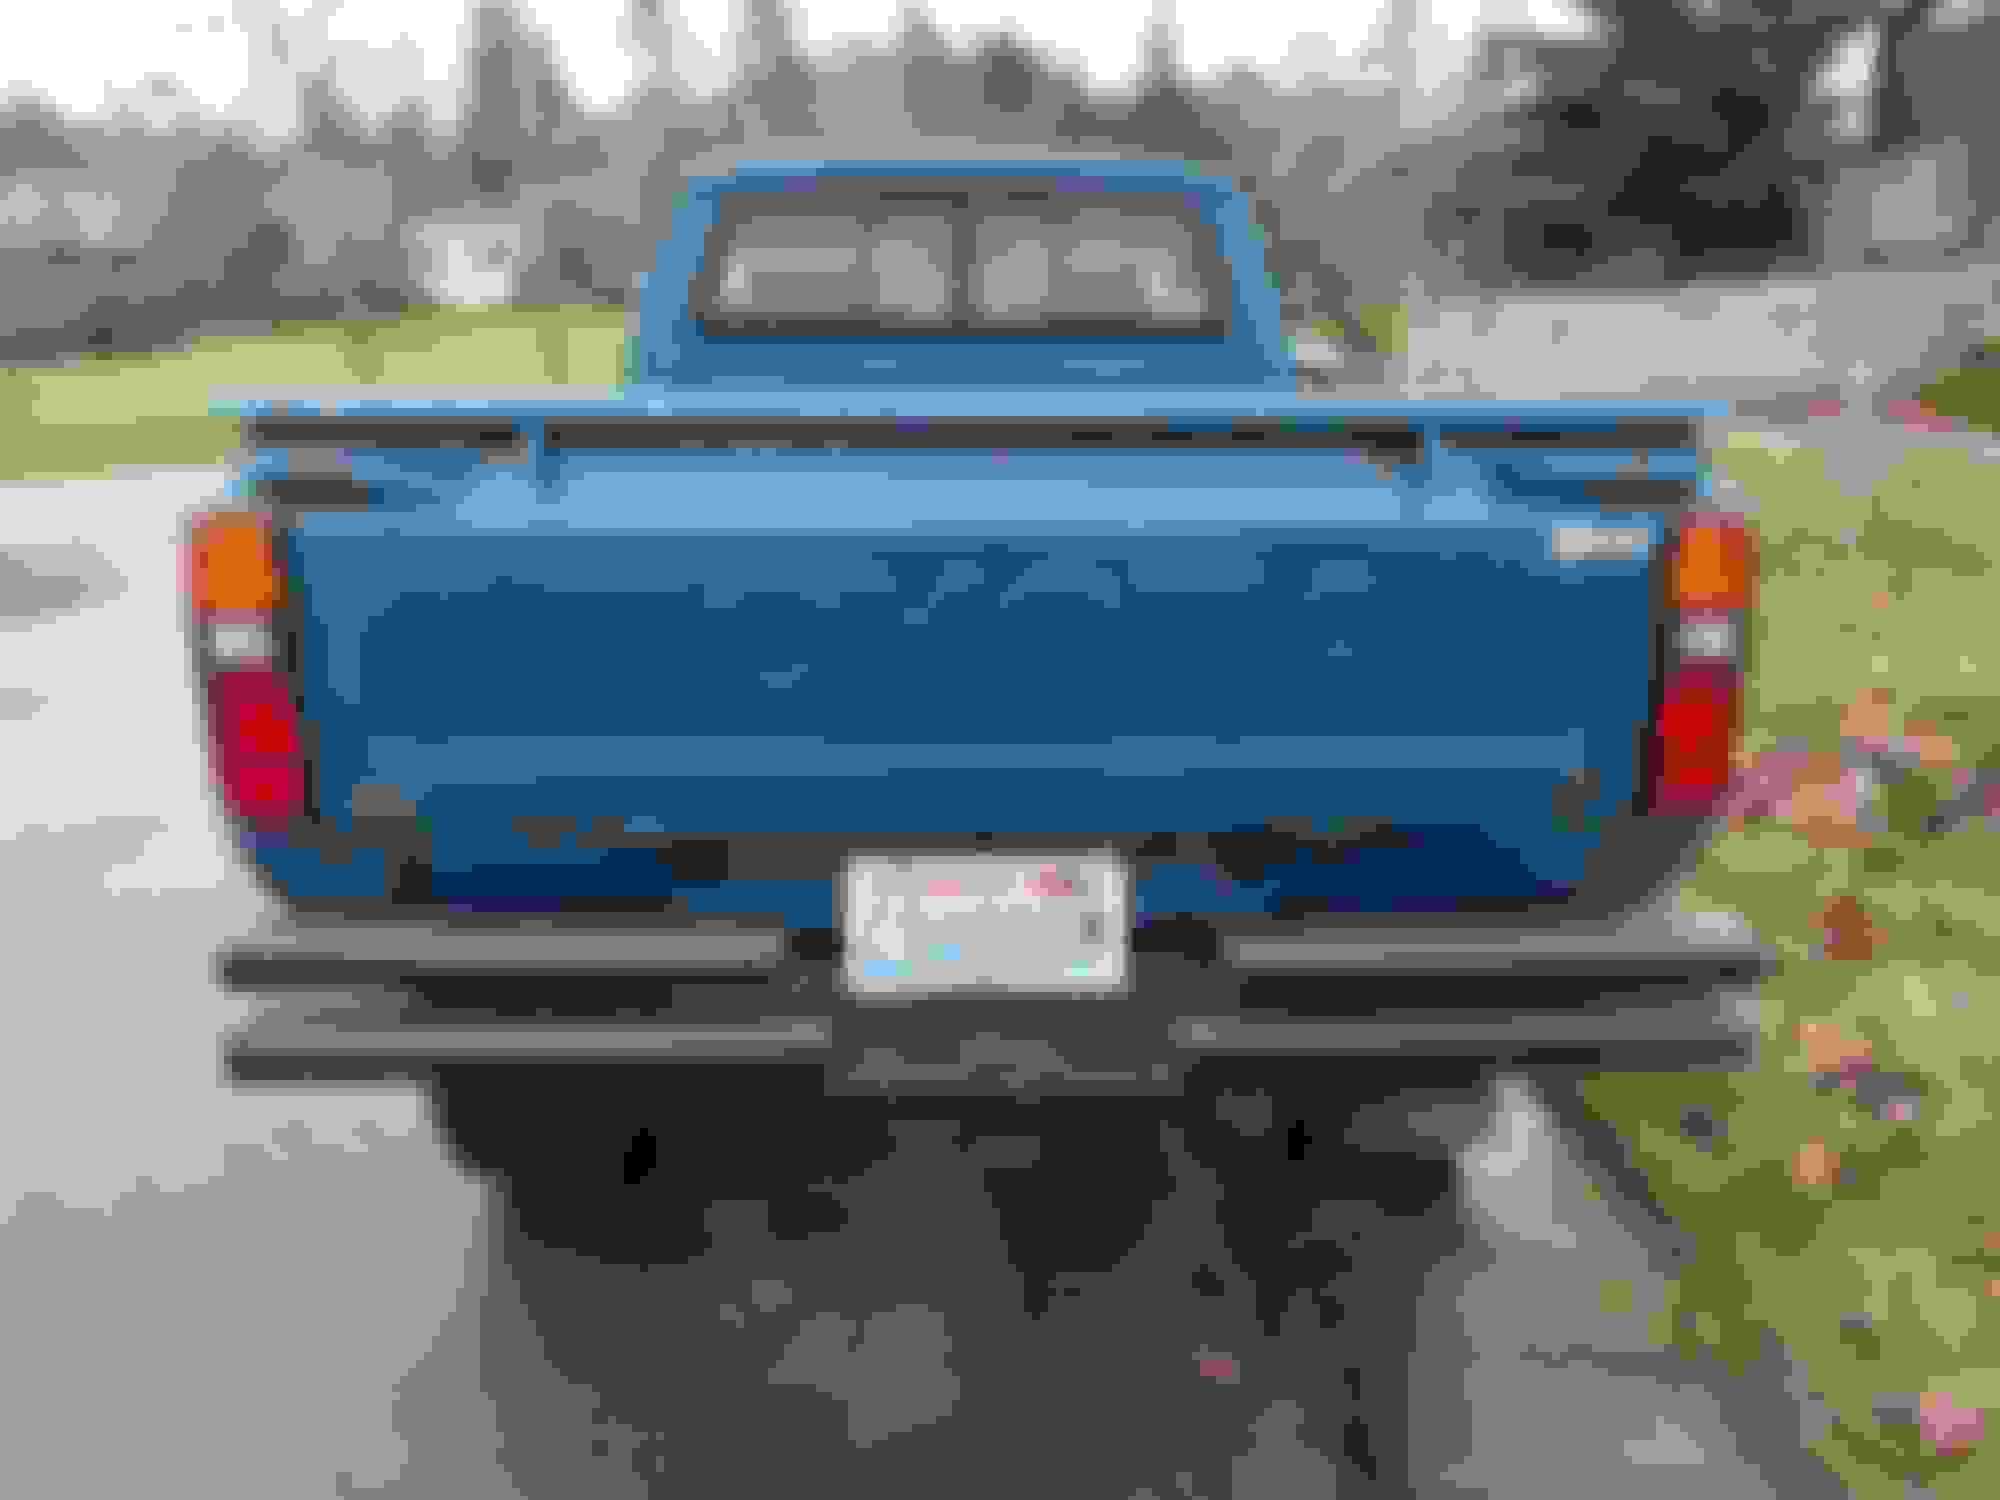
I realized that my right brake light was not working when I had my headlights on. Turned out to be a bad ground in the fixture housing. I purchased a new pair of tail lights from ebay. They arrived in two days from Bangkok!!!?! Quality seems fine, they were $53 shipped. I did have to grind the rounded tabs on the bed of the truck for them to fit. Only took a couple of minutes, so not too bad. Everything seems to be working as it should. Here is a link to the lights I bought: https://www.ebay.com/itm/231617539385
No tape spared in the packaging! Before Old vs new Tabs that needed to be removed. Interior of tail light unit. Bulbs were included. After
Nice!
Thanks for sharing your solution.
Do you plan to seal that opening in bottom to minimize water/mud splashing up the back of the light housing?
BTW, you did some major good work on the frame, etc.
Is that factory height or lifted? Whatever it is, it is sexy without trying.
Thanks! It has been a great project. The members of yotatech have been indispensable.
Previous owner said it has a 3" lift. The shocks are skyjacker and springs are unknown. Everything looks (and feels) worn, so replacements will be coming along at some point when budgets allows. I will probably try and keep the same height.
Good idea on sealing the opening under the lights. I'll have to raid the materials bin and see what I can come up with.....
I've had trouble with erratic steering when hard braking since I bought the truck. I always figured it was perhaps a sticky caliper but the truck will stop on a dime. So long as I grip the steering wheel when braking. I was underneath having a look around and discovered that the torque arm was not connected to the axle. It was present, just not bolted because it was about 1/4" too short due to the lift that had been done in the past.
I cut off the ends, welded in a new rod the correct length and boom! No more pulling to the right when I brake!
My '77 pickemup the side vents only blow cold. Only things that get heat are the floor vents and the defrost. Just how it is. Not sure when they started routing hot air to side vents but it could be after '79? Super nice truck, man! and the rust isn't too bad for your area. Body rust that is
My '77 pickemup the side vents only blow cold. Only things that get heat are the floor vents and the defrost. Just how it is. Not sure when they started routing hot air to side vents but it could be after '79? Super nice truck, man! and the rust isn't too bad for your area. Body rust that is
I've been able to complete a few projects on the old truck. First I replaced the power steering pump. I had attempted a rebuild last fall and it made it about six months before it started dumping fluid onto the alternator and spraying it everywhere. I went with a remanufactured unit-we'll see how long it lasts. So far the steering feels great, far better than it ever was.
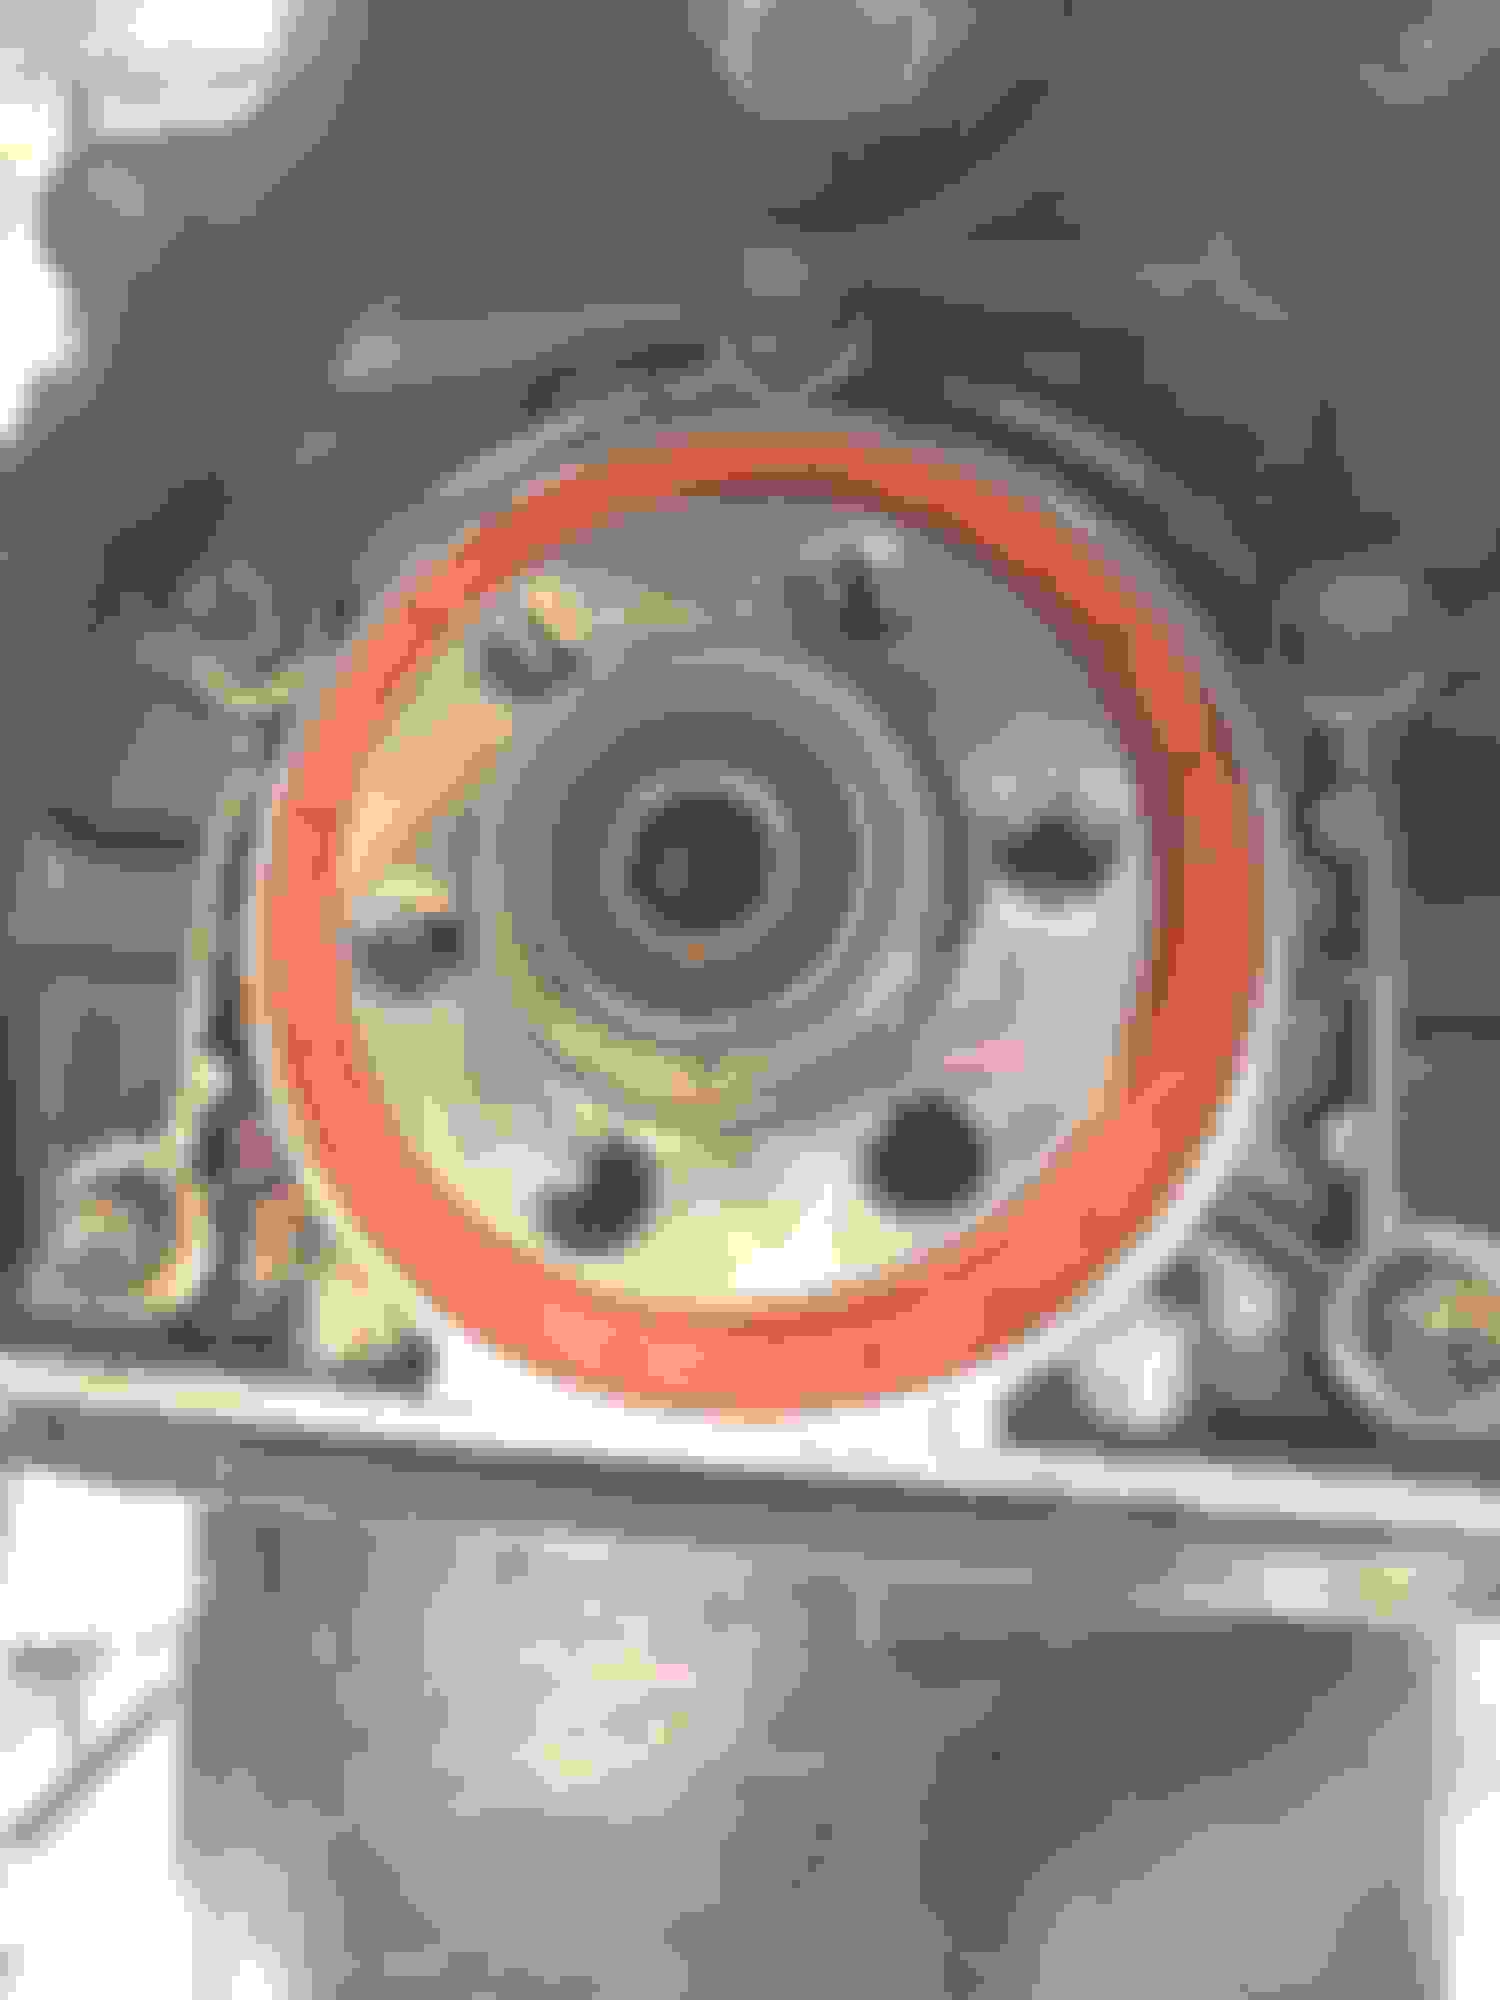
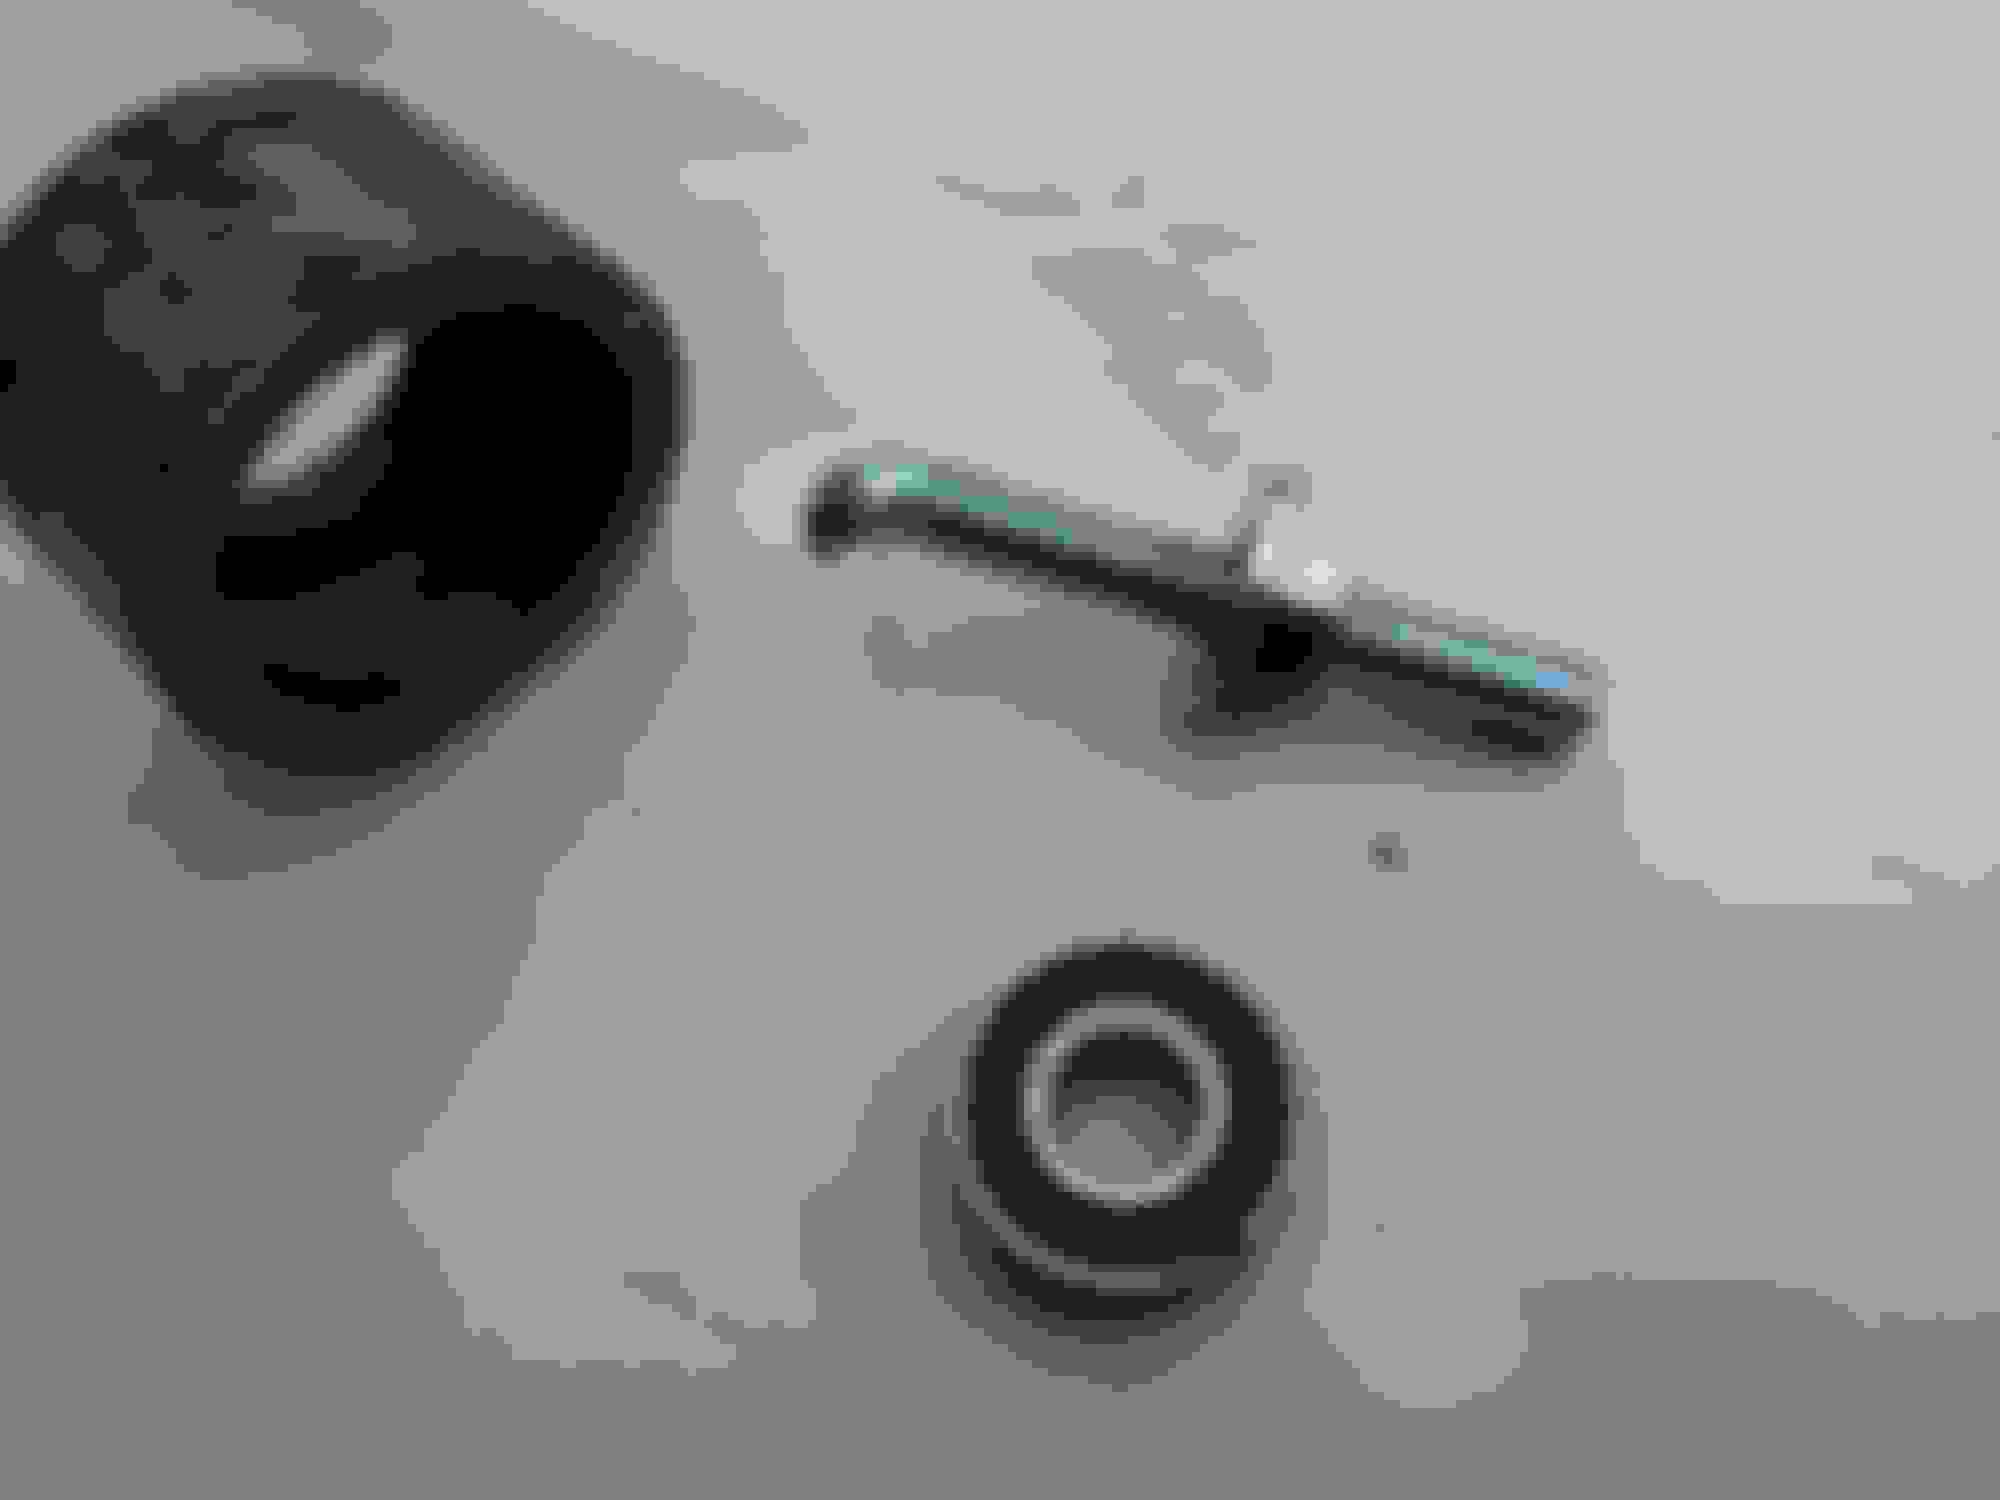
Second, I installed a new rear main seal, clutch and oil pan. This turned out to be quite the project for a first timer working alone! I followed the FSM and many threads on yotatech and it was all pretty straightforward. The clutch still had some life left in it, but I had been dealing with a substantial oil leak at the rear main and oil pan since purchasing the truck. It is very satisfying to go out to the driveway and not see oil spots under the truck! Went with a Toyota oem seal, Aisin clutch, Koyo bearings, Spectra oil pan, Marlin shifter bushings and had the flywheel resurfaced locally at Seattle Brake and Clutch.
The clutch feels good, the transmission shifts fine and the oil leaks are gone! Unfortunately I am still getting some rattling noise when driving in gear. It stops when in neutral or clutch disengaged. I was hoping new bearings would solve it. I am considering replacing the transfer case mount with a heavy duty unit from 4x Innovations. The current one has been soaked in oil for who knows how long and is pretty soft. Perhaps that is causing noise?
Old Chinese rear main seal was starting to rot Homemade pilot bearing puller The clutch release bearing was missing the clips holding it to the fork. New OEM rear main seal. Shiny!
Another Update. I developed a coolant leak in the heater core. Coolant was collecting in the bottom of the blower housing for some time and finally overflowed onto the floorboards while on a road trip. I had been topping up the coolant intermittently for a while trying to track down the leak. Found it!
Pretty straightforward removal and reinstall. Take the dash off, drain coolant, disconnect heater bypass tubes and remove blower motor housing. Then project creep set in. Heater core was an easy swap, out with old in with the new. I removed all the ducting and thoroughly cleaned it. I replaced all the foam on the dampers and replaced the climate control switch mechanism. The old one was bent and had been "modified". Long story short it would not engage the defrost. I found a suitable replacement on ebay, switched the cables over and its good as new. I discovered that the blower motor resistor had been removed, bought a new one at autozone and now I have all the fan settings!
The biggest repair that will be helpful to others would be the heater bypass valve. Mine was partially stuck open. I turned off the heat, but coolant continued to get past and leak. It did not seem repairable and valves for 1979 trucks are discontinued. I replaced it with Toyota part 87240-89117. I had to reroute the hoses. The mounting bolts and control cable linked up perfectly.
I have a much greater understanding of how the heat/defrost system works now. It really is quite simple and helps to take it apart and have a look. Original heater valve Blower motor split open and heater core out OEM damper foam New valve and tubing configuration New valve and tubing configuration
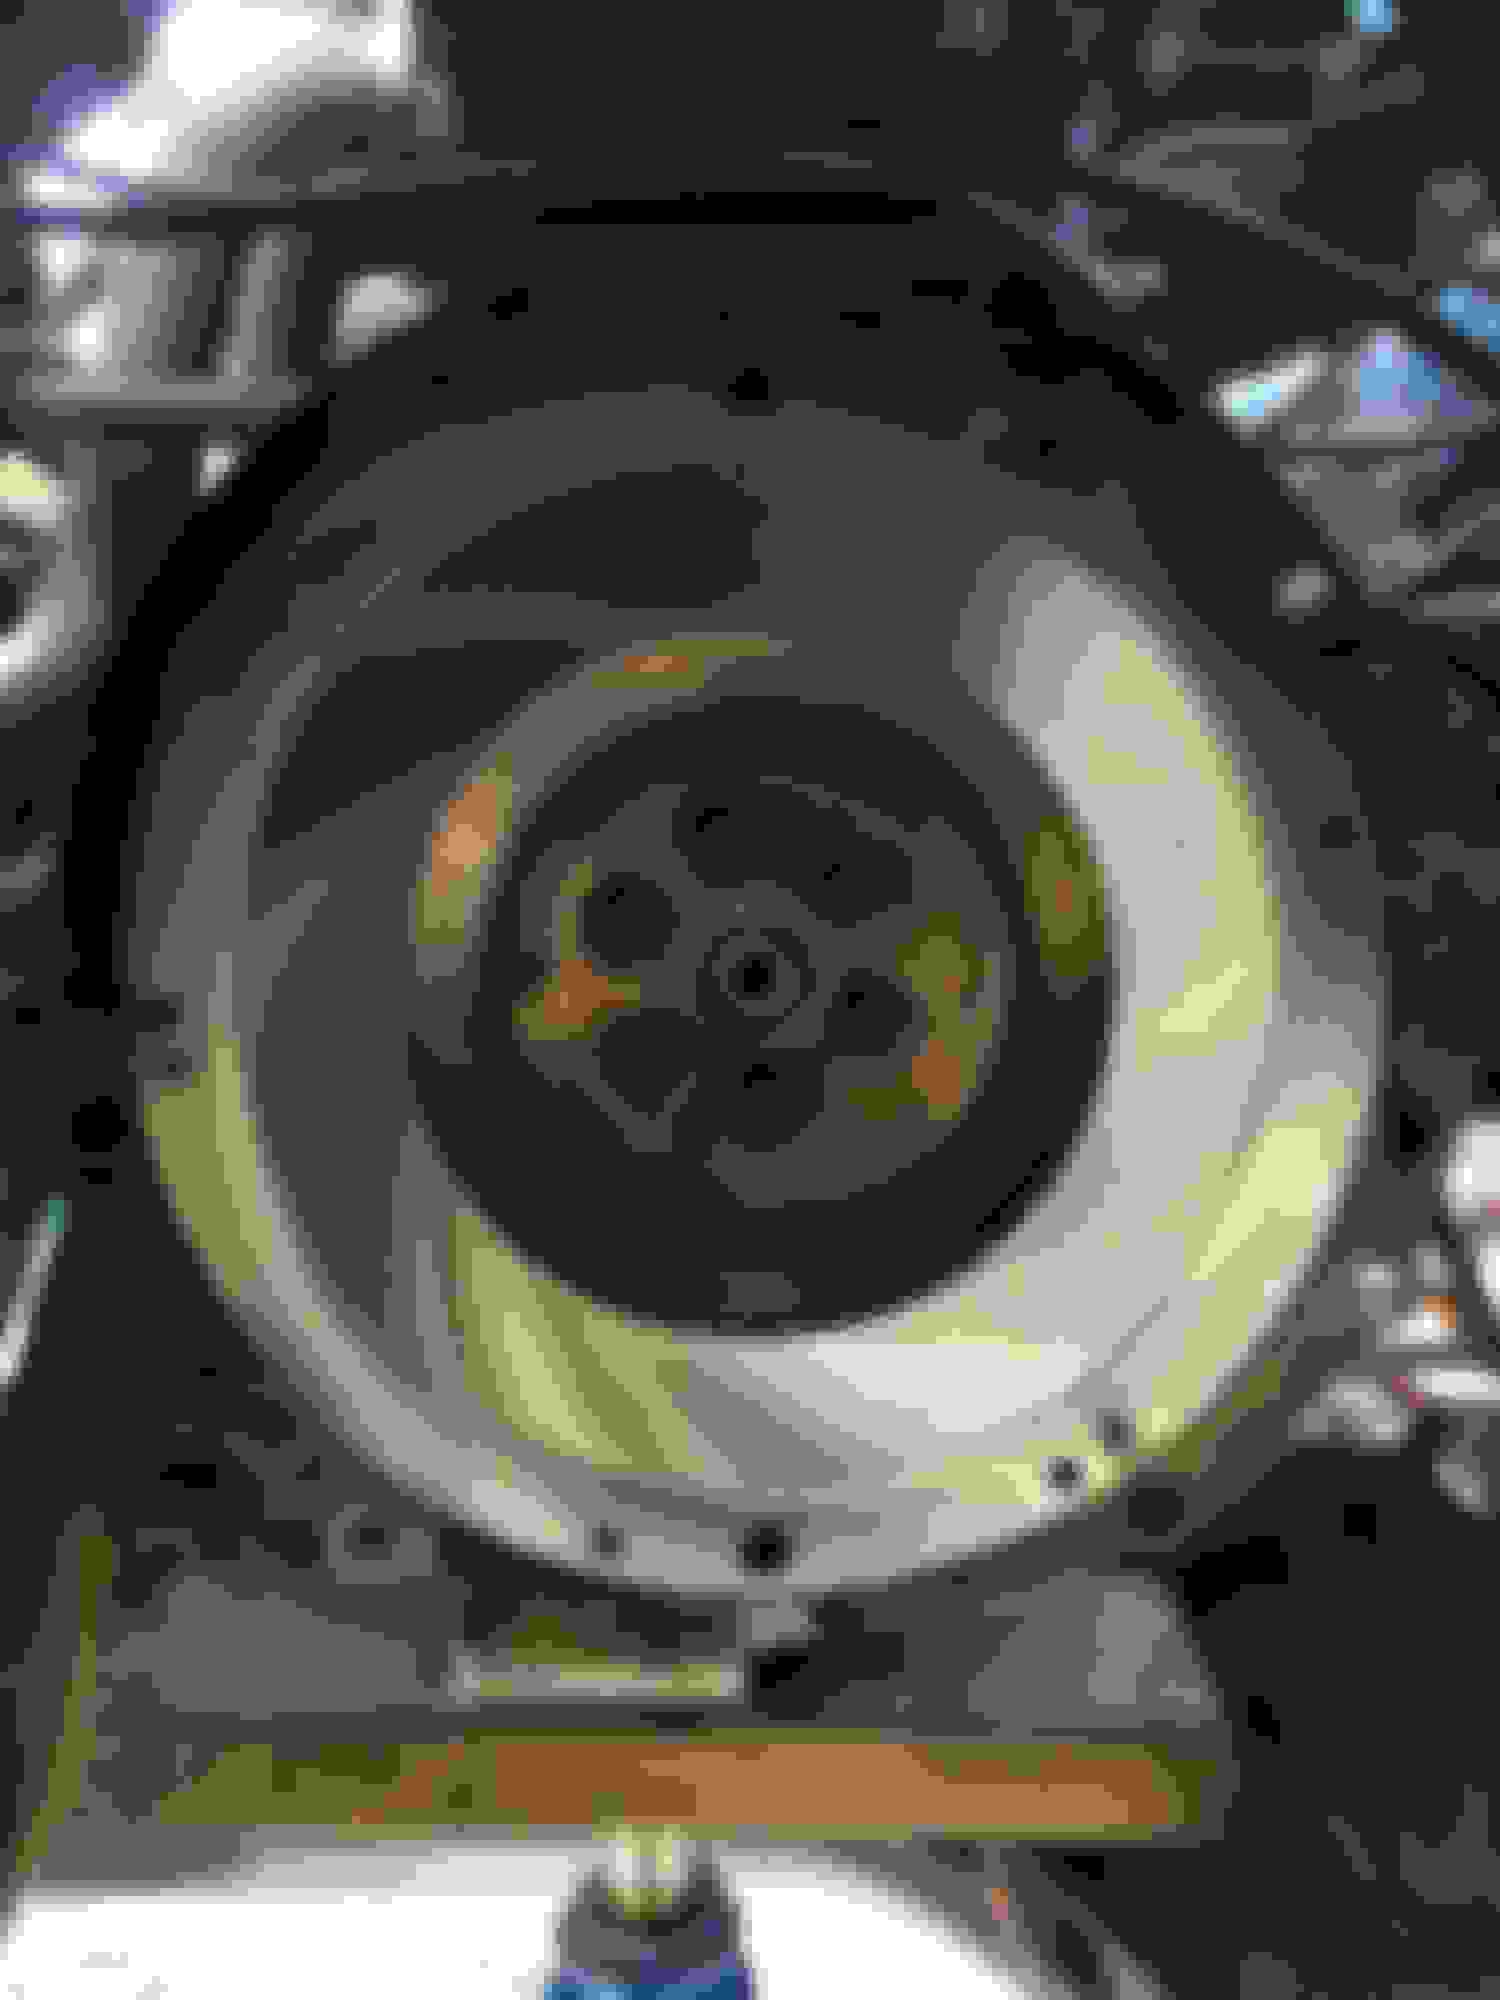
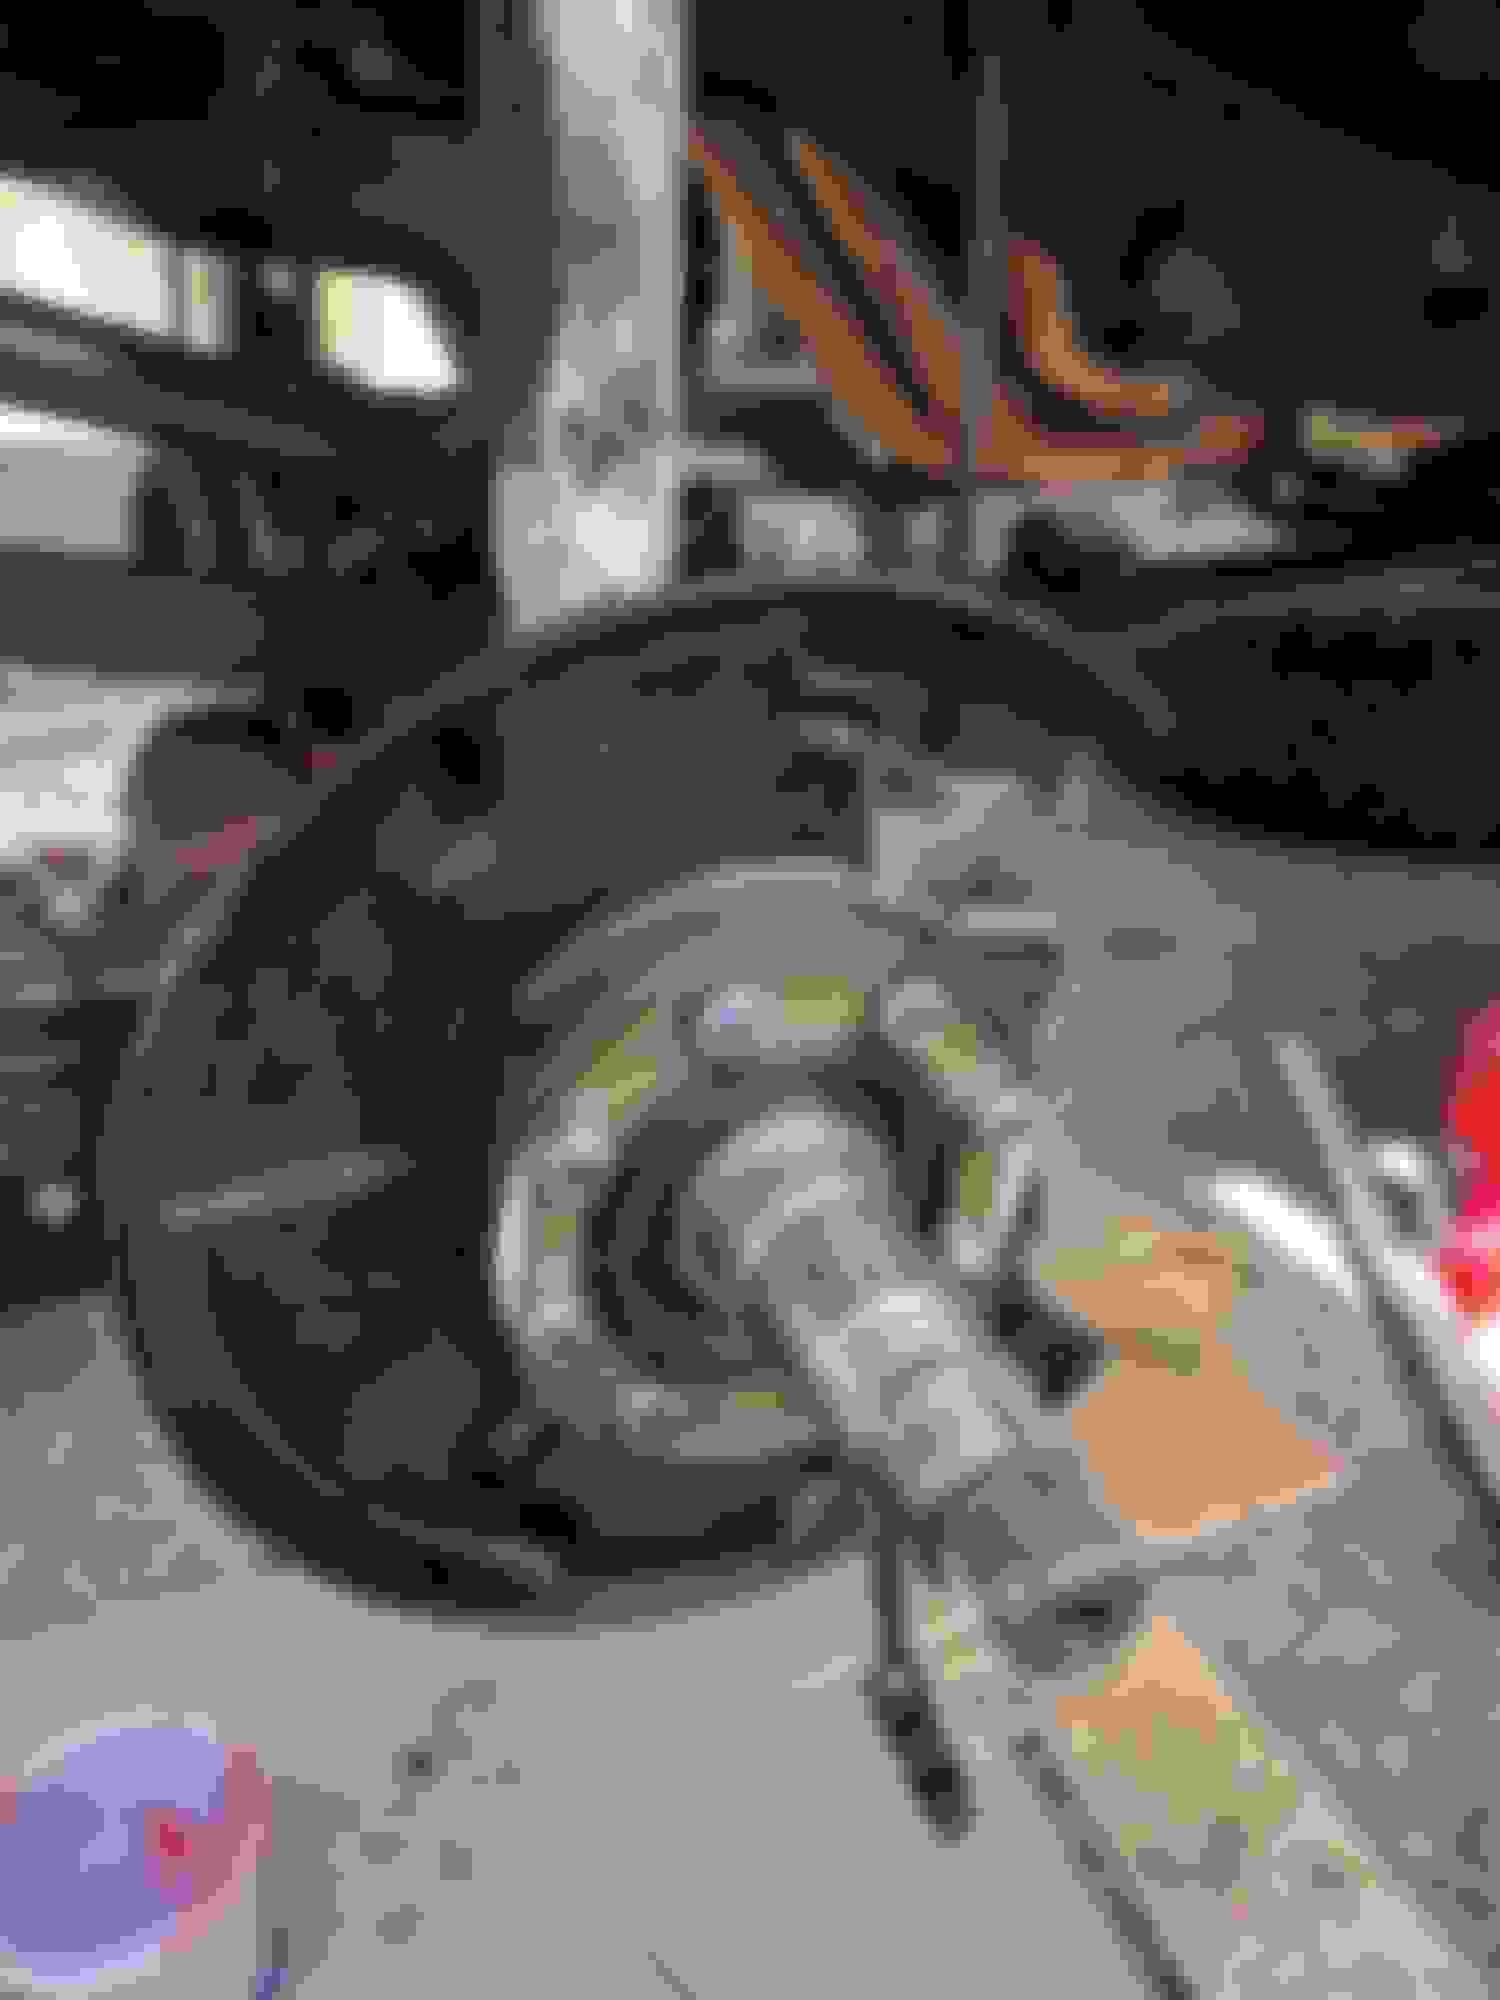
Finally got around to rebuilding the front axle and knuckles. A real greasy mess. Paper towels and a parts washer are indispensable. I used the Marlin kit with heavy duty seal. Everything went as expected, I followed the fsm and numerous threads on the subject. New rotors , calipers, pads and fluid as well.
Greasy gross mess before.
Drain plug was seized, so I welded a nut onto the plug. Came right out.
how long did it take you to do those axle seals? i need to tackle mine just looks like a pain
I worked on it off and on for about a week, probably about 6-7 hours per side. Part of the time was spent getting brake parts as I had not intended on replacing the rotors and calipers. I also let stuff sit in the parts washer and repainted various pieces. I could do it a lot faster now that I have done it. Just make sure you have all the parts and tools you need. FSM manual is key for the steps and torques. Lots of threads out there that describe how to do things without the special toyota tools.
It's not difficult, just dirty and time consuming!

 Nov 16, 2018 | 06:55 AM