
1951ford's 1980 Pickup Build Thread
 Apr 24, 2013 | 09:13 PM
#1

Thread Starter
Registered User
Joined: Feb 2013
Posts: 14
Likes: 0
From: Langley, bc
My Mostly Stock 1980 Pickup Build Thread
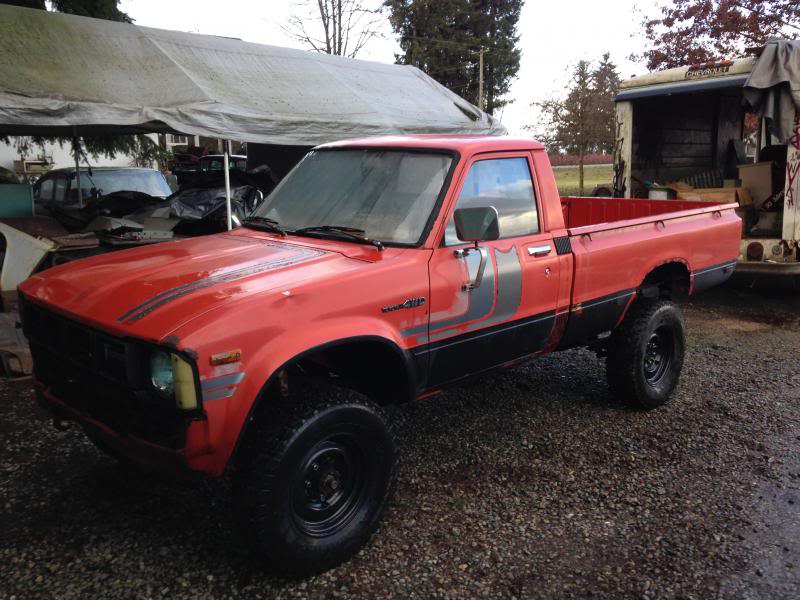
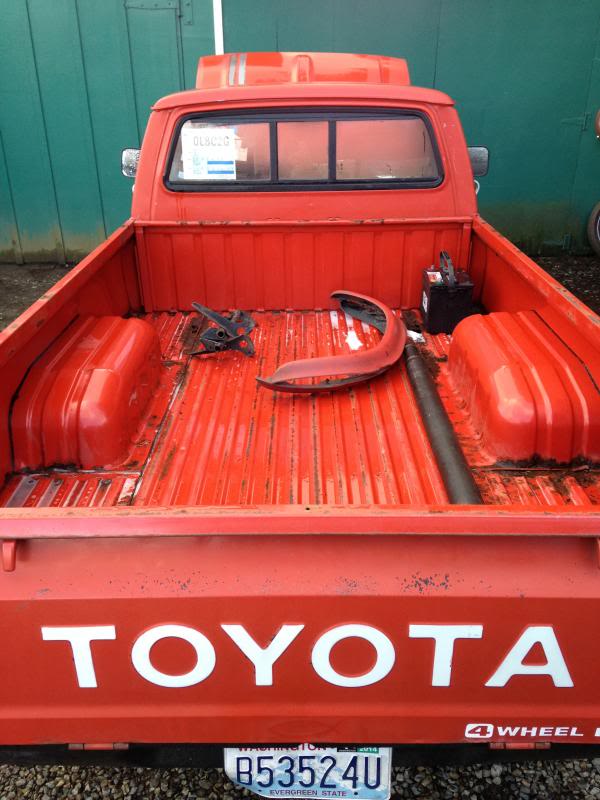
Hey guys, i bought this 1980 Toyota 4x4 2 months or so ago and ive been gathering parts. I had intentions of doing a 3rz swap and decided not to thinking it would cost me a fortune.
Im now swapping out the 20r with 4 speed for a 22r and marlin L52 5 speed. Aside from the engine trans swap I'll be Pulling the cab and box and Sandblasting and powdercoating all parts, OME 3" lift kit, Hysteer Kit, Rebuilding the axles, Upgrading The brakes, Original 1980 Steelies and 33" skinnies.
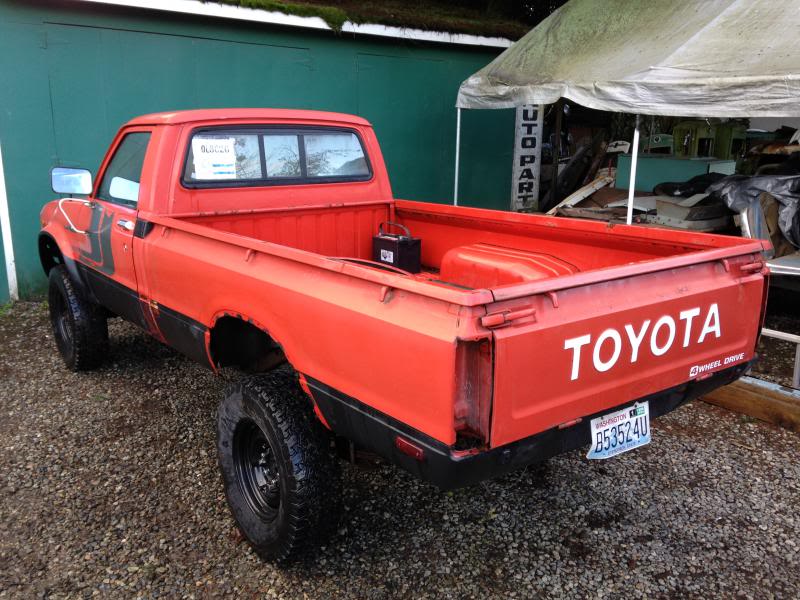
So heres some pics of what im starting with
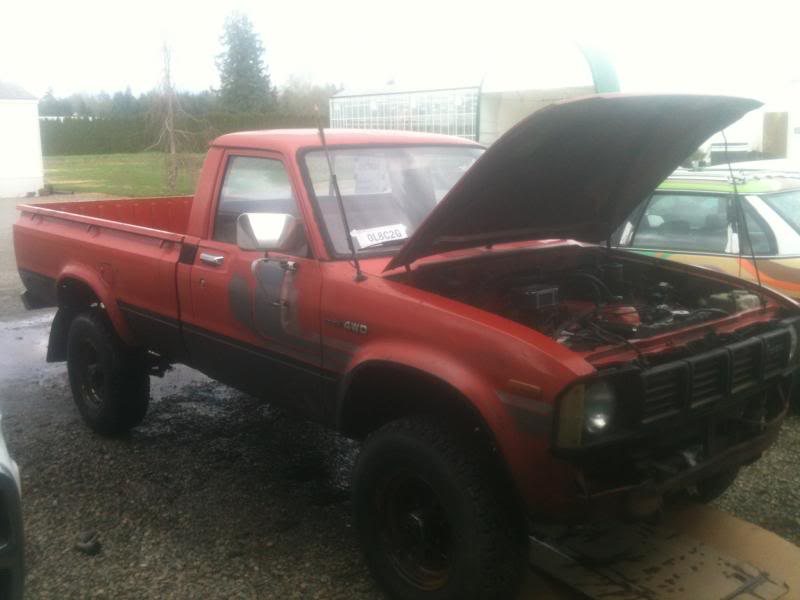
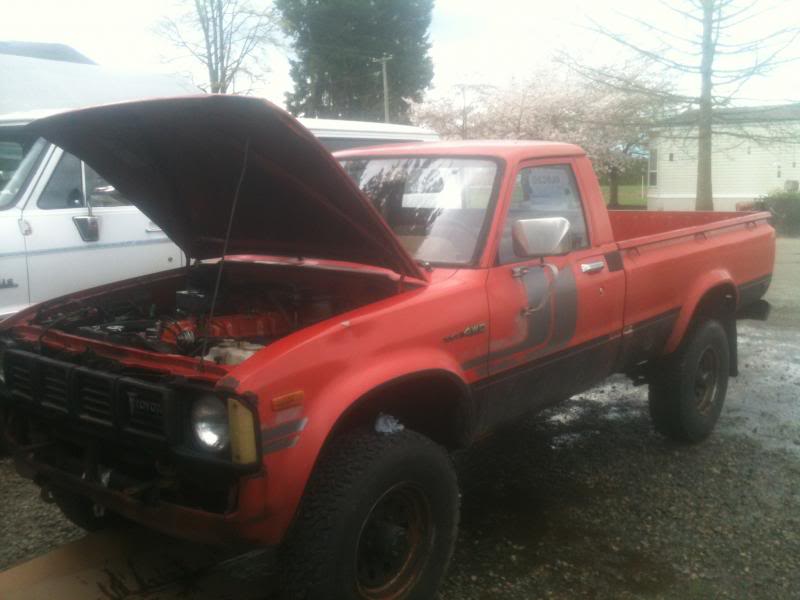
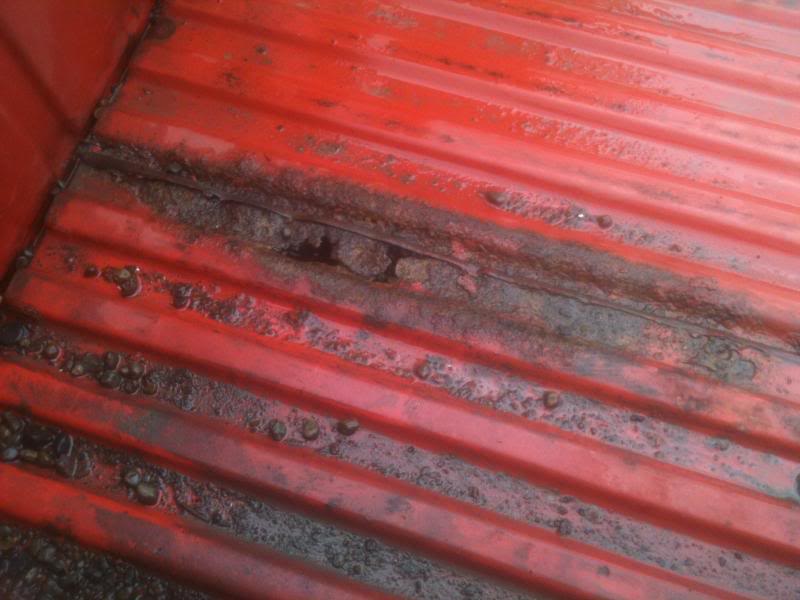
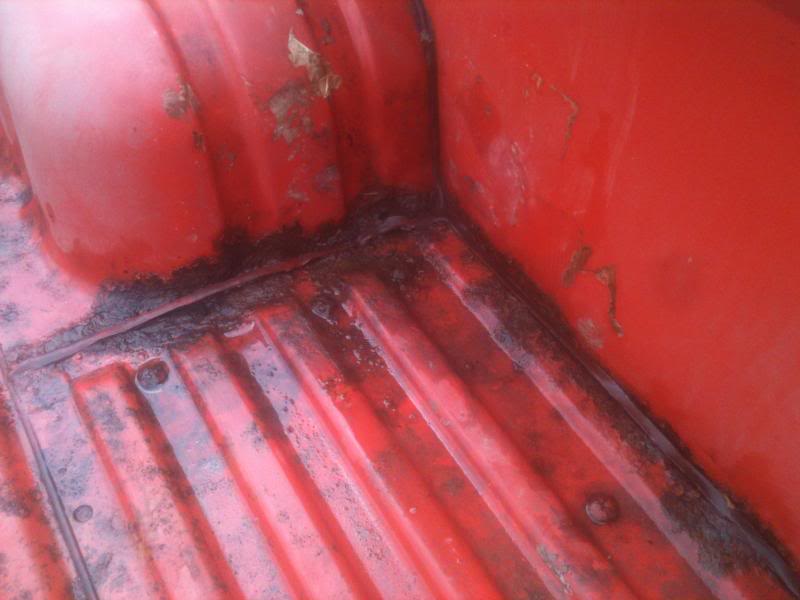
My plan is leave the body as is at least for a while and maybe dig into the body rust repair and bodywork, at least when i pull the body and box off for that the frame and mechanical will be dealt with and done. The Frame is Mint from what i can see BUT the front floors were previously patched and there is a few spots in the bed
Im now swapping out the 20r with 4 speed for a 22r and marlin L52 5 speed. Aside from the engine trans swap I'll be Pulling the cab and box and Sandblasting and powdercoating all parts, OME 3" lift kit, Hysteer Kit, Rebuilding the axles, Upgrading The brakes, Original 1980 Steelies and 33" skinnies.
So heres some pics of what im starting with


My plan is leave the body as is at least for a while and maybe dig into the body rust repair and bodywork, at least when i pull the body and box off for that the frame and mechanical will be dealt with and done. The Frame is Mint from what i can see BUT the front floors were previously patched and there is a few spots in the bed


Last edited by 1951ford; Mar 28, 2014 at 08:53 PM.
Apr 24, 2013 | 09:24 PM
#2
Thread Starter
Registered User
Joined: Feb 2013
Posts: 14
Likes: 0
From: Langley, bc
Right now the im having a 22r rebuilt at the shop with a mild cam, i found most of the original parts for the engine and engine bay like the air cleaner, air box, power steering pump and brackets.
All the parts have been powdercoated now, all the fasteners, hose clamps, pulleys are getting zinc plated like they were originally. I ordered an original bumper from toyota, along with windshield weatherstrip and misc parts for the motor, a hysteer kit from allpro
I'm ordering the l52hd from marlin in the next few days along with a rebuilt transfer case. So hopefully ill have the parts to do the hysteer install soon, and ill blow it apart after to powdercoat all the parts and have the axles gone through. Ive been thinking about putting in a spartan locker not sure about what tires to get yet any suggestions would be appreciated. The truck will mostly be for getting to work with my tools, going camping and everyday life. ill post soon when i have more to report, stoked to start minting everything out. -andrew
Last edited by 1951ford; Apr 24, 2013 at 09:54 PM.
Mar 28, 2014 | 08:45 PM
#4
Thread Starter
Registered User
Joined: Feb 2013
Posts: 14
Likes: 0
From: Langley, bc
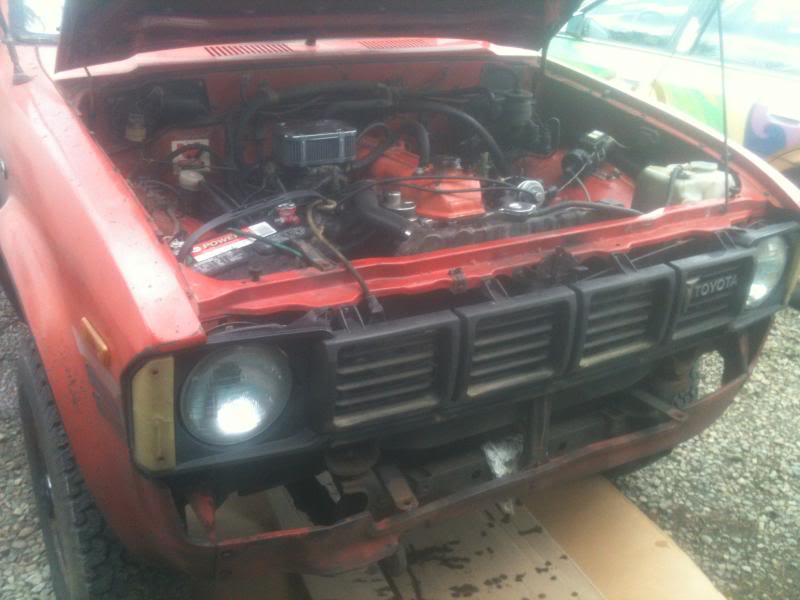
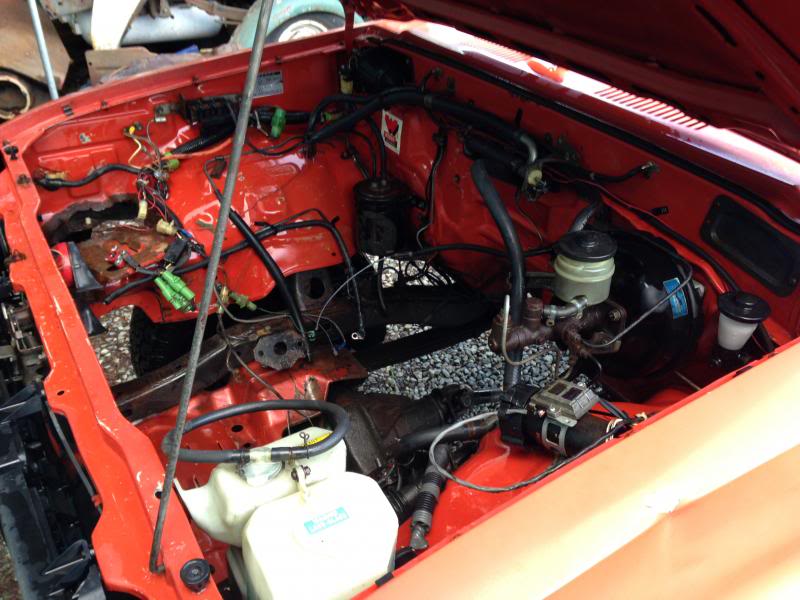
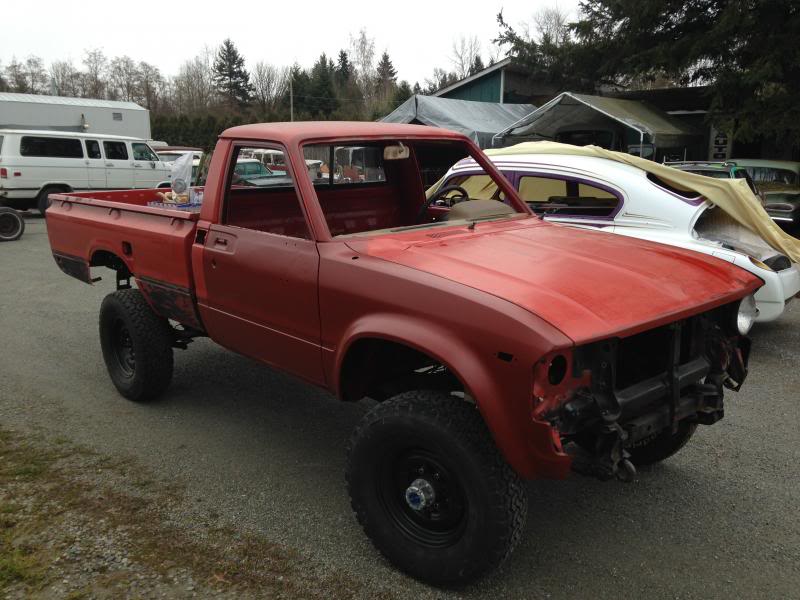
ok, its almost been a year and im finally getting around to working on it. Ill post pics of the what ive done so far, and ill try my best to update as i go. Heres some pics of the truck after i pulled the motor and cleaned it up
classy


classy

Last edited by 1951ford; Mar 28, 2014 at 08:47 PM.
Mar 28, 2014 | 08:51 PM
#6
Thread Starter
Registered User
Joined: Feb 2013
Posts: 14
Likes: 0
From: Langley, bc
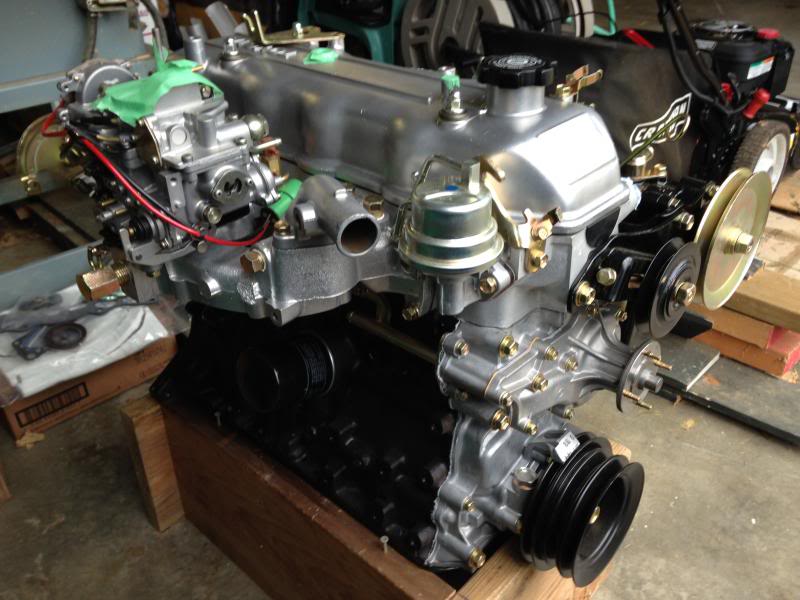
heres some pictures of the rebuild 22r thats replacing the 20r. ive got a marlin hd l52, aisin clutch kit, lc engineering header and the rebuilt transfer case in the shop all ready to go.


 Mar 28, 2014 | 08:57 PM
#7
Thread Starter
Registered User
Joined: Feb 2013
Posts: 14
Likes: 0
From: Langley, bc
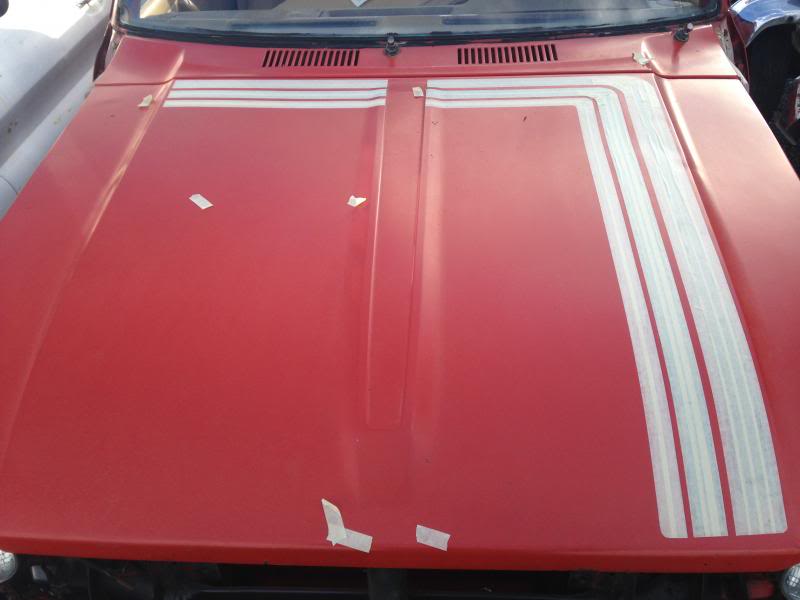
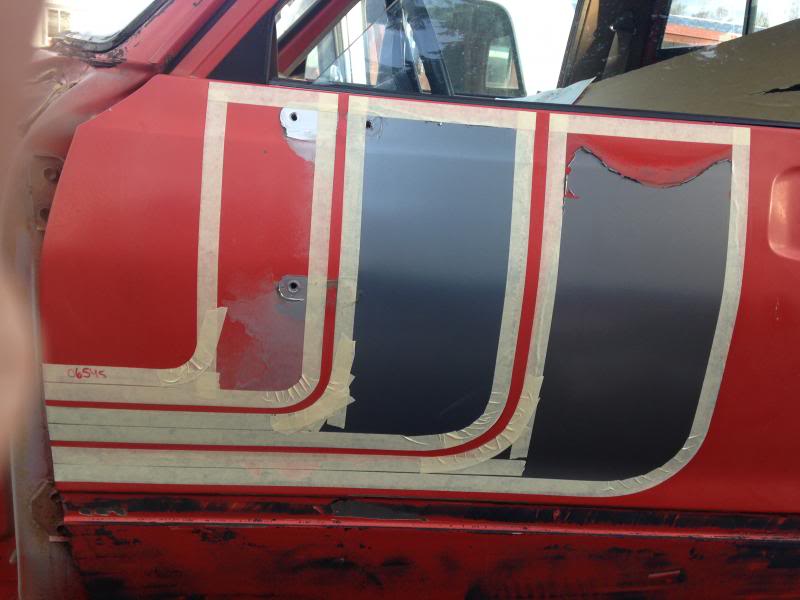
So After i had the truck all cleaned up i masked where the original stripes were and made a stencil to be sent off for new ones to be made. Gotta love the old stripes, at least i do ha
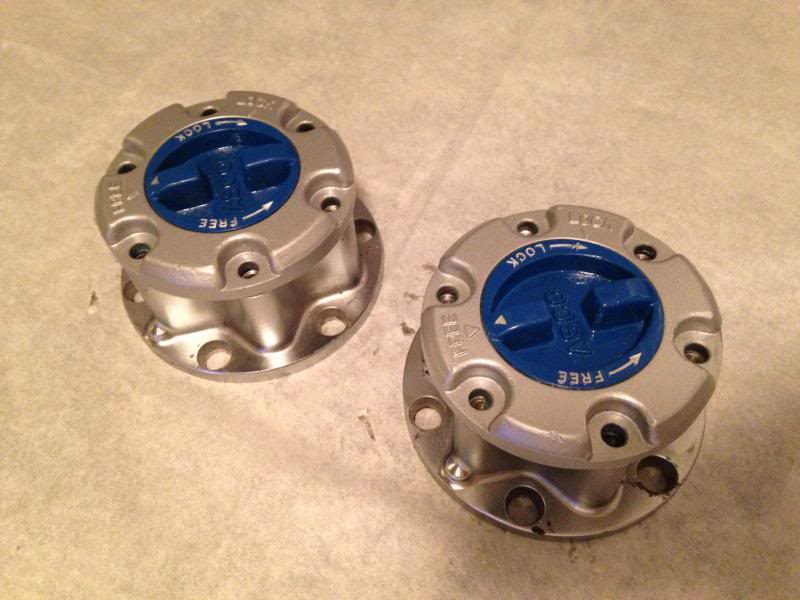
I also rebuilt my asco hubs, the ford blue paint wasnt quite right but itll do.


I also rebuilt my asco hubs, the ford blue paint wasnt quite right but itll do.

Trending Topics
Mar 28, 2014 | 09:08 PM
#8
Thread Starter
Registered User
Joined: Feb 2013
Posts: 14
Likes: 0
From: Langley, bc
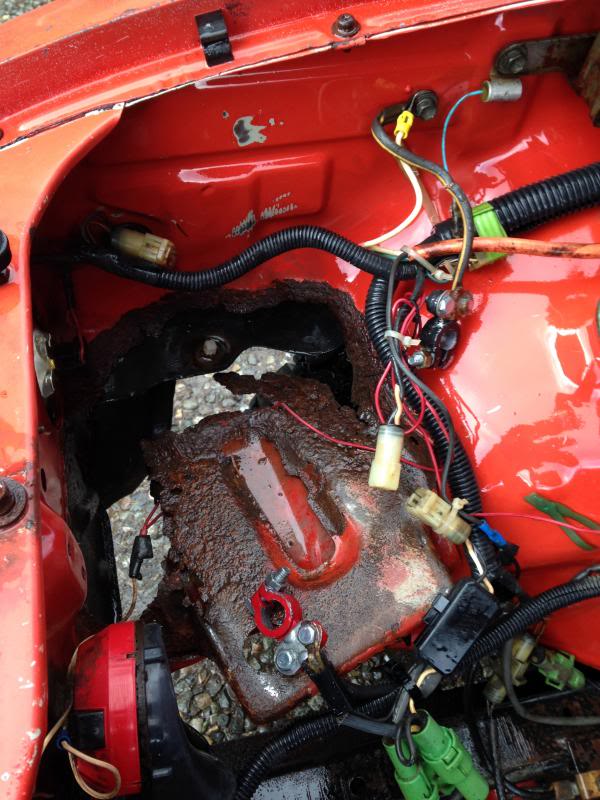
After that, it was into the shop to start metal work, pulled my fenders, doors, pulled the doors all apart. These doors i swear weighed like 2 lbs without all the regulators and glass, way lighter than a 57 chevy door. haha. I started metal work with the battery tray, heres a pic of "the hole"
Tracked down a rust free tray, blasted and primed it.

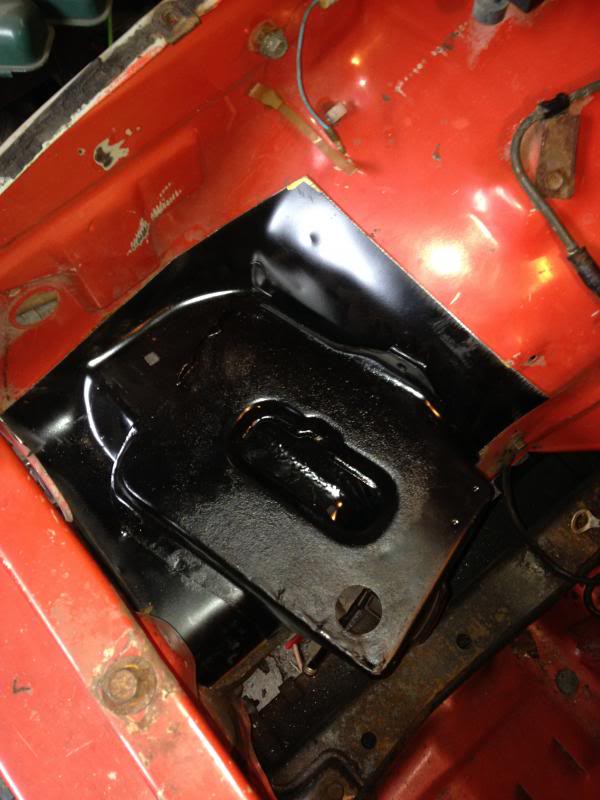
Butt welded it in with the mig

Tracked down a rust free tray, blasted and primed it.


Butt welded it in with the mig
 Mar 28, 2014 | 09:41 PM
#9
Thread Starter
Registered User
Joined: Feb 2013
Posts: 14
Likes: 0
From: Langley, bc
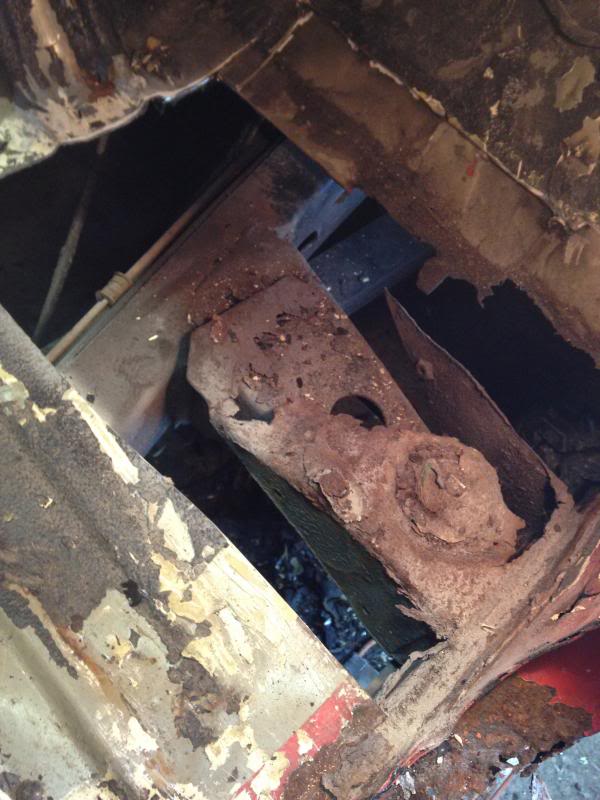
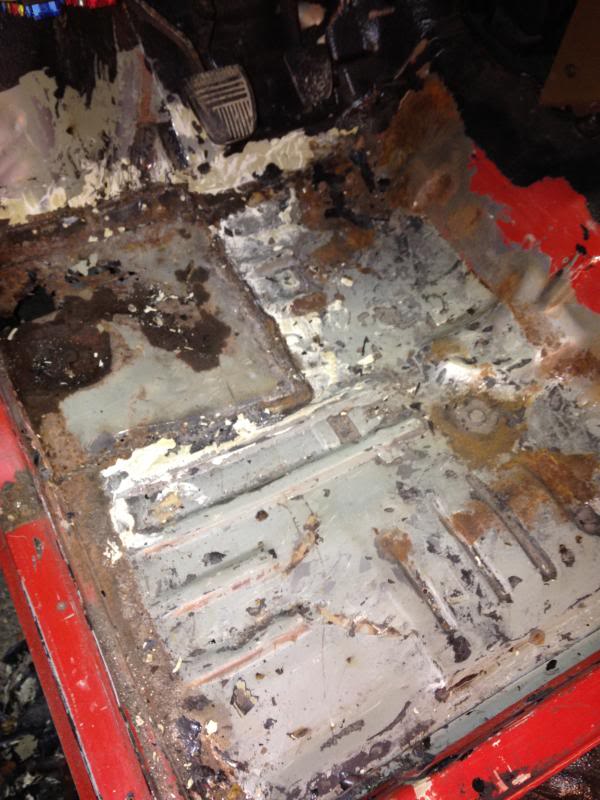
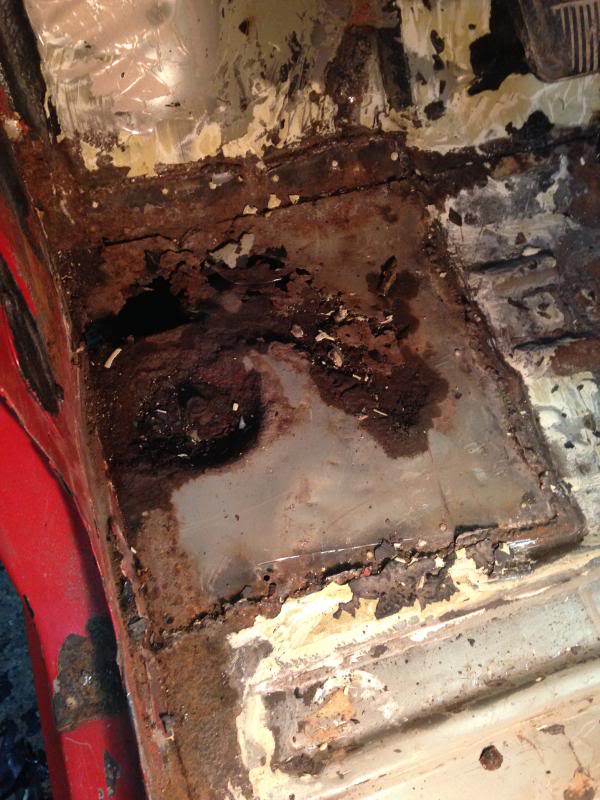
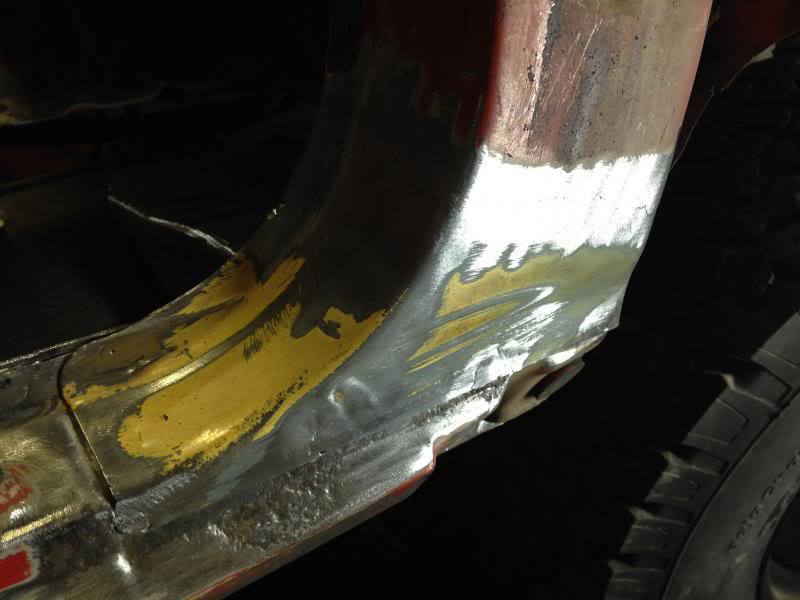
I than started digging into the floors. Ugghhh. I started digging into the passenger side through the last guys quickie
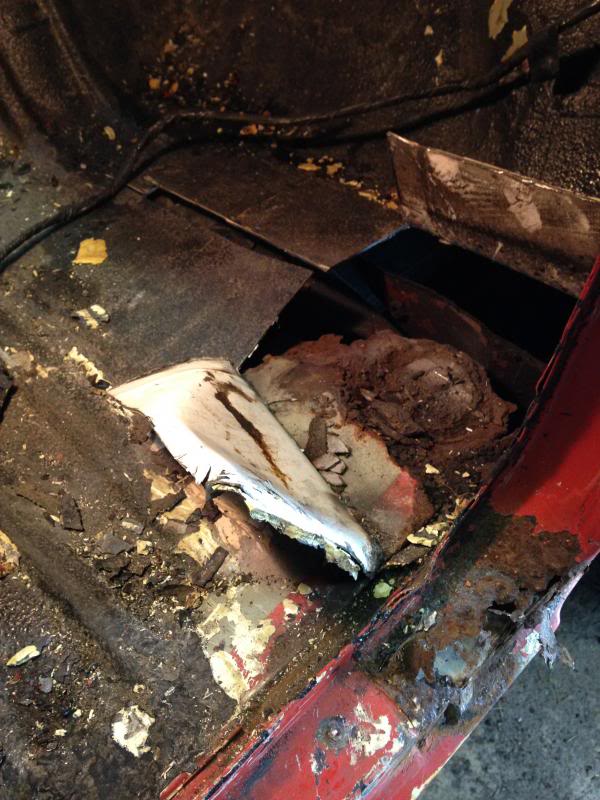 and kept digging and digging
 until i found solid metal (the outer rocker. i formed a piece of the inner rocker and welded that in
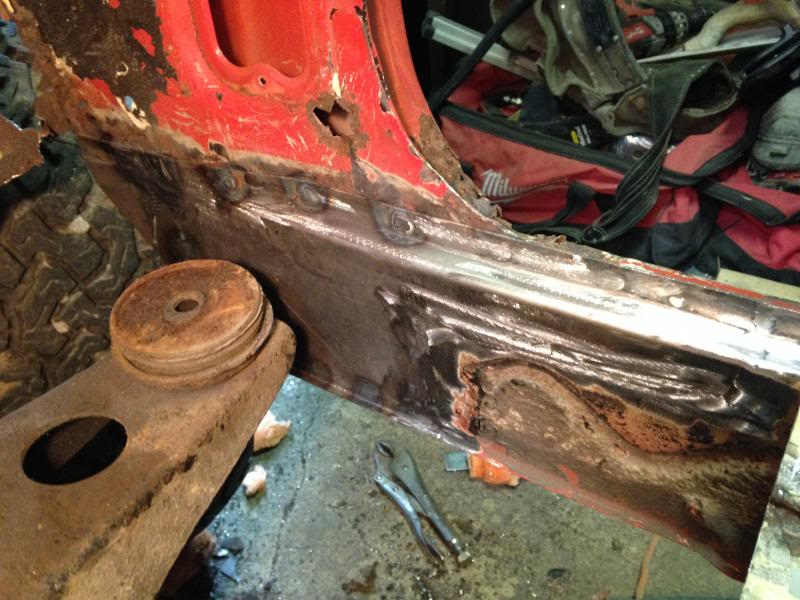
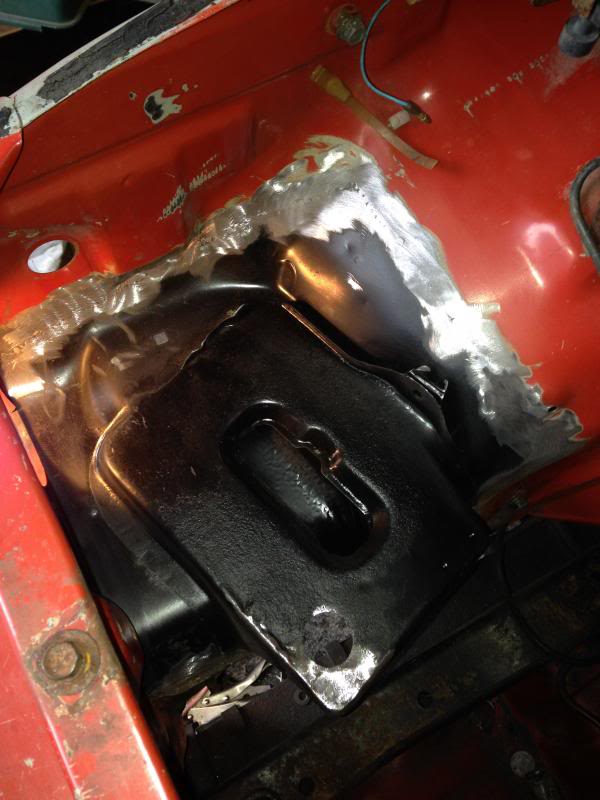
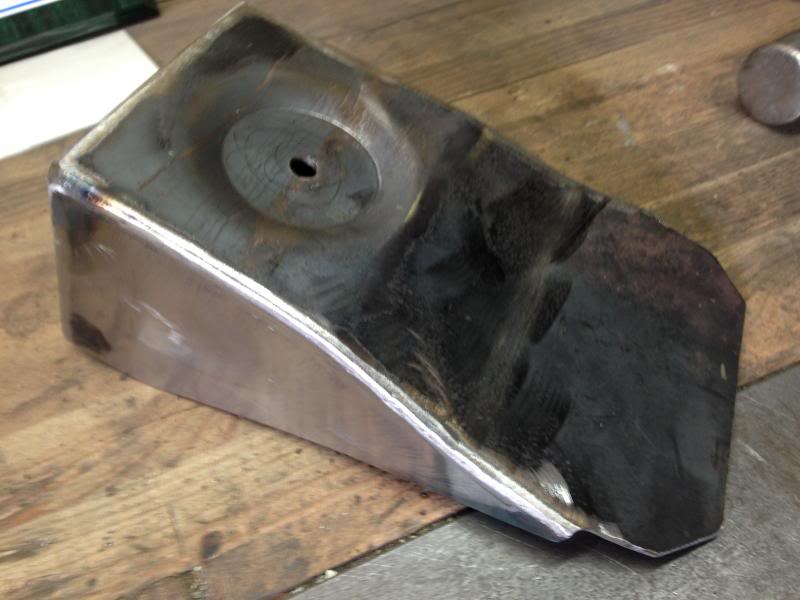
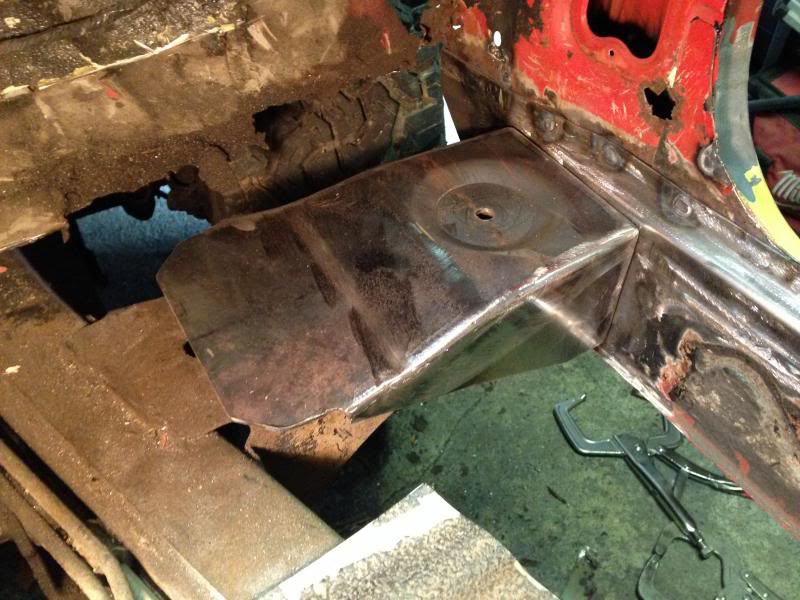
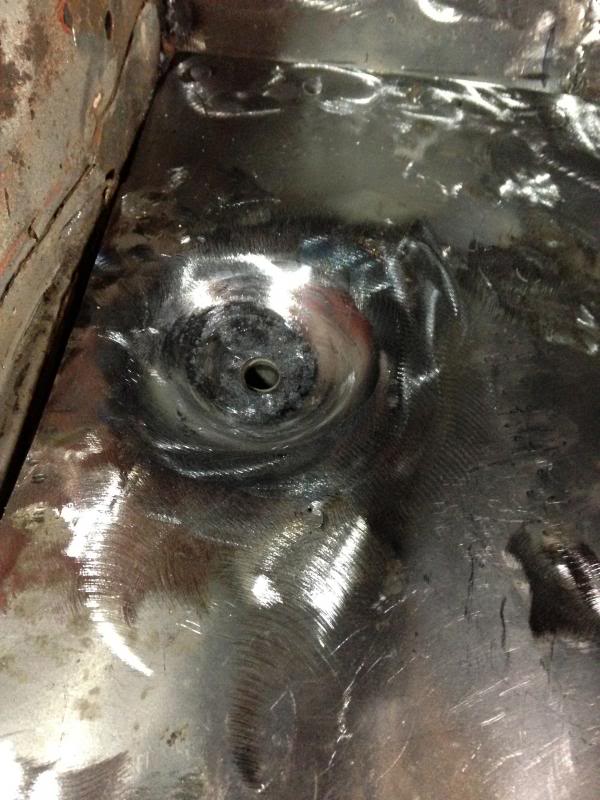
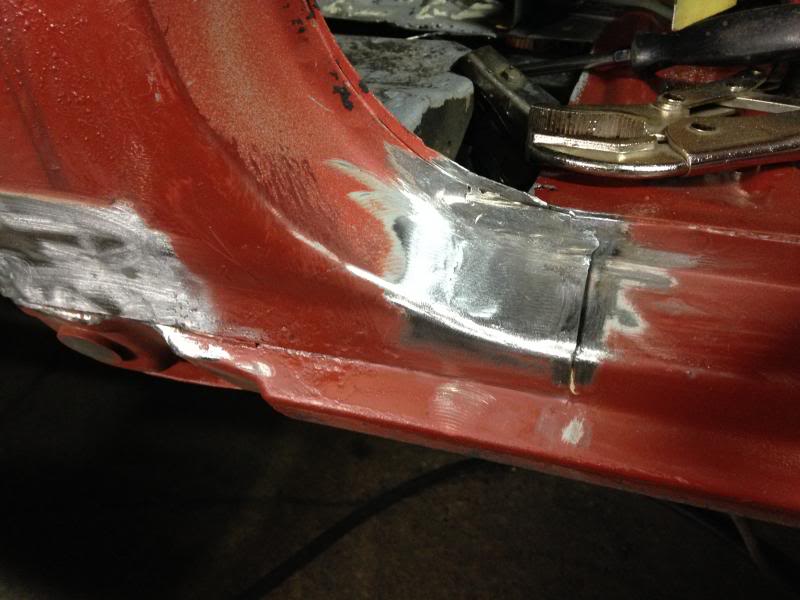
a buddy of mine made a die to replicate that dimple in the mount, with his 50 ton press at work he pressed it for me into a piece of plate than i made the body mount out of it to replace the absolutely rotten one that was in the truck
plug welded back in
Than over to the drivers side now, the mount was still good but the floor was pretty toast, full of bad welding and bondo from the last guy.
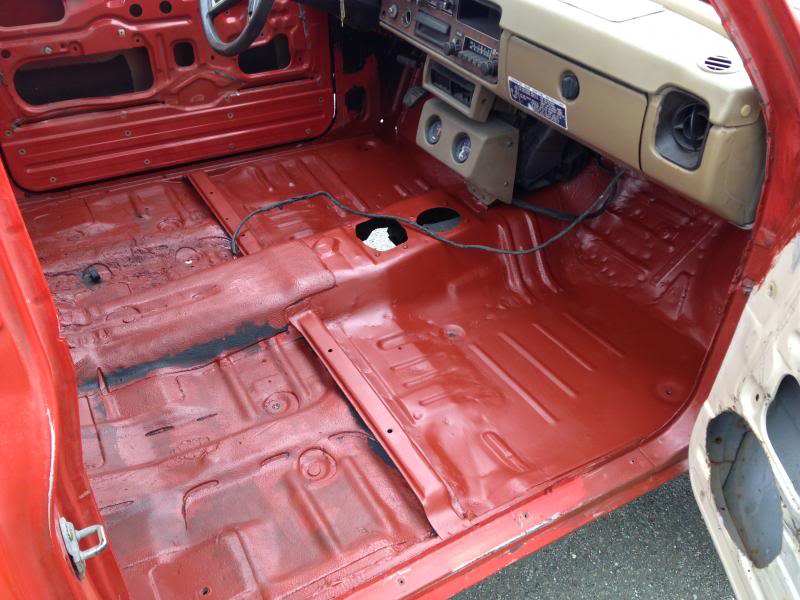
after replacing the floor pans i put the dimples back in the floor pans over the body mounts
after sandblasting i gave it a coat of red oxide epoxy primer, later after my body work is done ill seam seal all my seams and paint it to match the exterior with the original red orange single stage paint.
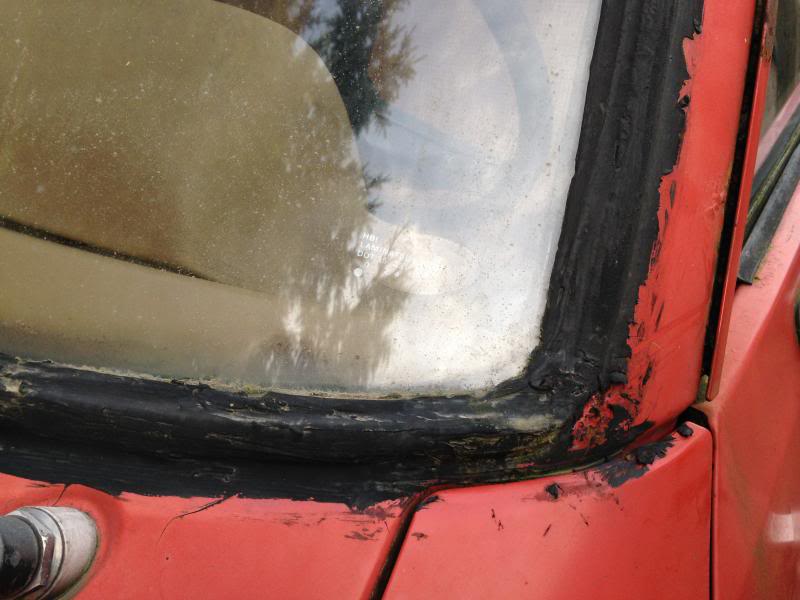
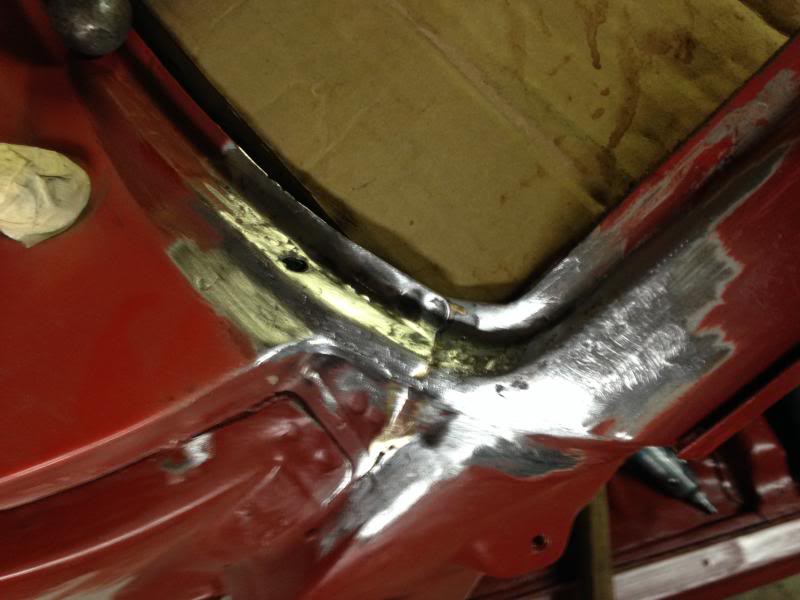
when i sandblasted the floors, i also sandblasted any areas that had rust to get rid of it. i found lots of holes on the underside of the nose of the hood, the windshield corners, the drivers a pillar, the door jambs/rocker and the doors.

fixed up all the random bits of rust
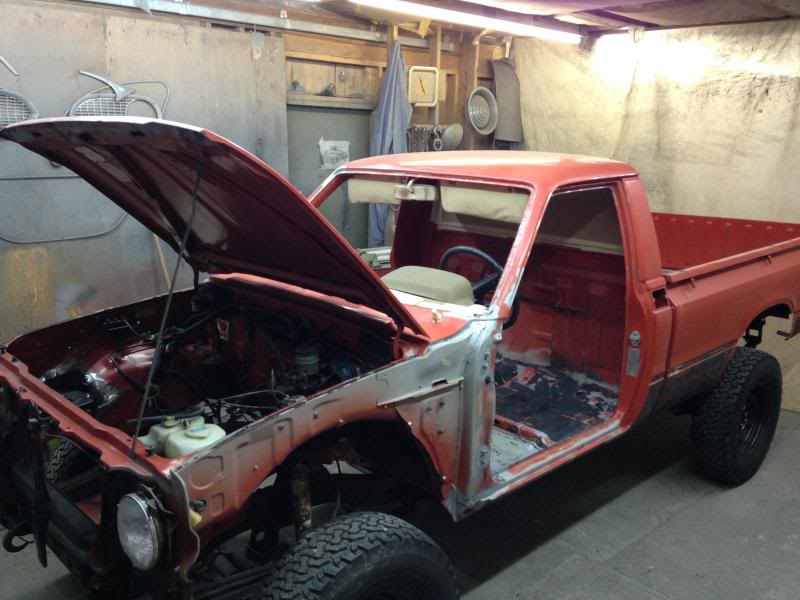
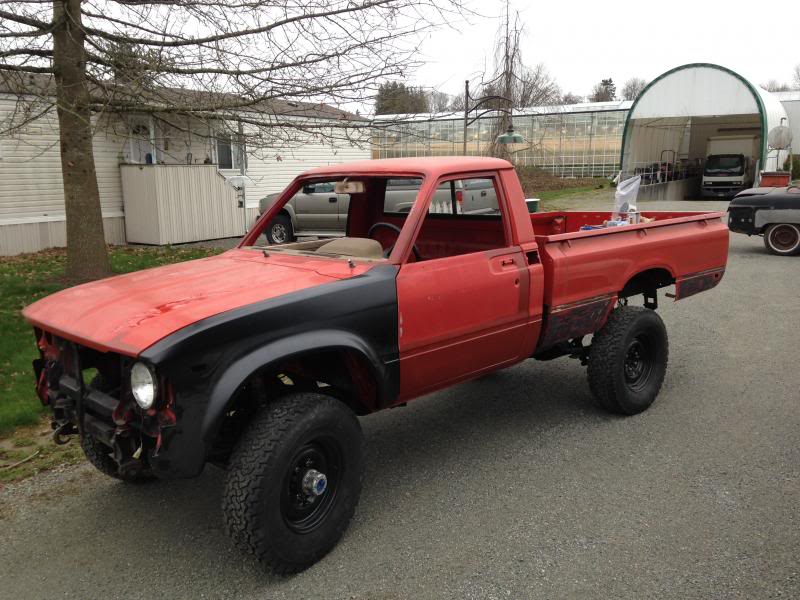
After all that i the doors and hood, a put a coat of primer to seal up anything i had blasted. assembled all my sheet metal including my oem toyota drivers fender i scored. heres the truck before it went back into the prep bay for mudwork
 and kept digging and digging
 until i found solid metal (the outer rocker. i formed a piece of the inner rocker and welded that in
a buddy of mine made a die to replicate that dimple in the mount, with his 50 ton press at work he pressed it for me into a piece of plate than i made the body mount out of it to replace the absolutely rotten one that was in the truck

plug welded back in

Than over to the drivers side now, the mount was still good but the floor was pretty toast, full of bad welding and bondo from the last guy.


after replacing the floor pans i put the dimples back in the floor pans over the body mounts

after sandblasting i gave it a coat of red oxide epoxy primer, later after my body work is done ill seam seal all my seams and paint it to match the exterior with the original red orange single stage paint.

when i sandblasted the floors, i also sandblasted any areas that had rust to get rid of it. i found lots of holes on the underside of the nose of the hood, the windshield corners, the drivers a pillar, the door jambs/rocker and the doors.


fixed up all the random bits of rust


After all that i the doors and hood, a put a coat of primer to seal up anything i had blasted. assembled all my sheet metal including my oem toyota drivers fender i scored. heres the truck before it went back into the prep bay for mudwork

 Mar 28, 2014 | 09:49 PM
#10
Thread Starter
Registered User
Joined: Feb 2013
Posts: 14
Likes: 0
From: Langley, bc
Ok, after all my filler work was done, masked everything and gave it a few good coats of polyester primer to block out.
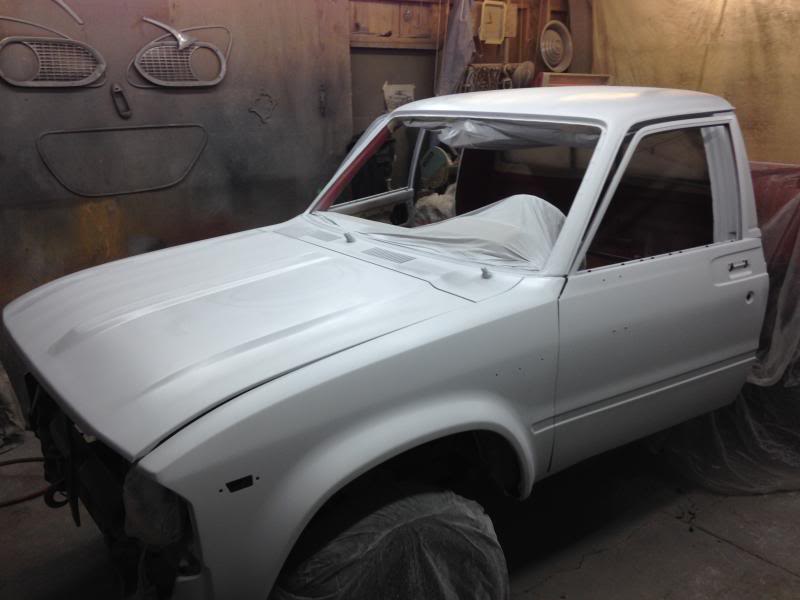
after blocking that out straight to 240 grit I sprayed two coats of reduced high build primer. up close the priming this time looks really nice. its really close
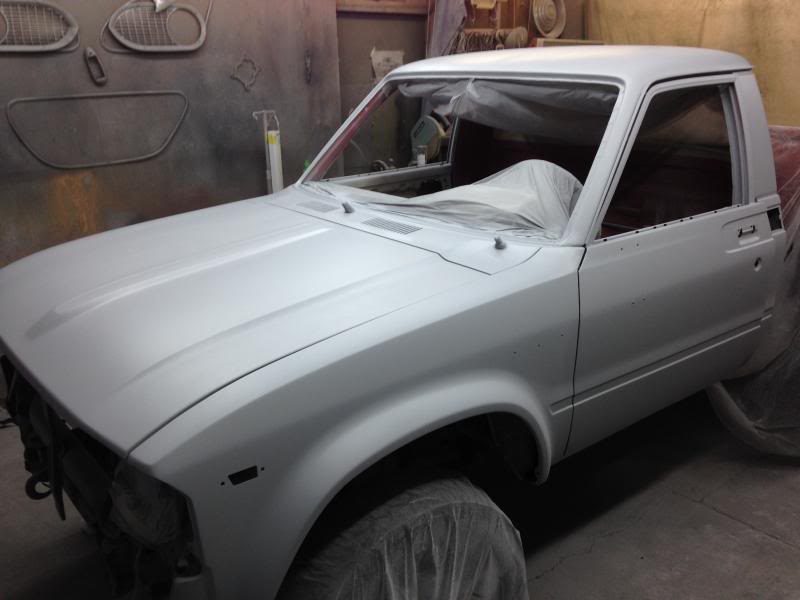
im going to let that sit for a week and start doing the box. When i come back to the cab itll be a quick 500 grit sand, seam seal the floor and paint. Thats it for now, If anyone has any questions feel free -andrew from BC
 Mar 29, 2014 | 12:08 PM
#14
Registered User
Joined: Dec 2008
Posts: 54
Likes: 1
From: Kingston, WA
I'm always impressed when I see guys doing sheet metal work. Well done so far.
BTW, my oldest daughter graduated from TWU a few years ago so I've been in your town a few times.
BTW, my oldest daughter graduated from TWU a few years ago so I've been in your town a few times.
Last edited by grotto; Mar 29, 2014 at 12:10 PM.


