
17toyotaman's 1980 Toyota build
 Jun 8, 2012 | 06:53 PM
#21
Thread Starter
Registered User
Joined: Dec 2011
Posts: 150
Likes: 0
From: NW Oregon
Much Needed Update!
Sorry it's been a while since i've updated my thread, but I am now a high school grad, and done with high school!  And on to bigger and better things. anyways here's some updates!!!!
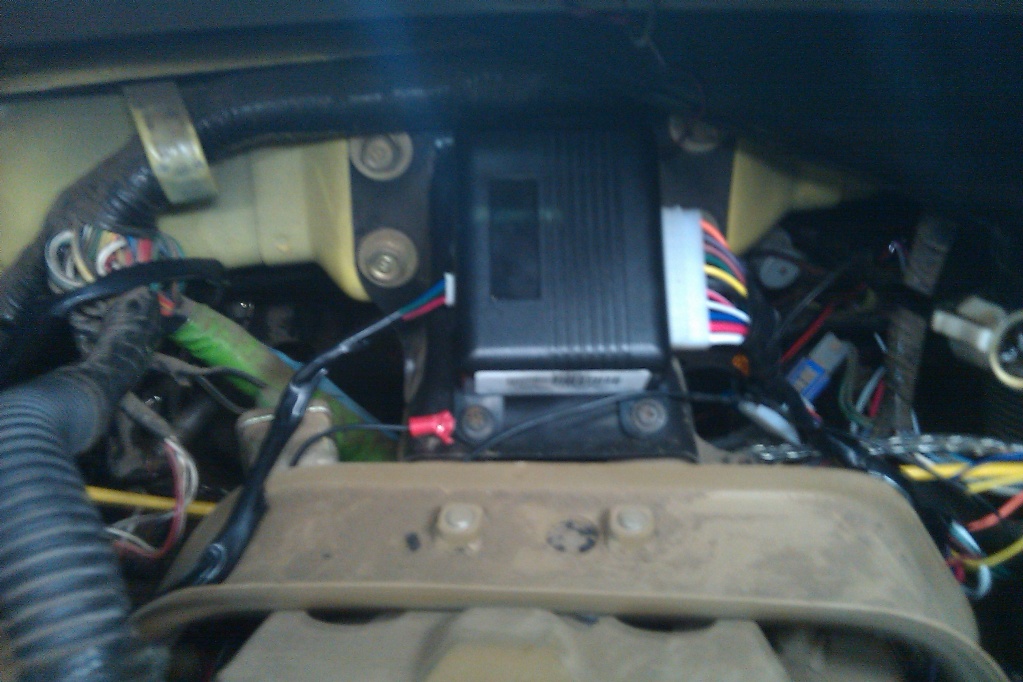
With some of my grad money I decided to buy and alarm for the truck. I'll be going to college soon and don't want anything to be messed with. So after some shopping around I bought one from car toys, and after telling them i'd install it to save some money and piece of mind they were less than helpful go figure. have yet to have a good experience there... anywho install was very simple and the $ they want to charge for an install is a rip-off. Here's a pic of the main part of the alarm.
Also I had been waiting on a package to arrive and it finally came and here's what it was
Figure i'd show some love to the forum
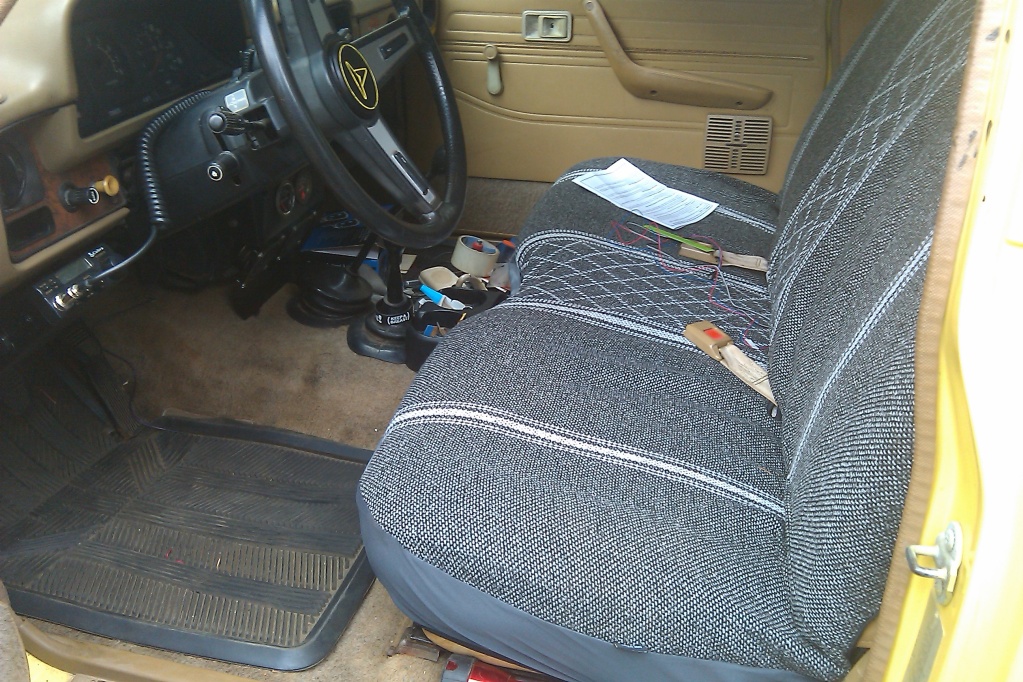
Then I decide to put the carpet back in but first I put the equivalent to peel and seel in i'll put some pics of that soon and put a seat cover on to save my seat
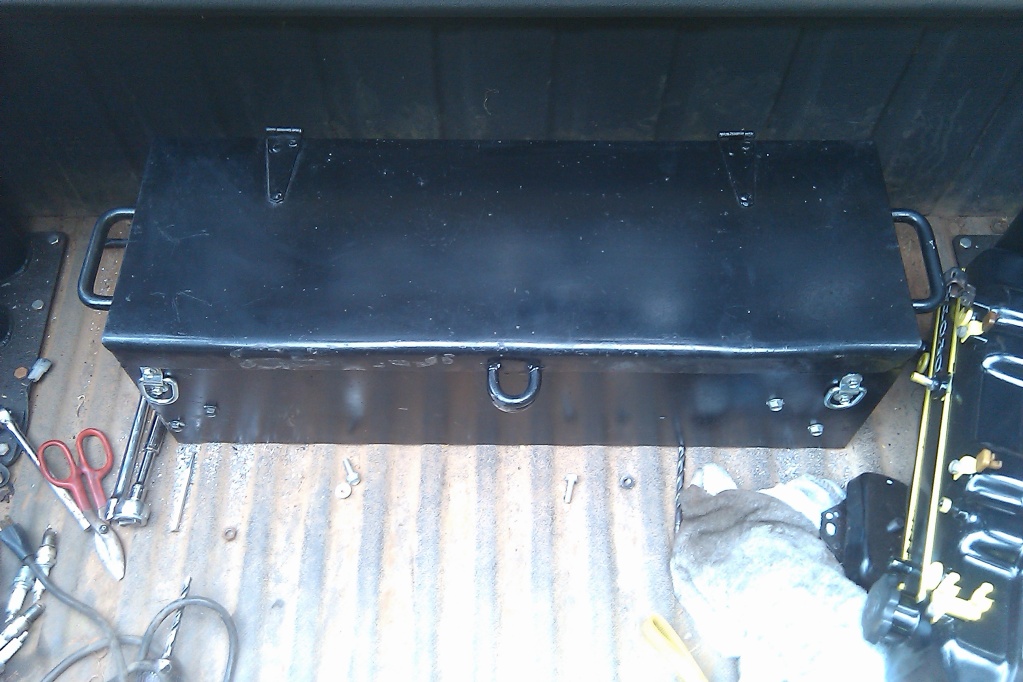
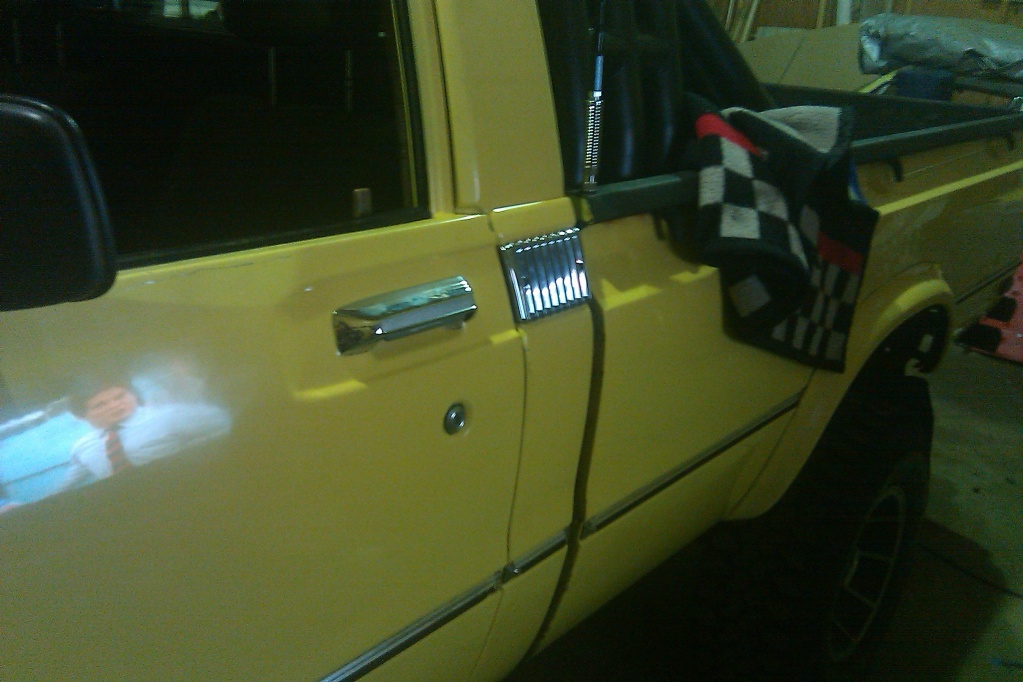
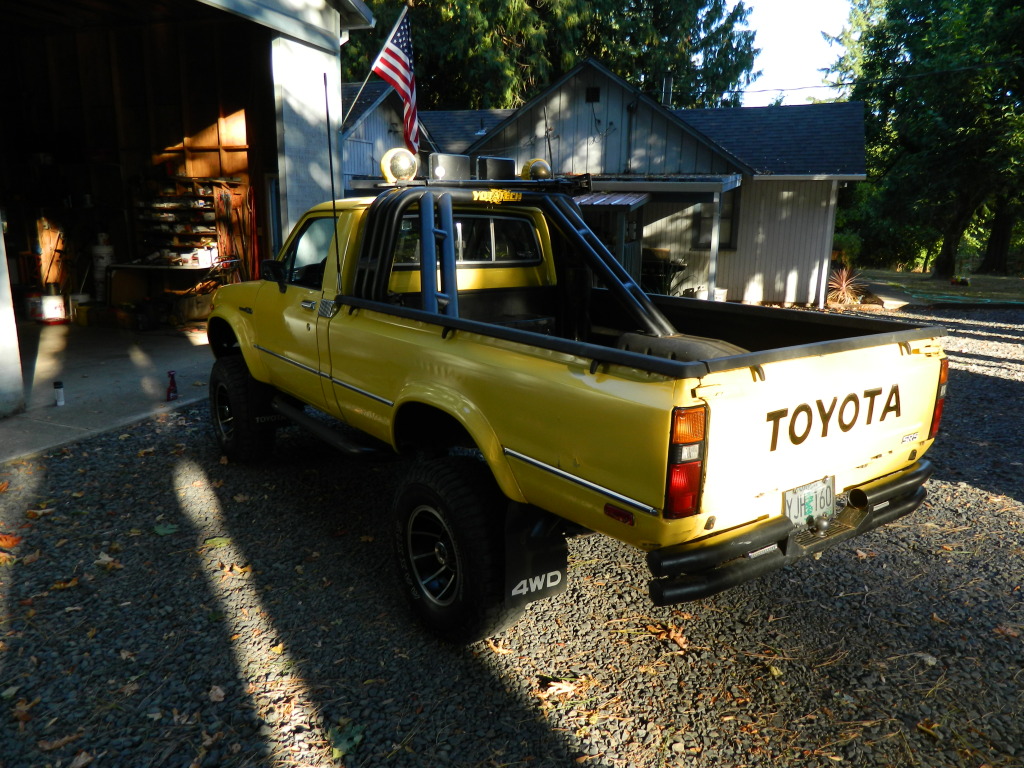
And I wanted to have something for storage, but with the roll bar I couldn't put my delta tool box in. I'd been looking around for a while and was looking around or shop the other day and found a box that my dad had made back in the 80's and had been sitting in the shop after we got rid of my tree fort some years ago. So I cleaned it up, painted, and installed it in the bed. STORAGE
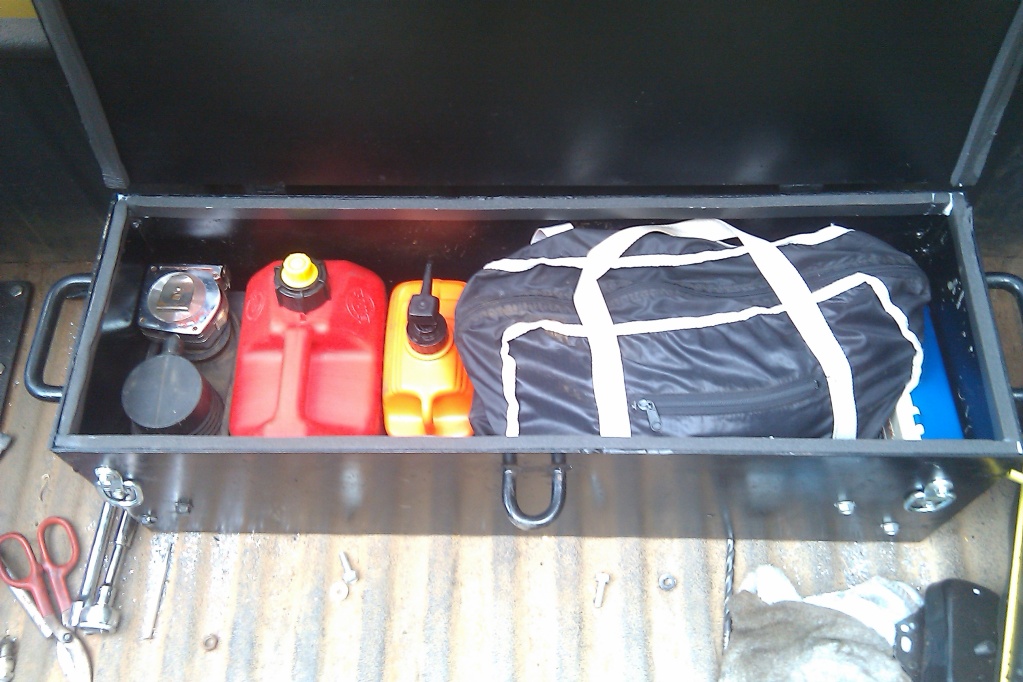
Its holding my electric tire pump, gas, hand cleaner, first aid, and a tool bag
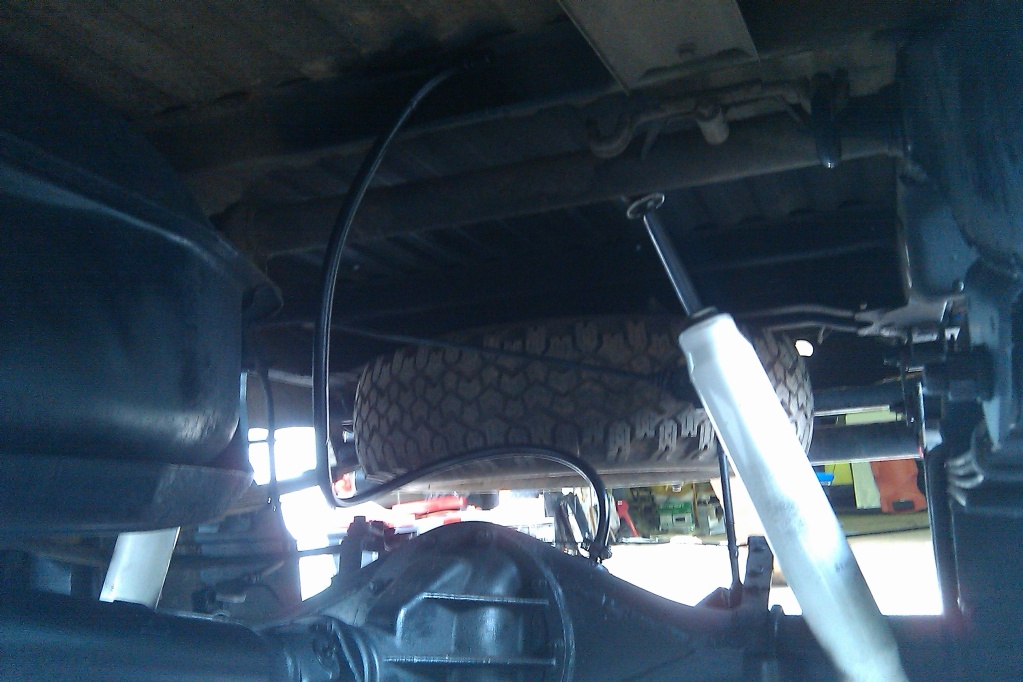
Also I moved the vent up and out of the way of any thing that could get in there
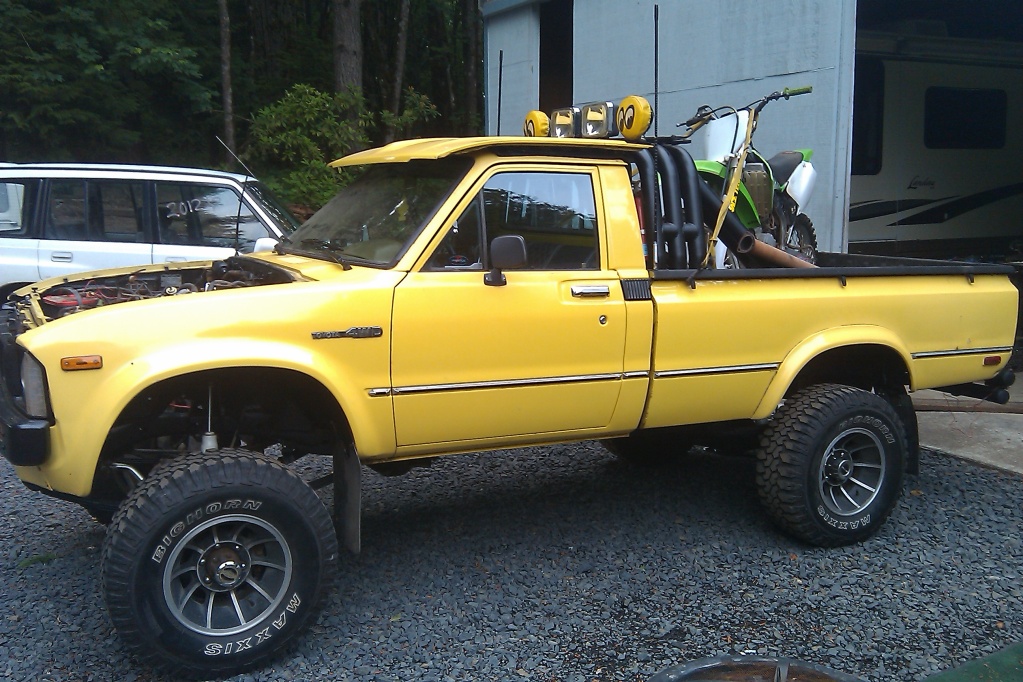
And while I had it out of the shop to clean up a bit I got bored and decided to put my dirt bike in the bed for a pic
And on to bigger and better things. anyways here's some updates!!!!With some of my grad money I decided to buy and alarm for the truck. I'll be going to college soon and don't want anything to be messed with. So after some shopping around I bought one from car toys, and after telling them i'd install it to save some money and piece of mind they were less than helpful
go figure. have yet to have a good experience there... anywho install was very simple and the $ they want to charge for an install is a rip-off. Here's a pic of the main part of the alarm.Also I had been waiting on a package to arrive and it finally came and here's what it was
Figure i'd show some love to the forum
Then I decide to put the carpet back in but first I put the equivalent to peel and seel in i'll put some pics of that soon and put a seat cover on to save my seat
And I wanted to have something for storage, but with the roll bar I couldn't put my delta tool box in. I'd been looking around for a while and was looking around or shop the other day and found a box that my dad had made back in the 80's and had been sitting in the shop after we got rid of my tree fort some years ago. So I cleaned it up, painted, and installed it in the bed. STORAGE
Its holding my electric tire pump, gas, hand cleaner, first aid, and a tool bag
Also I moved the vent up and out of the way of any thing that could get in there
And while I had it out of the shop to clean up a bit I got bored and decided to put my dirt bike in the bed for a pic
 Jun 26, 2012 | 10:45 PM
#23
Thread Starter
Registered User
Joined: Dec 2011
Posts: 150
Likes: 0
From: NW Oregon
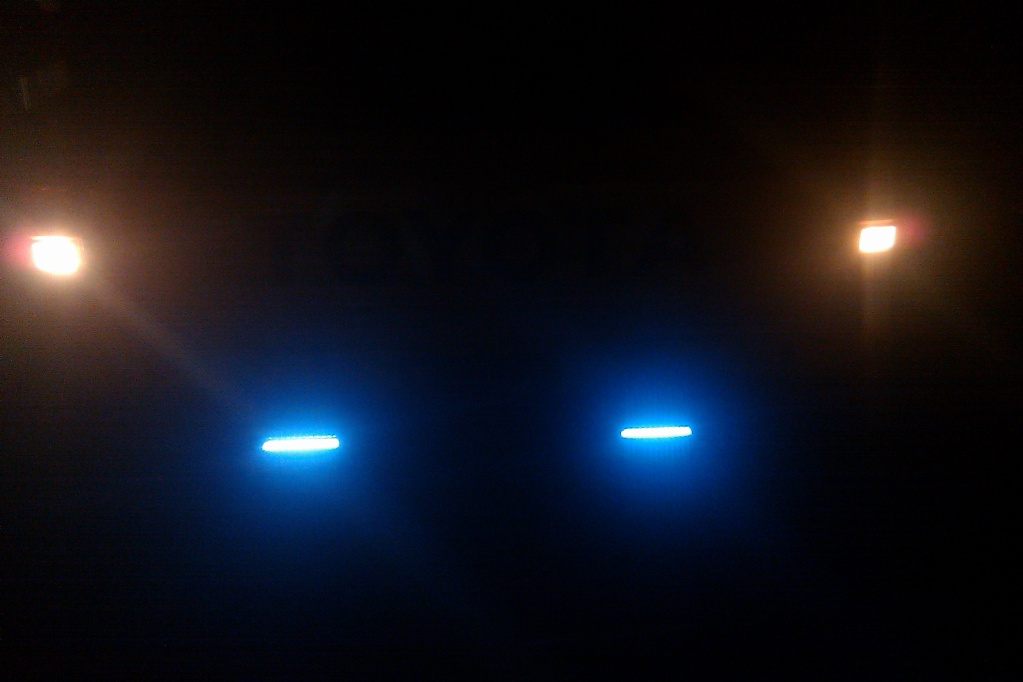
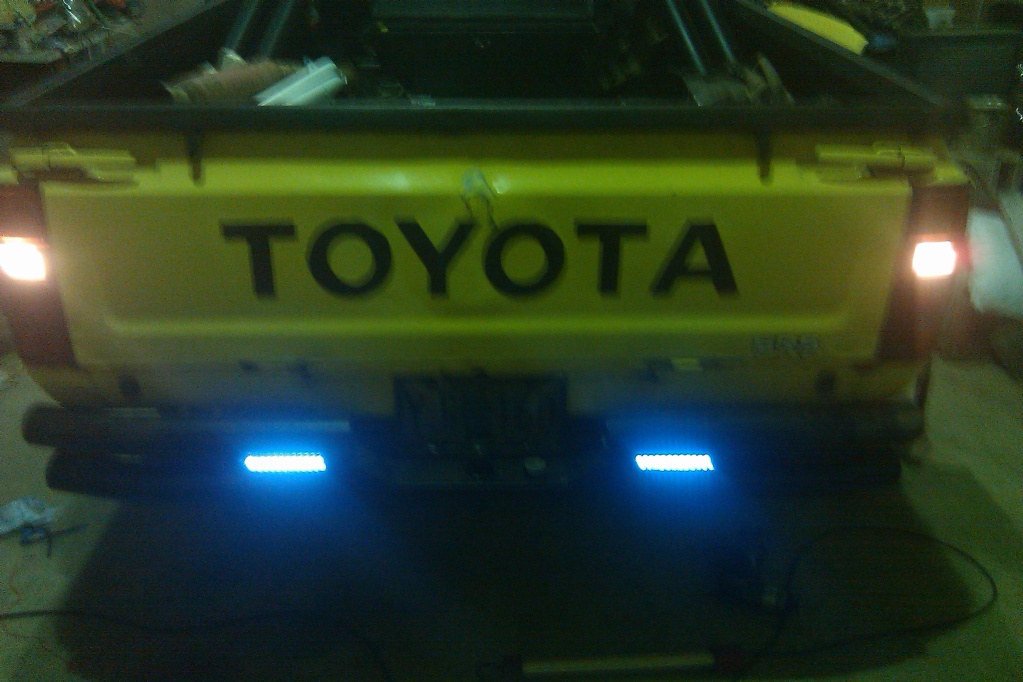
Okay another overdue update... nothing to much has been going on with the truck but some progress is better than none I guess. So here it is. I wanted some better backup lights so I can actually see, so I found some l.e.d. lights at wal-mart for $20, they fit perfect into the space between the bars of the bumper so they don't hang down below the bumper and get tore off while wheeling.
Then I wanted the gauge lights to be brighter, so I took the gauge cluster apart and painted the inside with all the gauges out and circuit board off and was pleased with the outcome, I think they are much brighter than they used to be sorry bout the bad pics haven't found a good way to take a pic in the dark (phone doesn't have flash)
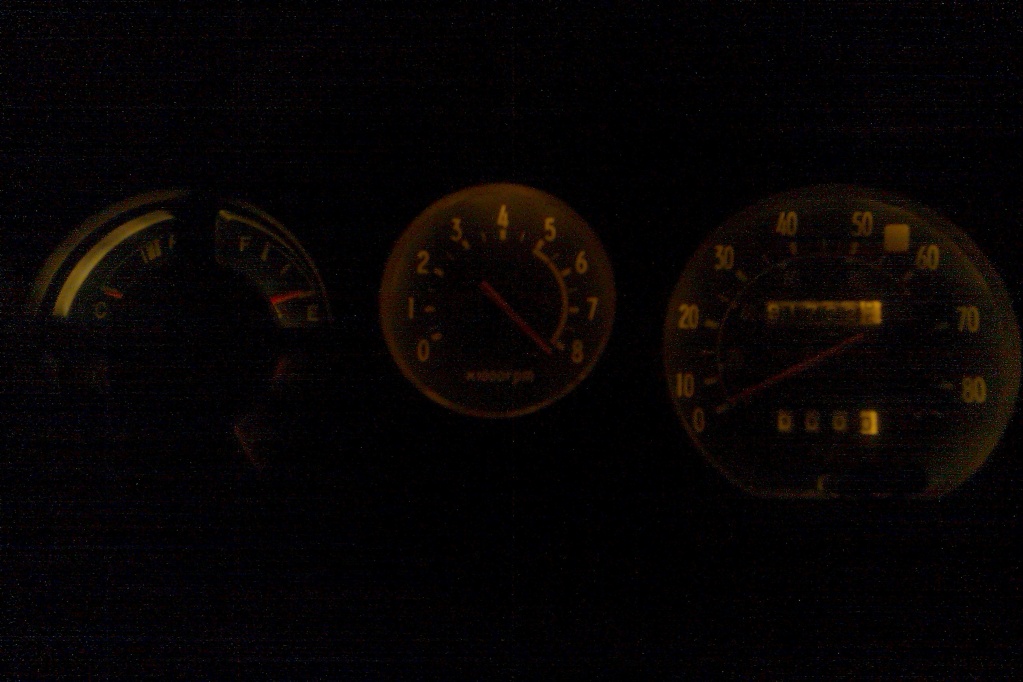
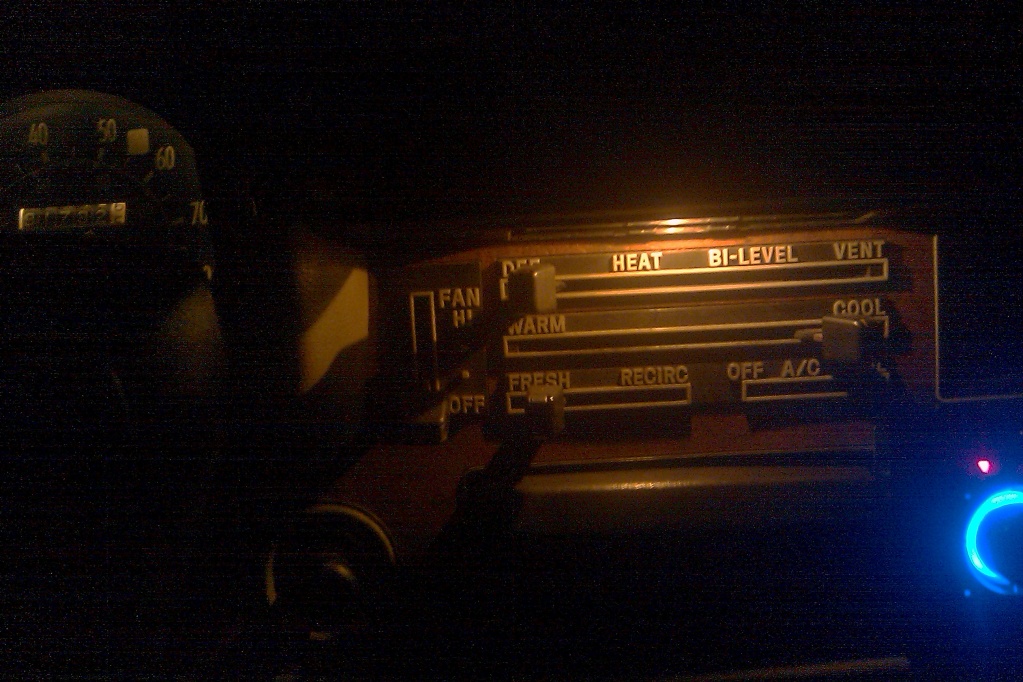
Also don't mind the tach it just goes straight to 8000rpm when I turn the key to the "ON" postion, anyone know what this problem is? Also Ii took off the cover on the heater light housing to make the colors match and make it brighter.
Also I have only personally seen these once before at a wrecking yard and didn't think to take them, so after over 2 years I found another pair of these chrome vent covers
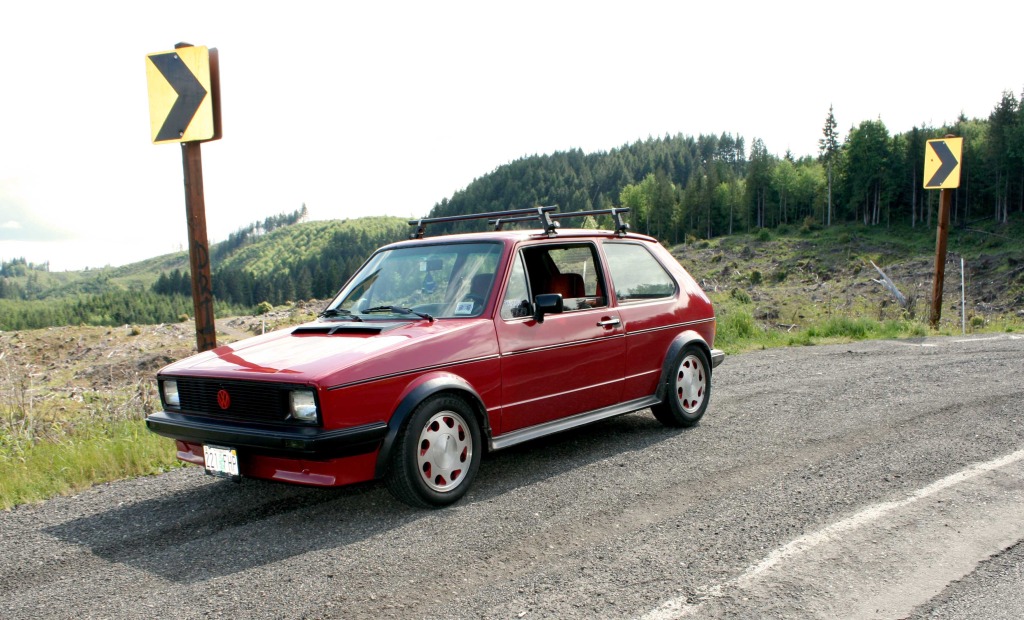
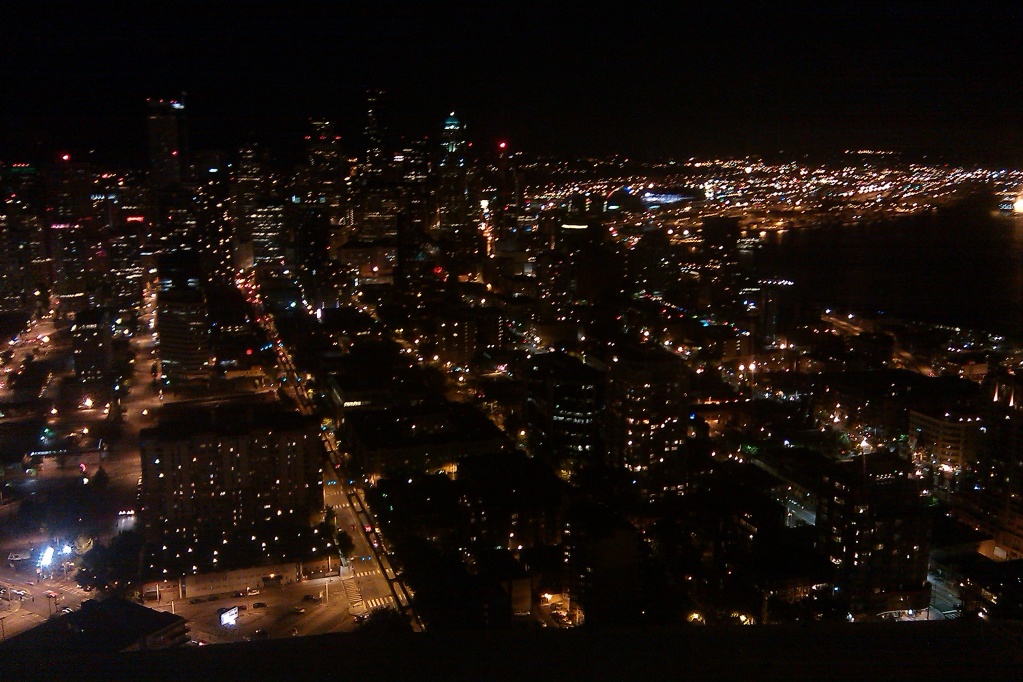
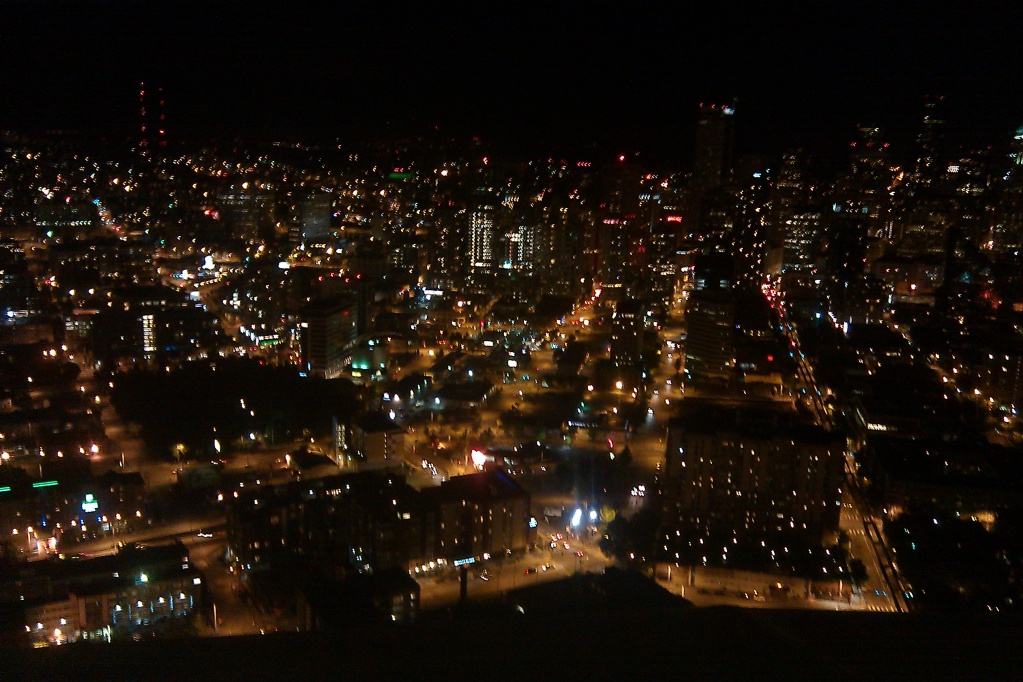
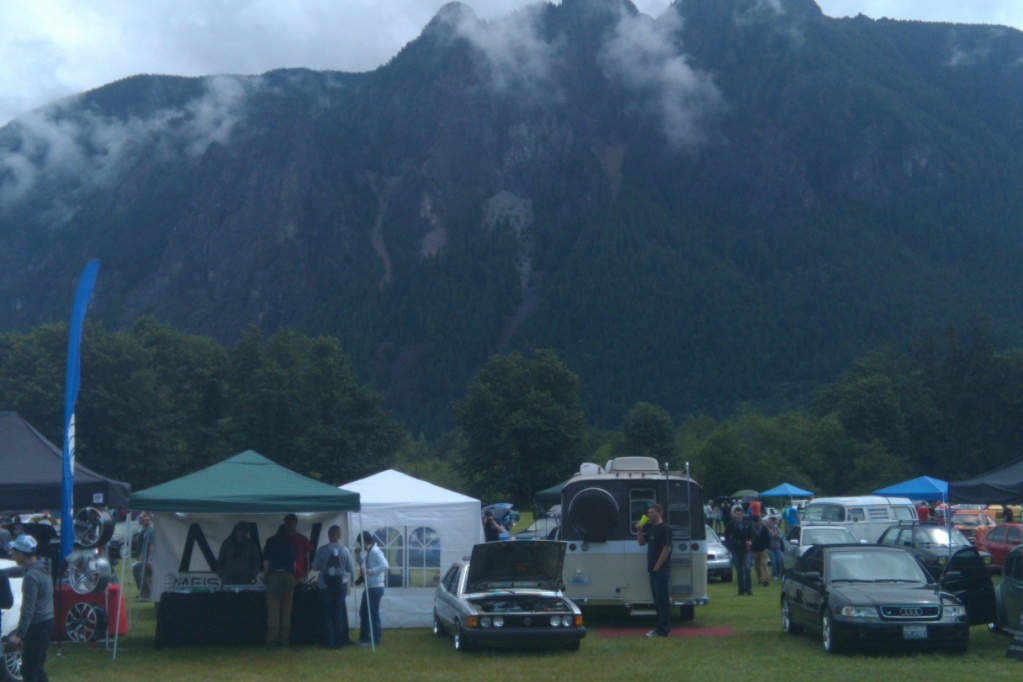
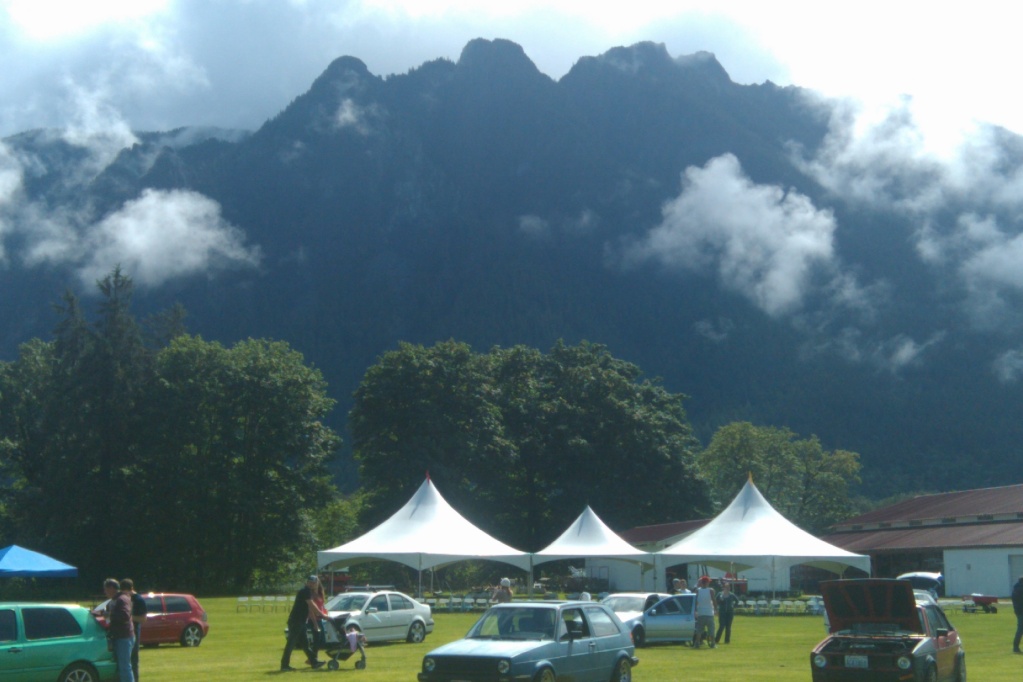
And this isn't really related but me and some friends went to Seattle for a VW show (Waterwerks) my friend has a 1980 Rabbit and put it in the show so we went up and had some fun here's a picture of his rabbit
And some more pics from last weekend
Thanks to everyone who gives positive feed back it really means alot!!!! And look forward to reading all responses! Thanks
Then I wanted the gauge lights to be brighter, so I took the gauge cluster apart and painted the inside with all the gauges out and circuit board off and was pleased with the outcome, I think they are much brighter than they used to be sorry bout the bad pics haven't found a good way to take a pic in the dark (phone doesn't have flash)
Also don't mind the tach it just goes straight to 8000rpm when I turn the key to the "ON" postion, anyone know what this problem is? Also Ii took off the cover on the heater light housing to make the colors match and make it brighter.
Also I have only personally seen these once before at a wrecking yard and didn't think to take them, so after over 2 years I found another pair of these chrome vent covers
And this isn't really related but me and some friends went to Seattle for a VW show (Waterwerks) my friend has a 1980 Rabbit and put it in the show so we went up and had some fun here's a picture of his rabbit
And some more pics from last weekend
Thanks to everyone who gives positive feed back it really means alot!!!! And look forward to reading all responses! Thanks
Jun 29, 2012 | 09:12 AM
#24

Registered User
Joined: Feb 2012
Posts: 118
Likes: 0
From: Boise, ID
Nice lights! What bulbs did you use for the cluster? I was thinking of changing all the cluster/ climate control/ SR5 gauge lights out for LED's.
That's cool you found some chrome side vents, those ones look clean. I had some on my truck but the chrome was peeling, looks much better black now.
Your friends VW is sweet. WA has some pretty cool car meets/ festivals. I really want to drive my car up for Bumbershoot this year
That's cool you found some chrome side vents, those ones look clean. I had some on my truck but the chrome was peeling, looks much better black now.
Your friends VW is sweet. WA has some pretty cool car meets/ festivals. I really want to drive my car up for Bumbershoot this year
Jul 14, 2012 | 05:48 PM
#25
Thread Starter
Registered User
Joined: Dec 2011
Posts: 150
Likes: 0
From: NW Oregon
Nice lights! What bulbs did you use for the cluster? I was thinking of changing all the cluster/ climate control/ SR5 gauge lights out for LED's.
That's cool you found some chrome side vents, those ones look clean. I had some on my truck but the chrome was peeling, looks much better black now.
Your friends VW is sweet. WA has some pretty cool car meets/ festivals. I really want to drive my car up for Bumbershoot this year
That's cool you found some chrome side vents, those ones look clean. I had some on my truck but the chrome was peeling, looks much better black now.
Your friends VW is sweet. WA has some pretty cool car meets/ festivals. I really want to drive my car up for Bumbershoot this year

 Sep 6, 2012 | 01:14 PM
#27
Thread Starter
Registered User
Joined: Dec 2011
Posts: 150
Likes: 0
From: NW Oregon
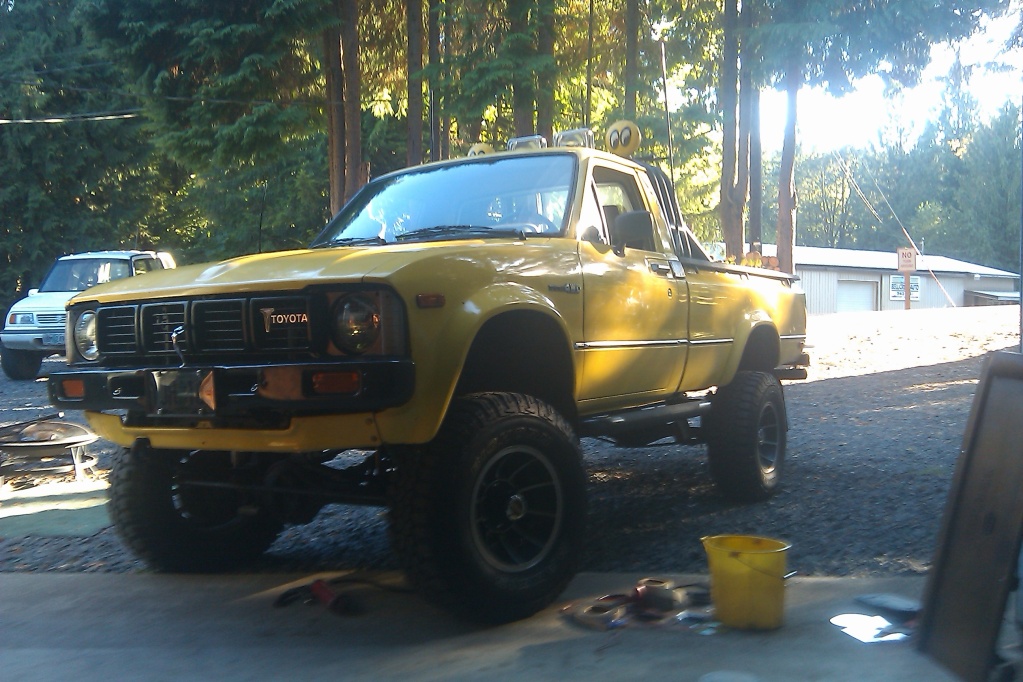
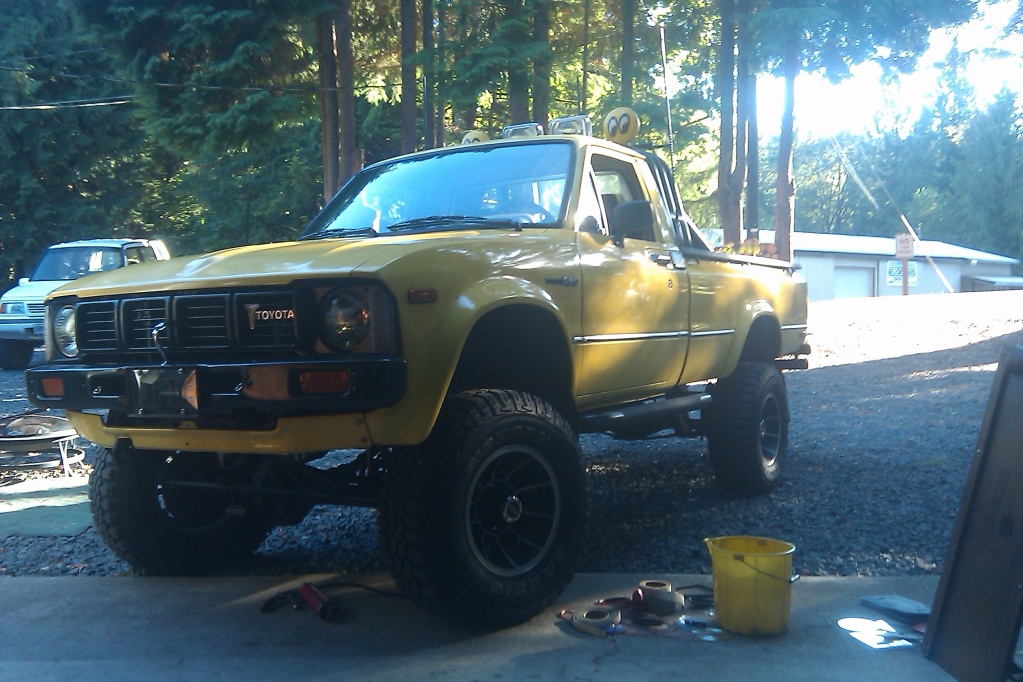
Update
Well after what seemed like forever I finally got the truck up and running, had to track down a water leak, and college so the truck was neglected for a while, but no more!!! Got a temp today so I could get out and drive it. Found so things that need attention right away! The exhaust being the biggest, the PO put on a header and rigged up a exhaust that is only about a 20" piece of pipe and a glasspack 
 so I will be taking it in ASAP to have a good exhaust made up. Also my throttle cable is sticking making it really annoying/embarrassing and kinda dangerous so that'll get fixed. But i'm just happy to be able to drive it
  But I have some more pics all cleaned up.
IMAG0221-1.jpg?t=1346905060
I'll get around to taking more pics soon
so I will be taking it in ASAP to have a good exhaust made up. Also my throttle cable is sticking making it really annoying/embarrassing and kinda dangerous so that'll get fixed. But i'm just happy to be able to drive it But I have some more pics all cleaned up.IMAG0221-1.jpg?t=1346905060
I'll get around to taking more pics soon
Sep 12, 2012 | 01:30 PM
#28
Thread Starter
Registered User
Joined: Dec 2011
Posts: 150
Likes: 0
From: NW Oregon
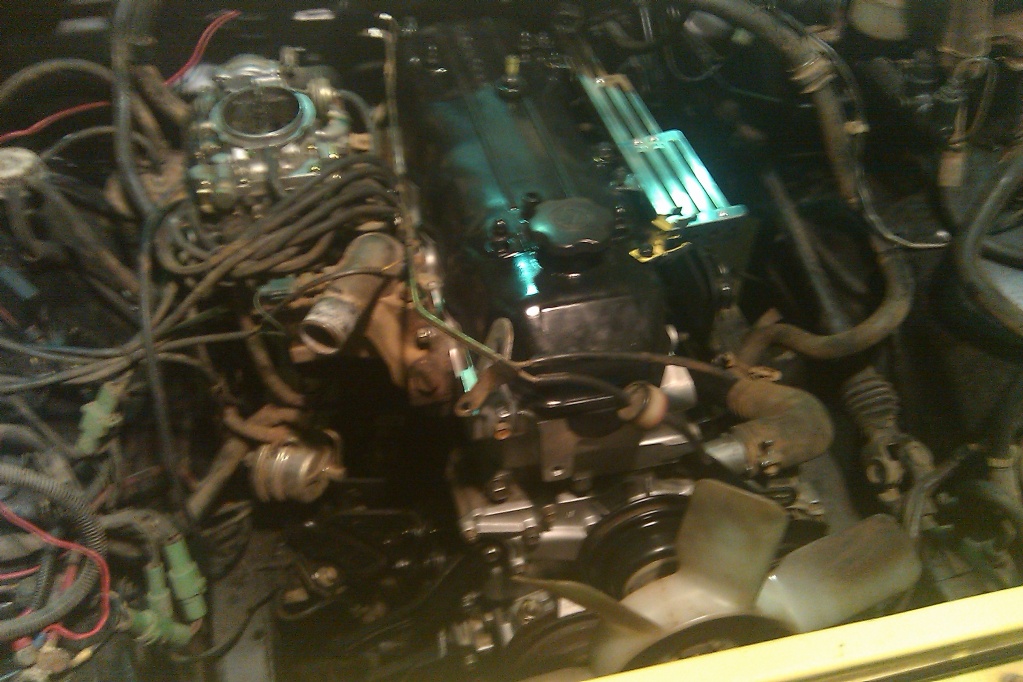
NEW EXHAUST!!! so much better, pace setter header, into a dynomax and all new 2" pipe! All done for $120, by a local guy who does great work and only took 1 1/2 hours to do.
IMAG0223.jpg?t=1347484577
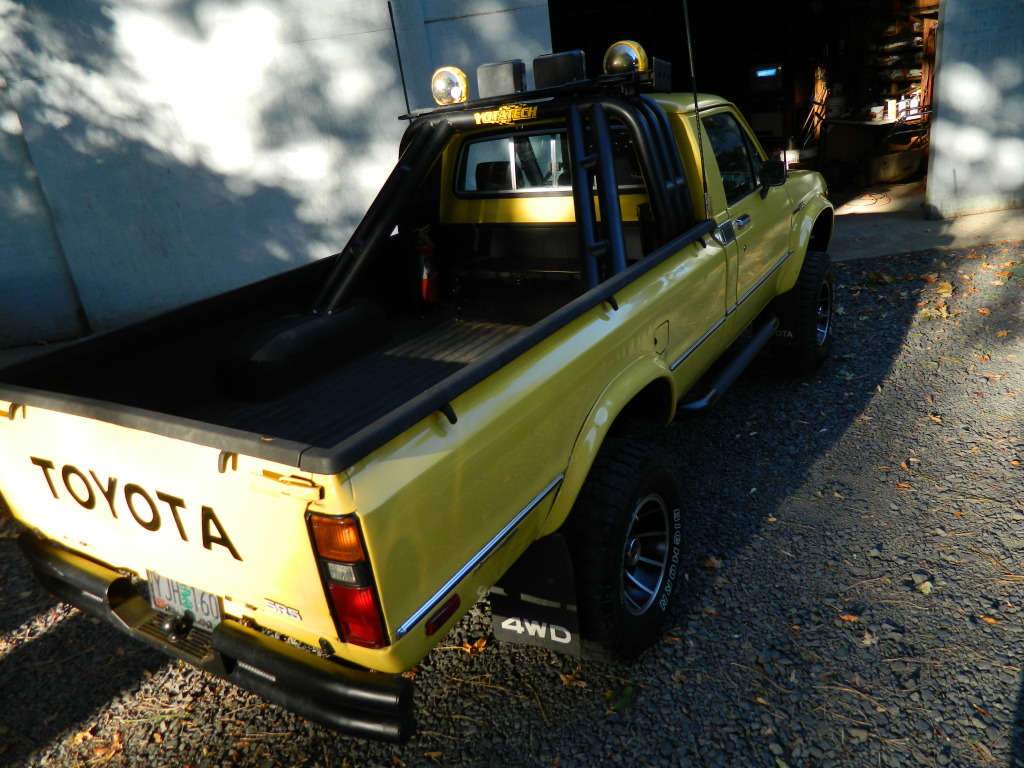
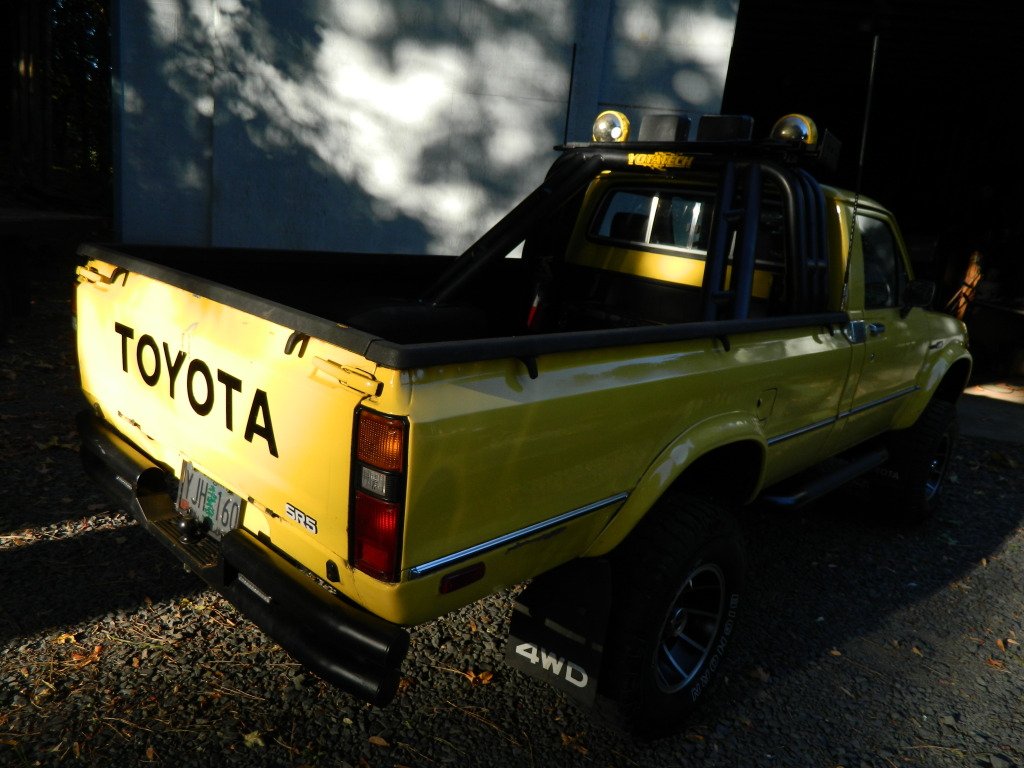
Alot quieter than I thought it was going to be, but i'm okay with that Also finally got to hear how much the peel n seal helped out and it is awesome! Really couldn't be happier Also got around to taking some more pics, haven't had the time to go and wheel it yet so just played around in the driveway...
IMAG0224.jpg?t=1347484550
IMAG0232.jpg?t=1347484164
IMAG0231.jpg?t=1347484206
IMAG0230.jpg?t=1347484284
IMAG0229.jpg?t=1347484344
IMAG0228.jpg?t=1347484376
IMAG0227.jpg?t=1347484435
IMAG0226.jpg?t=1347484474
IMAG0225.jpg?t=1347484509
IMAG0223.jpg?t=1347484577
Alot quieter than I thought it was going to be, but i'm okay with that
Also finally got to hear how much the peel n seal helped out and it is awesome! Really couldn't be happier Also got around to taking some more pics, haven't had the time to go and wheel it yet so just played around in the driveway...IMAG0224.jpg?t=1347484550
IMAG0232.jpg?t=1347484164
IMAG0231.jpg?t=1347484206
IMAG0230.jpg?t=1347484284
IMAG0229.jpg?t=1347484344
IMAG0228.jpg?t=1347484376
IMAG0227.jpg?t=1347484435
IMAG0226.jpg?t=1347484474
IMAG0225.jpg?t=1347484509
Sep 17, 2012 | 10:48 AM
#31
Sweet truck! That new motor looks purdy, too.
As far as your tach issue, it sounds like it's been wired wrong. There should be a cluster of wires coming off the back of your igniter, one is power-in, and one should be signal out to the tach, and somebody somewhere got the two crossed up, hence maximum load is hitting the tach, and pegging the needle.
Hope this helps!
That's actually a shifter light. IIRC, it's in the entire run from 79-83, and might be a carryover from before then. I think the 79s and early 80s had the older climate control cluster that wasn't illumination friendly, so it served double-duty on the older first-gens.
Oct 4, 2012 | 06:13 PM
#32
Thread Starter
Registered User
Joined: Dec 2011
Posts: 150
Likes: 0
From: NW Oregon
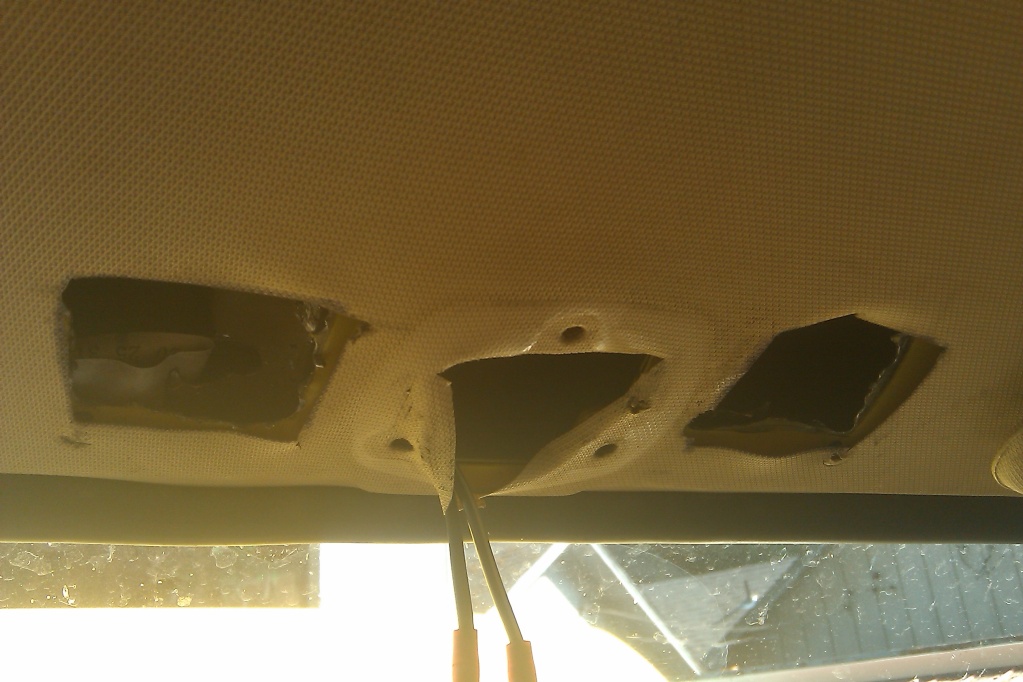
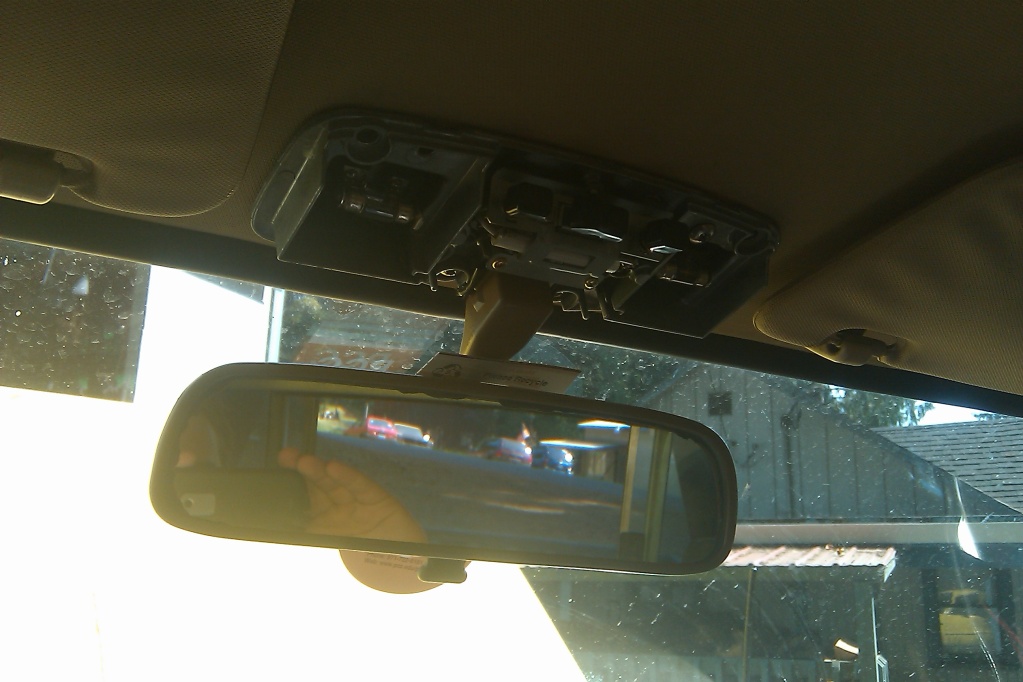
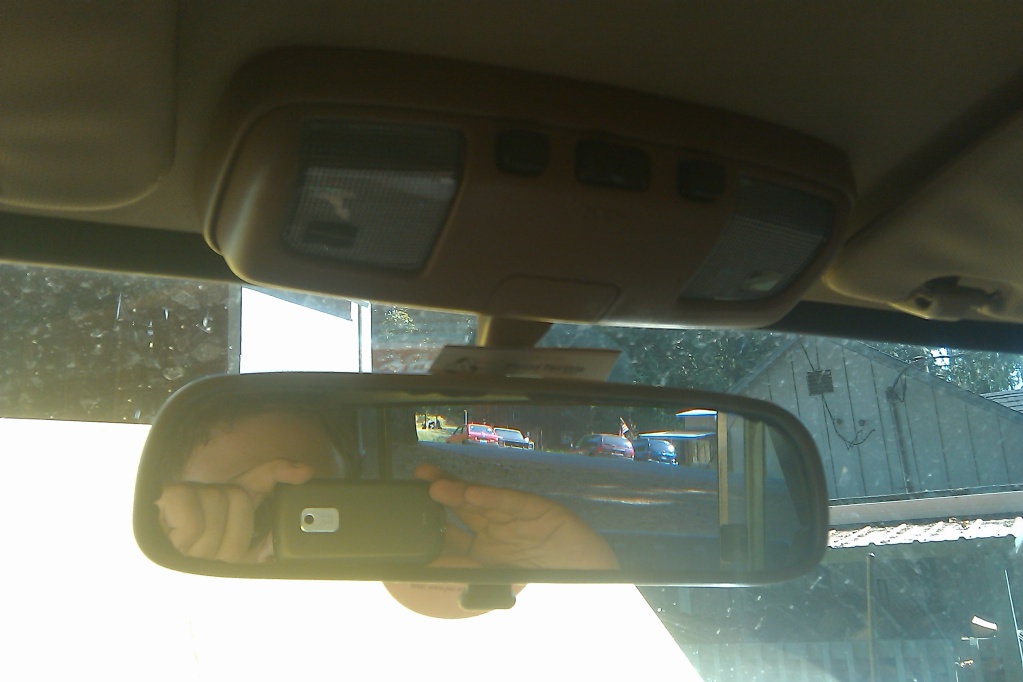
Thanks guys!!! I've been driving the truck for a few weeks now to and from college, and I must say i'm very happy with how it came out. Even though my slave cylinder went out today, easy fix will have it done in no time. I'm thinking when I get some time off I will do some more sound deadening and insulating. But thats later Also I have done something different with my rear view mirror/ dome light set up. And I must say that this is probably my favorite mod that i've done yet!!!  while on vacation in Nevada I came across a 95 4runner SR5 at a wrecking yard and was looking around inside and saw the rear view mirror set up and started thinking
  so I took it out and brought it home. Pulled out the stuff I had already put in, made a template of the back of the mirror and started tearing into it. Cut the headliner, and some metal to make it fit, I was very happy to find that the bottom 2 screws lined right up! wired it in and poof!!! I can see clear as day during the night. I would suggest this to anyone who wants a better dome light!! Couldn't be happier
  Anyway here are some pics of it, i'll try to get some of it lighting the cab soon!
Also I have a BUNCH of random pics all cleaned up

Also I have done something different with my rear view mirror/ dome light set up. And I must say that this is probably my favorite mod that i've done yet!!! while on vacation in Nevada I came across a 95 4runner SR5 at a wrecking yard and was looking around inside and saw the rear view mirror set up and started thinking so I took it out and brought it home. Pulled out the stuff I had already put in, made a template of the back of the mirror and started tearing into it. Cut the headliner, and some metal to make it fit, I was very happy to find that the bottom 2 screws lined right up! wired it in and poof!!! I can see clear as day during the night. I would suggest this to anyone who wants a better dome light!! Couldn't be happier Anyway here are some pics of it, i'll try to get some of it lighting the cab soon!Also I have a BUNCH of random pics all cleaned up
Oct 4, 2012 | 08:10 PM
#33

Registered User
Joined: Nov 2011
Posts: 566
Likes: 1
From: Bellingham, WA


 Oct 5, 2012 | 07:53 AM
#35
Thread Starter
Registered User
Joined: Dec 2011
Posts: 150
Likes: 0
From: NW Oregon
 I must have looked at 20 first gens and 8 months before I bought this one. They are getting beat up out there! lol kind of a shame really... anyway I looked at your runner and that thing is nice! I've always wanted one (someday) haha
 Thanks, I love it, soooooo much better than stock.
Oct 5, 2012 | 09:50 AM
#36
I dd that same dome light mod, too!
Isn't it fantastic? It made night time driving so much less of a PITA!
I didn't want to cut into my cab to seat the buckets though, so I made a spacer for it that I'll eventually turn into a mount for a remote face for a HAM.
Truck is looking fantastic, by the way!
Isn't it fantastic? It made night time driving so much less of a PITA!
I didn't want to cut into my cab to seat the buckets though, so I made a spacer for it that I'll eventually turn into a mount for a remote face for a HAM.
Truck is looking fantastic, by the way!
Oct 5, 2012 | 02:39 PM
#37
Thread Starter
Registered User
Joined: Dec 2011
Posts: 150
Likes: 0
From: NW Oregon
I dd that same dome light mod, too!
Isn't it fantastic? It made night time driving so much less of a PITA!
I didn't want to cut into my cab to seat the buckets though, so I made a spacer for it that I'll eventually turn into a mount for a remote face for a HAM.
Truck is looking fantastic, by the way!
Isn't it fantastic? It made night time driving so much less of a PITA!
I didn't want to cut into my cab to seat the buckets though, so I made a spacer for it that I'll eventually turn into a mount for a remote face for a HAM.
Truck is looking fantastic, by the way!
Oct 5, 2012 | 03:17 PM
#38
Registered User


Joined: Oct 2011
Posts: 2,729
Likes: 344
From: Denver CO
Dang!! Beautiful I love it I enjoyed the light upgrade as well but if you want to make it better get a couple of these
http://www.superbrightleds.com/morei...d-festoon/238/
Huge difference I ordered the soft white the next white up get more blue and not as bright.
Anyway awesome man way to keep it OG.
I enjoyed the light upgrade as well but if you want to make it better get a couple of these http://www.superbrightleds.com/morei...d-festoon/238/
Huge difference I ordered the soft white the next white up get more blue and not as bright.
Anyway awesome man way to keep it OG.
 Oct 6, 2012 | 12:23 PM
#40
Thread Starter
Registered User
Joined: Dec 2011
Posts: 150
Likes: 0
From: NW Oregon
Dang!! Beautiful I love it I enjoyed the light upgrade as well but if you want to make it better get a couple of these
http://www.superbrightleds.com/morei...d-festoon/238/
Huge difference I ordered the soft white the next white up get more blue and not as bright.
Anyway awesome man way to keep it OG.
I enjoyed the light upgrade as well but if you want to make it better get a couple of these http://www.superbrightleds.com/morei...d-festoon/238/
Huge difference I ordered the soft white the next white up get more blue and not as bright.
Anyway awesome man way to keep it OG.
Thank you, glad I could help you get some inspiration to keep working on yours!!
 if you have a build thread for it feel free to post it up, i'd love to see it!
lol no worries man I don't care


