
Pulling out a Differental
 Dec 7, 2010 | 01:31 PM
#1
Thread Starter
Registered User
Joined: Jun 2009
Posts: 197
Likes: 1
From: Phoenix, Arizona
Pulling out a Differental
Last weekend I changed out my differential after my old one was making substantial noise. Luckily Zuk set me up with a rebuilt differential so much thanks to him!
You might have different methods of doing things, but this is just a general guide you can follow and use to get an idea of what you're in for.
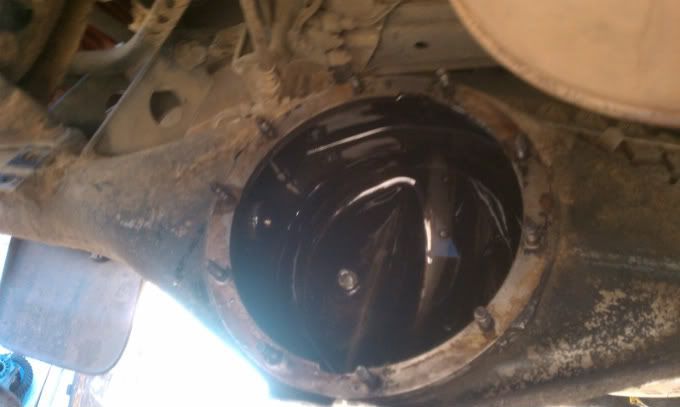
I've done this 3 times now, Toyota Trucks are much easier to do this on compared to a 4runner like the one in the picture.
Pulling a Differential
Estimated time: 3 hours.
Tools needed:
Step 2: Drain rear differential by removing the bolt at the bottom using a socket and a Breaker bar.
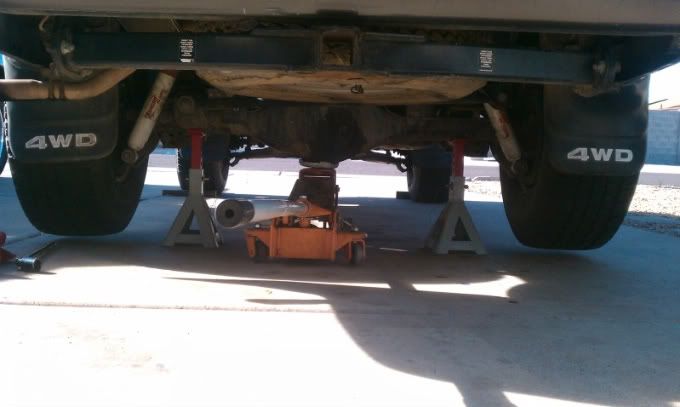
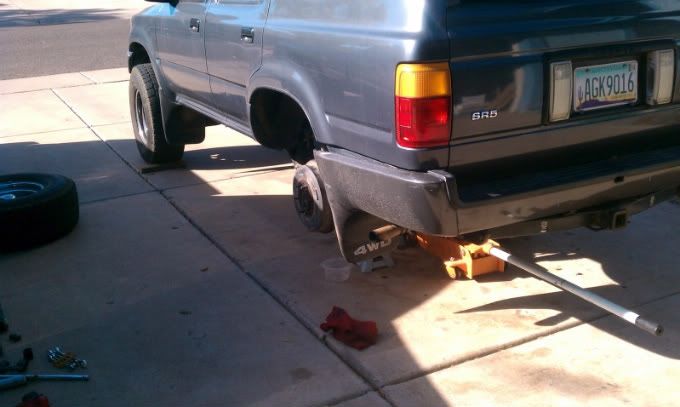
Step 3: Jack up the rear of the car. Place jack stands underneath the rear axle and allow the truck to rest on them. I also like to keep the jack under there for extra insurance.
Step 4: Remove the rear wheels.
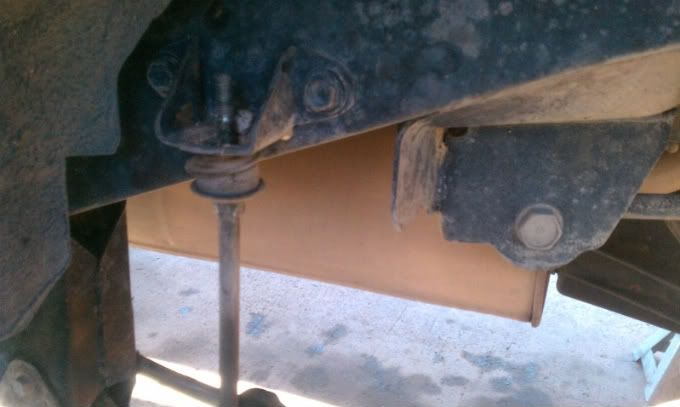
Step 5: Disconnect the Rear Sway Bar on a Toyota 4runner. Disconnect from the frame, and the rear end and proceed to use zip ties to hold it up out of the way. If you do not do this, the sway bar will block you from pulling the differential out.
Step 6: Disconnect the parking break braces on the frame, to give you more flexibility in the lines.
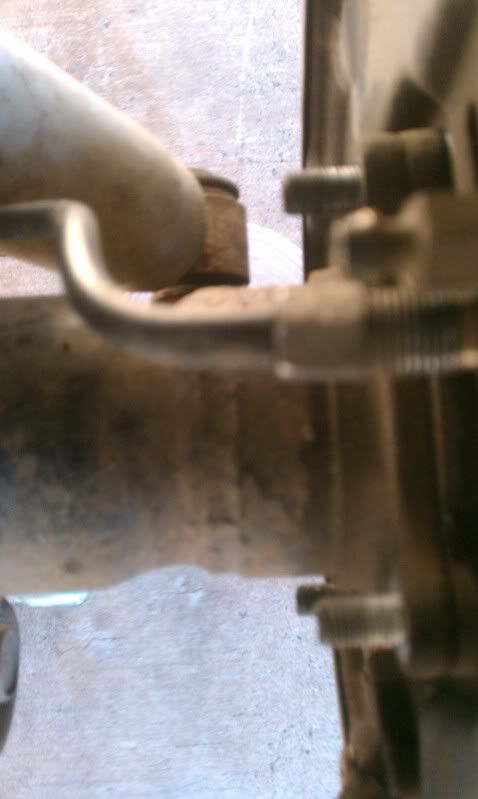
Step 7: Remove the rear brake lines and allow them to drain into a bucket below.
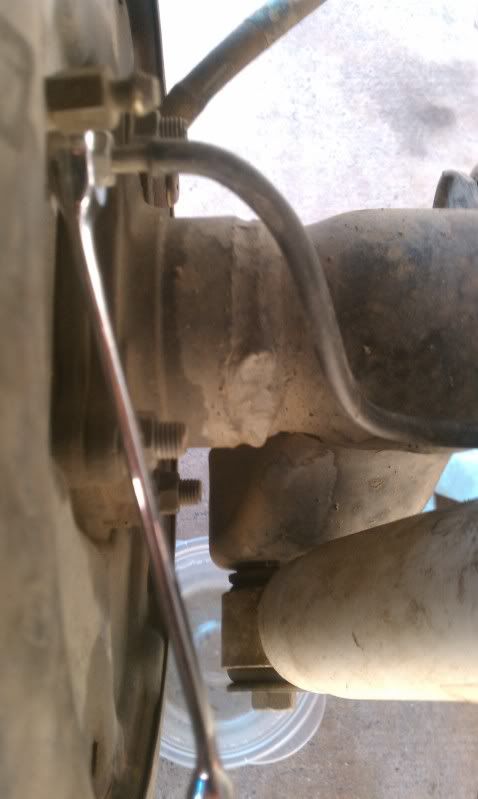
Step 8: Remove the nuts holding the axles to the rear end. These were extremely tight and i could only fit a wrench in there. I placed another wrench over the 14mm wrench in order to gain leverage and loosen these.
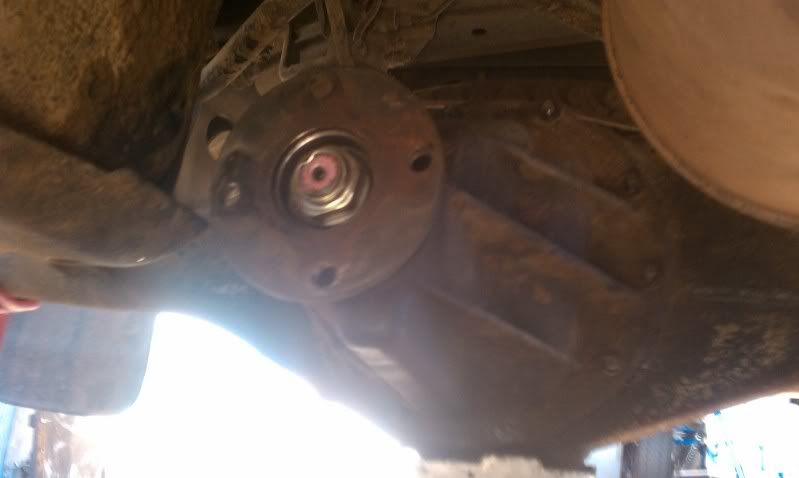
Step 9: Pull Axles out. I've done this 3 times, and have always let the axle rest while it was out. I have heard that this will ruin the seal but have yet to see it happen. Just make sure you pull it out enough so that the axles are out of the differential. If you don't, the differential will be locked in place.
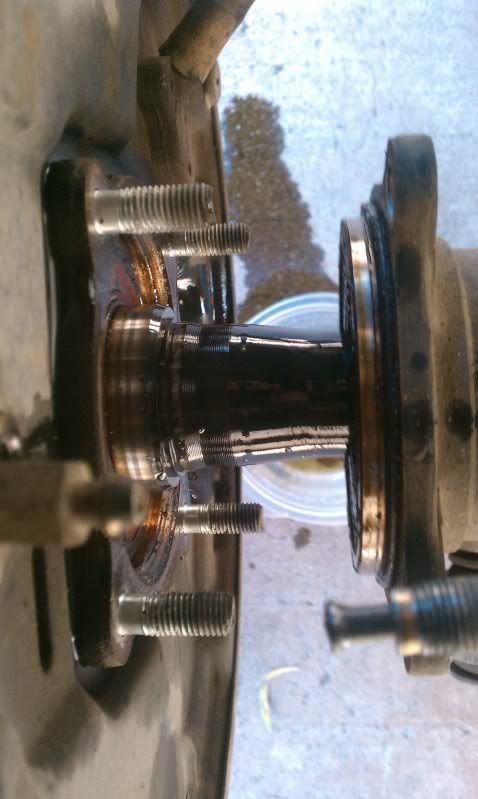
Step 10: Disconnect the rear drive shaft from the differential. Do not let the drive shaft slip out of the splines. If you do then you will have to get it rebalanced.
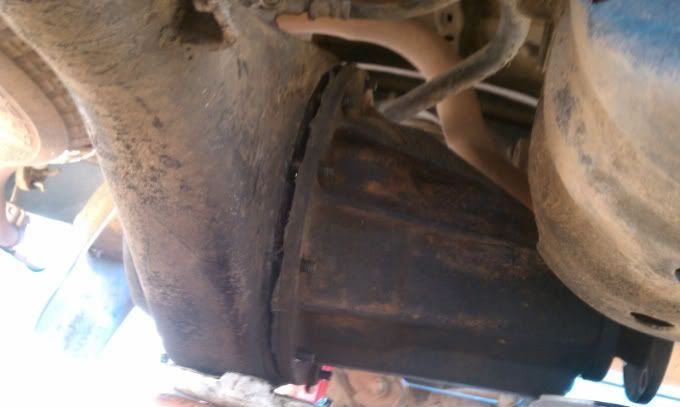
Step 11: Remove all the bolts holding on the differential.
Step 12: Remove the differential. The sealant will sometimes keep the differential stuck. So you might have to wobble it around. If the differential is stuck, then you probably still have an axle inserted so be sure they're out. Be extremely careful when pulling the differential out, it's extremely heavy. I used a jack to help support the differential then lowered the jack.
From here you can do what you need to do with the differential out. Replace it, fix the seal etc.
I did not get any pictures of putting it back in, because I had to work quick with the Sealant. I use the Toyota stuff and it's phenomenal.
Step 13: Clean the surface of the differential, you may need to scrape off the old sealant, and use carb cleaner to make sure it's clean.
Step 14: Place Sealant on both sides, on the differential, and on the rear end housing.
Step 15: Place the differential back in and tighten it down so that all sides are even. I have heard of people letting the sealant set some before tightening it down. But I've had good luck tightening it down right away.
Step 16: Reconnect the drive Shaft, and use lock tight on all the bolts. Believe me you do not want a drive shaft to let go and go through your gas tank.
After this proceed to work backwards on the list to put it back together. I hope this helps someone out there! Can't thank everyone enough for all the help and advice I get on here!
You might have different methods of doing things, but this is just a general guide you can follow and use to get an idea of what you're in for.
I've done this 3 times now, Toyota Trucks are much easier to do this on compared to a 4runner like the one in the picture.
Pulling a Differential
Estimated time: 3 hours.
Tools needed:
- Jack
- Jack Stands
- Wheel Cocks
- 10, 12, 14mm Wrenches and Sockets
- Toyota RTG Sealant
- Zip Ties
- Carb Cleaner
- Big Muscles to lift that Differential!
Step 2: Drain rear differential by removing the bolt at the bottom using a socket and a Breaker bar.
Step 3: Jack up the rear of the car. Place jack stands underneath the rear axle and allow the truck to rest on them. I also like to keep the jack under there for extra insurance.
Step 4: Remove the rear wheels.
Step 5: Disconnect the Rear Sway Bar on a Toyota 4runner. Disconnect from the frame, and the rear end and proceed to use zip ties to hold it up out of the way. If you do not do this, the sway bar will block you from pulling the differential out.
Step 6: Disconnect the parking break braces on the frame, to give you more flexibility in the lines.
Step 7: Remove the rear brake lines and allow them to drain into a bucket below.
Step 8: Remove the nuts holding the axles to the rear end. These were extremely tight and i could only fit a wrench in there. I placed another wrench over the 14mm wrench in order to gain leverage and loosen these.
Step 9: Pull Axles out. I've done this 3 times, and have always let the axle rest while it was out. I have heard that this will ruin the seal but have yet to see it happen. Just make sure you pull it out enough so that the axles are out of the differential. If you don't, the differential will be locked in place.
Step 10: Disconnect the rear drive shaft from the differential. Do not let the drive shaft slip out of the splines. If you do then you will have to get it rebalanced.
Step 11: Remove all the bolts holding on the differential.
Step 12: Remove the differential. The sealant will sometimes keep the differential stuck. So you might have to wobble it around. If the differential is stuck, then you probably still have an axle inserted so be sure they're out. Be extremely careful when pulling the differential out, it's extremely heavy. I used a jack to help support the differential then lowered the jack.
From here you can do what you need to do with the differential out. Replace it, fix the seal etc.
I did not get any pictures of putting it back in, because I had to work quick with the Sealant. I use the Toyota stuff and it's phenomenal.
Step 13: Clean the surface of the differential, you may need to scrape off the old sealant, and use carb cleaner to make sure it's clean.
Step 14: Place Sealant on both sides, on the differential, and on the rear end housing.
Step 15: Place the differential back in and tighten it down so that all sides are even. I have heard of people letting the sealant set some before tightening it down. But I've had good luck tightening it down right away.
Step 16: Reconnect the drive Shaft, and use lock tight on all the bolts. Believe me you do not want a drive shaft to let go and go through your gas tank.
After this proceed to work backwards on the list to put it back together. I hope this helps someone out there! Can't thank everyone enough for all the help and advice I get on here!
Dec 7, 2010 | 02:07 PM
#2
pretty good write up. I only addition I would have is that you pull the axle assembly all the way out and not allow it to rest on the seal.
I have ended up with a leaky wheelbearing seal down the road.
I have ended up with a leaky wheelbearing seal down the road.

Thread
Thread Starter
Forum
Replies
Last Post
Blamalam
86-95 Trucks & 4Runners
22
Mar 12, 2022 07:34 AM
Poncho0206
95.5-2004 Tacomas & 96-2002 4Runners
3
Jul 10, 2015 06:21 PM


