

Flame thrower install and long over due review W/pics
 Jan 21, 2015 | 09:10 AM
#1

Thread Starter
Registered User
iTrader: (1)
Joined: Dec 2011
Posts: 2,179
Likes: 62
From: sammamish, wa.
Edit I have to fix the pics. (Fixed now)
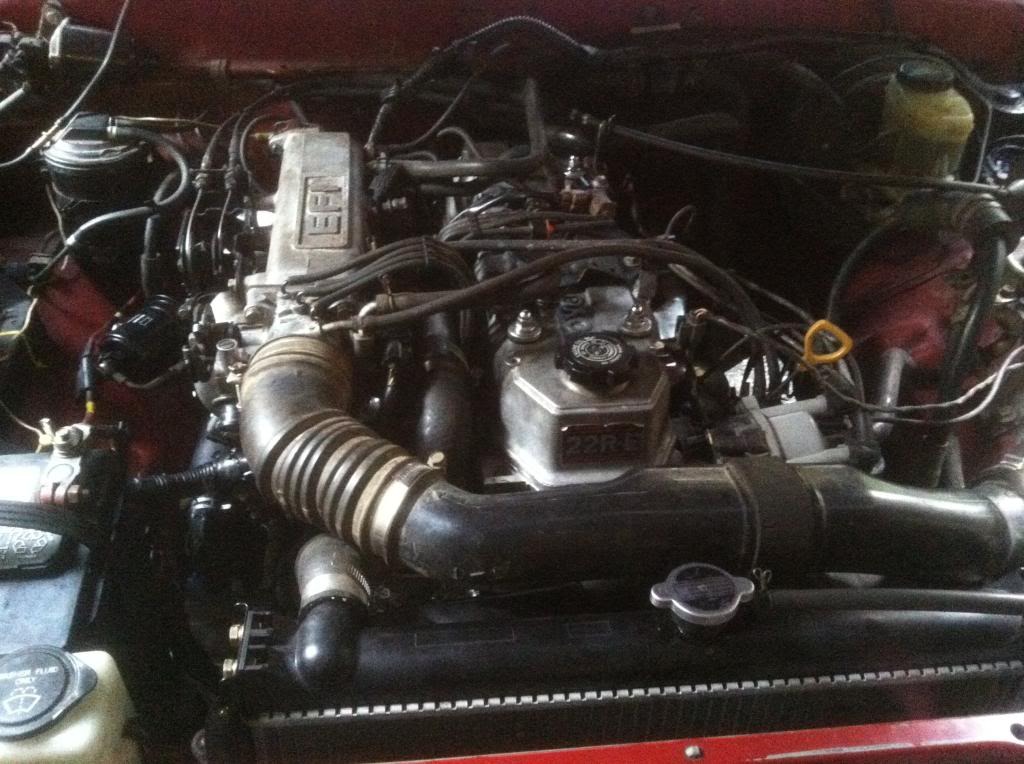
Ok install is below but long over due review first. So after driving with the new injectors for a year and a half I have to say they are a big improvement. Much cleaner power in the bitten end and a better idle just off the batt. So when I first installed the I had a bad tps and had just cleaned my throttle body and upper and lower intake out. It was a night and day difference. I also added a NWOR header and Supra AFM to the mix. I then finally replaced my TPS with a new Denso and it came alive. This truck just he am fun to drive again. Plenty of power even with heavy Toyo MT's and my buddy in the passenger seat. He said he noticed a difference just as a passenger. But not sure if it was just the injectors or a combination of everything. We'll I got to find out as I'm getting ready to sell my truck and am swapping stock parts back on. First I pulled the header and went back to the stock exhaust manifold with 2 1/4 cat back exhaust. Didn't sound as good but still had plenty of bitten end. Then swapped the Supra intake back to the stock one. I did notice a bit of power drop off but still feels peppier than any other 22re I have owned or driven. So now I have been driving it for a few months like this with just the injectors and have to say its a noticeable improvement. Getting low 20's for milage if I drive it sensibly and and grab gears and get up to speed on the steep hills around here. And that is just from low end power. Now I'm not saying it's a fire breathing monster. But what I am saying is I liked the upgrade so much I asked flame thrower if I could swap these in to the 85 runner I am getting today. Sadly no. But he gave me a price on new injectors for that one and will be getting a set in the near future. It's just hard to argue with mods that give you increased performance and milage. That's getting your cake and eating it too. And they say that can't happen. Thanks flame thrower Install: So Monday around noon I started my new Flame Thrower injector install. Yep I got lucky enough to get to try out some of his new injectors. They showed up Friday evening nicely packaged. I was going camping Saturday night so I would have to wait. So Monday comes around and I get my errands done in the morning and start my tear down. Old 2 hole injectors. Big ugly holes.
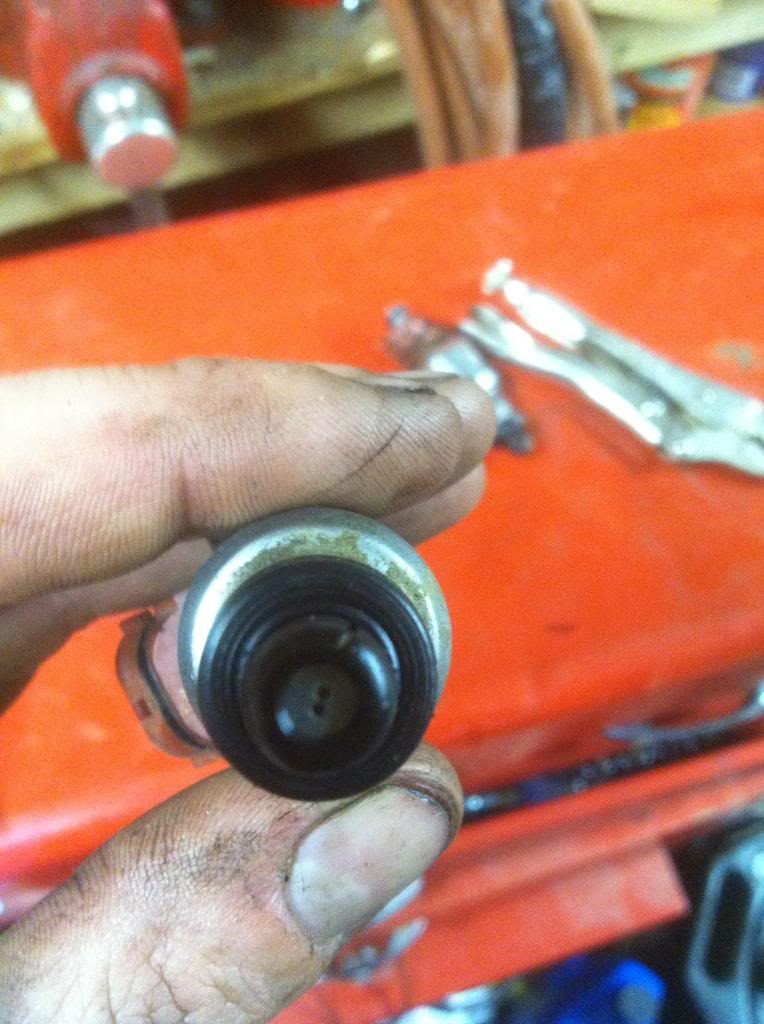
New 4 hole injectors.
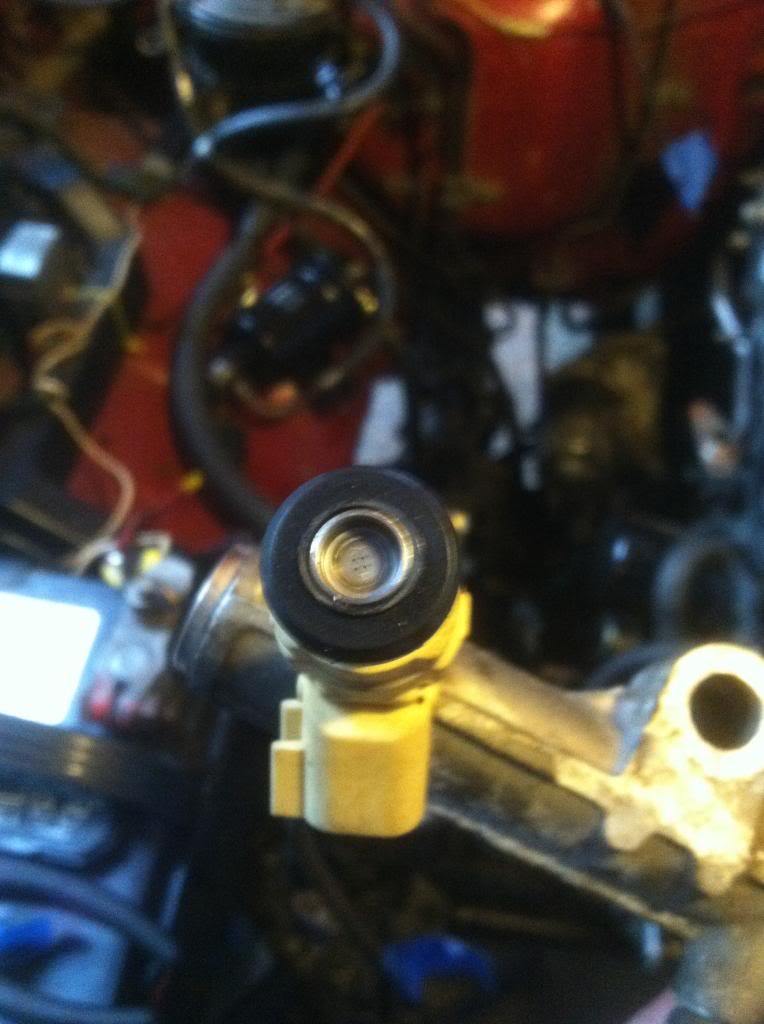
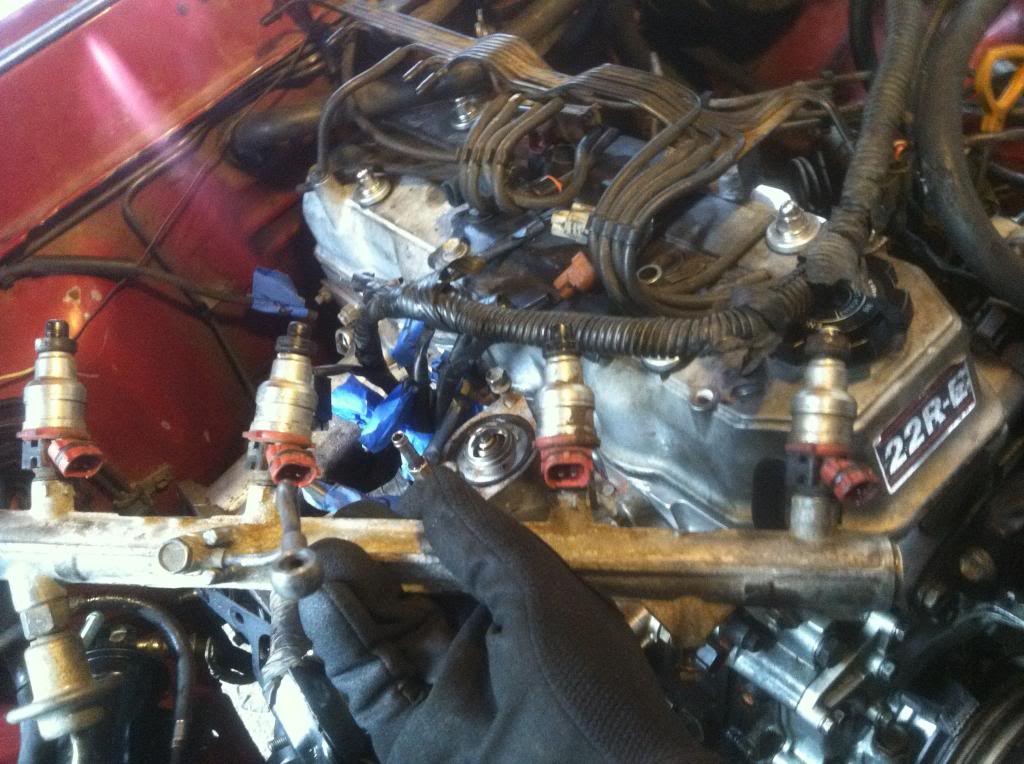
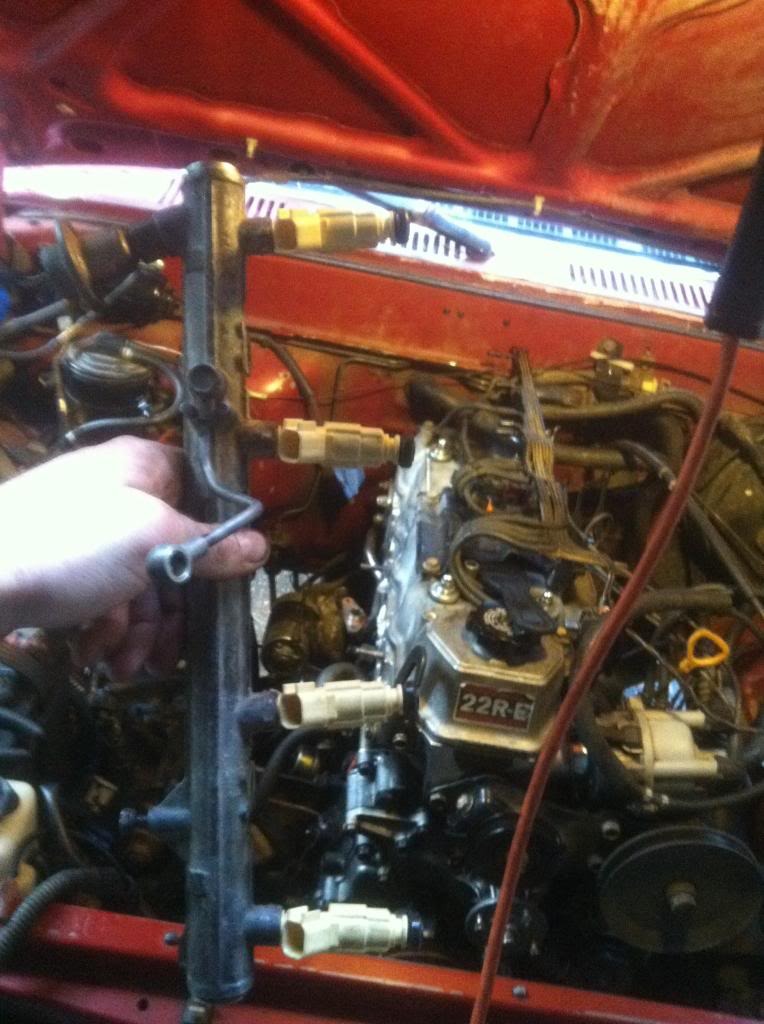
Wow liquid would be hard pressed to get through there looks like just vapor can pass Sorry for the crappy pic Disconnected the negative battery cable. Pulled the air intake, drained and pulled the radiator & thermostat. I pulled the fan as well just for ease of working because when i looked inside the throttle body it looked like tar it was time for a cleaning while I'm in there Pulled throttle cable, marked and disconnected vacuum hoses and such. Take pictures as you go unless you really know your way around those vacuum lines. OK to R&R the injectors I believe you only have to pull the plenum off but I am cleaning so went deeper. I always bag and label my parts I remove and keep them in groups. You may have your on way this just works for me. Take lots of pictures as you go. They will help if you have questions during reassembly. Unbolt your EGR if equipped pull the 9 bolts holding on your plenum (noting where those wires are grounded and remembering to put them back there). It should be free to lift up off. I might have missed something so correct my if I'm wrong. With the plenum off the fuel rail is exposed and you can see your 4 tired injectors. Unhook and label your injector wires. Be careful these are 20+ year old wires. Remove the banjo bolt, 19mm i think, from the fuel rail (caution if your fuel system is still pressurized this will spray a bit of fuel. So I would at least wear safety glasses and probably try to shield/catch it with a towel. After that bolt is removed there is a small 10mm bolt securing the supply line to the rail pull this and get the line out of the way. Now you can get to the 2 12mm bolts holding down the fuel rail. Once those are out The fuel rail is just resting on 2 sleeves and your injectors. Gently lift and pull the fuel rail off. You injectors should come with it (mine did at least). Be careful once you pull it loose your injectors are ow just pressure fit in the fuel rail held in by 20 year old rubber.
Old rubber
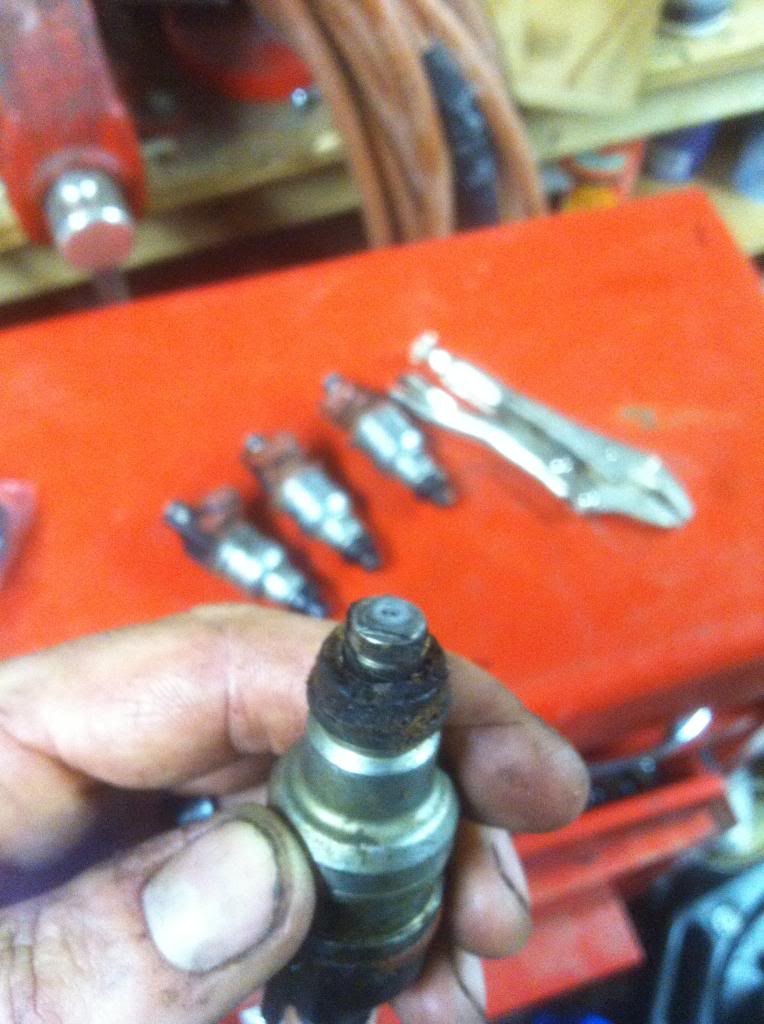
Now get over a work bench or something and slowly and gently twist back and fourth the old injectors and pull them out. Once all 4 were out I put a little dab of fuel in the o rings for lube and carefully inserted them in to the fuel rail. Go straight in and twist back&fourth to get the new ones in. Don't force it. If it doesn't twist when there in you probably buggered an o ring an need to pull it back out. At least that's what every thing I read said. These injectors went in like butter snug secure might have something to do with the double o ring unlike Toyotas single o ring. Just like new
Anyways I had a bad rubber o ring on my old #1 injector so there was some cleaning that needed to be done there before i put my new injectors in. After I got that cleaned up I reattached my intake manifold. Then carefully lined up my injectors, now mounted in the fuel rail, to their appropriate location and wiggled them in till the fuel rail sat in the sleeves. All my injectors turn smoothly (last real chance to check). Reinstalled the 2 12mm bolts holding the fuel rail down and torqued to 14 foot pounds I think. Installed the 10mm securing bolt for the fuel supply line and put the banjo bolt back in the supply line to fuel rail connection.
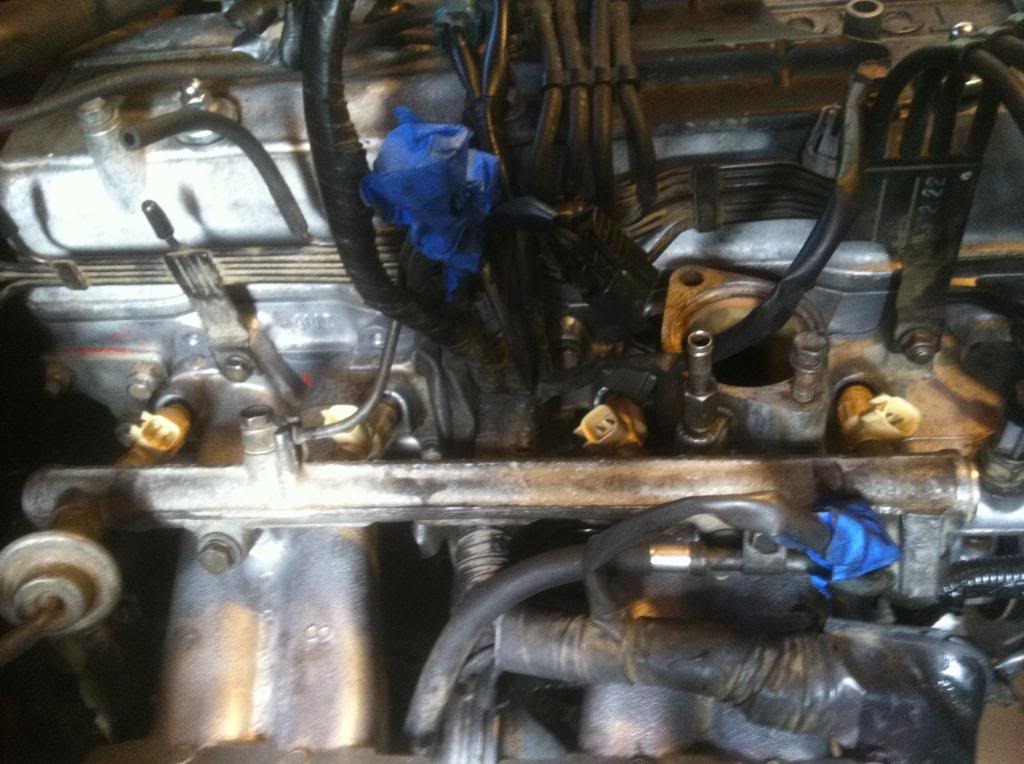
Make sure you hook up your adapter wires to your injectors.
Now connect them to your existing injector plugs that you labeled so you wouldn't get the in the wrong order. You did remember to do that right?:-)
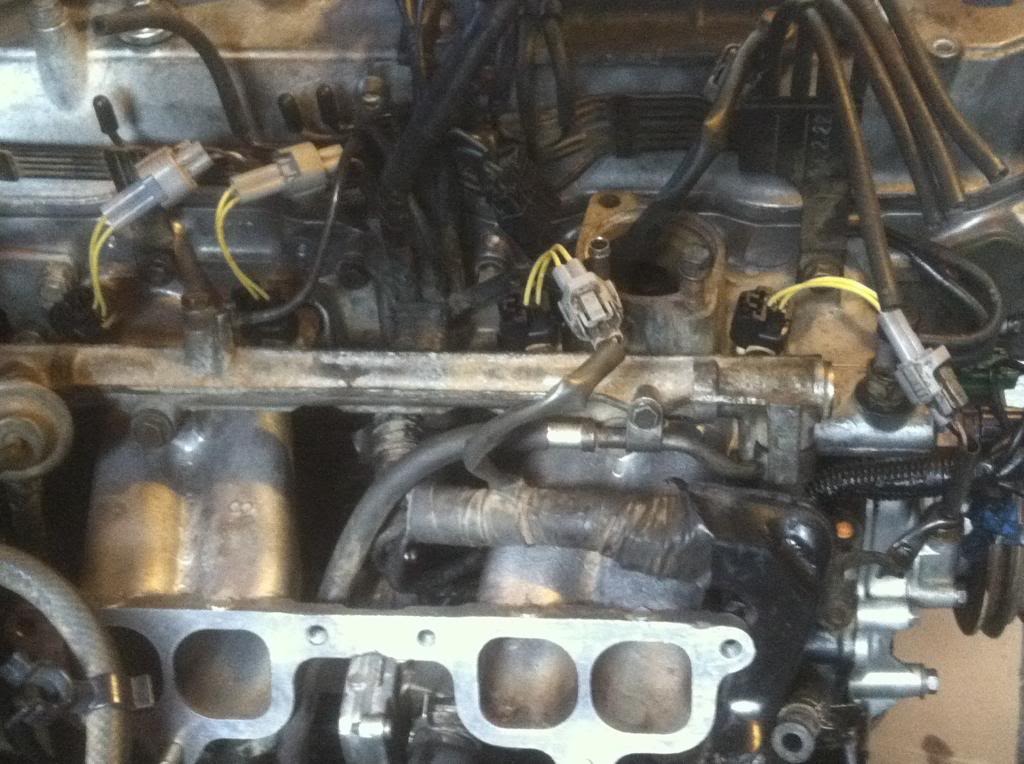
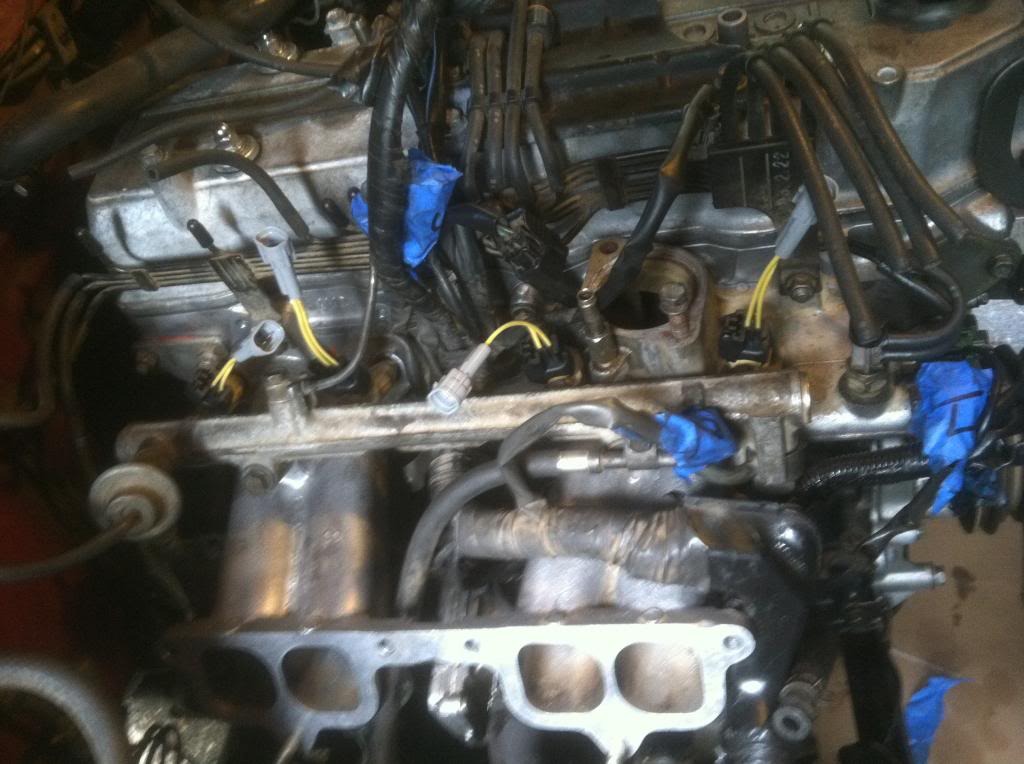
Using a fresh gasket reinstall the plenum and EGR (if equipped). Being careful not to forget those grounded wires and the one bolt underneath securing the plenum to the bracing bar that connects to your block. Properly torque the bolts back down. Reinstall your vacuum hoses. Aren't you glad you took pictures? Install and reconnect and fill the radiator. Check to make sure you haven't forgotten any hoses or plugs. Connect the negative battery cable. Should be ready to start up.
I have to wait for tomorrow because I want to make sure any RTV I used is totally cured I had to use some on the coolant pipe that bolts in to the lower manifold. The PO snapped off a bolt so it has been held on by 1 bolt and some red RTV ever since. I will update it with pictures and my initial start up tomorrow Good night.
Ok install is below but long over due review first. So after driving with the new injectors for a year and a half I have to say they are a big improvement. Much cleaner power in the bitten end and a better idle just off the batt. So when I first installed the I had a bad tps and had just cleaned my throttle body and upper and lower intake out. It was a night and day difference. I also added a NWOR header and Supra AFM to the mix. I then finally replaced my TPS with a new Denso and it came alive. This truck just he am fun to drive again. Plenty of power even with heavy Toyo MT's and my buddy in the passenger seat. He said he noticed a difference just as a passenger. But not sure if it was just the injectors or a combination of everything. We'll I got to find out as I'm getting ready to sell my truck and am swapping stock parts back on. First I pulled the header and went back to the stock exhaust manifold with 2 1/4 cat back exhaust. Didn't sound as good but still had plenty of bitten end. Then swapped the Supra intake back to the stock one. I did notice a bit of power drop off but still feels peppier than any other 22re I have owned or driven. So now I have been driving it for a few months like this with just the injectors and have to say its a noticeable improvement. Getting low 20's for milage if I drive it sensibly and and grab gears and get up to speed on the steep hills around here. And that is just from low end power. Now I'm not saying it's a fire breathing monster. But what I am saying is I liked the upgrade so much I asked flame thrower if I could swap these in to the 85 runner I am getting today. Sadly no. But he gave me a price on new injectors for that one and will be getting a set in the near future. It's just hard to argue with mods that give you increased performance and milage. That's getting your cake and eating it too. And they say that can't happen. Thanks flame thrower Install: So Monday around noon I started my new Flame Thrower injector install. Yep I got lucky enough to get to try out some of his new injectors. They showed up Friday evening nicely packaged. I was going camping Saturday night so I would have to wait. So Monday comes around and I get my errands done in the morning and start my tear down. Old 2 hole injectors. Big ugly holes.

New 4 hole injectors.

Wow liquid would be hard pressed to get through there looks like just vapor can pass Sorry for the crappy pic Disconnected the negative battery cable. Pulled the air intake, drained and pulled the radiator & thermostat. I pulled the fan as well just for ease of working because when i looked inside the throttle body it looked like tar it was time for a cleaning while I'm in there Pulled throttle cable, marked and disconnected vacuum hoses and such. Take pictures as you go unless you really know your way around those vacuum lines. OK to R&R the injectors I believe you only have to pull the plenum off but I am cleaning so went deeper. I always bag and label my parts I remove and keep them in groups. You may have your on way this just works for me. Take lots of pictures as you go. They will help if you have questions during reassembly. Unbolt your EGR if equipped pull the 9 bolts holding on your plenum (noting where those wires are grounded and remembering to put them back there). It should be free to lift up off. I might have missed something so correct my if I'm wrong. With the plenum off the fuel rail is exposed and you can see your 4 tired injectors. Unhook and label your injector wires. Be careful these are 20+ year old wires. Remove the banjo bolt, 19mm i think, from the fuel rail (caution if your fuel system is still pressurized this will spray a bit of fuel. So I would at least wear safety glasses and probably try to shield/catch it with a towel. After that bolt is removed there is a small 10mm bolt securing the supply line to the rail pull this and get the line out of the way. Now you can get to the 2 12mm bolts holding down the fuel rail. Once those are out The fuel rail is just resting on 2 sleeves and your injectors. Gently lift and pull the fuel rail off. You injectors should come with it (mine did at least). Be careful once you pull it loose your injectors are ow just pressure fit in the fuel rail held in by 20 year old rubber.

Old rubber

Now get over a work bench or something and slowly and gently twist back and fourth the old injectors and pull them out. Once all 4 were out I put a little dab of fuel in the o rings for lube and carefully inserted them in to the fuel rail. Go straight in and twist back&fourth to get the new ones in. Don't force it. If it doesn't twist when there in you probably buggered an o ring an need to pull it back out. At least that's what every thing I read said. These injectors went in like butter snug secure might have something to do with the double o ring unlike Toyotas single o ring. Just like new

Anyways I had a bad rubber o ring on my old #1 injector so there was some cleaning that needed to be done there before i put my new injectors in. After I got that cleaned up I reattached my intake manifold. Then carefully lined up my injectors, now mounted in the fuel rail, to their appropriate location and wiggled them in till the fuel rail sat in the sleeves. All my injectors turn smoothly (last real chance to check). Reinstalled the 2 12mm bolts holding the fuel rail down and torqued to 14 foot pounds I think. Installed the 10mm securing bolt for the fuel supply line and put the banjo bolt back in the supply line to fuel rail connection.

Make sure you hook up your adapter wires to your injectors.

Now connect them to your existing injector plugs that you labeled so you wouldn't get the in the wrong order. You did remember to do that right?:-)

Using a fresh gasket reinstall the plenum and EGR (if equipped). Being careful not to forget those grounded wires and the one bolt underneath securing the plenum to the bracing bar that connects to your block. Properly torque the bolts back down. Reinstall your vacuum hoses. Aren't you glad you took pictures? Install and reconnect and fill the radiator. Check to make sure you haven't forgotten any hoses or plugs. Connect the negative battery cable. Should be ready to start up.

I have to wait for tomorrow because I want to make sure any RTV I used is totally cured I had to use some on the coolant pipe that bolts in to the lower manifold. The PO snapped off a bolt so it has been held on by 1 bolt and some red RTV ever since. I will update it with pictures and my initial start up tomorrow Good night.
Last edited by thefishguy77; Jan 21, 2015 at 09:28 AM.
Jan 22, 2015 | 04:53 AM
#6
Thread Starter
Registered User
iTrader: (1)
Joined: Dec 2011
Posts: 2,179
Likes: 62
From: sammamish, wa.
Low 20's for mpg if I drove it right. If I thought it was a fine Italian sports car then closer to 15mpg. But low 20's for mixed hwy\city driving. And that driving it like you daddy told you how to drive not how we drove at 16 :-)edit mpg before swap was high teens at best.
Last edited by thefishguy77; Jan 22, 2015 at 04:59 AM.
Trending Topics

Thread
Thread Starter
Forum
Replies
Last Post
FS[SouthEast]: Mercury Villager Fan & DCC Fan Controller
coryc85
Misc Stuff (Vehicle Related)
6
Sep 9, 2015 06:24 AM
rushw
General Electrical & Lighting Related Topics
4
Jul 18, 2015 01:46 PM


