When you click on links to various merchants on this site and make a purchase, this can result in this site earning a commission. Affiliate programs and affiliations include, but are not limited to, the eBay Partner Network.
There's alot of great pictures in this thread, thanks to the OP because I'm sure a lot of folks will be able to use it as a reference (like I'm about to do!)
When 5th gear gets noisy, like a bearing whine, but the others gears are pretty quiet (especially 4th), which bearing(s) is likely the culprit?
I've done timing chain, ZUK mod, brakes - I'm fairly competent I think, but never done a HG or engine rebuild, or clutch, let alone a transmission.
I think my gears are fine - I just now hear this whine in every gear but 4th (direct 1:1 gear ratio, so that makes sense).
Soooo....I'm thinking, if it's easy enough, and cheap enough, I could remove the transmission, remove the bell houseing and input shaft cover, and replace the bearing, using a puller tool?
Am I nuts? All those gears, shafts, bearings, etc are a little daunting in the photos, so I don't want to go this route if I'm biting off more than I can chew.
Anyone done JUST the input shaft bearing and if so, is it THAT hard to do? Is there a way to tell by looking at it that it is indeed the bearing (is there play)?
It can be intimidating and not for the faint of heart or those with just a few basic tools. A FSM will be very helpful. The input shaft bearing can be done by itself, but you do have to take a few things apart... If youre having noise in all but 4th, that sounds like my G52 problem I had. But it eventually gave up every gear but 4th. Being behind the 3RZ, I kind of expected it. And I had a used W56 that I swapped in just a few hrs.
Thanks to Hardstripe for all the helpful pictures & posts - I found it very nice to have pictures for getting that far. Having recently completed a (mostly) successful rebuild on my W56C, I decided to post what I could to help others with the same project.
In answer to Philbert's question (I know, long time ago, but in case someone else is wondering) about replacing just the input shaft bearing - you have to tear into things enough that I'd be hesitant to do just that, but it would save you time & effort. My issue was the input shaft bearing, too. Were I to do it again, considering the stuff I messed up in the process that cost me more time & $$, I would've probably just replaced it. But I wouldn't have learned as much and if you do things right, it shouldn't be too bad to do it all. The worst part is removing & especially replacing 5th & reverse gears, which you have to do to get the main shaft & counter shaft out of the intermediate plate. You may be able to replace just the input shaft bearing without pulling the shafts off the intermediate plate, but I can't think of a good way to press that bearing back on while it's coupled to the main shaft. I know from doing it wrong that pressing on the rear end of the main shaft to press that bearing will mess up your clearances on the gears. Read further for more details....
Special Tools (I'm assuming you have standard sets of pliers, wrenches, etc.):
C-clip remover
Pullers - 2-3 should work fine. I rented the large one at O'Reilly and borrowed a few from a friend.
Press - any kind, but a must
Bearing splitter / remover
Feeler guage
Calipers (for measuring shaft diameters, etc.)
Special-made tool for pulling & especially for pushing on reverse & 5th gear. Either make or get made this tool - it's well worth it. Not worth the $200+ for the actual tool, but someone should be able to make a good substitute for ~$30.
Last edited by stgibson; Feb 19, 2017 at 06:08 PM.
So after disassembling to the point that Hardstripe did (down to the aft portion of the mainshaft), I tried this with no success:
What DIDN'T work
I finally found a larger Posilock puller in my friend's shop that would fit - the jaws grabbing the ridge towards the "back" of the output shaft sleeve. (Sorry, no pic).
Then used same puller on 5th gear.
Regarding removing 5th gear hub, here's how to set the puller so as not to damage the retainer for the hub inserts: How to position the puller on 5th gear synchro hub so as not to damage the insert retainer
Removing 5th gear synchro hub
Note: I removed the c-clip the first time 'round, but after a failed re-assembly (see below), I forgot to pull it the 2nd time around, put too much pressure on the puller, and damaged the teeth on the synchro hub. Transparts Warehouse (where I also bought my kit from), they had a used hub that they sold me - thank goodness!
Need a long-armed puller for reverse: Removing reverse gear
Last edited by stgibson; Feb 19, 2017 at 04:41 PM.
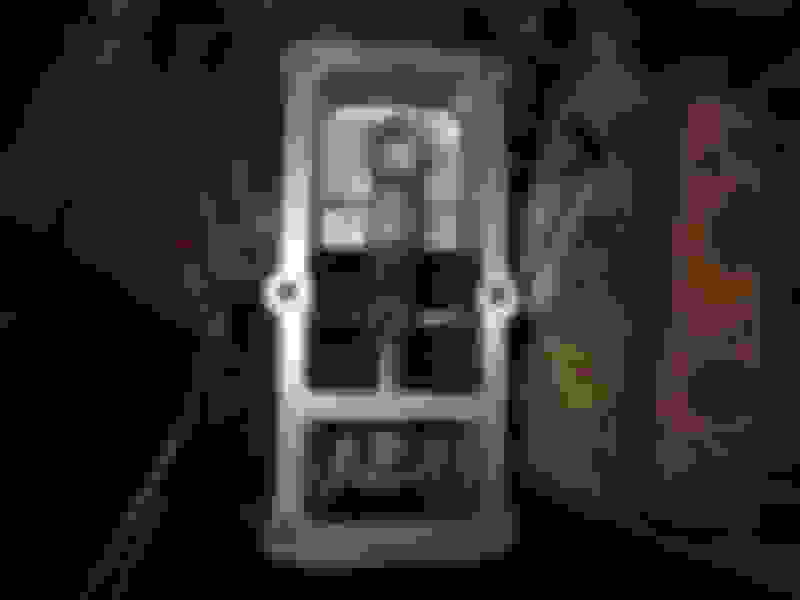
Lack of pictures here, sorry - I wasn't planning to post until part-way through the job.
Basically the rest of disassembly is pretty quick & straightforward following the FSM. Once reverse is off, remove the retainer plate that sits behind it, remove the bearing retainer rings for main & countershafts, and slide main shaft / input shaft & countershafts out. Then proceed to use a press to remove gears & bearings until you're left with just shafts, pretty much. With a feeler guage, measure clearances between gears as you go, so you know what you're starting from.
Being a newbie, I had to figure out on my own the whole feeler guage thing. Here I'm measuring 2nd & 3rd clearance: Feeler guage to measure 2nd & 3rd gear clearance
Feeler guage to measure 2nd & 3rd gear clearance
Feeler guage to measure 2nd & 3rd gear clearance
Measuring 1st gear clearance between the gear & the needle bearing sleeve that first gear rides on is tough because of the shape of the gear. So I basically estimated because by the time you wiggle the feeler guage in there you're not going to be able to tell very well. I don't know if measuring between the sleeve (which slides easily along the shaft) and the bearing would work as well - it may. Trying to measure 1st gear clearance between gear & lip of sleeve for 1st gear roller bearing Trying to measure 1st gear clearance between gear & lip of sleeve for 1st gear roller bearing
These pics were actually taken during reassembly because I didn't do it during disassembly, but process is the same.
As you tear things down, take time to note how things fit together, what surfaces look like, etc. Be observant and methodical. For that matter, work the transmission through its paces as soon as you get the covers off so you understand what's going on inside as you shift, and so you can compare once it's back together and see if it's significantly different (for better or worse). Put it in each gear and give it a whirl. Put it in neutral, hold the output shaft immobile and turn the input shaft by hand. Get a good feel for what it's like.
After I disassembled it, I washed everything in a basin with a solution of Purple Power, then stuck it in the oven to dry. I got a bit of surface rust on some things even with the fast drying, so next time I'd probably towel dry even better and then use a hair dryer to get many much of the droplets off as possible before putting in the oven to really dry it.
Last edited by stgibson; Feb 19, 2017 at 05:09 PM.
So here's what the ball surface of my input shaft bearing looked like: Chipped surface of ball - race & ball retainer on either side
For comparison, a similar shot of my good bearing (main shaft intermediate plate bearing): Smooth surface of ball in between race & ball retainer - more like what it should look like.
This bad bearing caused growling in all gears but 4th, and also some extra clacking noises when in neutral with the clutch engaged. I'm pretty sure my problem was letting the oil get low (~300 mL too low), and possibly exacerbated by revving the engine after starting for a couple minutes during very cold weather to get up decent temps. Part of the problem there was having vacuum lines wrongly connected - now that's fixed the engine doesn't want to die as much when getting moving in cold (Wisconsin) weather, which means I (and especially my wife, who's idea of revving for warm-up is 5K RPM) don't have to warm up the engine. I can just start & go. But with low oil and high revving after all the oil had pooled in the bottom and not had a chance to splash around everything, I'm thinking that bearing got too stressed.... (Yeah, I've been kicking myself a good while....)
Last edited by stgibson; Feb 19, 2017 at 05:19 PM.
Next, after disassembly, inspection, cleaning, etc. - start reassembling using new bearings & synchronizers! I used plenty of 80W-90 GL-5 oil (what this tranny calls for) to lube any surfaces I was pressing on, as well as pre-lube the bearings. Vaseline or multi-purpose (MP) grease apparently is OK too, at least for lubing parts you'll be pressing on.
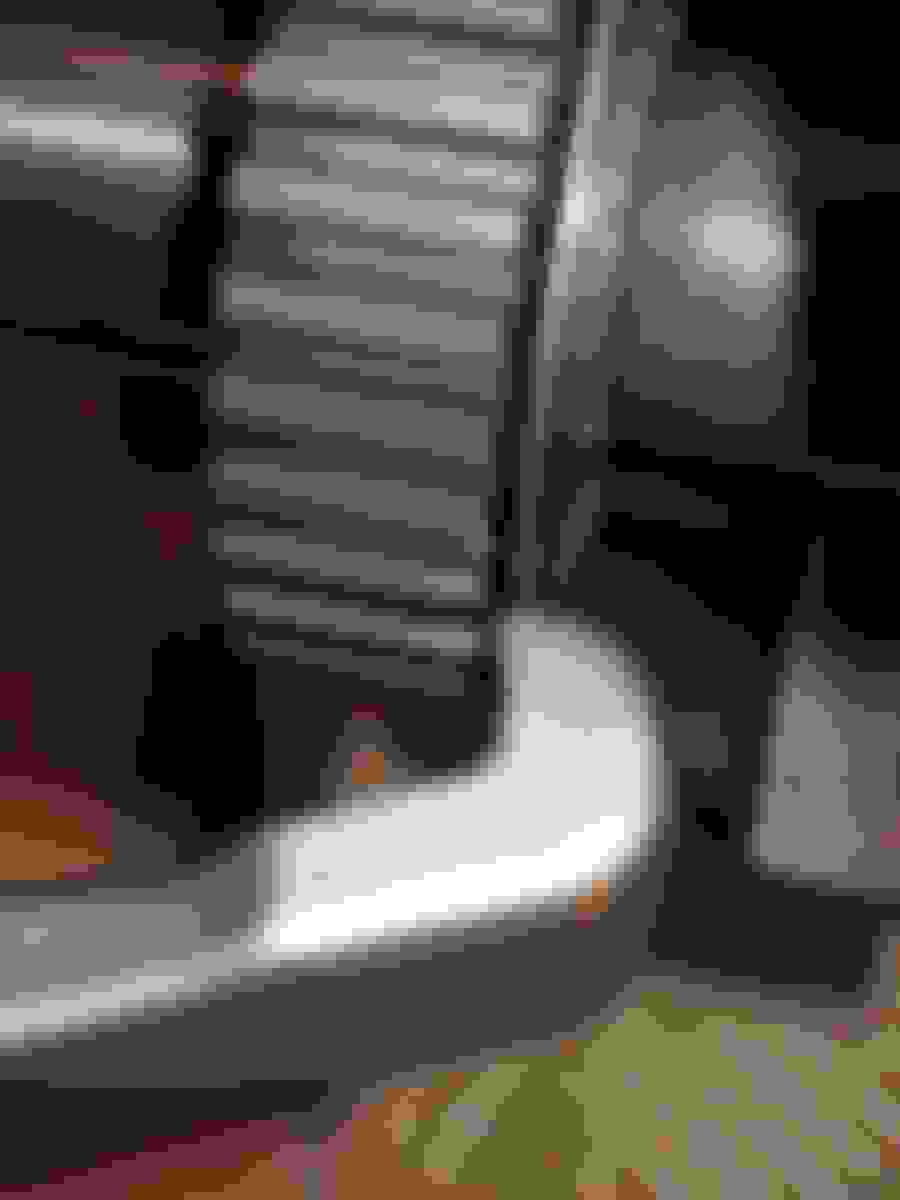
Front end of input shaft (3rd-4th synchro sleeve to left, 3rd gear to right). Note how the notched side of the synchro sleeve goes towards the rear of the tranny.
This is where clearances get set - as you're pressing things back on. See above for pics of measuring using feeler guages.
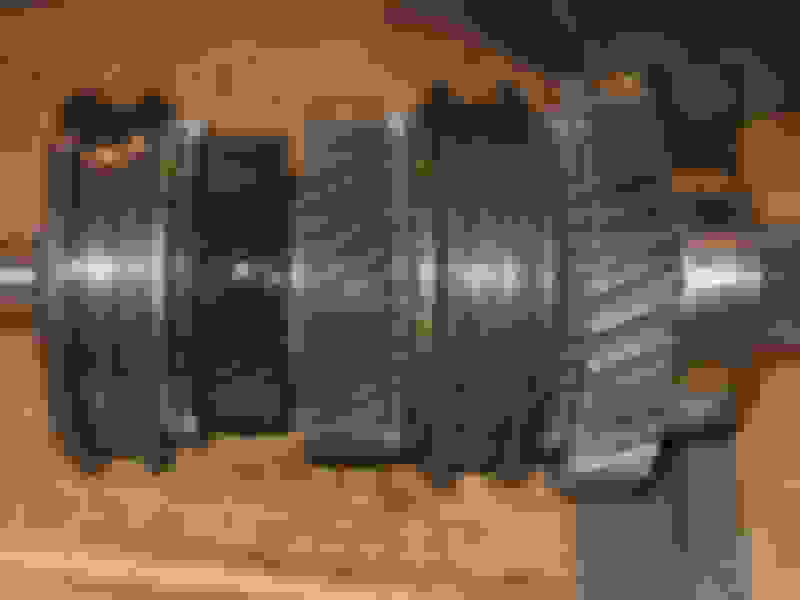
Picture of 3rd through 1st gears assembled on the stack, before pressing on the main shaft intermediate plate bearing:
Note the lip on top of the 1st gear that belongs to the sleeve for the 1st gear needle bearing - it does NOT need to be pressed on. Another mistake of mine was trying to press that on (late night, jumping ahead in the FSM by a step) without the locator ball that sits in the shaft lined up correctly. Here's the damage I caused by pressing it:
Again, replacement parts from Transparts Warehouse came to the rescue - they pulled that sleeve & needle bearing (which also got damaged in the process) out of their stock of used parts and sent them right over.
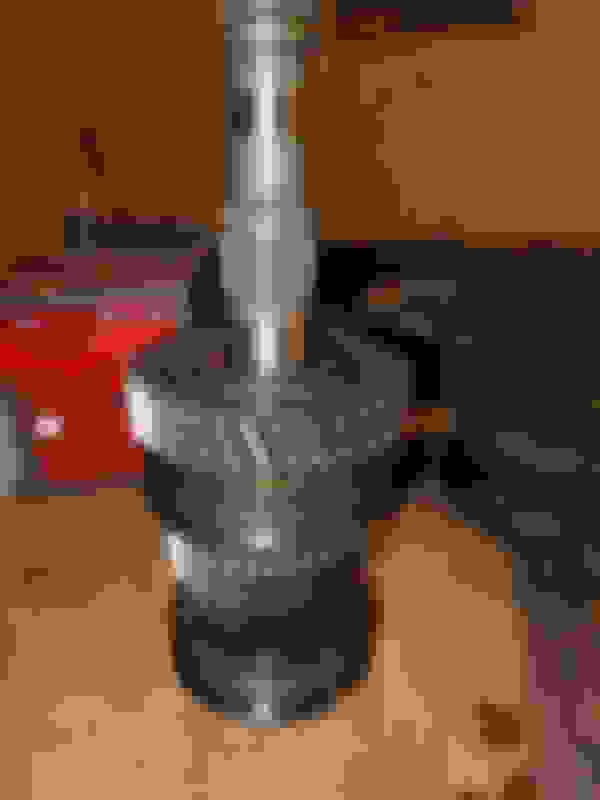
Main shaft assembled, with intermediate plate bearing to the right:
Note again: both synchro hubs have a stepped side that faces towards the rear.
Reassemble the main shaft & input shaft (with bearing in between the two), combine with the counter shaft (all with new bearings), and slide the assembly into the intermediate plate. You can't get them in separately - they have to all fit together to go in. Once you get the bearing retainer rings in place on the backside of the intermediate plate so the shafts won't fall out, give them a whirl, shifting gears, etc. Compare with earlier. If anything feels bound up, check clearances. It should all turn freely, including with it in various gears and holding the output shaft from turning, which simulates being in neutral at a stop.
After re-insertion into the intermediate plate and replacement of the retaining plate, it's time to press reverse back on.
Mistake #1 in this process: I tried using the press for reverse and 5th gears, by using the press and pressing down on the front of the input shaft. Apparently the forces do NOT travel through the shafts but get transferred to the gears (because input shaft doesn't actually push against main shaft), which compresses the gears & bearings in front of the intermediate plate all together, nullifying the clearances I carefully set when pushing those on and making it hard to turn the shafts when in gear. Fortunately nothing damaged in this process, just had to re-disassemble things & start over.
Mistake #2 in this process: I attempted to hammer on reverse & 5th gears. This probably caused some small chips in the intermediate plate bearing (which is what ends up taking the force of the blows), which may account for the very slight whine I get when I'm in any gear but 4th. Yeah, I didn't feel like waiting the week and paying the $70 for a new bearing, I was just ready to be done and took my chances. Besides the possible damage to the bearing, I did damage a couple teeth on 5th gear:
These damaged surfaces are on the trailing edge of the gear, so would only be under pressure when I'm coasting / engine braking in 5th. And they're small enough that I decided to smooth them up with a Dremel and use the gear.
SOOO, here's where you need that special tool you made or had made. I got by (barely) by fashioning something out of ~1/4" steel plates and grade 8 3.5 x 1/2" bolts, along with a bearing splitter:
Pushing on reverse gear with improvised special tool
Pushing on reverse gear with improvised special tool
Pushing on reverse gear with improvised special tool
Pushing on 5th gear and rear mainshaft bearing with improvised special tool
Pushing on 5th gear and rear mainshaft bearing with improvised special tool
Pushing on 5th gear and rear mainshaft bearing with improvised special tool - it really didn't want to go.... I'm using one of the old bearings here to keep from damaging the roller holder as the plate folds around it - again, learned the hard way.
As you see in the last picture, 1/4" steel plating was not really sufficient, and hand-making something from anything thicker would've been a pain. If you have the power tools to do it with 3/8 or 1/2" plates, that may work. The special service tool looks simple enough to create, if you have decent metal-working equipment. Search for Toyota REMOVER & REPLACER TRANSMISSION GEAR 09312-20011 to find diagrams in the FSM and even pictures. I see it available on the Gearman E-bay market for 150 euros - outta my price range.
Once I got this far, I hate to admit I did pound the last few millimeters on. Maybe using a brass pipe would help soften the blow and keep from damaging the bearing.
The 5th gear synchro hub and 5th gear on the countershaft DO get hammered on with a pipe. The manual says to use a 5-lb hammer on the other end of the counter shaft. The intemediate plate bearing for the counter shaft is a roller bearing, not a ball bearing (if I recall correctly), so the pressures won't damage the bearing, so far as I know. At any rate, the countershaft stuff CAN be hammered on. In answer to Hardstripe's question, I believe the clearance for 5th gear is measured between the actual gear and the spacer between it and the countershaft rear bearing. (In the picture of disassembly where you ask that, you're measuring on top of the spacer, with the guage almost between the bearing and the spacer. Slide it down in between the gear & spacer, with the edge of the feeler touching the actual shaft.) Sorry, again no pics on this part.
Reassembling the reverse idler & associated shafts is a bit of a puzzle. Not pictured is the pin that sits in the reverse shift head hole and interfaces with the shift fork shaft. View from the right Note how the arm's stationary end pivots on the anchor in the upper left corner and as it descends downward it pivots on the attachment to the shift rod, and the foot on the bottom end slides into the groove on the front surface of the reverse idler gear.
Inserting the pin with channel-locks Reverse idler gear shaft stopper
Interlock pins come next, starting with the shorter one of larger diameter: This short fat pin drops down into the hole - I have it perched on the upper side of it for viewing. Small pin inserts into the shift fork shaft (#2?) before insertion into the intermediate plate Shift fork shaft (#2?) in place, and longer fat interlock pin perched ready to drop down in between the #1 & #2 shift fork shafts. Blue locktite on the retaining nuts (after inserting the balls & springs) - remember the order they came out.
Now check the shifting with all the shafts in place. Put it in one gear and try to get other shafts to slide into another gear. If more than one gear can be engaged at a time, the interlock pins are not working properly. For reassembly with wet RTV Black restrict pin on the left - I believe the FSM has it backwards(?) - it says install the black pin on the reverse / 5th gear side, whatever that means. Reassembled! (And not nearly as clean as Hardstripe's, but it works)
pull the flywheel (I used baling twine with a loop in the end hooked over the guide pin on the face of the flywheel to keep it from turning as I turned the bolts)
pull the cover for the rear main seal
scrape the old gasket off the back surface of the engine & the top of the oil pan, replace the round seal, apply new RTV, apply new gasket, and bolt back on
Getting out the old pilot bearing was a chore. I ended up resorting to cutting the inner race & ball bearings with a Dremel disc and then using a pilot bearing puller (rented from O'Reilly) to pull the outer race.
Check the clutch before installation: I had a bad pressure plate in the kit from O'Reilly's, and could've saved myself the headache of having to re-pull the tranny. To diagnose / check the clutch, I mounted the pressure plate & disc to the flywheel, inserted assembly into the press, and used the throw-out bearing to press down on the diaphragm spring while using the alignment tool to try turning the clutch disc. The pressure plate in the new kit would not allow the disc to turn no matter how far down I pushed the spring, which was manifested by incomplete release of the clutch when installed (I first tried bleeding the thing to death to no avail). Pulled the tranny again, diagnosed the pressure plate, put in the old pressure plate with the new disc and throwout bearing, and it runs great!
I bought the HD shifter seats from Marlin Crawler, which I love! However, it took significant force to get the shifters to lock into the tranny because they are a tight fit. Without the special service tool, I found that the best tool for pressing down & turning the locking mechanism is my newly-purchased c-clip remover. It allows me to press down AND squeeze the handles to get firm sideways pressure AND turn the thing all at the same time. My previous use of pliers would just not cut it with the new shifter seat. The T-case shifter was also a pain - just work at it with pliers, screwdriver, c-clip remover, etc.
End result: shifts like a charm, and runs almost completely quiet. I have a very slight whine in gears other than 4th, which I suspect is due to my abuse of the intermediate plate main shaft bearing as I hammered on reverse & then 5th gears.
Hours involved ~30-40 (~6 each for removal & installation of tranny in garage - would've been quicker with a lift; ~16 hours rebuild time, plus wasted time for stupidity). I didn't log it, but pulled about 2 all-nighters, and did some additional weekend work a couple of weekends. Spread out over 1.5 months while I was working my day job. The last 10 days were fooling with the clutch that wouldn't release, due to the faulty pressure plate. But that's not included in my time estimate.
Cost: ~$730, including tools, supplies, and stupidity fees (replacing parts I banged up). Rebuild kit: $130, new shifter seats & bushing: $43, special tools (c-clip pliers, feeler guage, measuring calipers): $75. Supplies & other miscellaneous tools (including hardware for home-made pullers): $170. Total ~$420. Include a clutch kit, rear main seal, and pilot bearing for $130 and I'm up to $550. The rest was buying parts I damaged, paying my local mechanic for the generous loan of a press & bearing splitter, and supplies / parts related to trying to fix the clutch problem before I realized it was a faulty clutch. Thankfully I got a full refund on the clutch kit, dropping my net down to $620. More than I'd hoped in both time & money, but less money than a $1300 Marlin Crawler rebuild, and a better result (I believe) than a $500 used tranny - which I still would've had the labor of replacing and the cost of a new clutch. Besides, it was a good learning process.
Last edited by stgibson; Feb 19, 2017 at 08:12 PM.
Oh, and special thanks to my buddy Jon Humphreys for his invaluable advice several times when I found myself in a pickle, my mechanic Shane Kolk who helped with ideas & loaned a press and bearing splitter, and my friend Lee Mueller for the use of his shop, pullers, miscellaneous tools & lift. And you guys here on Yotatech - got me pointed in the right direction, including where to find a factory service manual.
Last edited by stgibson; Feb 19, 2017 at 07:55 PM.
Oh, and special thanks to my buddy Jon Humphreys for his invaluable advice several times when I found myself in a pickle, my mechanic Shane Kolk who helped with ideas & loaned a press and bearing splitter, and my friend Lee Mueller for the use of his shop, pullers, miscellaneous tools & lift. And you guys here on Yotatech - got me pointed in the right direction, including where to find a factory service manual.
Great job and nice pics. If ever I have to tackle this, I'll be sure to read thru your posts again.

 Mar 18, 2011 | 04:05 AM