
IFS Suspension Rebuild - IT HAS BEGUN!!! PICS!!!
 Mar 7, 2009 | 09:03 PM
#41
Thread Starter
Contributing Member
Joined: Feb 2008
Posts: 12,248
Likes: 33
From: Lake City, Fl
example:

I tried just pulled that out of the bushing; it probably would have worked then, but is wasn't budging... the store had the right ones in stock anyhow, so I just swapped them out when I went up and picked up my CVs
I think it only applies to the pickups though; if I'm not mistaken, the 4Runner front ends in 94 were identical to the pickup front end like my 91
Last edited by iamsuperbleeder; Mar 7, 2009 at 09:05 PM.
Mar 7, 2009 | 09:08 PM
#42


Looks good man! Nice job with the wrench spacers!! I'm getting ready to do all the same front end stuff as well, minus the cv's and shocks. Thanks for the pics!
Don't worry, some people have green thumbs and others have black and blue thumbs!!!
Don't worry, some people have green thumbs and others have black and blue thumbs!!!
Mar 7, 2009 | 09:37 PM
#43
Registered User
Joined: Sep 2008
Posts: 4,355
Likes: 2
From: middle of no where Alaska
the ones I had got at first for a 94 model had a flange on the bottom eyelet with two bolt holes
example:
I tried just pulled that out of the bushing; it probably would have worked then, but is wasn't budging... the store had the right ones in stock anyhow, so I just swapped them out when I went up and picked up my CVs
I think it only applies to the pickups though; if I'm not mistaken, the 4Runner front ends in 94 were identical to the pickup front end like my 91
 ONLY '94? Not '95?
 Mar 7, 2009 | 11:06 PM
#44

Joined: Jan 2003
Posts: 17,692
Likes: 58
From: Marysville, WA
the ones I had got at first for a 94 model had a flange on the bottom eyelet with two bolt holes
example:
I tried just pulled that out of the bushing; it probably would have worked then, but is wasn't budging... the store had the right ones in stock anyhow, so I just swapped them out when I went up and picked up my CVs
I think it only applies to the pickups though; if I'm not mistaken, the 4Runner front ends in 94 were identical to the pickup front end like my 91
example:
I tried just pulled that out of the bushing; it probably would have worked then, but is wasn't budging... the store had the right ones in stock anyhow, so I just swapped them out when I went up and picked up my CVs
I think it only applies to the pickups though; if I'm not mistaken, the 4Runner front ends in 94 were identical to the pickup front end like my 91
the shock in the picture is for a 2WD truck. Why the heck would they give you one of those for your 4WD?
4WD IFS trucks used the same front shocks from 86-95, but certainly NOT the same shock as the 2WD truck.
Mar 8, 2009 | 05:16 AM
#47
Registered User
Joined: May 2007
Posts: 374
Likes: 1
From: North Bay, Ontario
Nice work superbleeder! Could you list a breakdown of the parts you replaced and cost. First of all, I'm a total newbie when it comes to parts, and second, I may like to replace some things on my truck. Thanks!
Mar 8, 2009 | 07:16 AM
#48
Thread Starter
Contributing Member
Joined: Feb 2008
Posts: 12,248
Likes: 33
From: Lake City, Fl
*I picked up a whole kit a while ago that included all 4 tie rod ends, all 4 ball joints, idler arm, and pitman arm. I picked that up for about $120 online.
*I ordered in new tie rod end connector sleeves to go with the ne tie rods, those were about $8 each, so that's about $16
*got all 4 new shocks, those averaged about $45 each, so that's about another $180
*replaced both CV's once I got in there and seen just how bad the old ones were, those were $70 each, so that's another $140 on the bill
*replaced the steering stabilizer, that was $30
for the parts, I'm looking at a grand total of about $386 ( I think... I'm doing the math in my head, I'm using the net on my phone from the waiting room in the tire shop
 )
)then there's the $700 today for all 4 new tires and alignment...
let's just say the my credit card holder is gunna love me after this weekend, lol
on the way to the tire shop this morning, even being misaligned, the truck rode sooooo much better! doesn't float over bumps like it use to with the old shocks! it feels so much better... can wait for it to ride like a new truck after the alignment

thanks for all the comments guys! I'm very proud of myself on this job, being that I did it all by myself, and that I've never messed the steering components befor; in the past that's been something that I steered clear of ( no pun intended
) and let a shop take care of. but is was pretty easy! just time consuming...
Mar 8, 2009 | 07:26 AM
#49
Registered User
Joined: Mar 2008
Posts: 4,371
Likes: 6
From: Texas
Well done! I'll probably be doing this during the summer on the 89 so I'll be using your thread as a guide.
Oh and I bought the same shocks for the pickup and they made a WORLD of difference. The ones that were on there were the factory originals (I think) and were so worn out that you could compress them and lat them on the ground and they wouldn't extend.
Now all we need are pictures of the rig with the new shoes.
Mar 8, 2009 | 01:30 PM
#53
Registered User
Joined: Feb 2008
Posts: 2,805
Likes: 1
From: Salem, OR
Mar 8, 2009 | 02:07 PM
#55

Registered User
Joined: Jan 2009
Posts: 175
Likes: 0
Just a little tip here, next time you have trouble with rubber bushing installs or removal, just spray some wd40 on it and it will slide right off/on. Works on (rubber) muffler hangers also. On removing the cone washers from the hub ass., you should never bang on the studs directly (there is a chance you might mushroom it, and not be able to put the nut back on), instead, leave the nut on loosely, and with a ball peen hammer or mini sledge, strike the hub itself right above the area where the stud is inserted into the hub. Remember to spray some WD40 around the cone and stud before hammering, and keep the nut on so that the cones don't go flying out and injuring you or poss. getting lost. As for the "tool", you could actually rent one from an auto parts store (checker, schucks, kragen, etc...) or you could just use said hammers and bang on it (tie rods, ball joints, idler arms) to break the taper. Remember, NEVER bang on the studs themselves, and keep the nuts(sometimes they will be castle nuts) loosely on at all times. Job well done jedi, you are ready to enter the next level.....
Mar 8, 2009 | 03:33 PM
#56
Thread Starter
Contributing Member
Joined: Feb 2008
Posts: 12,248
Likes: 33
From: Lake City, Fl
lmao, stop looking at my numbers, am I going to have to censor my pictures maybe blurr that part out, or put a big black box over it, lol
Pretty easy actually; and keep in mind that I forgot to spray eveything down with some penetrating lube too! The tool is actually a pitman arm puller, but it works just as well on all the ball joints and tie rod ends 
lmao, jedi huh?
well I didn't get too many pics of the new shoes; I got three pics at the shop on my phone, and went outside later to take pics, I got one pic in, and the battery in my camera died... I didn't charge it after yesterday, lol. But there's nothing special about them...
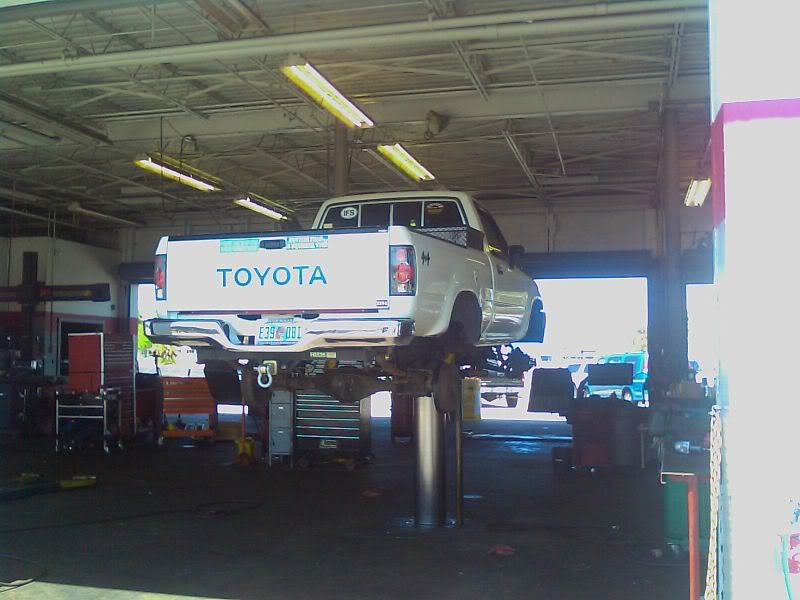
here she is up in the air:
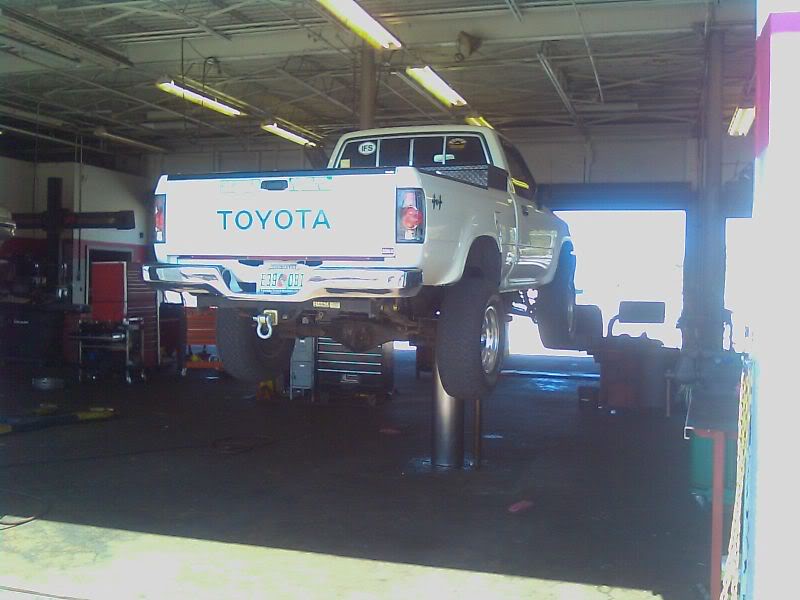
oh noes, no wheels!
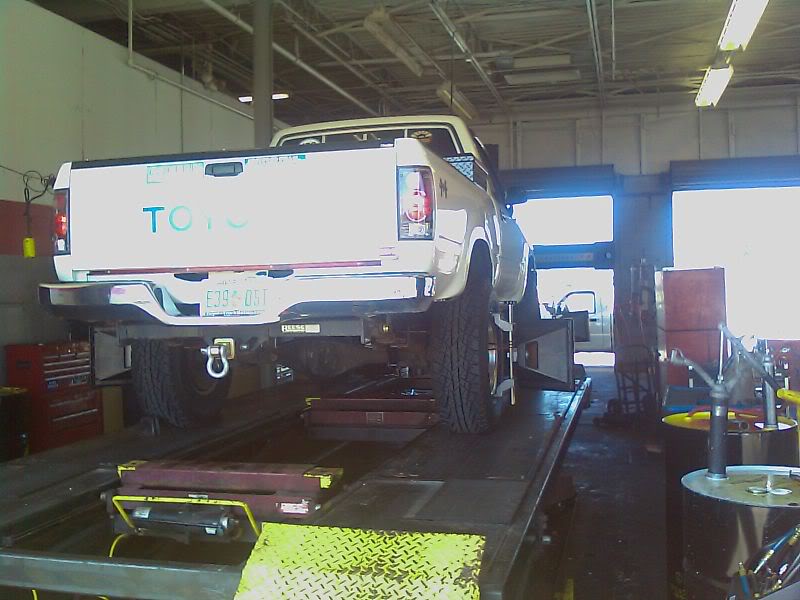
and with the new treads on getting aligned:
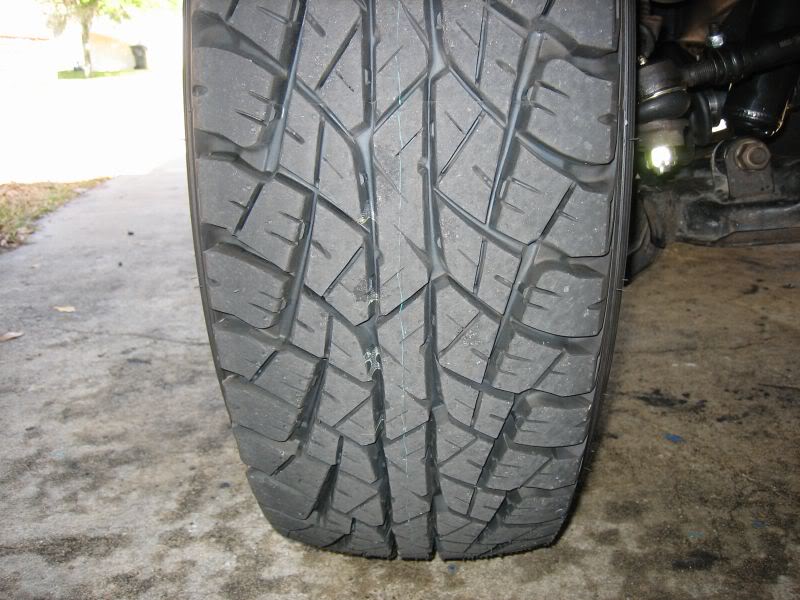
the one pic I got at home with the camera:
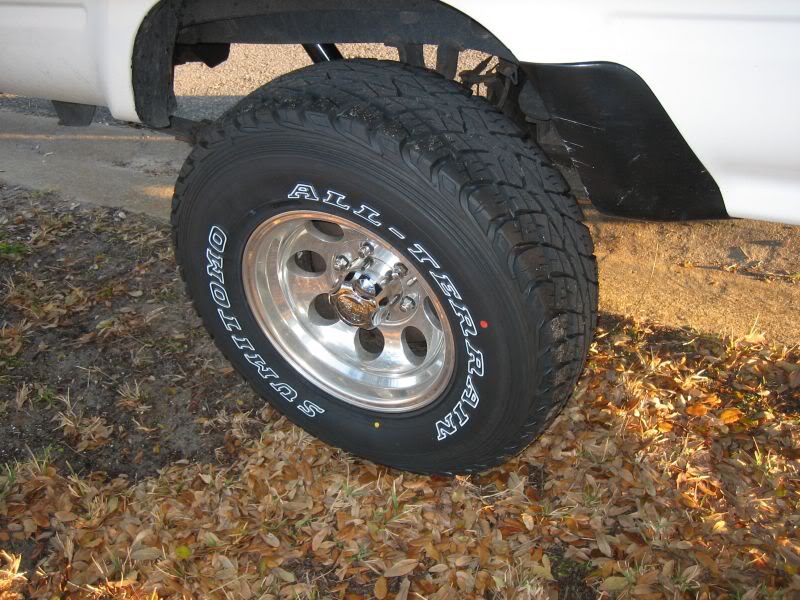
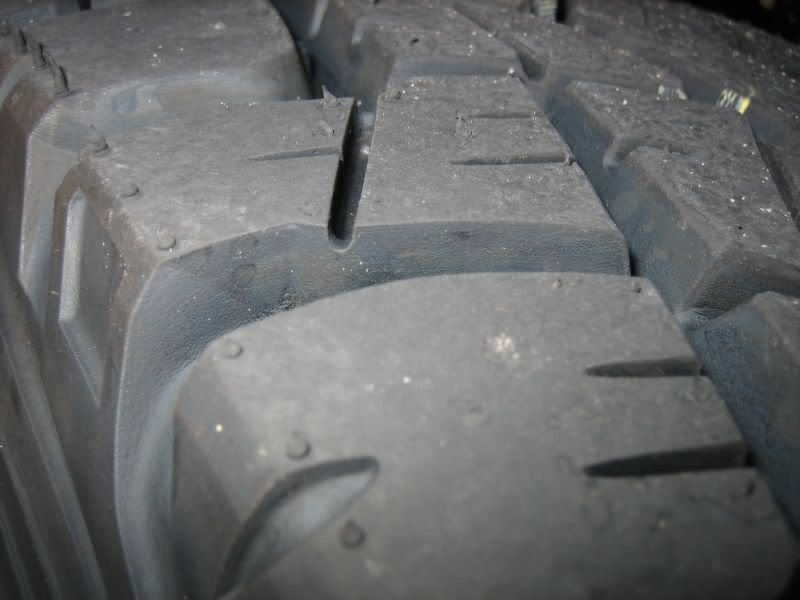
and zoomed in on that to better show the tread; like I said nothing special:

So yeah, pretty much pavement pounders, but they'll at least get me to places if I ever want to venture down a few trails around here, to watch others break their stuff
It rides SOOOO much better now! No vibrations, no pulling to the side, it's great!
The steerings a little stiff, but I expected that with all the new parts; I'll just have to get use to it (or wait till the new parts break in). It's weird feeling cause the steering doesn't jump back to center as fast as it use to, but then again center before was pulling to the left, lol
Due to the little bit of crank on the T-bars, the guy doing the alignment couldn't get the camber just right, that's with the adjustment all the way out; their - in just a little, not a whole lot. I can fix it just by losening them up a little, which I will do later ( I have 6 months to do it and get it back to the alignment shop before the warantee runs out on the alignment, lol ). The guy tried to losen them at the shop, but he says he couldn't get it to lower but oh well, I'll do it myself later, the front sits a little higher than the rear right now anyhow.
I left from there and went and picked up new sway-bar end links, but I have to measure the thickness of the bar (their computer lists 2 different sizes; a 22mm and a 24mm I think ). But yeah I'm going to put the sway bar back on, especially if I take some torque of the T-bars; I think the preload in them is all that's keeping my body roll to a minumum, lol.
maybe blurr that part out, or put a big black box over it, lollmao, jedi huh?
well I didn't get too many pics of the new shoes; I got three pics at the shop on my phone, and went outside later to take pics, I got one pic in, and the battery in my camera died... I didn't charge it after yesterday, lol. But there's nothing special about them...
here she is up in the air:
oh noes, no wheels!
and with the new treads on getting aligned:
the one pic I got at home with the camera:
and zoomed in on that to better show the tread; like I said nothing special:
So yeah, pretty much pavement pounders, but they'll at least get me to places if I ever want to venture down a few trails around here, to watch others break their stuff
It rides SOOOO much better now! No vibrations, no pulling to the side, it's great!
The steerings a little stiff, but I expected that with all the new parts; I'll just have to get use to it (or wait till the new parts break in). It's weird feeling cause the steering doesn't jump back to center as fast as it use to, but then again center before was pulling to the left, lol
Due to the little bit of crank on the T-bars, the guy doing the alignment couldn't get the camber just right, that's with the adjustment all the way out; their - in just a little, not a whole lot. I can fix it just by losening them up a little, which I will do later ( I have 6 months to do it and get it back to the alignment shop before the warantee runs out on the alignment, lol ). The guy tried to losen them at the shop, but he says he couldn't get it to lower
but oh well, I'll do it myself later, the front sits a little higher than the rear right now anyhow.I left from there and went and picked up new sway-bar end links, but I have to measure the thickness of the bar (their computer lists 2 different sizes; a 22mm and a 24mm I think
). But yeah I'm going to put the sway bar back on, especially if I take some torque of the T-bars; I think the preload in them is all that's keeping my body roll to a minumum, lol.
Last edited by iamsuperbleeder; Mar 8, 2009 at 03:45 PM.
Mar 9, 2009 | 01:57 PM
#59
Thread Starter
Contributing Member
Joined: Feb 2008
Posts: 12,248
Likes: 33
From: Lake City, Fl
well I came home today and put the the sway bar back on with some new end links
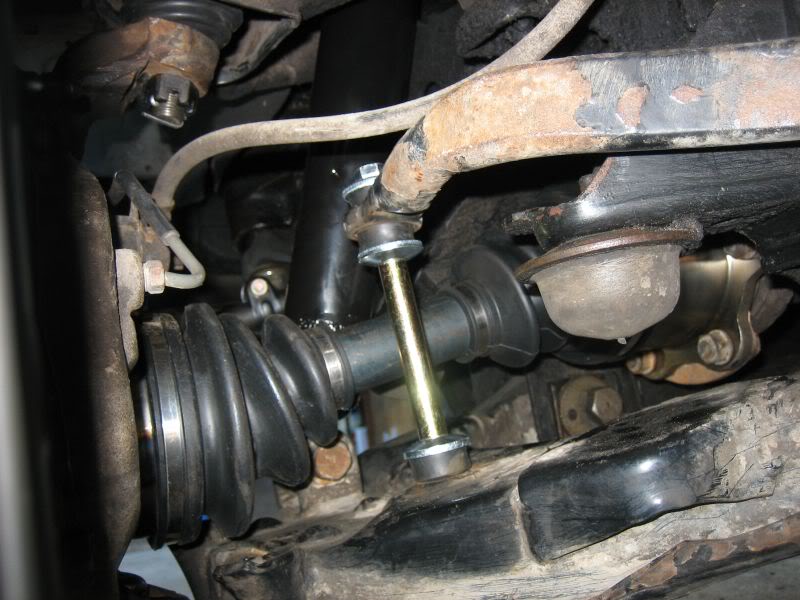
and, I gotta a few more pics of the rubber with a freshly charged camera battery
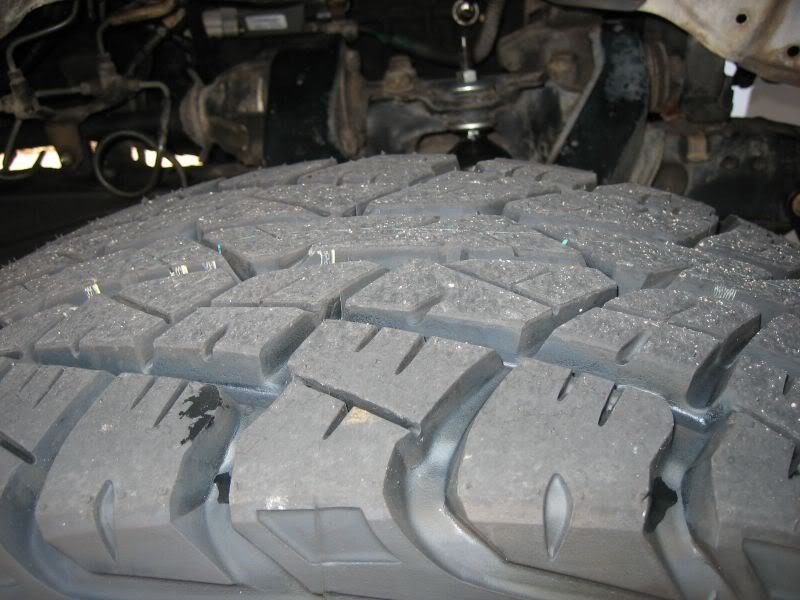
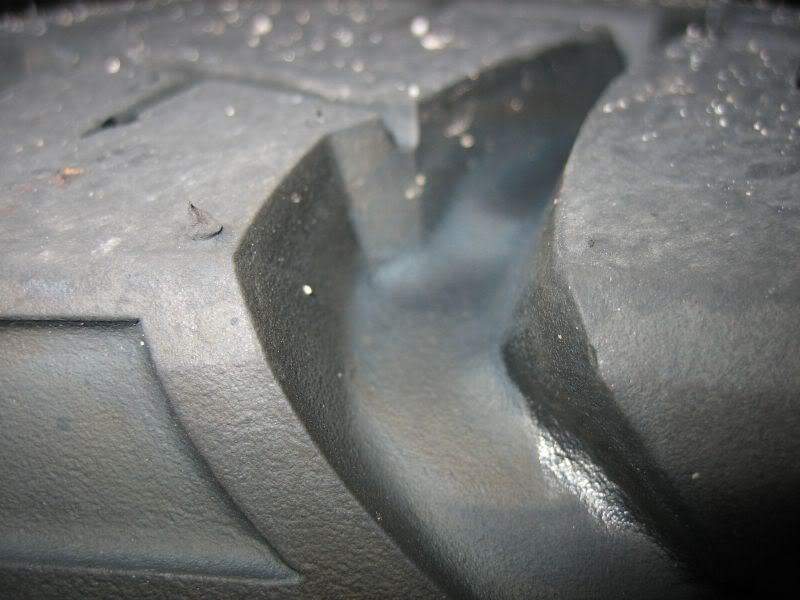
I love the smell of new tires it lasts for like a month 
and, I gotta a few more pics of the rubber with a freshly charged camera battery
I love the smell of new tires
it lasts for like a month
Mar 9, 2009 | 02:21 PM
#60
Registered User
Joined: Oct 2008
Posts: 1,584
Likes: 0
From: Burlington, VT
Nice man. I did pretty much the same thing when I installed my lift, minus lower ball joints. Every one of my tie rod boots AND the upper ball joint boot was destroyed by my pickle fork, that's why I had to replace mine. They were due anyway... The one thing I think you shoulda done while evrything was apart was the control arm bushings... I regret not doing mine, but I didn't have the time... Anyway, nice job, she like a new truck now!


