
Its really not THAT bad.. Im just worried about the bag of gaskets.. I havent looked through it yet.. But there are a LOT of little gaskets that dont immediately remind me of where they go..
YotaTech Milestone-Two Millionth Post
Quote:
Originally Posted by RedYota91
Its really not THAT bad.. Im just worried about the bag of gaskets.. I havent looked through it yet.. But there are a LOT of little gaskets that dont immediately remind me of where they go..
yeah...i was kinda thinking the same thing.
but when i got my package from engnbldr it was the same way.......took the gaskets and grouped them together....rubber, paper,metallic/paper-ish, and metallic(as in for the exhaust down pipes etc).
made it much easier to flip through.
you have an oil cooler??? i noticed the tube on the side of the water pump.
Quote:
I do?! :|Originally Posted by 92 TOY
you have an oil cooler??? i noticed the tube on the side of the water pump.
Hahaha! I'll check tomorrow where that goes but if I recall correctly, I do remember a hose connected there.. Is that what its for? Please forgive my lack of knowledge, last time I was looking at that stuff on the Yota, I was just pulling stuff off rather than bothering where they were going..
On another topic, I have a question. I have 0 welding/metal working skills whatsoever, so I'd have to take it to a shop but..
Would you guys rather eliminate the crossover and have an exhaust shop custom make a pipe that goes off the passenger exhaust manifold or just gut through it, reassemble the crossover pipe, drink lots of beer and use adult words to get it to fit?
Would you guys rather eliminate the crossover and have an exhaust shop custom make a pipe that goes off the passenger exhaust manifold or just gut through it, reassemble the crossover pipe, drink lots of beer and use adult words to get it to fit?
YotaTech Milestone-Two Millionth Post
i have to pass on that question about the welding.
my presumption (and i can definitely be wrong), is that the water pump is made 2 ways.....one with a little hose fitting sticking off the driver's side (like what you have in the pic) and one without it (like i need). and i believe, that little hose accommodates something with the oil cooler which i don't have.
my presumption (and i can definitely be wrong), is that the water pump is made 2 ways.....one with a little hose fitting sticking off the driver's side (like what you have in the pic) and one without it (like i need). and i believe, that little hose accommodates something with the oil cooler which i don't have.
Contributing Member
Quote:
This is absolutely correct. The oil cooler hose goes to the a small, round device @ 5" in diameter behind the oil filter.Originally Posted by 92 TOY
.... the water pump is made 2 ways.....one with a little hose fitting sticking off the driver's side (like what you have in the pic) and one without it (like i need). and i believe, that little hose accommodates something with the oil cooler which i don't have.
Im going to start cleaning the mating surface. Haha.
Was thinking about using brake cleaner on the block and the pistons.. Would this be bad for the rings? Any other cleaning products that you guys would recommend?
Ive got the head gaskets, do I need to put any other sealant in there between the heads and block? FIPG? Nothing?
Same thing with the water pump and gasket.. I've got the gasket.. Throw some FIPG with it too?
I had someone tell me that it might not be a bad idea to put a little bit of oil on top of the pistons/around the edge once I start putting everything back together as there hasnt been oil in the block for a while.. Input?
Sorry if these are dumb questions, just things that are going through my mind. Thanks guys!
Ah. And just like that, this project gets put on the back burner. I walked out to my truck this AM to find water coming up through the MIDDLE of my driveway. Hmm. Looks like my To-Do list just got reorganized. I'll keep you all posted after the next few days. I have to work on getting water back into my home.
YotaTech Milestone-Two Millionth Post
that sucks bad.
nothing on the head gasket surfaces.
you can use a smear of water RTV (blue, i believe) to hold the gasket in place....not necessary though.
i cleaned the piston tops of my 22re real nice and wiped them clean..a little bit of oil or assembly lube on the piston walls was all i did to make the pistons squeegie the crud to the top by turning the crank and wipe them clean again.....a little poof of smoke at start-up is all that results from that.
Well, as of this point in time, my driveway looks like this..
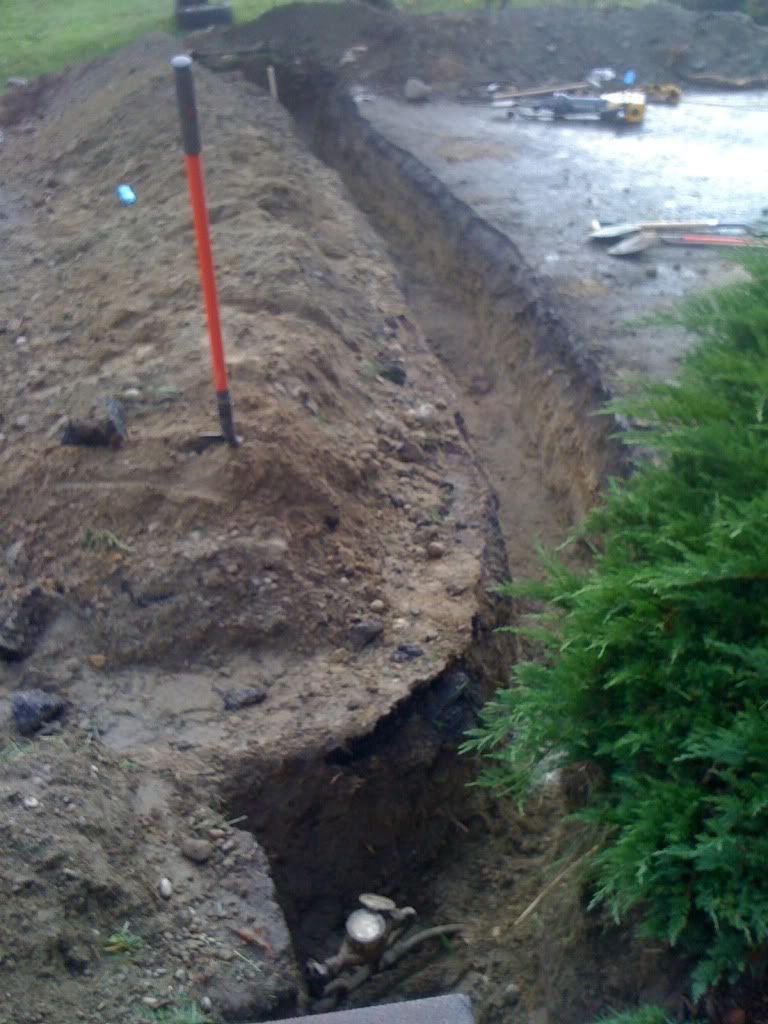
But hey, the water is back on to the house.. No more camping rules while at home.. :/ Time to start looking at the 4runner again!
But hey, the water is back on to the house.. No more camping rules while at home.. :/ Time to start looking at the 4runner again!
YotaTech Milestone-Two Millionth Post
wow.....4 wheelin in the driveway
Btw- When you say RTV, is that also Toyota's FIPG? Im not too smart with the acronyms.
Oh and it does appear that we have an oil cooler on this thing!
Oh and it does appear that we have an oil cooler on this thing!
YotaTech Milestone-Two Millionth Post
no.
RTV is gooey gasket maker....comes in a bunch of colors......i have blue for water....gey for thermostat and black for when i did my timing cover on my 22r.
i think FIPG is essentially the same as Black RTV but FIPG was so highly recommended , that i just bought it for the oil pan.
RTV is gooey gasket maker....comes in a bunch of colors......i have blue for water....gey for thermostat and black for when i did my timing cover on my 22r.
i think FIPG is essentially the same as Black RTV but FIPG was so highly recommended , that i just bought it for the oil pan.


As far as I can tell, FIPG is very fast setting RTV. If you're fixing trucks for a business, you don't want to have to wait overnight to be sure the gasket material has set up. Which is a good thing. The down side is that it sets really fast (you have to drop it on the right way the first time), and it is obscenely expensive. Lots of folks swear by the stuff.
Since I take my time on such projects, I'm happy to use RTV. More open-time, lots less money. (the various colors are probably just dye, but the package will indicate that some are better for water, some for oil, some for gasoline).
Since I take my time on such projects, I'm happy to use RTV. More open-time, lots less money. (the various colors are probably just dye, but the package will indicate that some are better for water, some for oil, some for gasoline).
Hmm. Okay. So Ive got FIPG, but I need to make a run to the auto parts store.. Maybe I'll get some RTV that doesnt set so quick. However, I did get Toyota FIPG off ebay for $10 a tube.
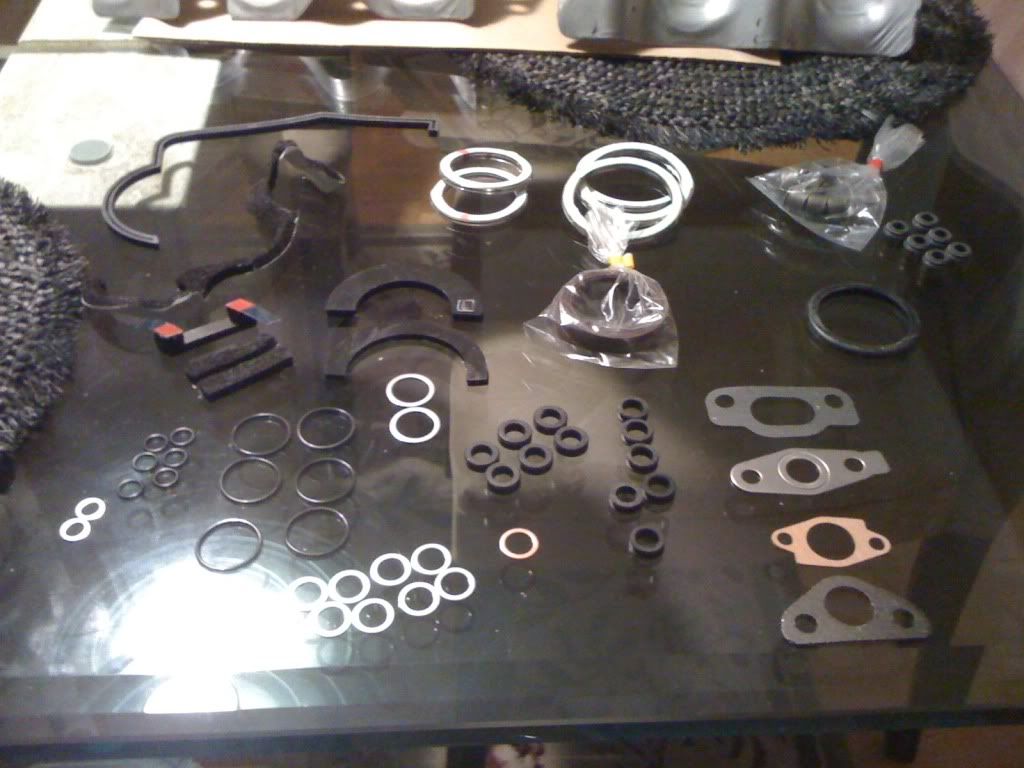
I feel like this is a sick joke.. 92 Toy.. Is this what your little bag of gaskets held? I am at a loss as to what the majority of these go to..
On another note, here are a couple pics of the heads after the valve job/machine shop visit.
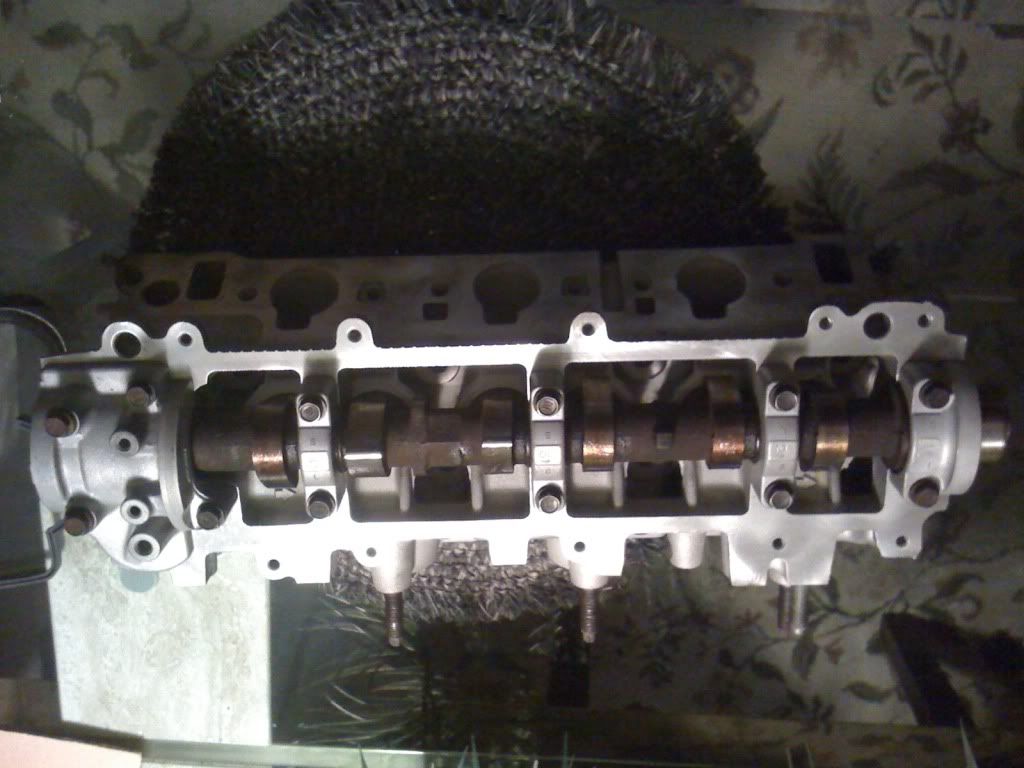
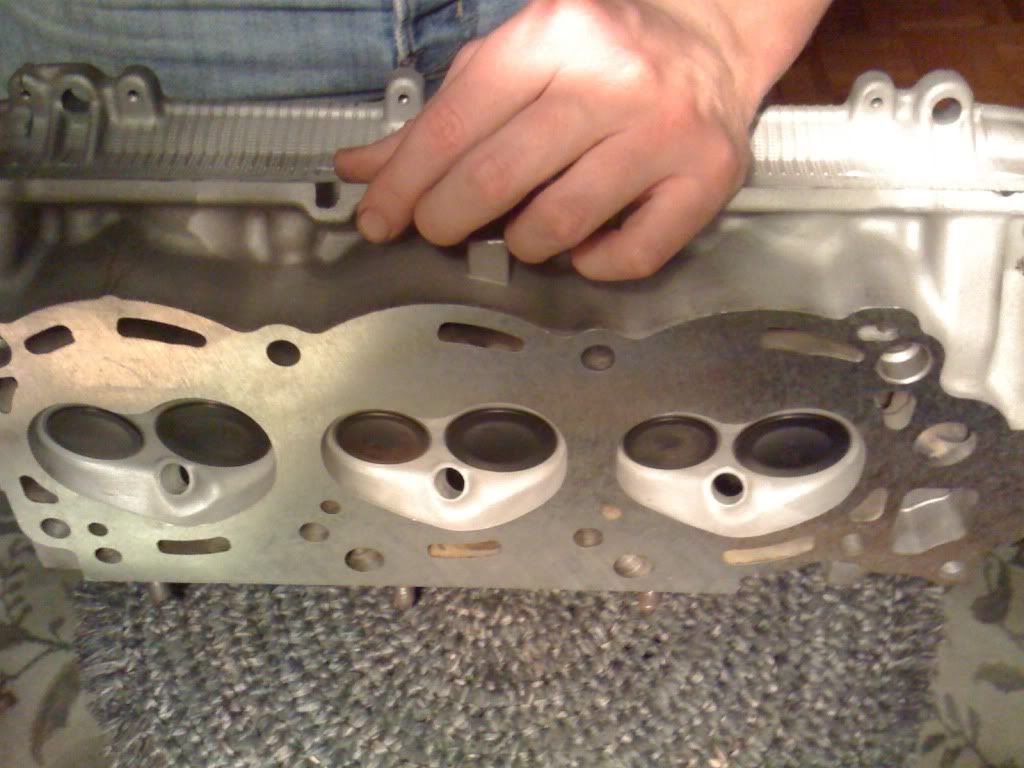
Im REALLY impressed with how clean these things look!
Im REALLY impressed with how clean these things look!
Registered User
Form In Place Gasket and yes, it sets quickly and does a good job of it too.
from my memory, the baggy in the upper left with the round seals, valve seals. your head shop should've already put them in, so congrats, you've got spares
can't remember the black ring below them.
silver one and triangular one two below that are egr (remember it's six am and I'm doing this from memory so don't shoot me if I'm wrong)
starting from exhaust gaskets (white with silver bands) and going back down
cam seal in the baggy
isolators and seals for fuel injectors
brass washer, can't remember
half moon style seals go to end caps on the heads as seals.
can't remember much more. the smalls rubber o-rings go on the end of the injectors where they meet the fuel rails. the silver washer style gaskets go on banjo bolts for fuel fittings. Don't stress too much for the gaskets because sometimes you'll get a pack where someone slipped a spare gasket from a different year that you don't need.
For example
Got a JY 3.0 beside my bay at work beside my 3.0 that i shortened a rod in. So far, I have to swap the intakes over, thankfully there's no emissions in my area so I can do away with half of the EGR because it wasn't on this one, the plug on the knock sensor is different and I stupidly didn't keep the harness side of it so I have to repin the sensor from one side to the other, and that's about it. Subtle changes on the same year but sometimes it'll make you shake your head
Registered User
Very nice RedYota91, I am jealous. My heads had cracks forming around the exhaust seats on cyls #1 & 6, and I am now in search of a couple of machinable uses ones.
How much did the machine shop charge for a valve job if you don't mind sharing?
At the top left of your photo, the long curved gasket and the soft the foam gaskets are timing cover(s) related.
EDIT: The round rubber seal beneath your valve stem seals is for the #2 idler pulley. It seals the opening in the #2 timing cover where the coolant channel comes through.
The six larger rubber O rings are for the plastic injector seats that sit in the intake manifold. (I think ab_mekanic referred to them as isolators.)
YotaTech Milestone-Two Millionth Post
sorry bud, i have yet to get parts for the 3vze


