When you click on links to various merchants on this site and make a purchase, this can result in this site earning a commission. Affiliate programs and affiliations include, but are not limited to, the eBay Partner Network.
First post... decided to give a little back since this forum has helped me beyond measure over the last 4 years and 115,000 miles since I bought my 2000 Limited. Thank you all very much for your contributions!
Now, with over 261,000 miles on the original Bushings, Balls, and Outer Rods, the rattling and clunking is not only annoying, but I wasted a set of BFG TA KOs in less than 30K because the LCA bushings made them cup out so badly.
I am also going to do the steering rack guide fix (thanks Yukon for that one!) I'll let you know how that goes in my next post. Though my ball joints are still solid, I am replacing them as well because in my experience when you start putting the new stuff in, all the adjacent old stuff starts to grenade anyways - same for my Outer Tie Rods - the inner are Moog - about a month old. Had I known I was going to do all of this now I would have gone OEM on those too. ALL the important new stuff is OEM. Steering rack bushings are Poly (Energy I think) and Sway arm bushings are Energy as well.
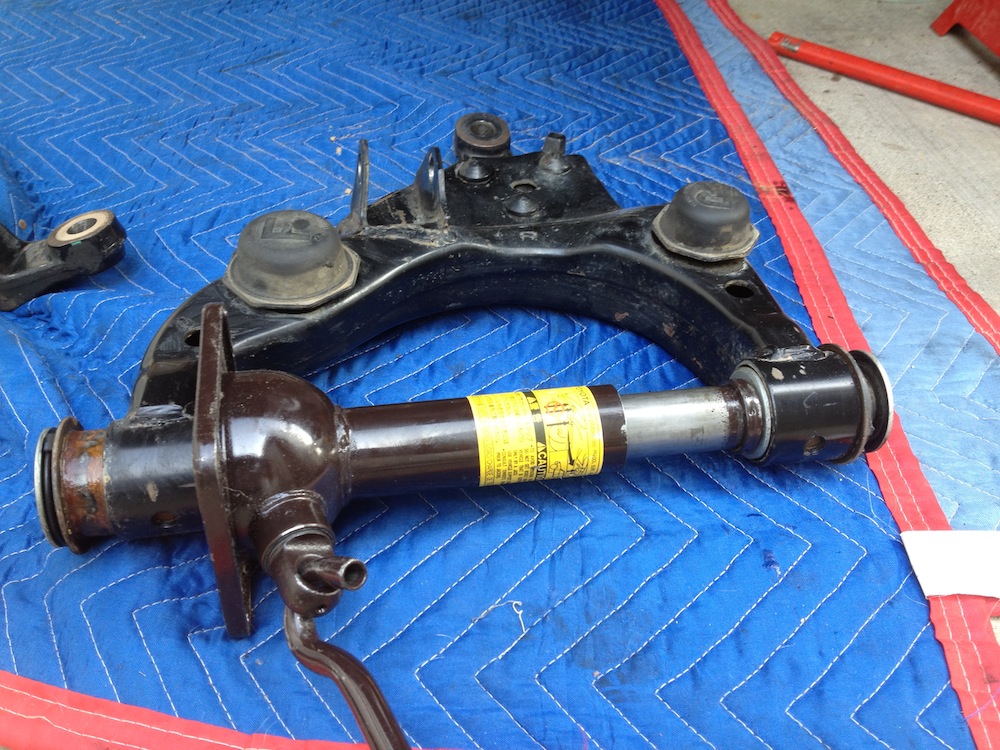
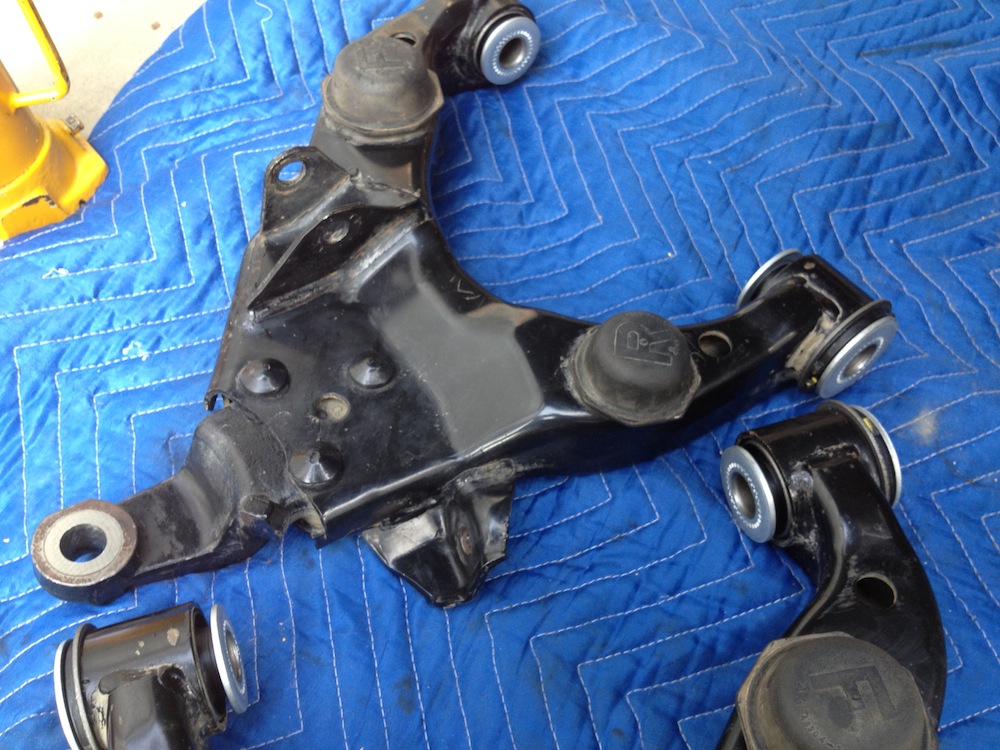
First off, if you are planning on doing this work yourself, I VERY highly recommend this incredibly helpful walk through for starters. Although this step by step does not include bushing replacement, I decided to keep my upper and lower arms and do the bushings myself. Living in Southern California I didn't think they would be too unforgiving - I was right. They popped right out and the new ones went right in. If you live in the wet and salty and have a lot of under body corrosion - you might want to just replace the arms outright.
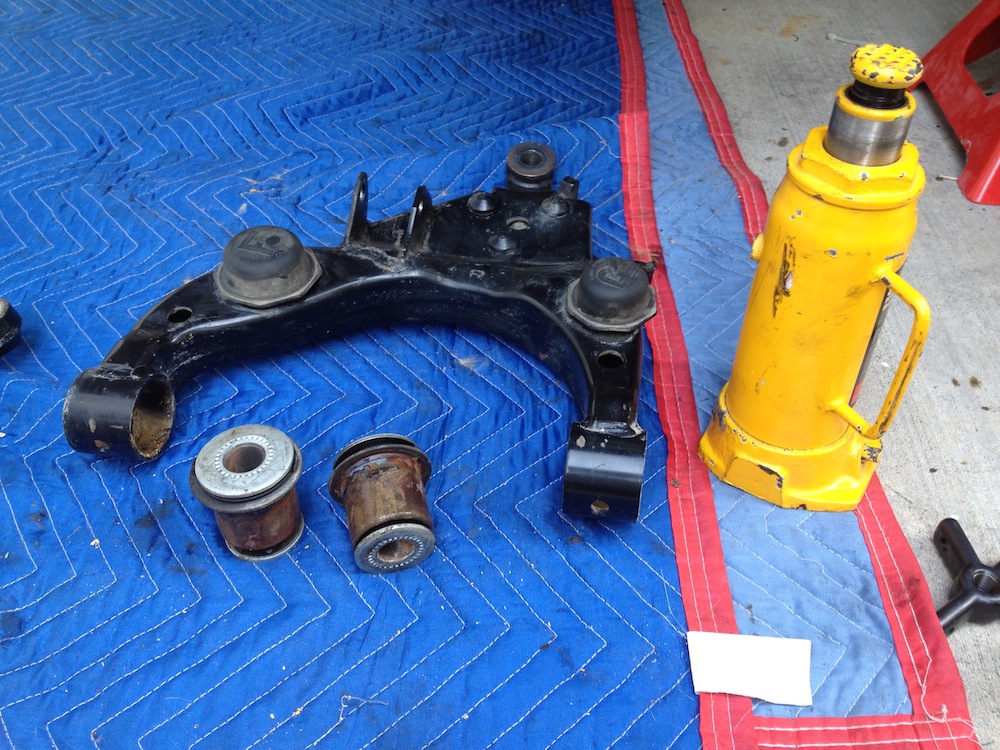
Though not a step by step, I am still going to post a few pics of my own as I go through the job. Today I did the Lower Bushings, tomorrow I'll do the uppers, BJs and TREs as well as the rack guide.
Pics and more to follow.
Last edited by 4rnographic; 02-06-2013 at 08:13 PM.
For the TREs and Ball joints I rented a couple tools from my local auto parts place. So far, the pitman arm puller (as in the Taco walk through linked above) and one of the cylinders from the ball joint press are all I've used. My bench vise was also a big help.
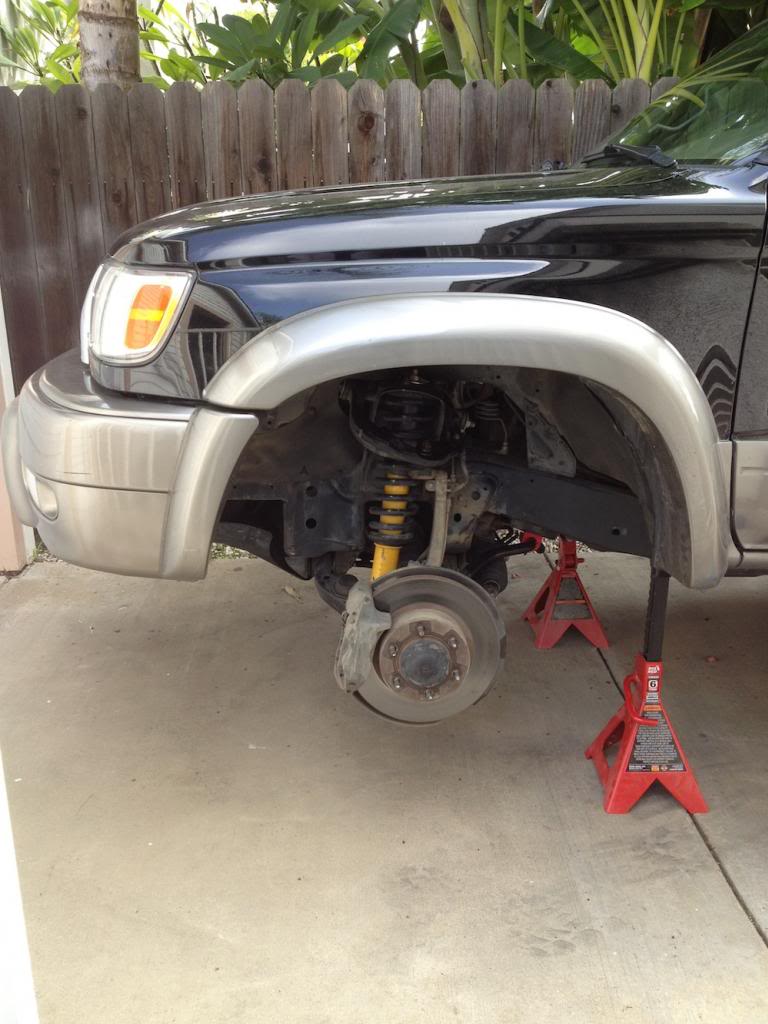
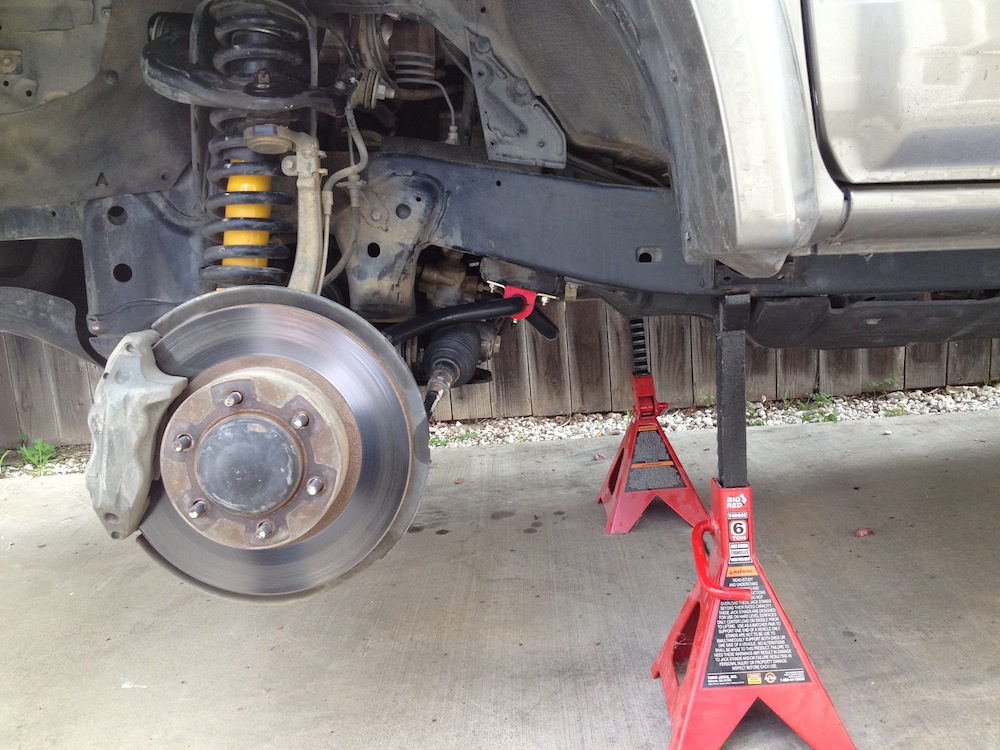
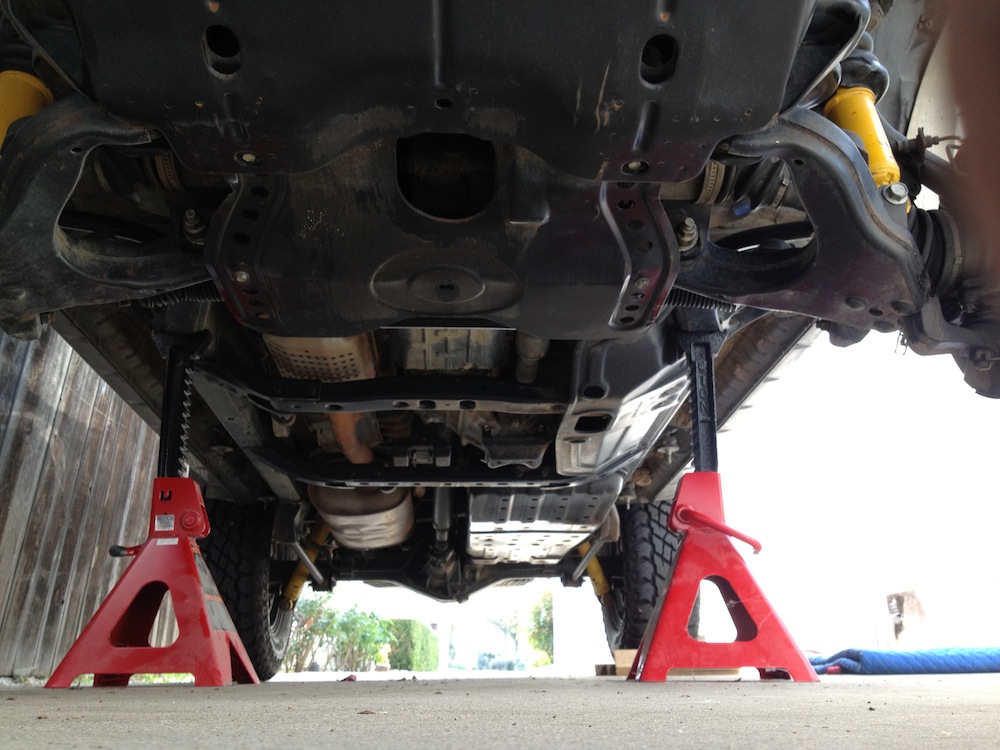
Here are a few shots of the rig on jack stands:
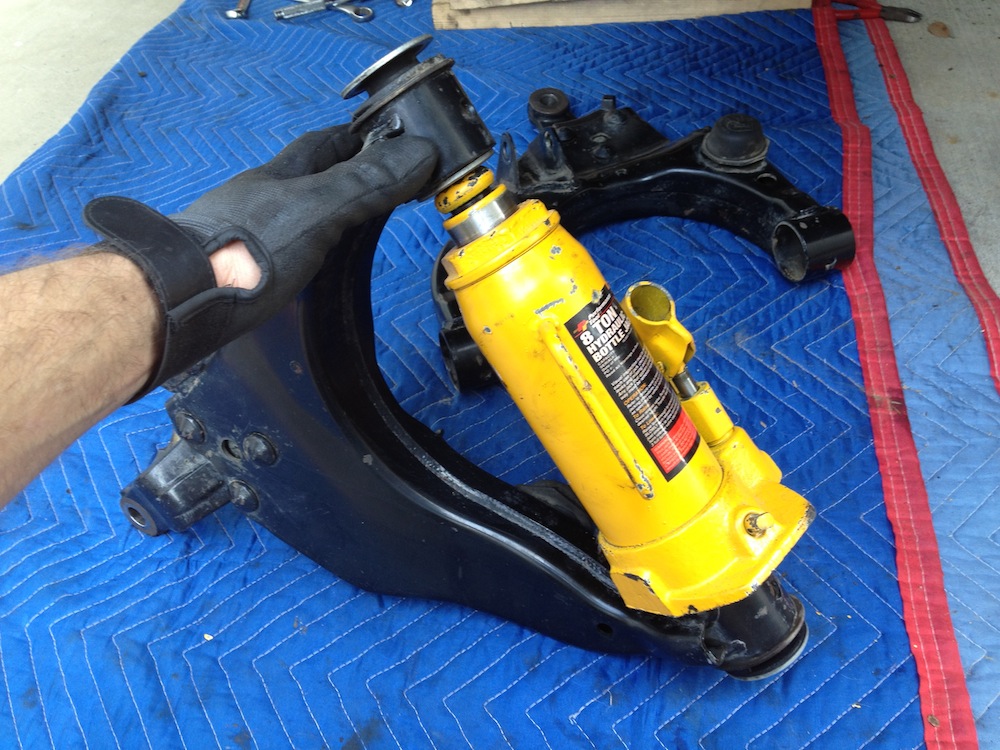
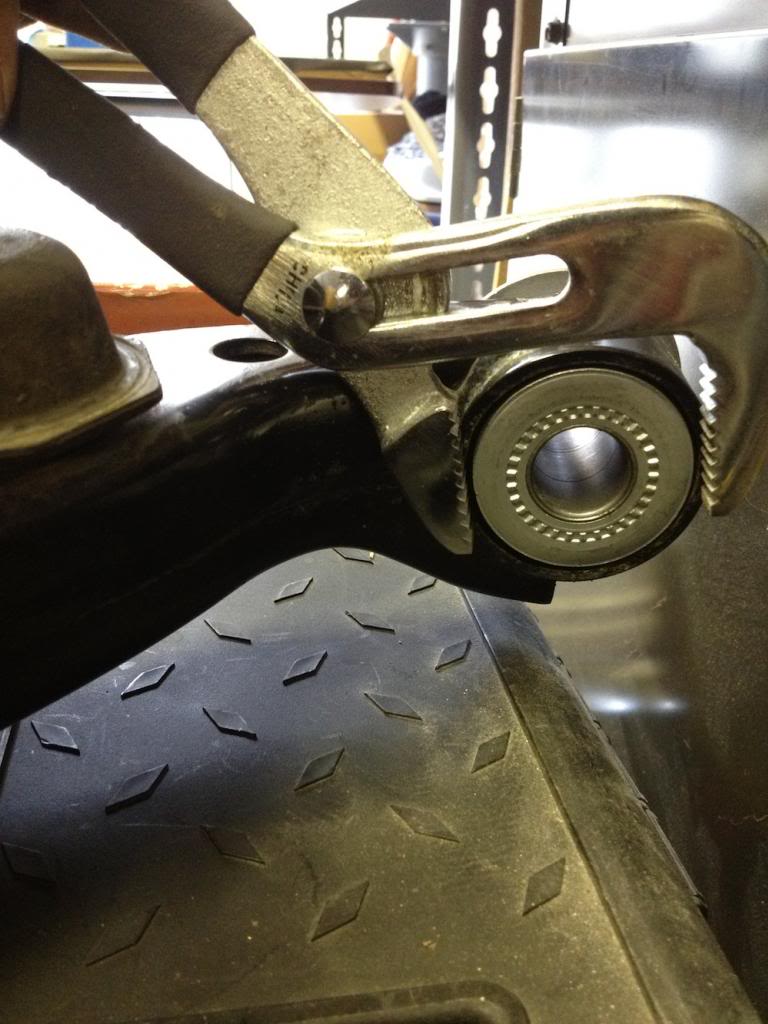
Thanks to a tip from cpizzle42, getting the old bushings out took minutes:
But the stock jack is a PITA to work with, so I grabbed my bigger badder bottle backup:
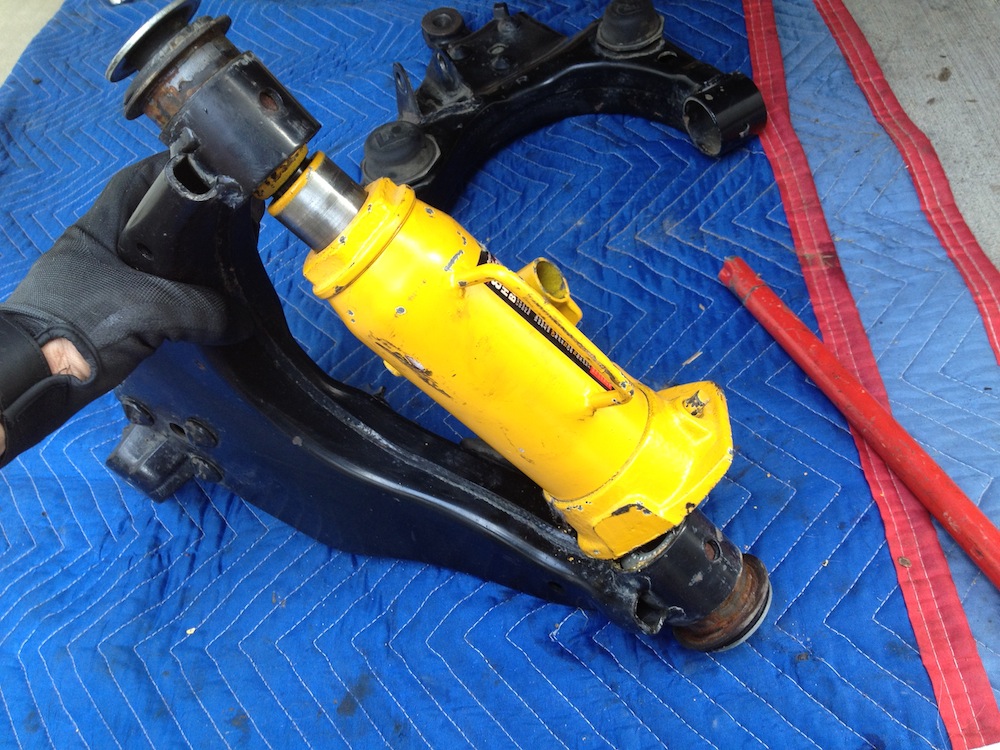
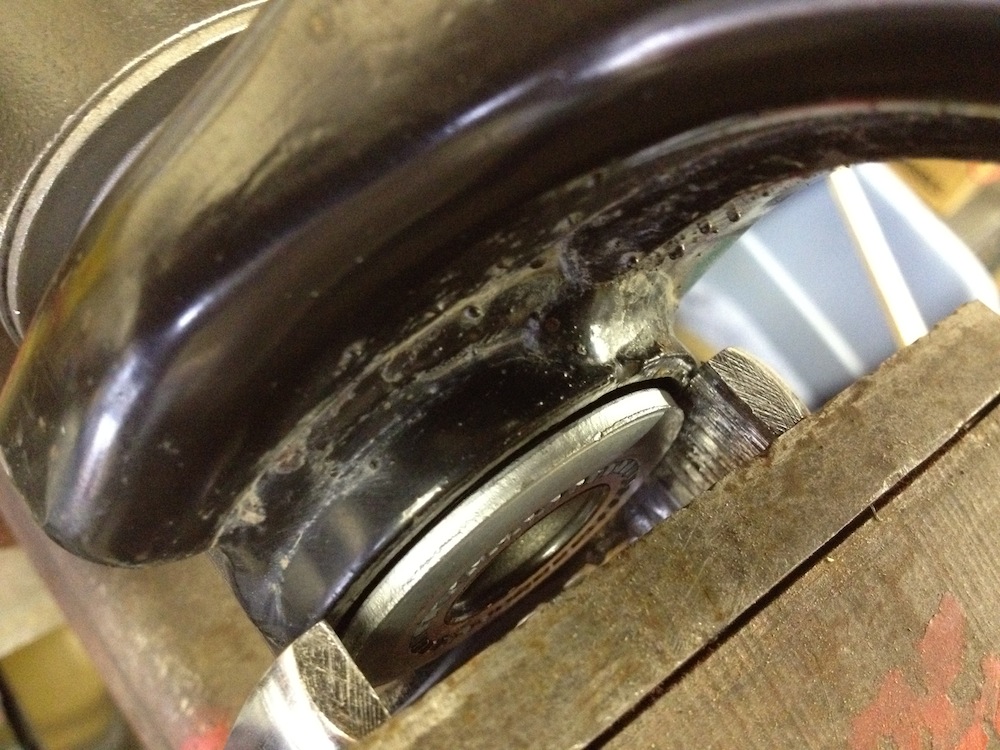
This time they both popped at once!
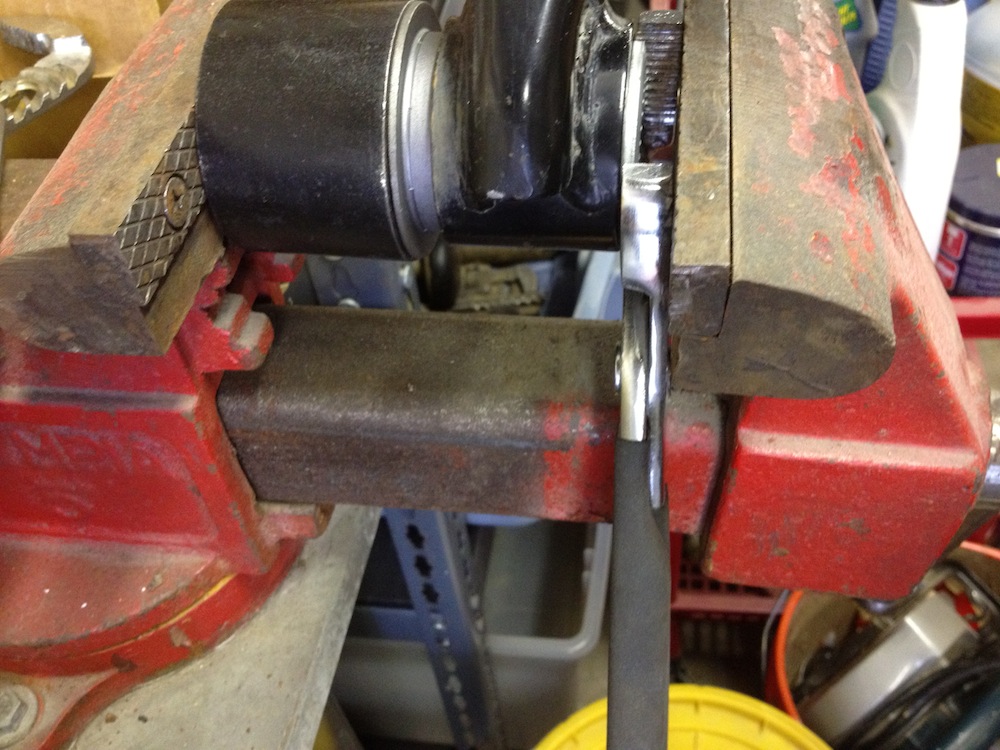
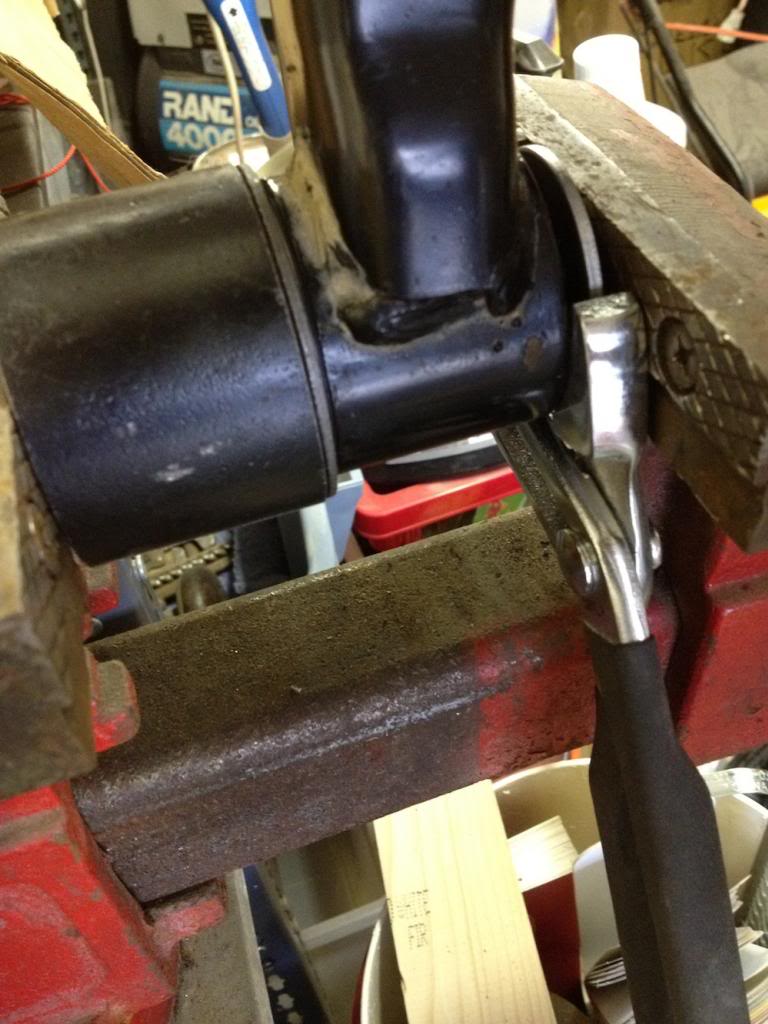
Next, pressing the new ones in. I used my bench vise, one of the cylindrical press sleeves from a rented ball joint press, and a pair of channel locks:
The idea behind the channel locks was merely to create a space for the inner part of the bushing in order to press the outer in completely via the vise.
Although a bit of a juggling act to get each stack lined up in the vise without a helper, it worked like a charm - done with all four in about 20 minutes.
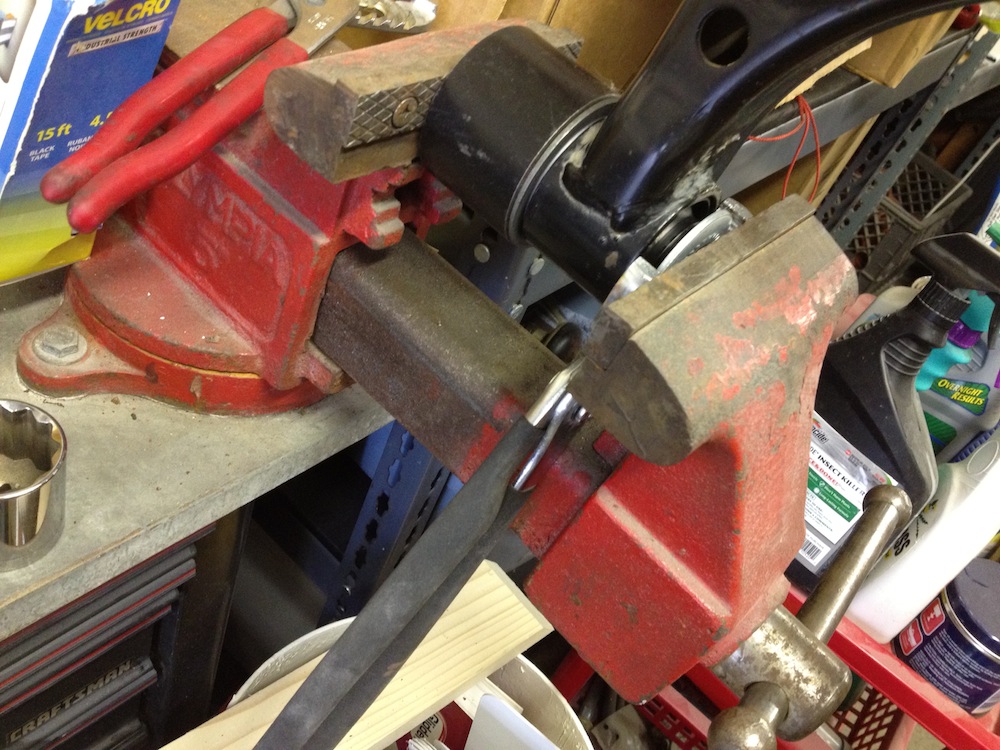
Bam!
Stay tuned and thanks again to the members of this forum whose posts and experience helped me make this a smooth job (so far...)
Thanks to original poster for the writeup. This, and the write-ups linked, were very helpful. I did use a small bottle jack to get the old LCA bushings out and that worked fine.
One thing to note is that when you are pushing on the inside of the bushing with the jack, alot of energy is building as the rubber stretches, and the bushing can become a projectile when it breaks loose. Would recommend applying slight force with jack and tapping/banging on the bushing through the hole in the LCA with a hammer and adding jack pressure a bit at a time while tapping each time. I have a nice punch in my garage drywall now.
The main reason I wanted to contribute to this post is for pressing in the new bushings. The method posted likely works fine, but I did not have access to a vise (or a workbench for that matter ), and my truck was sitting on jack stands and I needed to get it going over the weekend. I decided to pick up a 5/8" x 12"long threaded rod with the accompanying nuts and washers (home depot, hardware isle ~$6.00). I did borrow some ball joint press adapters from the local auto parts store, and it all worked great. The picture shows the F side pressed in and starting on the R side.
You need a receiver big enough to accept the small end of the bushing into it as it passes through the LCA (could also be a socket if you have a big one), and a cylinder for the other end that fits around the inside of the bushing and presses on the bigger flange.
 02-06-2013, 08:03 PM


 ), and my truck was sitting on jack stands and I needed to get it going over the weekend. I decided to pick up a 5/8" x 12"long threaded rod with the accompanying nuts and washers (home depot, hardware isle ~$6.00). I did borrow some ball joint press adapters from the local auto parts store, and it all worked great. The picture shows the F side pressed in and starting on the R side.