
Gyoas759s 1995 4Runner Adventure Wagon
 Jun 6, 2016 | 07:26 PM
#21
Thread Starter
Registered User
Joined: Jun 2009
Posts: 73
Likes: 1
From: Grand Valley, Pennsylvania
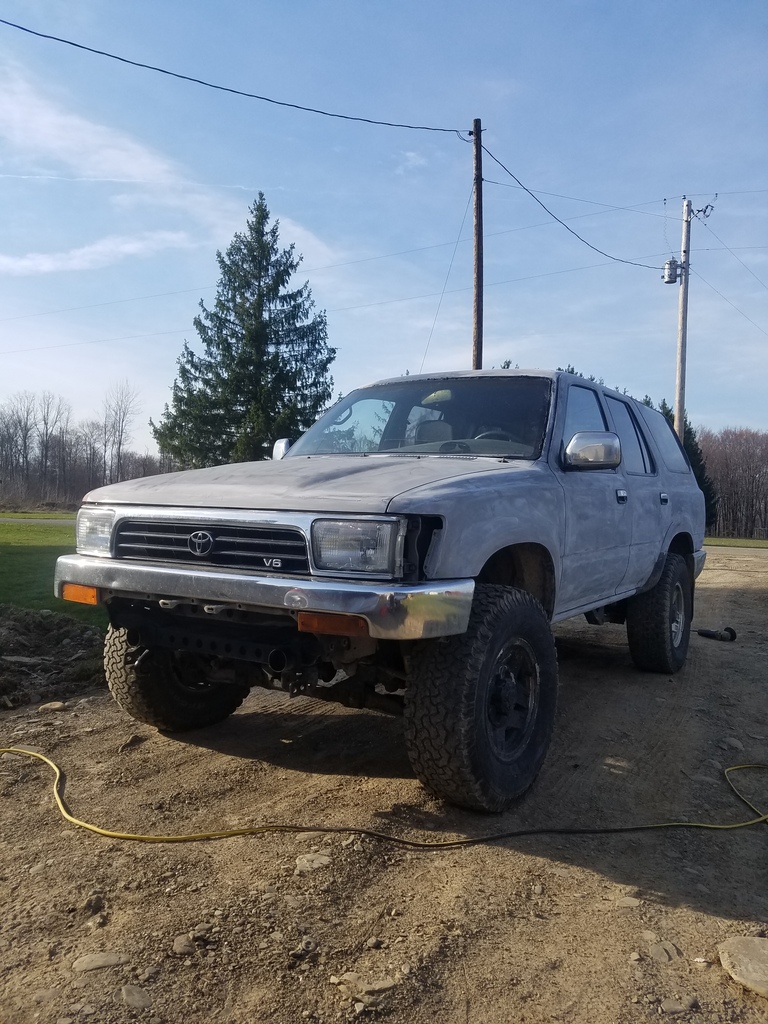
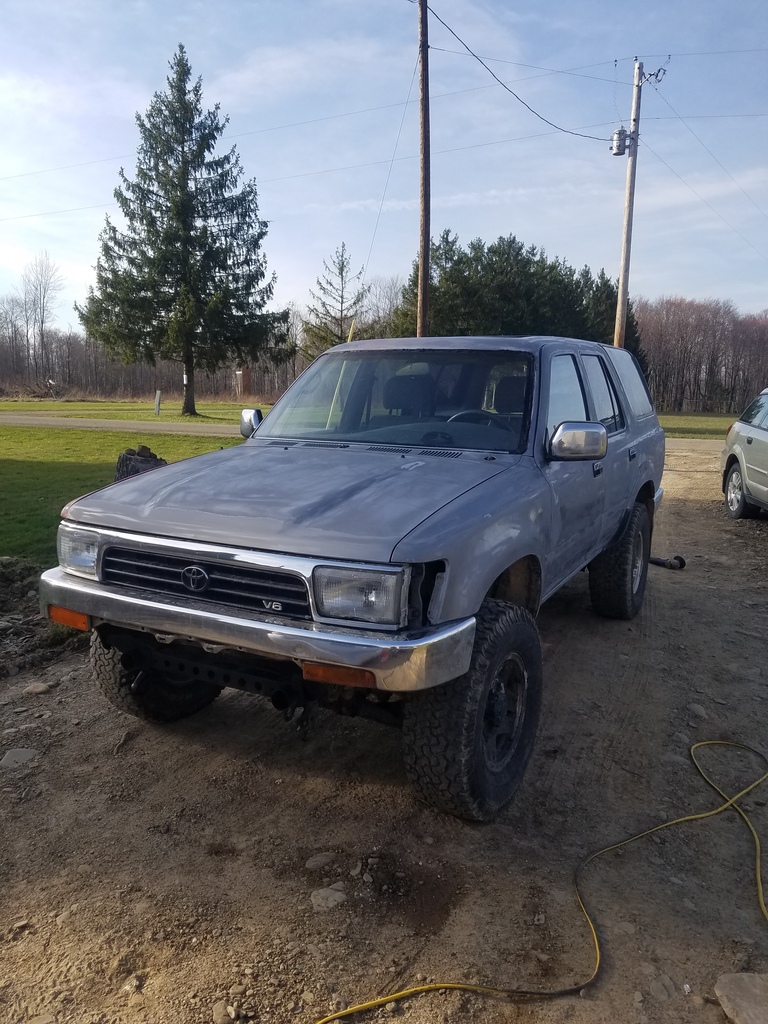
Going for "Cheap and Reliable" but I still like things neat and nice as possible without dropping too much $$$ into a daily driver.
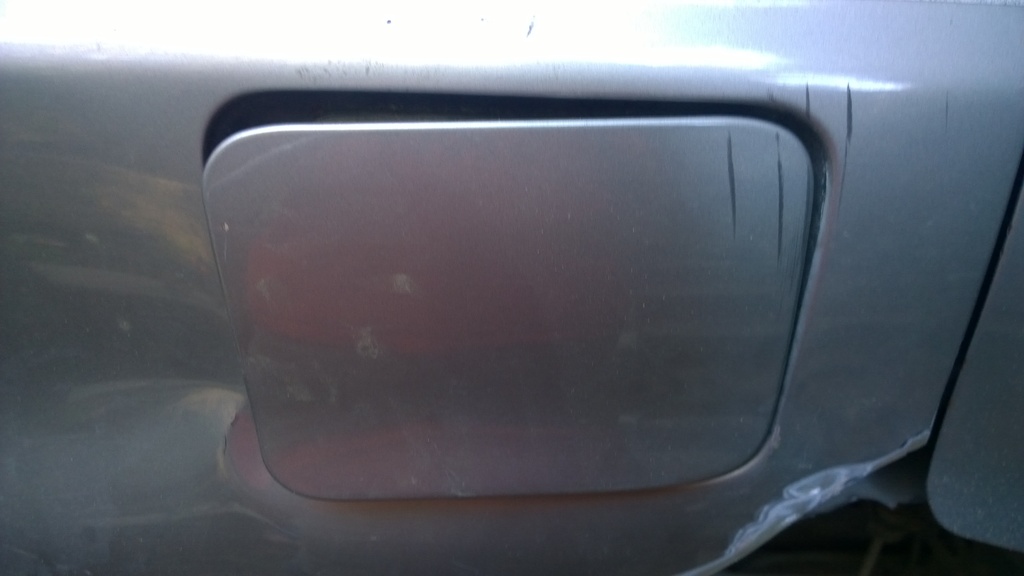
Gas flap was saggy. Turns out the plastic tab inside was broken.

Out came the plastic welder for a zero budget fix.
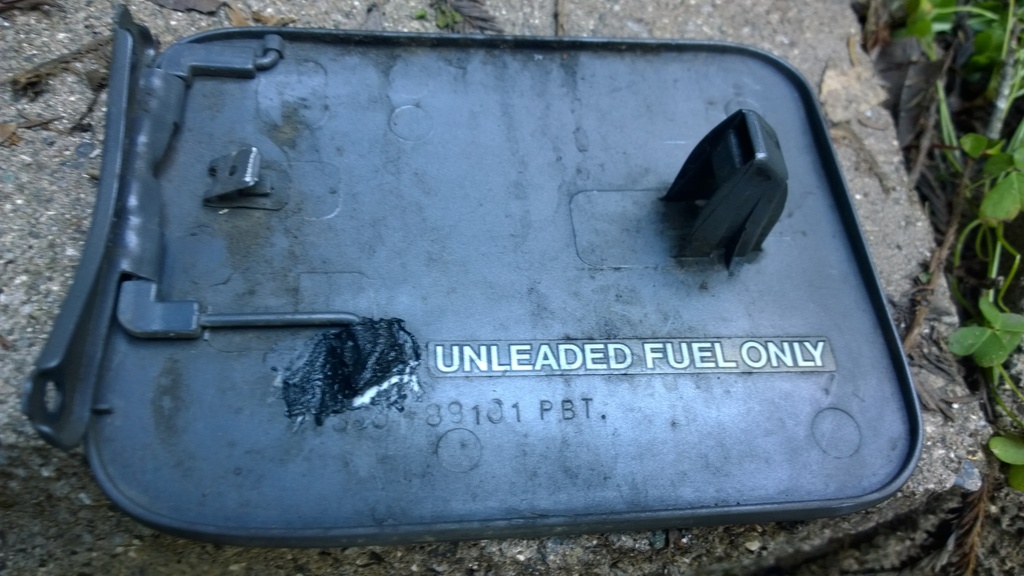
A little ugly on the inside.
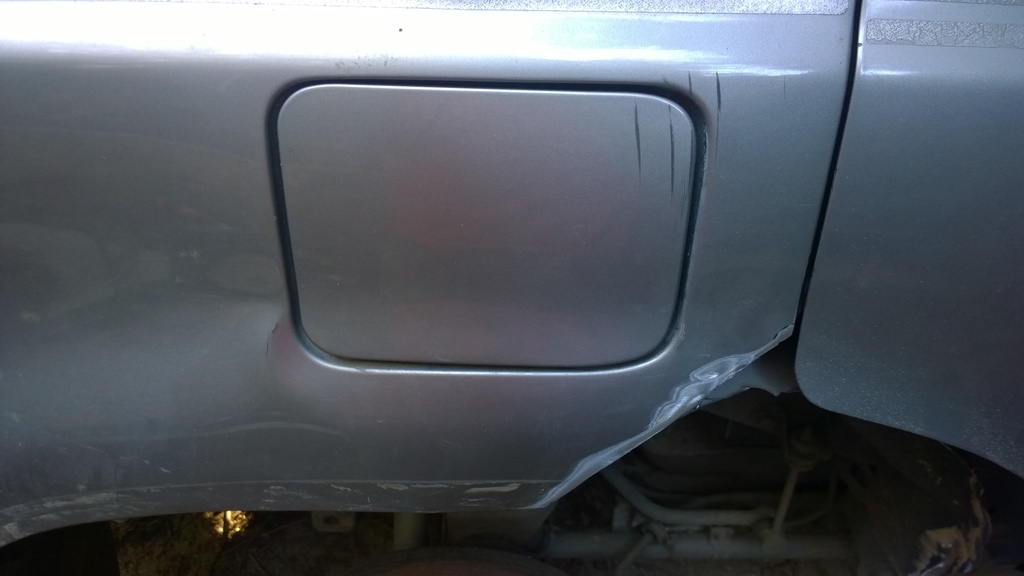
Good as new on the outside!

Gas flap was saggy. Turns out the plastic tab inside was broken.

Out came the plastic welder for a zero budget fix.

A little ugly on the inside.

Good as new on the outside!
 Mar 6, 2017 | 08:44 AM
#23
Thread Starter
Registered User
Joined: Jun 2009
Posts: 73
Likes: 1
From: Grand Valley, Pennsylvania
Wow. Been a while. Nearing relative completion. We moved in the fall and are now in Northwestern Pennsylvania. Between packing, unpacking, new house and such. The 4runner has mostly been on the back burner.
Before the snow set in, I got a set of Moog rear springs and put them in to fix the butt sag going on.
The list at this point is
Grease/replace speedo cable as it shrieks/buzzes over 20 mph.
Stitch up the last of the seam weld and bondo or fiberglass
Paint job - either an olive green or camo
Stronger brush guard - the one on there is mostly for show. Might integrate it with the one I weld up.
Skid plate - if anyone has any good leads on an inexpensive one, let me know. Otherwise I'll fab one up
fog lights.
Tote/box of recovery gear/survival kit.
Beef up the roof rack for kayaks and such
Before the snow set in, I got a set of Moog rear springs and put them in to fix the butt sag going on.

The list at this point is
Grease/replace speedo cable as it shrieks/buzzes over 20 mph.
Stitch up the last of the seam weld and bondo or fiberglass
Paint job - either an olive green or camo
Stronger brush guard - the one on there is mostly for show. Might integrate it with the one I weld up.
Skid plate - if anyone has any good leads on an inexpensive one, let me know. Otherwise I'll fab one up
fog lights.
Tote/box of recovery gear/survival kit.
Beef up the roof rack for kayaks and such
Mar 12, 2017 | 11:24 AM
#24
Thread Starter
Registered User
Joined: Jun 2009
Posts: 73
Likes: 1
From: Grand Valley, Pennsylvania
Ordered an antenna for it from these guys.
http://www.antennamastsrus.com/Toyot...01989-1995.htm
Will report on quality after it's installed.
Going a little stir crazy as a big nor'easter is hitting us and I am wishing that 60-70 degrees from a week ago was still around so i could be wrenching. Next step should probably be to run it over to the shop, stitch up the last few little pieces on the body, tape it up and paint it. I hope to use this as a trail vehicle at times and to get to my more remote fishing and hunting spots, so spending much on paint seems a waste as I'll probably rough it up some anyway. Olive green rattle can job is probably the way to go. Black rims and some stickers for the windows.
My personal deadline for having it on the road is April 15th - Opening day of trout season for Pennsylvania. We have an annual gathering at our cabin for some good laughs and good fishing (weather and fish permitting of course) If not, there's always a warm fire, good food and good company. Would rather travel to the mountains in this 4runner than my Subaru.


 Mar 24, 2017 | 05:00 PM
#27
Thread Starter
Registered User
Joined: Jun 2009
Posts: 73
Likes: 1
From: Grand Valley, Pennsylvania
Thanks guys. had sunshine and 66 degrees here and warm trend should continue through the weekend. Got started today to get some good work done over the weekend.
Got rid of the silly chrome strips since they were long gone on the passenger side.
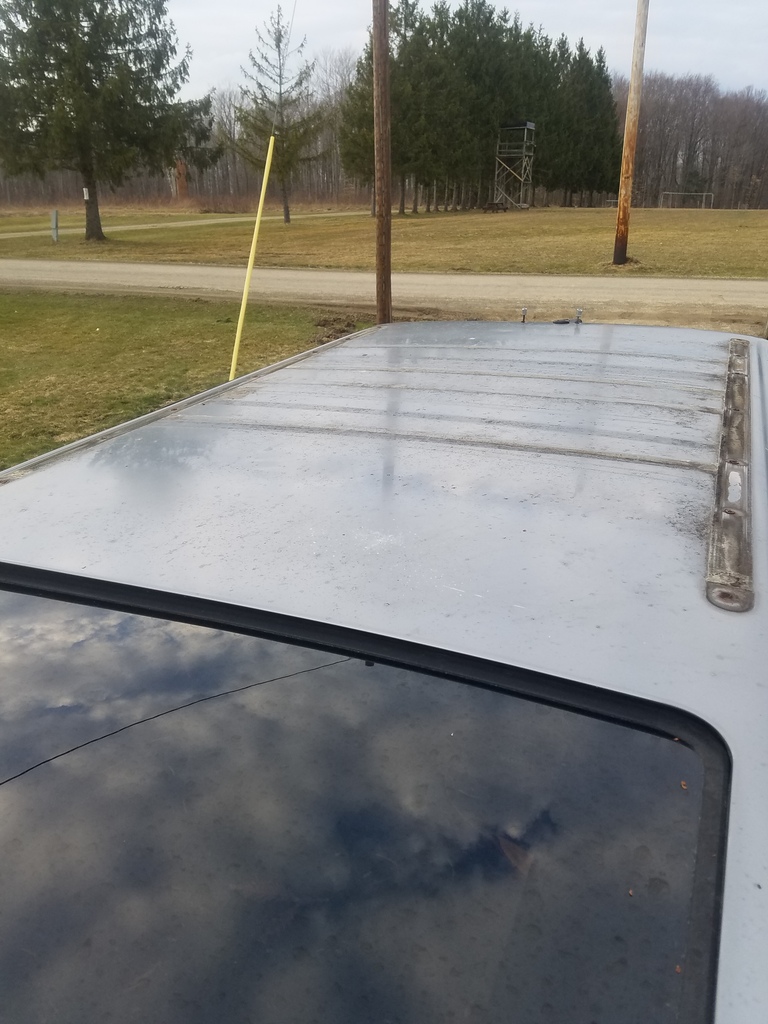
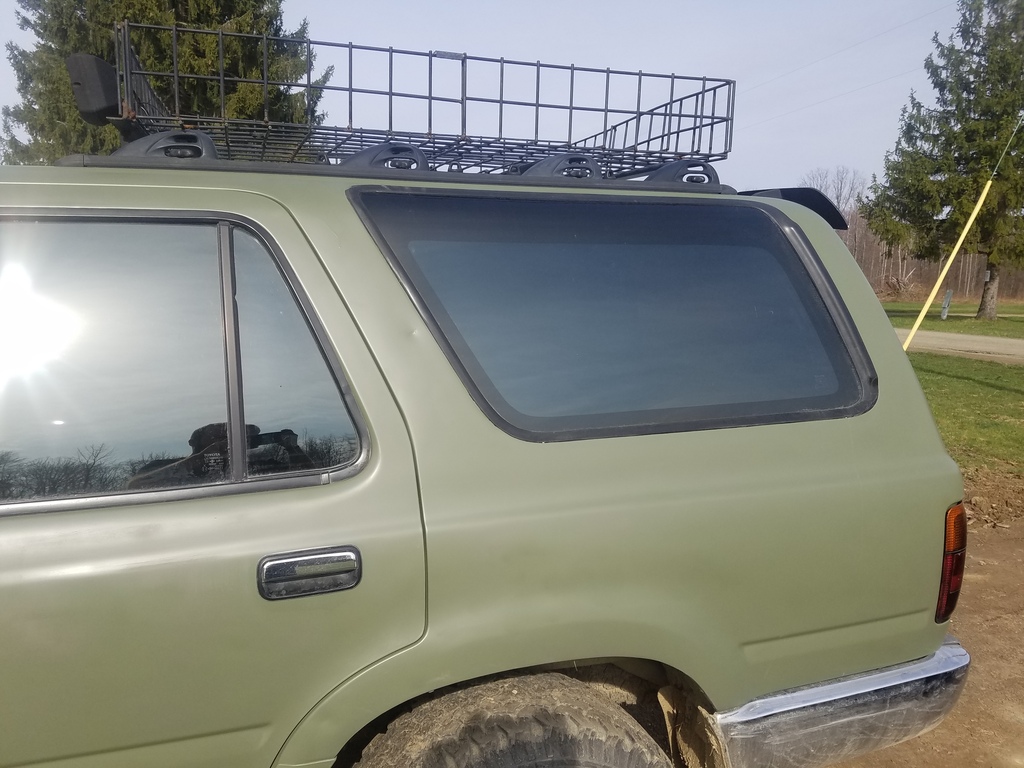
Getting ready for some paint soon. Pulled the roof rack and the rear spoiler thingy. Gotta clean it off. Bought some 220 grit sandpaper to rough up my old paint so the new stuff can stick and not flake.
Missing one of these little screw tensioners for one of my roof bars. If someone has an extra one taking up space in a garage or something, or can grab one from a boneyard let me know. 3 weeks til trout season and counting.
New antenna arrived and looks great. Will be nice to have a working AM/FM again.

Got rid of the silly chrome strips since they were long gone on the passenger side.


Getting ready for some paint soon. Pulled the roof rack and the rear spoiler thingy. Gotta clean it off. Bought some 220 grit sandpaper to rough up my old paint so the new stuff can stick and not flake.

Missing one of these little screw tensioners for one of my roof bars. If someone has an extra one taking up space in a garage or something, or can grab one from a boneyard let me know. 3 weeks til trout season and counting.
New antenna arrived and looks great. Will be nice to have a working AM/FM again.
 Mar 25, 2017 | 05:03 AM
#29
Thread Starter
Registered User
Joined: Jun 2009
Posts: 73
Likes: 1
From: Grand Valley, Pennsylvania
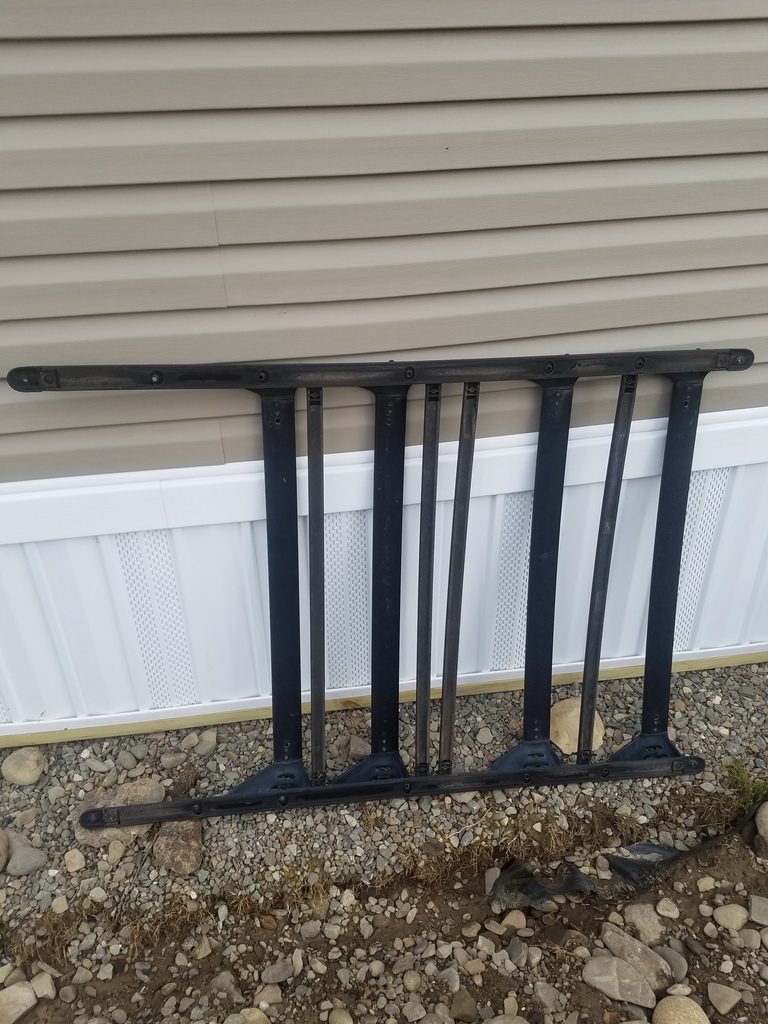
The basket rack that I had on it for a time in california is just gridwall welded together. It's on my subaru for the time being. But it's just 1/4 inch thick rods. I'd like to get some 1 inch pipe to frame it out. Will double the weight but it would be strong enough for kayaks etc. I made the rack 5 years ago. Broke 2 welds on it which have since been repaired. But I want to make it bullet proof. The factory mounts and 4 bars should be sufficient to mount it for now. I may make something altogether bigger and better at a later date.
Mar 26, 2017 | 05:41 PM
#30
Thread Starter
Registered User
Joined: Jun 2009
Posts: 73
Likes: 1
From: Grand Valley, Pennsylvania

Dropped the brush bar and moved it to the shop. Bar is not that heavy. Will either beef it up or build a better one later.

Moving along.

Pulled the bulbs for the license plate illumination to be ready to pass PA safety inspection with no snags. Wiring it was the only unfinished part of my tail gate swap. Spliced it in and installed new 194 bulbs and worked just fine.

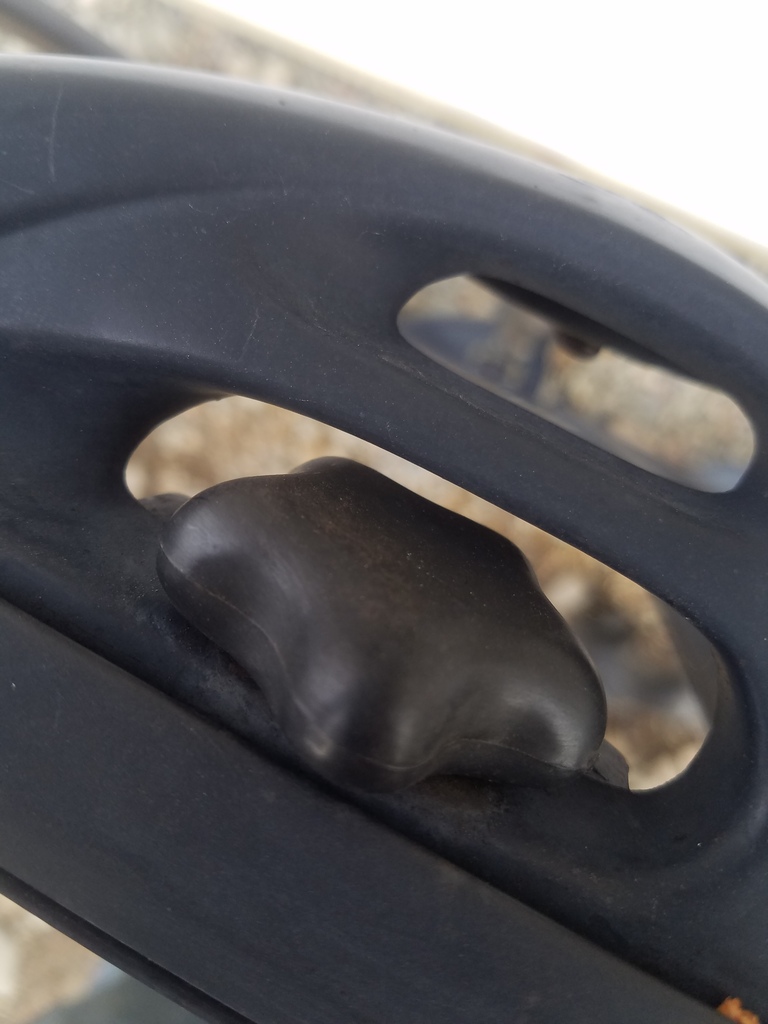
Anyone know a source or part number for these clips? These two are for the lock pin for the swing gate. I'll check and see if they're the same as the one for the prop rod.

Began with a layer of fiberglass for strength and then bondo for my quarter panel seam.

Heat gun and a razor blade slowly got the decals off. The two replacement doors must have baked in the sun more than my truck did because there was no removing them this way. Used an angle grinder and sanding disc to take those off and down to bare metal. Palm sander and 220 grit to smooth it out.
HOLY COW! I must have tried for two hours to get that adhesive off. Didn't want to spend $30 and wait a week for the 3m wheel. Tried paint thinner, sap remover mineral spirits, carb cleaner, sanding, nothing. Finally found some graffiti remover and soaked it with that for 30 minutes, Still took some scrubbing but got it off.

As I left it. Started using 220 grit to mostly just rough up the existing paint for the new stuff to adhere to. Will be very needed in the spots where the clear coat is lifting and peeling.
The hard work is almost over and I'm getting closer to the fun part.
 Mar 27, 2017 | 07:58 AM
#32
Thread Starter
Registered User
Joined: Jun 2009
Posts: 73
Likes: 1
From: Grand Valley, Pennsylvania
I'll probably do that. It's just going to be a krylon job, since this will see plenty of time in the woods. But I figure it's $5 for a little extra sand paper to have a nice starting point. Top priority is to make it rugged so it's not flaking off.
This thing should see paint by the end of the week.
This thing should see paint by the end of the week.
Mar 27, 2017 | 09:06 AM
#34
Thread Starter
Registered User
Joined: Jun 2009
Posts: 73
Likes: 1
From: Grand Valley, Pennsylvania
My preference for this one is a flat army/olive green. The rattle can jobs don't look that much different than the "real" paint jobs.
Apr 11, 2017 | 05:56 AM
#35
Thread Starter
Registered User
Joined: Jun 2009
Posts: 73
Likes: 1
From: Grand Valley, Pennsylvania
Well, here goes. Cleaned the last of the decal residue up and sanded the last of the bondo spot smooth. Rough sanded it with some fine grit sandpaper.
After I'd covered every inch, I gave it a wet wash to remove all the dust and let it dry.
Taped it up and rolled it into the shop last night.
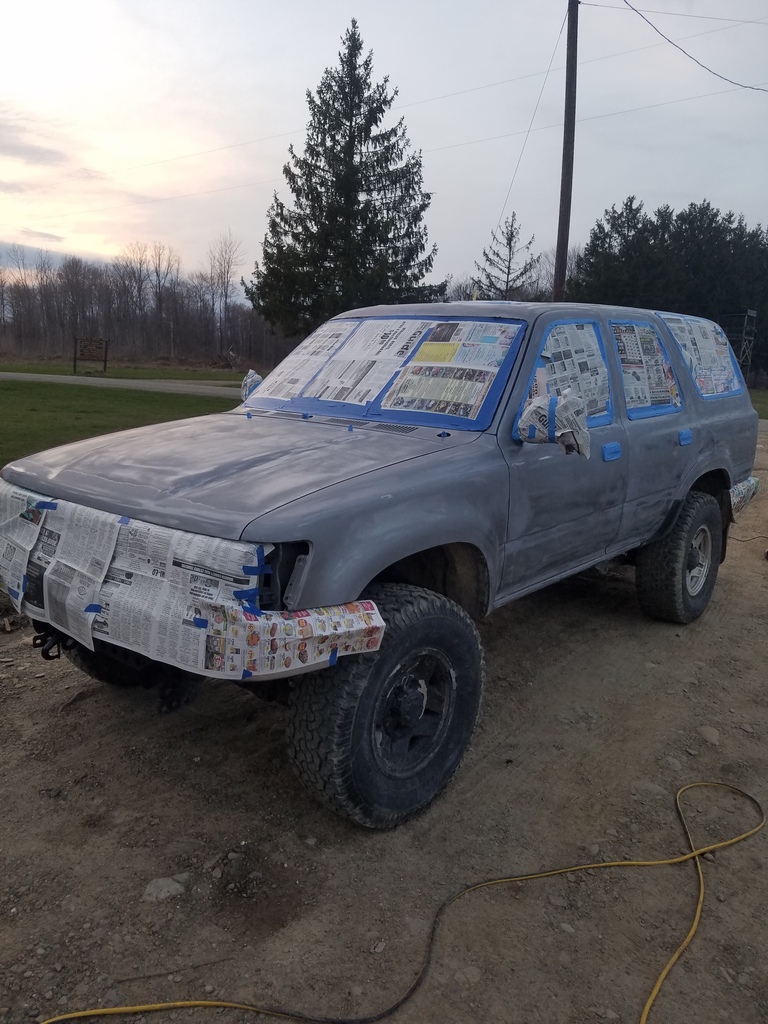
It's green now, but the dim light and tight space made for poor pictures. Will update tomorrow probably. Will be doing the mirrors and trim in a flat black to match the olive.

After I'd covered every inch, I gave it a wet wash to remove all the dust and let it dry.

Taped it up and rolled it into the shop last night.

It's green now, but the dim light and tight space made for poor pictures. Will update tomorrow probably. Will be doing the mirrors and trim in a flat black to match the olive.
Apr 13, 2017 | 12:18 PM
#36
Thread Starter
Registered User
Joined: Jun 2009
Posts: 73
Likes: 1
From: Grand Valley, Pennsylvania
Ahh... Much better. Now it looks like a romper/Mountain vehicle instead of another beater,
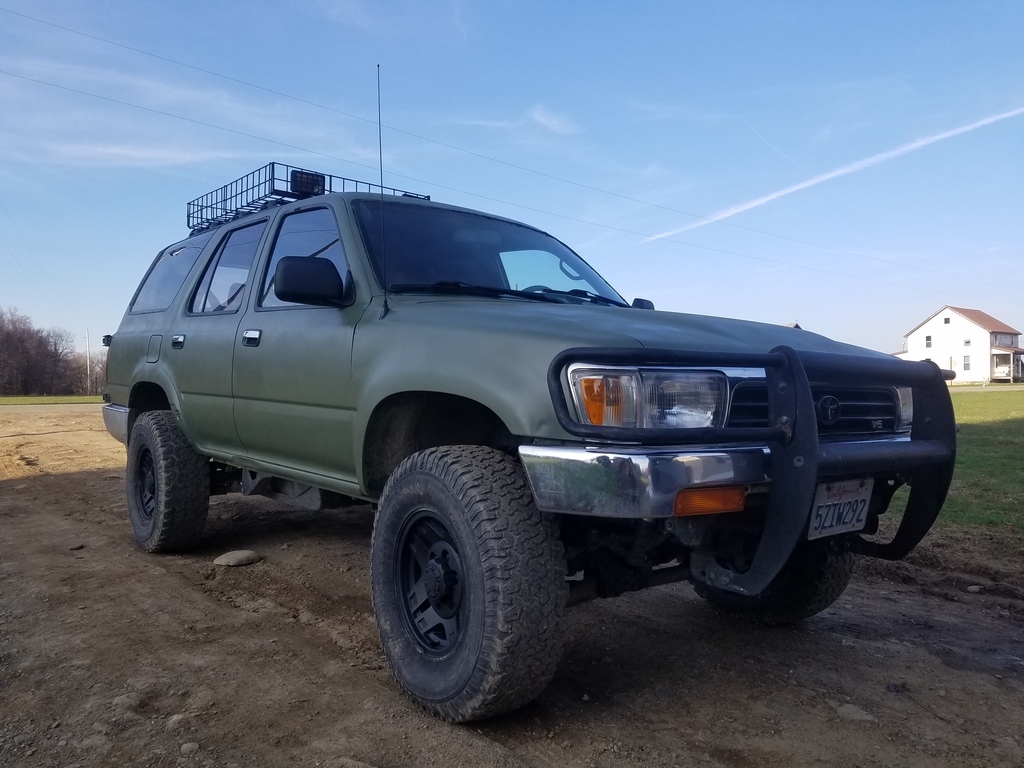
Had to class it up with some stickers. Just too bare. Been assembling a small stack of them for a while. Mix of both Pennsylvania and California and a little in between.


Leaving in an hour for my fishing trip. Got the dogs in the back and the rods and gear in the back seat.


Had to class it up with some stickers. Just too bare. Been assembling a small stack of them for a while. Mix of both Pennsylvania and California and a little in between.


Leaving in an hour for my fishing trip. Got the dogs in the back and the rods and gear in the back seat.
Jun 17, 2019 | 06:02 AM
#37
Thread Starter
Registered User
Joined: Jun 2009
Posts: 73
Likes: 1
From: Grand Valley, Pennsylvania
Now for sale in the classifieds. Baby #3 arrives next month. This is great for romping but I'm putting more miles on the Outback these days and the 4runner doesn't get much use.

Thread
Thread Starter
Forum
Replies
Last Post
mapemberton12
General Electrical & Lighting Related Topics
2
Jan 10, 2016 02:01 PM
WTB[SouthEast]: looking for metal window part
87blyota
Misc Stuff (Vehicle Related)
0
Jan 5, 2016 01:18 PM
Ame4Noobs
86-95 Trucks & 4Runners
4
Jan 5, 2016 04:01 AM


