30 spline Longfield install with pics.
 07-22-2006, 10:26 PM
#41
Banned

Join Date: Feb 2006
Location: ocala,fl
Posts: 66
Likes: 0
Received 0 Likes
on
0 Posts
excellent write up, hope you get it going soon.
those pics make it very nice for someone whose never done a front end on a straight axel yota. i have an 84 im planning on doing like that with longfields. thanks again and keep up the good work on that mini monster.
those pics make it very nice for someone whose never done a front end on a straight axel yota. i have an 84 im planning on doing like that with longfields. thanks again and keep up the good work on that mini monster.
 07-23-2006, 06:55 AM
#42
Contributing Member
Thread Starter
Thanks, I knew something would go a little wrong, Murphy's Law and all, but it HAS to go back together, I just didn't seat the axle fully or the outer bearing is binding. The mystery should be solved today if the weather stays clear.
07-23-2006, 12:20 PM
#43
Contributing Member
Thread Starter
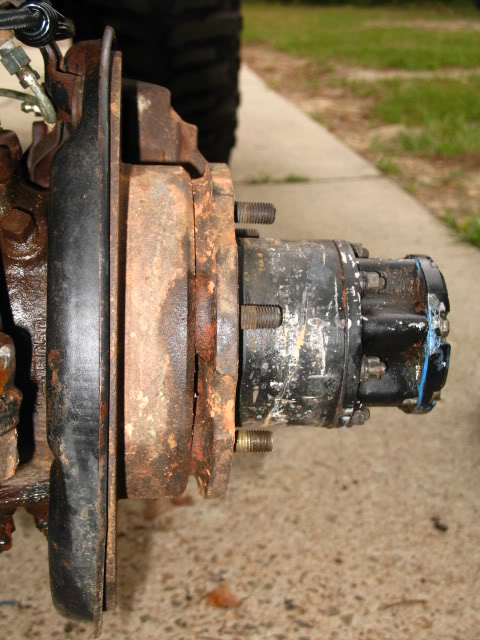
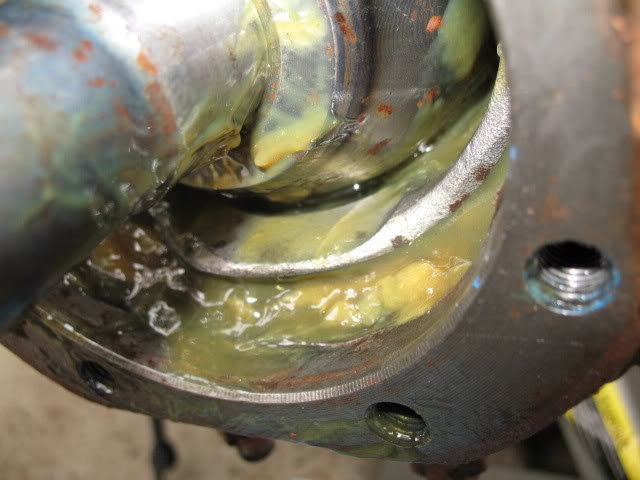
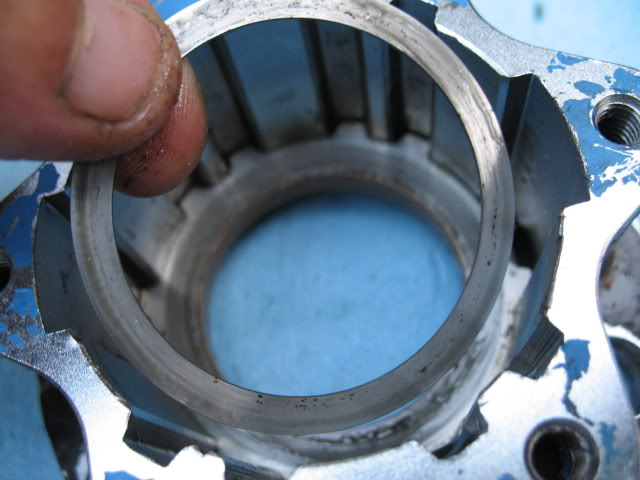
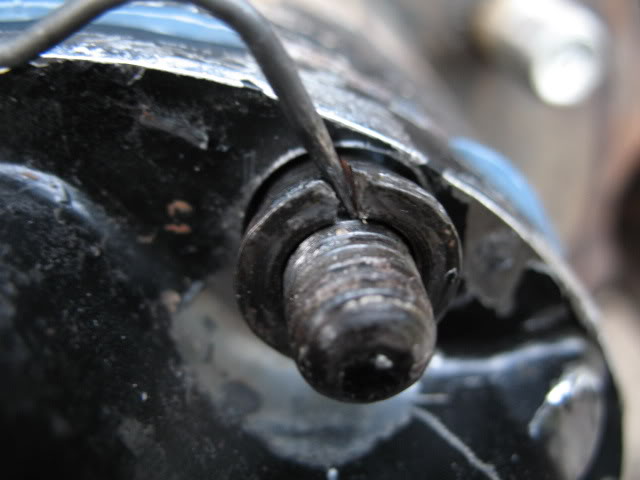
OK I pulled the other side & I am convinced I have the birf all the way in. The only thing it could be is I haven't positioned the dust cover correctly, the bearing isn't lining up or I didn't set the axle into the birf all the way.
Here's the cover on the one that won't go back together:

This is the way the other side looked before I pulled it:
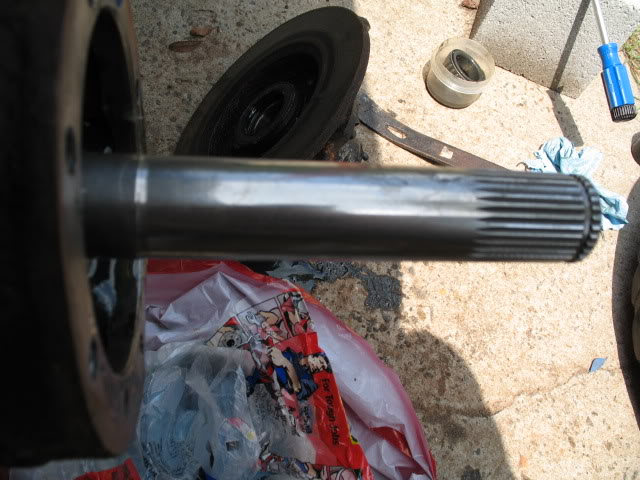
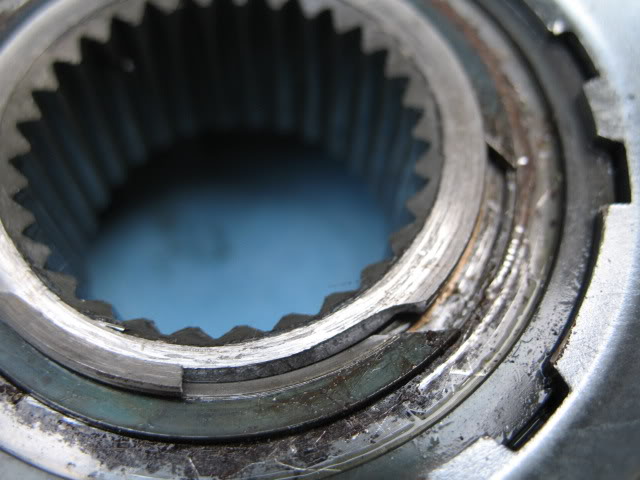
So I pulled the long side:
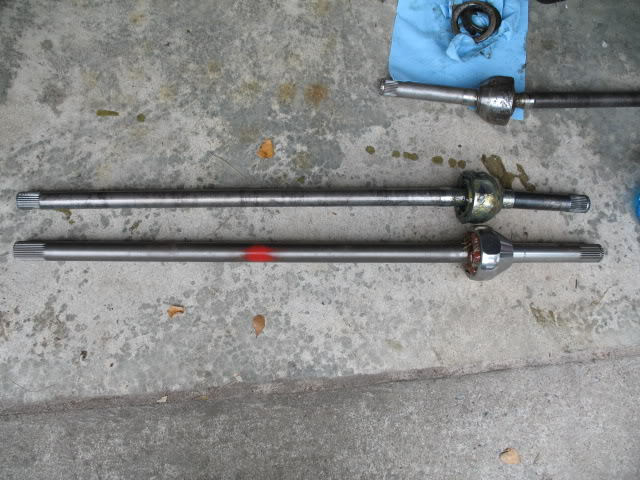
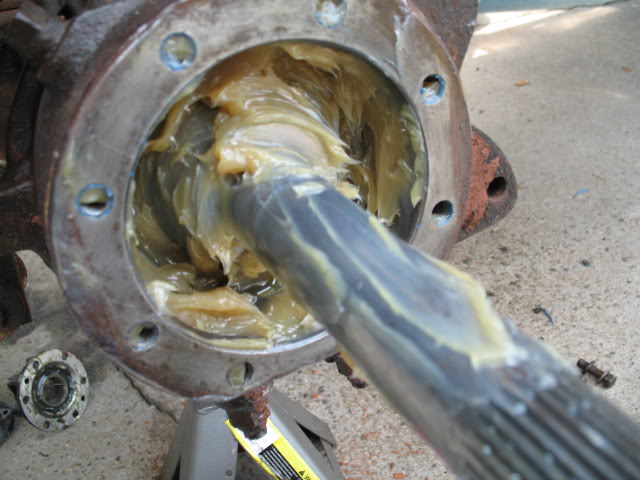
And changed the inner seal. Then made sure the new axle was seated in the birf by pounding the crap out of it
Got it in this far & it stuck:
loosened the 3rd member bolts, jacked that side way up high & jiggled the diveshaft & pushed in on the birf & it popped in. It felt & looked exactly like the stock one did before I took it out:
Stock:
New:
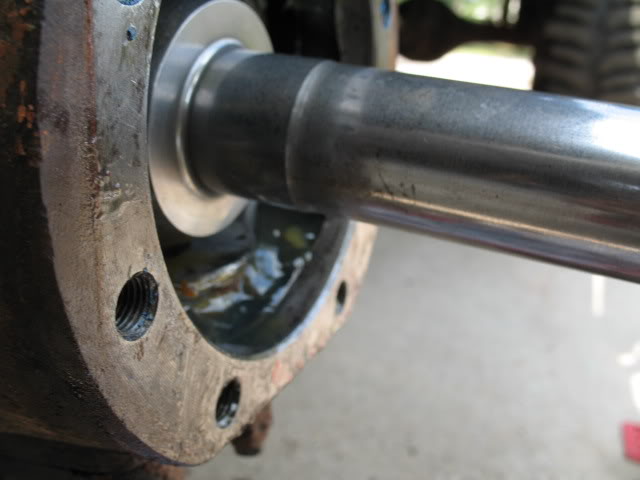
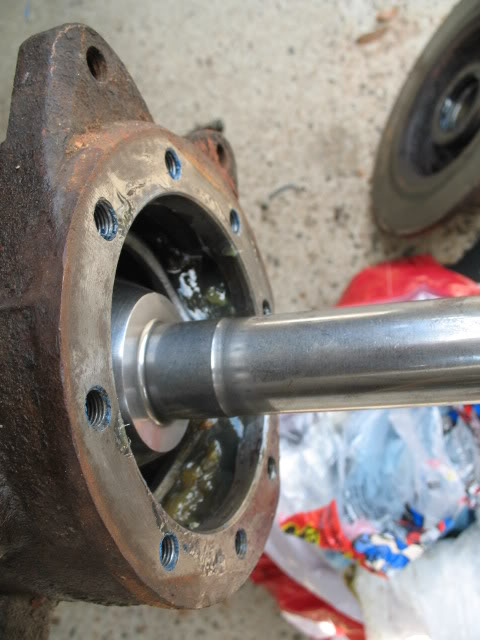
So I am pretty sure this one is in there as well...
We will see.
Here's the cover on the one that won't go back together:
This is the way the other side looked before I pulled it:
So I pulled the long side:
And changed the inner seal. Then made sure the new axle was seated in the birf by pounding the crap out of it
Got it in this far & it stuck:
loosened the 3rd member bolts, jacked that side way up high & jiggled the diveshaft & pushed in on the birf & it popped in. It felt & looked exactly like the stock one did before I took it out:
Stock:
New:
So I am pretty sure this one is in there as well...
We will see.
Last edited by 1985 4Runner; 07-23-2006 at 01:23 PM.
07-23-2006, 01:59 PM
#44
Originally Posted by 1985 4Runner
Here's the cover on the one that won't go back together:

This is the way the other side looked before I pulled it:

This is the way the other side looked before I pulled it:
Just think of all this in this manner...if you ever have to R/R another one, you won't have to look at an FSM again.

 07-23-2006, 02:11 PM
#45
Contributing Member
Thread Starter
yep, I just seated the wheel hub on the second one. I do believe I didnt seat it on the first (wheel hub assembly). I am putting the second together now, just the lock washer & lock nut to go, then change the hub gears & install.
07-23-2006, 02:14 PM
#46
Contributing Member
Thread Starter
Originally Posted by waskillywabbit
Just think of all this in this manner...if you ever have to R/R another one, you won't have to look at an FSM again.
07-25-2006, 05:41 PM
#50
Contributing Member
Thread Starter
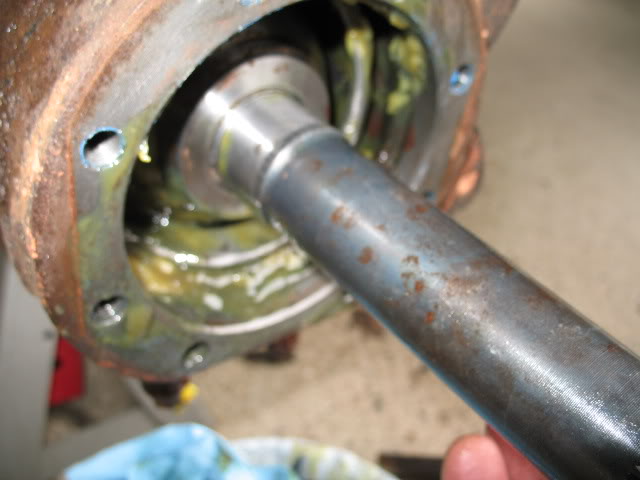
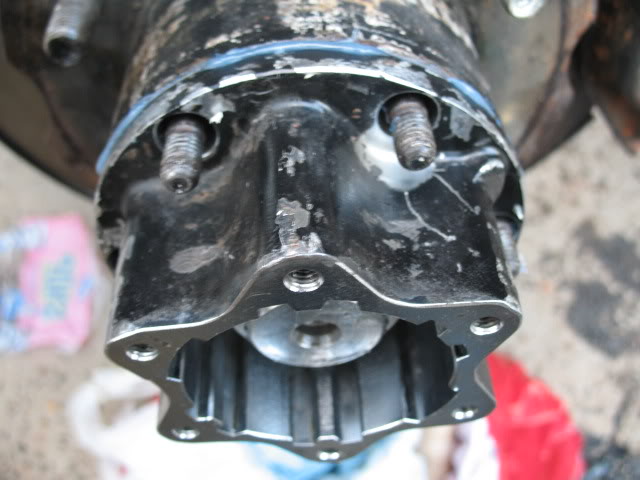
OK so I got the axles seated correctly & didn't have the hub assembly fully seated turns out...
So the other side was done everything put back in in the reverse order it was taken out & greased up.
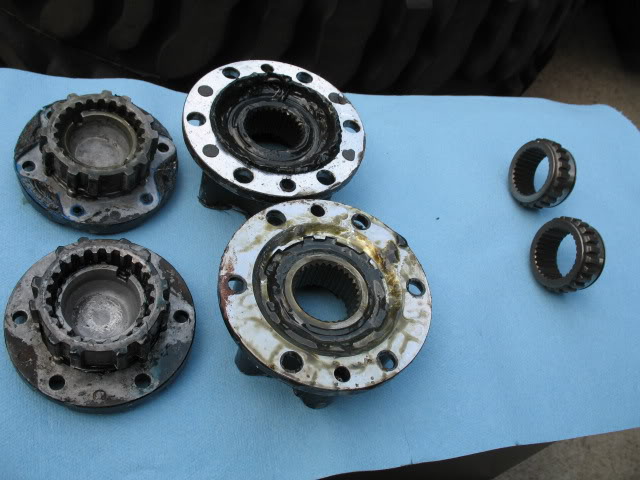
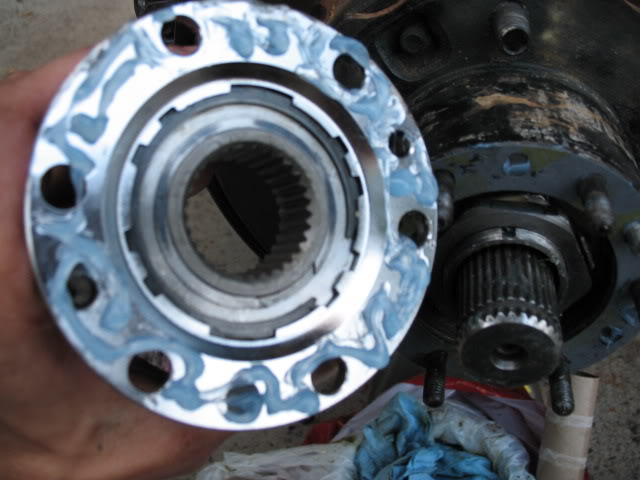
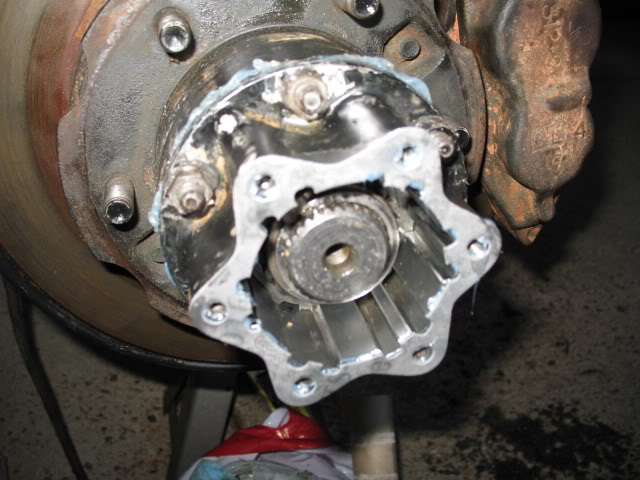
Theen it was on to changing out my hub gears with the 4340 chromoly inners from Longfield:
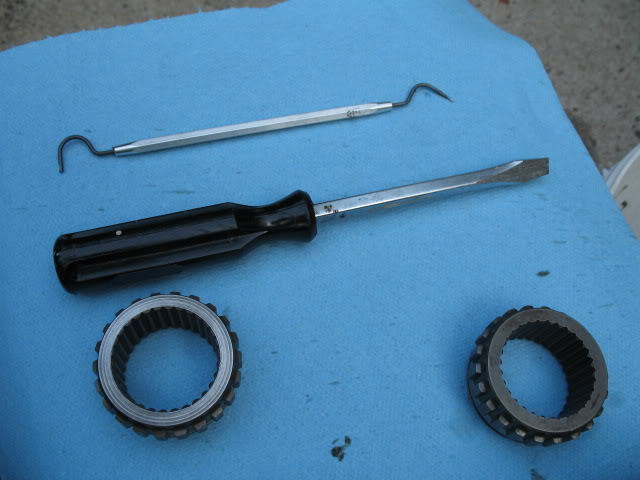
Pretty simple, but the clips can be a pain. I used a screwdriver & a tool I found at Napa.
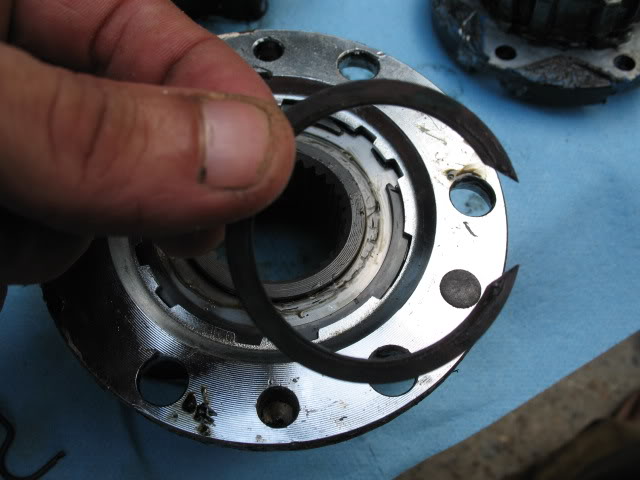
Flip the hubs over & remove this clip:
Don't do this in the process:
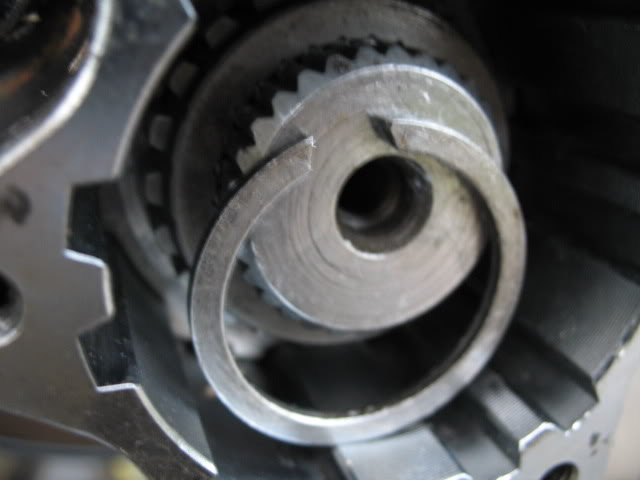
Get under the clip & pop it off:

Then the hub gear will come out:
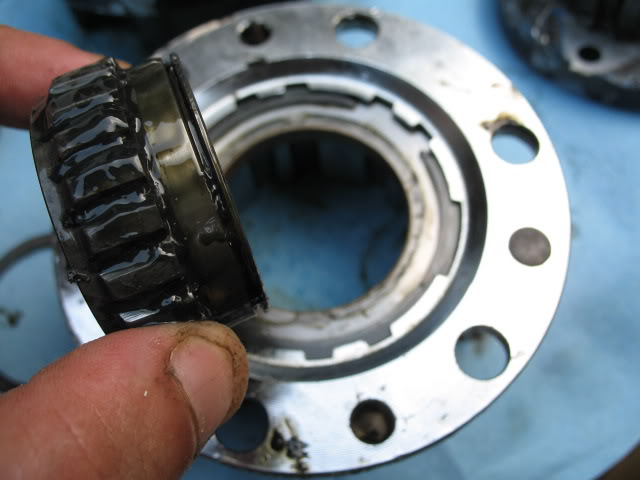
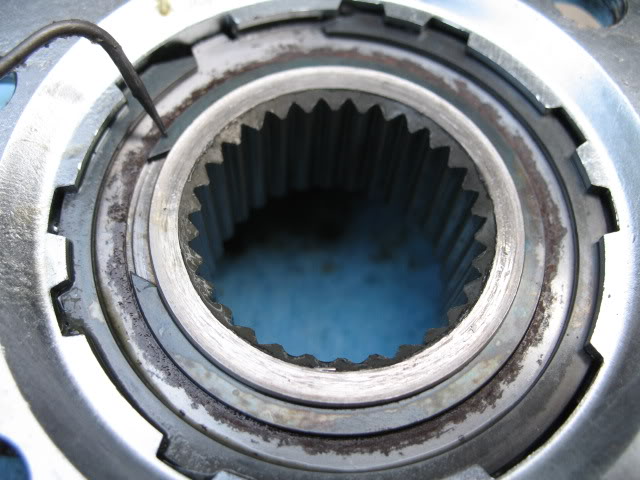
Clean the whole hub up & grease & install the new hub gear:
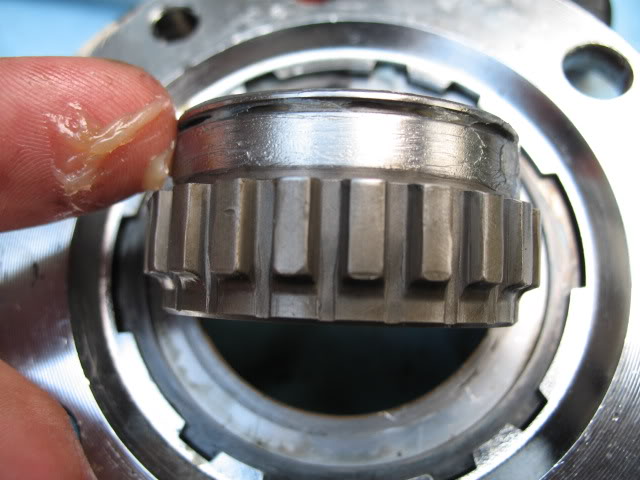
There is a metal spacer between the hub gear & hub body, don't lose it:
If you have trouble getting the clips off, a BFH will work. The old hub gear will break & you can remove it:
So the other side was done everything put back in in the reverse order it was taken out & greased up.
Theen it was on to changing out my hub gears with the 4340 chromoly inners from Longfield:
Pretty simple, but the clips can be a pain. I used a screwdriver & a tool I found at Napa.
Flip the hubs over & remove this clip:
Don't do this in the process:
Get under the clip & pop it off:
Then the hub gear will come out:
Clean the whole hub up & grease & install the new hub gear:
There is a metal spacer between the hub gear & hub body, don't lose it:
If you have trouble getting the clips off, a BFH will work. The old hub gear will break & you can remove it:
07-25-2006, 05:54 PM
#51
Contributing Member
Thread Starter
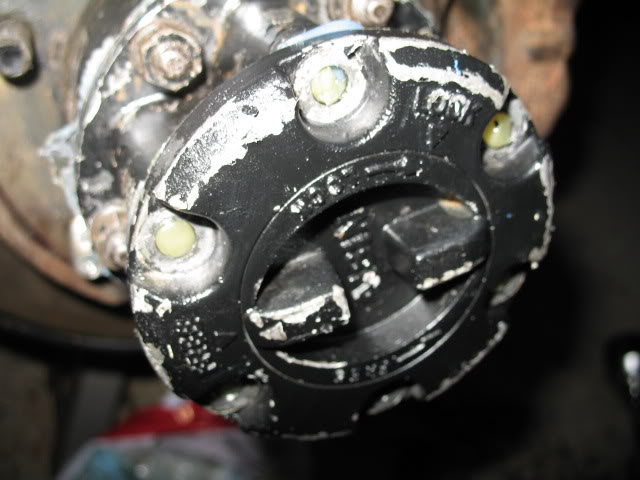
Once the new hub gears are in install the hub with sealant:
Put the clip back on:
Cone washers:
Gasket & sealant:
Hub dial:
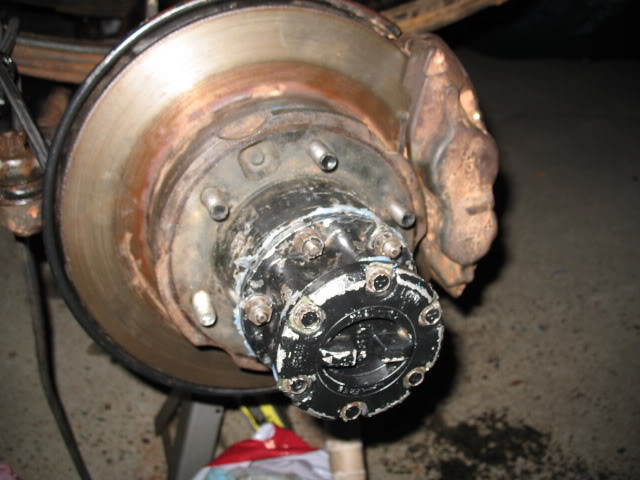
Wheel & tire:

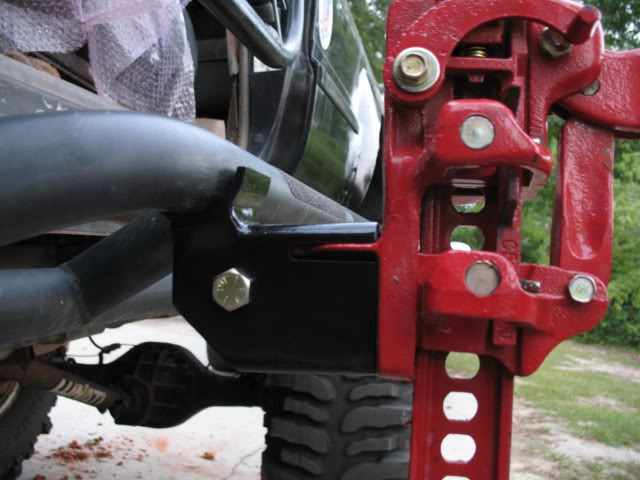
Buy one of these adapters from Wabbit if you haven't already. They make lifting the truck easier & safer:
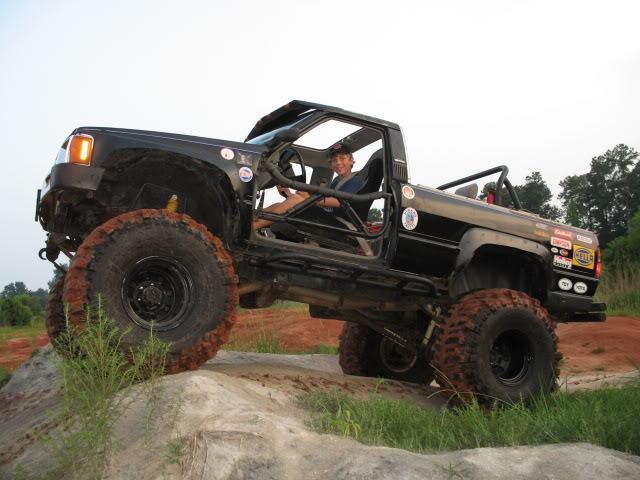
Newest member of the 30 spline Longfield club:
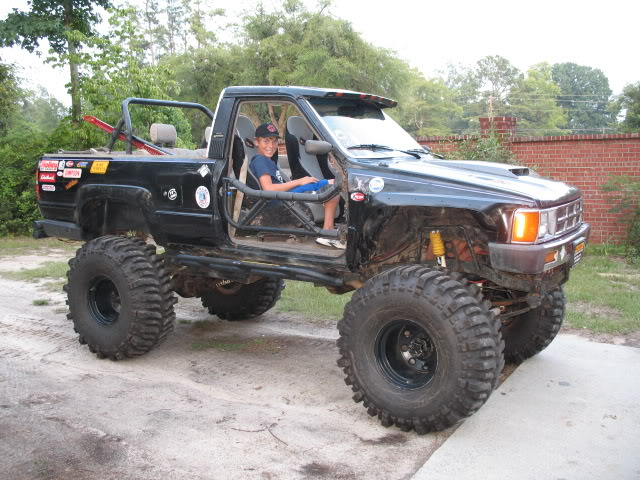
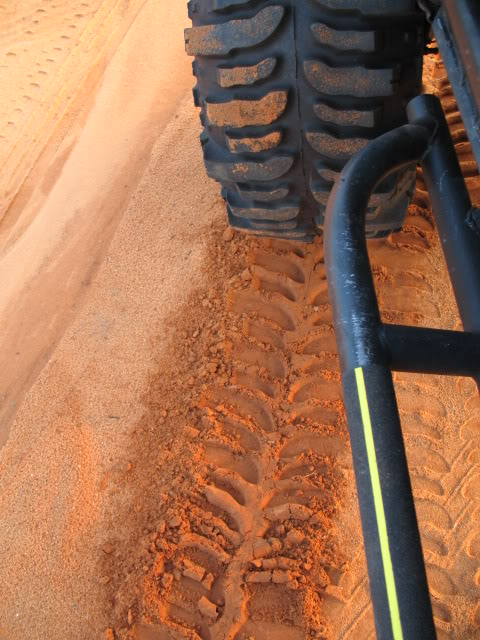
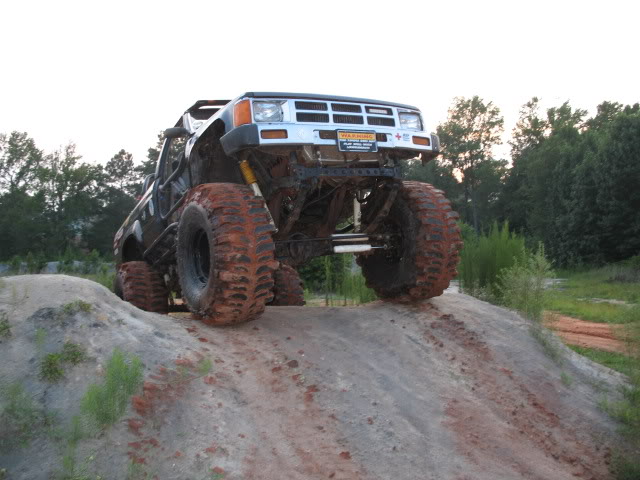
Testing. Yep they work.
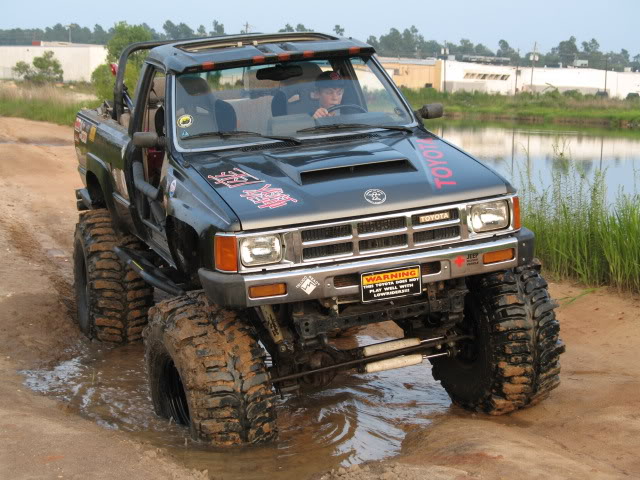
I let Tyler drive because I'm the coolest Uncle on the planet according to him :
:


Last but not least, the newest sticker:
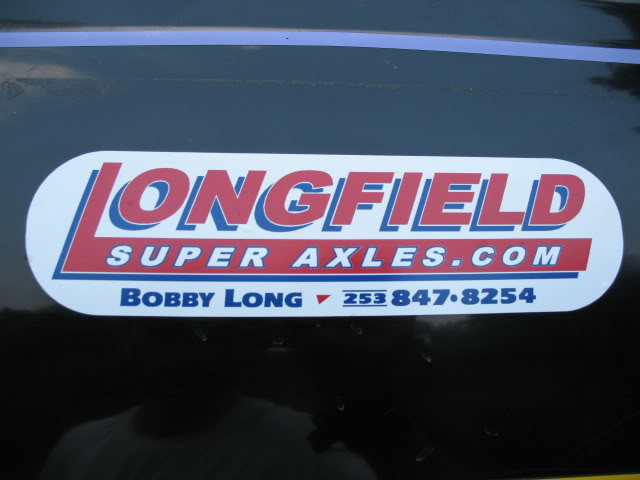
Buy this guys stuff!
Put the clip back on:
Cone washers:
Gasket & sealant:
Hub dial:
Wheel & tire:
Buy one of these adapters from Wabbit if you haven't already. They make lifting the truck easier & safer:
Newest member of the 30 spline Longfield club:
Testing. Yep they work.
I let Tyler drive because I'm the coolest Uncle on the planet according to him
:Last but not least, the newest sticker:
Buy this guys stuff!
07-25-2006, 09:42 PM
#52
Contributing Member
Join Date: Nov 2005
Location: Glendale, CA
Posts: 486
Likes: 0
Received 0 Likes
on
0 Posts
also the bearings might not be seated.......take the star washer off and tighten the inner spindle nut down to like 50 ft lbs....then back it off and set it to the factory spec (it isn't coming to me right now).
edit...didn't see that you got the wheel hub assembly seated correctly.
if you're ever on the trail and need to replace a birf (not likely since you've got longs, but you never know with that big v8), try the camo method....it's a lot quicker and easier. Search for it over on pirate.
basically, you take the locking hub off, the C clip off, then take off all the bolts holding the felt wipers on the back of the knuckle off. take off the steering arm, then you can remove the whole knuckle and wheel hub assembly as one piece without ever having to deal with those damn star washers.
Last edited by jsnby; 07-25-2006 at 09:49 PM.
07-25-2006, 10:06 PM
#53
Contributing Member
Thread Starter
I saw the Camo method over there too. If I hadn't been changing the hub gears & bearings I would have gone that route.
I can break a steel ball in a rubber room, I grenaded the rear driveshaft shortly after my install.
I can break a steel ball in a rubber room, I grenaded the rear driveshaft shortly after my install.
07-29-2006, 06:41 AM
#54
Contributing Member
Great writeup and pictures! 
Just did my rear axle seals and bearings yesterday myself. Wish I could have put some nice new beefy shafts in as well.
I bet your nephew is stoked to be able to drive that truck !! ahha
Just did my rear axle seals and bearings yesterday myself. Wish I could have put some nice new beefy shafts in as well.
I bet your nephew is stoked to be able to drive that truck !! ahha
07-30-2006, 04:49 PM
#55
Registered User
Join Date: Dec 2005
Location: Maryland
Posts: 97
Likes: 0
Received 0 Likes
on
0 Posts
That was a great write up on that, me and my friend are doing a dual t-case with gears right now on our project truck, and we are doing a power point on it to get out of a paper for class so it works out both ways. But nice detail and write up on the subject.
07-30-2006, 11:50 PM
#56
Contributing Member
Thread Starter
thanks, I had a LOT of help from everyone here & over on Pirate too. I was fortunate to gain some knowledge & just wanted to pass it on.
09-23-2006, 08:17 AM
#57
Registered User

Join Date: Jul 2006
Location: Lansdale, Pa 19446
Posts: 33
Likes: 0
Received 0 Likes
on
0 Posts
ok i have read the intire thread and would like to continue on my rebuild. i need to remove the entire knuckle to replace the front axle seals. is there any other info i need to know or and special tools? and if anybody has the factory service manual on how to doe this and would like to email it to me(jconnelly27@comcast.net) it sure would help alot.
09-23-2006, 03:55 PM
#59
Contributing Member
Thread Starter
ok i have read the intire thread and would like to continue on my rebuild. i need to remove the entire knuckle to replace the front axle seals. is there any other info i need to know or and special tools? and if anybody has the factory service manual on how to doe this and would like to email it to me(jconnelly27@comcast.net) it sure would help alot.
09-26-2006, 11:18 AM
#60
Registered User
Join Date: Jul 2006
Location: Lansdale, Pa 19446
Posts: 33
Likes: 0
Received 0 Likes
on
0 Posts
Thanks the side that was leaking the worst is done. I'll do the other side this weekend. I have the Warn locking hubs and the don't use the cone washers. I have a spare front diff from a parts truck that has the stock hubs which is better should I swap them?


