
Recoloring interior of 3rd gen 4runner...PICS included
 Mar 24, 2006 | 06:20 PM
#1
Thread Starter
Registered User
Joined: Oct 2003
Posts: 461
Likes: 0
From: Austin / Houston TX
Recoloring interior of 3rd gen 4runner...PICS included
I'm starting the process of recoloring my interior from oak to black. I'm going to spray dye the vinyl parts and use fusion paint on the plastic parts. I have already started by removing the entire front dash. I thought it'd be harder but it took me and my friend only 40 minutes. I'll be preping it later tonight. Once I upload the pictures of my barren car I'll update the post accordingly. I'm just gonna make a timeline as I go. First big step was the dashboard and its out. I don't count clear sailing though, not yet anyway.


Trending Topics
Mar 25, 2006 | 02:26 PM
#8
Contributing Member
Joined: Dec 2005
Posts: 1,427
Likes: 0
From: vansterdam BC.

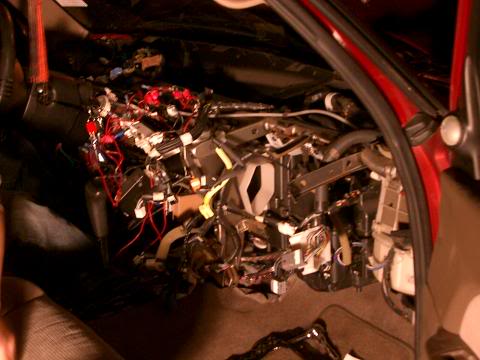
heh..just had to. i love whoring out that smilie...but yes. please post pics as you progress with this. interested to see how a painted interior looks. id hate to see the guts behind the dash, ive seen pics of the process during a heater core replacement...youre a brave one


 Mar 25, 2006 | 09:02 PM
#18
Thread Starter
Registered User
Joined: Oct 2003
Posts: 461
Likes: 0
From: Austin / Houston TX
First Day
Sorry guys. I had to find a new webhosting because my webspace at Texas expired. It sucks that they lost even though Duke was eliminated. I missed it since I went to the Fall Out Boy concert. Now I can post some pictures of the current progress. THis is the first day.
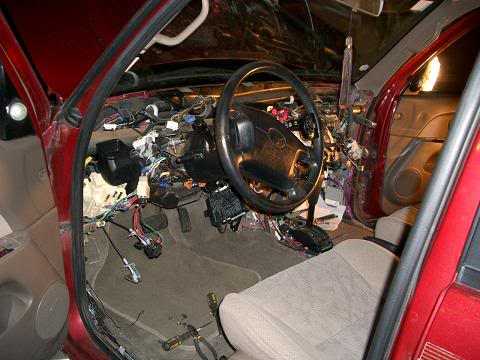
It took only 25 minutes to take down the dash. It was much faster and easier than I thought. Now for the next post.
It took only 25 minutes to take down the dash. It was much faster and easier than I thought. Now for the next post.
Last edited by tv4184; Apr 7, 2006 at 11:35 PM.
Mar 25, 2006 | 09:08 PM
#19
Thread Starter
Registered User
Joined: Oct 2003
Posts: 461
Likes: 0
From: Austin / Houston TX
Day Two
Here is a few minutes later. I just put day two to keep it in chronological order. So here is the picture of the dash board and the vinyl part separated.
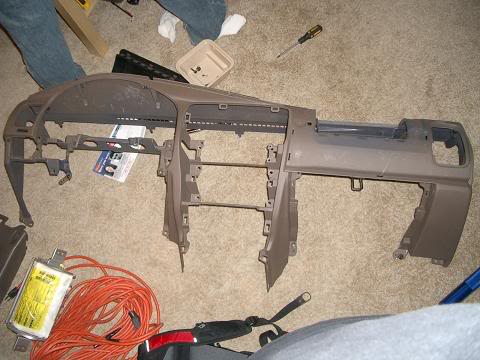
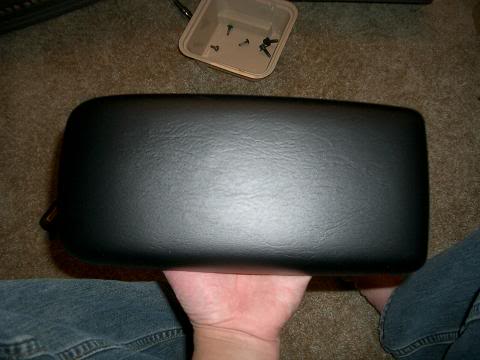
The first test of the duplicolor vinyl paint. It actually came out pretty good and we scratched parts of it with a metal driver and it didnt even come off. This is the arm rest. I was gonna revinyl it if it didnt work and order some vinyl dye.
Now for the next post...
The first test of the duplicolor vinyl paint. It actually came out pretty good and we scratched parts of it with a metal driver and it didnt even come off. This is the arm rest. I was gonna revinyl it if it didnt work and order some vinyl dye.
Now for the next post...
Last edited by tv4184; Apr 7, 2006 at 11:36 PM.
Mar 25, 2006 | 09:17 PM
#20
Thread Starter
Registered User
Joined: Oct 2003
Posts: 461
Likes: 0
From: Austin / Houston TX
Day Three
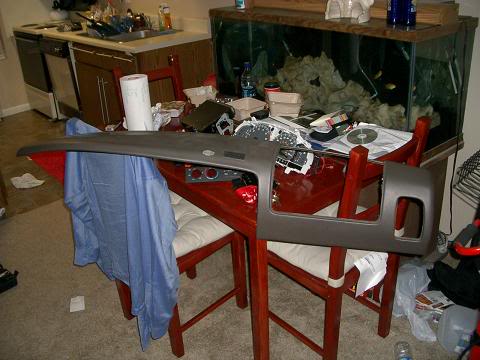
These pictures didn't turn out so great but today I primered and painted the main dashboard and the console. I need to wet sand and add another coat of paint before reinstalling it into the car. I'll take better pictures tomorow.
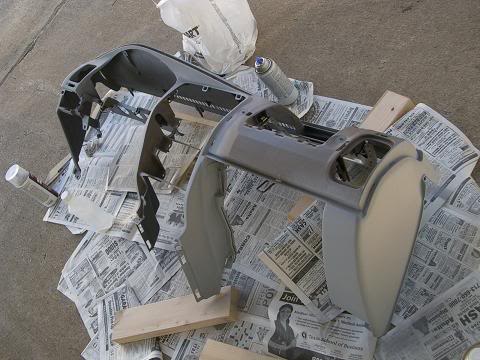
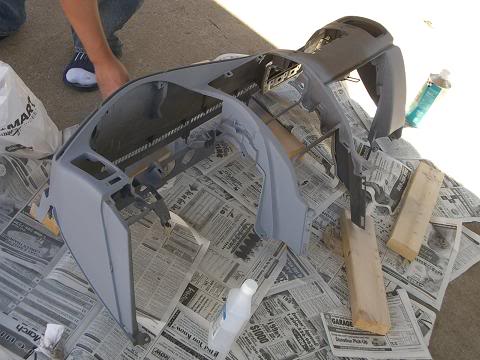
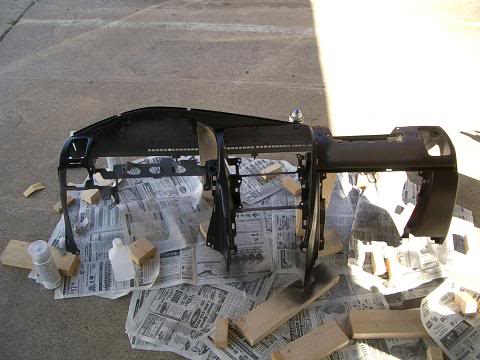
Thats about it for now. I may not be able to put any work into it until my midterms are over, which is about a week and a half from now. Any suggestions til then will be great.
Thats about it for now. I may not be able to put any work into it until my midterms are over, which is about a week and a half from now. Any suggestions til then will be great.
Last edited by tv4184; Apr 7, 2006 at 11:37 PM.


