7m4x4dude's 87 4runner family rig.


 09-19-2013, 05:58 PM
#3
Thanks.
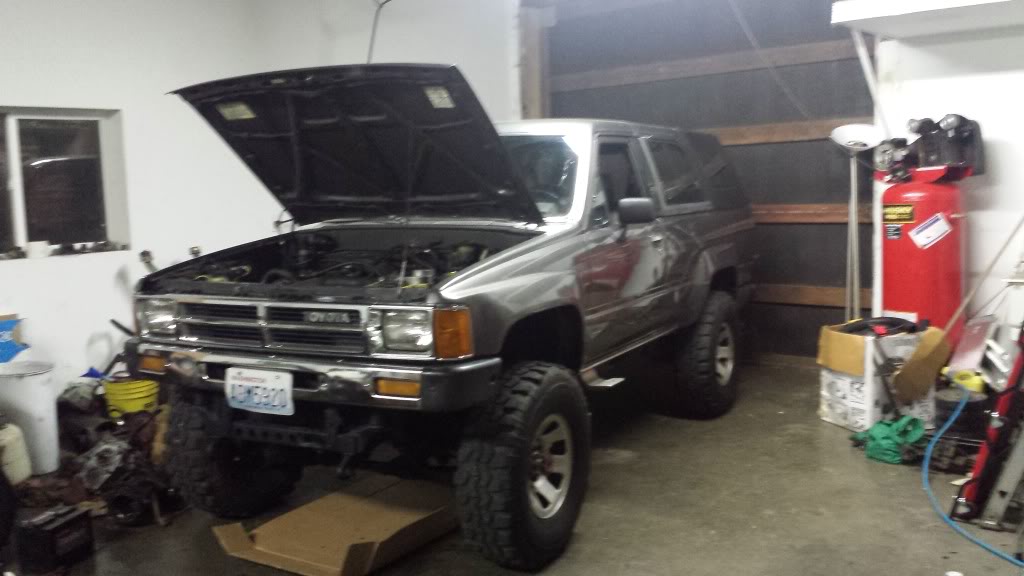
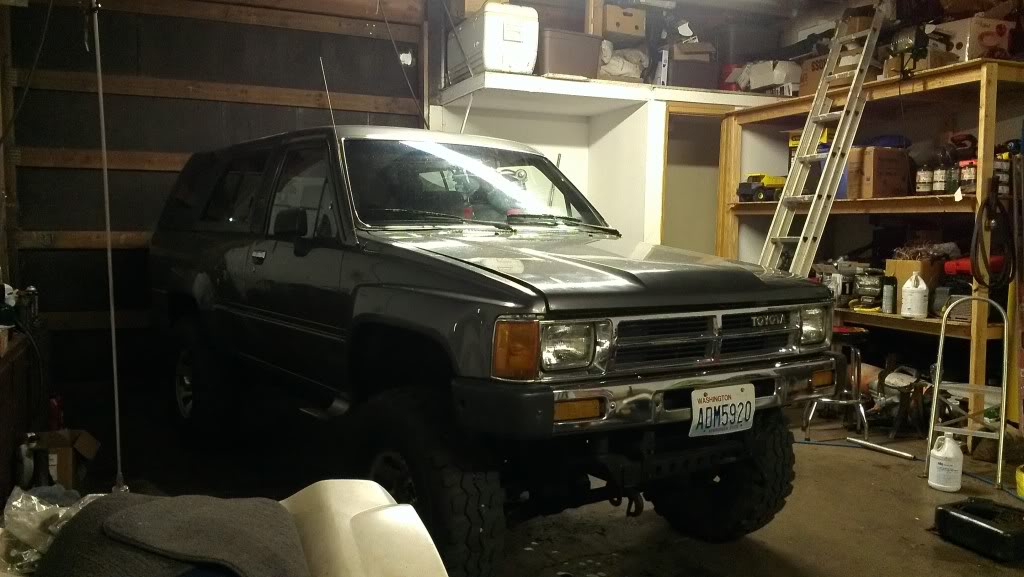
so as the story goes. My wife and I are starting a family and needed a rig with a back seat. We both love first gen 4runners and decided it was time to buy one.
after a few weeks of hunting and looking at both clean and dirty rigs. Mostly all over priced . We found this one. At first it was more than we wanted to pay . But after talking with the guy. He was open to negotiations and we met at 1400 bucks.
we were super happy even tho we knew we needed a rear tail gate asap as it will soon be raining in washington. Picknpull will sell a complete tail gate for 80 bucks.. if you ever find one.... and finding one did not look promising with in 200 miles of us. And cl had sevral postings of people who are looking just like we are.
after looking at a few parts trucks. I got word that a private junk yard for trucks had a couple last week.. I called and hurried out to their location. Price was steep door wasnt perfect. But I found every thing to make a complete door with a working window.. 300 dollars later. ...
ill post some more pictures shortly my wife took pictures before and after replacing the door cards for front and back seats.
We have also found a set of kzn130 jdm seats we love and will do our best to make work. Yes 2 gen 4runner seats into a first gen. Im praying the jdm seats will swap like we have read the usdm seats will.. or ill have a nice set of shop seats. ..
09-20-2013, 05:32 PM
#4
Registered User
Wish I could trade positions with you on parts availability. The PNW seems to have readily available JDM import parts, but New Mexico gets abundant rust free body parts, Last time I was at U pull it there where 5 of these trucks with the tailgates untouched.
09-20-2013, 08:29 PM
#5
So posting on the phone sucks..... and ive had my token expire every time I have made a post with pictures. ...
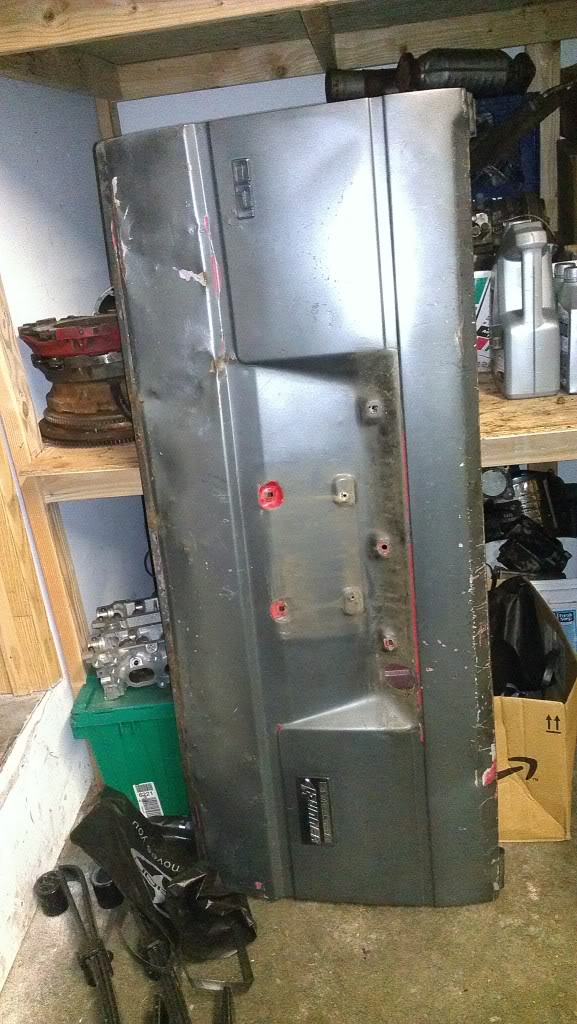
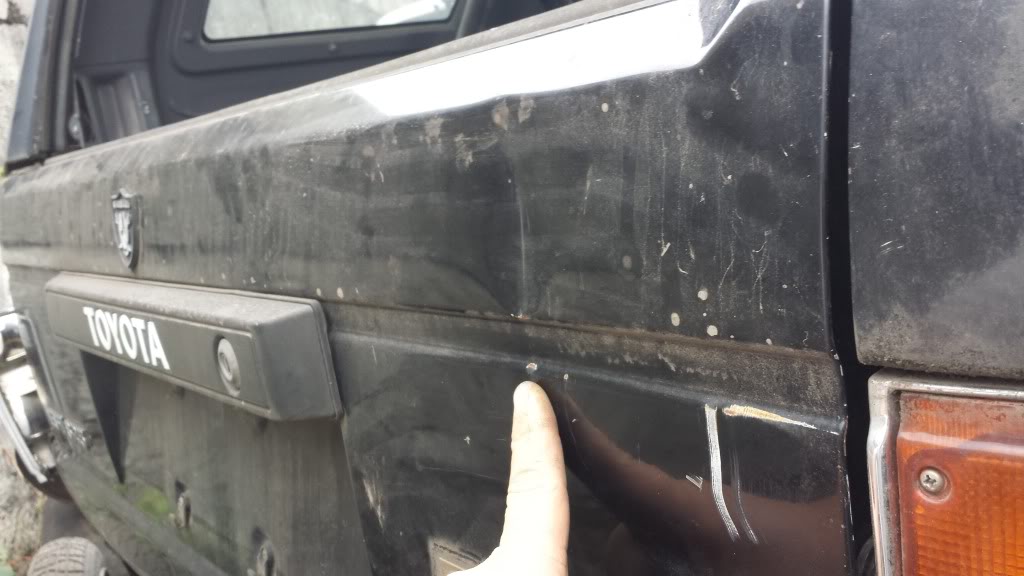
so here's the picture of the old tailgate as you can see it is quite beat up
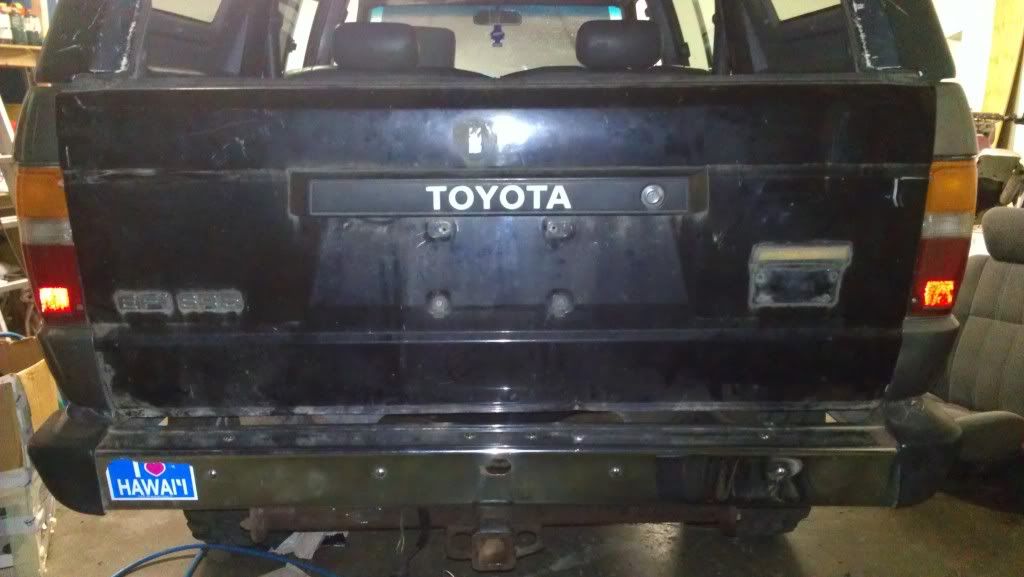
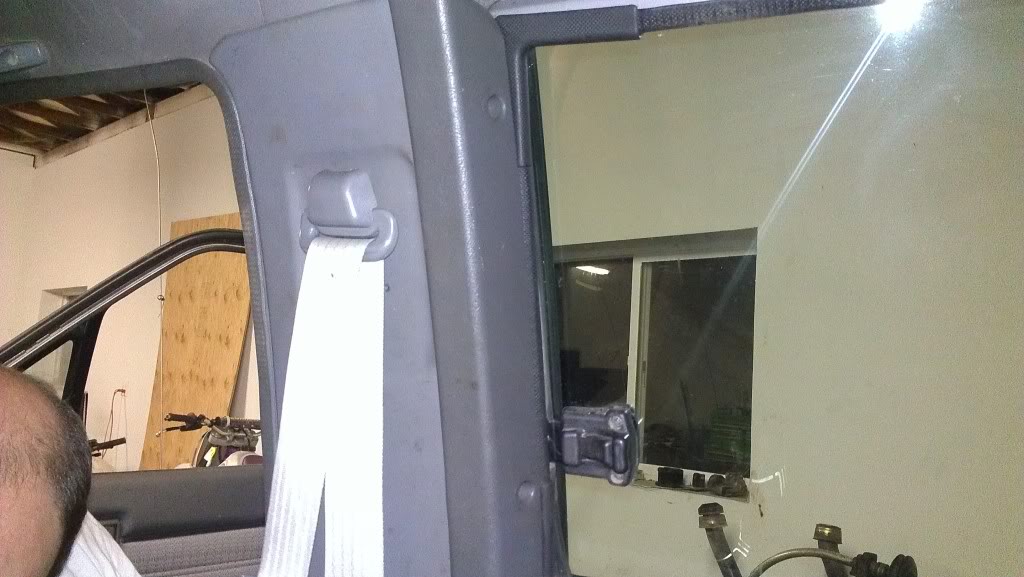
is the tailgate I found from the junkyard and installed on our truck
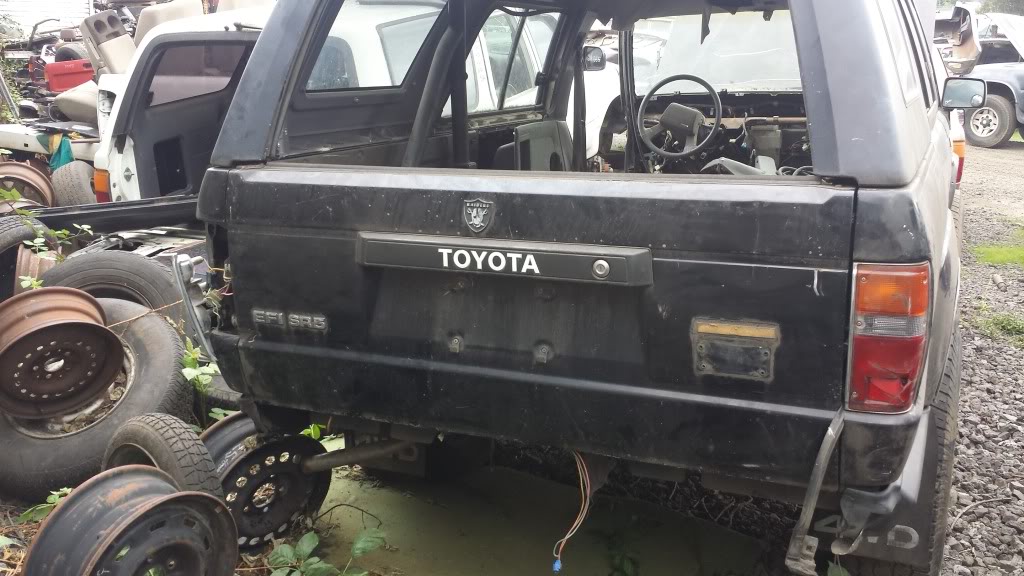
and a few from the junkyard ..
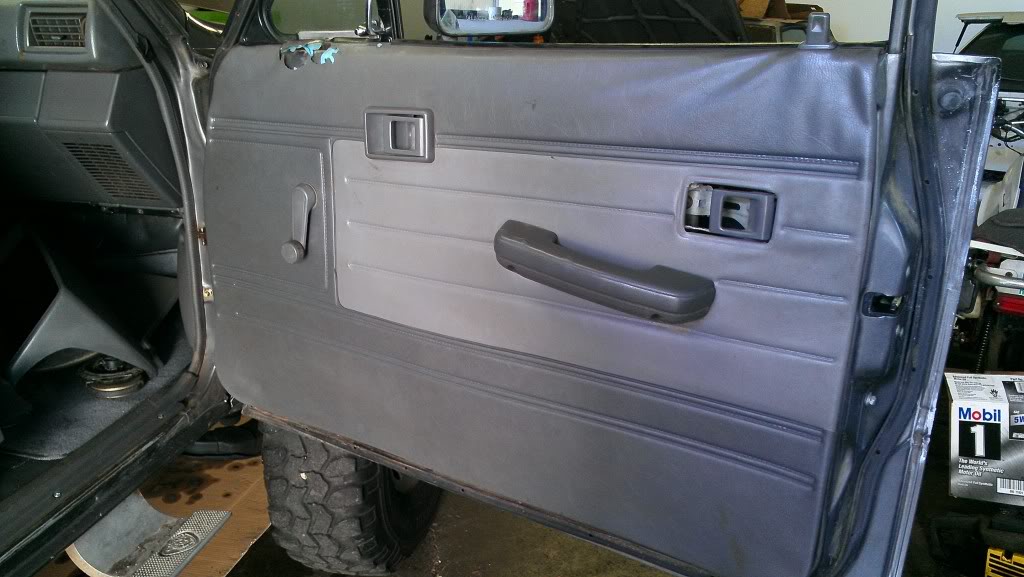
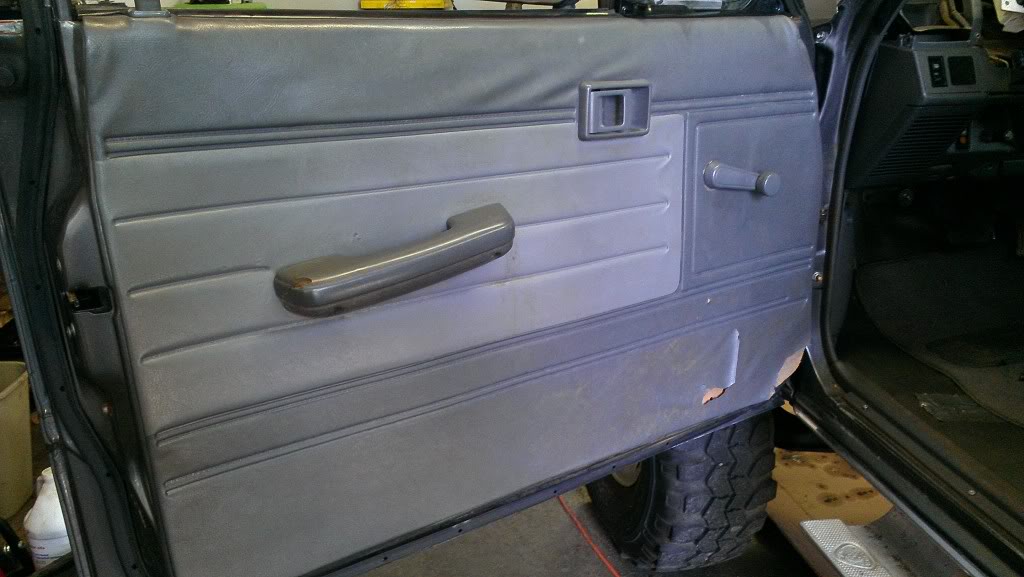
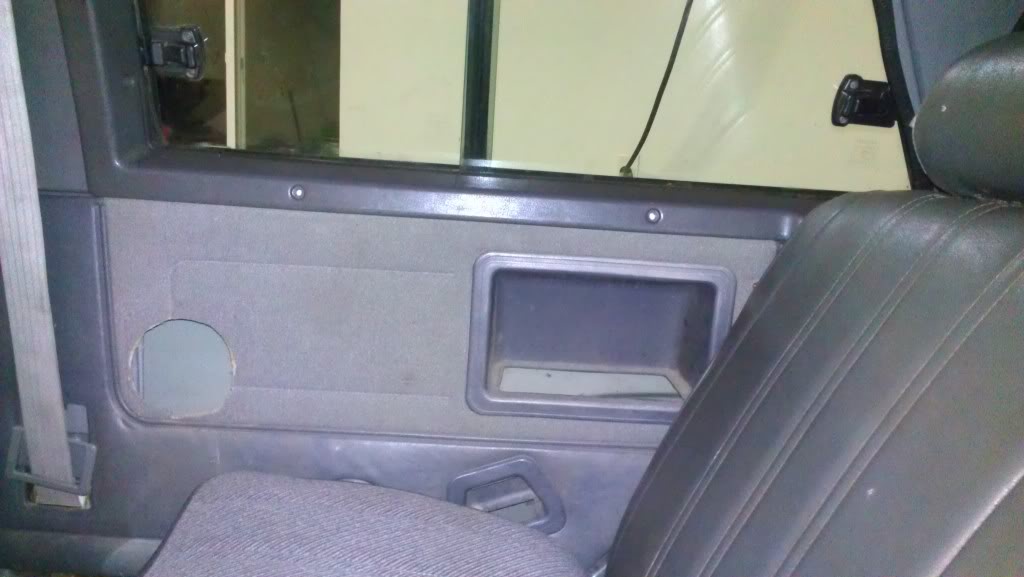
next we have the door panels that we got the truck with
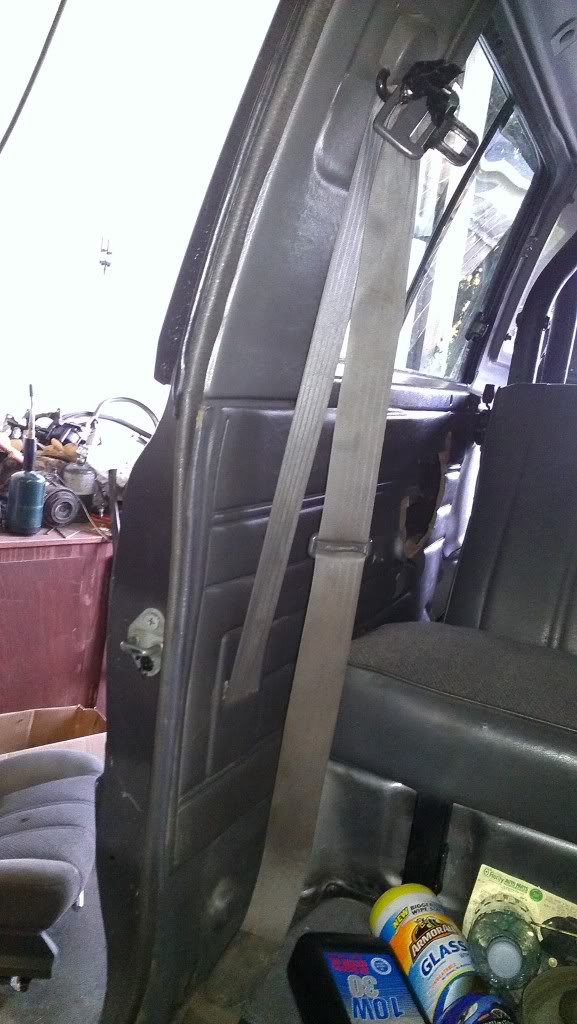

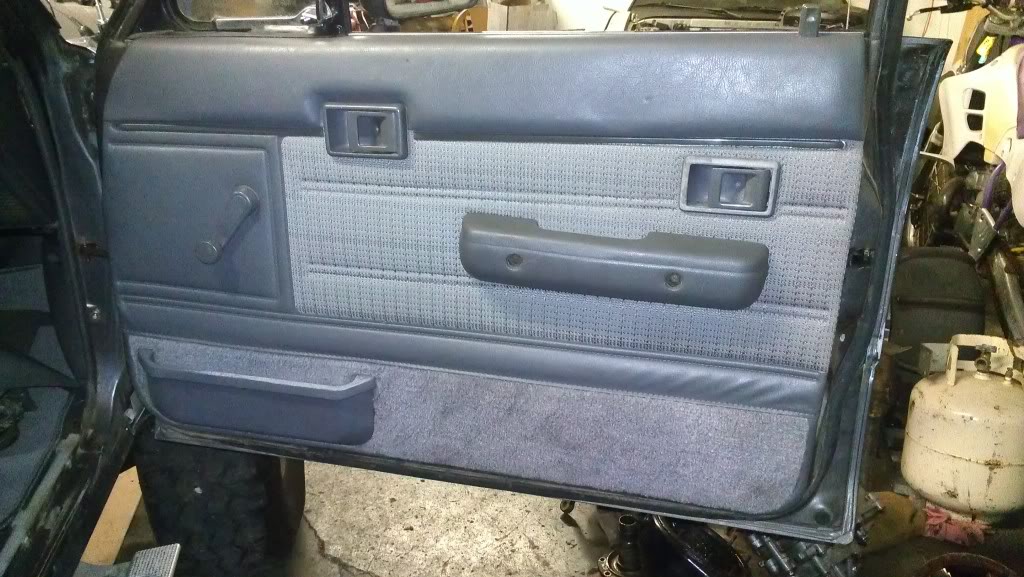
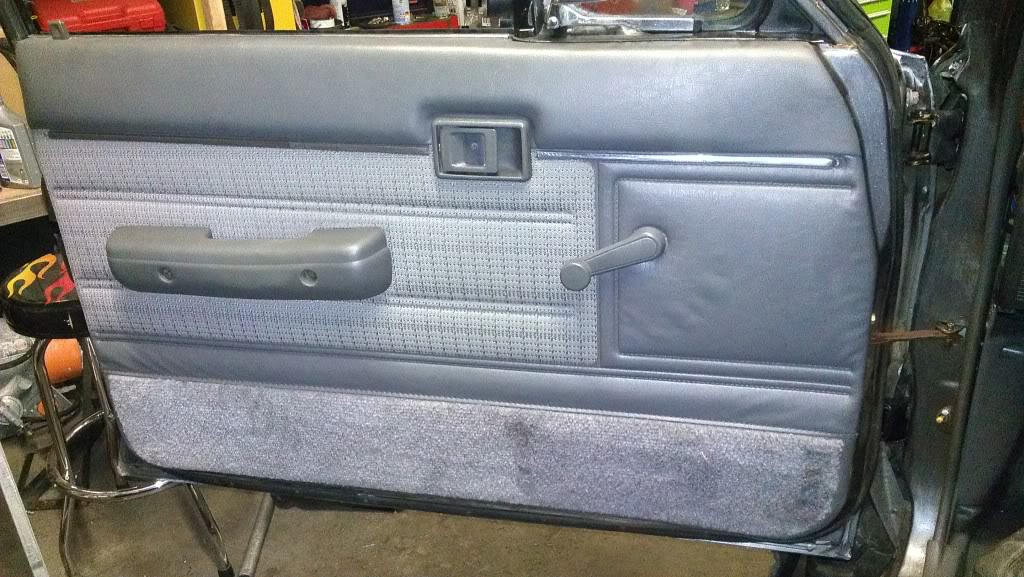
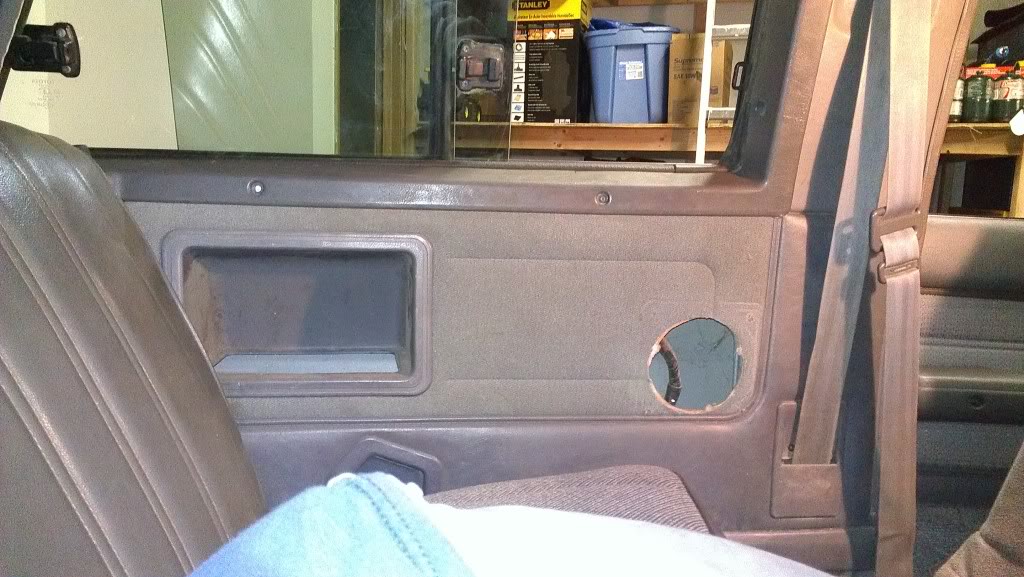
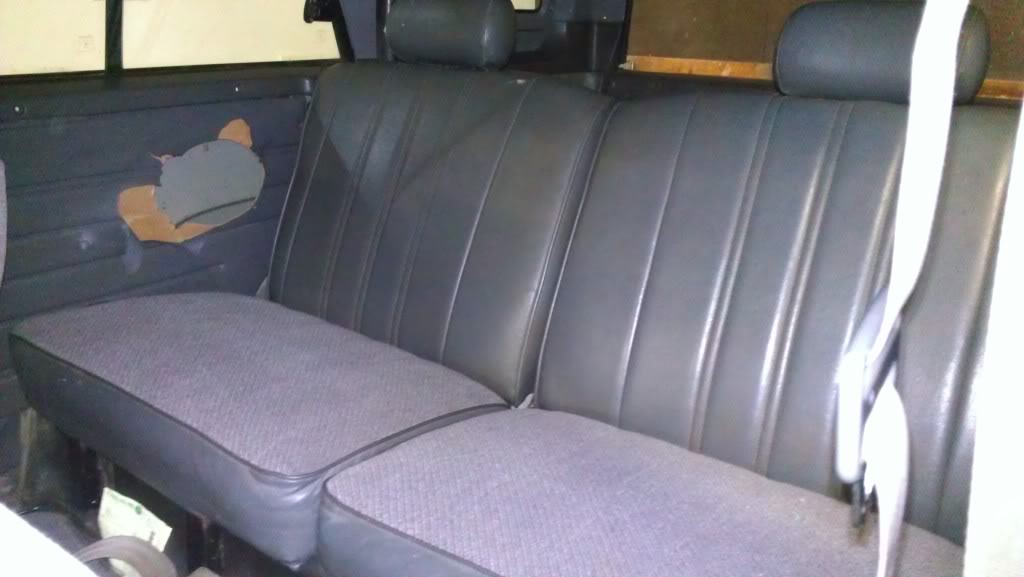
and now for the interior that we put in.
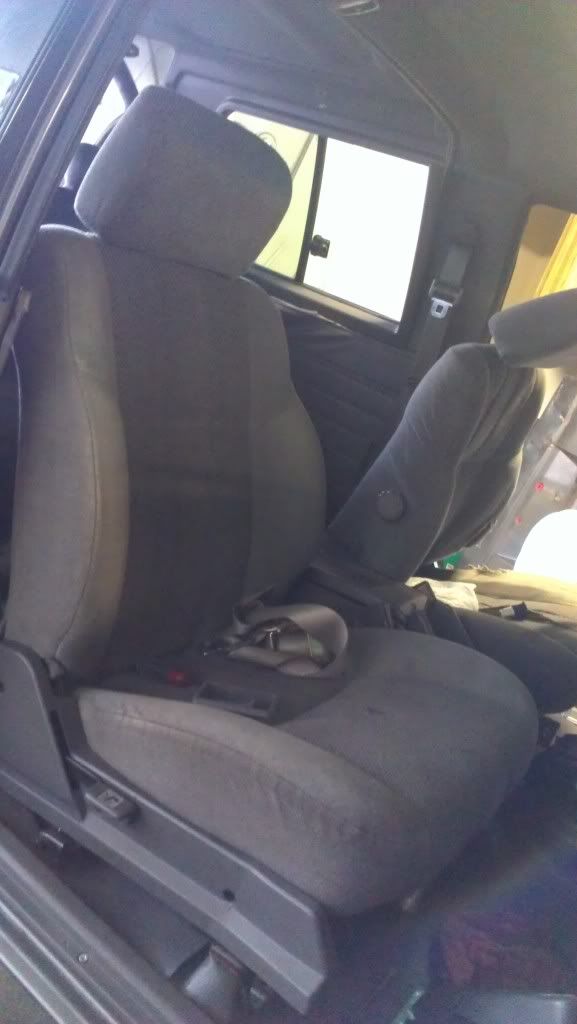
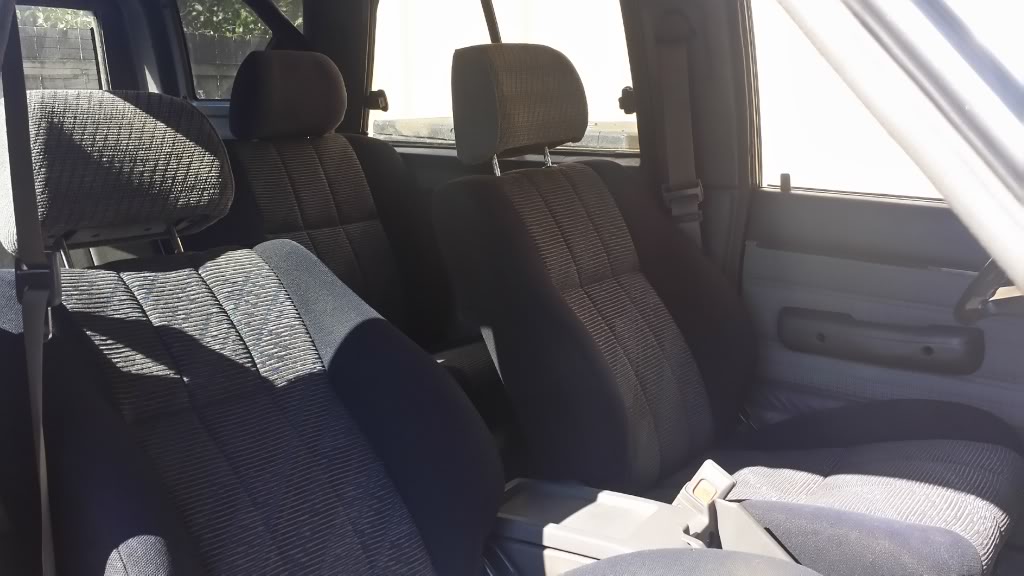
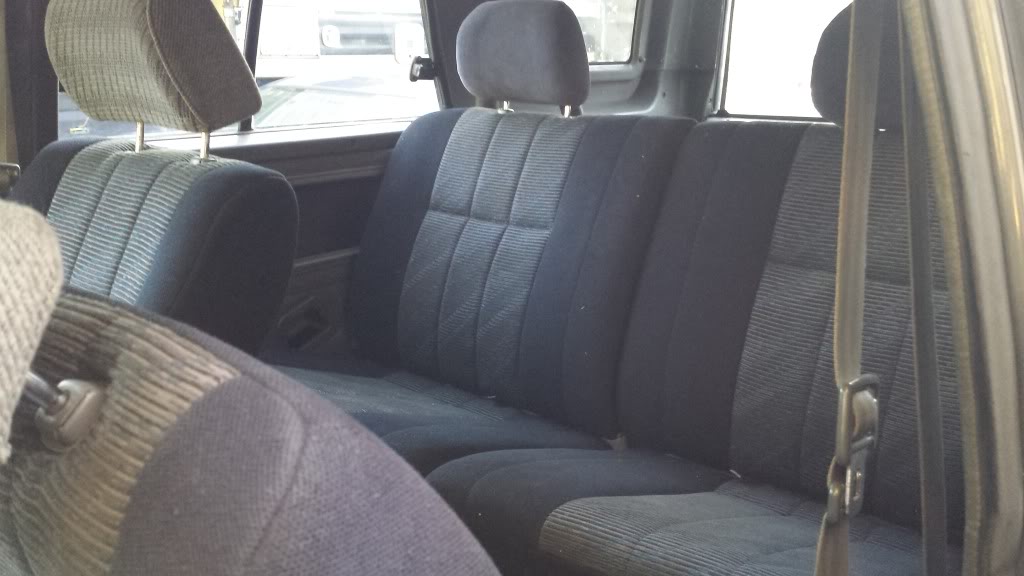
and soon to be done with the old tore up mismatch seats and replacing it with a set of 2nd gen Japanese seats
I went through hell tracking down parts for the rear tailgate in window assembly but I think now I have all the pieces and we are also using a 3rd gen window switch.will post more in a day or so
so here's the picture of the old tailgate as you can see it is quite beat up
is the tailgate I found from the junkyard and installed on our truck
and a few from the junkyard ..
next we have the door panels that we got the truck with
and now for the interior that we put in.
and soon to be done with the old tore up mismatch seats and replacing it with a set of 2nd gen Japanese seats
I went through hell tracking down parts for the rear tailgate in window assembly but I think now I have all the pieces and we are also using a 3rd gen window switch.will post more in a day or so
Last edited by 7m4x4dude; 09-20-2013 at 08:32 PM.
10-05-2013, 09:14 PM
#6
Got some kzn130 seats were going to fit .
The front seats w9nt be to bad. The rear bottoms will need a few holes made. And the rear tops need the locking bracket lowerd so it latches...
Ill take some pictures tomorrow of progress. .
The front seats w9nt be to bad. The rear bottoms will need a few holes made. And the rear tops need the locking bracket lowerd so it latches...
Ill take some pictures tomorrow of progress. .

Trending Topics
10-06-2013, 07:39 PM
#8
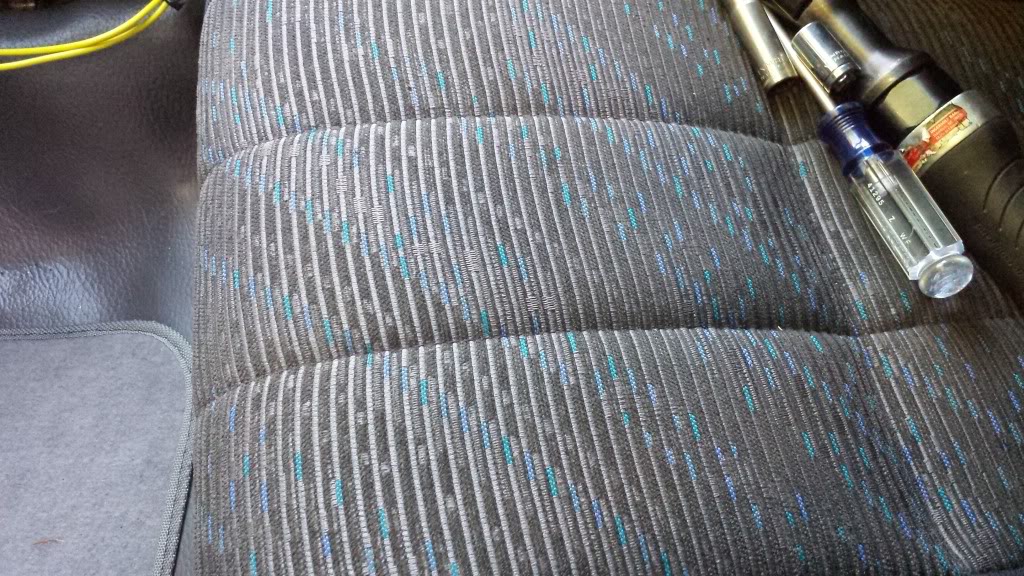
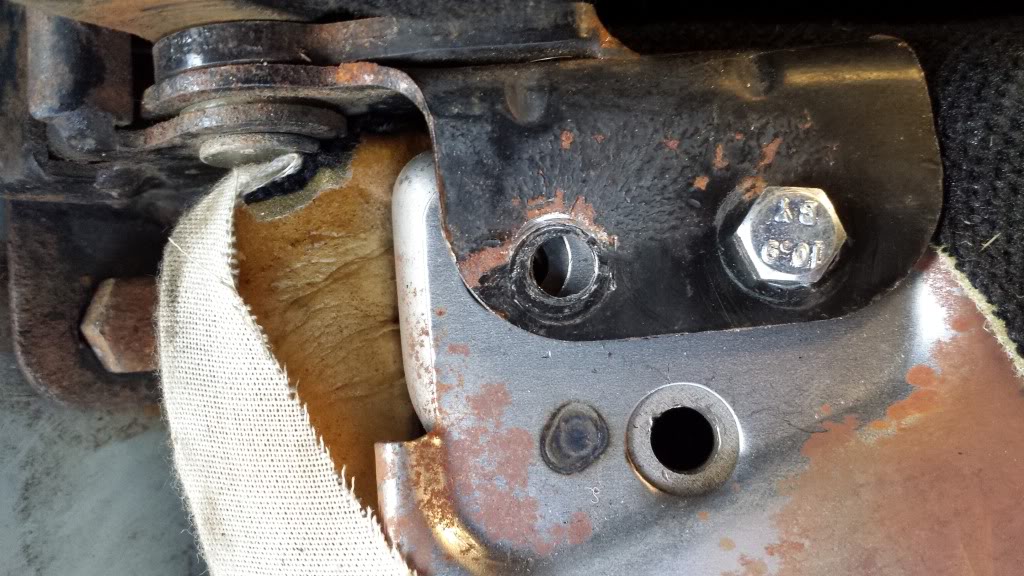
here you can see the lower rear seats need all four holes drilled to make them secure
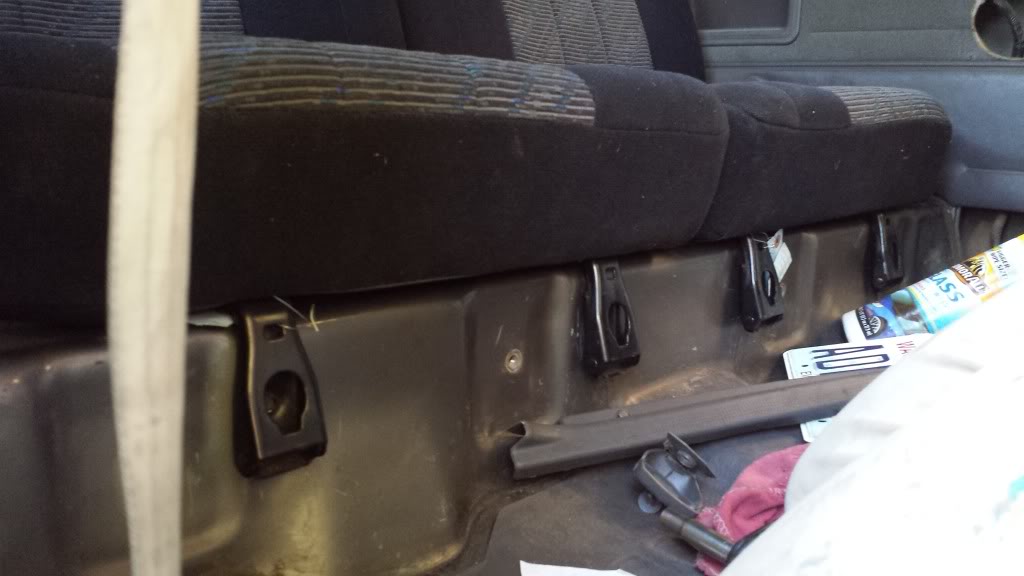
And the rear upper seats I was able to get one bolt through on each side need to open the holes on the brackets up to allow the bolts to thread.
on the front seats I opened up the front holes and was able to get them to bolt on. The driver seat.. aka Japanese passenger seat I was able to open up the rear holes aswell ans completely bolt the seat in. While the passenger seat. The rear mounting locations were about three inches further back than the stock holes. so I will drill and weld nuts to the body to secure the passenger seat.
 03-02-2014, 12:33 PM
#11
Thanks guys. I have been driving it to work for the past 2 months and just replaced the tps as it was shifting funny and had no power with horrid 8/9 mpg.
Power has increased and we have gotten more miles out of this tank for sure.
As of late I have been working on getting all the door locks matched to one key. When we bought it only the driver's door and ignition wdre keys alike.
I was able to remove the tail gate lock and passenger door lock and re-pin them to match the key we bought the truck with. It helped getting spare locks from my friends parts truck to use tumblers out of. I still need to key the gas door lock. But since the factory lock cover is crimped on so well it will be a total loss and the lock would look funny till its replaced. My father was a locksmith for 20 years so I hope he has the cover I'll need if not be able to order me a aftermarket solution.
03-02-2014, 08:44 PM
#12
since i dont see much posted here about rebuilding your ignition and door locks. ill post some quick tips on cleaning them up so they operate smoothly again. im not going to show how to get the locks out of the vehicle
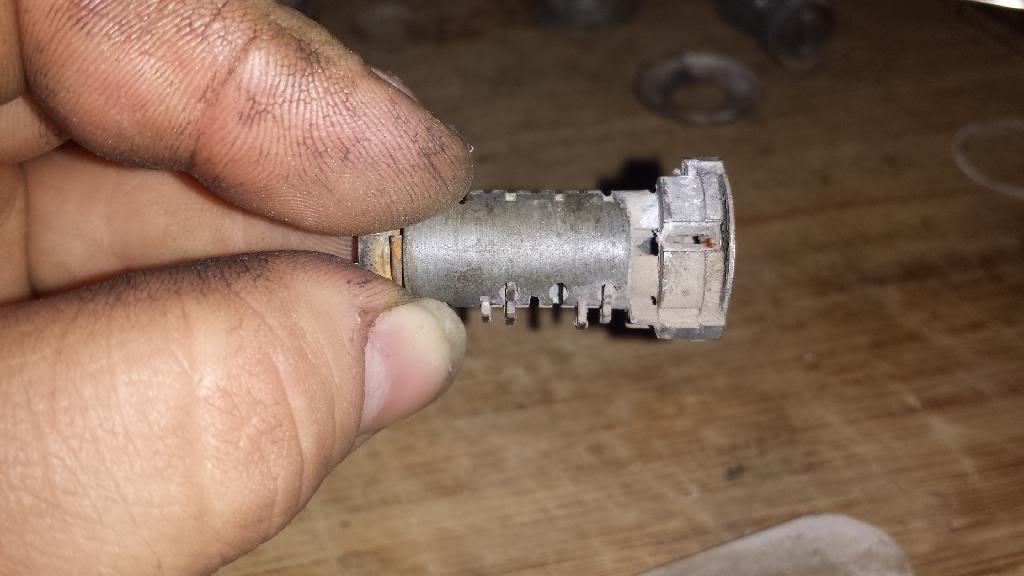
In this picture i have a passenger door lock assembled, a couple lock barrels and the barrel housing/ lock assembly
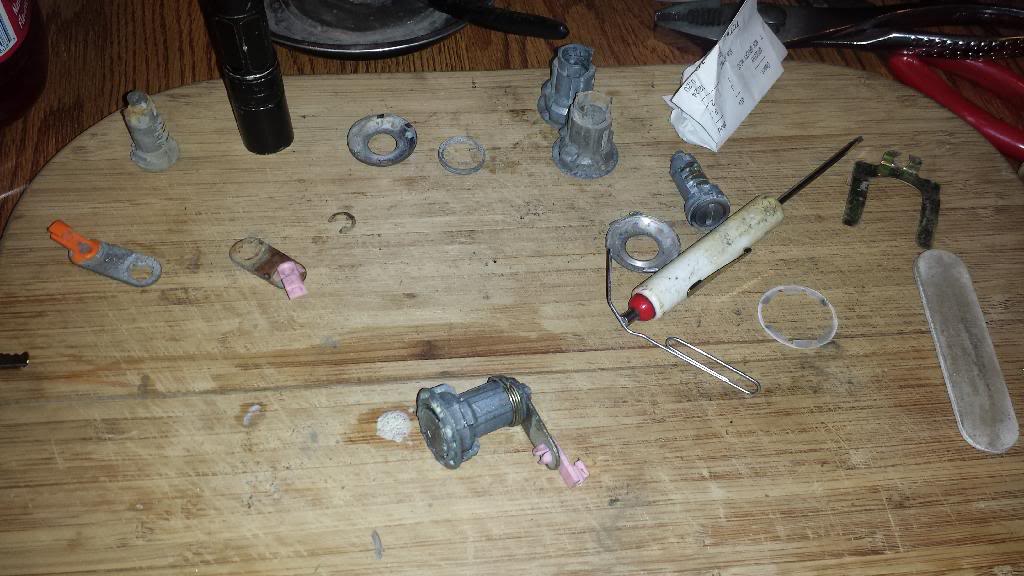
the completed lock i just finished cleaning up.
in this picture you can see the tumblers are dirty and corroded.
i used a paper clip to pull the tumblers out that wouldn't just fall out. and used needle noise plyers for the ones that were really stuck.
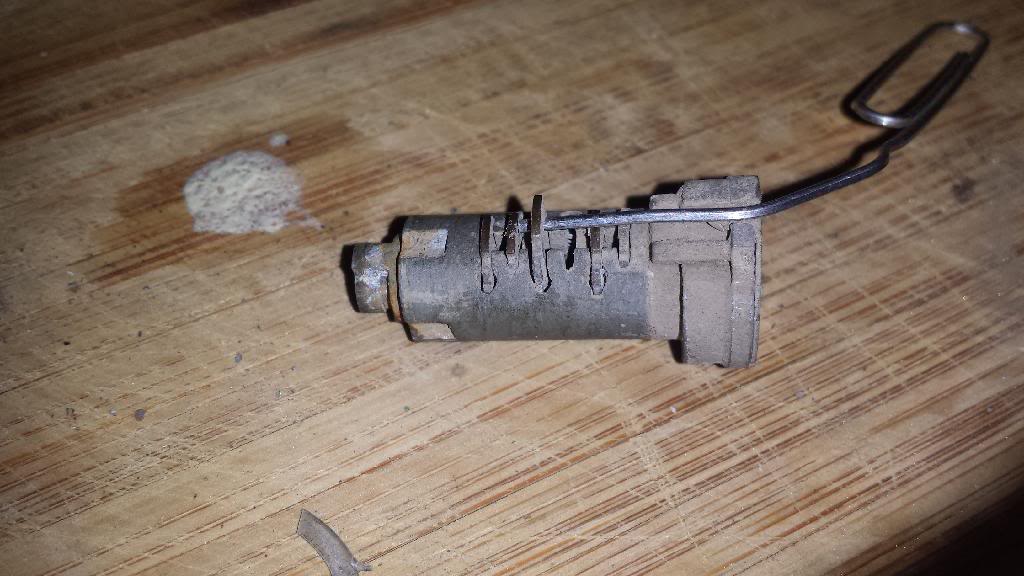
In the next few pictures you will see how the tumbler looked when it first came out of the old lock. and how i used a finger nail file to clean them back to a new finish.
i just lightly rubbed my finger over it side to side allowing the tumbler to become lightly sanded. you want to get both front and back and the sides. you want to be very light on the top and bottom as the top and bottom lock the cylinder to the barrel.
in this last picture you can see the untreated tumblers still stuck in the barrel even when held upside down. and the tumblers i have finished fell out. a video would have shown that better.
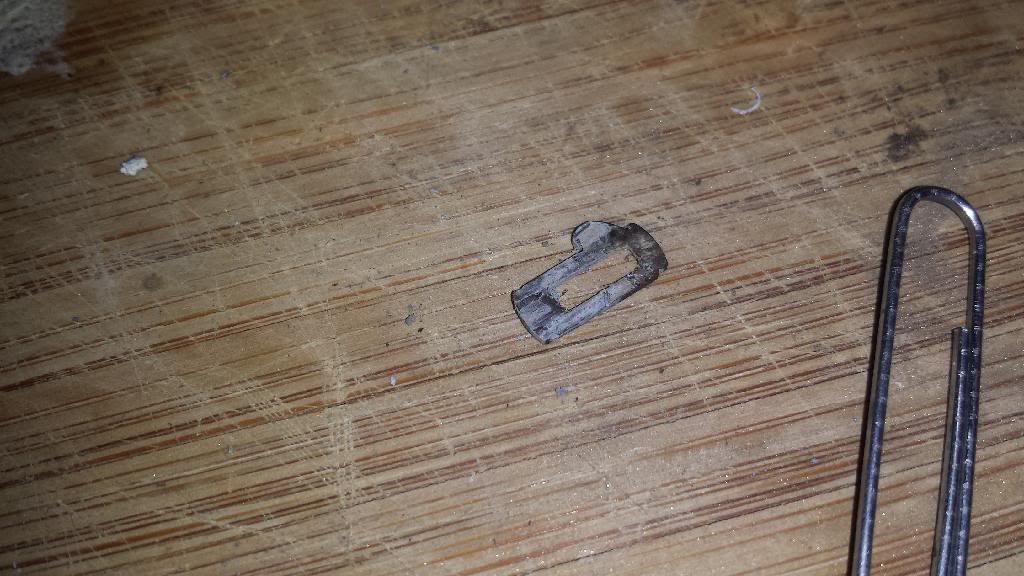
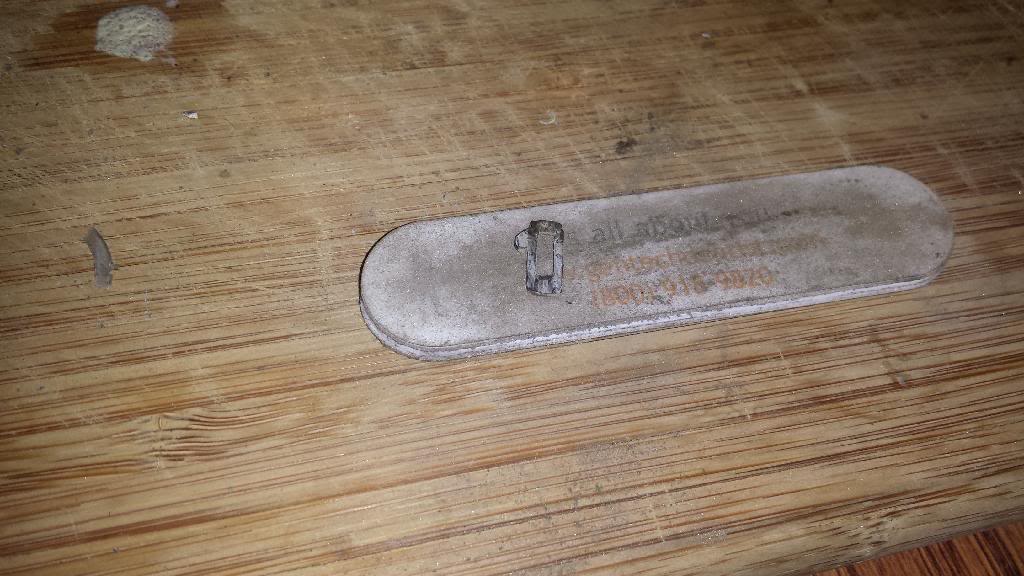
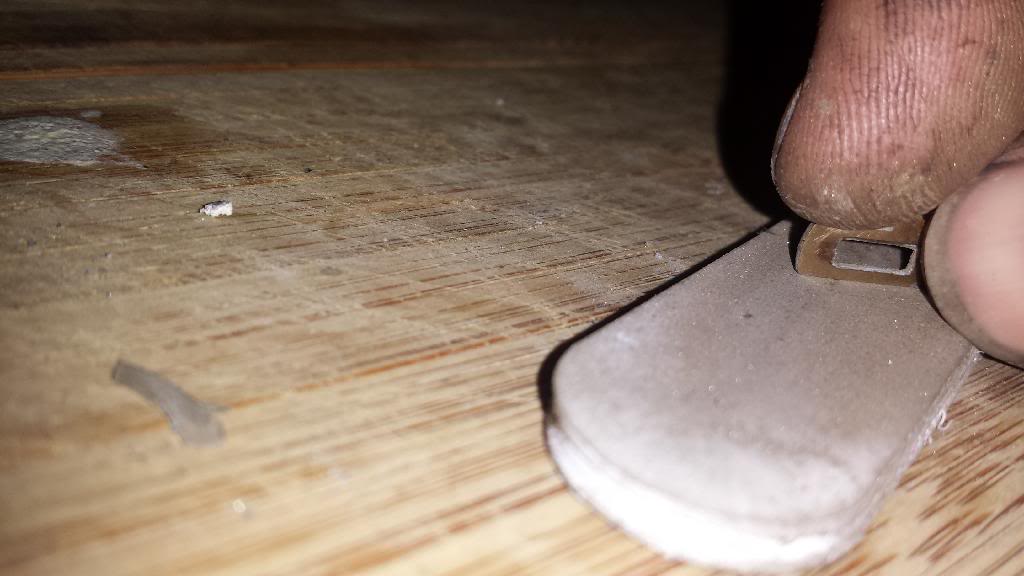
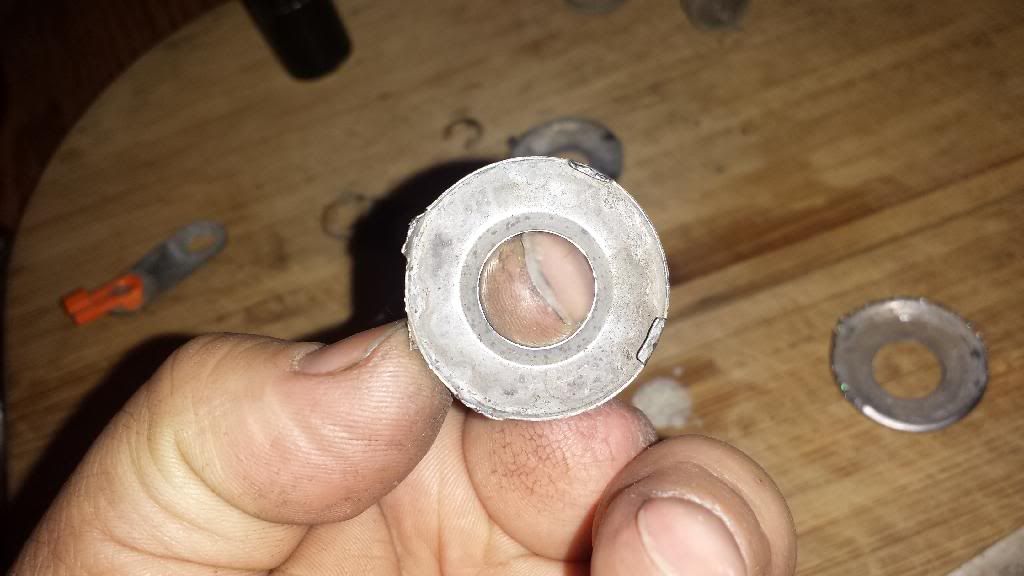
in the next set of pictures you will see the bezel / cover garnish that makes the lock appealing from the out side. the few is from the bottom side where it attaches to the lock assembly.
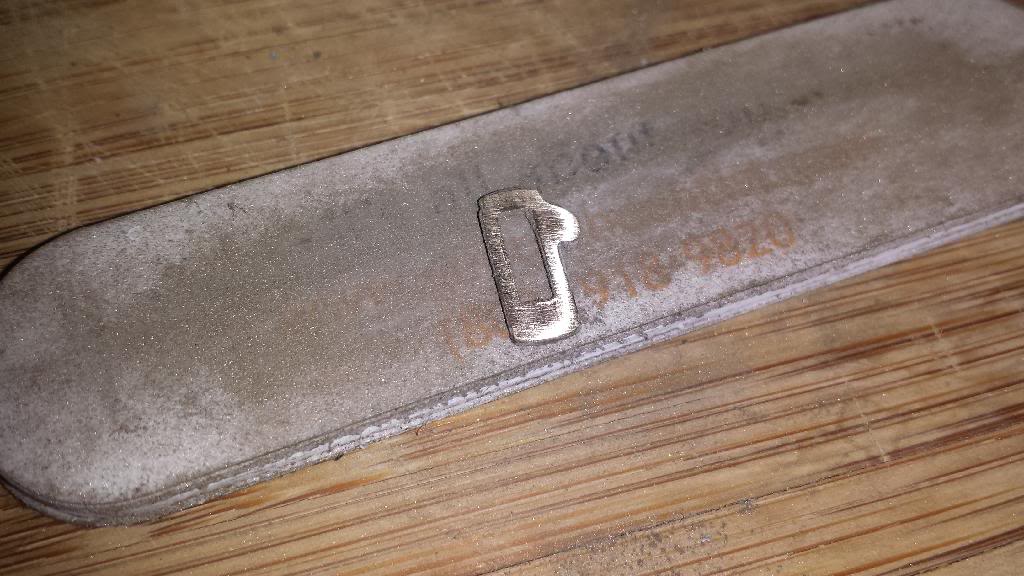
Factory lock bezel, crimped on, very difficult to remove. can be re-used if removed correctly.
i used a flat blade skrew driver to lift the crimped edge and worked 3/4 of the way around the lock and was able to slip off the bezel. during re-assembly a ball pen hammer and a drift may be helpful to tighten the bezel back together.
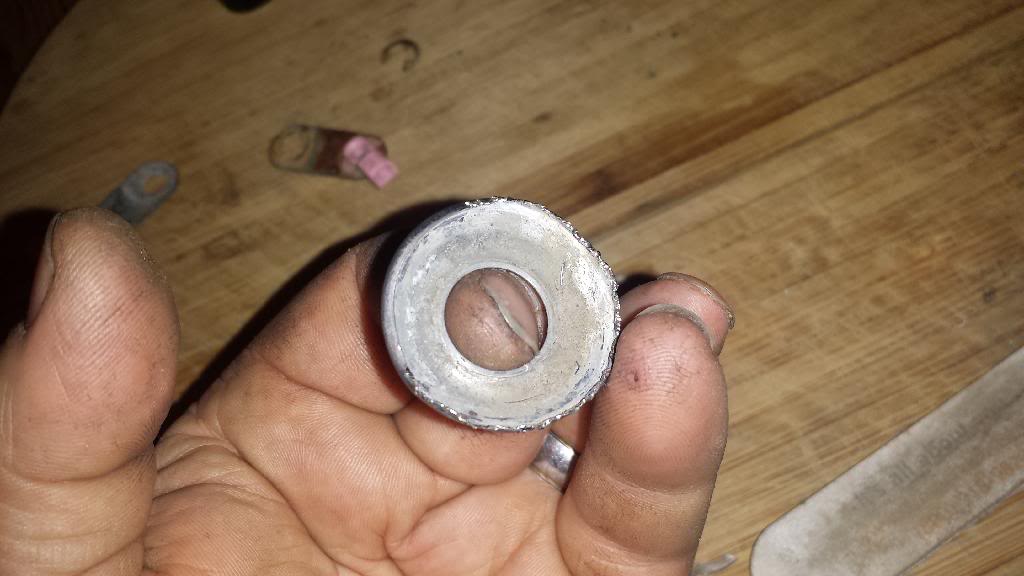
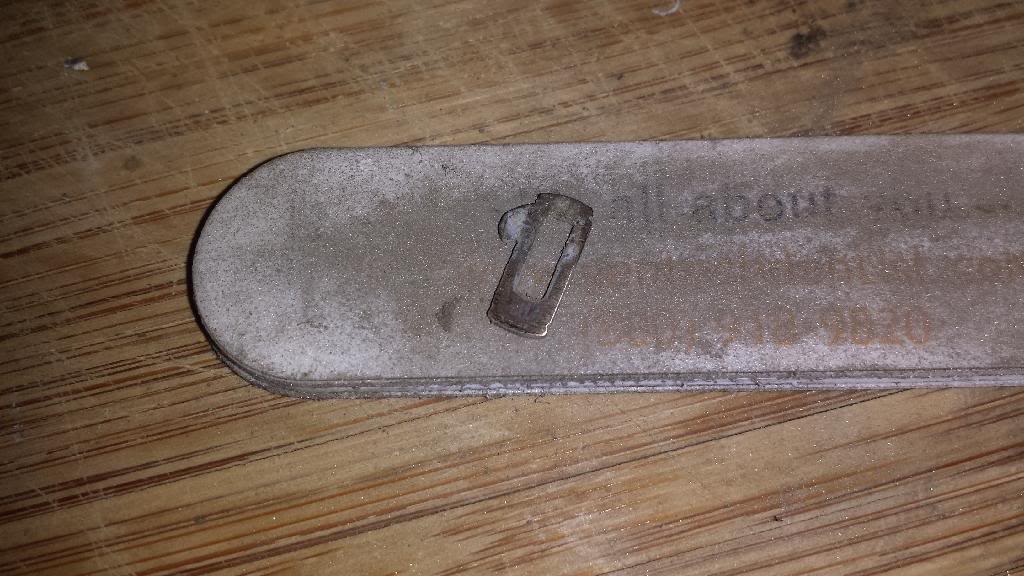
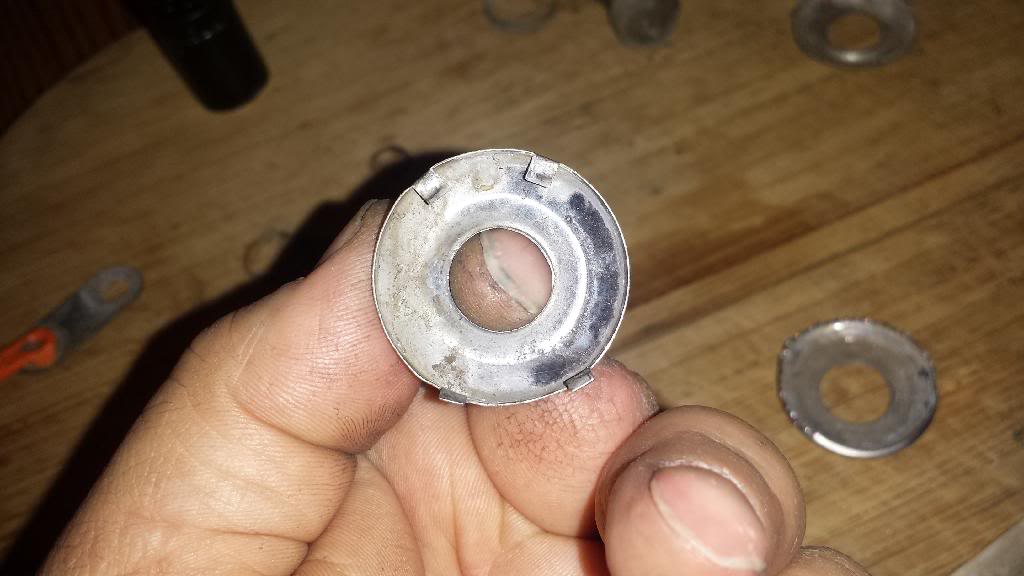
this is one of two after market bezels i found on my locks. the first one appears to be a 4 tab bezel. and the second is a 5 tab bezel.
after removing the grim off the tumblers & removing any dirt from the lock housing,they will work like new again; re-lubricate and re assemble, i used a spray on white lithium grease.
In this picture i have a passenger door lock assembled, a couple lock barrels and the barrel housing/ lock assembly

the completed lock i just finished cleaning up.
in this picture you can see the tumblers are dirty and corroded.

i used a paper clip to pull the tumblers out that wouldn't just fall out. and used needle noise plyers for the ones that were really stuck.
In the next few pictures you will see how the tumbler looked when it first came out of the old lock. and how i used a finger nail file to clean them back to a new finish.


i just lightly rubbed my finger over it side to side allowing the tumbler to become lightly sanded. you want to get both front and back and the sides. you want to be very light on the top and bottom as the top and bottom lock the cylinder to the barrel.


in this last picture you can see the untreated tumblers still stuck in the barrel even when held upside down. and the tumblers i have finished fell out. a video would have shown that better.

in the next set of pictures you will see the bezel / cover garnish that makes the lock appealing from the out side. the few is from the bottom side where it attaches to the lock assembly.
Factory lock bezel, crimped on, very difficult to remove. can be re-used if removed correctly.
i used a flat blade skrew driver to lift the crimped edge and worked 3/4 of the way around the lock and was able to slip off the bezel. during re-assembly a ball pen hammer and a drift may be helpful to tighten the bezel back together.

this is one of two after market bezels i found on my locks. the first one appears to be a 4 tab bezel. and the second is a 5 tab bezel.


after removing the grim off the tumblers & removing any dirt from the lock housing,they will work like new again; re-lubricate and re assemble, i used a spray on white lithium grease.
03-03-2014, 12:14 AM
#13
Super Moderator
Staff
iTrader: (1)
Join Date: Aug 2008
Location: Anderson Missouri
Posts: 11,788
Likes: 0
Received 21 Likes
on
19 Posts
Looks like you are off to a great start on your runner. I never thought of refurbishing the locks. Glad you mentioned it. I have a few that needs attention. Thanks for posting that.
03-03-2014, 08:11 AM
#14
Ya its very common to be over looked. If you have after market bezels doing the lock refurb will only take an hour or so. Where the factory bezel will add another hour or two of work to cleaning every thing up.
You may be able to stop by your local lock smith and purchase aftermarket bezels and any missing parts. They can also rebuild your lock sets much cheaper if you pull them out rather than if they did all the work. Only reason id suggest that is to have the locks re-keyed.
You may be able to stop by your local lock smith and purchase aftermarket bezels and any missing parts. They can also rebuild your lock sets much cheaper if you pull them out rather than if they did all the work. Only reason id suggest that is to have the locks re-keyed.

Thread
Thread Starter
Forum
Replies
Last Post
jasonty
Pre 84 Trucks (Build-Up Section)
41
12-23-2018 01:00 PM
BeMiceElf
Misc Stuff (Vehicle Related)
7
10-10-2015 09:40 PM
madxman21
86-95 Trucks & 4Runners
2
07-09-2015 10:26 AM
skoti89
Offroad Tech
3
07-08-2015 12:05 AM


