Toyota Tundra: How to Replace Windshield Molding
Learn how to replace or repair the trim around your windshield to fix leaks and wind whistles, without damaging the glass or paint around it.
This article applies to the Toyota Tundra 2007-2016, but the earlier models are similar.
Window trim surrounds the entire area of your vehicle's windshield to keep air, moisture and water out during all the seasons. This trim is usually made of plastic or rubber. Essentially, it is considered a "gasket" that creates a seal and is typically glued to the glass. Over time, they are prone to many different weather conditions and cause them to crack. Unfortunately, the trim cannot be replaced as a service item but can only be done when replacing the entire windshield gasket.

Materials Needed
- X-Acto/utility knife
- Flat tip screwdriver
- Automotive suction cups
- Nylon rope
- Soap and water
- Painter's tape
- An assistant (optional)
Step 1 – Remove old trim
In order to replace and/or repair the trim, the old trim needs to removed and discarded. In the process, the windshield will need to come out.
- Remove windshield cowl using flat tip screwdriver.
- Use utility knife or X-Acto knife along either edge of the window to separate trim from glass.
- Have your assistant hold the glass using suctions cups while you cut the trim.
- Continue to cut along the edge of the entire windshield.
- Remove and set aside old windshield.
- Remove remainder of gasket/rubber from the old trim.
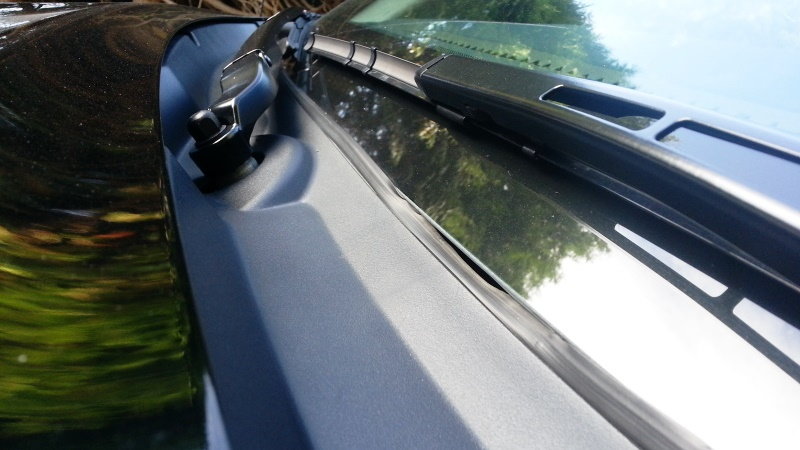
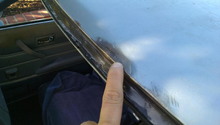
Figure 1. Windshield molding that is out of place. 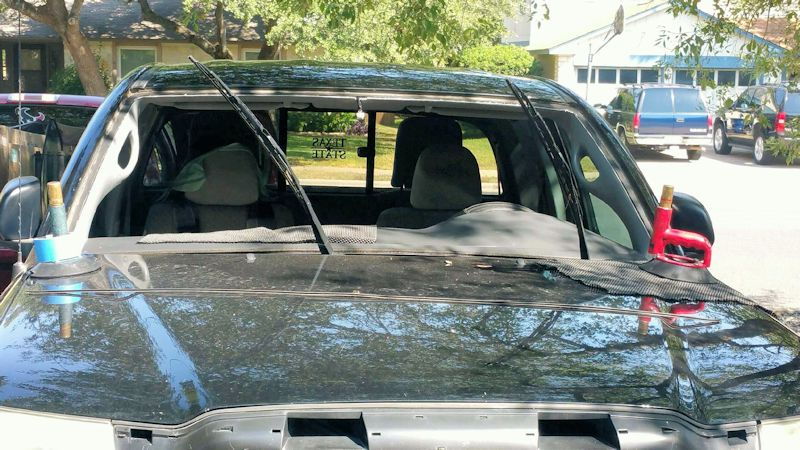
Figure 2. Tundra with windshield removed.
Pro Tip
It is not necessary but helpful to remove the hood for maximum clearance. Pointing the wipers in the up direction can provide clearance, too.
Step 2 – Install new trim
Now that the old trim and windshield are out, the new trim can be set in place.
- Clean entire opening with soap and water.
- Set new seal in place pressing against the edges.
- Aligning the new windshield on top, guide the glass in place using the suction cups.
- Set the seal by pressing along the edges evenly with finger tips.
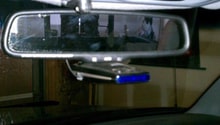
- Secure top and sides of windshield with blue painter's tape and let sit for ~8 hours.
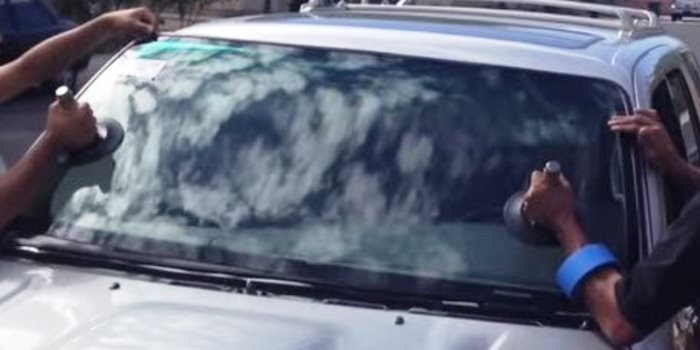
Figure 3. Installing the windshield with help of an assistant. 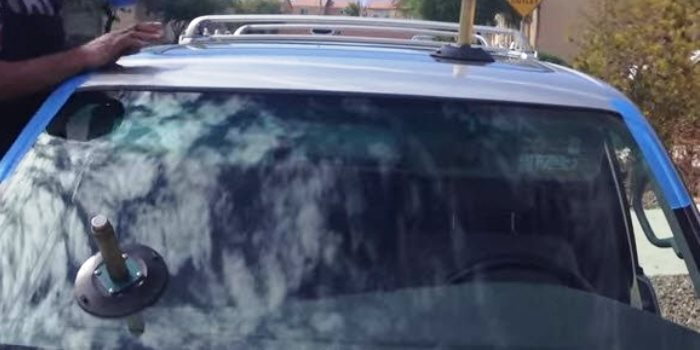
Figure 4. Use tape to hold glass while glue dries.
Pro Tip
A flat tip screwdriver can be used to coax the seal into place within the windshield and wrap around the edge. Alternatively, you can put a nylon rope in the gasket then pull it out from the inside of the truck cab to slowly pull the gasket over the edge.
Featured Videos: Windshield Replacement
-
Part 1
-
Part 2
Related Discussions
- Removing and Reinstalling Windshield - YotaTech.com
- Windshield Replacement Discussion - YotaTech.com