Toyota Tundra: How to Install XM Satellite Radio
Going from an OEM radio to a Sirus XM system is a major upgrade. And while the installation of a new radio might seem a bit intimidating, what with all the components and wires that come with it, the project isn’t that bad and can be done at home.
This article applies to the Toyota Tundra (2000-present).
Upgrading the OEM audio system for a Sirius XM radio is nothing new; the technology is well established and a favorite among nearly everyone that has added it to their truck.
The one thing to note, though, is that it is a bit costly. These radios can cost north of $50, depending on what model you go with, and that’s in addition to the monthly subscription fee. To save money, you can try installing the system yourself. It's a little time consuming, but can be done by those even remotely familiar with the internal workings of their Tundra. Here’s how.

Materials Needed
- XM satellite radio
- Plastic putty knife
- Electrical tape (if cable needs securing)
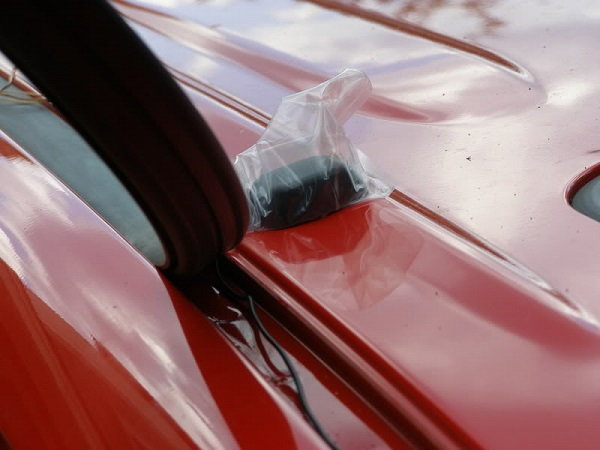
Step 1 – Place antenna
The ideal location for the satellite antenna would be atop the vehicle, near the Tundra’s sunroof. Another location is at the leading edge of the roof. Just make sure metal is not in its way, as that will obstruct the signal; most antennas are magnetic mount, so this should not be an issue.
Once you’ve picked a location, using a plastic putty knife (plastic removal tool), begin to route the antenna’s cable under the rubber molding that surrounds the windshield, along the table and all the way to the base of the windshield, near the dashboard. From there, route the cable out of the molding and directly into the weather stripping around the door opening; run it to the floor of the truck. Now, run the cable along the passenger floor, under the carpet, and bring it out to where the XM radio will be located.
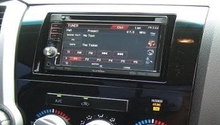
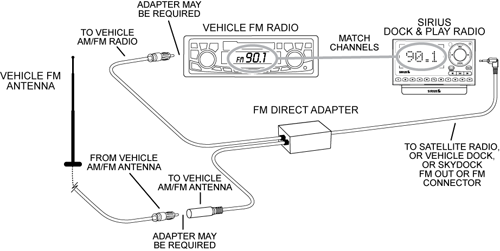
Step 2 – Connect XM radio to stock radio
Using the included FM transmitter, which plugs into the truck’s cigarette lighter, find an unavailable FM channel. When you tune to the channel, you should hear static or quiet. Save this station to your system’s preferred channels list, and turn the XM radio on. Now set it to transmit on the same FM channel as the truck’s FM radio.
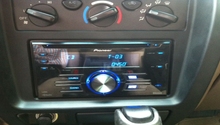
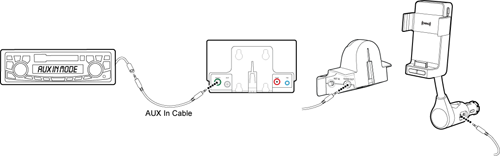
Step 3 – Connect XM radio to auxiliary jack
If your Tundra has an auxiliary jack, simply plug the XM radio into the AUX IN connector. Now, set your radio to the auxiliary option, turn the XM radio on, and set it to transmit via auxiliary input source.
Related Discussions
- Best Place Mount XM Radio Antenna - YotaTech.com
- Installed XM 04 4runner - YotaTech.com
- Told Only Dealer Can Install XM - YotaTech.com
- Tacoma XM Radio? - YotaTech.com
- Has anyone installed XM radio? - YotaTech.com
- Need XM Commander Install Pictures - YotaTech.com
- Stereo Install Questions - YotaTech.com