Toyota 4Runner 1996-2002: Why is My Brake Light On?
Nothing is scarier than your Toyota 4Runner telling you there is an issue with its brakes. Read on to learn how to diagnose a brake warning light.
This article applies to the Toyota 4Runner (1996-2002).
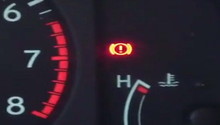
The Toyota 4Runner is equipped with a series of warning lights, which work as a way for your car to communicate any issues to you. Since your Toyota is equipped with sensors connected to almost every single component, when something goes wrong, the warning light appears. It's one thing when you get the warning light indicating your windshield wiper fluid is low, but when a brake warning light comes on, you can't help but worry and for good reasons. It's not recommended for you to drive the 4Runner with the brake light on; you should always diagnose the issue first to learn how serious it is. This guide will assist you in diagnosing the brake light in your Toyota 4Runner.

Materials Needed
- Jack
- Jack stands
- Tire iron
- Socket set
- Flashlight
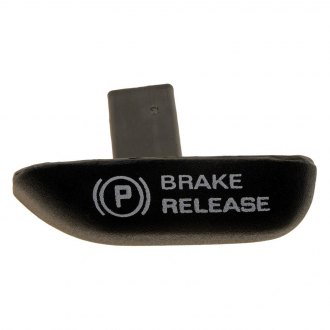
Step 1 – Check parking brake
It could be slightly engaged.
This may seem silly, but your parking brake could still be engaged. Be sure your parking brake is fully disengaged; sometimes a visual check isn't enough, because it can be pushed in slightly, which would make it look disengaged.
If the parking brake is fully released, proceed to Step 2.
Step 2 – Check brake fluid
It could be low.
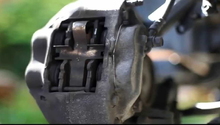
If your brake fluid is low, then your brake system is most likely leaking. Check the brake fluid reservoir, and if the fluid is low, proceed by checking the brake lines before adding more brake fluid. Use your flashlight to check under the car for any leaks. Check the connections between the brake lines and other components, such as brake calipers. If you find any leaks, you will need to replace the brake line, then bleed the brakes.

If you have no brake leaks, move on to Step 3.
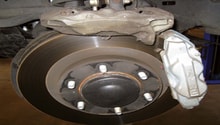
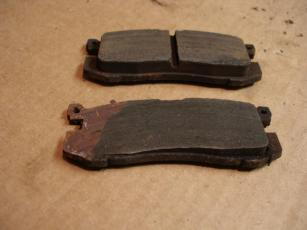
Step 3 – Check brake pads
They could be worn.
Worn brake pads can activate your brake warning light. So, loosen the lug nuts on your wheel, raise the car, and secure it on jack stands. Then, remove the wheel. Remove the brake caliper by removing the two bolts on the back of it holding it in place, then check the brake pads. The minimum thickness you can have on your brake pads are two to three millimeter. So if your pads are any thinner than that, it's time for new ones.
(Related Article: How to Replace Brake Pads, Calipers, and Rotors - YotaTech.com)
Related Discussions
- E-brake Light Appears - YotaTech.com
- Parking Brake Light - YotaTech.com
- Warning Light Question - YotaTech.com