Toyota 4Runner 1996-2002: How to Install Fog Lights
And the mechanic said, "Let there be light!"
This article applies to the Toyota 4Runner (1996-2002).
For those 4Runner owners who live in rainy, snowy and foggy areas, a good set of fog lights can make all the difference when it comes to seeing the road ahead. Many 3rd generation 4Runners are either equipped with fog lights, or are pre-wired for them, so installing a new set shouldn't be too difficult a task. However, some models may not, and that's where things start to get a little more complicated.

Materials Needed
- Socket set with ratchet and extension
- Phillips head screwdriver
- Plastic trim panel tool
- Wire cutters
- Crimping pliers
- Torque wrench
Step 1 – Prep your valance
If you are installing fog lights into a vehicle that was not factory equipped (or doesn't have plugs where the lights would go), you will need to make some room for them. Whatever style your front bumper valance is, you will probably need to cut holes where you want the fog lights to go. Work carefully, and test the fit of the lights as you go so you don't make the spaces too big.
If your vehicle has plugs at the fog light location, you just need to remove them.
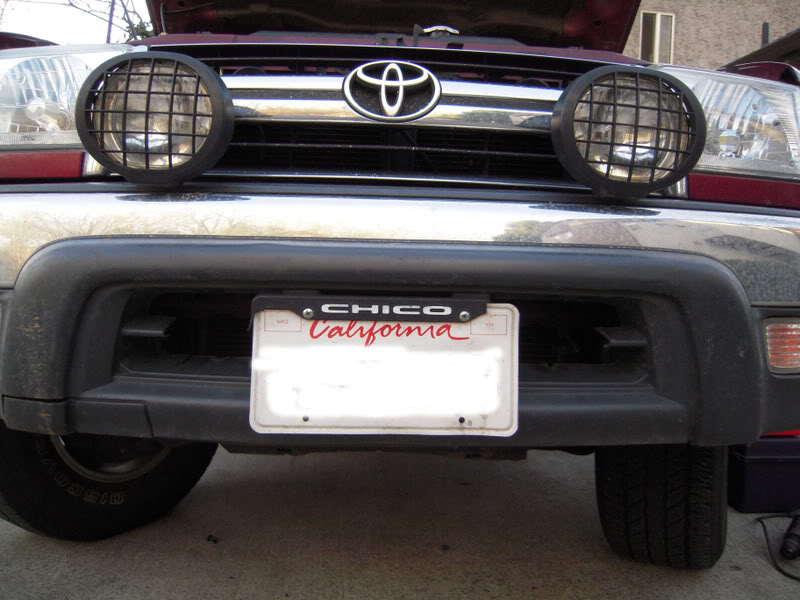
Figure 1. Cut your valance to accommodate the fog light housings. 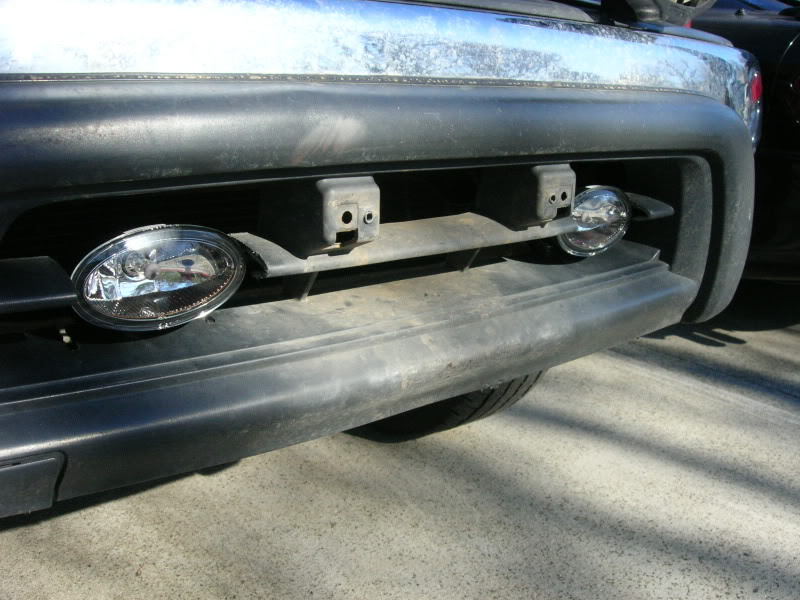
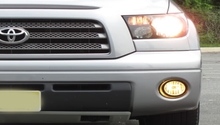
Figure 2. Insert the fog lights to make sure they fit properly.
Step 2 – Check your wiring
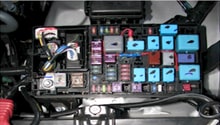
It's possible that your vehicle came pre-wired for fog lights, even if they aren't installed. If this is the case, you will just have to hook up your new lights to the original wiring. Check the underhood fuse panel; it may already have a fog light fuse and relay installed. If not, you will need to install them.
If you're using an OEM part, the wiring connector on the lights should be a match to the existing wiring connector. For aftermarket parts, you will have to remove the original connector, then fuse the wires with connectors (see the video below).
Step 3 – Decide on a switch option
Generally, when installing fog lights on a vehicle that wasn't originally equipped, you will need to install a separate switch to operate the lights. Fog light kits will come with all of the wiring and switch mounting you will need. Your 4Runner probably has a few empty switch plates on the dash that you can use. If you don't want a separate switch, you can replace your factory turn signal stalk with one that includes a control for fog lights. There will be more extensive work involved, including removing the original stalk and disassembling some interior panels to access the wiring.
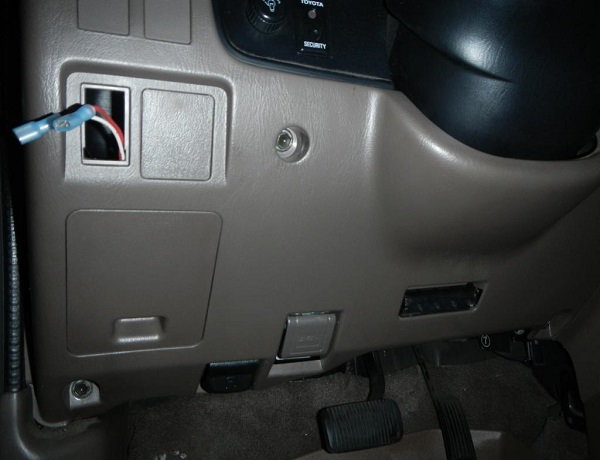
Figure 4. Empty switch panel. 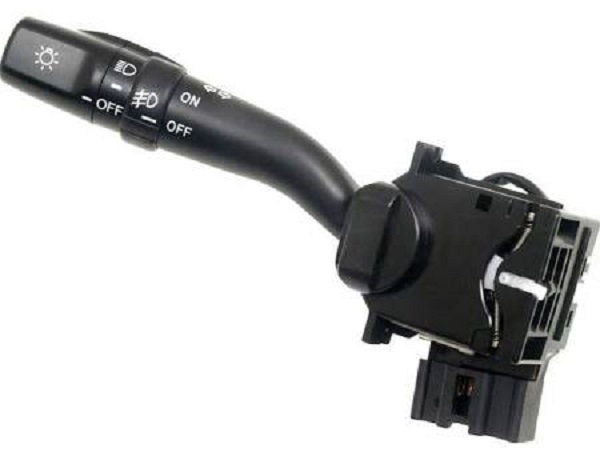
Figure 5. You can choose to replace the turn signal stalk to avoid a separate fog light switch.
Step 4 – Install the fog light mounting bracket
Before you start the installation, make sure to disconnect the negative (black) cable from the battery. Remove the mounting nuts from the underside of the bumper. Install the bracket onto the studs and loosely reinstall the nuts.
Step 5 – Install the fog light assembly
Install the assembly to the bracket and tighten the bolt(s) securely. Tighten the mounting bracket nuts securely. Refer to the kit instructions for the proper tightening torque for these fasteners.

Step 6 – Connect the wiring
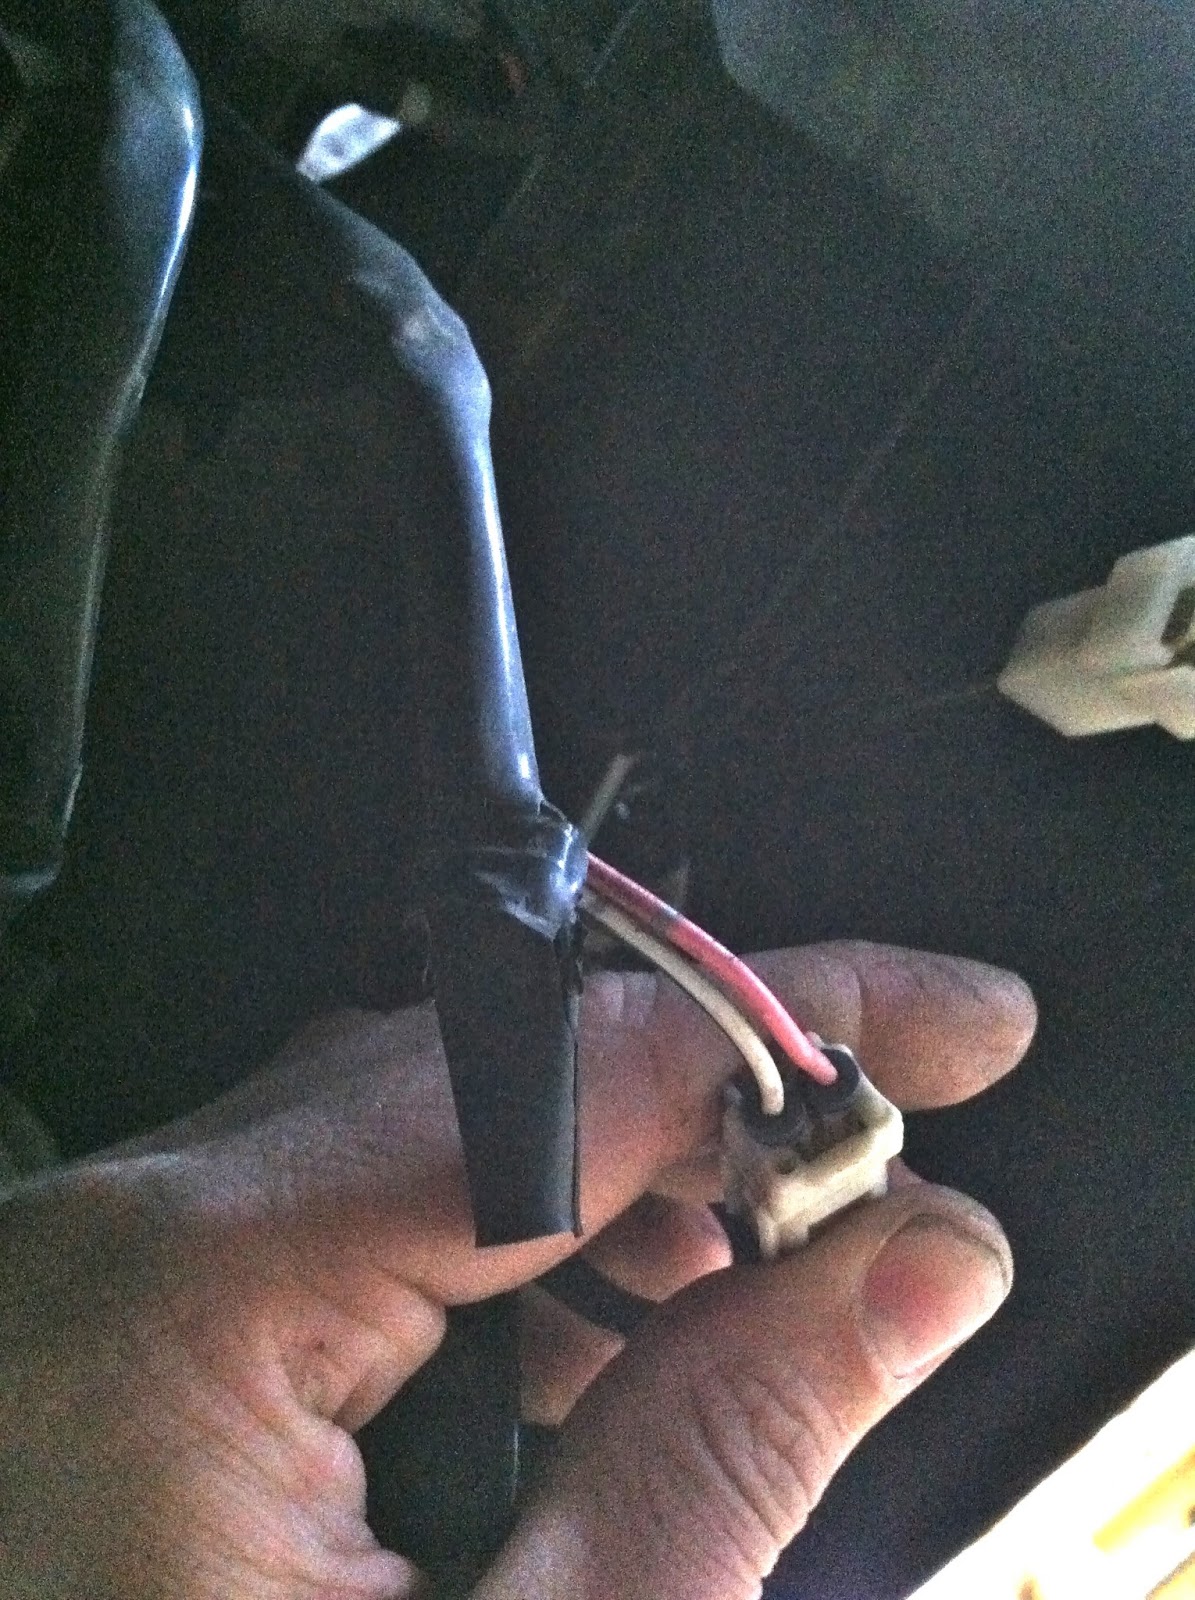
If you're installing OEM parts, you should be able to just connect the fog light wiring directly to the existing harness (see Figure 3). If you're installing an aftermarket light kit, you will need to splice the wiring.

Pro Tip
There are many different methods of splicing wires, but because of the location of fog light wiring and their exposure to water, mud, and other road grime, it's probably best to use a weather-proof connector to protect the wires.
Step 7 – Install the switch
Follow the instructions that came with your fog light kit to run the wiring to the new switch. You may need to remove the lower dash panel for access. If you are installing a new turn signal stalk, you will need to remove the steering wheel covers to access the stalk mounting fasteners. After the switch is installed, reinstall any trim panels that were removed for access.
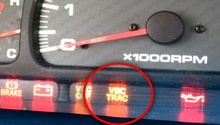
Step 8 – Test the lights
Test the fog light switch and make sure they are functioning correctly. You will also want to check the aim of the lights to make sure they aren't angled too high. To fix the aim, loosen the mounting nuts and readjust the position of the light assembly.
Featured Video: How to Connect Fog Light Wiring
Related Discussions
- Fog Light Installation - YotaTech.com
- Installing Fog Lights - YotaTech.com
- Fog Light Options - YotaTech.com