Toyota 4Runner 1984-1995: Lighting Diagnostic Guide
When you have problems with something as important as the headlights or the tail lights, it could leave you in trouble. This diagnostic will help you narrow down the most common causes of lighting problems.
This article applies to the Toyota 4Runner (1984-1995).
In any old vehicle, electrical problems are bound to happen and none are more frustrating than problems with the lights. Whether it's your headlights, fog lights, or tail lights, most lighting problems can be traced to four main causes: a bad bulb, a bad fuse, a bad switch, or bad wiring. This diagnostic will show you how to address each of these issues. Keep reading to learn more.

Materials Needed
- Multimeter
- 12 volt battery with jumper wires
- Phillips screwdriver
- Flat head screwdriver
- Ignition file or any other fine grit file
- Contact cleaner
- Dielectric grease
- Soldering iron and solder
- Electrical tape
Step 1 – Check the bulbs
While this seems like the obvious thing to look at first, it's not always apparent when a bulb is burned out. Sometimes you can tell visually that a bulb has gone bad, but if you really want to be sure, you'll need to check the bulb with a multimeter. You do that by setting the multimeter to ohms and touching the probes to bulb's electrical connector pins. If it gives you a reading of zero ohms, it means there's no resistance in the bulb and it's burned out. In this case all you need to do is replace the bulb.

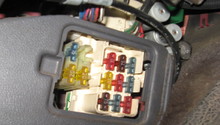
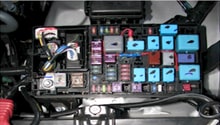
Step 2 – Check the fuses and relays
This is another easy one to check. You'll find the fuses and relays in either the fuse box in the engine compartment or the one behind the driver's side kick panel. Most of your lights run through fuses in the interior fuse box. Similar to the bulb, you'll want to check the fuse with a multimeter to be certain if it's blown or not. Set your multimeter to measure ohms and connect the probes to the two opposite pins of the fuse. If the fuse is still working, then it should give you a small number above zero. If it measures zero or the multimeter doesn't change at all, then the fuse is bad and needs to be replaced.

Now, relays are a little more complicated because they act as a switch. The main lighting relay for your 4Runner is the one that controls your headlights. It's responsible for switching between the high beam and low beam circuits. If you've had problems with one headlight working while the other doesn't, then it could be because of the headlight relay. To check it, you'll need to pull it from the fuse box. There will be four pins at the bottom of the relay. When you supply power to the two pins that control the switch, you should hear a click. That means the relay is still switching. Now take your multimeter and check the other two pins for resistance. It should give you a small number above zero. If not, then the relay needs to be replaced.

Step 3 – Check the switches
It is very unlikely for a switch to completely fail, but it is possible for the electrical contacts on the switch to become dirty and corroded. This sometimes happens to the multiswitch attached to the steering wheel. You'll need to get access to the switch and remove it. Then you'll need to dismantle it so you can access the contacts. To clean the contacts, you can take a thin fine grit file and file down the metal a little bit to rub off some of the dirt and corrosion. In many cases this should be enough for a clean connection to get through. If not, give it a squirt of contact cleaner and rub it into the metal. Dry it off then apply a little dielectric grease.
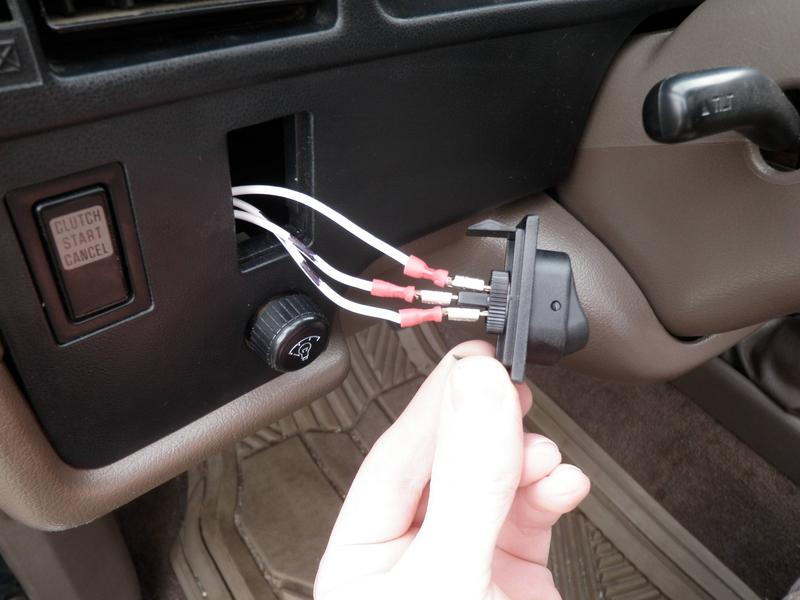
Figure 4. Check the contacts on the switches. 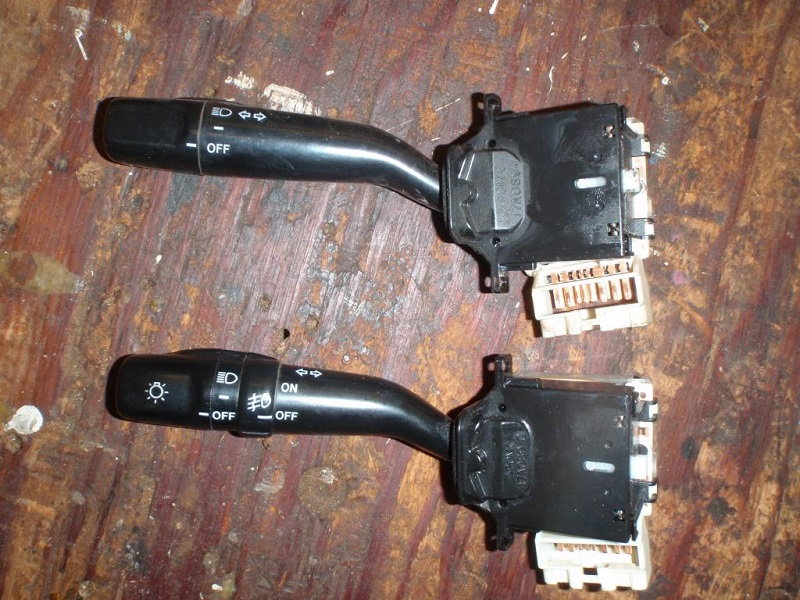
Figure 5. Dismantling the multiswitch.
Step 4 – Check the wires
At this point, having a little knowledge in electrical work will help you narrow down the possibilities. Look online or in a manual for a diagram of the light circuit. The first thing you should check are the ground points. These are a typical point of failure. When a ground comes loose or becomes rusty or corroded, it can stop the circuit completely. If you have a dirty ground, clean it with contact cleaner. Try to make the metal around the ground point especially clean, then tighten down the ground wire to the metal as tight as you can get it.
%20%E2%80%93%20Low%20beams%20don%27t%20work%2C%20but%20high%20beam%20indicator%20is%20on.%20-%20YotaTech%20Forums&txt=This%20image%20has%20been%20resized.%20Click%20this%20bar%20to%20view%20the%20full%20image.%20The%20original%20image%20is%20sized%201600x1200.)
After looking at the ground points you should check other points of contact with the wires and the wires themselves. If the wires receive a lot of strain or environmental exposure, they could start to corrode. In the case of bad wiring, you'll need to cut off the bad section of wire and then solder on a new connection. Wrap it in either electrical tape or heat shrink wrap to protect it from future wear and tear.
Related Discussions
- Headlight Problem (Fixed) - YotaTech.com
- No Brake Lights, Switch Good - YotaTech.com
- High Beams Don't Work - YotaTech.com
- Dash & Tail Lights Don't Work - YotaTech.com